How To Sew On A Crochet Appliqué To Your Hat + Video
Learn how to sew on crochet appliqués to your crochet hats, scarves, blankets or any project. Add a heart to a hat, flowers to a blanket, pockets to a scarf all use a similar sewing technique.
Sewing is inevitable for crocheters and knitters, but it doesn’t have to be hard. For this tutorial I’m using a chunky yarn that makes the stitches and loops easier to see.
This yarn is great for practice and then you’ll be ready to move on the worsted weight, dk yarn or any weight yarn you work with.
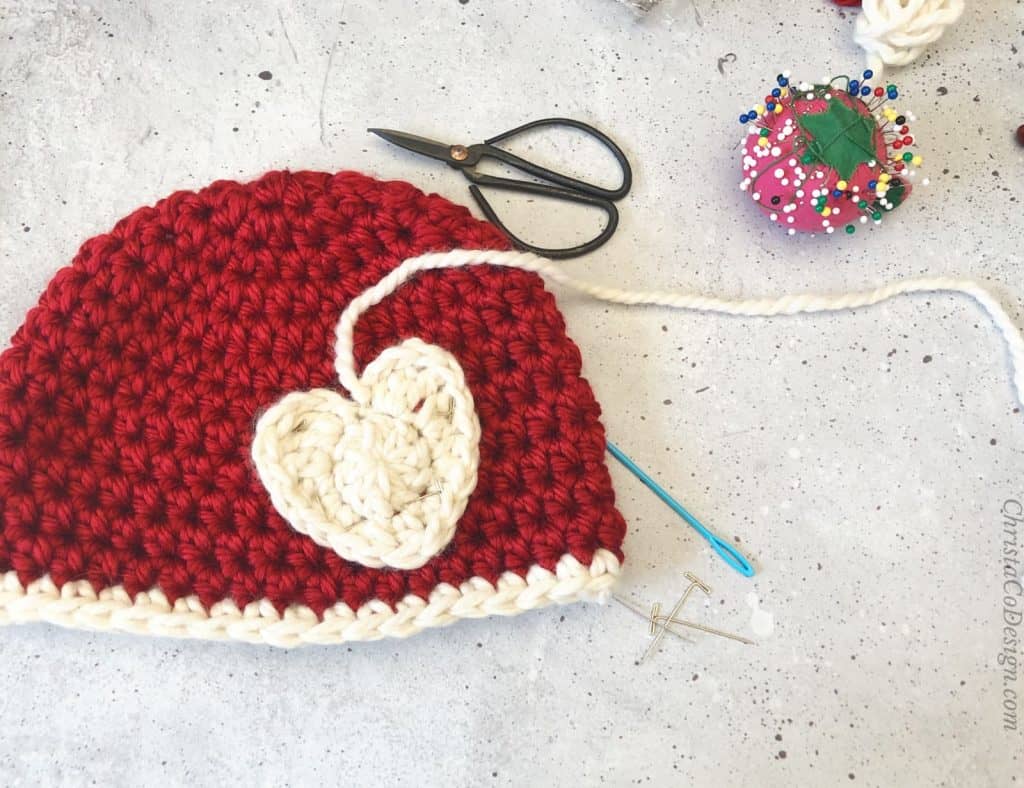
I use a crochet hat and heart to demonstrate how to sew on to a hat. You can use any finished crochet pieces: flowers on a blanket, even pockets on a scarf.
This post contains affiliate links, I may earn a fee. Read more disclosure policy.

Join the ChristaCoDesign Newsletter
Never miss a pattern!
Adding crochet hearts, or little ears like in the Bear Beanie pattern is an easy way to kick the cuteness level up.
I love how sewing on this chunky heart creates a Valentine’s Day themed hat from a basic beanie pattern.
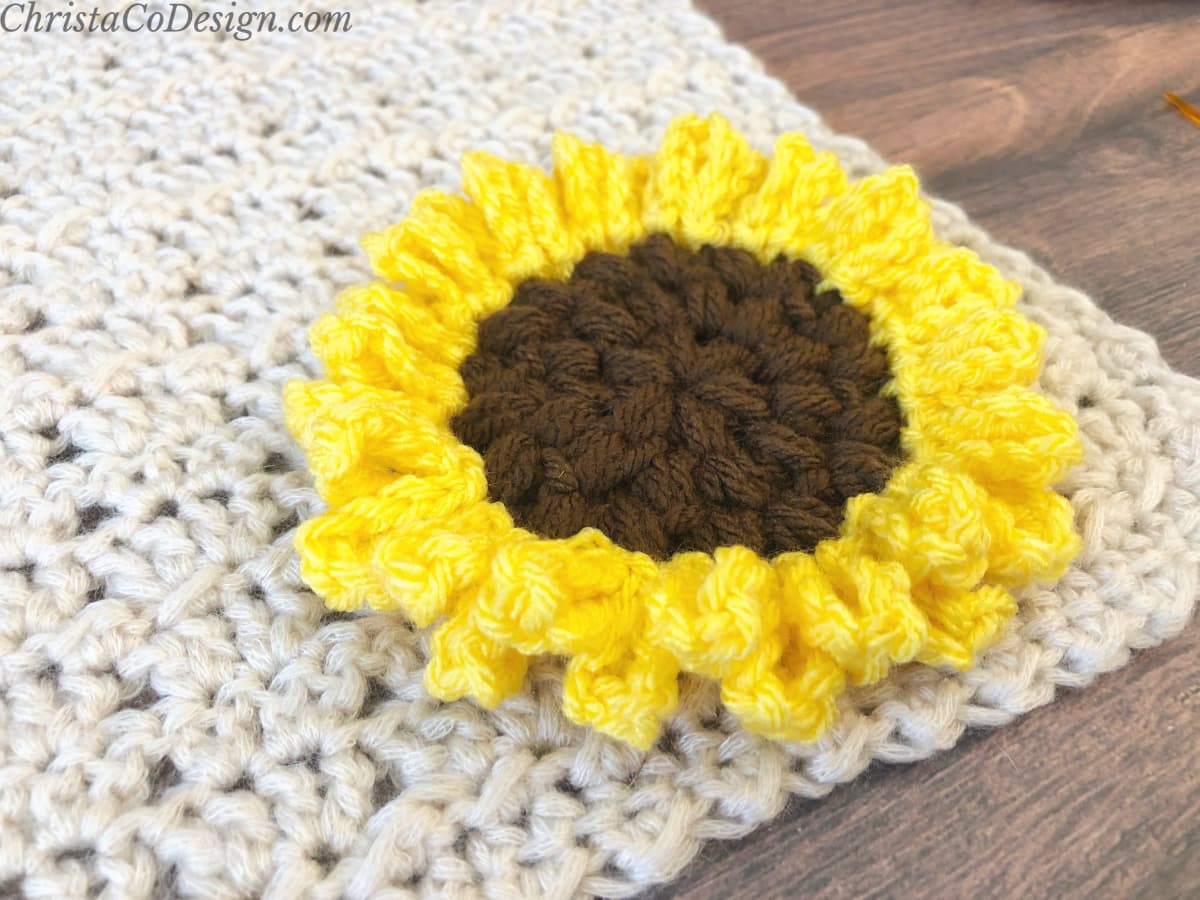
This crochet sunflower applique is super cute for hats, scarves or blankets.
Attaching crochet to crochet is a simple matter of putting your crochet hook down and picking up the yarn needle.
You’ll want to use yarn that matches the appliqué, or top item you are sewing down.
More Crochet Patterns
Learn how to crochet this easy heart pattern here.
You might like these chunky bear beanies too.
The crochet heart gift card holder is a fast last minute gift.
What lovely lacy wrap from Jessie At Home, the Christiana Crochet Wrap is a beautiful design.
If you would rather crochet in your heart, and not sew it on then you might like the Pebbled Heart Beanie pattern.
Materials
- your complete appliqué like this chunky heart
- your complete crochet project like the chunky beanie
- yarn needle
- long tail or length of matching yarn to your applique
- pins, I like the sturdiness of T-pins,* but regular sewing pins work too
Generally speaking a sturdy, structured yarn works best for crochet appliqué work. If the yarn is too soft it may not hold its shape very well. Otherwise, any weight yarn can work. You do want to match your sewing yarn weight to the yarn weight of the appliqué and project.
Notes
- You can use this tutorial for any type of crochet appliqué.
Level
Easy
Written Instructions
(Scroll down for the photo tutorial)
- First you’ll pin your appliqué in place so it doesn’t shift while you’re sewing it down. Check your placement by trying it on and moving it around. Be sure it’s exactly how you want it while pinning. It’s important to try the item on while the appliqué is pinned. The body is not flat so you want to double check that once the hat is curved on your head the appliqué is in the desired position. Be careful not to stick yourself with the pins!
- Thread your long tail, if you left one in the yarn needle. If you don’t have a long enough tail to sew all the way around, then just use a length of yarn in the same color. To lock this new yarn in place, go back into the first stitch you start in and leave a tail to weave in at the end.
- Insert the needle through the stitches of the applique and into the stitches of the hat (or blanket, etc). Only pick the front loops of the stitch if you don’t want it to show. Even though I’m sewing onto a hat here, that’s how I do it so it won’t show through on the backside. So you can use this sewing technique for sewing on blankets or scarves that you’ll see both sides.
- From the hat, come back up into the next stitch of the heart (or your applique).
- Continue into the next stitch, be sure to pick up your loops on the hat (or your bottom surface) a little under the edge of the appliqué so that the shape is not distorted by stretching.
- Be sure to remove all the pins. You can remove them after you sew down where they are.
- Before you weave away your ends, check that you like your placement. Try the hat on, move it around. It’s easier to adjust now.
- Weave in ends and trim yarn. Double check that all pins are removed!
Video Tutorial
Watch the full step by step video tutorial on my YouTube.
Scroll down to learn how to sew on to crochet hats.
Trouble Shooting Tips
You want to be sure that all the edges of your appliqué are secured. Be sure to check your work every so often to make sure you haven’t missed a stitch, or left too large of a gap.
If your appliqué is bunching or puckering then it’s possible you have pulled your stitches too tight. Just undo the last one and then re-do it, making sure everything lays flat.
To make sure your stitches don’t show through be sure to only pick up one strand of the stitch when sewing. Likewise you want to match your sewing yarn to your appliqué yarn color.
Photo Tutorial
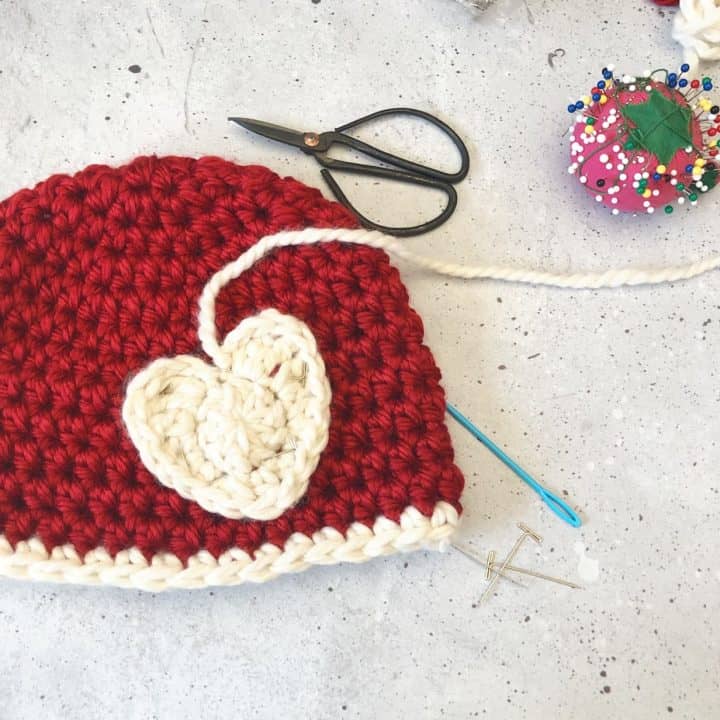
How to Sew On Crochet
Learn how to sew on crochet appliqués like this chunky heart on your hat. Photo + Video tutorial.
Materials
- Complete applique and hat or blanket to sew it on to.
Tools
- Yarn needle, I'm using a large eye blunt tip needle.
- T-pins or sewing pins
- scissors
Instructions
- Position your applique and pin in place.
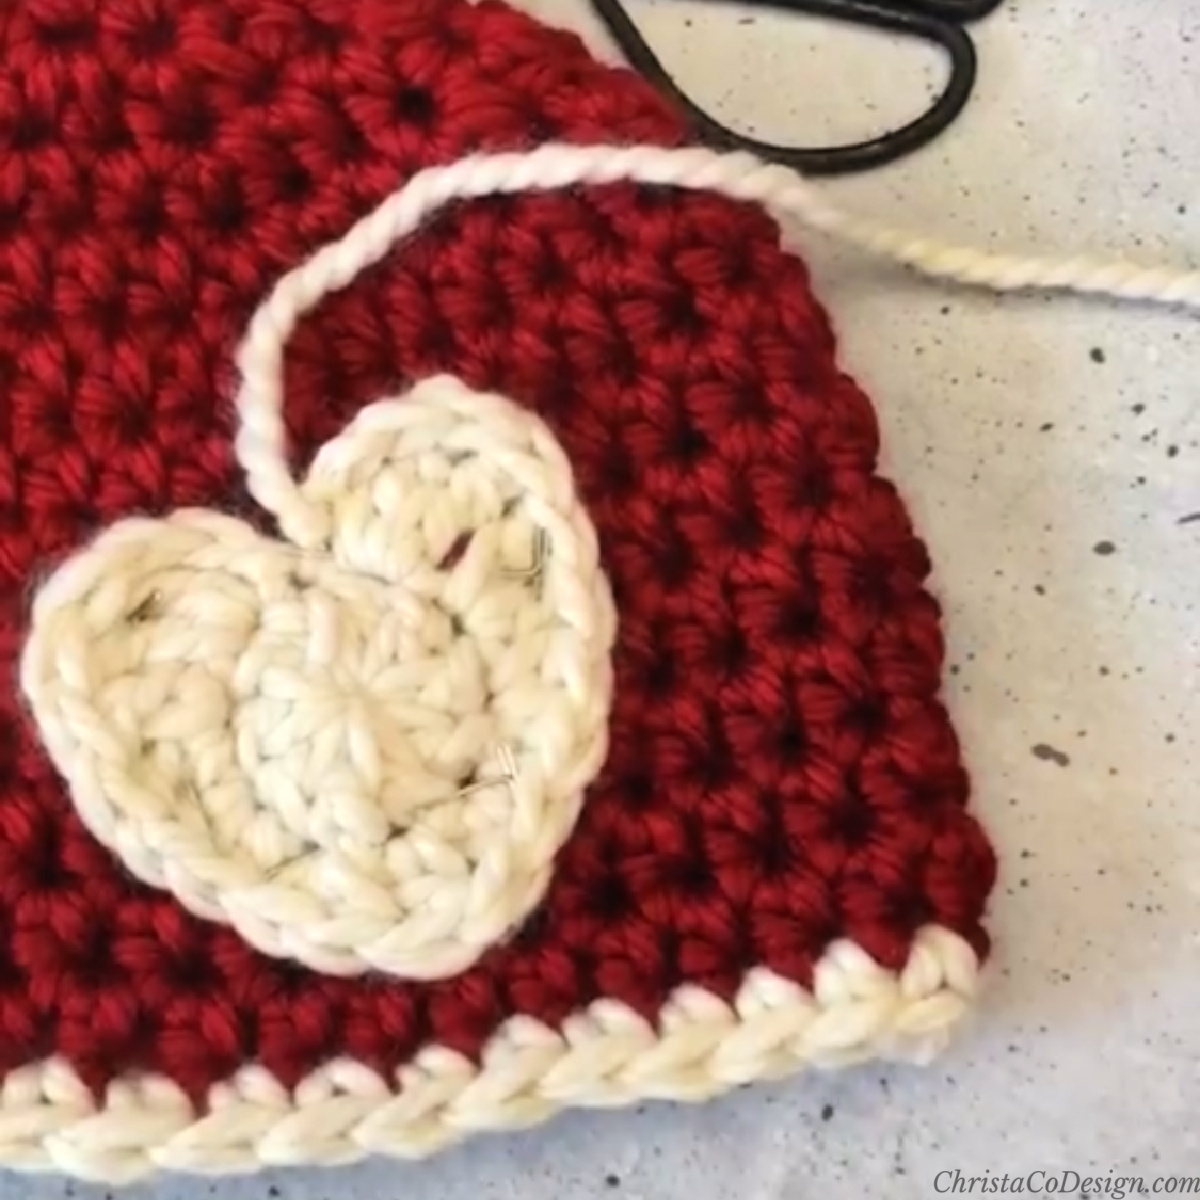
- Thread your needle.
- Sew around your applique. From the top go in the first stitch and slide the needle under a loop that's on the hat.
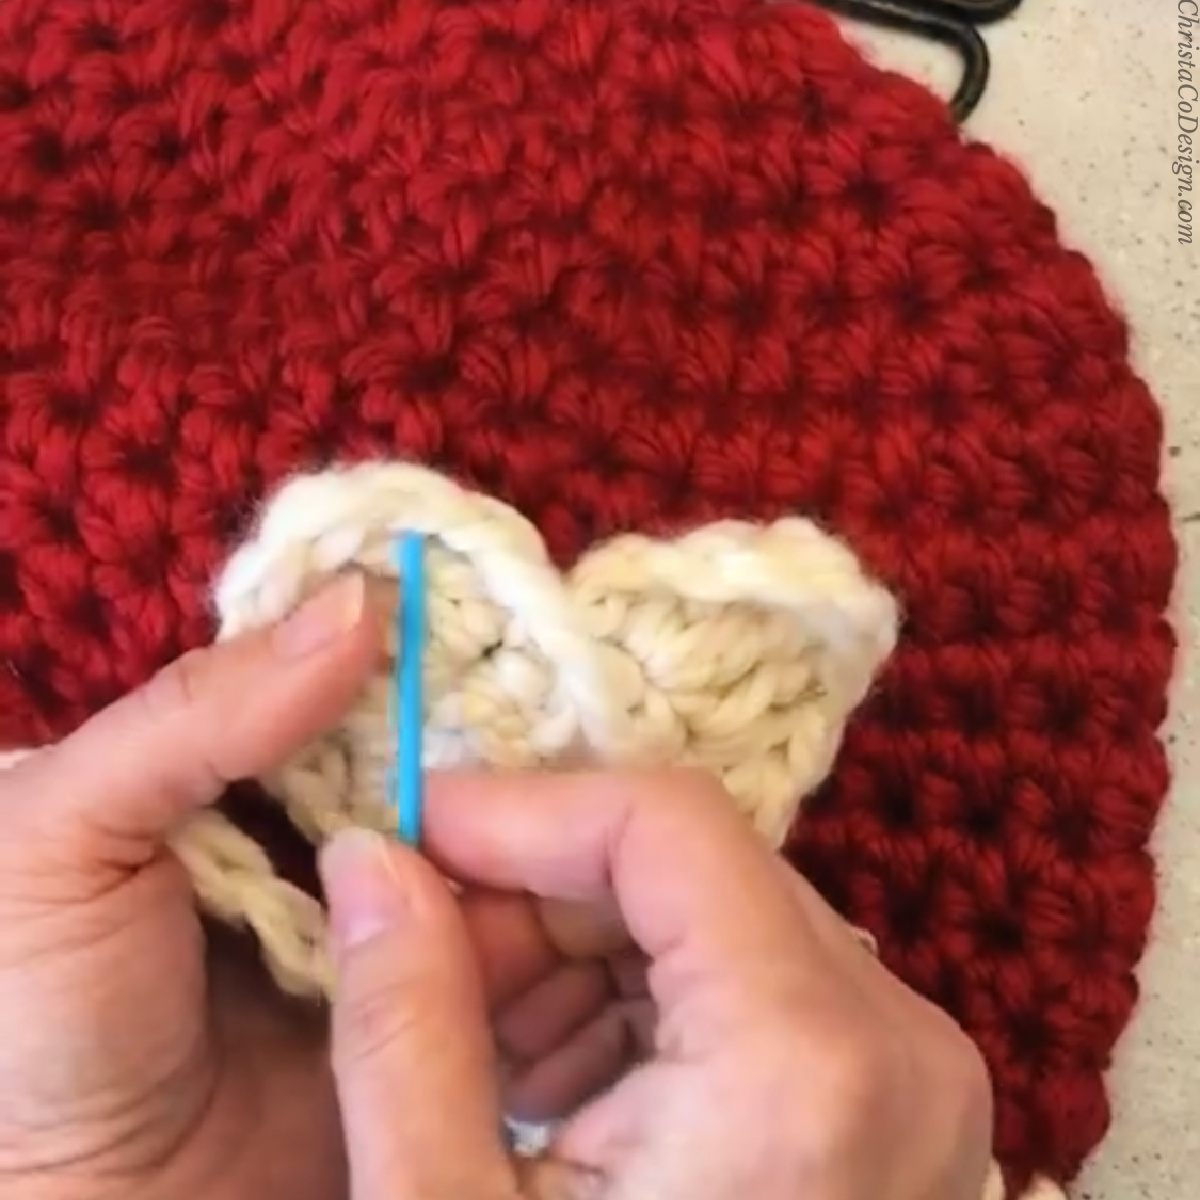
- Bring the needle from the back up into the next stitch.
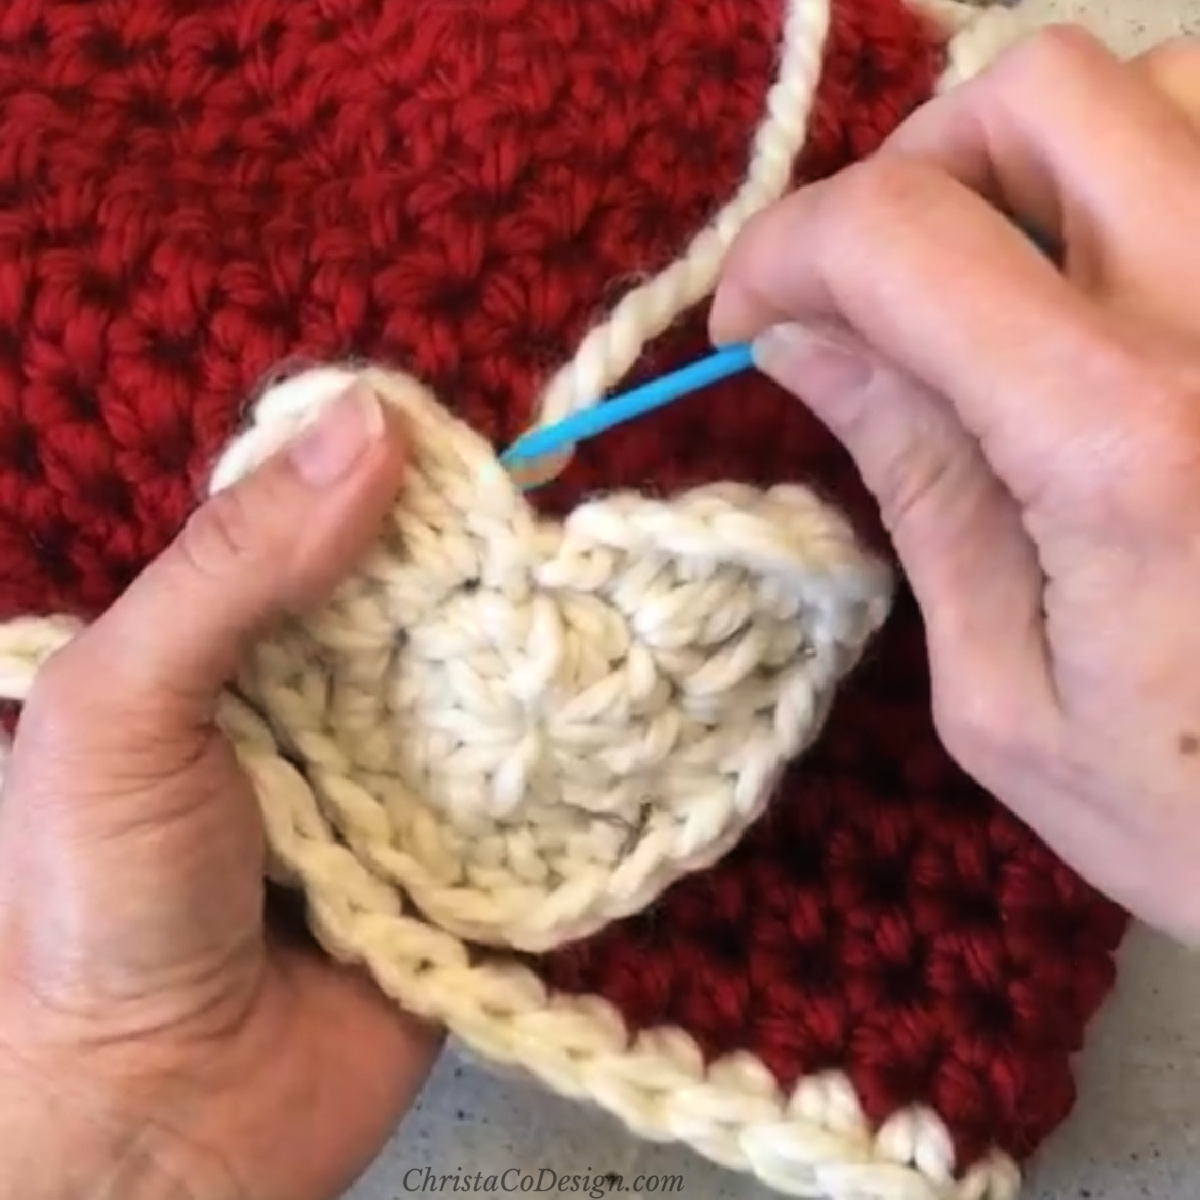
- Continue sewing it on, moving from stitch to stitch.
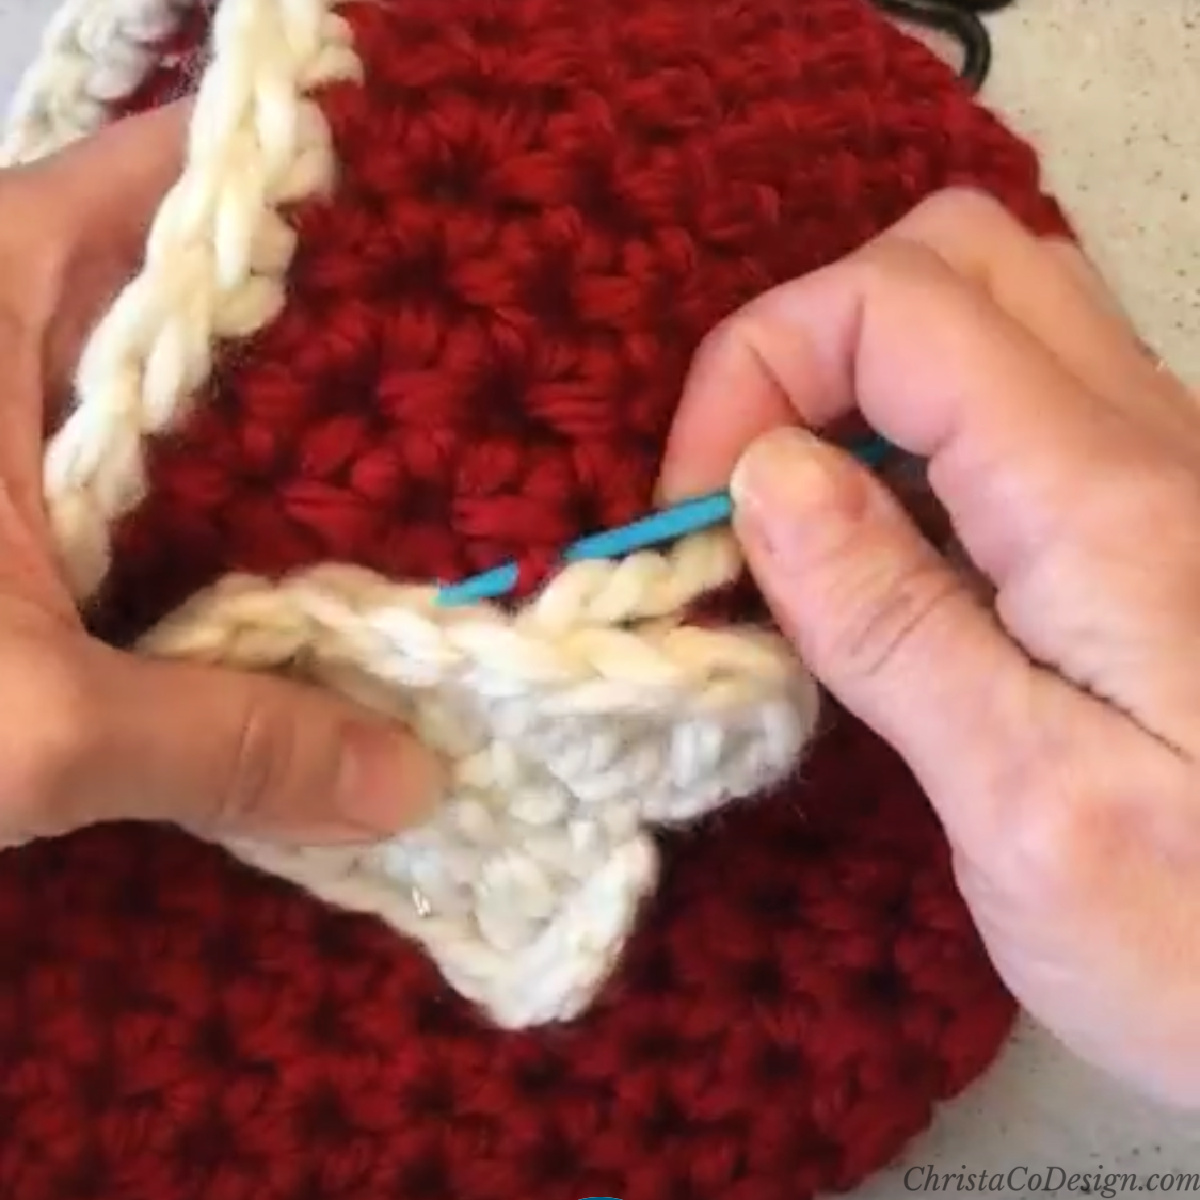
- Remove the pins as you come to them and you have secured the applique on.
- Check that it's exactly positioned how you want it before finishing off.
- Now weave away your end.
Recommended Products
As an Amazon Associate and member of other affiliate programs, I earn from qualifying purchases.


Learn how to stitch on a fabric appliqué with a sewing machine here.