
Trinity Stitch Crochet Photo Tutorial + Video
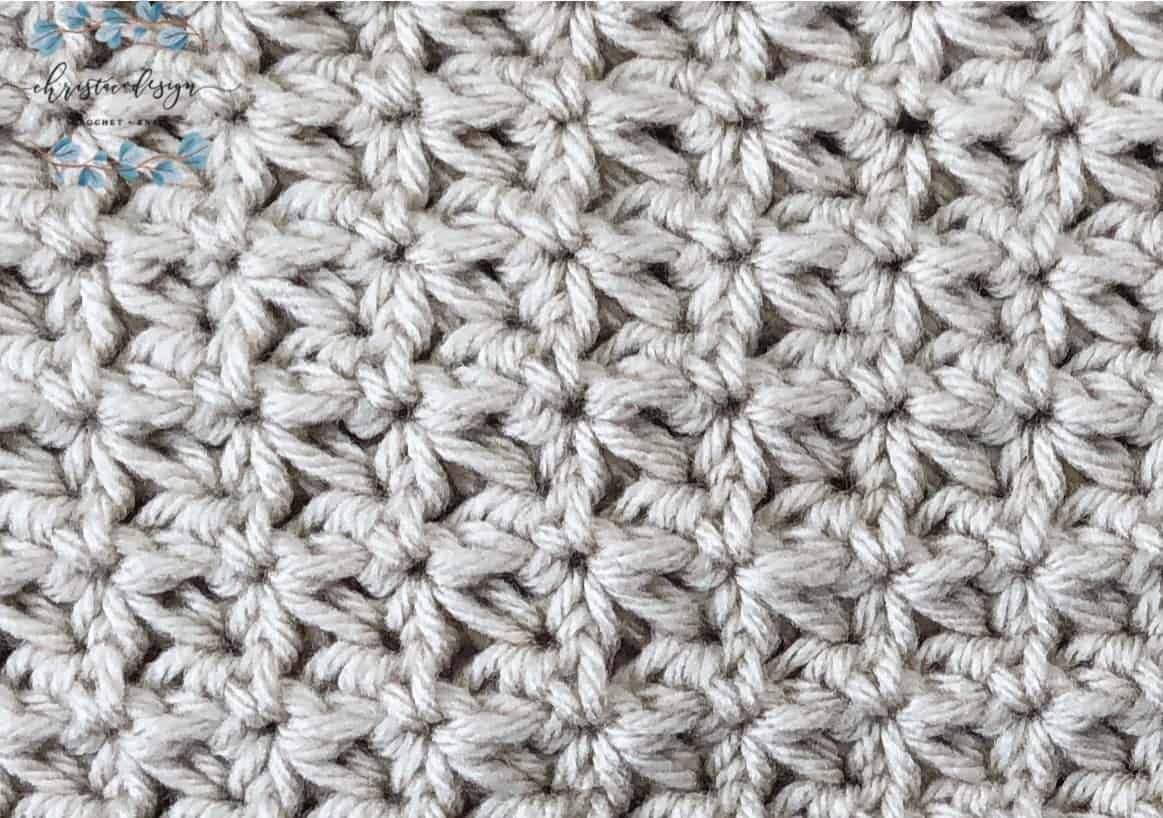
The Trinity Stitch is a beautiful textured crochet stitch that is well showcased in light colored yarn. I used this gorgeous stitch in my Sunset Sweater pattern and it is perfect for garments.

This post contains affiliate links, I may earn a fee. Read more disclosure policy.
Join the ChristaCoDesign Newsletter
Never miss a pattern!
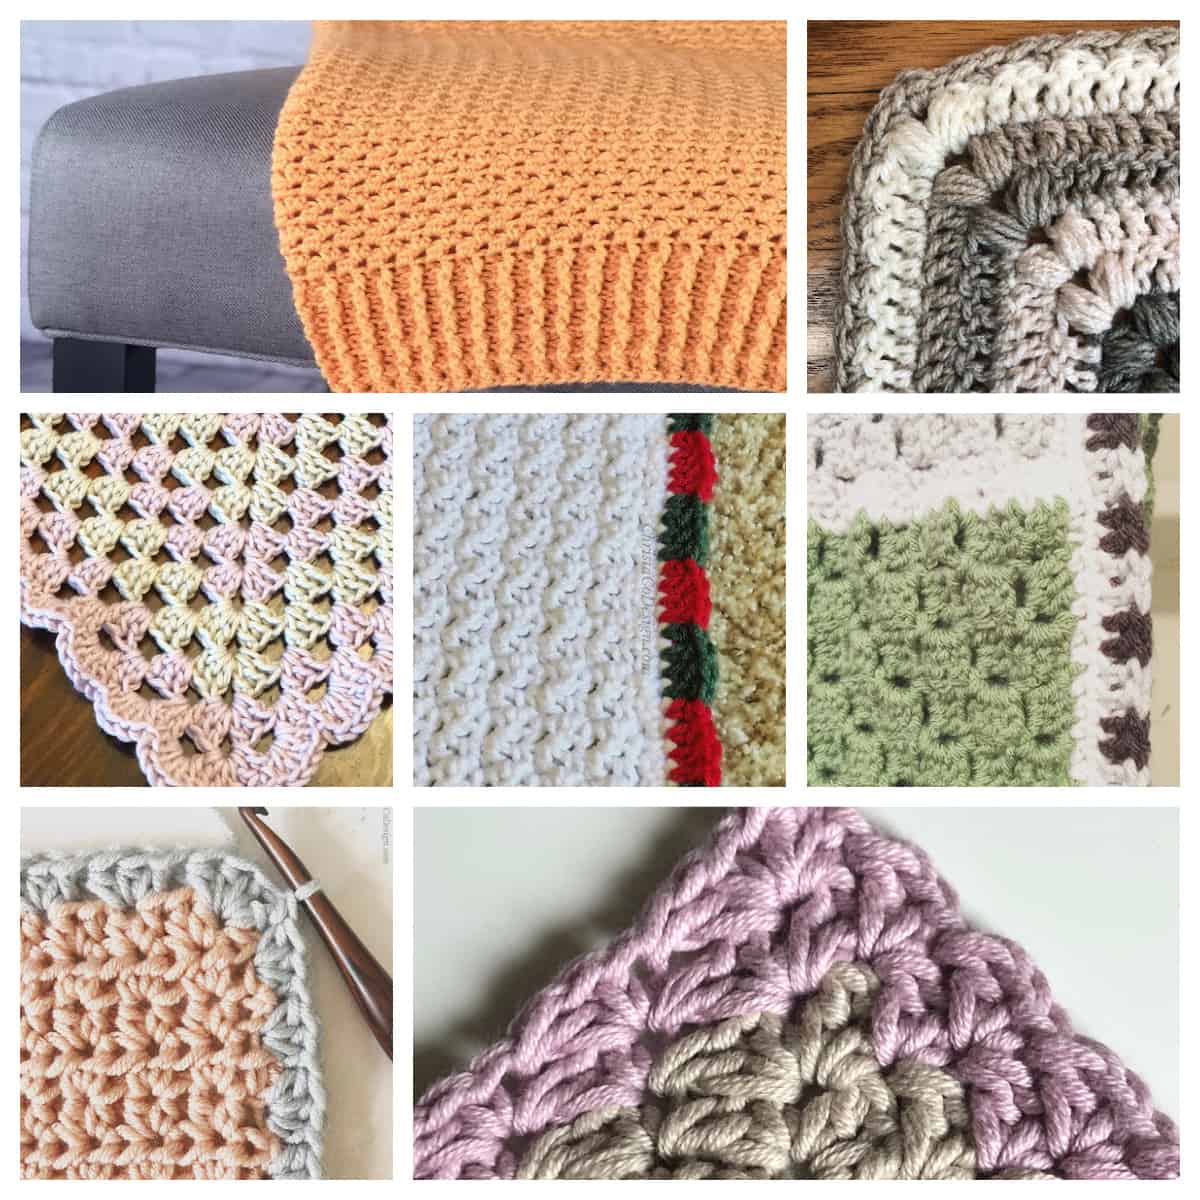
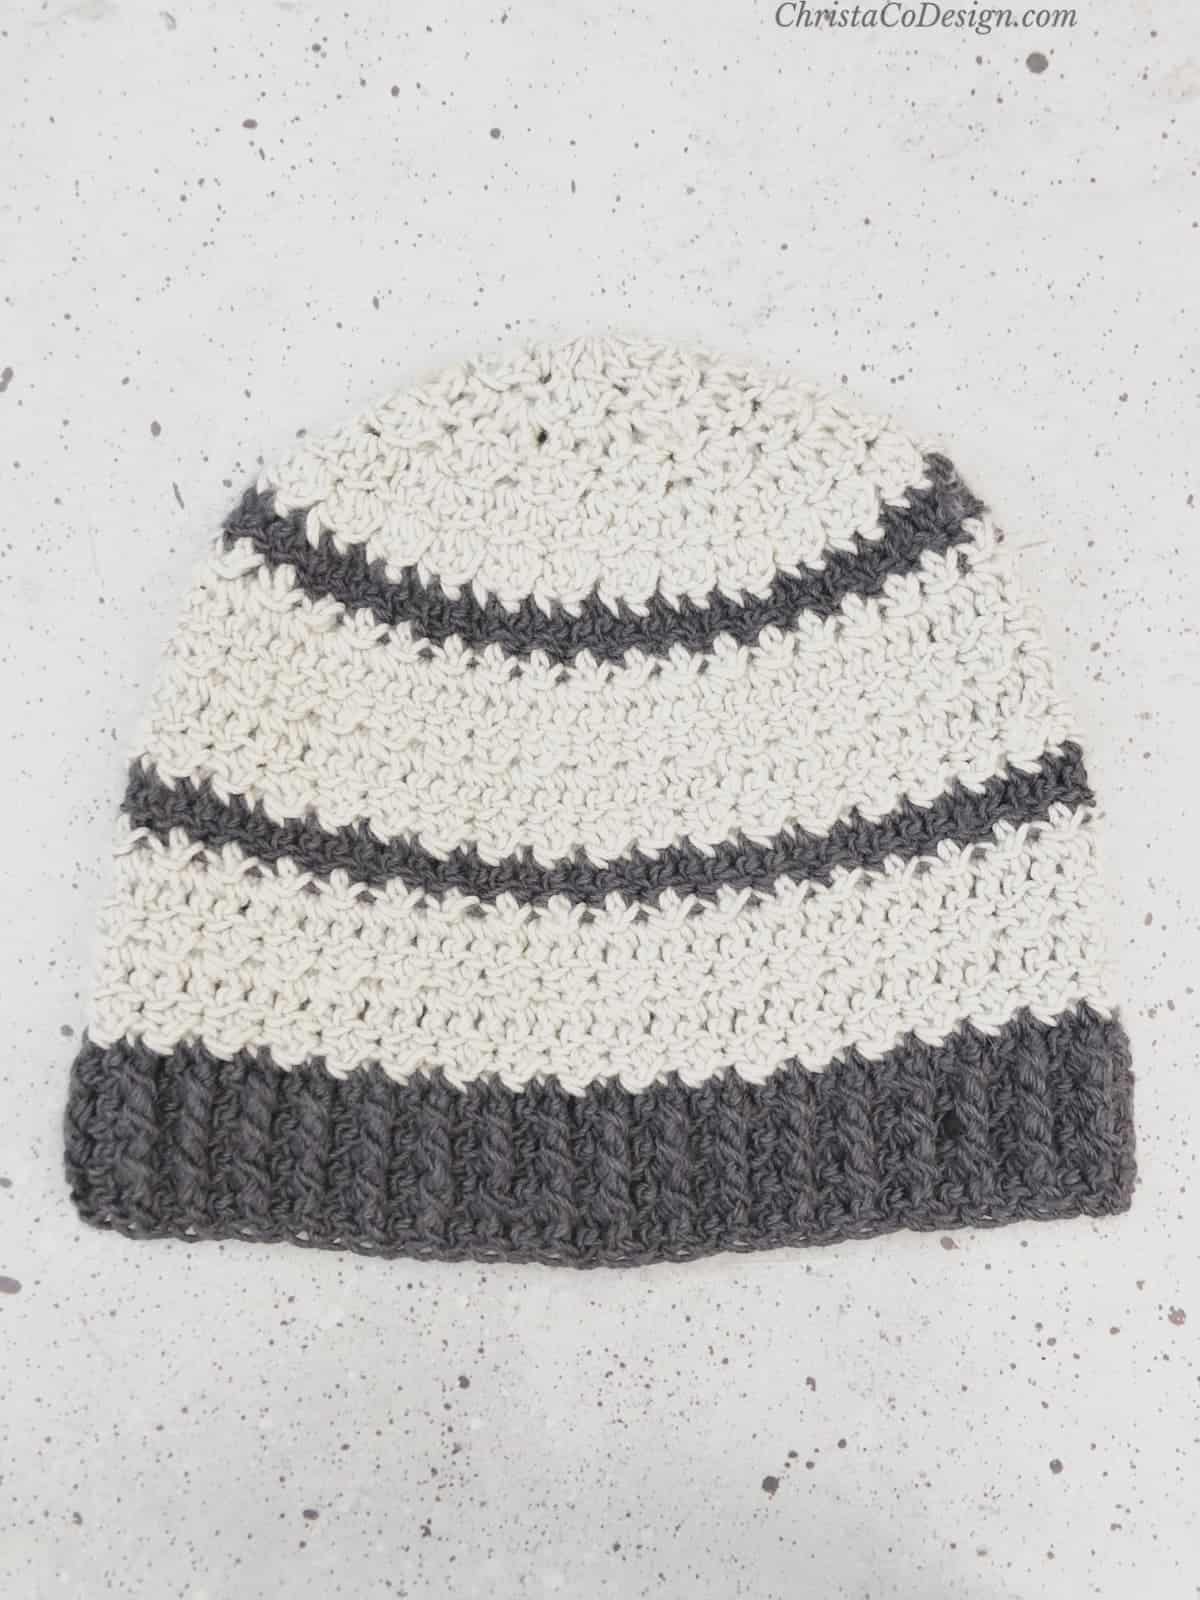
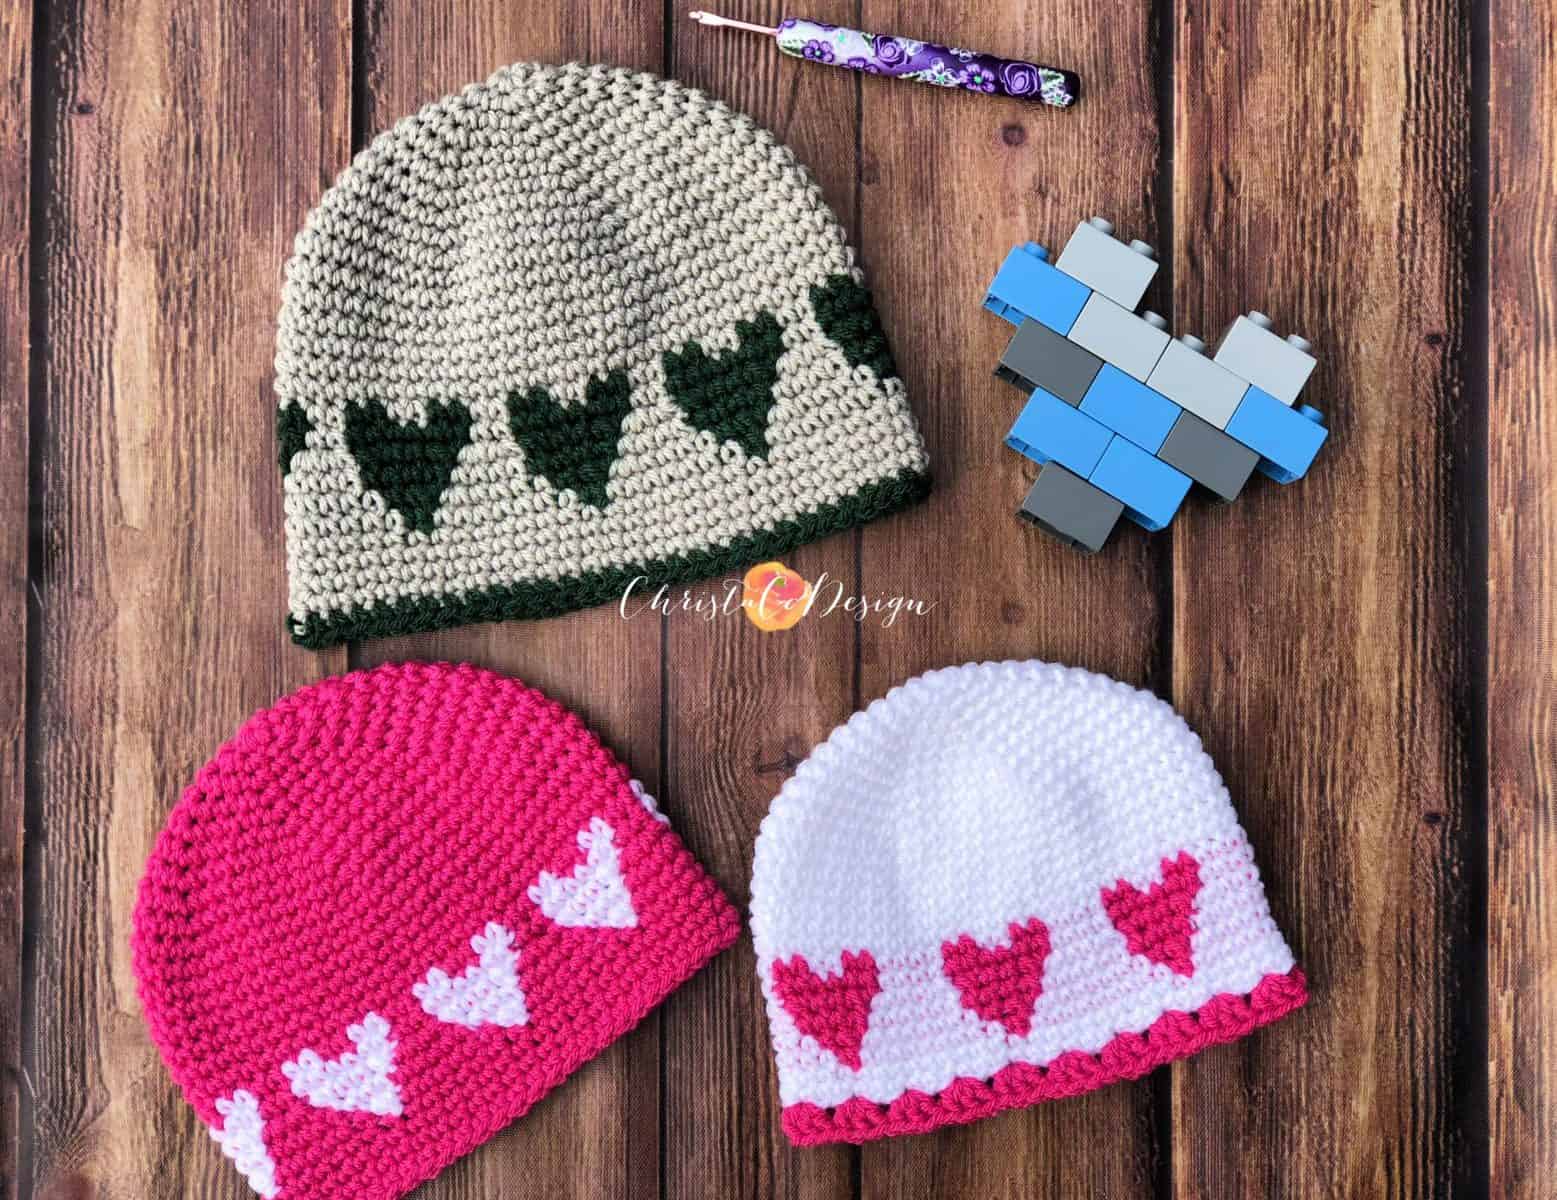
The Trinity Stitch would also make lovely scarves, hats and blankets. This stitch tutorial takes you step by step through the trinity stitch.
It includes written instructions with photos and a video tutorial to help you learn it. At the end I also include a section about changing colors with the Trinity Stitch.
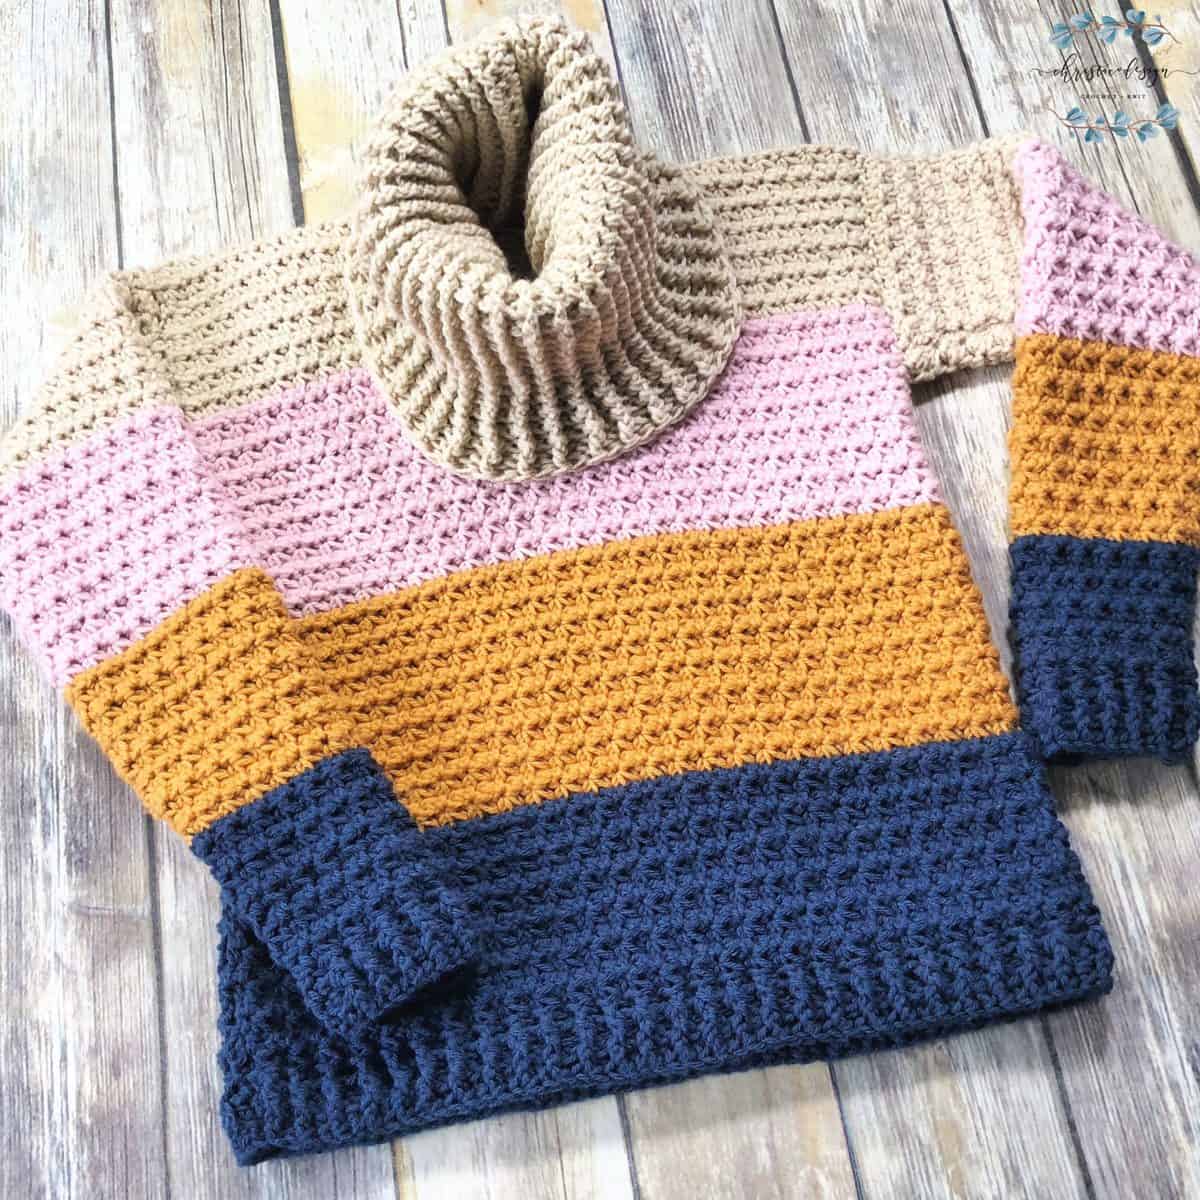
Here’s a picture of my Sunset Sweater below, which is a super cozy cowl neck sweater that features the trinity stitch. That’s why I wanted to share this tutorial with you now, so you can learn this amazing stitch!
The Trinity Stitch is so named because it gather’s three stitches together in a sc3tog (single crochet three together). If you’re familiar with the sc3tog then this stitch will be easy peasy. If you’re not, then I’ve written it out for each step of the process, so you can learn too.
Materials
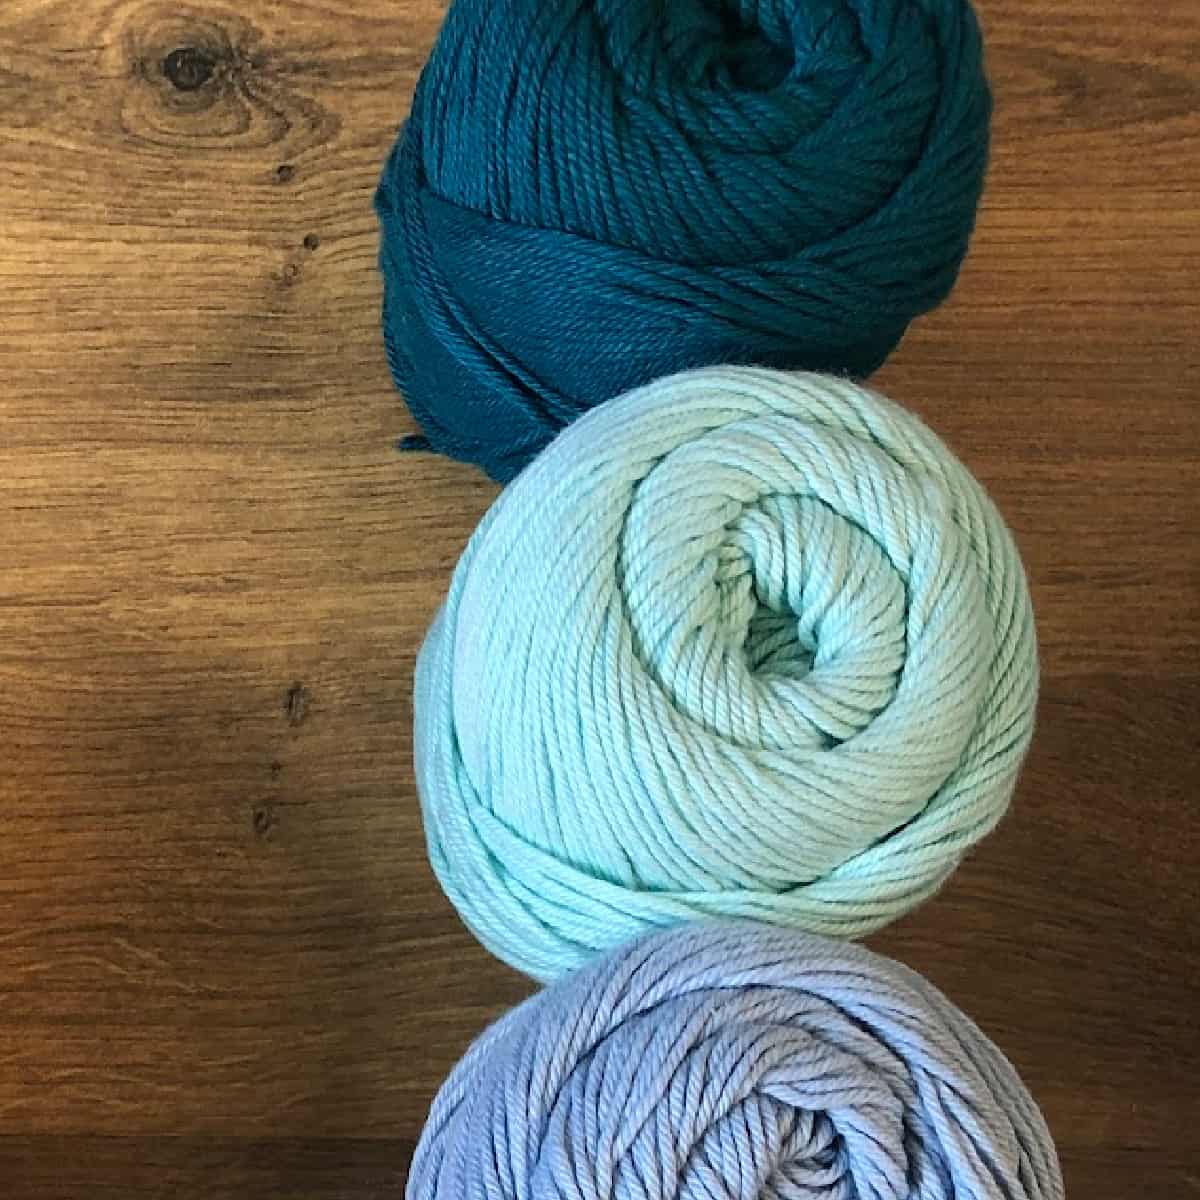
- Any weight yarn, the sweater above is pictured in Big Twist Value a #4 med worsted weight yarn.
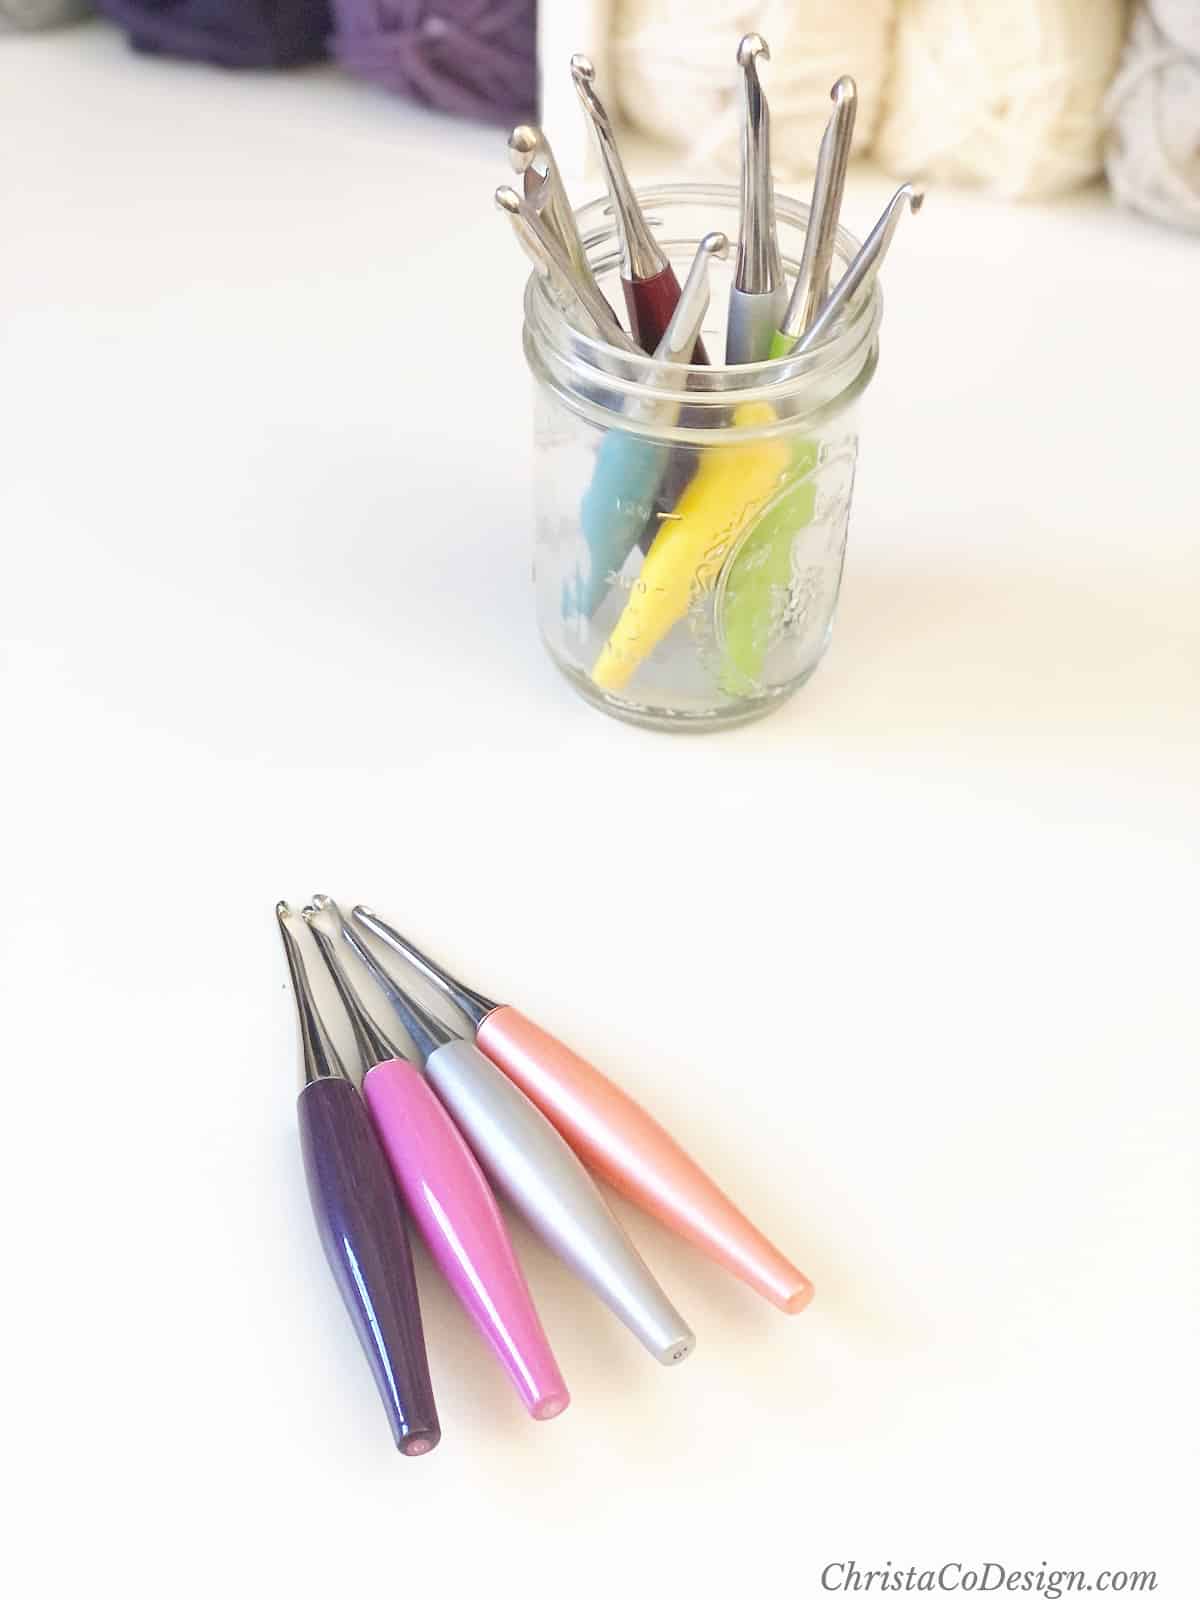
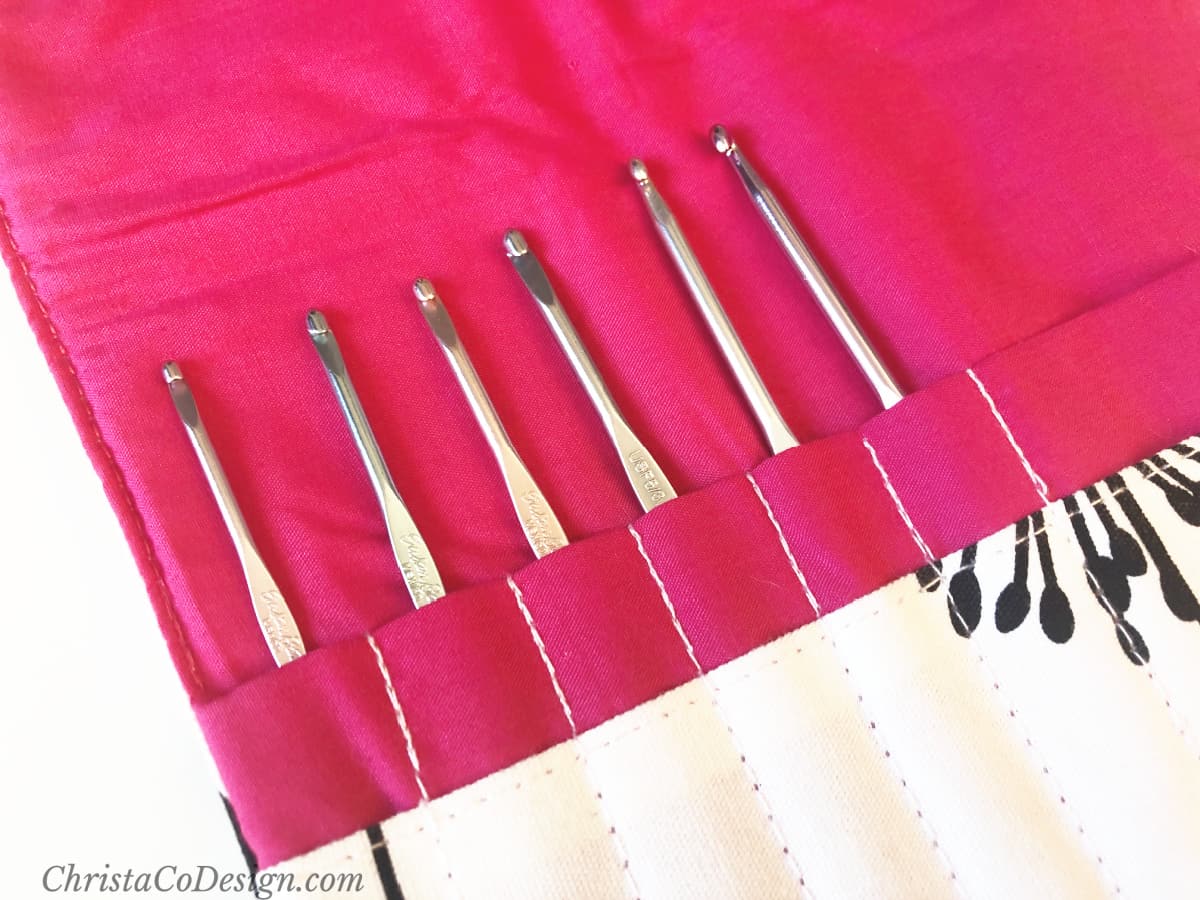
- Compatible hook, for the sweater I used my 6mm Clover Amour*
- Yarn needle
- Measuring tape
- Scissors
Notes
Stitch multiple is an even number.
Stitches/Abbreviations
ch (s) – chain(s)
rep – repeat
sc – single crochet
sk – skip the indicated stitch
sl st – slip stitch
st (s) – stitch(es)
Ts – trinity stitch
yo – yarn over
Gauge
4”/10cm x 4”/10cm = 13 sts x 10.5 rows of trinity stitch
Video Tutorial
If you prefer to watch the video you can check out the Trinity Stitch Crochet Video Tutorial here on my YouTube Channel.
Scroll down for the Trinity Stitch Tutorial.
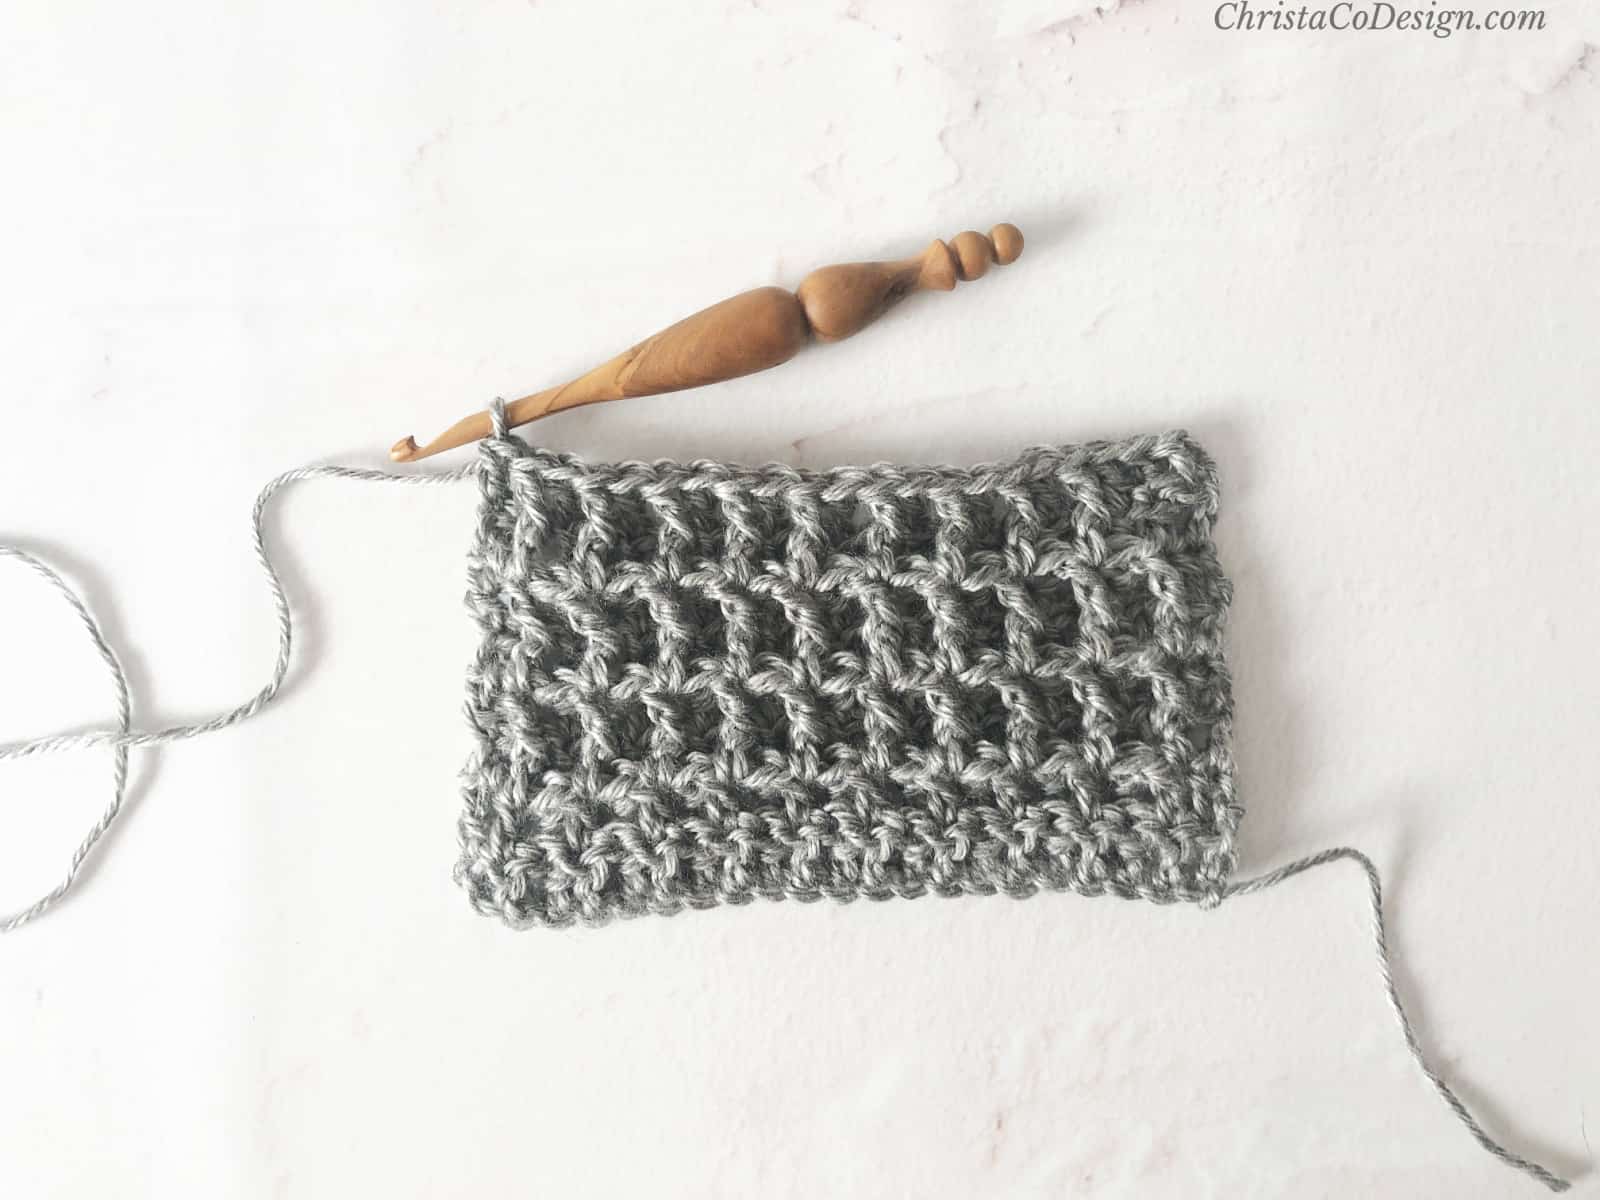
Trinity Stitch Crochet Photo Tutorial + Video
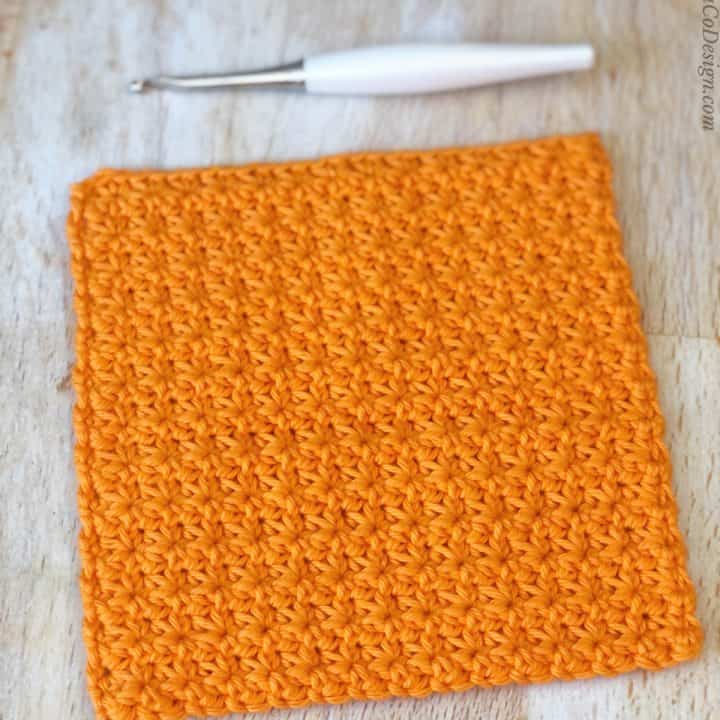
Learn how to crochet the lovely trinity stitch in this step by step tutorial.
Materials
- You can use any weight yarn with the trinity stitch.
- Here I use a #4 medium worsted weight yarn. It's Hobby Lobby's I Love This Cotton (100% cotton, 3.5 oz/ 100g, 180 yd/ 165m) color: glowing.
Tools
- Crochet hook size to match your chosen yarn. I'm using my 5.5m (I) crochet hook Odyssey in white.
- scissors
- yarn needle
Instructions
- Ch 16, or an even number.
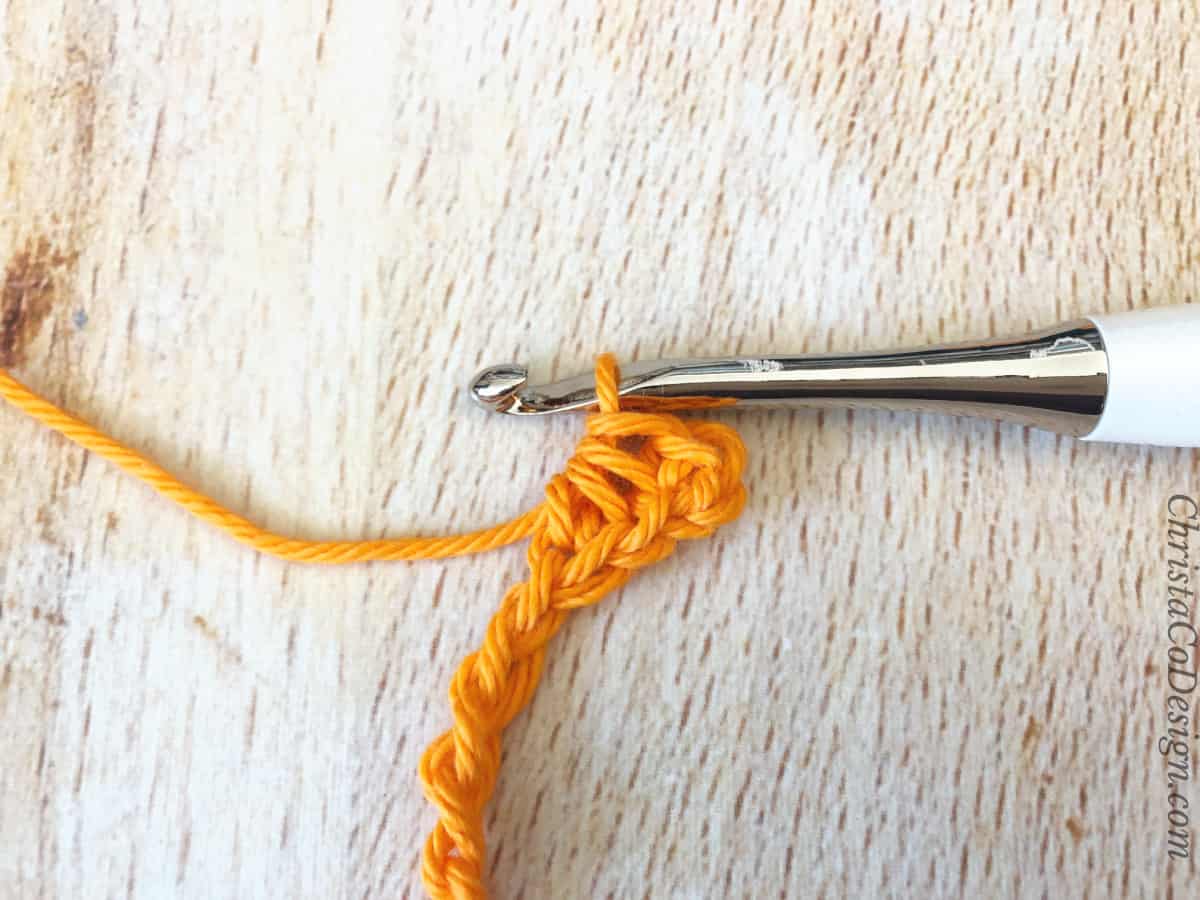
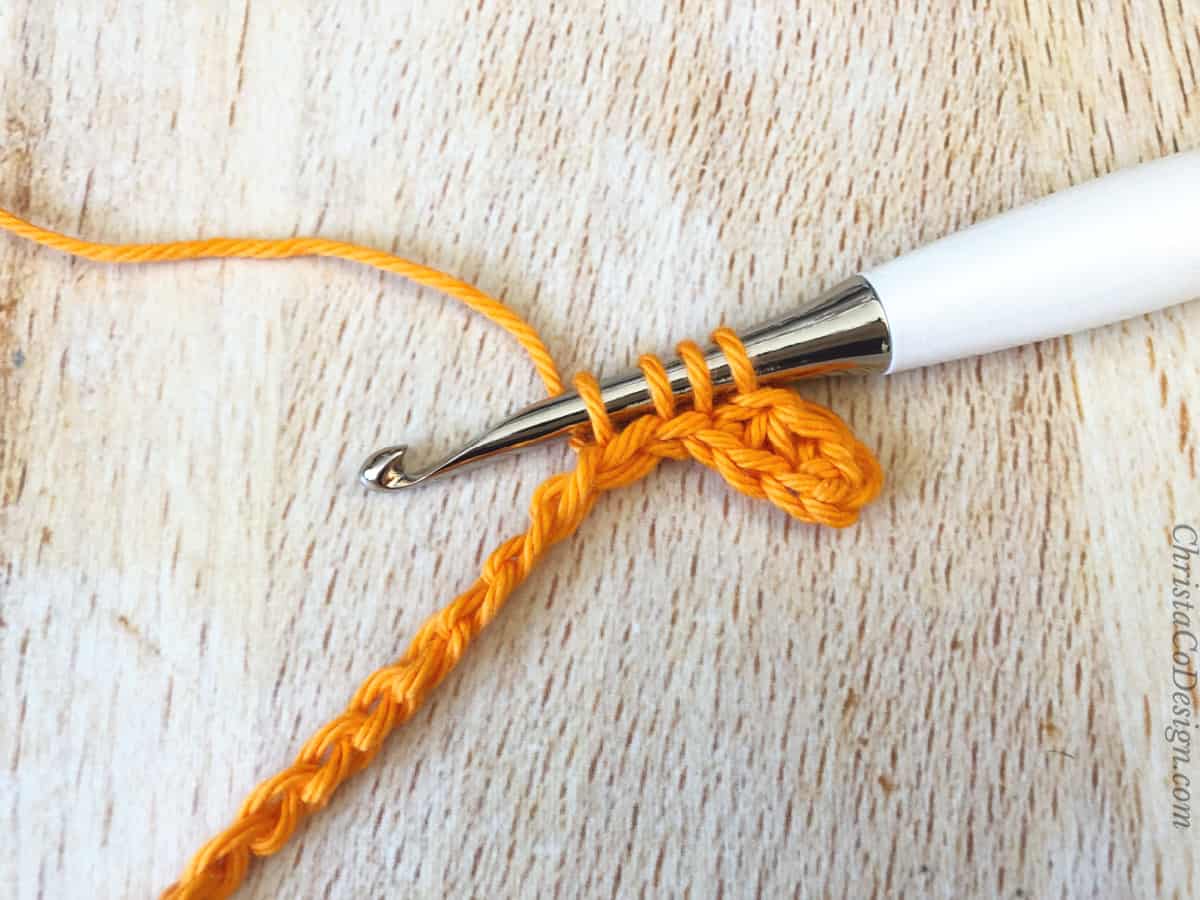
- Row 1: Sc in 2nd ch from hook.
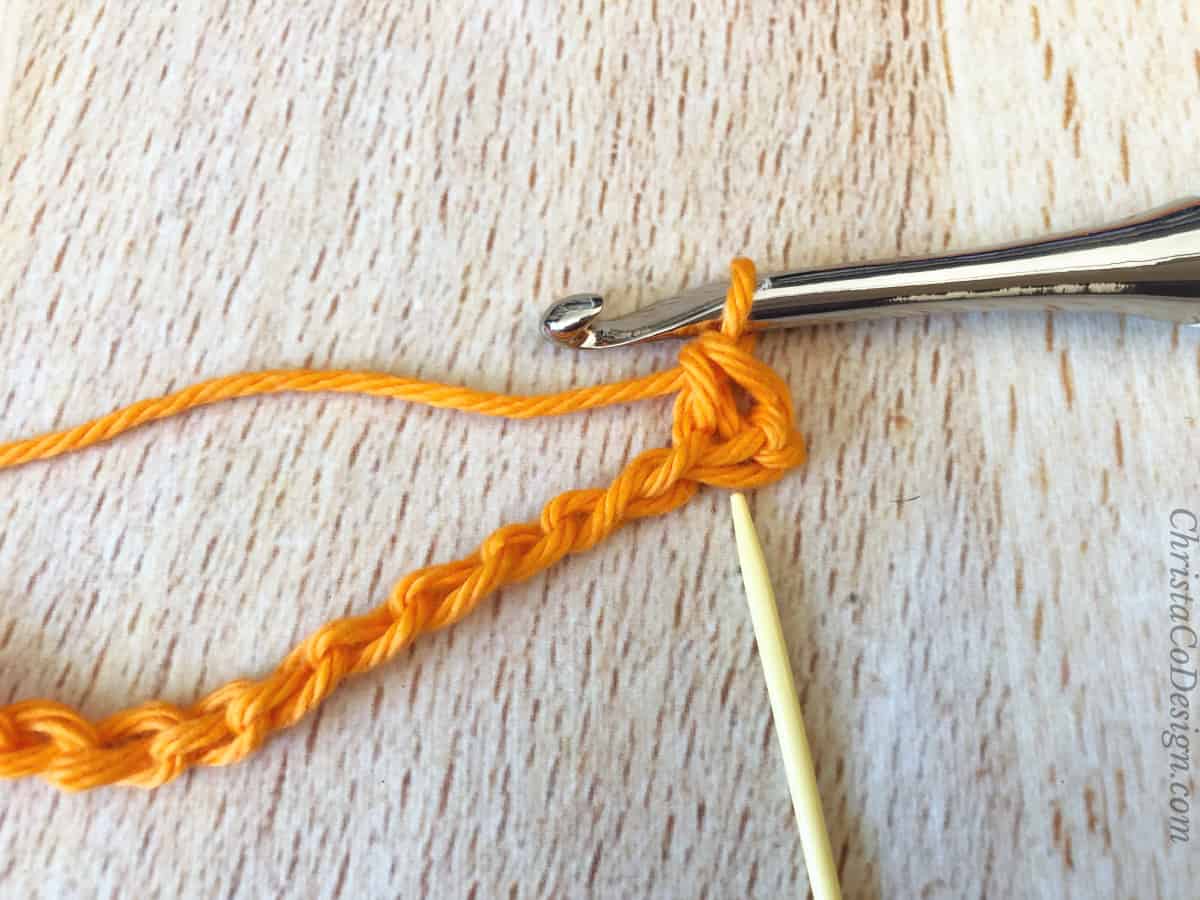
- (Row 1 cont.) Insert hook back into the same st, yo and pull up a loop, 2 loops on hook.
- (Row 1 cont.) Insert hook into next ch, yo and pull up a loop, 3 loops on hook.
- (Row 1 cont.) Insert hook into next ch, yo and pull up a loop, 4 loops on hook.
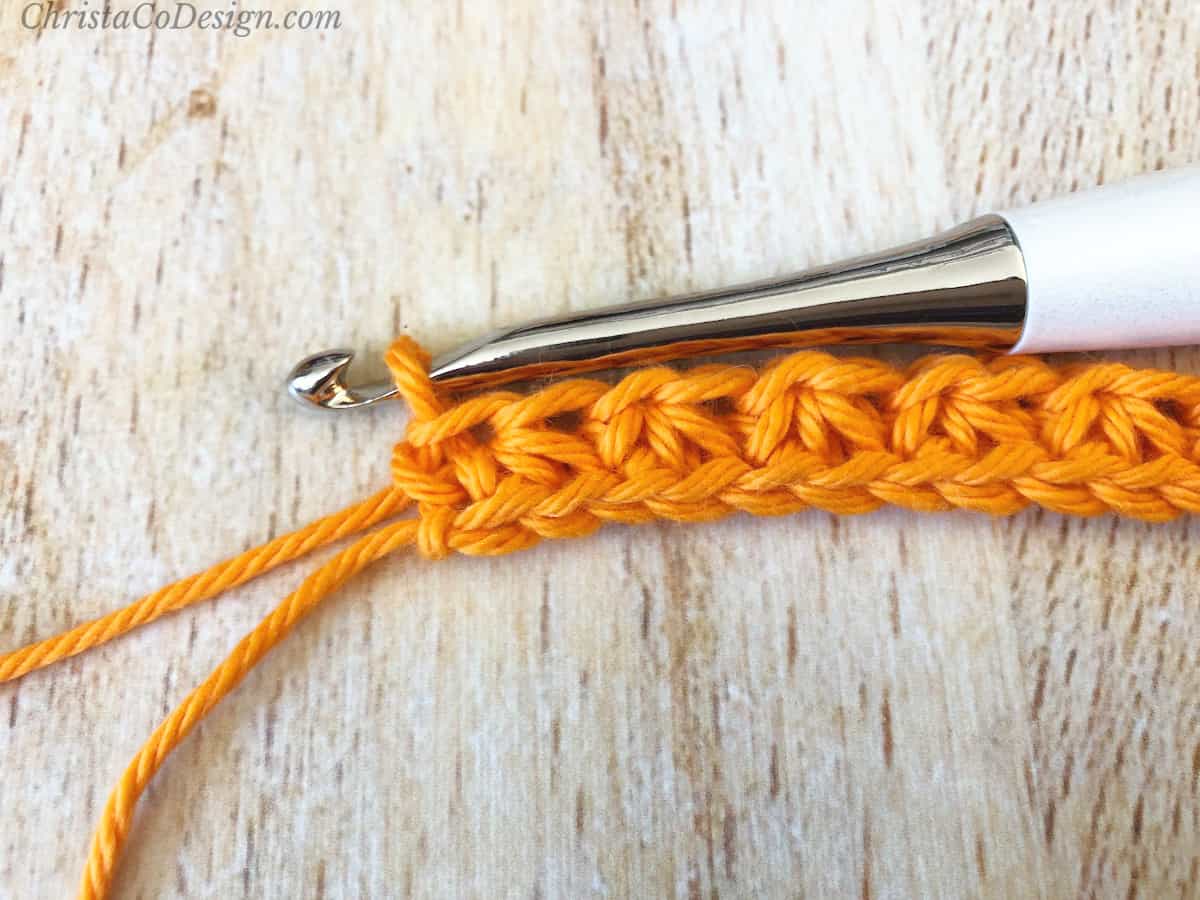
- (Row 1 cont.) Yo and pull through all 4 loops on hook.
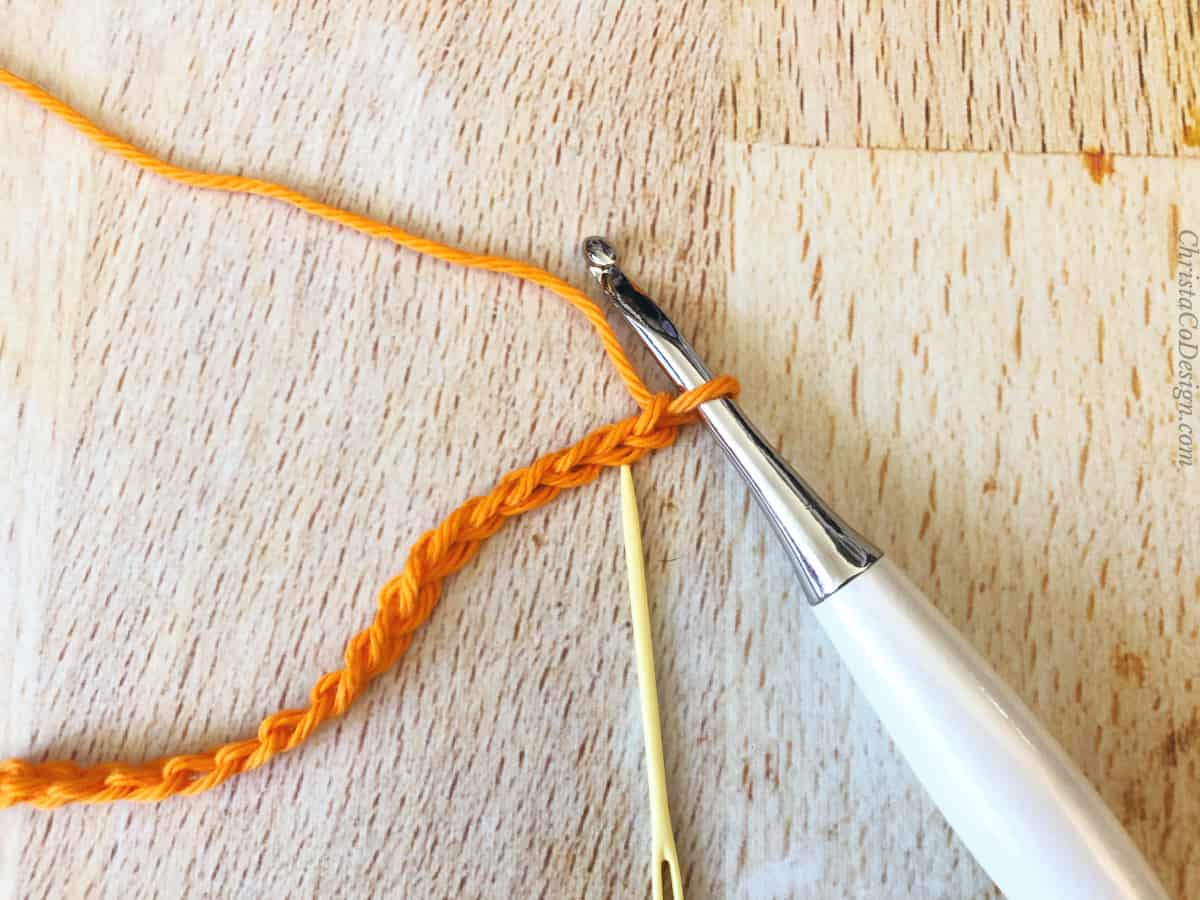
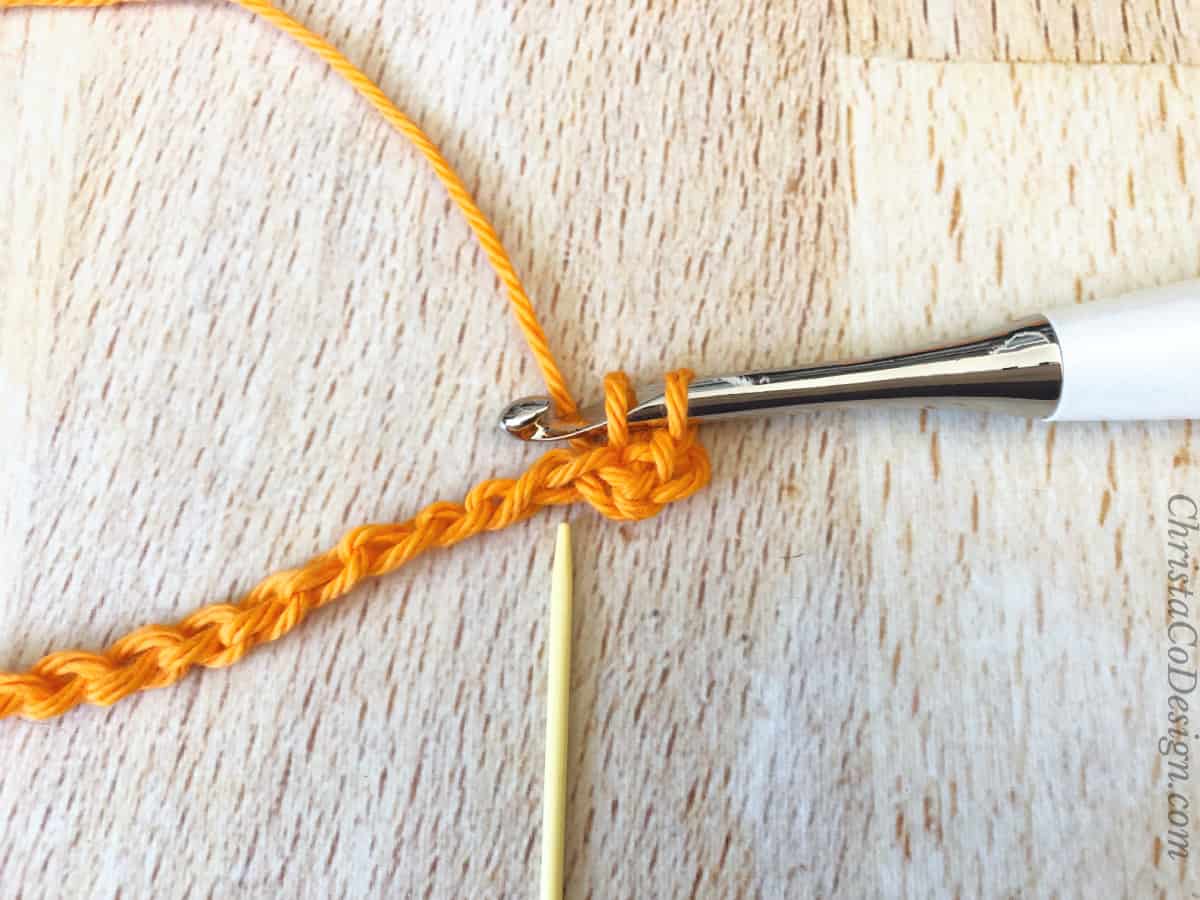
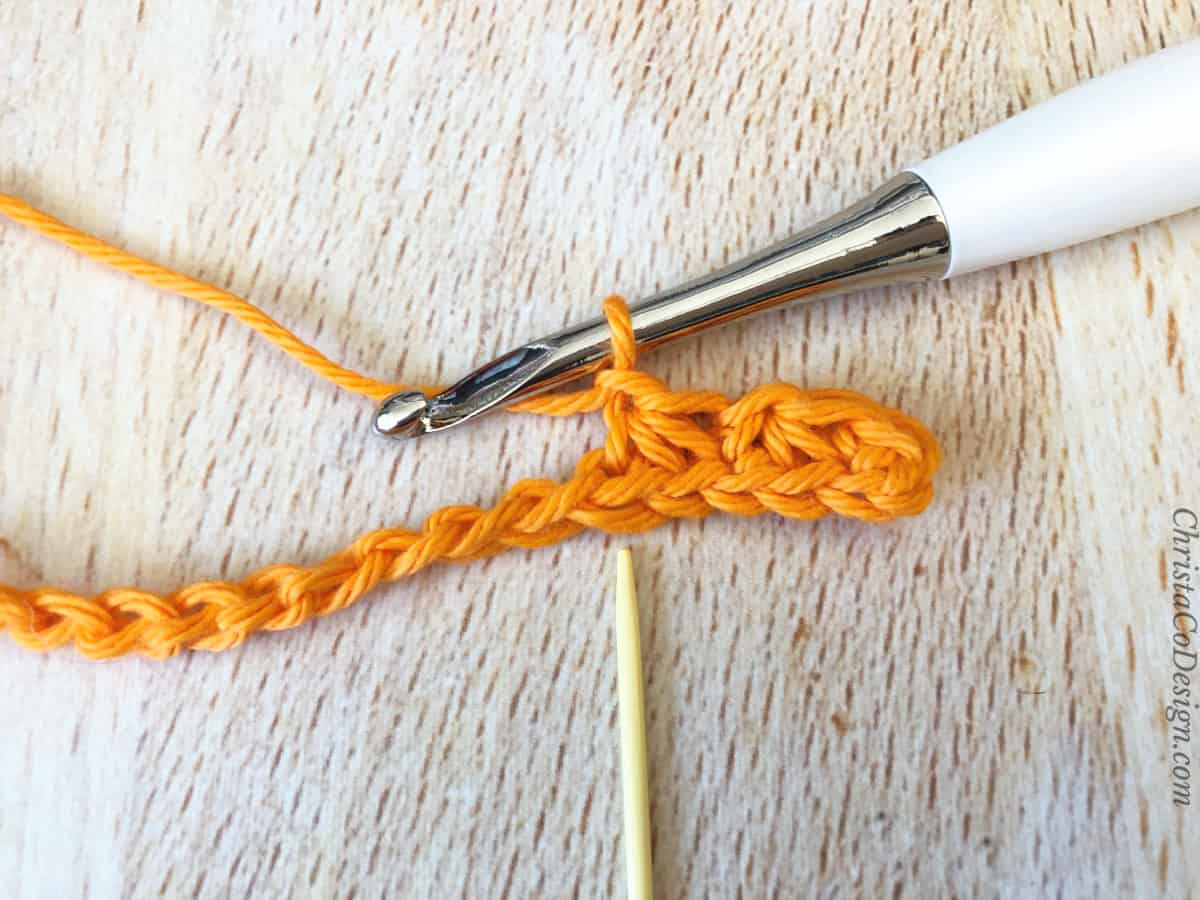
- (Row 1 cont.) Ch 1
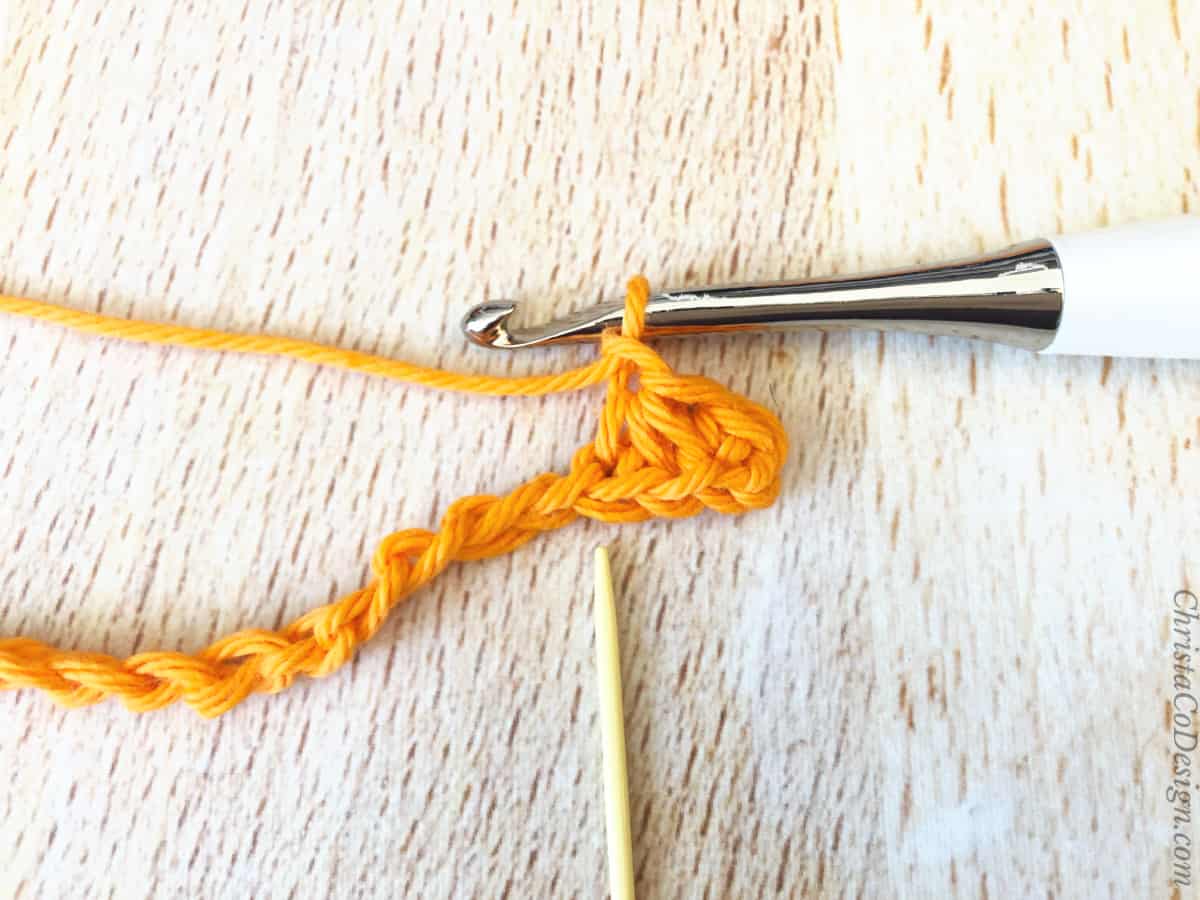
- (Row 1 cont.) Insert hook back into the same stitch that you just finished (marked in the above picture with a yellow yarn needle), yo and pull up a loop, 2 loops on hook.
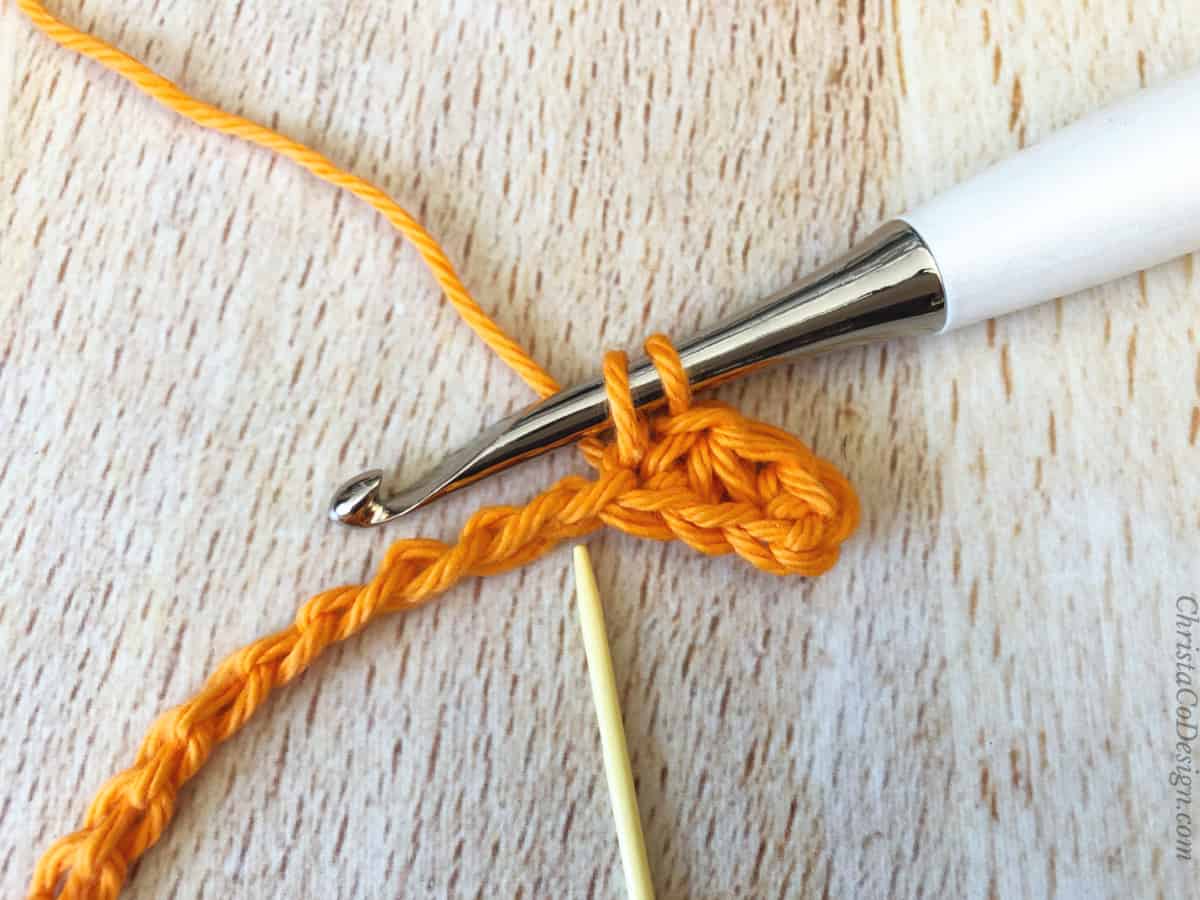
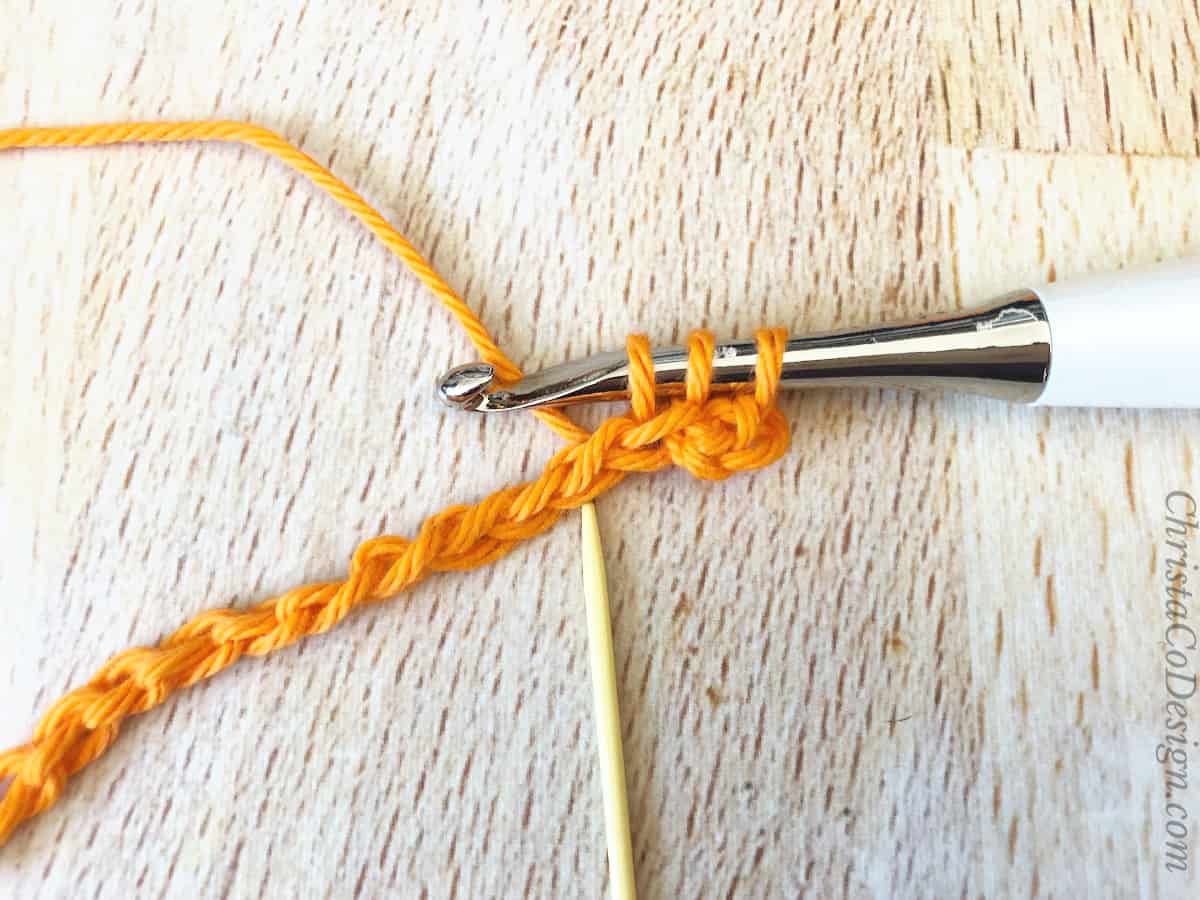
- (Row 1 cont.) Insert hook into next ch, yo and pull up a loop, 3 loops on hook.
- (Row 1 cont.) Insert hook into next ch, yo and pull up a loop, 4 loops on hook.
- (Row 1 cont.) Yo and pull through all 4 loops on hook, ch 1.
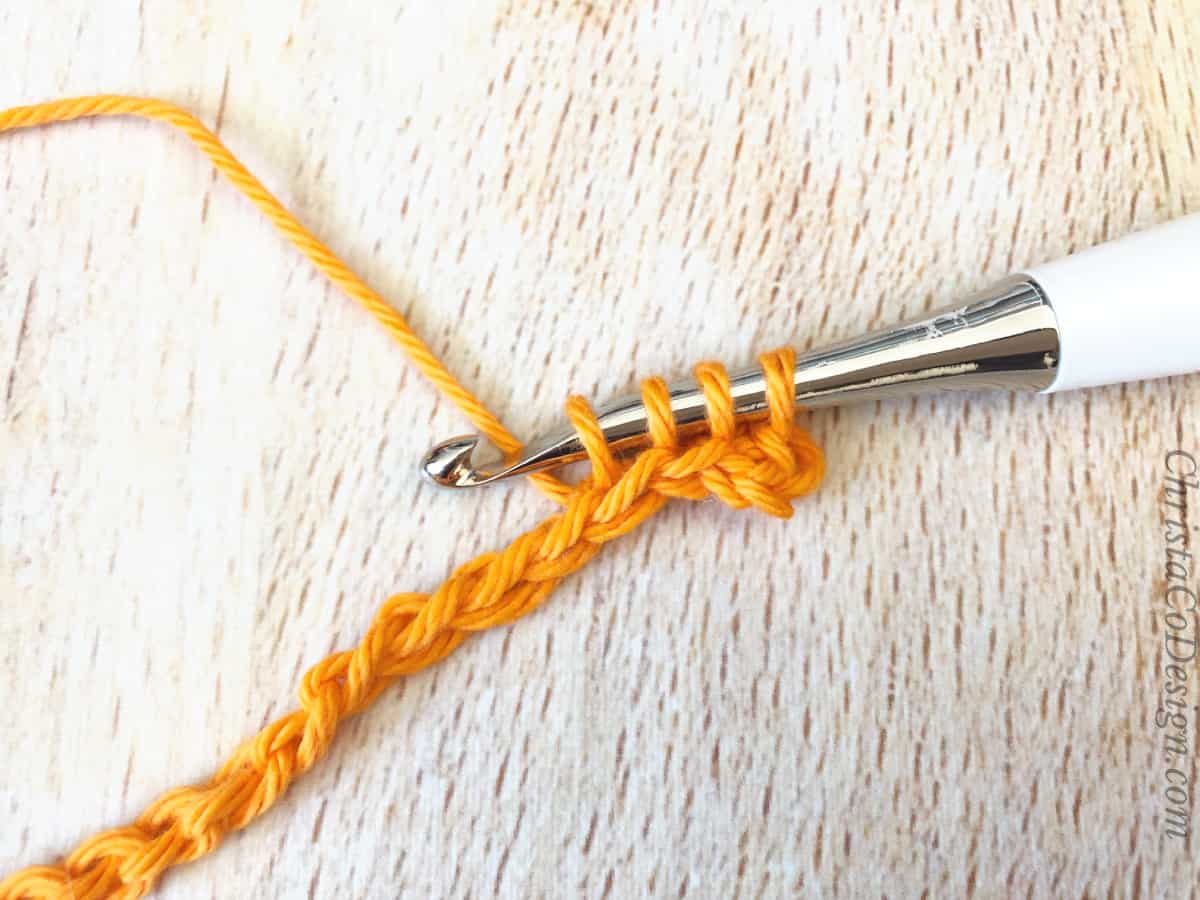
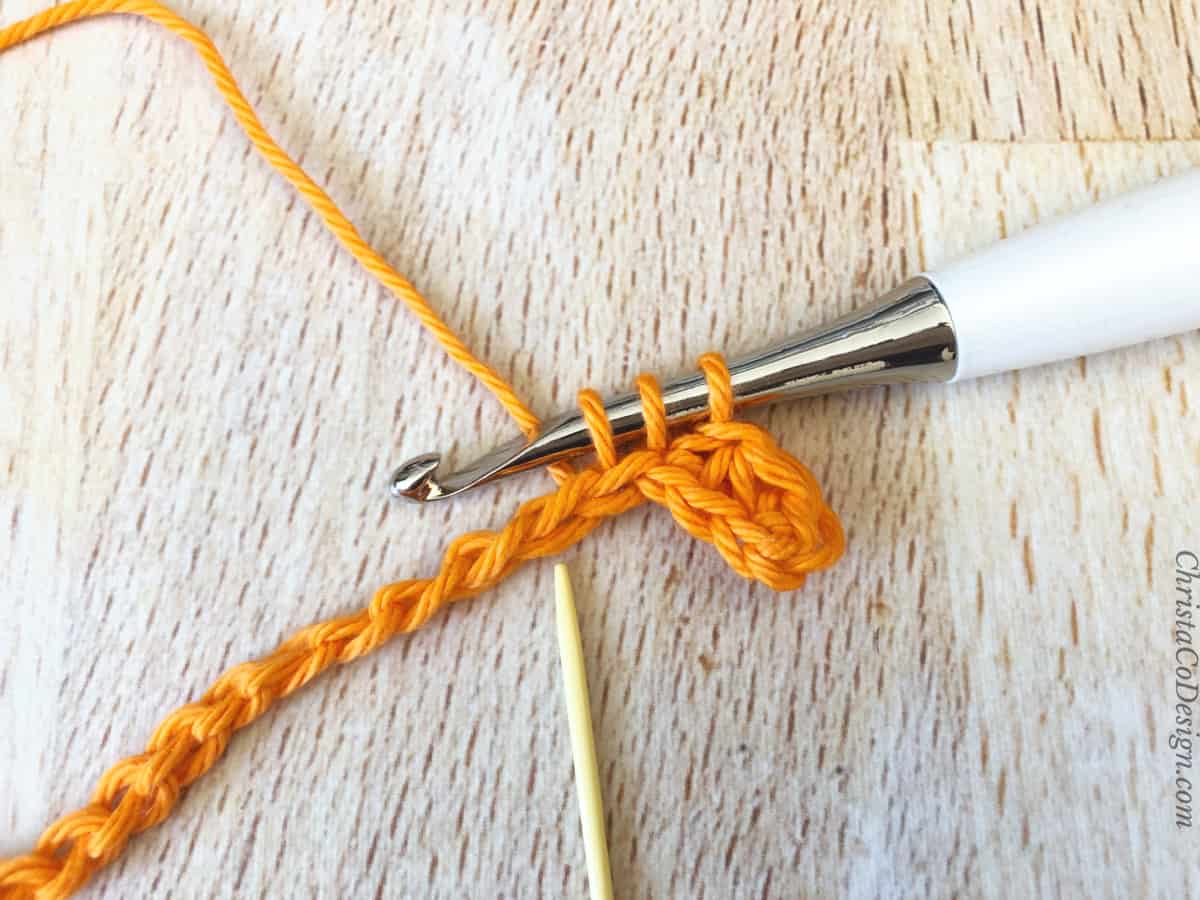
- (Row 1 cont.) Rep Steps 3-11 across the row until you have 2 chs left.
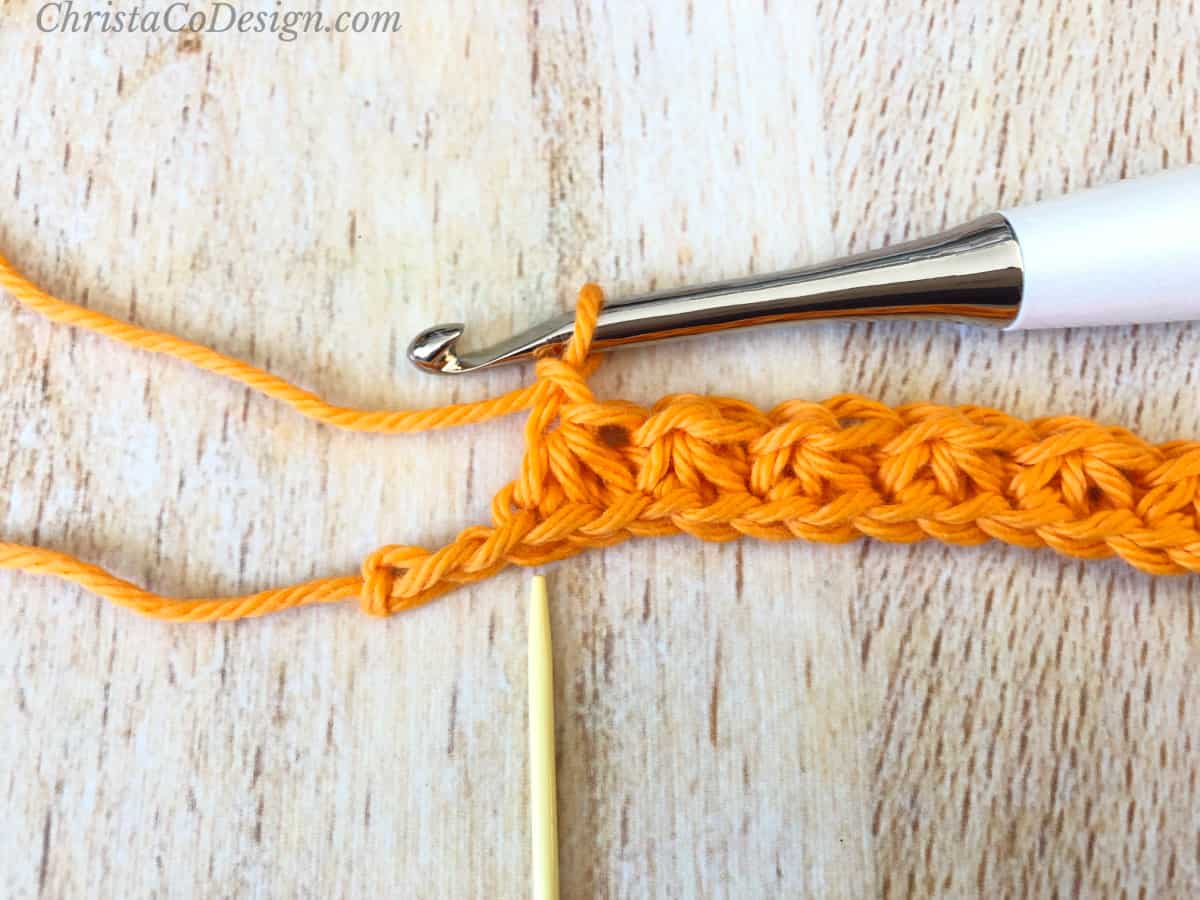
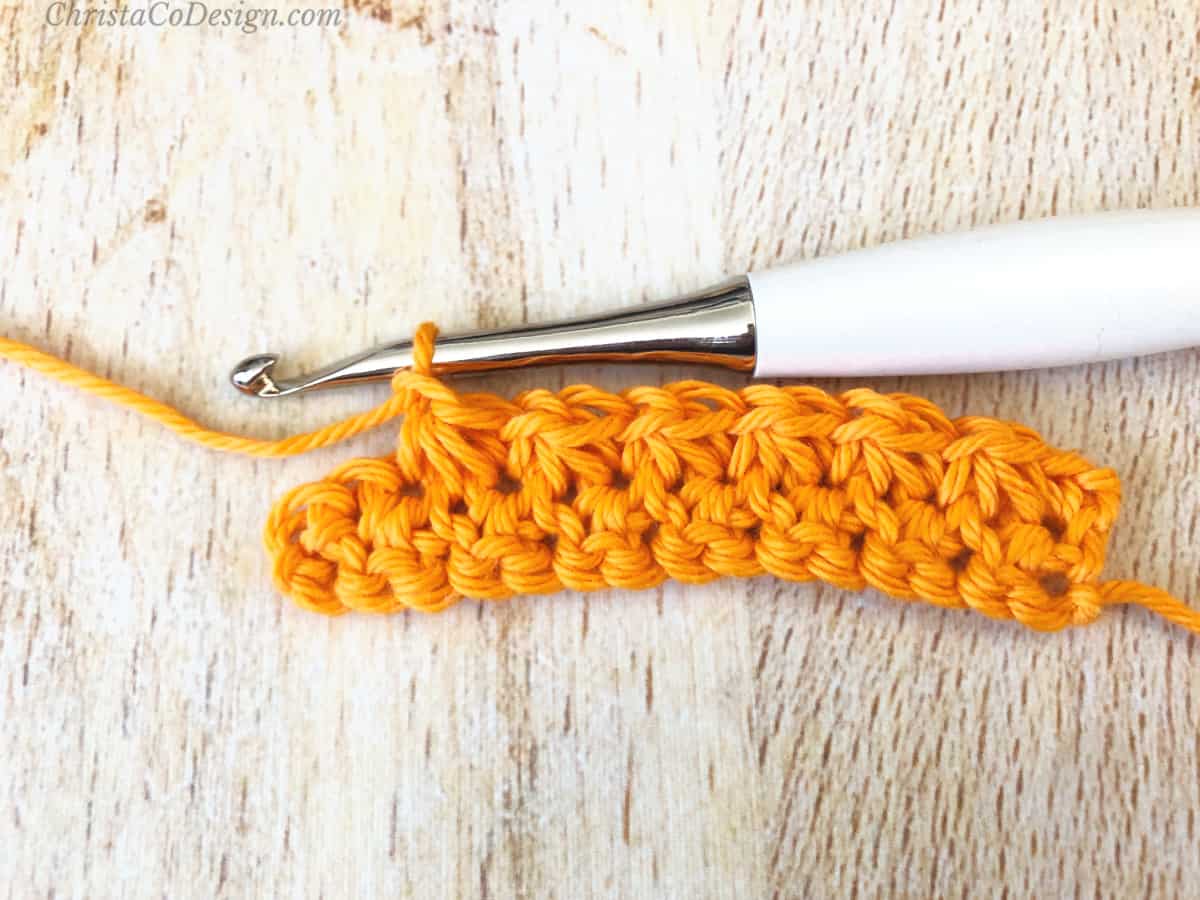
- (Row 1 cont.) Begin your trinity stitch as usual, but stop before you ch 1.
- (Row 1 cont.) Work a sc into the last st, the same one you end the last trinity stitch in, turn.
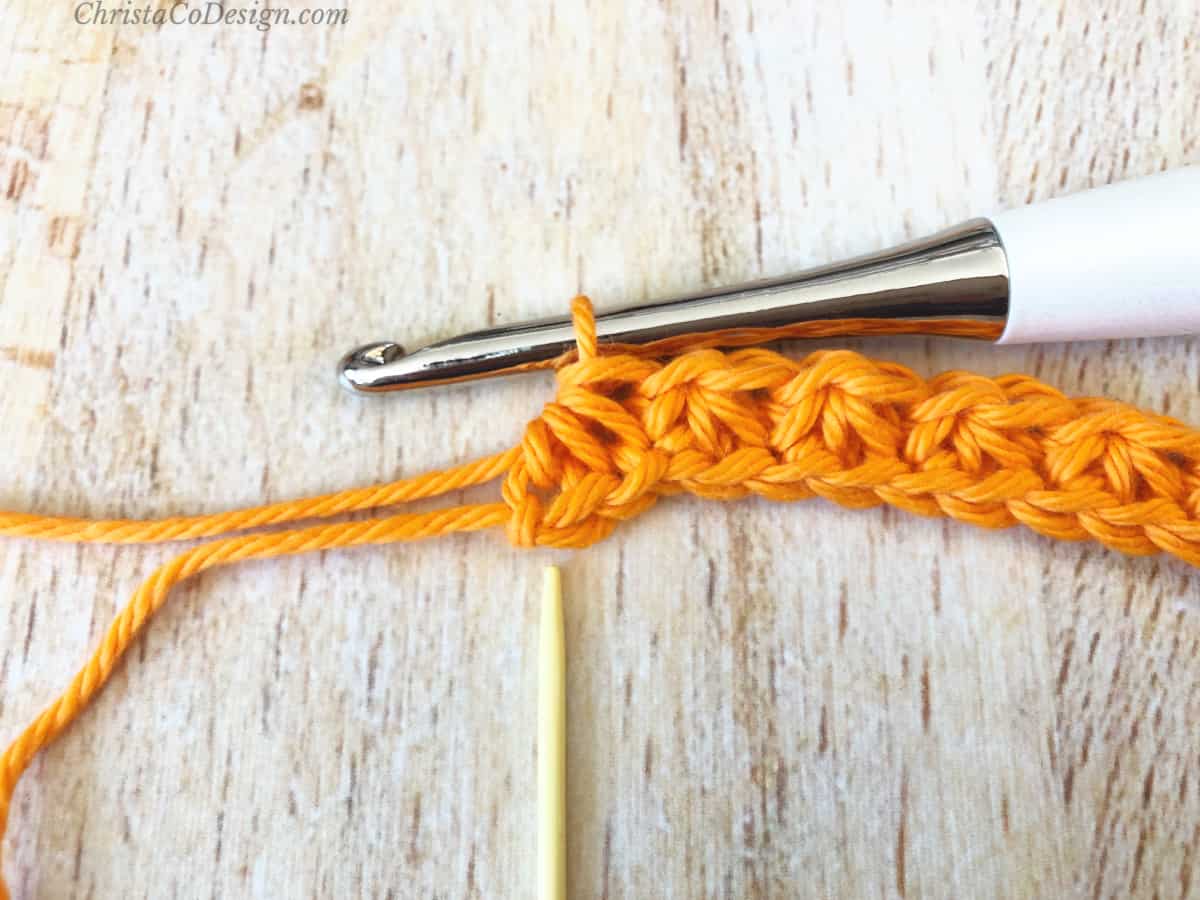
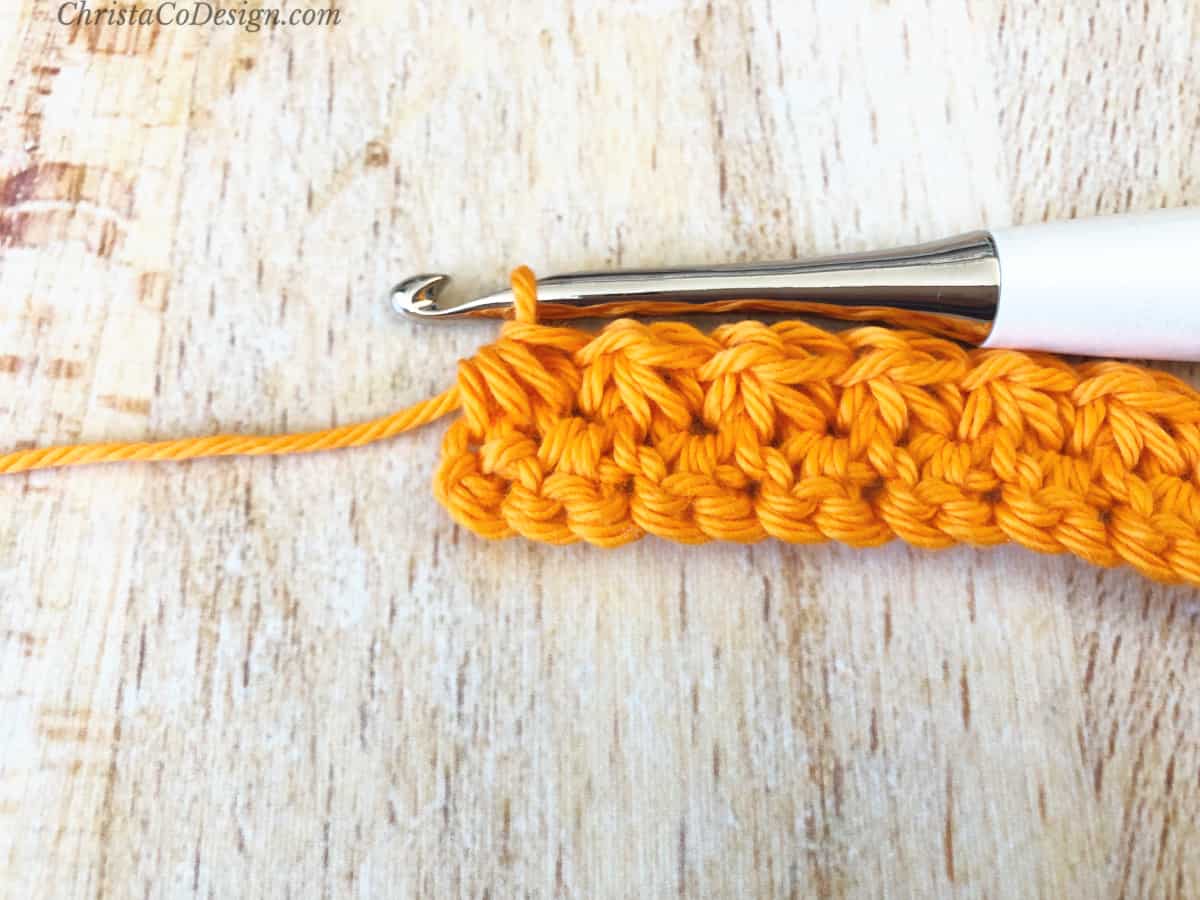
- Row 2. Ch 1 (does not count),
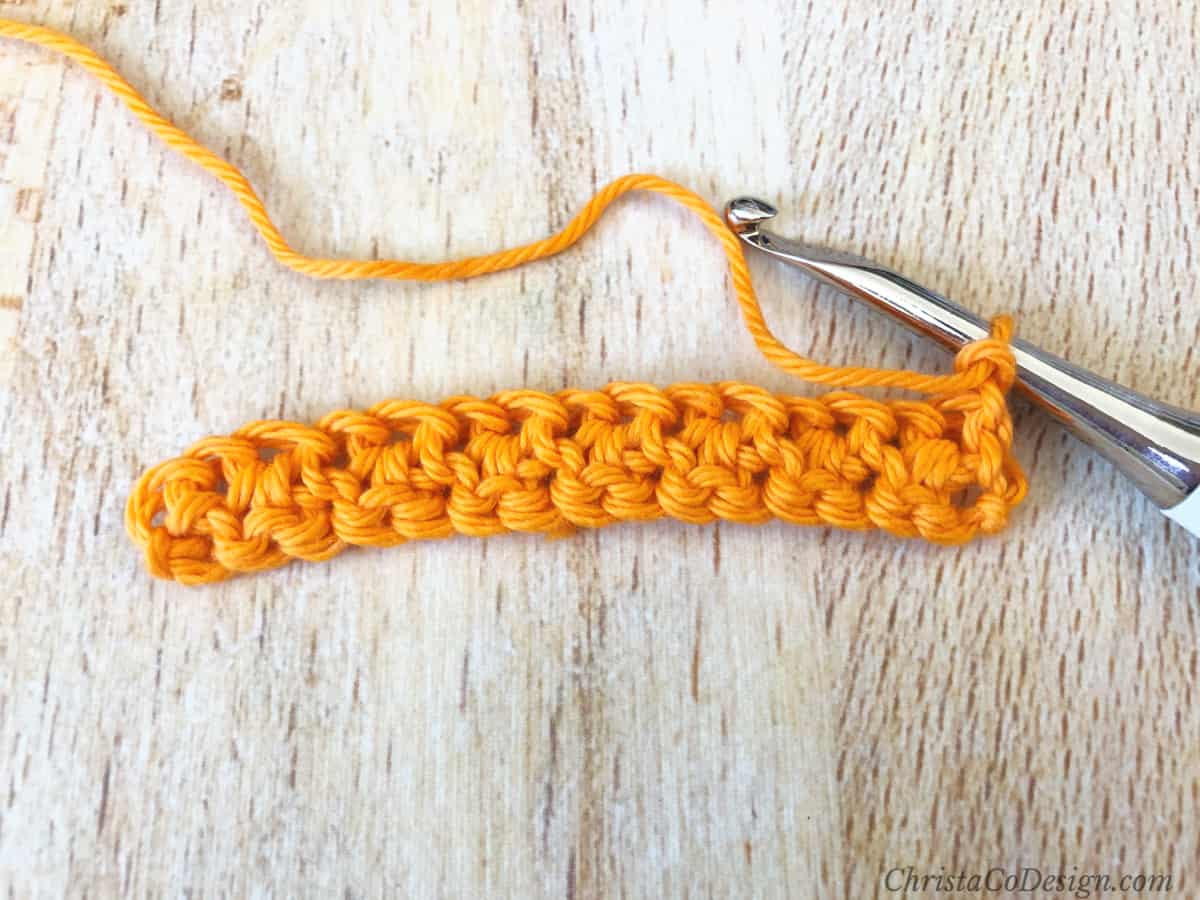
- (Row 2 cont.) sc in same st,
 insert hook back into the same st, yo and pull up a loop, 2 loops on hook. Insert hook into next st, yo and pull up a loop, 3 loops on hook. Insert hook into next st, yo and pull up a loop, 4 loops on hook. Yo and pull through all 4 loops on hook.
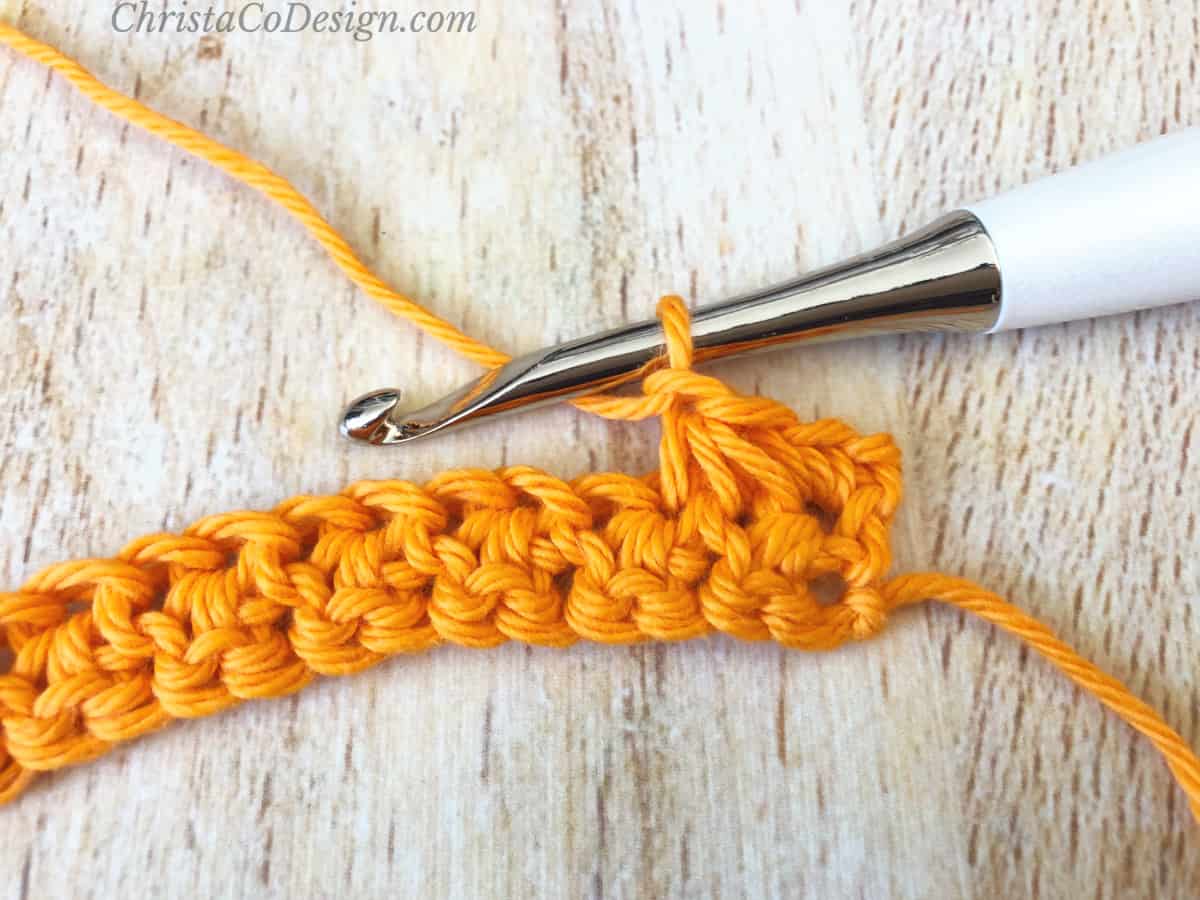
- (Row 2 cont.) *{Ch 1, insert hook back into the same st, yo and pull up a loop, insert hook into next st, yo and pull up a loop, insert hook into next st, yo and pull up a loop, yo and pull through all 4 loops on hook.}
- (Row 2 cont.) rep from * until 2 sts left.
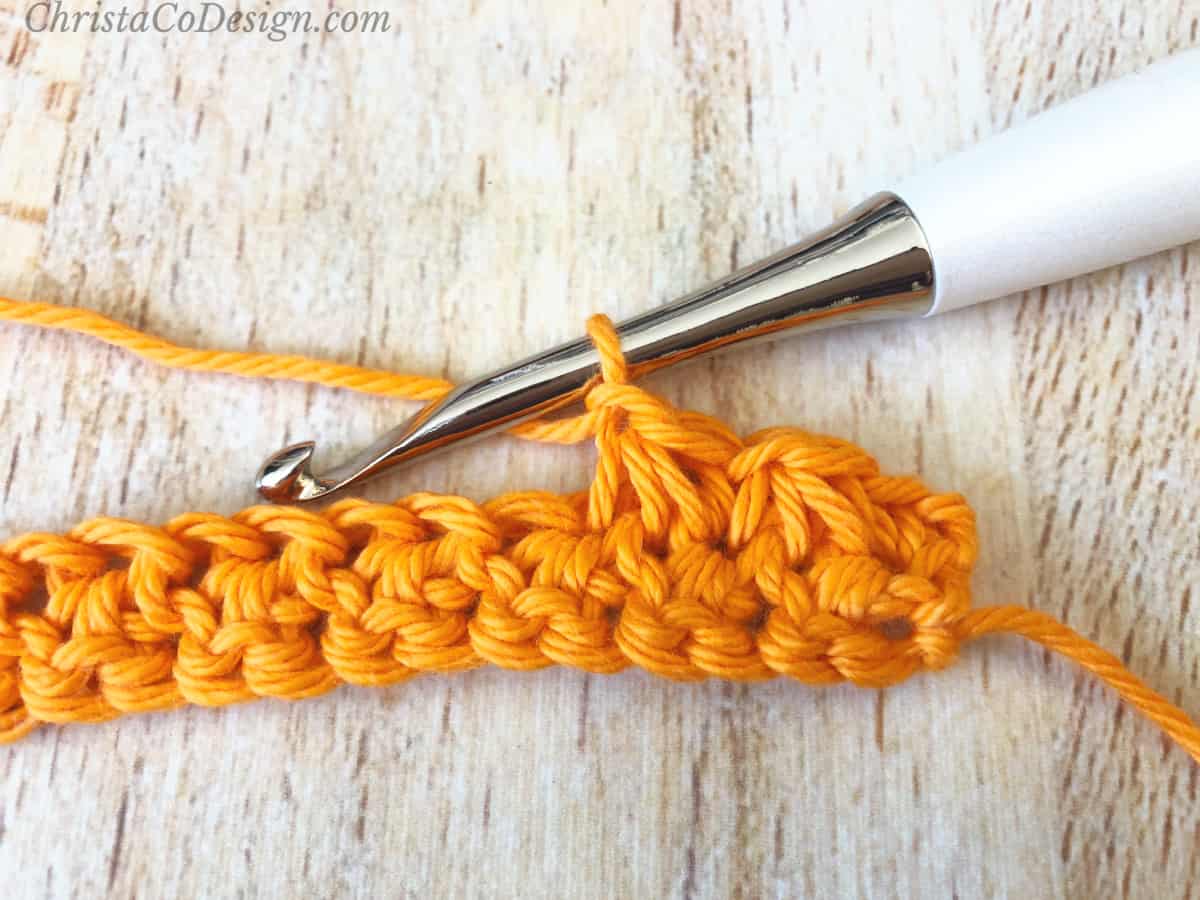
- (Row 2 cont.) Insert hook back into the same st, yo and pull up a loop, insert hook into next st, yo and pull up a loop, insert hook into next st, yo and pull up a loop, yo and pull through all 4 loops on hook. Do not ch 1.
- (Row 2 cont.) Insert hook back into last st, place a sc with end of last Ts, turn.

- Row 3 and on continue to repeat Row 2: Ch 1 (does not count), sc in same st, insert hook back into the same st, yo and pull up a loop, 2 loops on hook. Insert hook into next st, yo and pull up a loop, 3 loops on hook. Insert hook into next st, yo and pull up a loop, 4 loops on hook. Yo and pull through all 4 loops on hook. *{Ch 1, insert hook back into the same st, yo and pull up a loop, insert hook into next st, yo and pull up a loop, insert hook into next st, yo and pull up a loop, yo and pull through all 4 loops on hook} rep from * across the row. In last st place a sc with end of last Ts, turn.
Notes
Changing Colors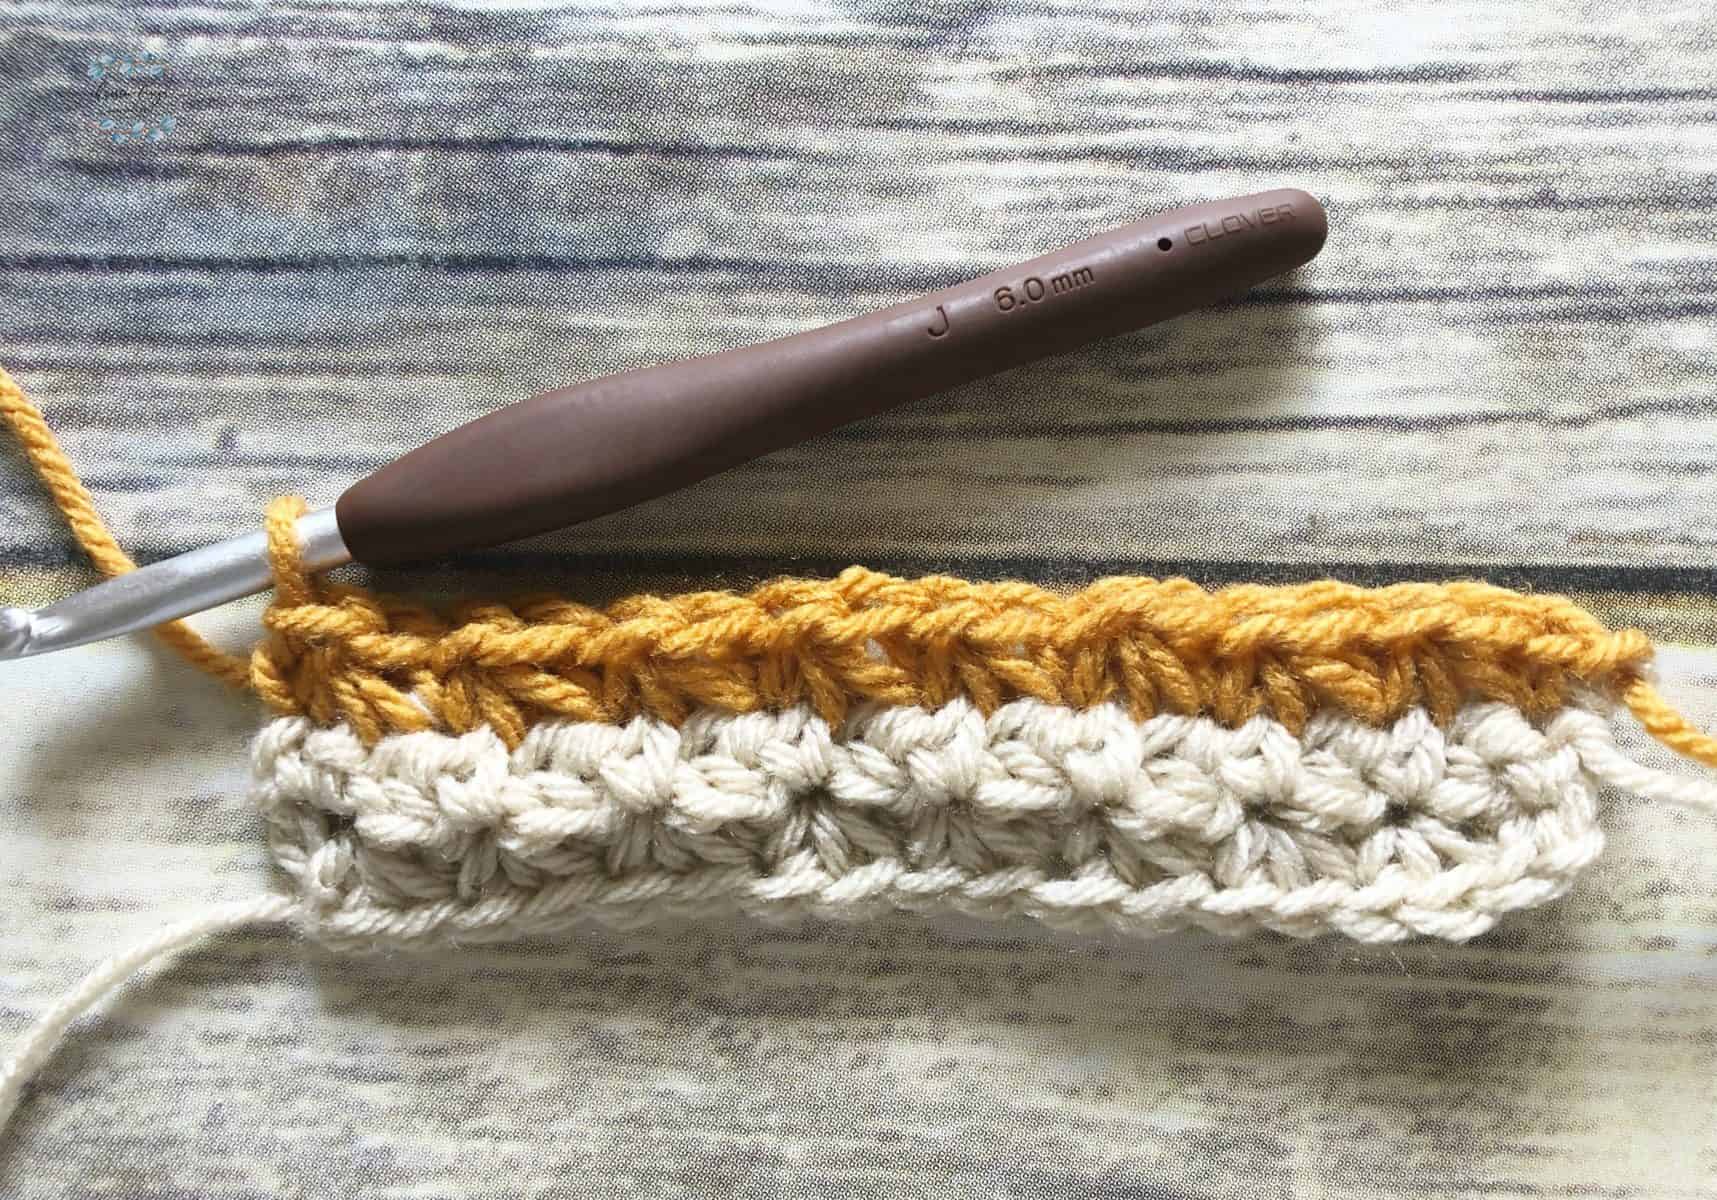
The Trinity Stitch works really well in color changes. But it will automatically create a wrong side and right side to your fabric. So you’ll want to change your colors on the same side each time. Here I’ve changed colors on Row 3, which makes this side the right side.
 As you can see when we turn our work, the color change is not as seamless. This side becomes the wrong side.
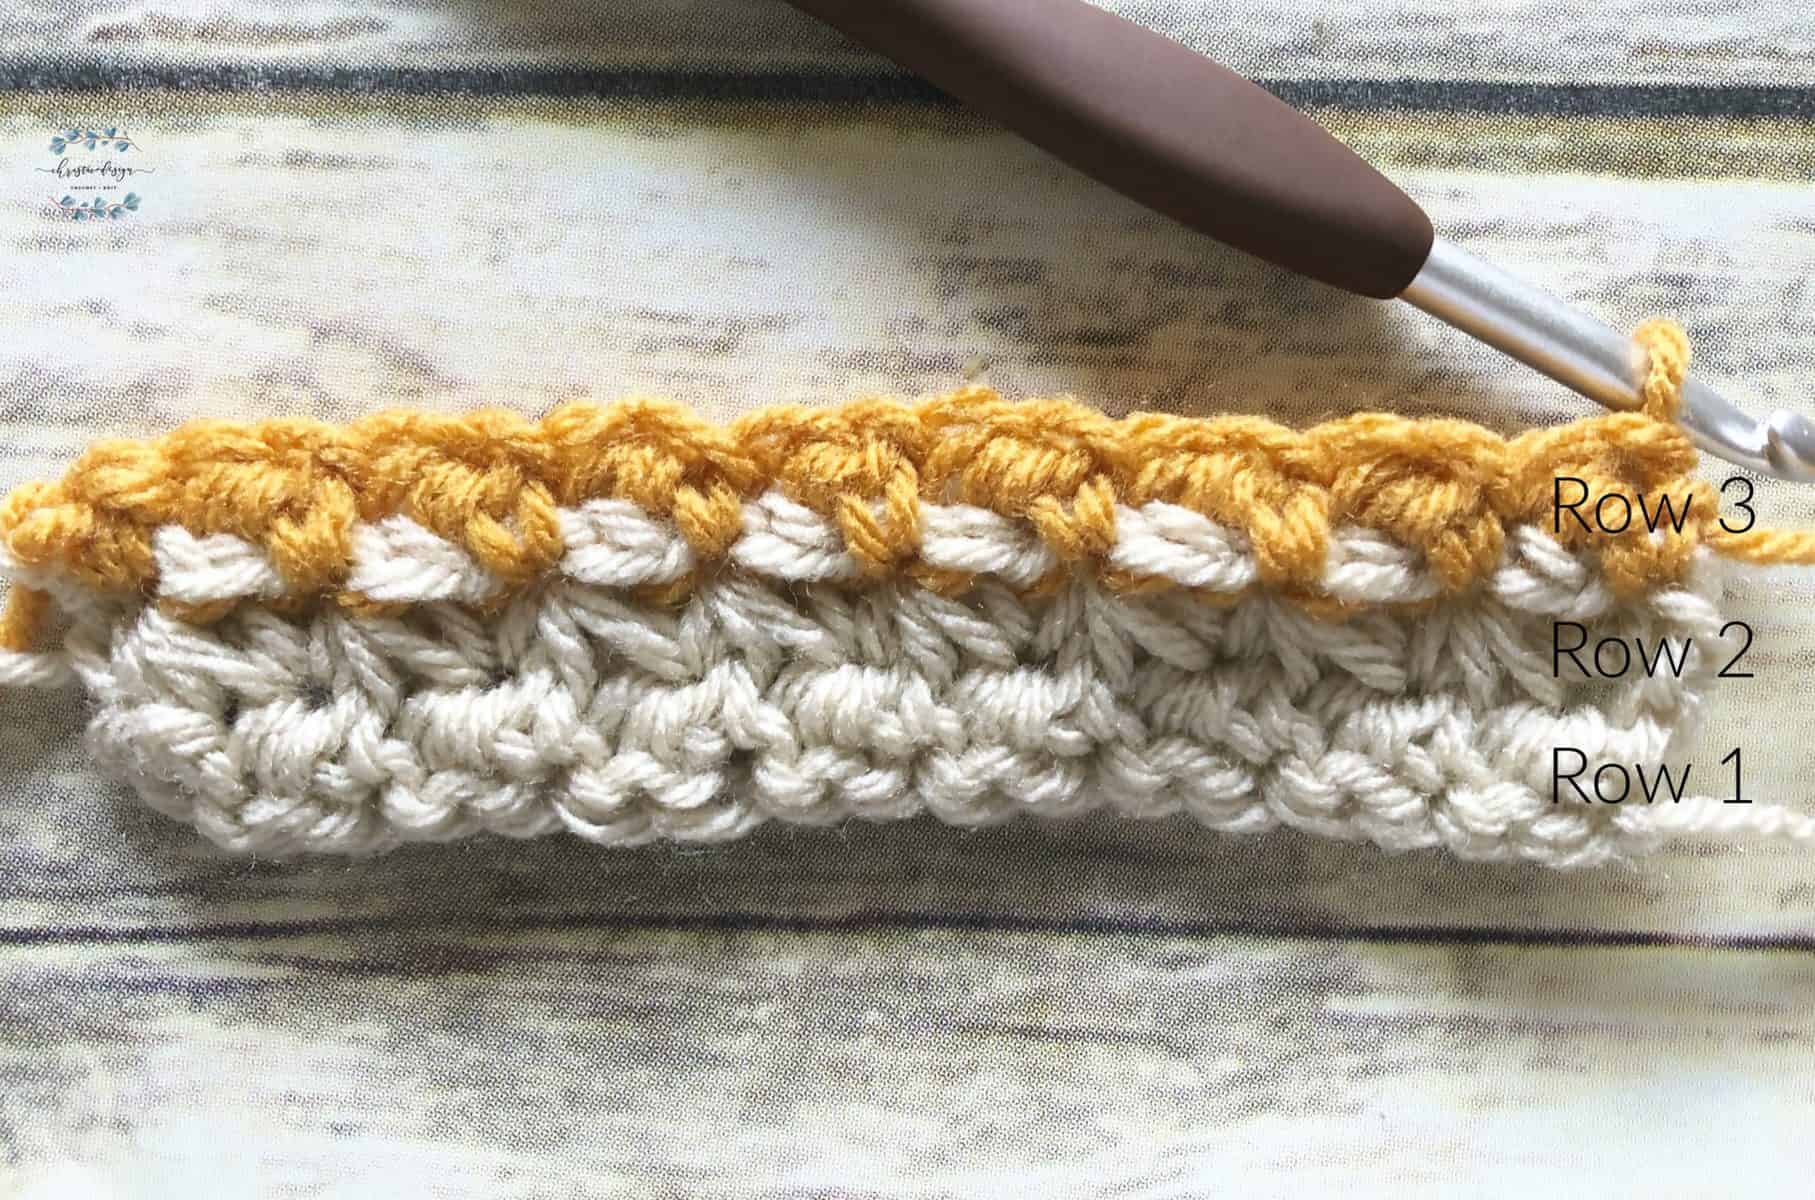
The Trinity Stitch looks best when rows are paired together. Which you can see here when I add Row 4 in the same color as Row 3.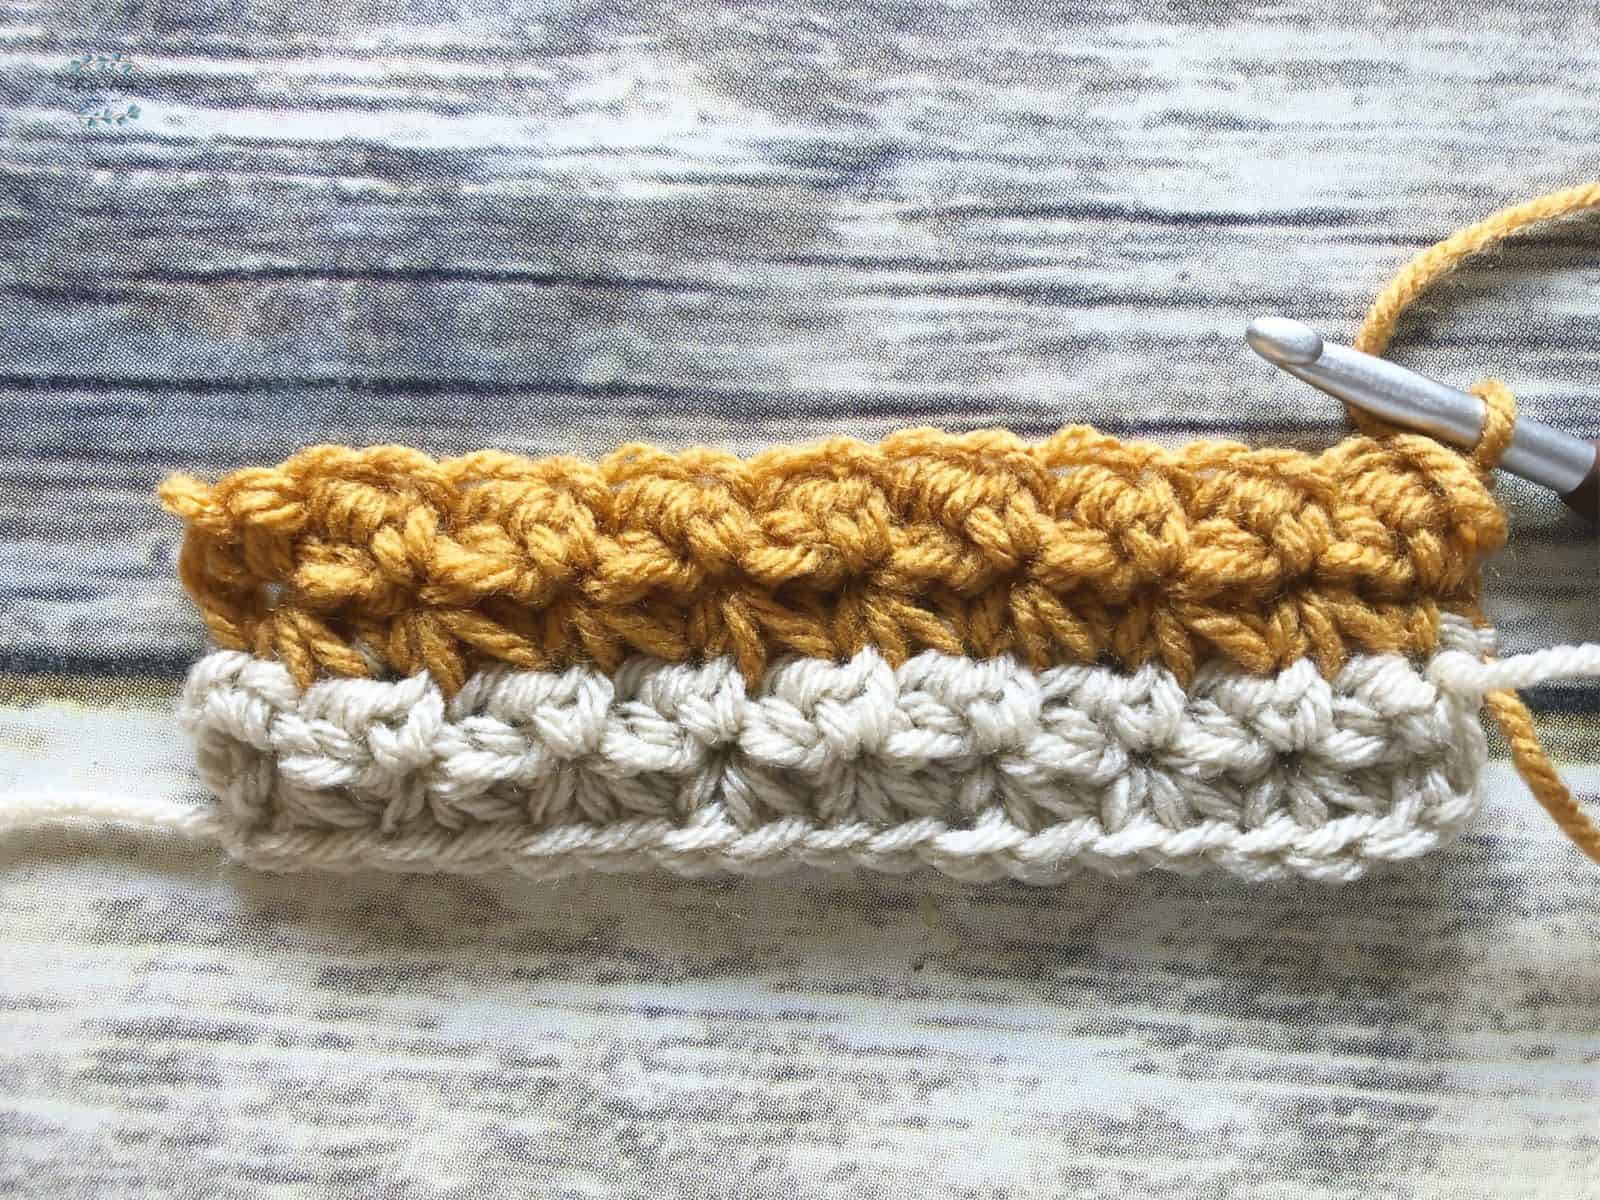
Recommended Products
As an Amazon Associate and member of other affiliate programs, I earn from qualifying purchases.


I’m new and not too familiar with abbreviations. Does Ts stand for Trinity stitch?
Yes, that’s correct.