Caffè Mug Rug Crochet Pattern
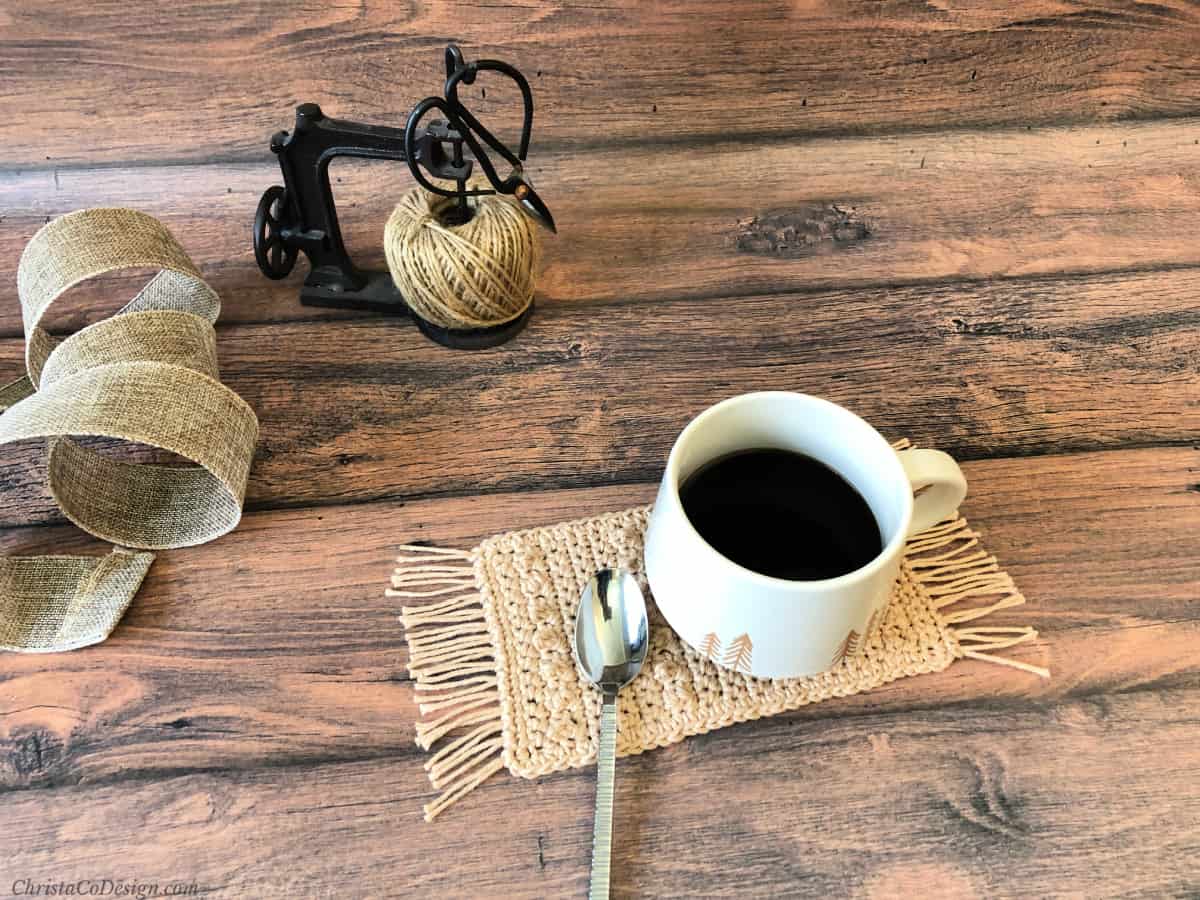
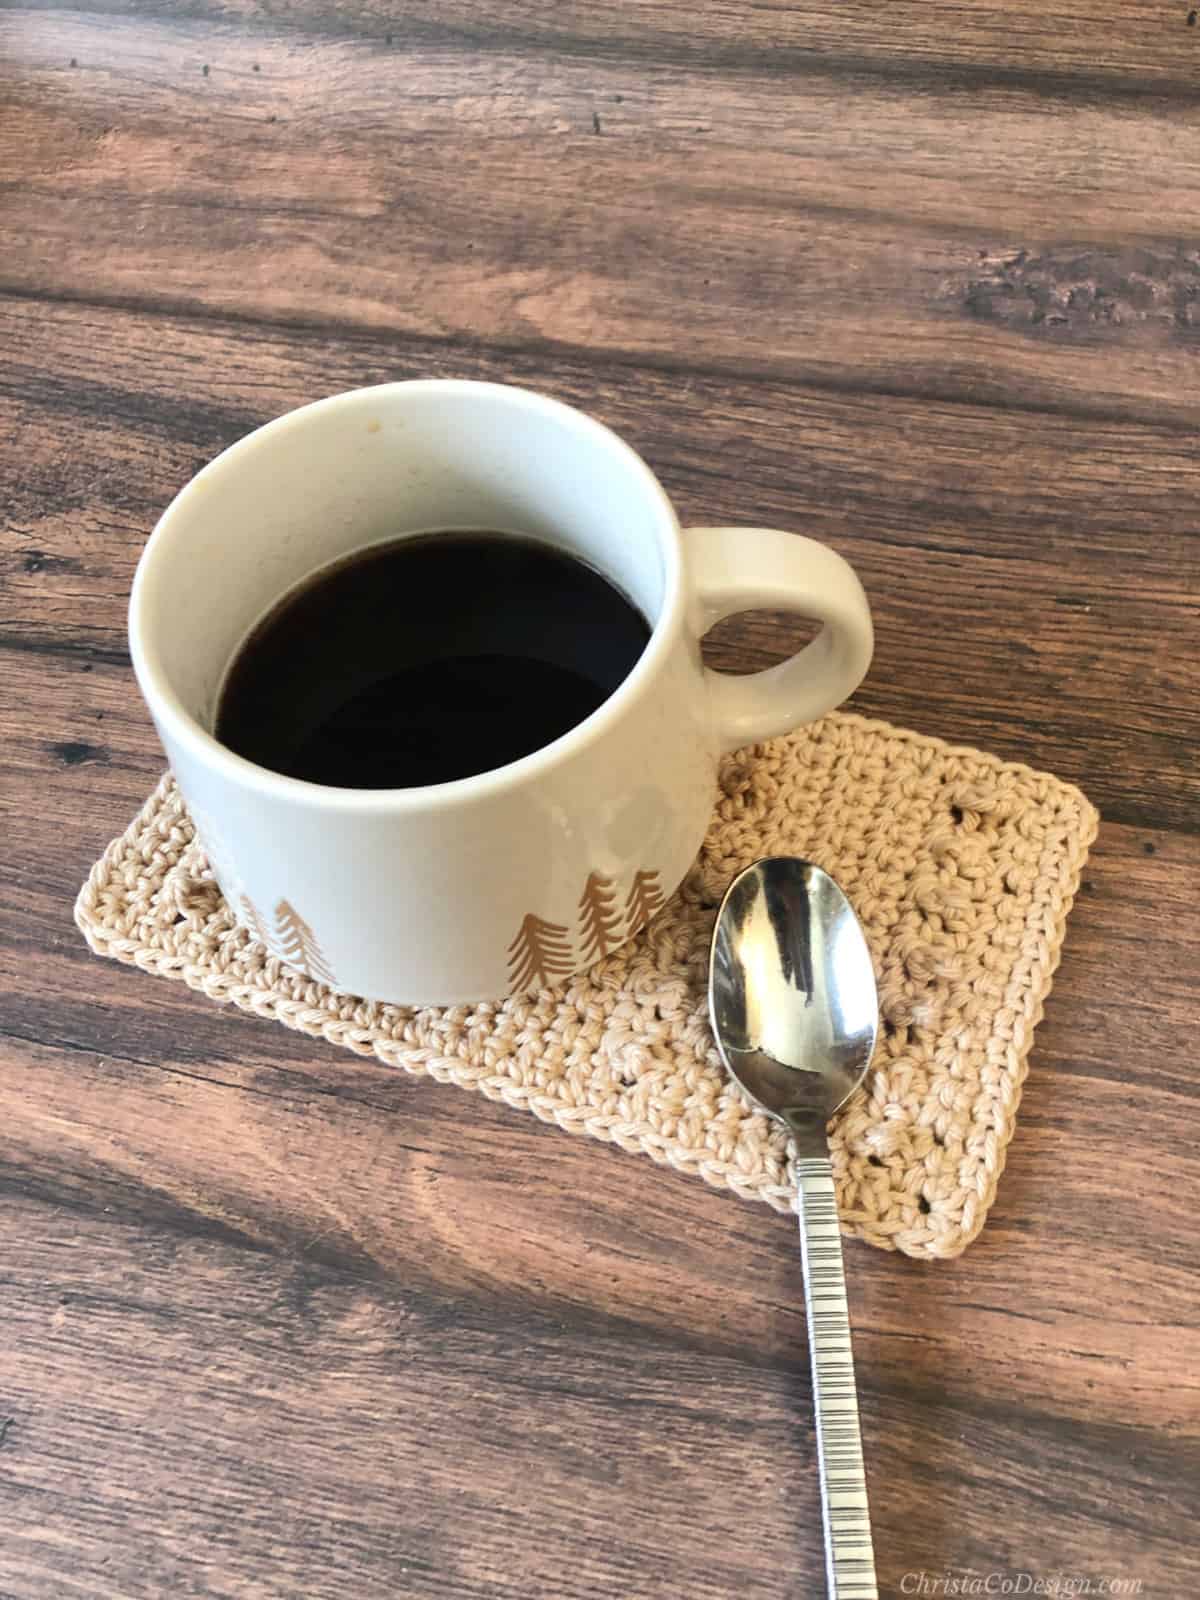
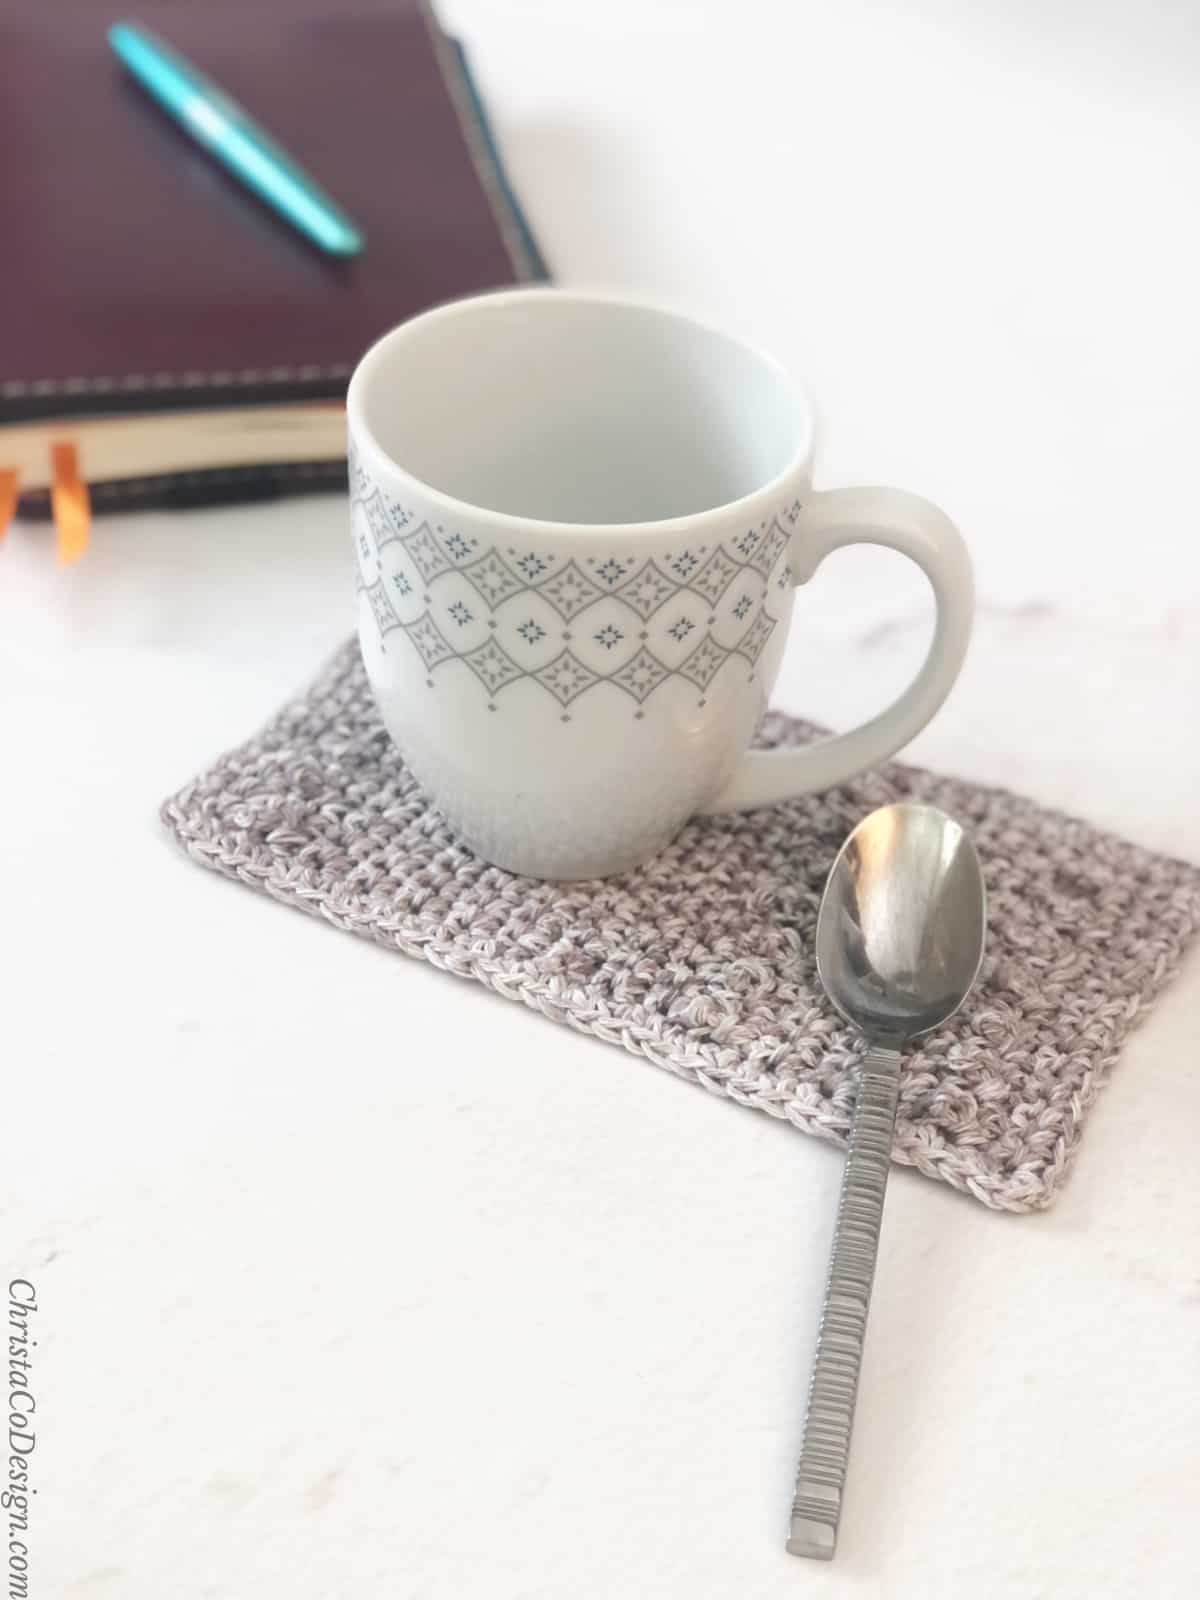
What better way to stay warm and cozy at home with a cup of tea or coffee? This mug rug crochet pattern features an extension just for your spoon, or tea bag.
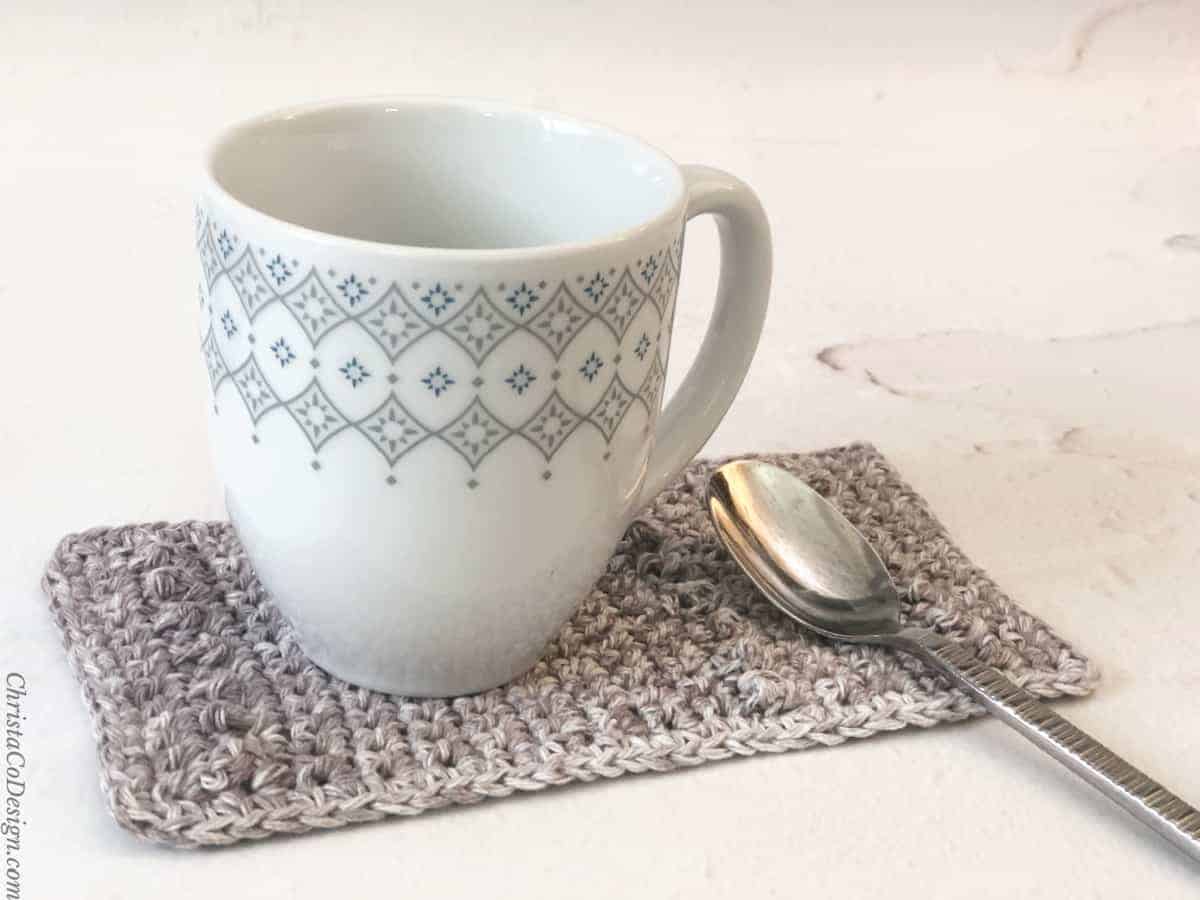
Crochet this rectangle coaster for your coffee cup and spoon, so you can keep your table clean. The different areas are divided up with a little texture for fun.
This post contains affiliate links, I may earn a fee. Read more disclosure policy.
You can purchase the ad-free, well formatted PDF Pattern in one of my shops. Scroll down for the free pattern!
I love how this mug rug coaster turned out in variegated yarn. Of course, it would look fabulous in a solid too.
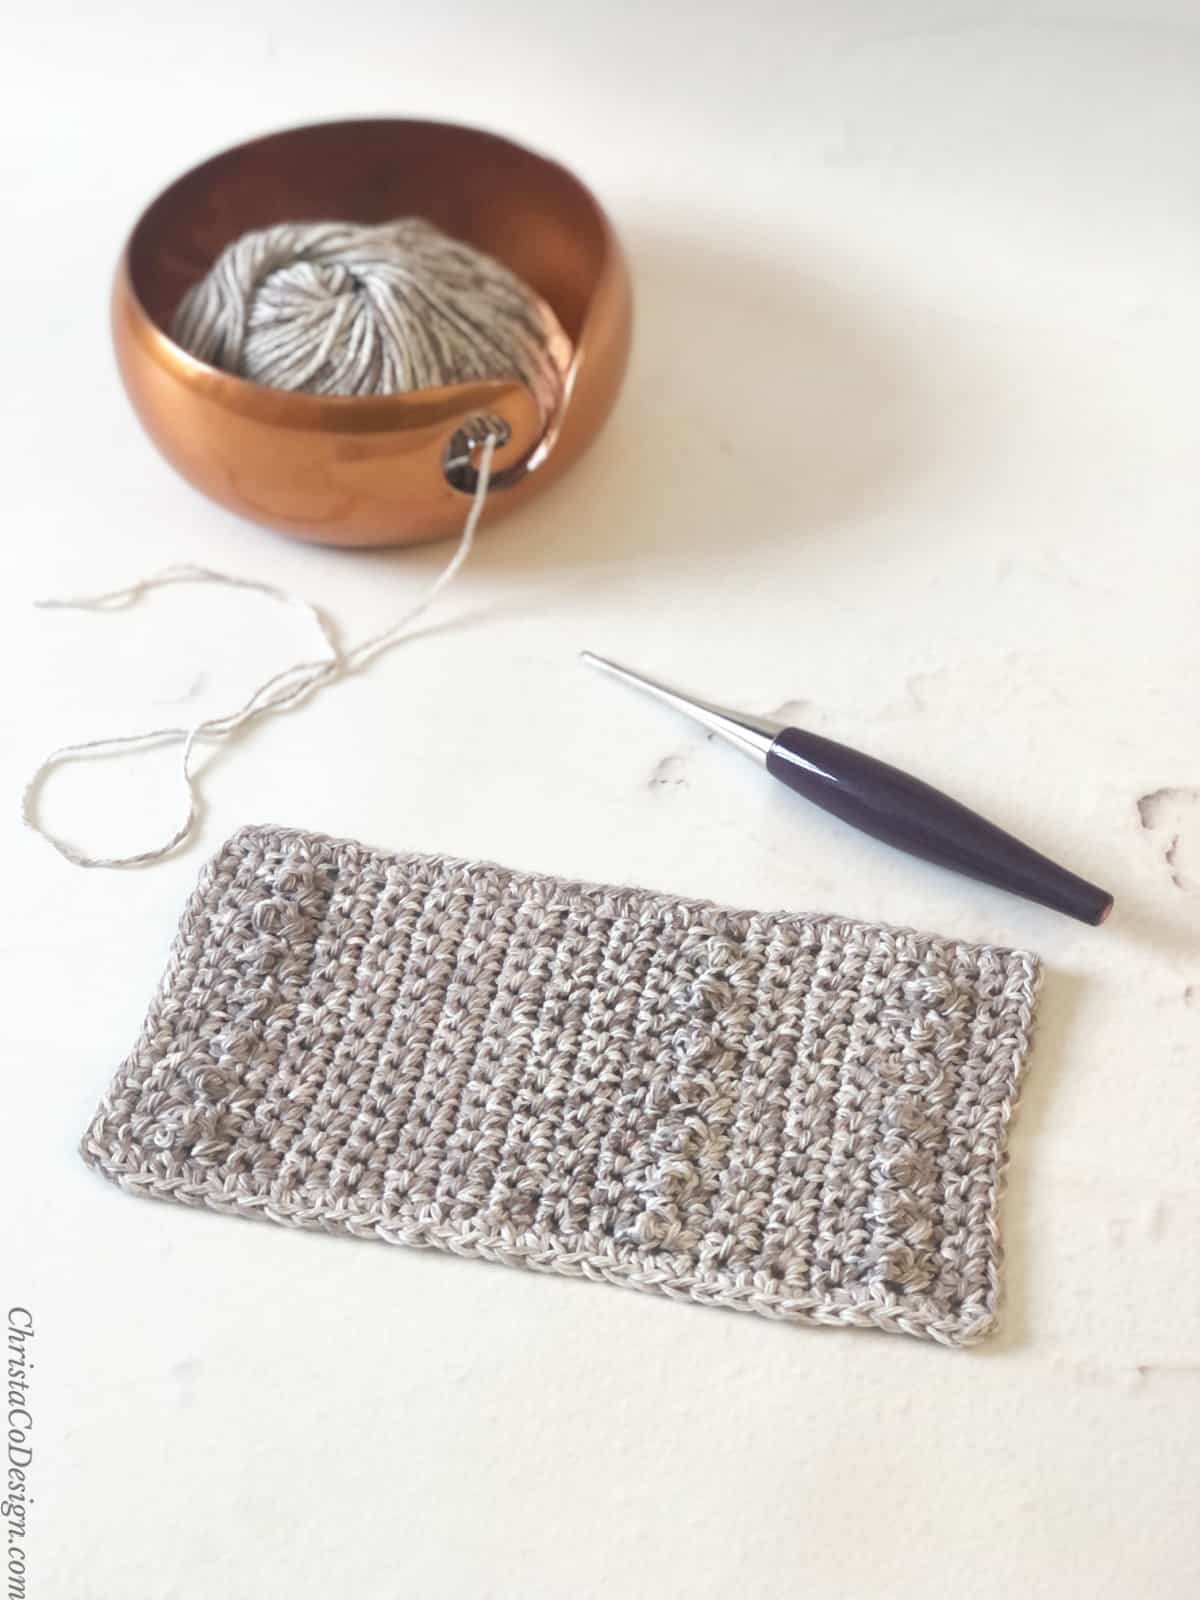
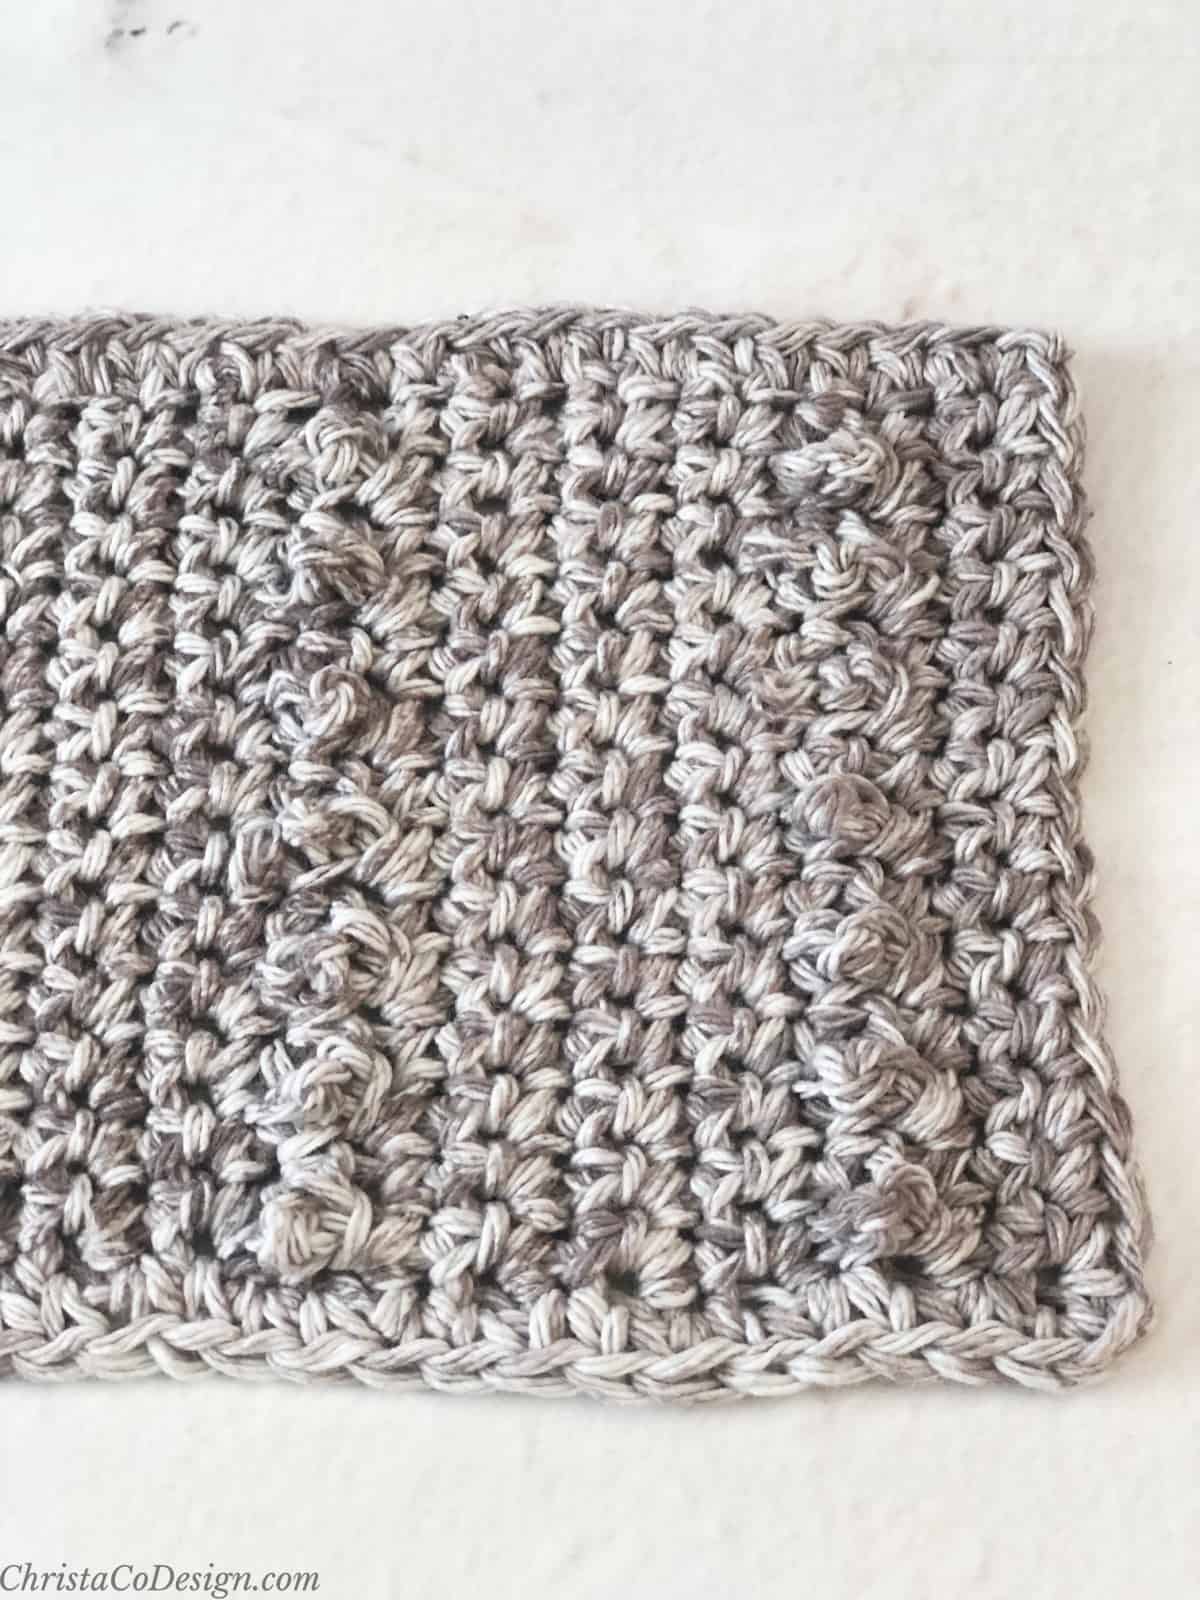
To get those little texture bumps, we’ll alternate working treble crochet stitches with single crochets. These treble stitch rows are in between about 4″ of single crochet space for the mug, and 2″ for the spoon area.
These printable coaster labels will work for gifting mug rugs too!
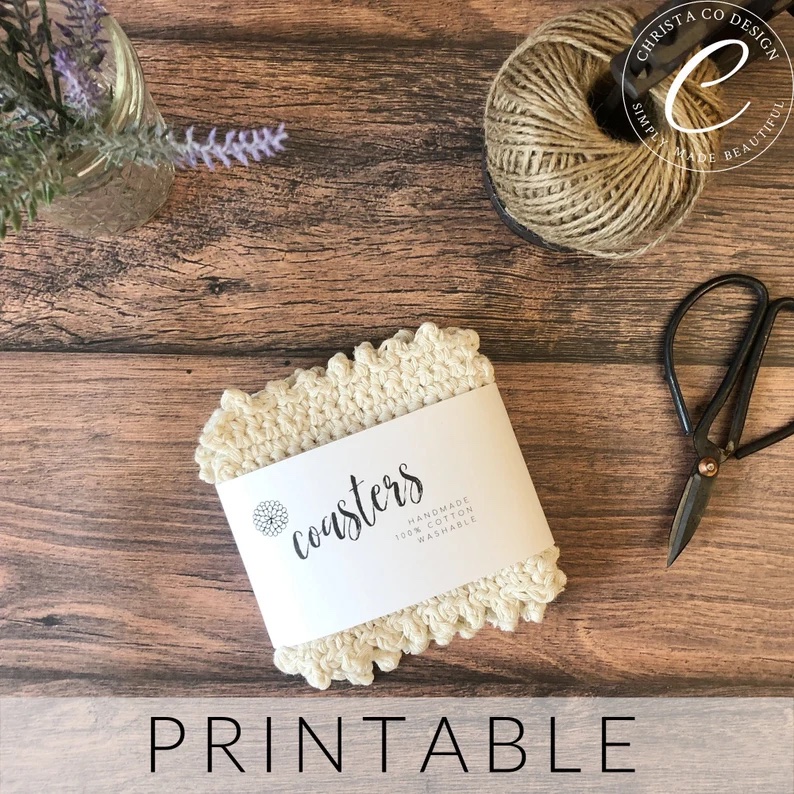
Download the Printable Coaster Gift Label
You can purchase the coaster labels in my Etsy shop, or sign up below to download it free now!
More Free Crochet Patterns for the Home
The Grana Washcloth pattern features one of my favorite crochet stitches for cleaning cloths – the grit stitch which makes a great texture.
These nesting baskets include 3 sizes and are so useful for containing the clutter, well of the little things.
And if you’re looking for a traditional coaster, the Juliet Coasters are my fav – simple and beautiful!
Materials
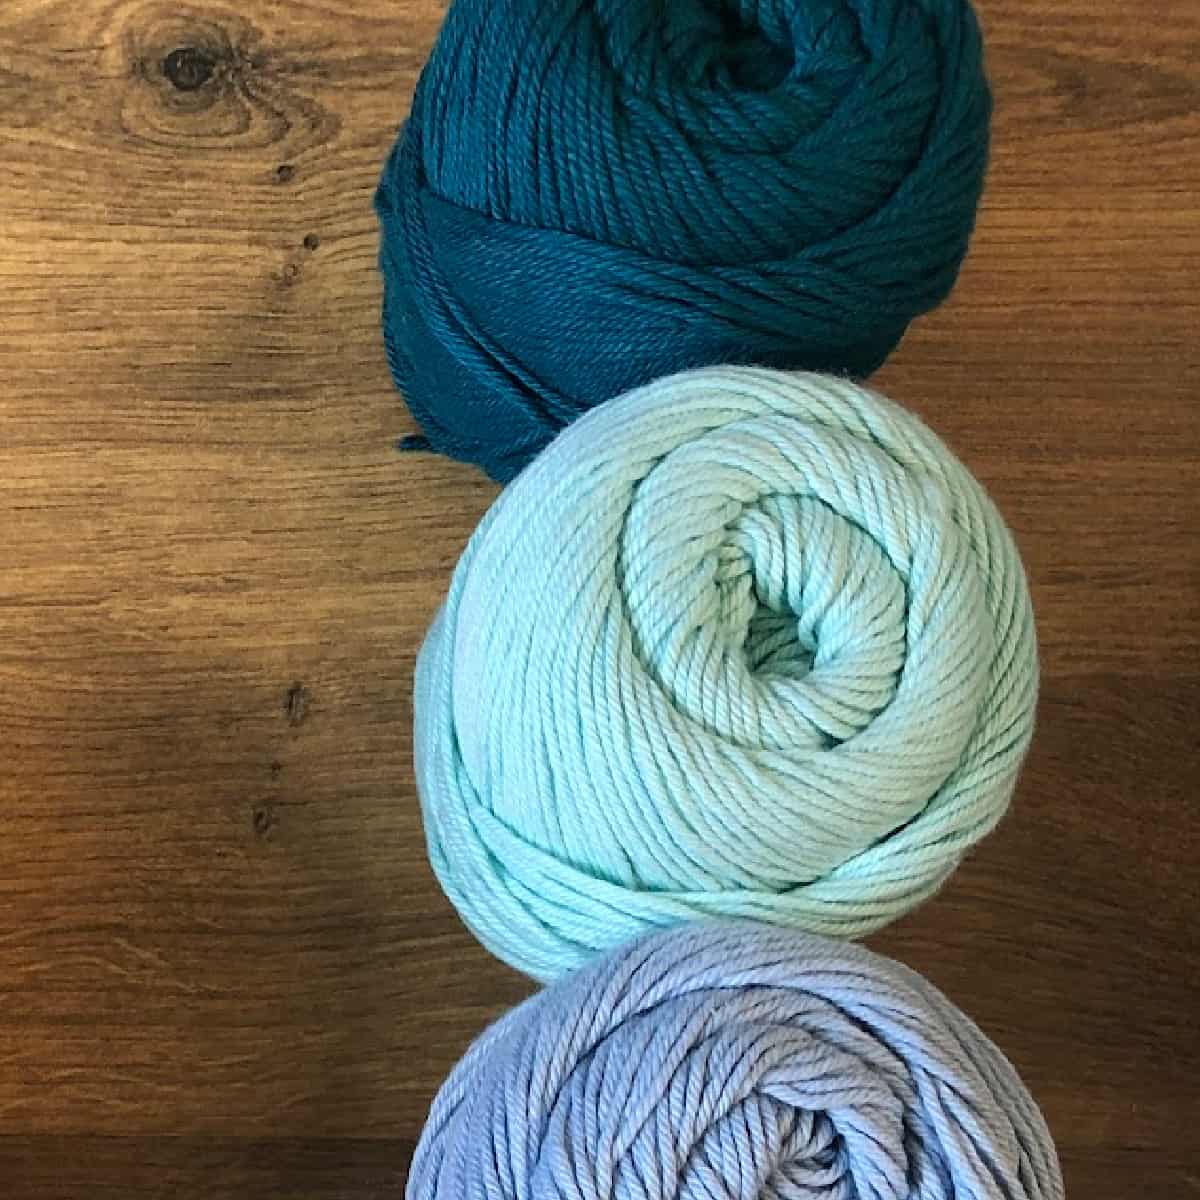
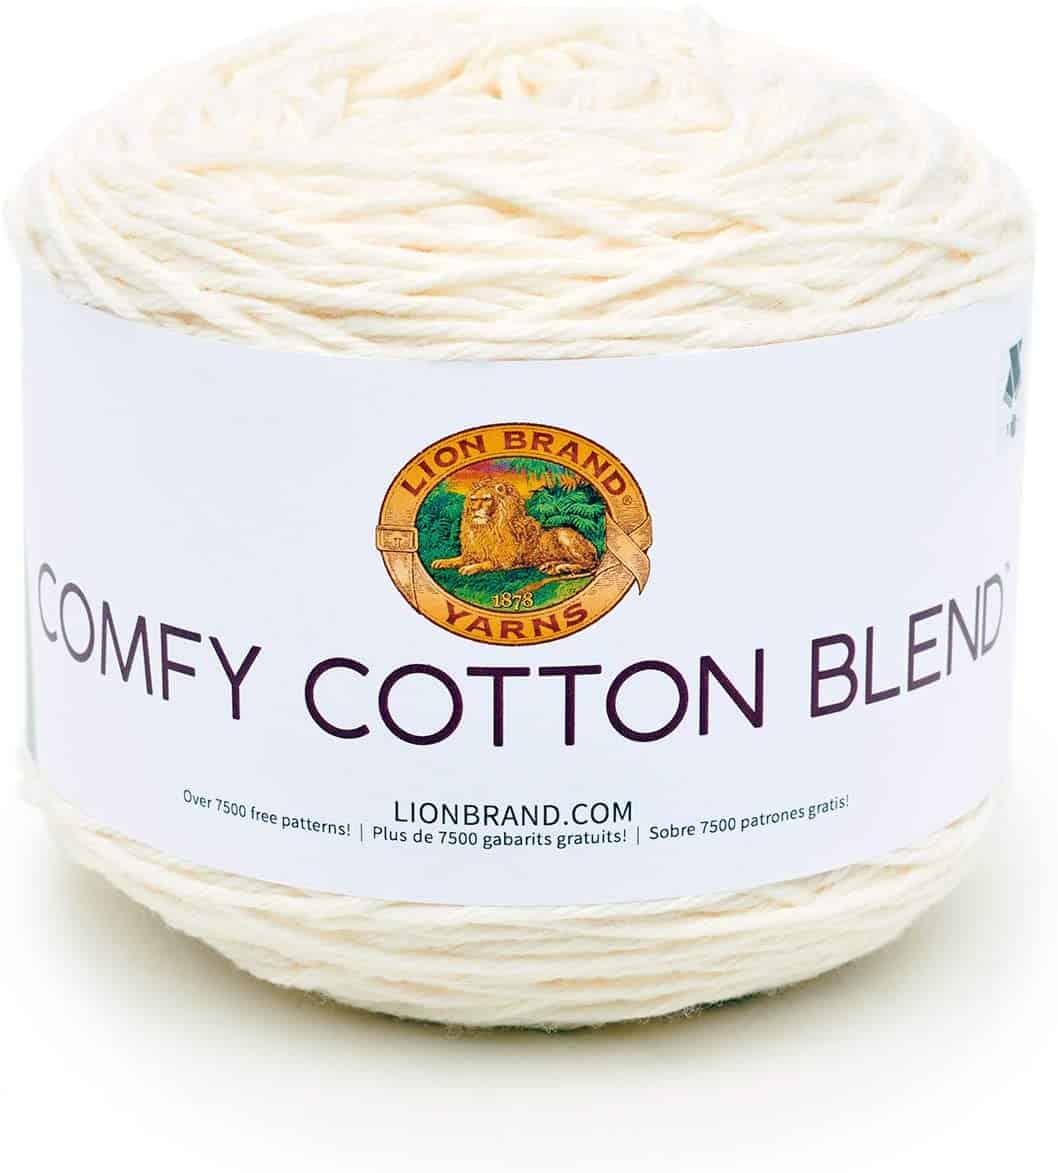
- 40 yd #4 medium worsted weight yarn per mug rug, pictured in Big Twist (85% cotton, 15% polyester, 96 yd / 88 m; 1.94 oz / 55 g), color: pewter (1) ball and Dishie* (100% cotton, 190 yd / 100 g), color: linen (1) ball
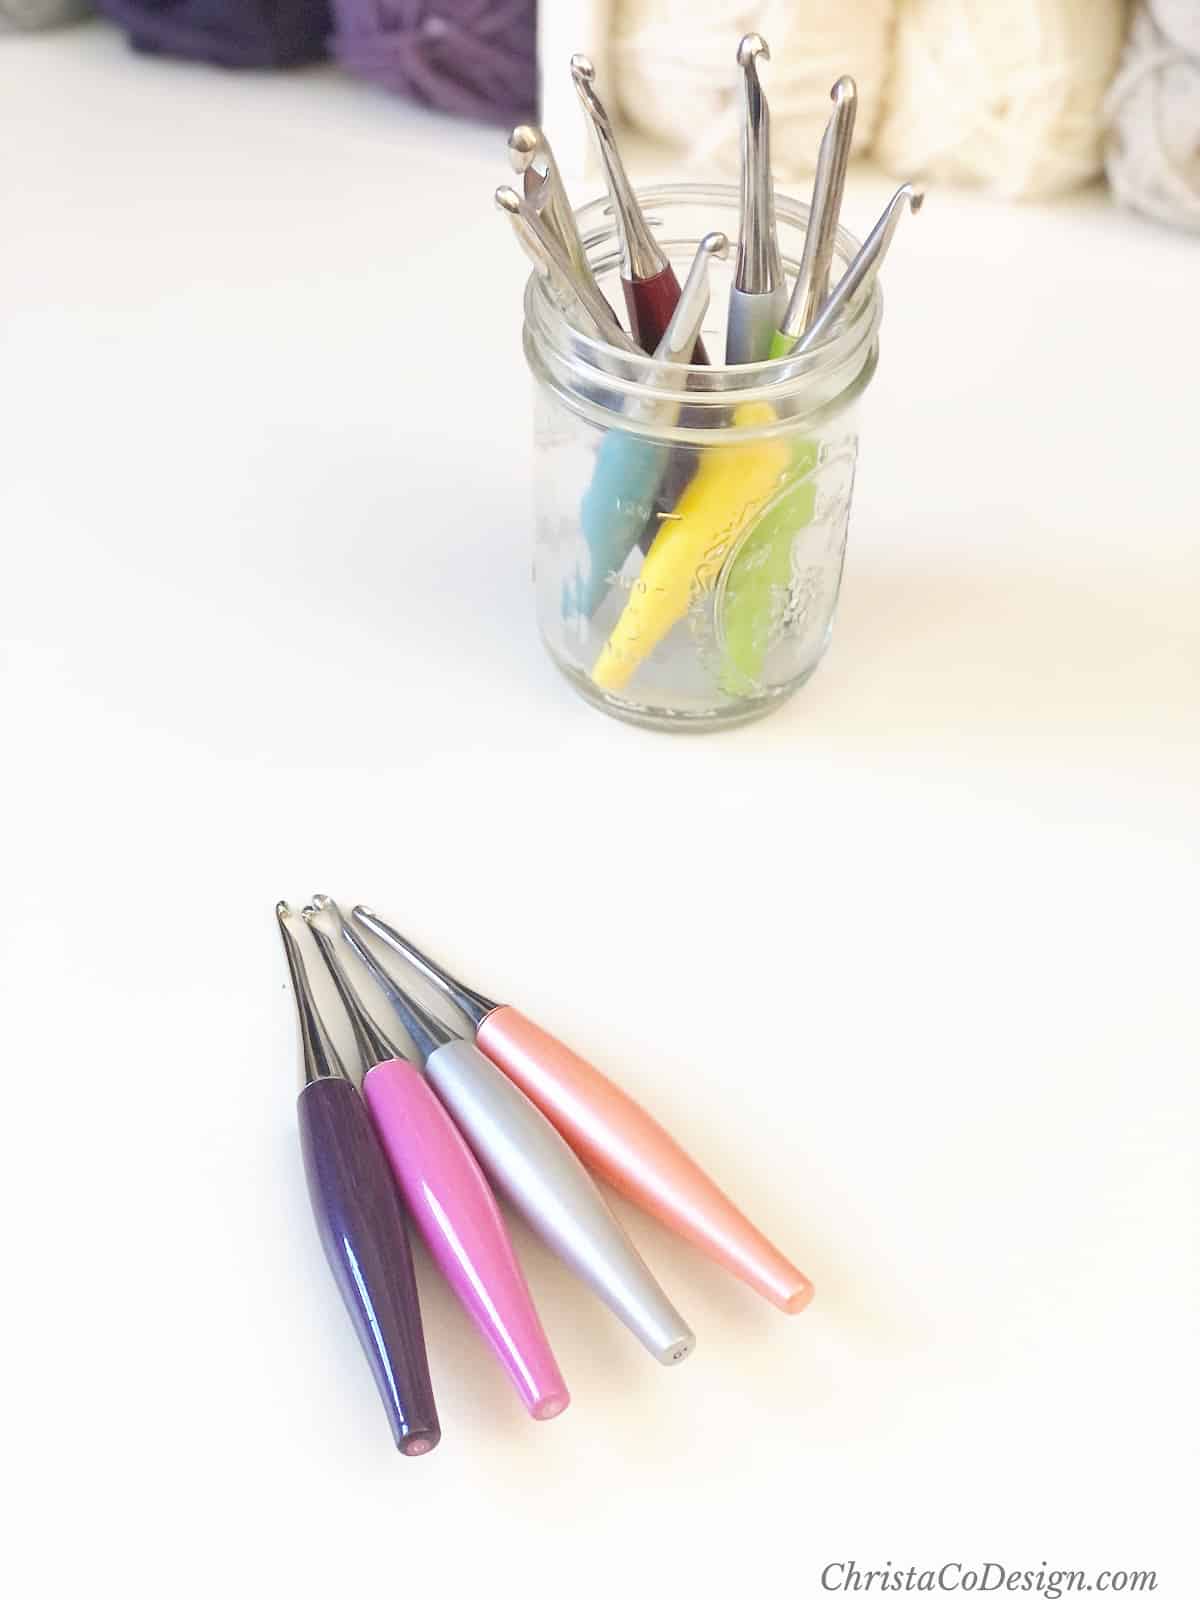
- 5mm US size H hook*
- Yarn needle, scissors, measuring tape
Gauge
4″ / 10 cm x 4″ / 10 cm = 16 sts x 17 rows of sc
Stitches/Abbreviations (US Terms)
You can click on any of these links for a step by step tutorial on how to crochet these stitches.
ch(s) – chain(s) r
rep – repeat
sc – single crochet
sk – skip the indicated stitch
st(s) – stitch(es)
tr – treble stitch
WS – wrong side
Notes
- The stitch multiple for this pattern is an odd number, plus 1 for the starting chain.
- Ch 1 at the beginning of the row does not count as a st.
Finished Size
Once complete, the finished size of this mug rug is 8″/20 cm x 4.25″/10.75 cm. This includes the simple single crochet border.
Adjustments
If you would like to make a mug rug that’s wider, just keep an odd number stitches and then add 1 for the starting chain.
You can easily vary the number of rows between the treble bump sections to make them longer or shorter. Just be sure to work the treble stitches on the wrong side so they will pop on the right side.

Video Tutorial
If you would like to make this mug rug along with me in video format you can view the video tutorial on my YouTube channel!
You can purchase the ad-free, well formatted PDF Pattern in one of my shops. Scroll down for the free pattern!
Scroll down for the free mug rug crochet pattern!
Mug Rug Crochet Pattern
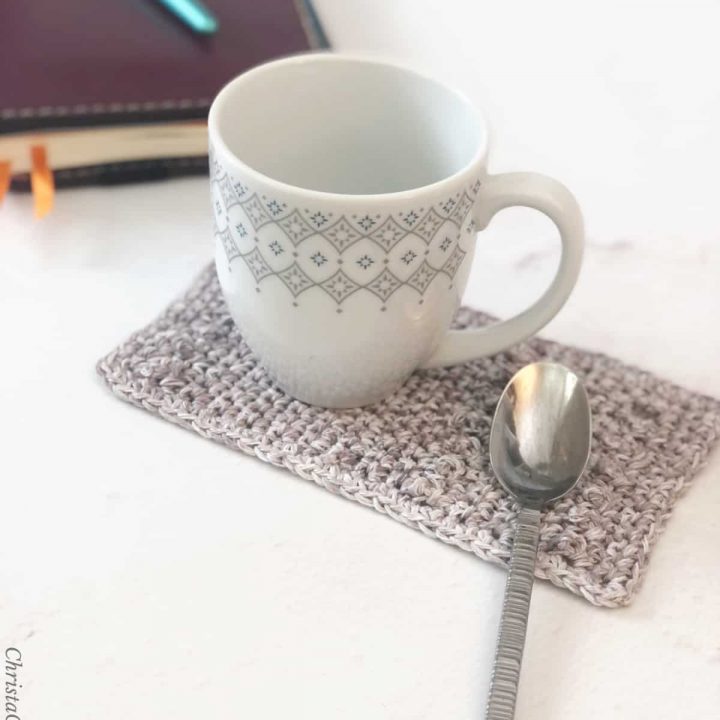
Crochet this simple mug rug pattern with a specific area for your spoon or tea bag. This easy crochet pattern works up quick and makes a great gift!
Materials
- #4 medium worsted weight yarn, pictured in Big Twist (85% cotton, 15% polyester, 96 yd / 88 m; 1.94 oz / 55 g), color: pewter (1) ball or 35 yd per mug rug.
Tools
- 5mm US size H hook
- Yarn needle, scissors, measuring tape
Instructions
- Ch 16
- Row 1. Sc in 2nd ch and in each ch across, turn. (15 sts)
- Row 2. Ch 1, sc in same st and in each st across, turn. (15 sts)
- Row 3. (WS) Ch 1, sc in same st, *(tr in next st, sc in next st) rep from * across, turn. (15 sts)
- Rows 4-10. Rep Row 2. = 2” between rows 3-11.
- Row 11. (WS) Row rep Row 3.
- Rows 12-28. Rep Row 2. = 4” between rows 11-29.
- Row 29. (WS) Row rep Row 3.
- Rows 30-31. Rep Row 2. Do not cut yarn.
- Border
Ch 1, sc even around all edges, placing a (sc, ch 1, sc) in each corner. - Sl st to first sc to join.
- Cut yarn and weave in ends.
- Fringe
Cut 30 4” lengths of yarn. - Use your hook to pull the yarn through the edge stitches on both ends.
- For more help on how to add fringe I have a full tutorial here.
Recommended Products
As an Amazon Associate and member of other affiliate programs, I earn from qualifying purchases.

It Looks lovely and an interesting pattern to work with.
Cheers
Alison G.
Thanks Alison, I’m glad you like it!