Merletto Crochet Lace Poncho Free Pattern
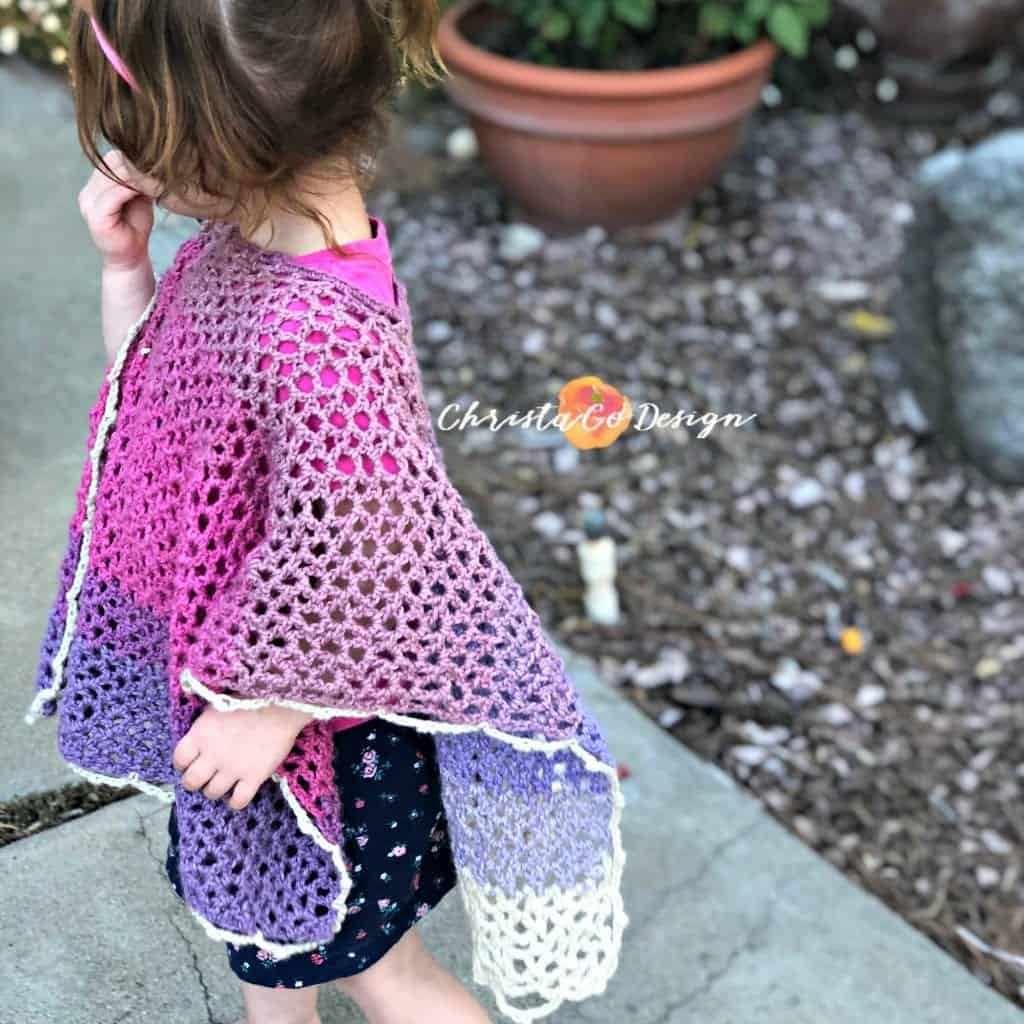
I’m so excited to bring this easy crochet poncho pattern to you today! It works up fast and is so fun to make-even I wanted to crochet another one when I finished my daughter’s so I did.
I made a second one for my niece, and they’re “matchy matchy” as my 2 year old likes to say. I haven’t been able to get them both wearing it together in a picture though. What can I say, they’re 2 and 10 so they have minds of their own.
We’ve been using our ponchos as swimsuit cover ups this summer. The lace pattern is open and airy, but still provides some coverage, and if you ask my daughter it keeps her warm.
I’m not so sure since it’s pretty open. But hey, she loves it and even asks for it at bedtime, like a blanket. I’m just thrilled she adores it so.
This post contains affiliate links, I may earn a fee. Read more disclosure policy.
Merletto is italian for lace. As you may know many of my designs have italian names (you can see why here) and this one is just delicious to say, maybe because it sounds like gelato another summer favorite. Yum.
I made crochet ponchos in Lion Brand’s Mandala which is a #3 lightweight yarn, but this pattern will work well for worsted weight too.
I’m working on a baby blanket with Bernat Baby Softee right now and that is another #3 lightweight yarn I bet would look gorgeous with this pattern.
Whatever you choose I’d love to see it, use #merlettoponcho & you can tag me @christacodesign on Instagram if you post a pic! Or share it to my Facebook page, I love to see your work!
I’ve provided lots of notes, pictures and video tutorials for this one.
If you’d like to purchase an affordable, ad-free pdf of this pattern you can purchase one in my Etsy shop here or in my Ravelry shop here. Thank you for your support!
Materials:
- #3 light yarn, I used Lion Brand’s Mandala in Wood Nymph*, about 550 yds for the 2T size poncho
- You’ll need 2 cakes of Mandala for the children’s sizes and 3 for the adult, specific yardage is listed below if you’re using a different yarn.
- 5 mm (H) hook*, I switched to a 4 mm (G)* for the border, to keep it small
- scissors, yarn needle*
Gauge:
1”/2.5cm x 1”/2.5cm = 4 dc x 2 rows of dc
Recommended Yardage by Size
| Children’s Sizes | Yards | Adult Sizes | Yards |
|---|---|---|---|
| 2/3T | 550 |
Teen/XS |
1247 |
|
4/5T |
611 |
S |
1273 |
|
6/7 |
715 |
M |
1310 |
|
8 |
856 |
L/XL |
1442 |
|
10 |
917 |
2/3X |
1579 |
|
12/14 |
1042 |
4/5X |
1680 |
|
16 |
1125 |
Stitches/Abbreviations
Sk-skip
st(s)-stitch(es)
ch(s)-chain(s)
dc(s)-double crochet(s)
sl st-slip stitch
Special Stitches
v-arches-The main stitch used is a modified v-stitch: (dc, ch 3, dc) all in the same stitch.
I refer to these as v-arches and use them for stitch counts, as they are easy to identify and count.
The stitch counts at the end of each row do not contain the spaces made at the beginning and end of each row when you dc + ch 1 or vice versa. But there will be a space at the beginning and end of each row, plus the indicated number of v-arches.
Picot-ch 3, sl st back into the first ch you made. This st is used on the border and there is a video to demonstrate this technique.
Notes
- The stitch multiple is 3, plus 2 for the starting ch.
- Pattern is written is size order for children’s: 2/3t (4/5t, 6/7, 8, 10, 12/14, 16), or adults: Teen/XS (S, M, L/XL, 2/3X, 4/5X)
otherwise all instructions are the same. So for Children’s Row 1: Ch 86 (92, 98, 104, 110, 113, 116) means that you would ch 86 for the 2t size, or if you’re making the size 8 you would ch 104. It is helpful to highlight your size throughout the pattern. - Starting ch 4 counts as a dc + ch 1 throughout the pattern.
- The main stitch used is a modified v-stitch: (dc, ch 3, dc) all in the same stitch. I refer to these as v-arches and use them for stitch counts, as they are easy to identify and count. The stitch counts at the end of each row do not contain the spaces made at the beginning and end of each row when you dc + ch 1 or vice versa. But there will be a space at the beginning and end of each row, plus the indicated number of v-arches.
- The poncho is worked in rows, from the bottom up. It is worked all in one piece-no sewing! So halfway through your rectangle you will skip an indicated number of v-arches to create the neckhole. You will chain an indicated number and on the next row you will work back into those chains to continue working the other half of the poncho.
- I’ve divided the pattern into two sections for children’s sizes and adult sizes.
Fit:
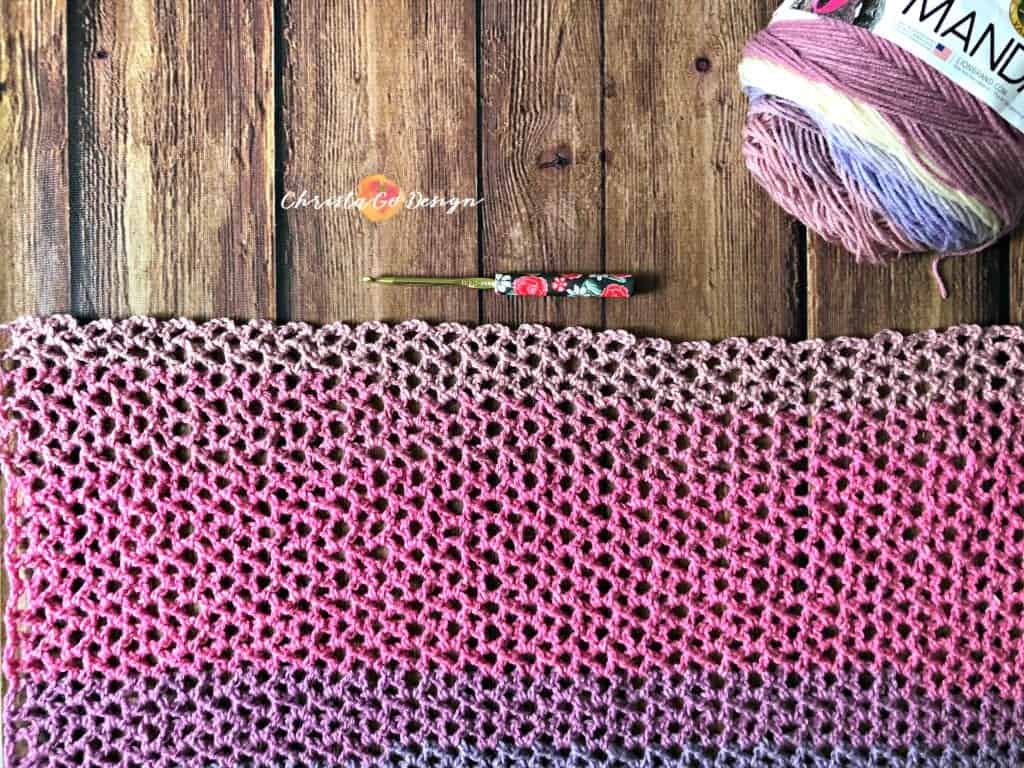
This is designed to be a lightweight, hip-length poncho that fits to about the elbows. I’ve provided estimated measurements, if you would like to make yours longer, go up a size. Should you wish to increase the width of your poncho the stitch multiple is 3, plus 2 for the starting chain.
Finished Dimensions:
Children’s Sizes |
Length Hem to Neck” |
Width” |
Adult Sizes |
Length Hem to Neck” |
Width” |
|
2/3T |
15 |
24 |
Teen/XS |
24 |
34 |
|
4/5T |
16 |
25 |
S |
24.5 |
34 |
|
6/7 |
18 |
26 |
M |
24.5 |
35 |
|
8 |
20 |
28 |
L/XL |
25.5 |
37 |
|
10 |
20 |
30 |
2/3X |
26.5 |
48 |
|
12/14 |
22 |
31 |
4/5X |
27.5 |
52 |
|
16 |
23 |
32 |
Length is from the bottom hem (Row 1) to the neckline. The length is then doubled once the back is created. Hem to Hem is twice the length in the chart. (i.e. Children’s 2T=30″ long total) To create a longer poncho, you’ll want to stop halfway for the neck.
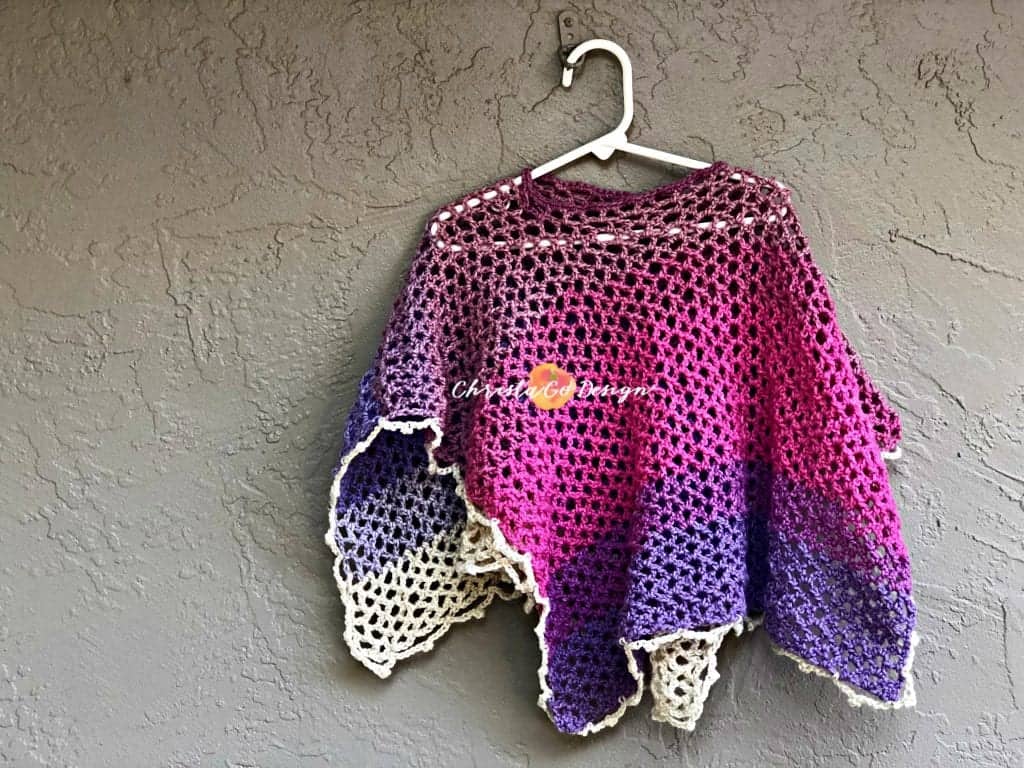
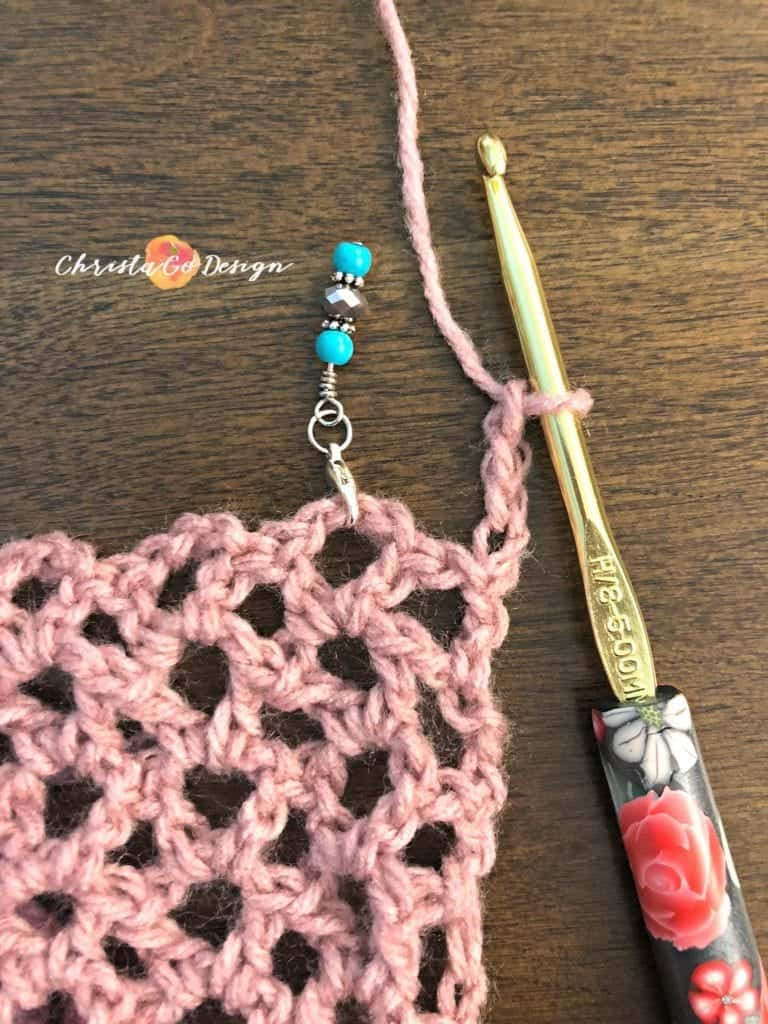
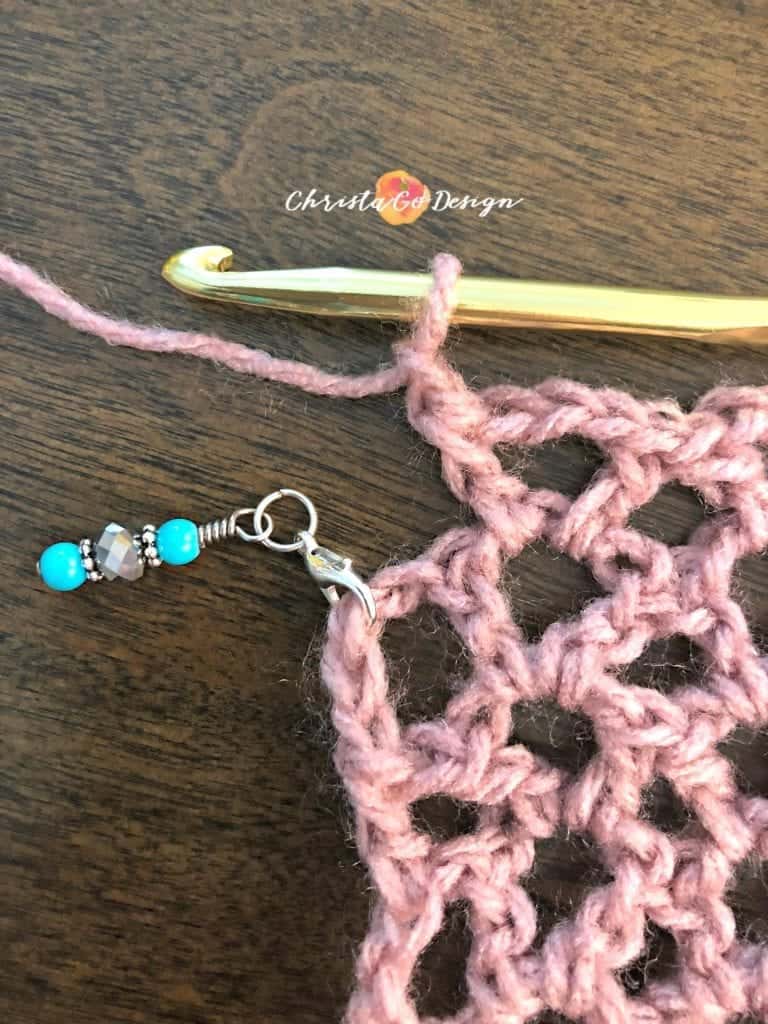
A few photos of the beginning and ends of the rows.
Photos
Video Tutorials
- Get started with your Merletto Lace Crochet Poncho Row 1 Tutorial here.
- When you get to the neckline watch this video to help you work the Merletto Lace Crochet Poncho Neckline Tutorial.
Children’s Poncho Sizes
2T (4T, 6, 8, 10, 12/14, 16)
- Ch 86 (92, 98, 104, 110, 113, 116), dc in the 4th ch from your hook, sk next ch, *{all in next ch: (dc, ch 3, dc), skip next 2 chs} rep from * until last three chs, sk 1 ch, dc in each of the last 2 chs, turn. (27, 29, 31, 33, 35, 36, 37 v-arches)
- Ch 4, sk next 2 dcs, all in next ch 3 sp: (dc, ch 3, dc), *{sk next 2 dcs, all in next ch 3 sp: (dc, ch 3, dc)} rep from * until last 3 sts then ch 1, sk next 2 dcs and dc in top of 3rd ch, turn.
- Ch 4, sk next ch 1 & dc, then all in next ch 3 sp: (dc, ch 3, dc), *{sk next 2 dcs, all in next ch 3 sp: (dc, ch 3, dc)} rep from * across, until last 3 sts then ch 1, sk next dc & ch 1 and dc in top of 3rd ch, turn.
- -25 (27, 31, 34, 35, 38, 39). Rep Row 3.
Neckline
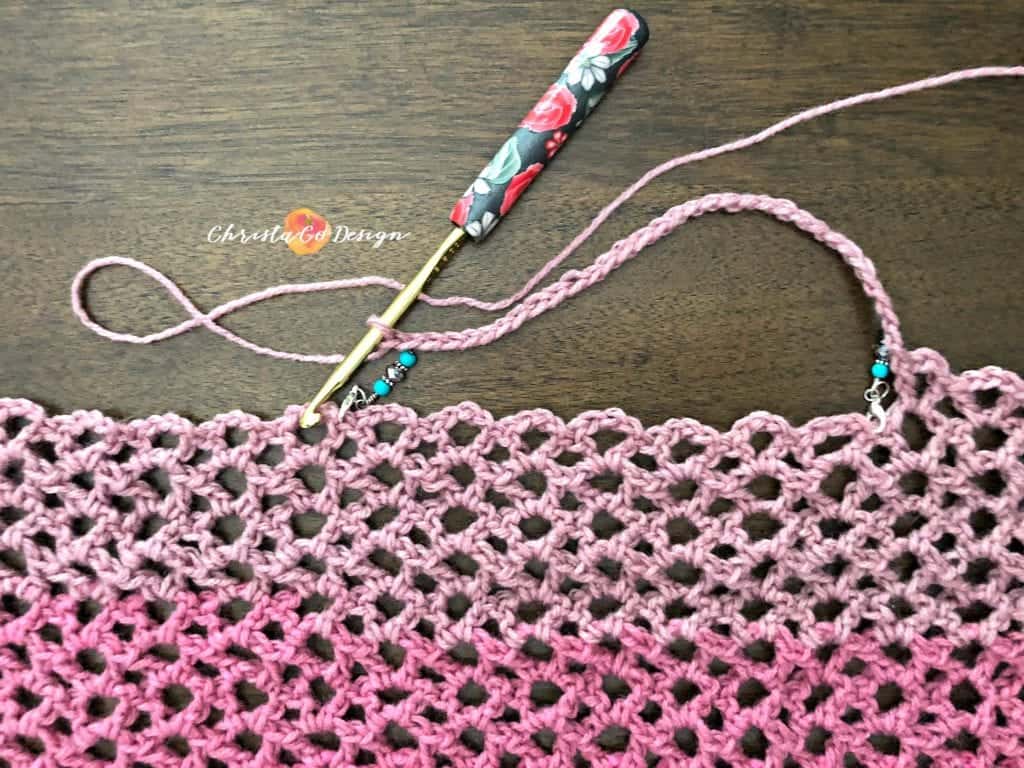
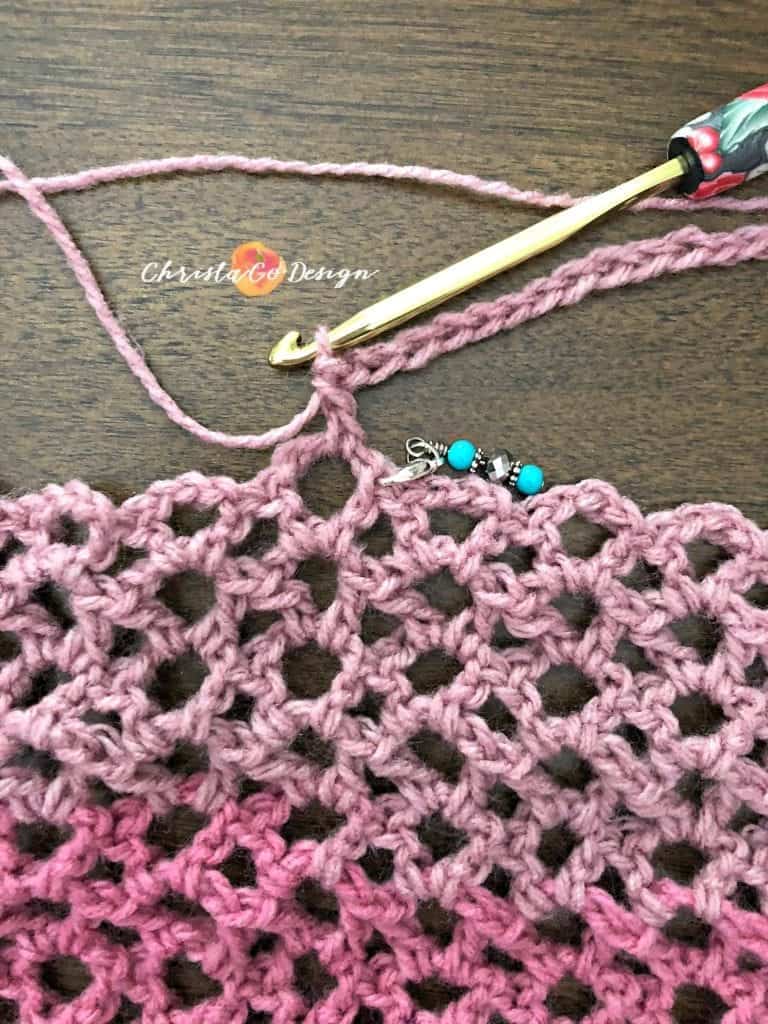
Row 26. (28, 32, 35, 36, 39, 40). Ch 4, sk next ch 1 & dc, all in next ch 3 sp: (dc, ch 3, dc), *{sk next 2 dcs, all in next ch 3 sp: (dc, ch 3, dc)} rep from * 10 (11, 12, 12, 13, 13, 14) times, then ch 25 (25, 25, 35, 35, 35, 40) and sk next 5 (5, 5, 7, 7, 7, 8 v-arches) all in next ch 3 spc: (dc, ch 3, dc), *{sk next 2 dcs, all in next ch 3 sp: (dc, ch 3, dc)} rep from * 10 (11, 12, 12, 13, 13, 14) times, sk next dc & ch 1, and dc in top of 3rd ch, turn. (22, 24, 26, 26, 28, 28, 30 v-arches)
Crochet into the chains to continue the pattern:
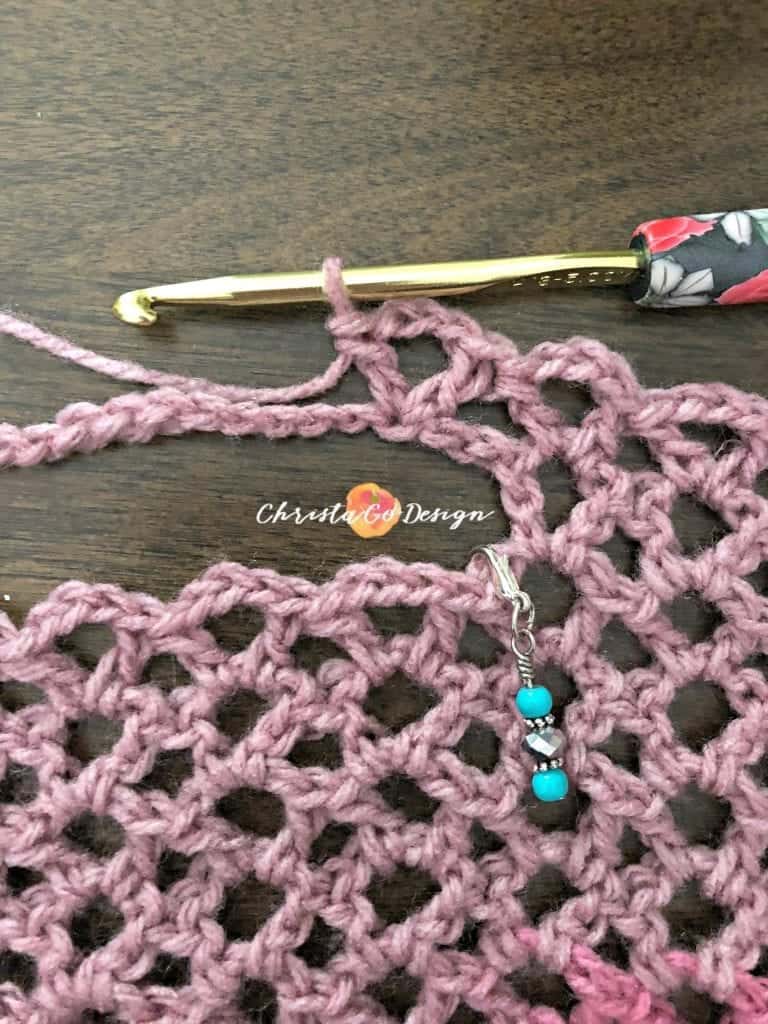
If you love this stitch marker, check out Miller Country Crafted on Etsy.
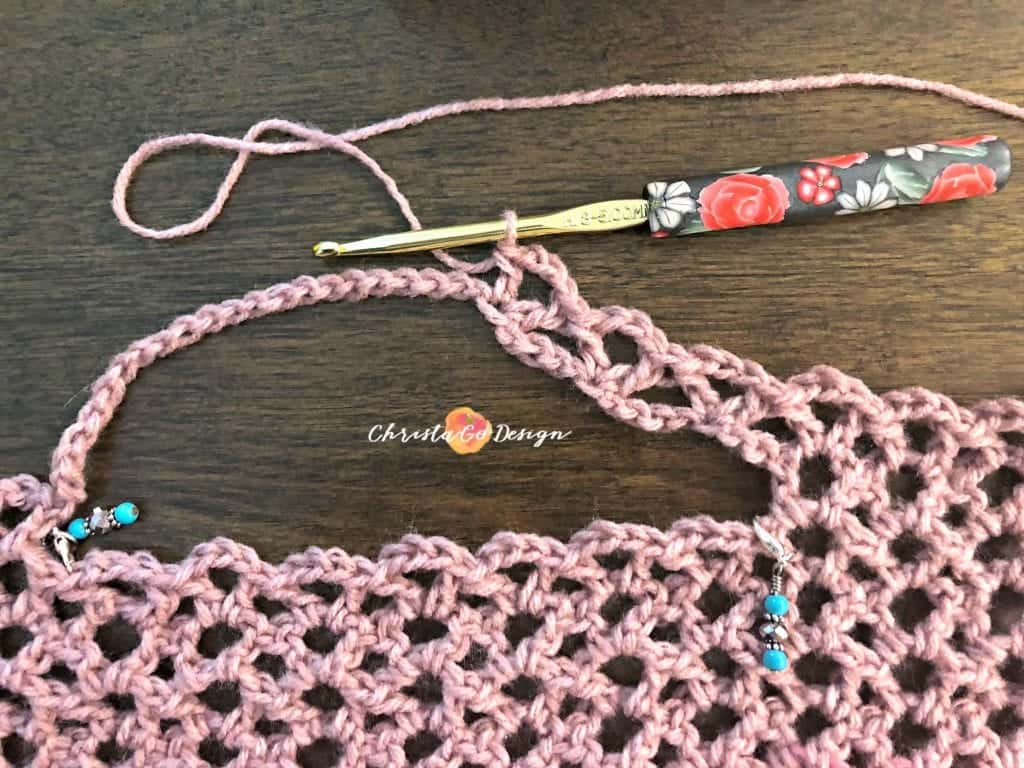
Row 27 (29, 33, 36, 37, 40, 41). Ch 4, sk next ch 1 & dc, then all in next ch 3 sp: (dc, ch3, dc), *{sk next 2 dcs, all in next ch 3 sp: (dc, ch 3, dc) rep from *10 (11, 12, 12, 13, 13, 14) times, then sk next dc & next 2 chs, all in next ch: (dc, ch 3, dc), *{sk next 4 chs, all in next ch: (dc, ch 3, dc)} rep from * 4 (4, 4, 6, 6, 6, 7) times, sk last 2 chs and next dc, all in next (dc, ch 3, dc), *{sk next 2 dcs, all in next ch 3 sp: (dc, ch3, dc)} rep from * to end, ch 1, sk last dc & ch 1 spc, dc in top of the 3rd ch, turn. (27, 29, 31, 33, 35, 35, 37 v-arches)
Repeat Row 3 for Rows 28-51. (30-57, 34-64, 37-70, 38-72, 41-78, 42-81).
Adult Sizes
Teen/XS (S, M, L/XL, 2/3X, 4/5X)
- Ch 123 (123, 126, 132, 138, 144) , dc in the 4th ch from your hook, sk next ch, *{all in next ch: (dc, ch 3, dc), skip next 2 chs} rep from * until last three chs, sk 1 ch, dc in each of the last 2 chs, turn. (39, 39, 41, 43, 45, 47 v-arches)
- Ch 4, sk next 2 dcs, all in next ch 3 sp: (dc, ch 3, dc), *{sk next 2 dcs, all in next ch 3 sp: (dc, ch 3, dc)} rep from * until last 3 sts then ch 1, sk next 2 dcs and dc in top of 3rd ch, turn.
- Ch 4, sk next ch 1 & dc, then all in next ch 3 sp: (dc, ch 3, dc), *{sk next 2 dcs, all in next ch 3 sp: (dc, ch 3, dc)} rep from * across, until last 3 sts then ch 1, sk next dc & ch 1 and dc in top of 3rd ch, turn.
- -41 (42, 42, 44, 46, 48) Rep Row 3.
Neckline


Row 42 (43, 43, 45, 47, 49). Ch 4, sk next ch 1 & dc, all in next ch 3 sp: (dc, ch 3, dc), *{sk next 2 dcs, all in next ch 3 sp: (dc, ch 3, dc)} rep from * 14 (14, 16, 17, 18, 19) times, then ch 45, and sk next 9 v-arches, all in next ch 3 sp: (dc, ch 3, dc), *{sk next two dcs, all in next ch 3 spc: (dc, ch 3, dc)} rep from *14 (14, 16, 17, 18, 19) times, sk next dc & ch 1, and dc in top of 3rd ch, turn. (30, 30, 32, 34, 36, 38 v-arches)
Crochet into the chains to continue the pattern


Row 43 (44, 44, 46, 48, 50) Ch 4, sk next ch 1 & dc, then all in next ch 3 sp: (dc, ch3, dc), *{sk next 2 dcs, all in next ch 3 sp: (dc, ch 3, dc) rep from * 14 (14, 16, 17, 18, 19) times, then sk next dc & next 2 chs, all in next ch: (dc, ch 3, dc), *{sk next 4 chs, all in next ch: (dc, ch 3, dc)} rep from * 8 times, sk last 2 chs and next dc, all in next (dc, ch 3, dc), *{sk next 2 dcs, all in next ch 3 sp: (dc, ch3, dc)} rep from * to end, ch 1, sk last dc & ch 1 sp, dc in top of 3rd ch, turn. (39, 39, 41, 43, 45, 47 v-arches)
Rep Row 3 for Rows 44-84. (45-86, 45-86, 47-90, 49-94, 51-98).
Border-All Sizes
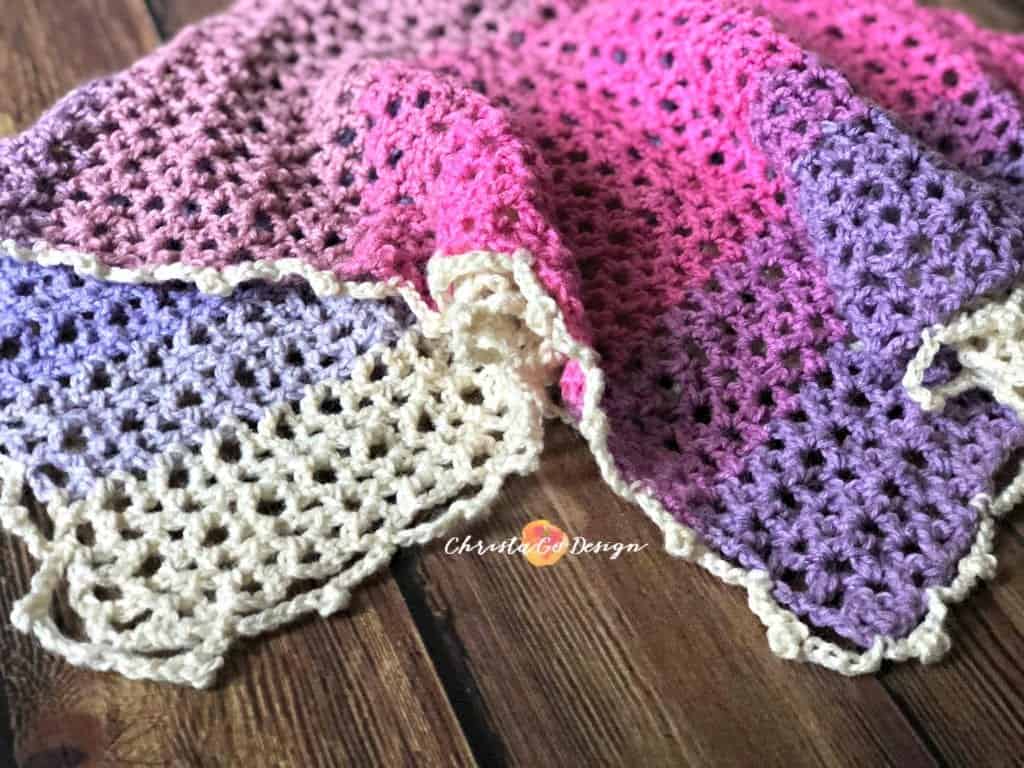
You can hop on over to my YouTube Channel and watch the Merletto Poncho Border Video if you’d like to see it.
Change to smaller 4mm (G) hook, continue from where you are on the corner, but work around the outside edge of the poncho, like adding a border to a blanket.
*{Ch 4, picot, ch 4, with a sl st attach to the poncho edge about every 2-3 v-arches} continue to rep from * evenly around all 4 sides.
Cut yarn and weave in ends.
Finishing
Reinforce the neckline by joining yarn with a sl st anywhere on the neck opening, ch 1, sc in same st and sc evenly around, finish off.

Love the simplicity of your poncho. Perfect for my small granddaughter. Thanks also for the video tutorials!
Thank you and you’re quite welcome!
Pinned this – will be perfect next spring for my nieces. Thank you so much for all your pattens!
This is really cute