How To Crochet An Easy Coffee Cup Cozy Free Pattern
Learn how to crochet this simple cozy pattern for your coffee cup. It’s a quick and easy pattern with pictures and video tutorial!

This post contains affiliate links, I may earn a fee. Read more disclosure policy.
Join the ChristaCoDesign Newsletter
Never miss a pattern!
Crochet cup cozies are a great way to hold on to your hot drinks and protect your hand while your delicious coffee (or tea) cools to the perfect sipping temperature.
And you can use them for cold drinks too! If you use cotton yarn then it’ll absorb the condensation and keep your cup from slipping.
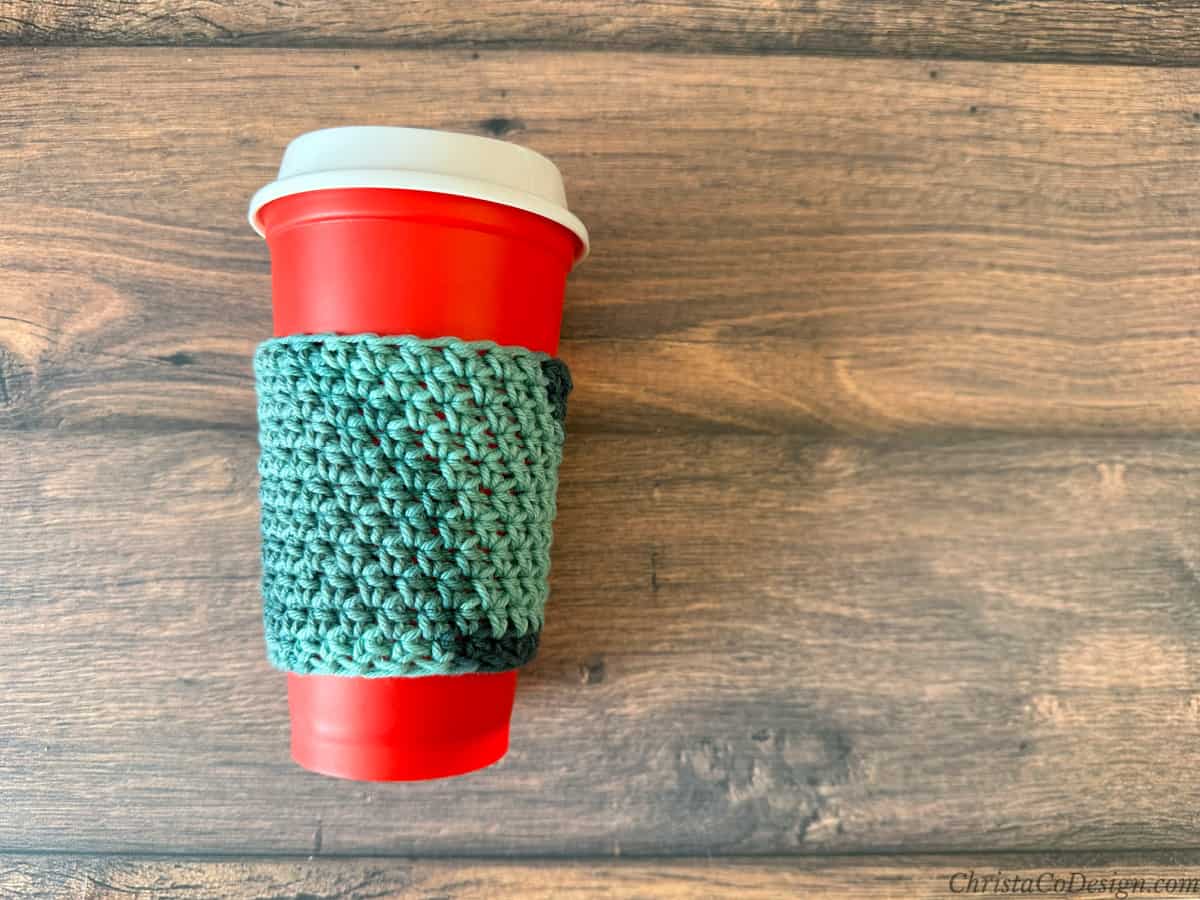
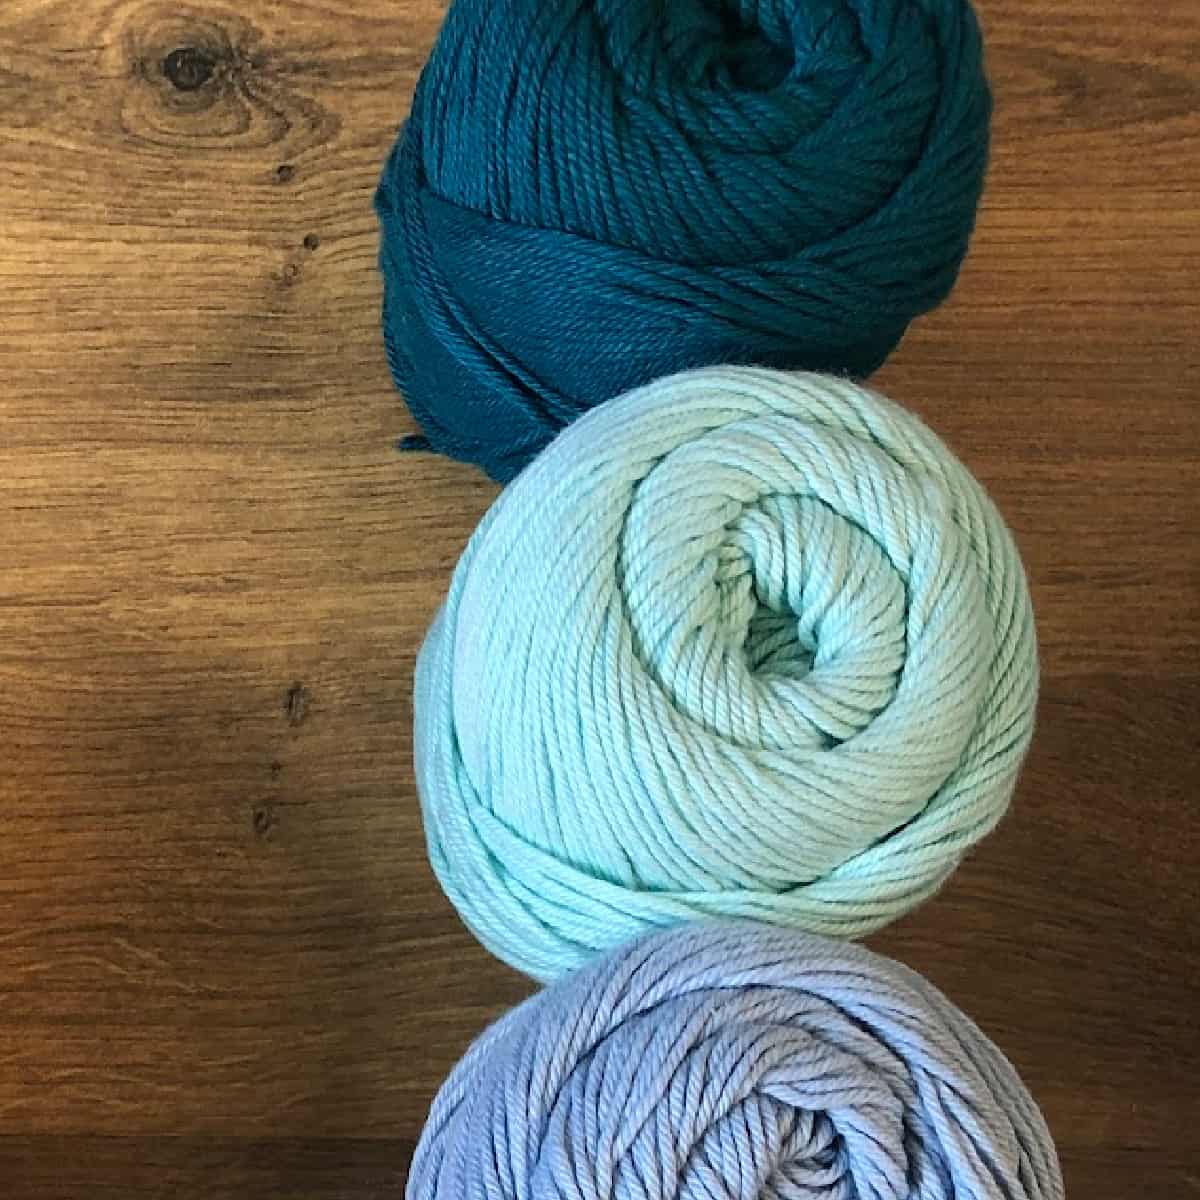
I used one of my favorite cotton yarns from WeCrochet in a variegated color that turned out great. I love how it looks in half double crochet.
When you go get your coffee from the shop you can pick up the cardboard sleeve. But if you’ve invested in a reusable coffee cup then making your own coffee cup sleeves just makes sense.
And if you’re not a coffee or tea drinker (gasp!) then these make great gifts. You can make a dozen mug cozies in different colors and display them at your next craft fair too.
Purchase the ad-free, well formatted printable PDF Pattern from my shop. Scroll down for the free pattern!
Purchase My Ad-Free PDF Patterns In Your Favorite Shop Here:
Materials
- 30 yds of WeCrochet Dishie* #4 medium weight yarn (100% cotton, 190 yd (170 m) per 100 g skein) in shade Herb Garden — 1 skein.
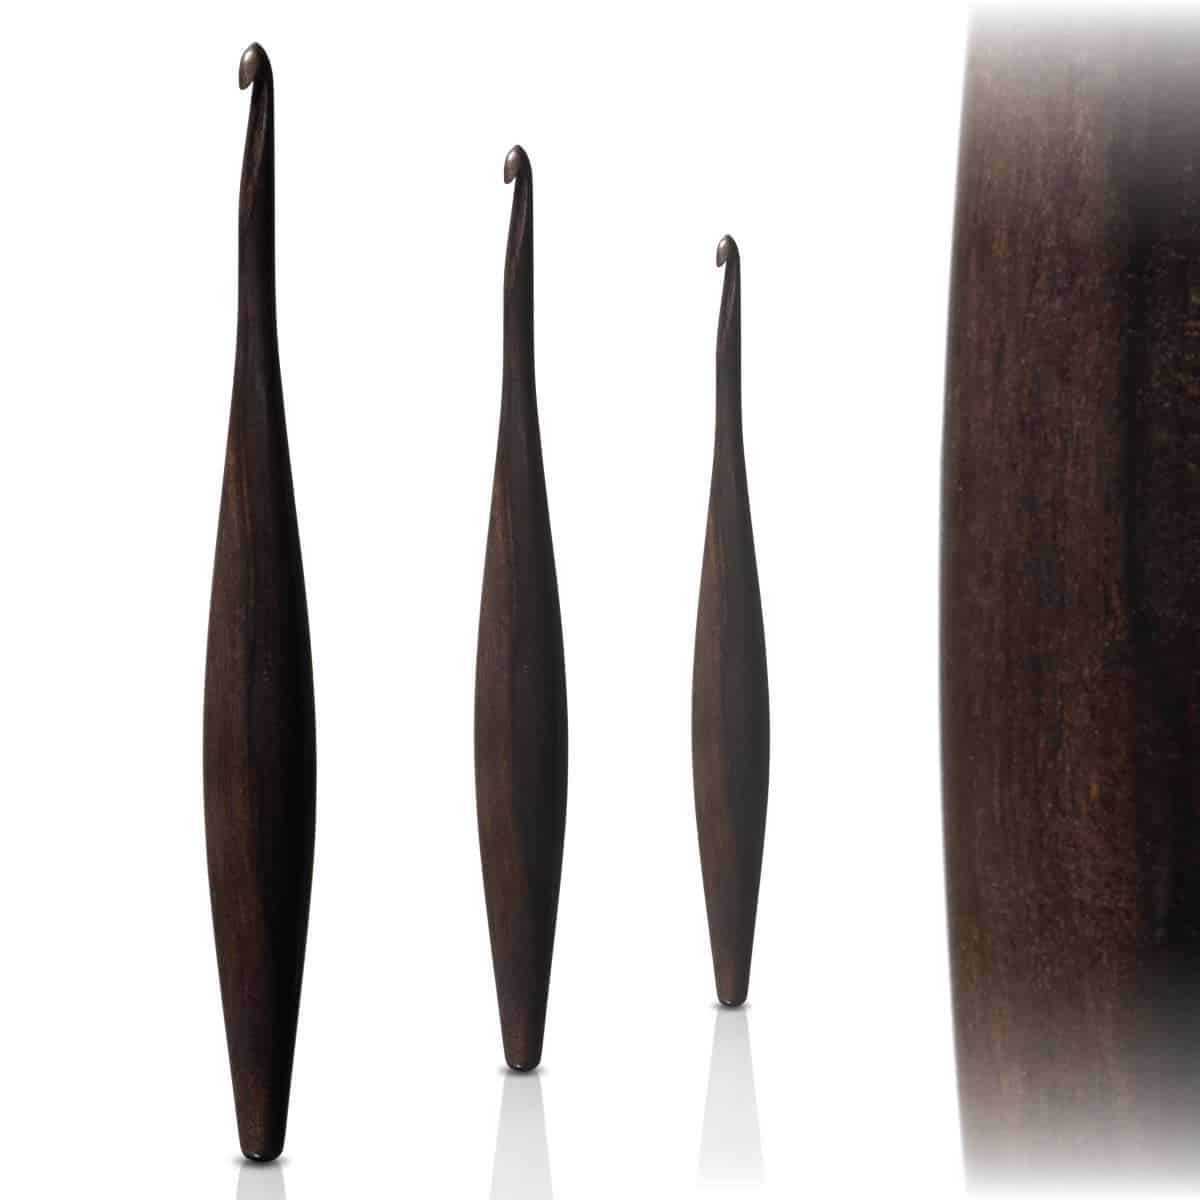
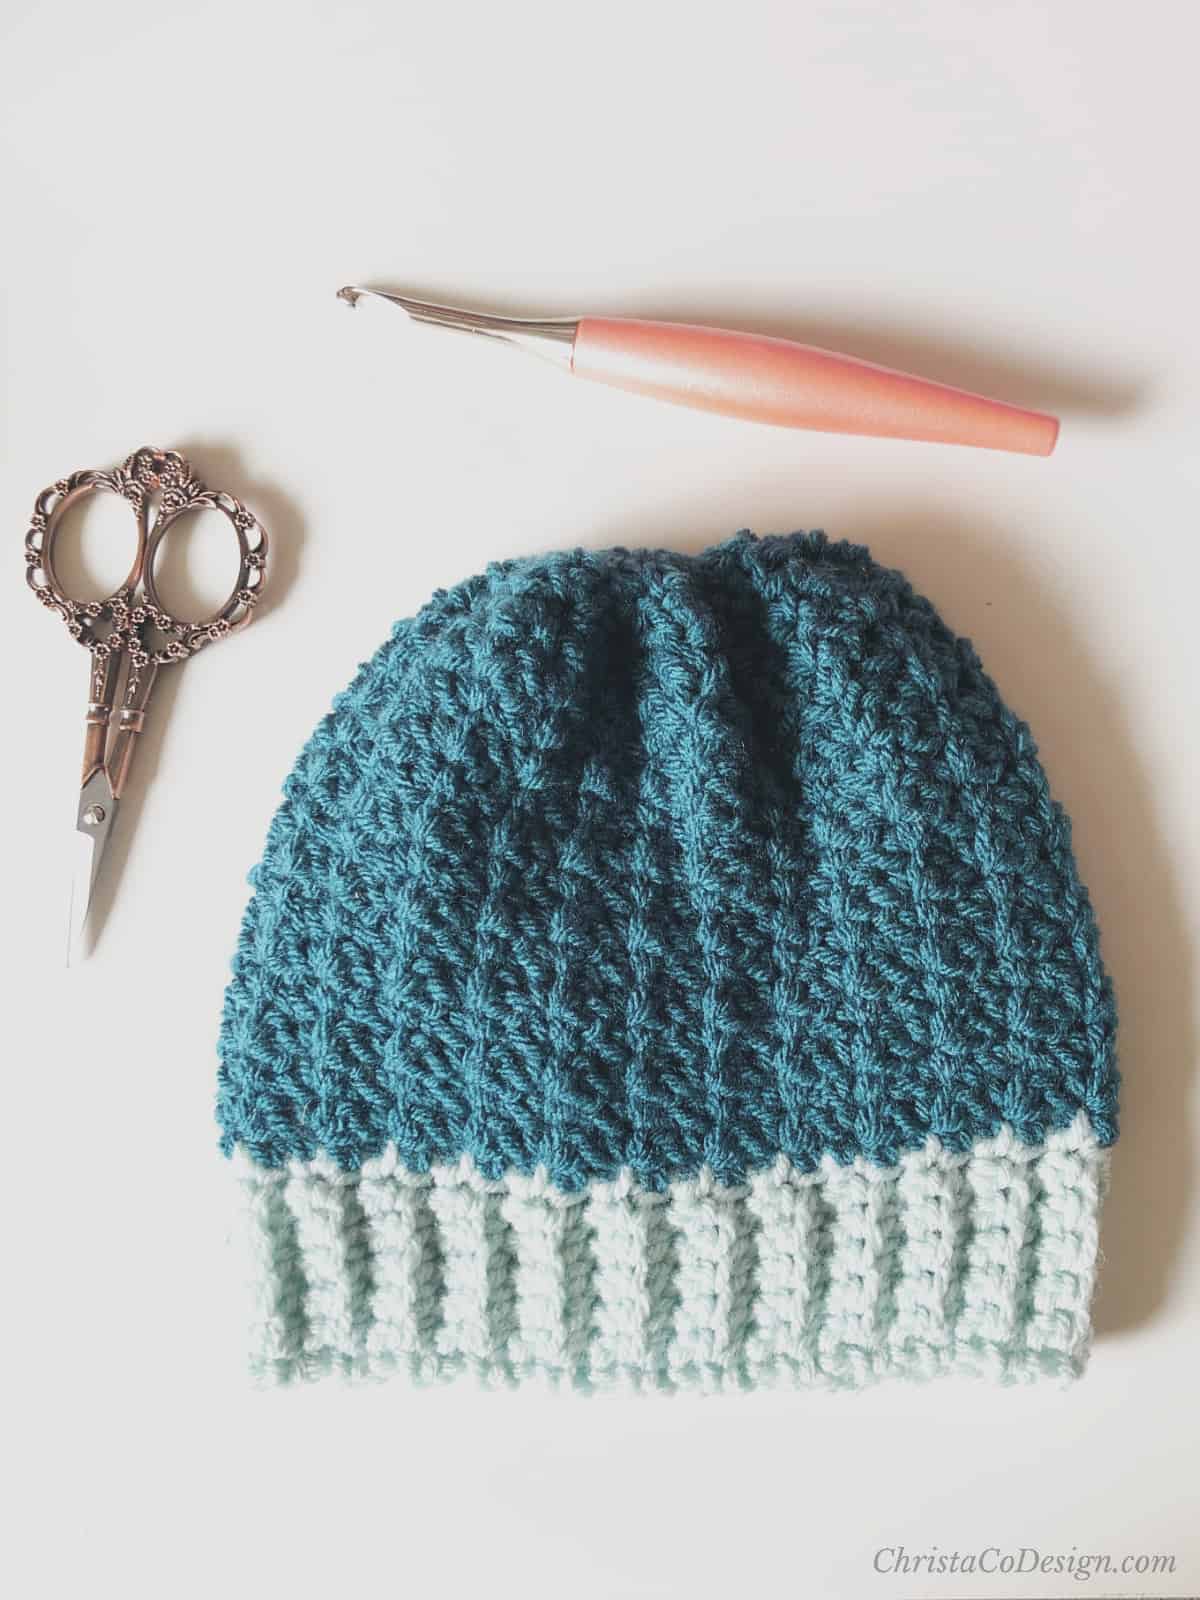
- 5 mm hook US Size 8, or hook size to meet gauge. I’m using my ergonomic Furls Streamline* here.
- Yarn needle, Measuring tape, Scissors

Notes
There’s not a stitch pattern to worry about so you can start with any stitch multiple for the foundation chain.
To keep the join nice and tight, I pull up a long loop instead of chaining to start each round. If you prefer, you may chain 1 or 2 to start the round but do not count it as a stitch.
You may consider using stitch marker for the first stitch of each round.
Stitches/Abbreviations
US Terms
ch – chain
hdc – half double crochet
sl st – slip stitch
Construction
This pattern is crocheted in the round where you join each round and continue working in the same direction.
Skill Level
Beginner
Gauge
9 sts x 9 rnds (after blocking) to 3” (7.5 cm) measured in hdc.
Sizing
3.5” tall x 4.25” wide (flat)
Fit/Adjustments
This pattern has a suggested 1/2” (1 cm) of negative ease. This means the finished cozy is smaller than the actual cup circumference, and will stretch to fit.
To make a different size you can chain any number of stitches to fit your cup. Likewise, you can work to different lengths by repeating more or less rnds.
Our Favorite
Cup Cozy Patterns
Video
Watch the video tutorial on my YouTube Channel.
Pattern Instructions

How To Crochet A Cup Cozy
Learn how to crochet a simple mug cozy in this easy and free crochet pattern with video!
Materials
- 30 yds of WeCrochet Dishie #4 medium weight yarn (100% cotton, 190 yd (170 m) per 100 g skein) in shade Herb Garden — 1 skein.
Tools
- 5 mm crochet hook US Size 8, or hook size to meet gauge.
- tapestry needle, Measuring tape, Scissors
Instructions
Ch 25, being careful not to twist sl st to first ch to join in a circle. You can adjust the number of chains to fit a larger cup (or smaller).
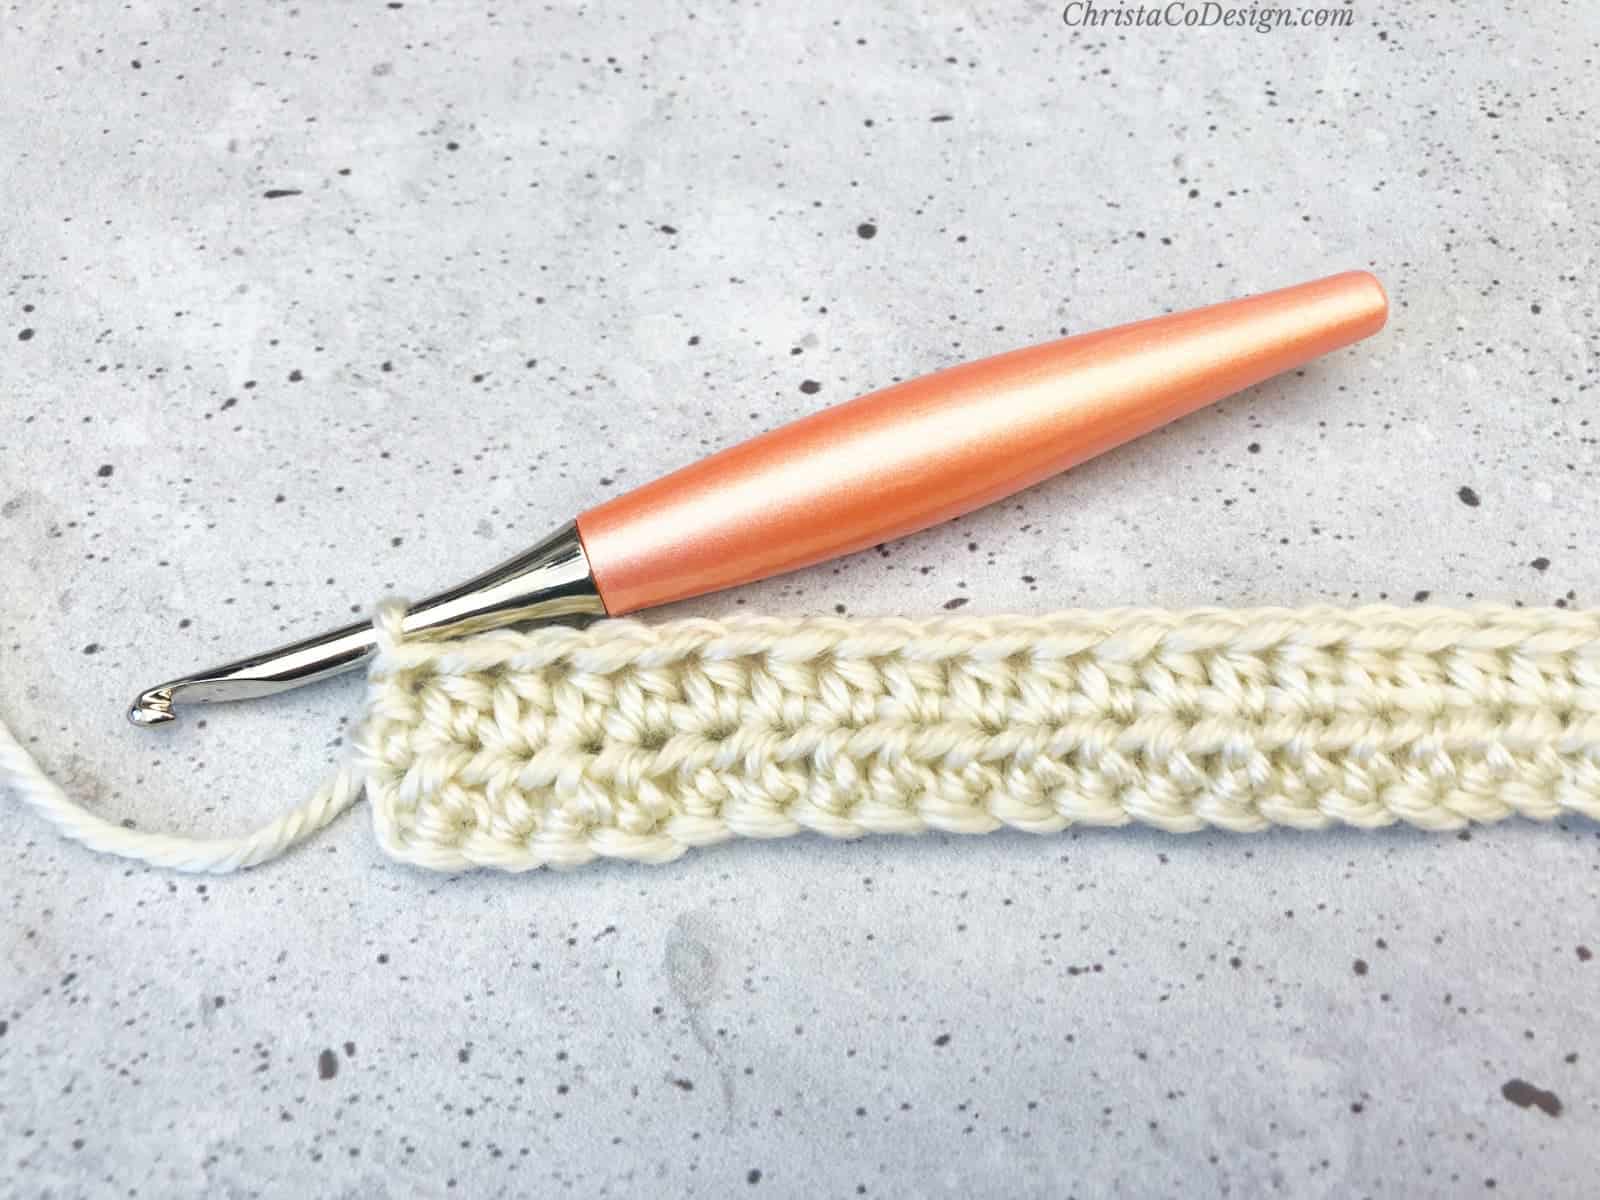
Rnd 1. Pull up a long loop, hdc in same ch,  hdc in next ch and in each ch to end of row,
  sl st to first st to join. (25 sts)
Rnd 2. Pull up a long loop, hdc in same st,  hdc in next st and in each st to end, sl st to first st to join. (25 sts)
Rnds 3 - 11. Repeat rnd 2 to desired height.
Pull up a long loop through the last stitch and cut yarn. Weave in ends. Turn to right side if you have not already.
Recommended Products
As an Amazon Associate and member of other affiliate programs, I earn from qualifying purchases.