
How to Whip Stitch Crochet Squares Together Tutorial
There are lots of different ways to sew your crochet pieces together. In this tutorial I cover how to join afghan squares using the simple whip stitch for a beautiful seam.

This post contains affiliate links, I may earn a fee. Read more disclosure policy.
Join the ChristaCoDesign Newsletter
Never miss a pattern!
Crochet seams can give us a bit of anxiety. You put in many hours on getting your crochet projects just right. It’s only normal to want your hard work to shine in the finishing stage!
Different Methods of Joining
For a more invisible seam I recommend using a mattress stitch. This is an excellent joining method that makes a nice flat seam.
I use the mattress stitch on my Ava Blanket pattern. This easy chunky crochet blanket pattern features one square pattern that you make 6 of in different colors and then sew together.
Joining squares with a crochet hook and the slip stitch is another great way to do it. This one is a good idea for crocheters who dislike sewing.

Personally I think the whip stitch join is the easiest way to join squares! It also works for squares of different sizes. I’m using the Modena patchwork blanket pattern for this crochet tutorial.
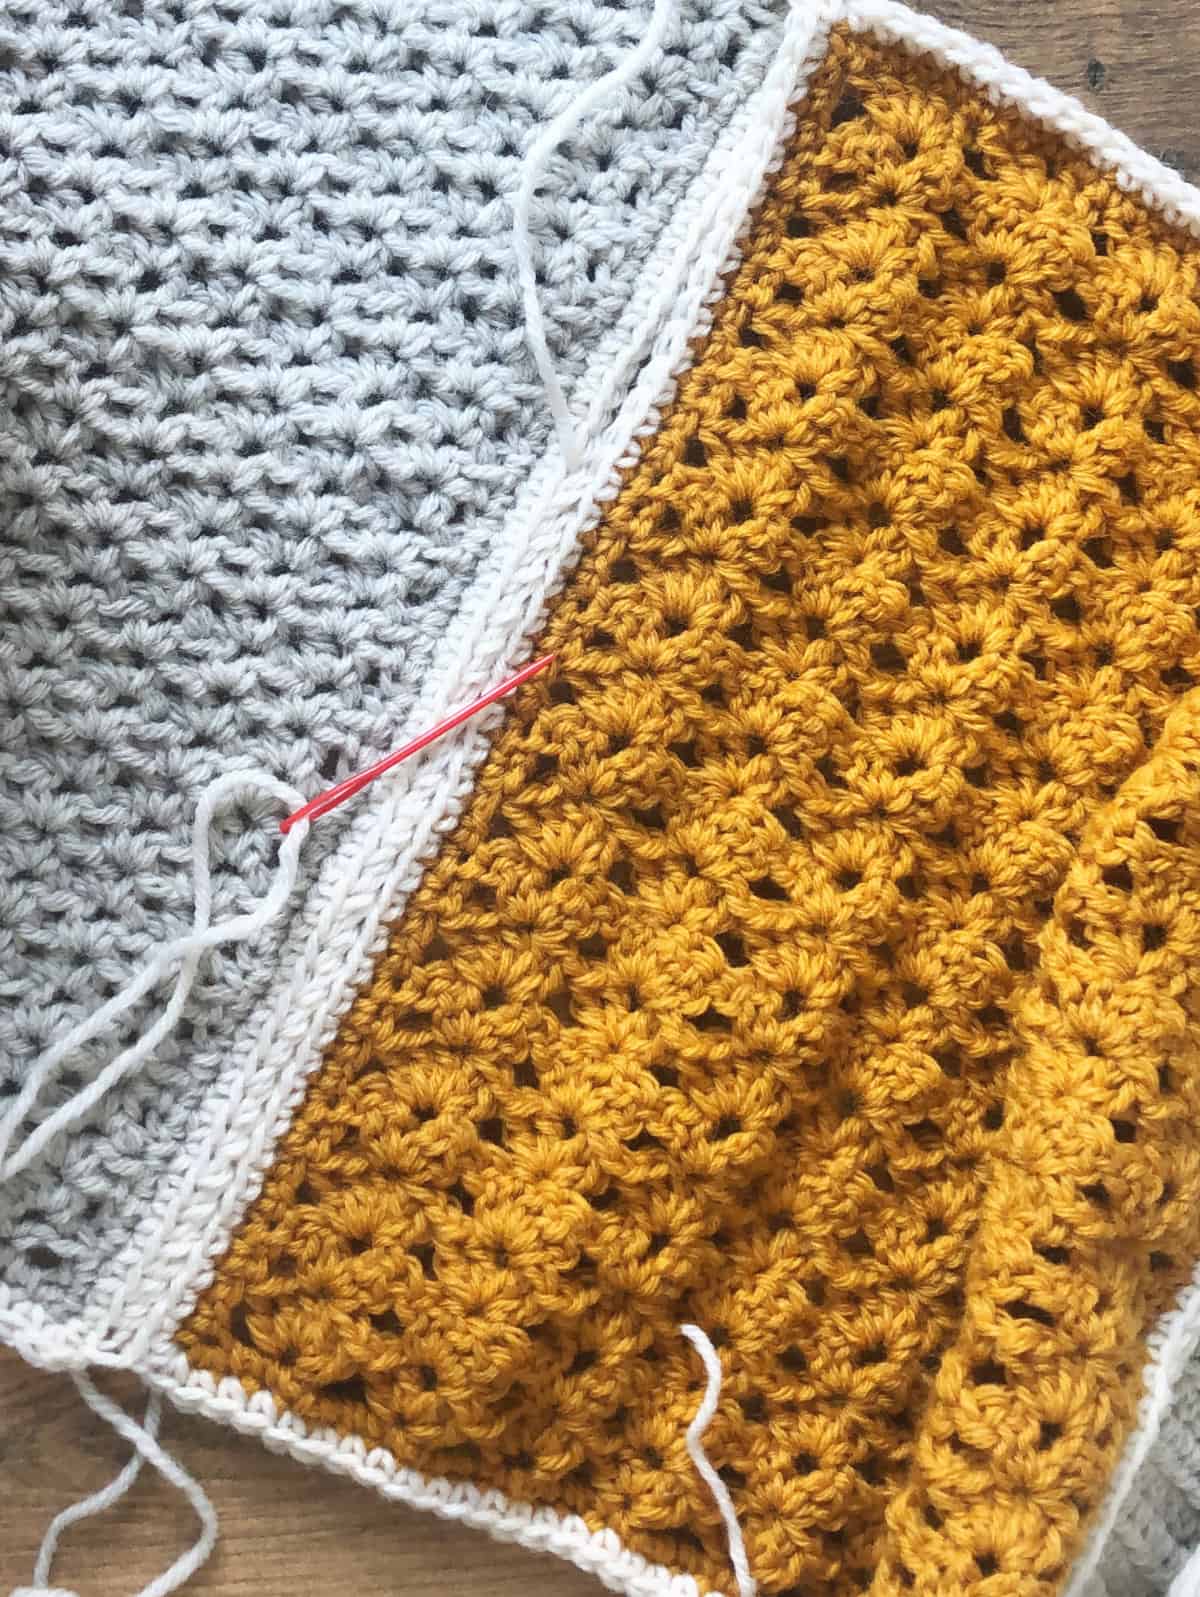
To make the whip stitch seaming method look great we are working on the right sides of your work. So you will want to use this on your crochet pieces that you will have a visible seam, like a blanket.
Video Tutorial
Watch the video tutorial on how to join blanket squares with the whip stitch on my YouTube.
Scroll down for the free tutorial!

How to Whip Stitch Crochet Squares Together
Learn how to use the whip stitch to sew your crochet blanket squares together.
Materials
- Yarn to match your blanket square edge.
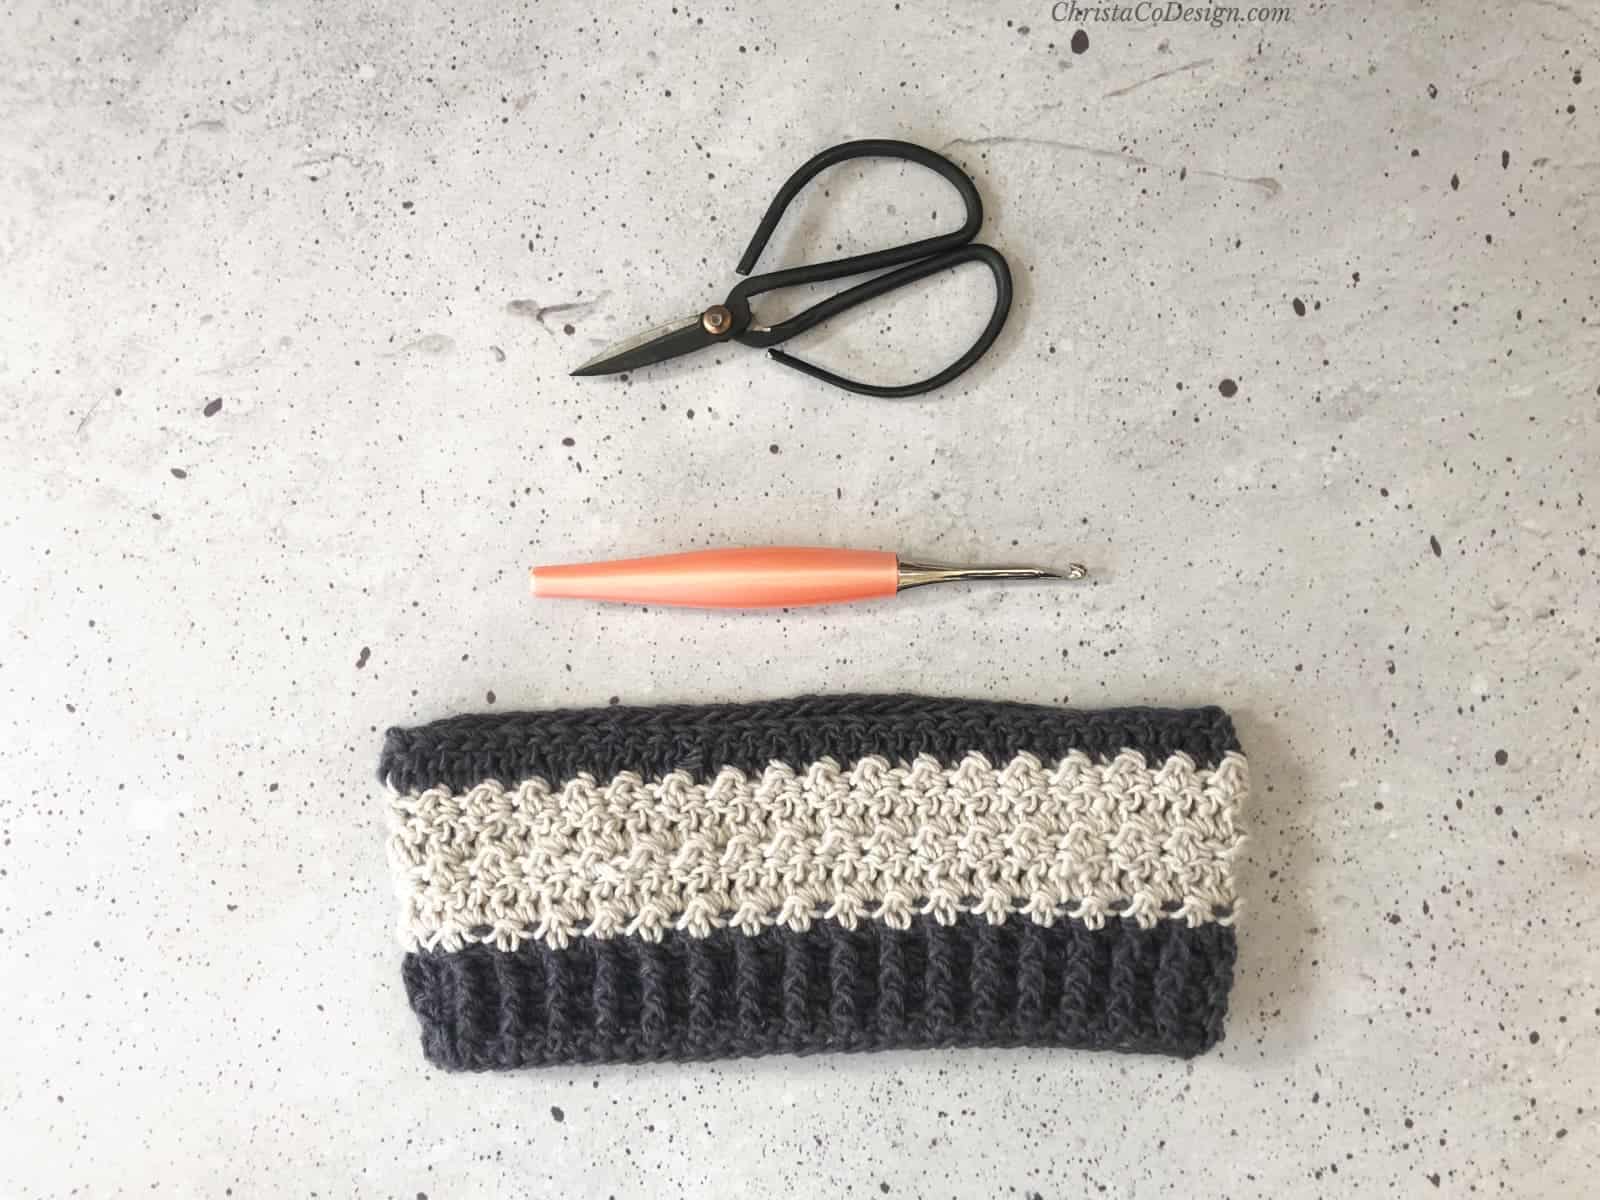
Tools
- Yarn needle
- Scissors
Instructions
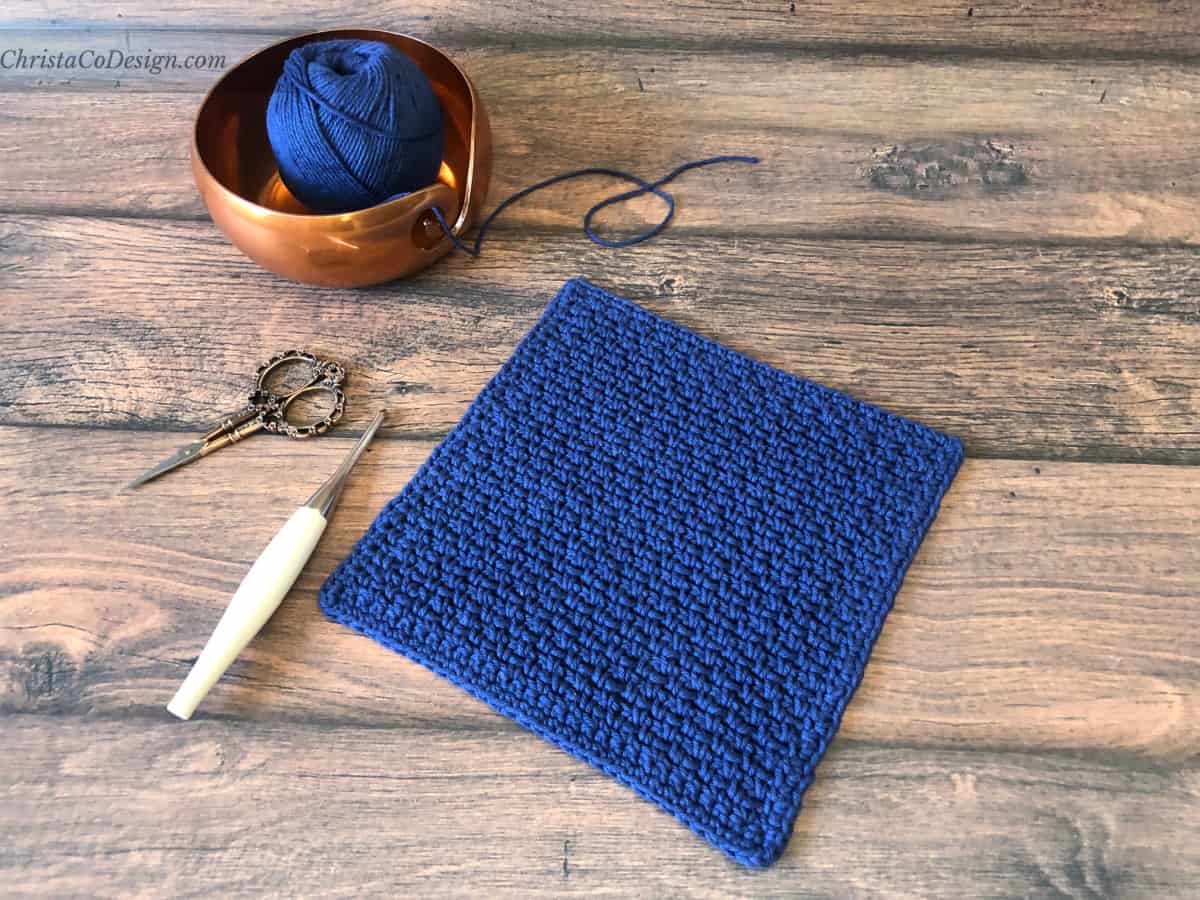
- To join blanket squares with the whip stitch you'll need your completed squares.
- Make sure you squares are bordered in single crochet with the same color you plan to use to sew them together. This will give you a great looking finish.
 If you are particularly confident in your sewing skills then you can use a contrasting color to sew them together for a stand out seam.
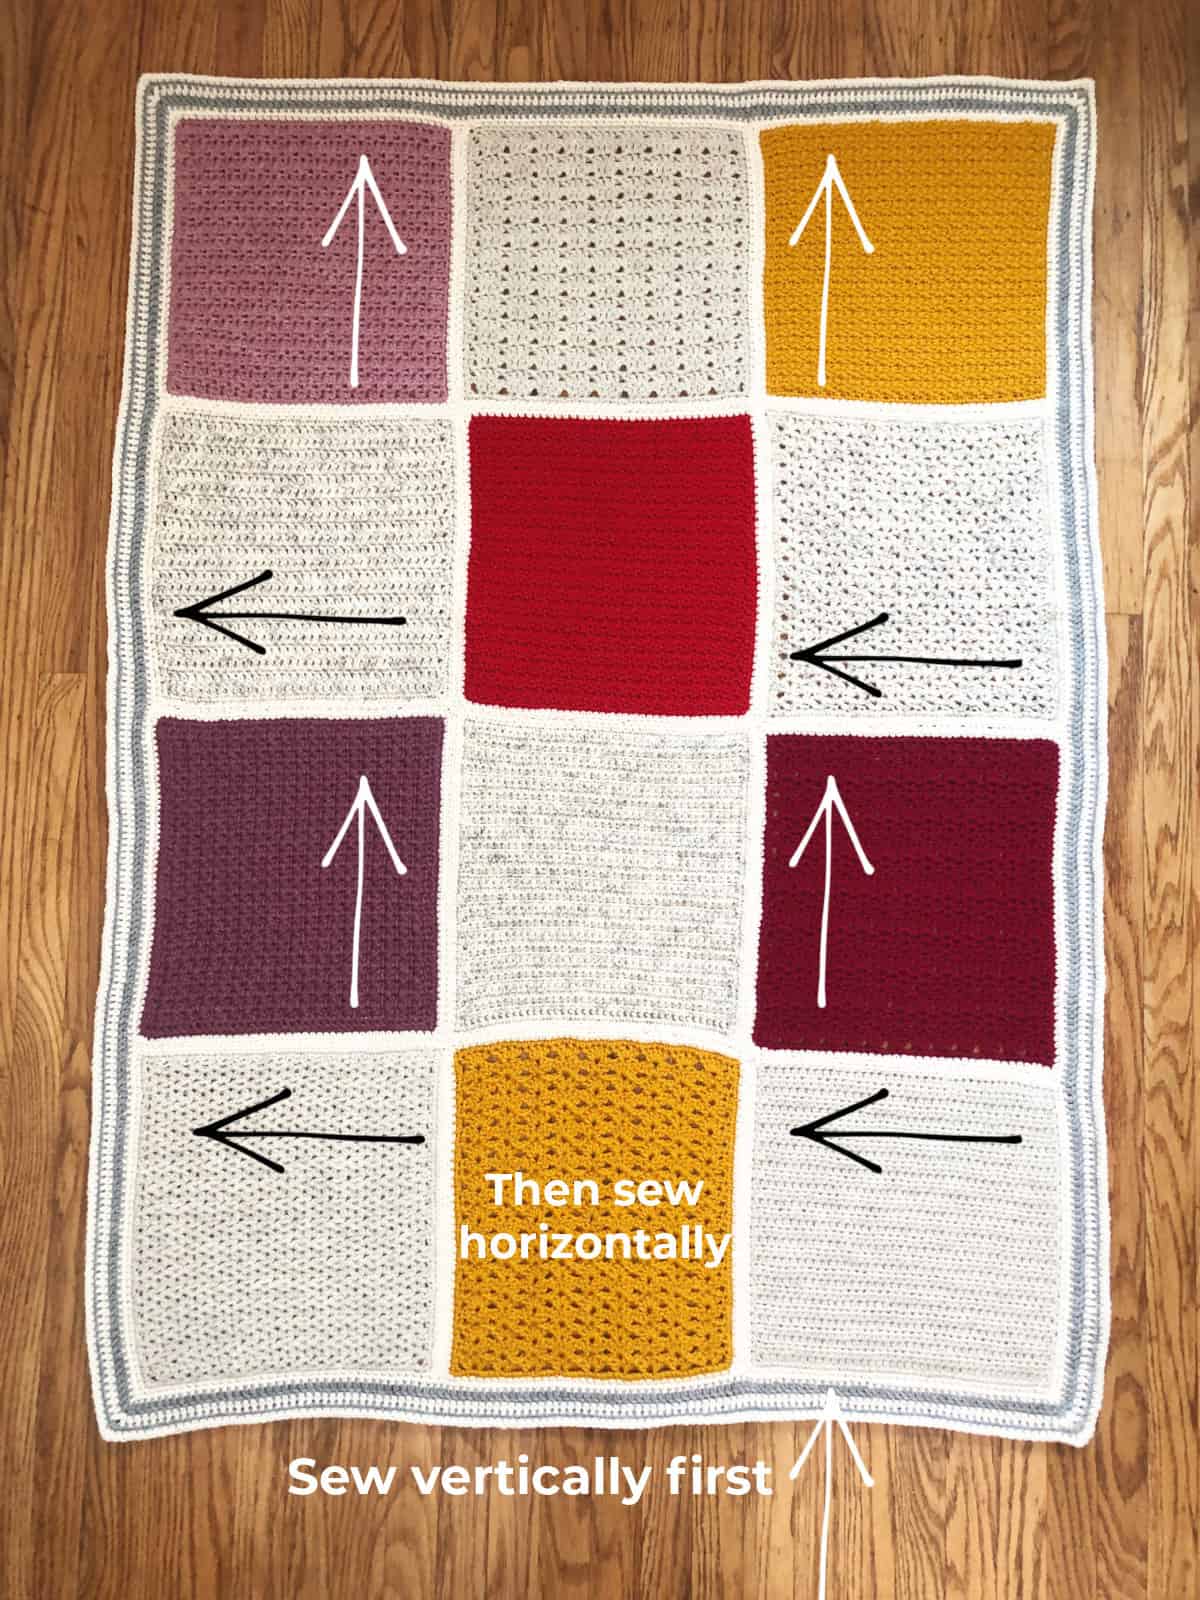
 - I recommend sewing your blanket squares together vertically in long strips, then coming back and sewing them together horizontally.
- To sew you are going to use a tapestry or yarn needle, and a length of matching thread. If you can manage one long piece of yarn for sewing the vertical length then do that. But often this is too long and the piece become twisted and knotted as you work. In this case I recommend using a length of yarn that is long enough to sew 4+ block together vertically. It's important that you don't run out of yarn at the intersection of 4 squares. You'll want to join new yarn, if needed, in the middle of a block so you don't comprise a join of 4 squares together.
- Per 12 inch square you will need about 18 - 24 inches of yarn for sewing. This gives you plenty for sewing and to leave a 6" tail to start and finish with.
- Get your entire layout for your blanket squares set up before you start. Taking picture to refer to helps. Before you start make sure your squares are oriented correctly (right side, not upside down, etc).

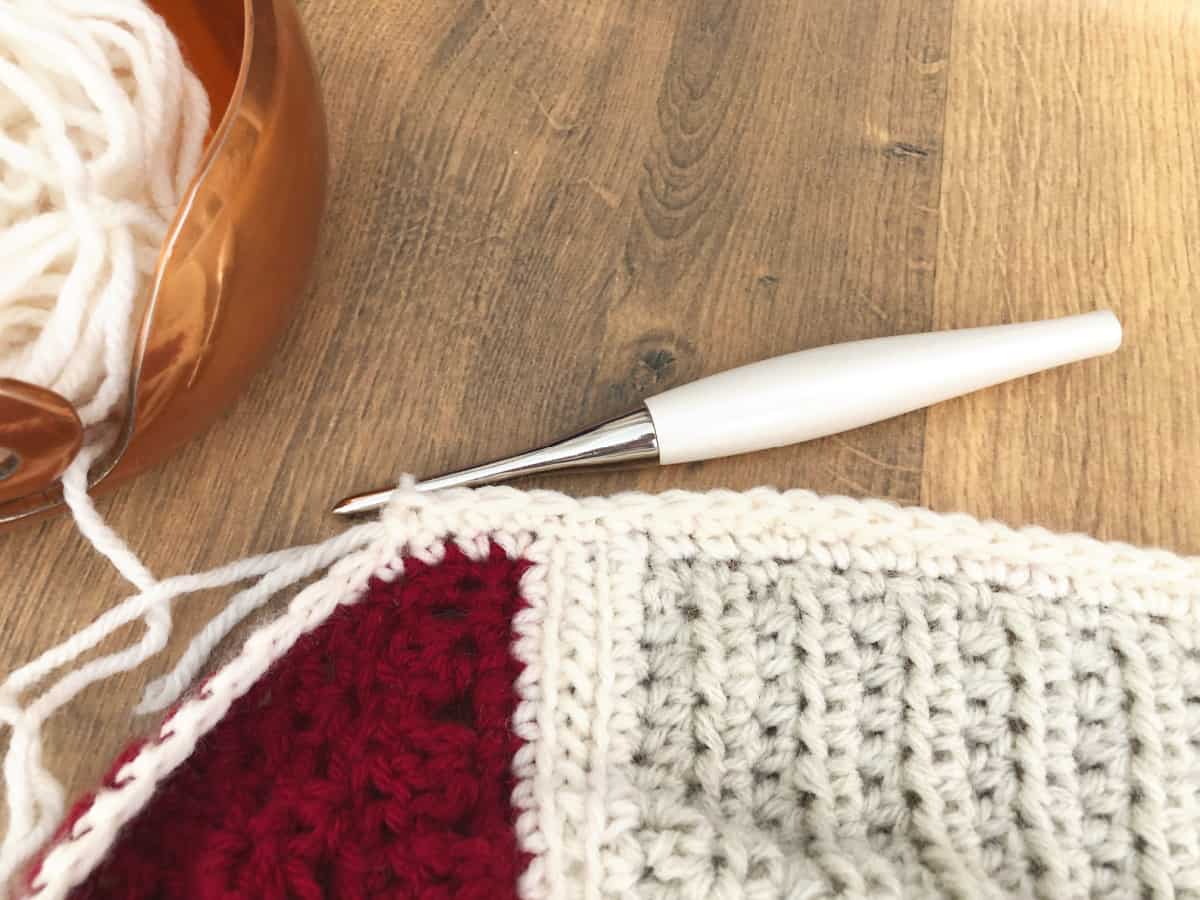
- Start with your bottom right two squares. Lay them out side by side with the right side up. You will sew on the front of your work.
- Thread your yarn needle.
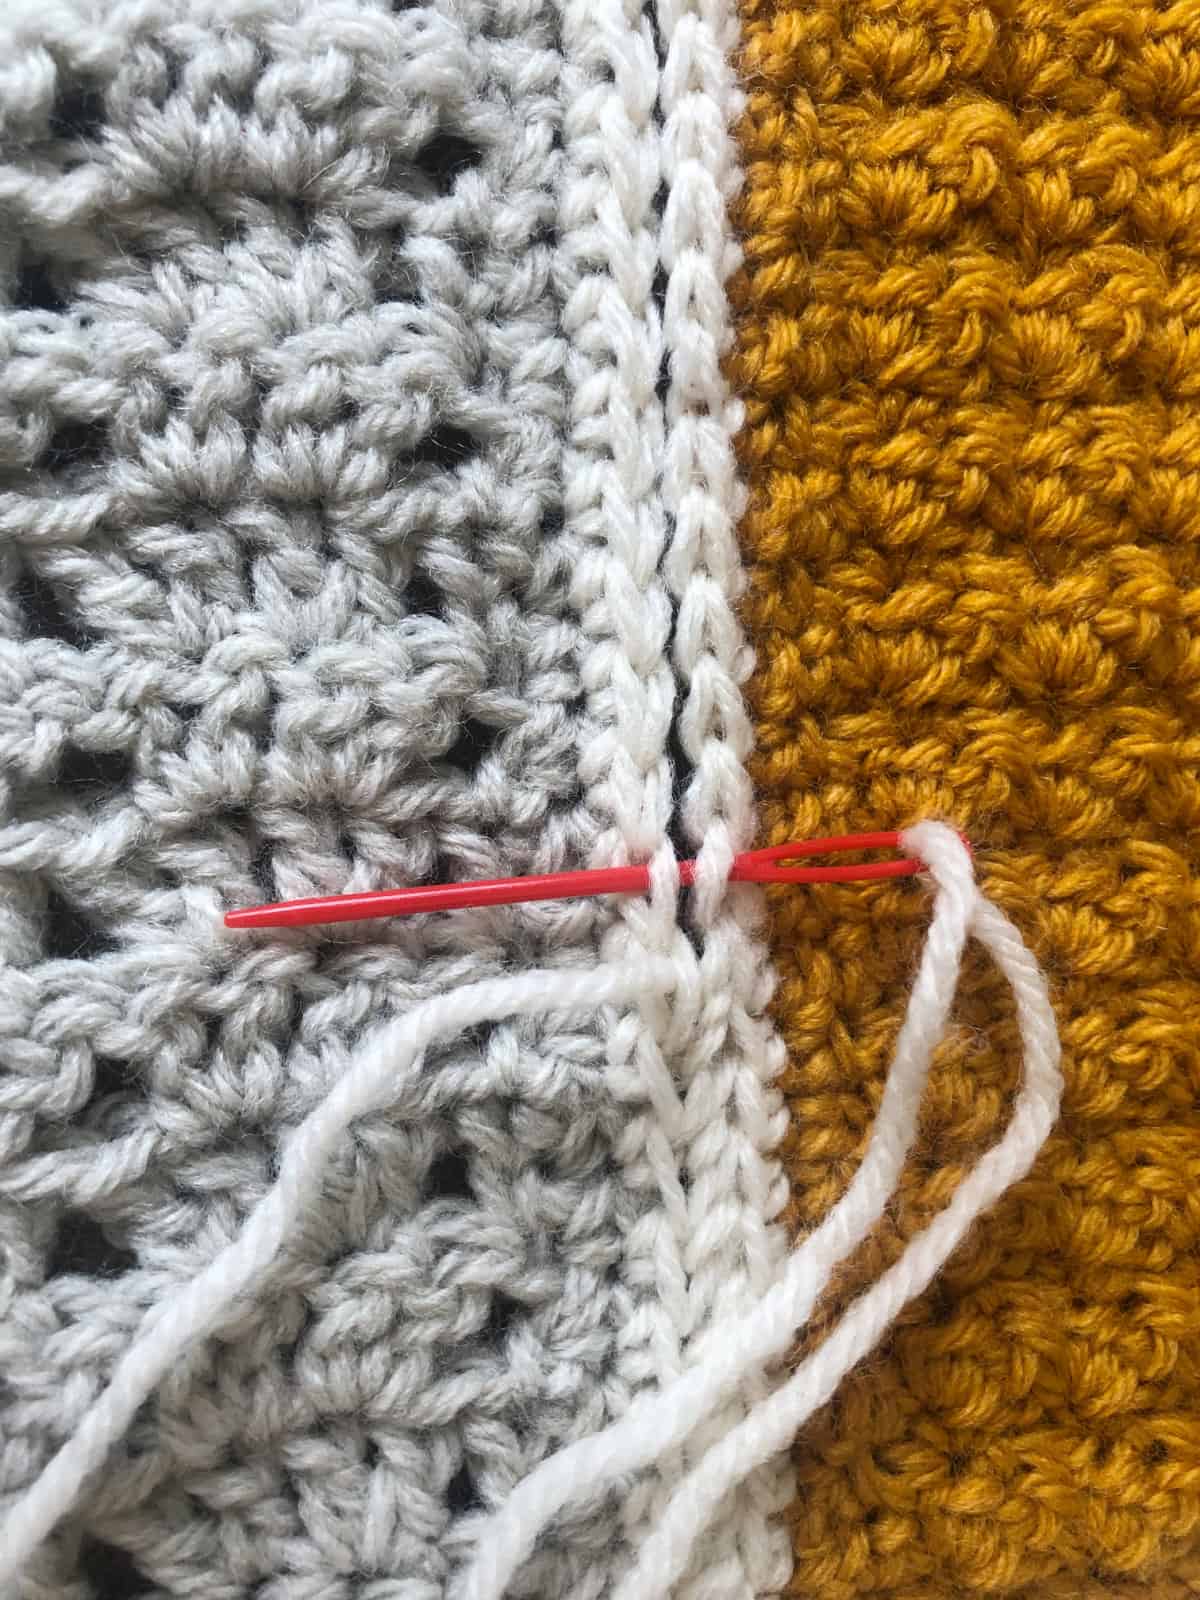
- On the right corner square, from the top insert your needle under two loops of the corner stitch (exactly where you would place a crochet hook), bring the needle and yarn through the stitch. Pull the length through until you have about 6" left. This is your starting tail and will need to be weaved in securely at the end.
- Now go across to the corresponding stitch on the other square, insert needle under two loops in the corresponding stitch on this square. Now bring the length of yarn through making sure not to pull out the 6" tail.
- Perform a locking stitch. Go up and over and insert your needle back under the first stitch you went through. This lightly secures it. Your tail should be on the right and the working yarn and needle on your left.
- Now begin the whip stitch. Bring the yarn needle up and over to the first square. On the next single crochet insert the needle in the top and go under the front loop (the loop closest to you). We'll call this the inside loop.
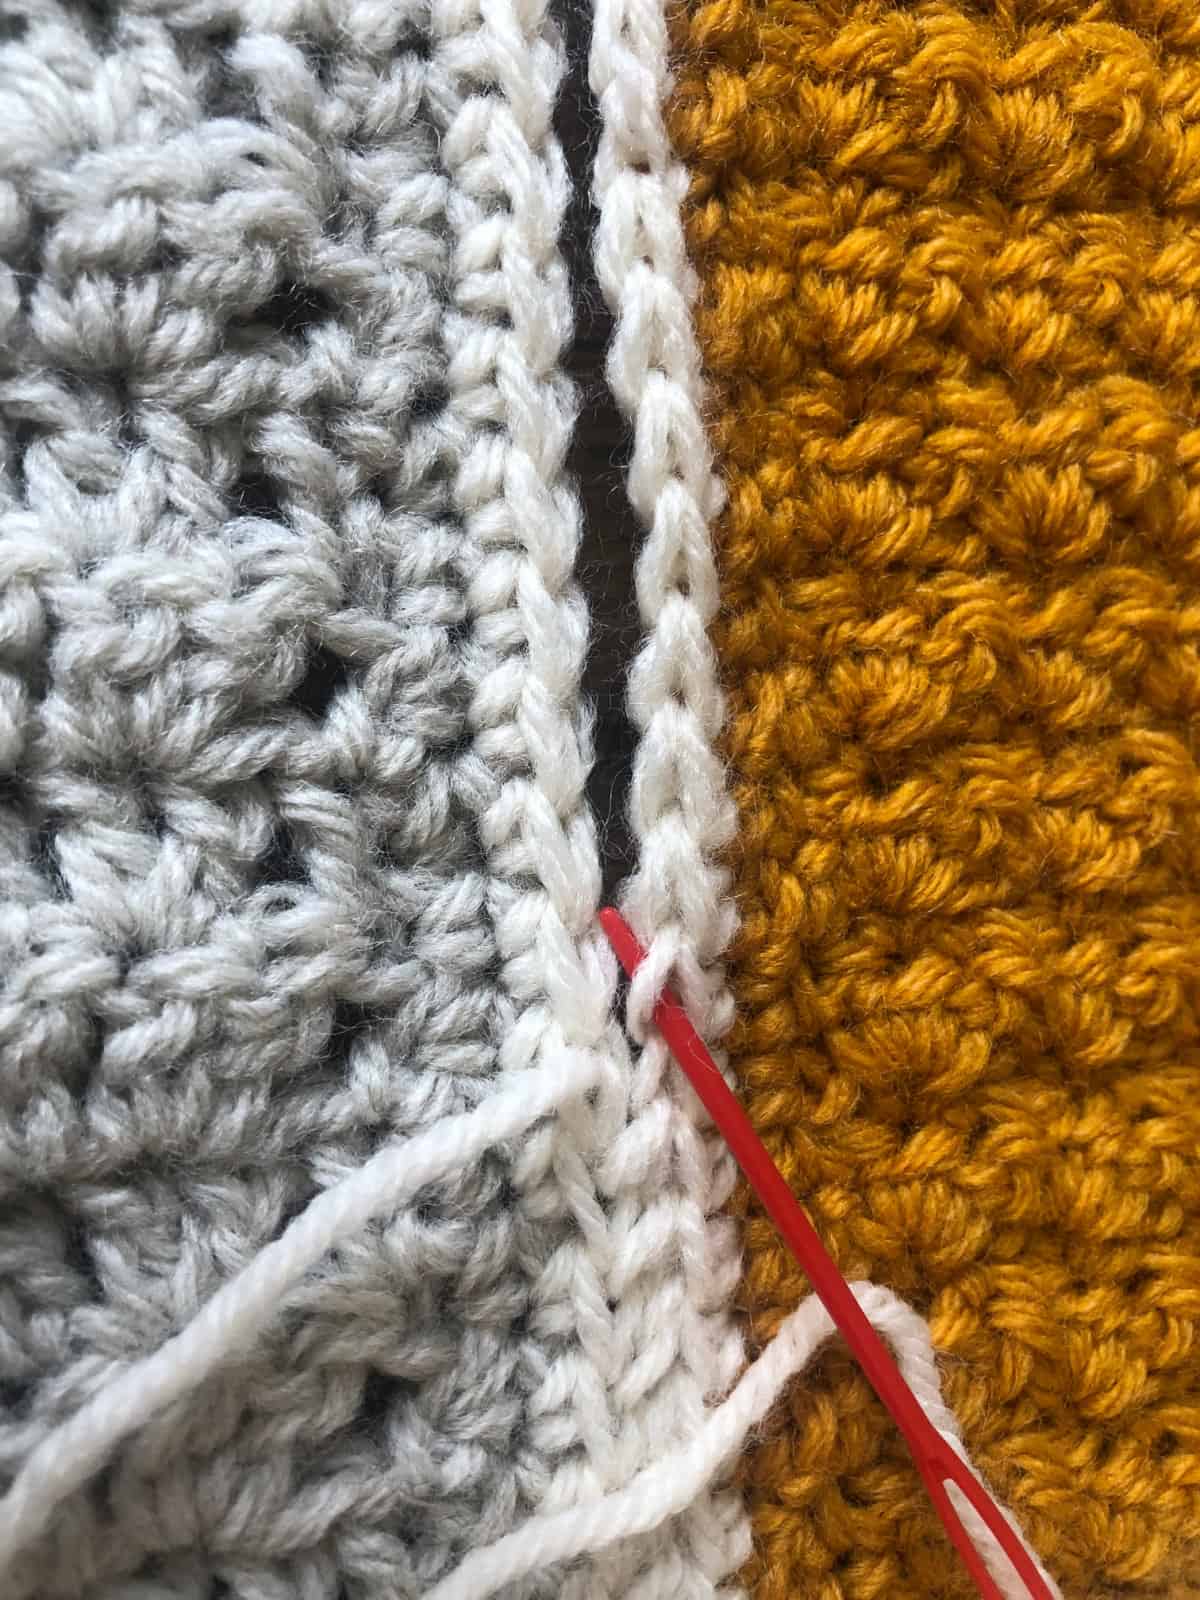
- Match up this stitch point to the corresponding stitch on the second square. Catch the same inside loop (the loop closest to the one you have on the needle) by going under it and coming up from the middle of the stitch.
 Pull the yarn through snugly, but not too tight. You want to see the stitch you are making. They look like forward slashes "/".
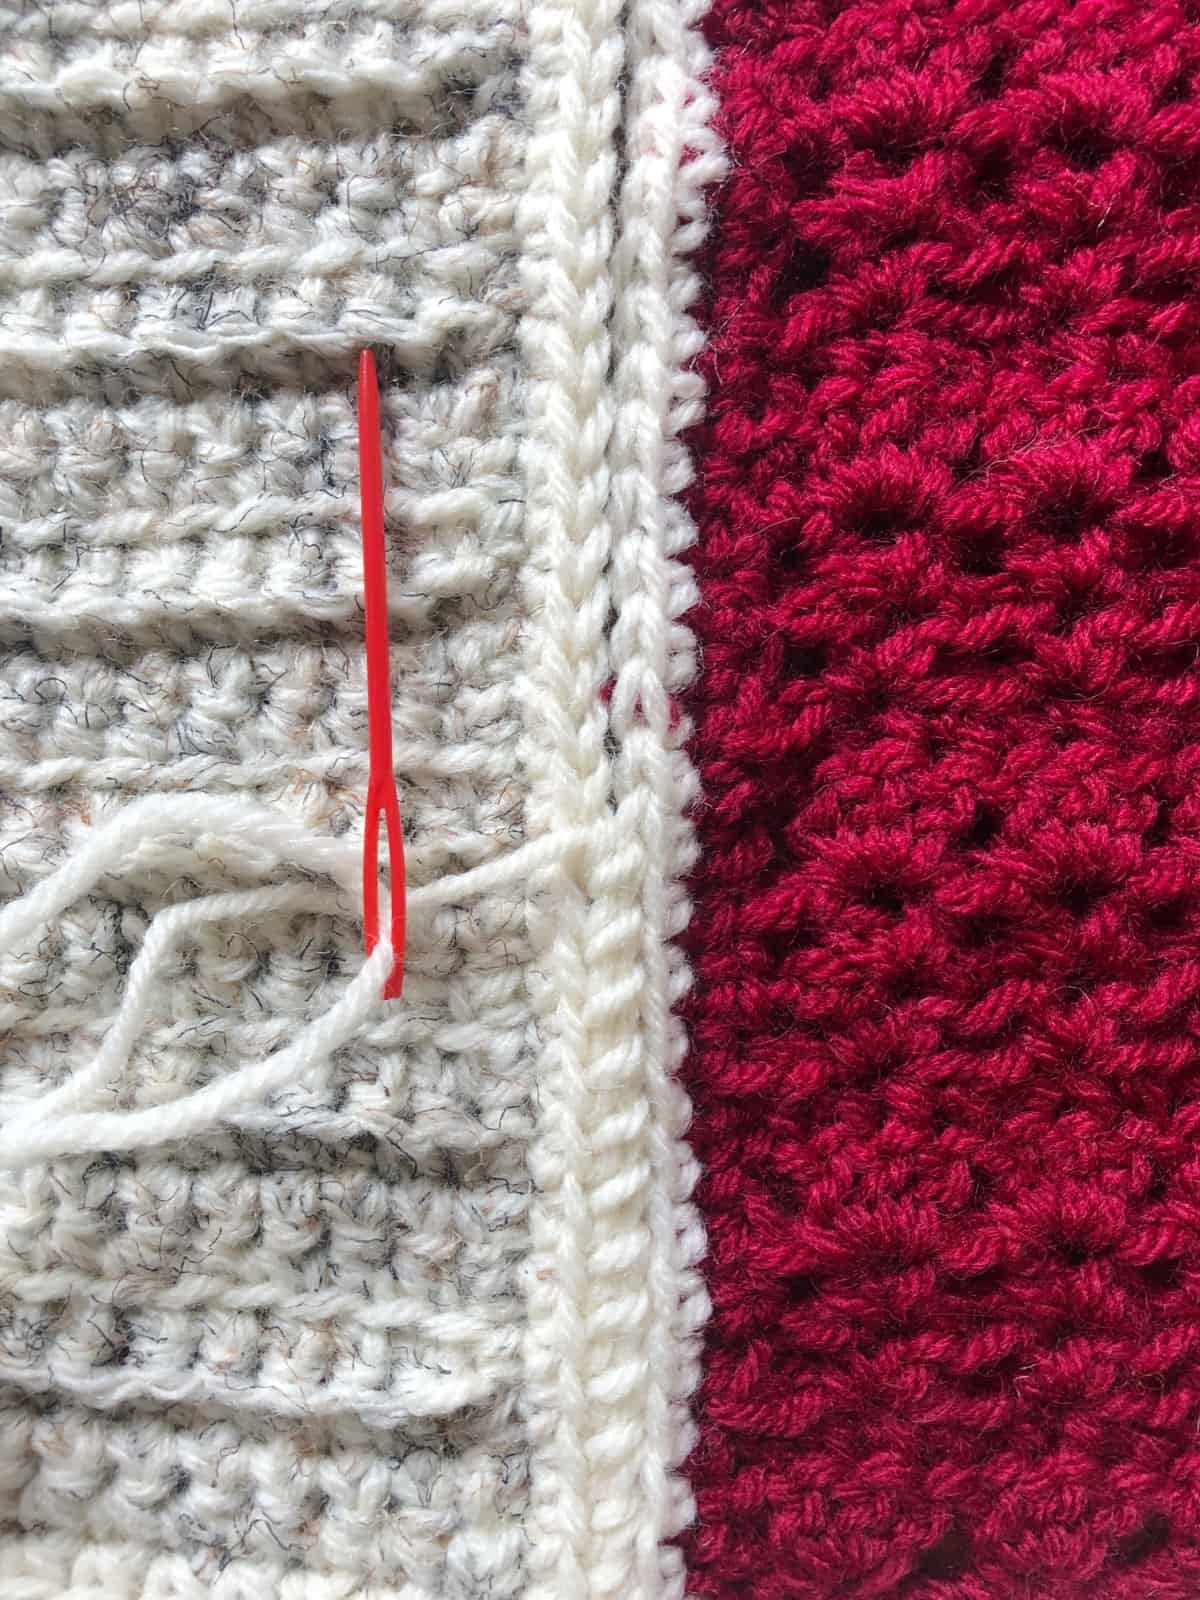
- Now repeat step 12 - 13. Go up and over, insert the needle in the middle of the stitch on the first square, go under the inside loop, go across to the corresponding stitch on the second square, go under the inside loop and come up through the center.
Uneven Stitch Counts
- On some squares you may have a different number of stitches than others. To adjust for an uneven stitch count you can join 1 stitch from one square to 2 stitches on the other square.
- To do this go under the first square's stitch loop as normal, then go under the loop of the stitch on the second square as normal. Now immediately bring the yarn needle to the center of the next stitch and go under that loop too.
 You'll have 1 loop from the first square and 2 loops from the second square.
  Here you can see how it looks, but as you work into the next stitch it does not stand out.
  Continue to whip stitch normally going into the next set of stitches.
 - This also works if the extra stitches are on the first square. If so then you will go into the top of the first and under that inside loop and then immendiate move the yarn needle to the center of the next stitch and go under that inside loop. Then go across to catch the inside loop of the corresponding stitch on the second square and come up the center.
- If you have to do this repeatedly try to spread these out but doing 3 - 4 normal whip stitches in between.
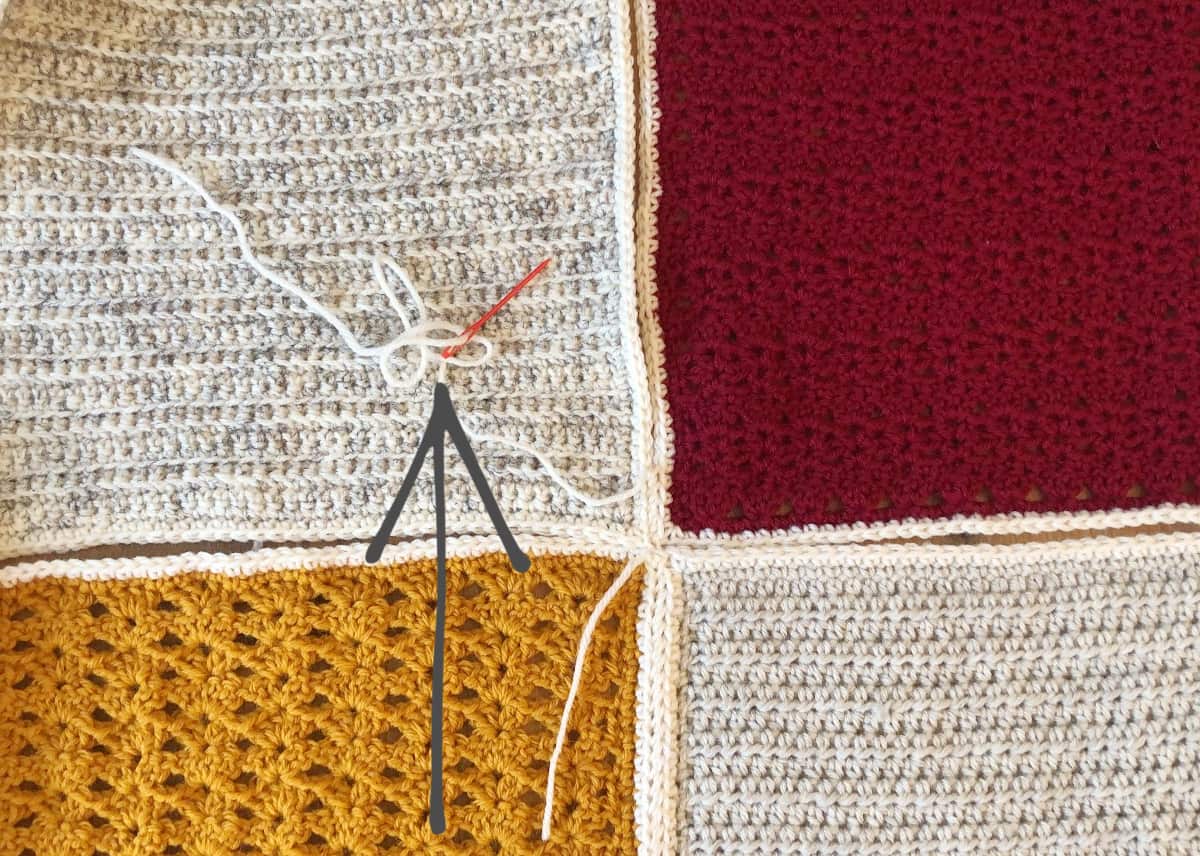
Intersections
- When you come to an intersection of 4 squares you want to catch both corner stitches of the new squares. Go under 1 loops on each corner stitch, then go down to catch the 2 corner stitches on the first set of blocks. Then went under and to the left to come up from the center of the first stitch of the new square on my left so I could start whip stitching in the same direction I had been going.
- The joins can be fussy and feel not all that secure. The good thing is that when you sew together your squares horizontally you'll have a chance to sew across them again. I tried to really secure them together with the first vertical seams.
 Then when it's time to join them horizontally I opted to just pick up one loop in the same way I was already sewing to keep them looking nice.
 - If you need to join new yarn for sewing stop sewing when you can leave a 6" yarn tail. Pull the tapestry needle off.
- Thread a new length of yarn in the needle. Start where you left off and be sure to continue in the same direction. You'll have two tails in one stitch for now. You can gently tie them together and come back to undo it and weave them in securely.
- Continue to whip stitch all the squares together in your vertical strip. When you get to the end cut the yarn leaving at least a 6" tail to weave in.

- Add on the next set and seam vertically. Repeat as needed.
- Once all squares are joined vertically it's time to sew them across horizontally. To keep the stitches slanting forward the same way as the vertical stitches start sewing from left to right. Start under the loop of the first stitch, come through the center, go up and over to the center of the corresponding stitch on the bottom square. Then go across and repeat. When you get to the intersection you can clean up your joins to look as nice as possible.

- When you are finished seaming then cut the yarn and weave in all ends. If you take a look the wrong sides of your join are also neat and tidy.
- Now I recommend add a single crochet border around your whole blanket in the same color as your seams before starting any other border rounds.
Recommended Products
As an Amazon Associate and member of other affiliate programs, I earn from qualifying purchases.


I’ve finally finished crocheting my 63 square afghan with a different pattern for each square that I have been working on for quite some time (years)! I am now reading to sew the squares together and have been wrestling with the best way to attach them. I’ve crocheted many afghans over the years and have first sewed the individual squares together to make a strip and then sewed the strips together. This seemed to me now to be a little bit tedious and even a waste of yarn so mentally I’ve been considering different options and searched ideas but most were just for sewing together individual squares using different methods. I was considering your method which seemed to make sense but I was never able to find any suggestions for doing that until I found your post today. It confirmed my thoughts and while I’m not a big “You Tube” person your written instructions fit the bill. So thank you for the information and I was glad to have found you and look forward to finishing this project which has gone on way too long.