How To Knit 2×2 Ribbing Step By Step For Beginners
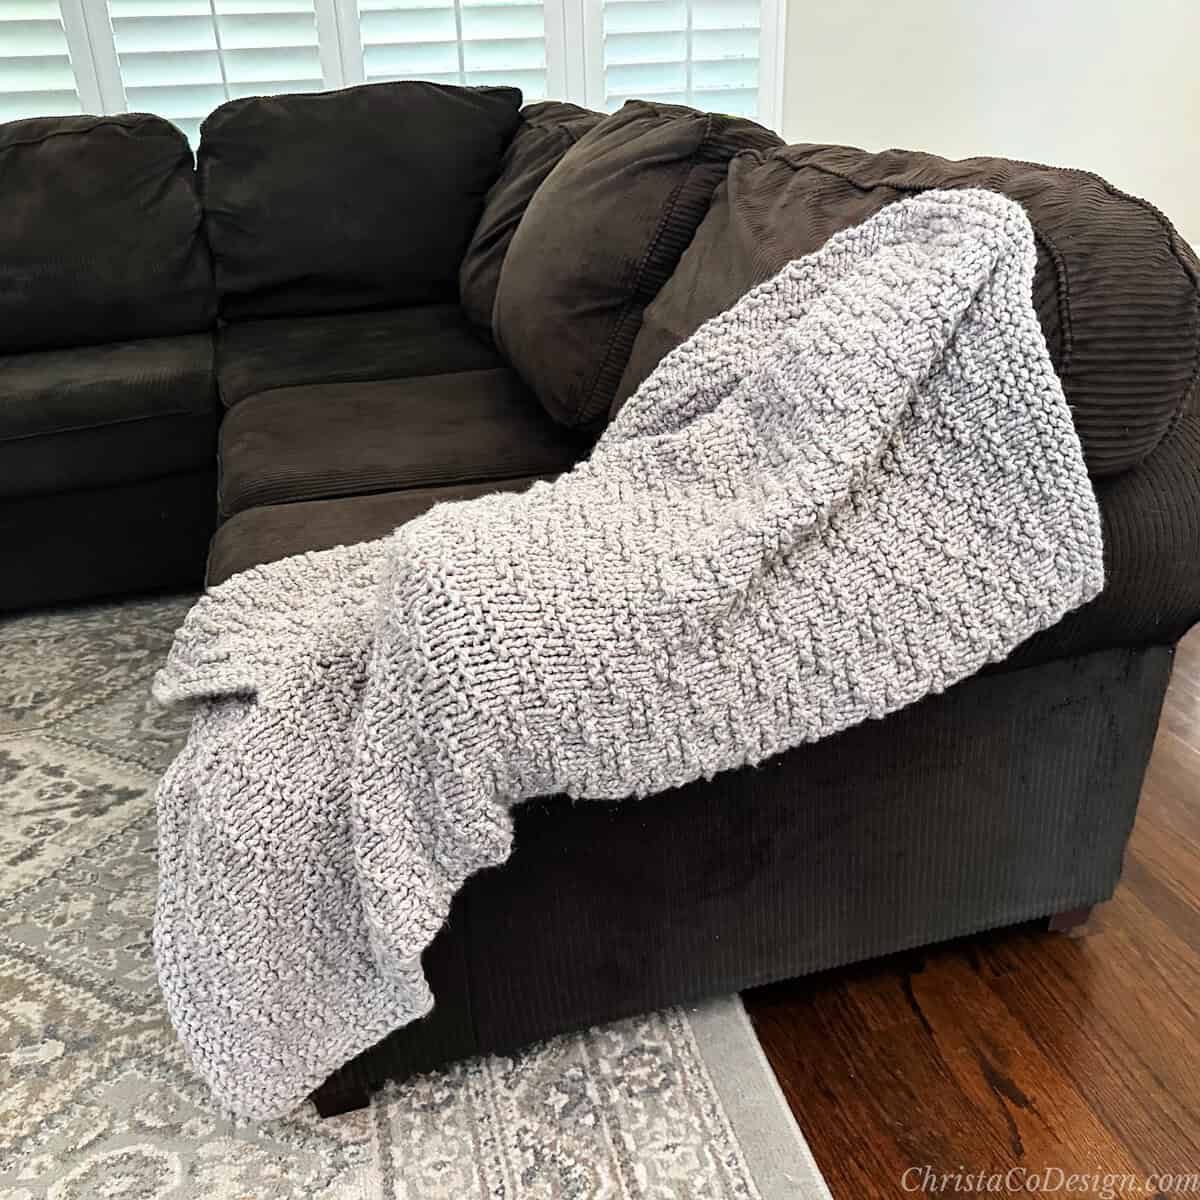
A rib stitch pattern is an essential to achieve a stretchy fabric. Ribbing stitches need to stretch for them to fit just right, as with brims of hats, and the cuffs of socks, and sleeve cuffs.

This post contains affiliate links, I may earn a fee. Read more disclosure policy.
Join the ChristaCoDesign Newsletter
Never miss a pattern!
Both the basic rib stitches, 1×1 rib and 2×2 rib, create stretchy ribbing perfect for these projects. Ribbing is one of those knitting patterns that looks the same on the right side and the wrong side.
In this tutorial you can learn how to knit the 2×2 ribbing. If you’re looking for the 1×1 or single rib pattern I have a tutorial here.
You’ll need to know how to cast on, make knit and purl stitches. Below you’ll find the written instructions, plus a full video tutorial.
If you love this stitch pattern then try the easy ribbed beanie!

How To Knit 2x2 Ribbing
Learn how to knit ribbing in 2x2.
Materials
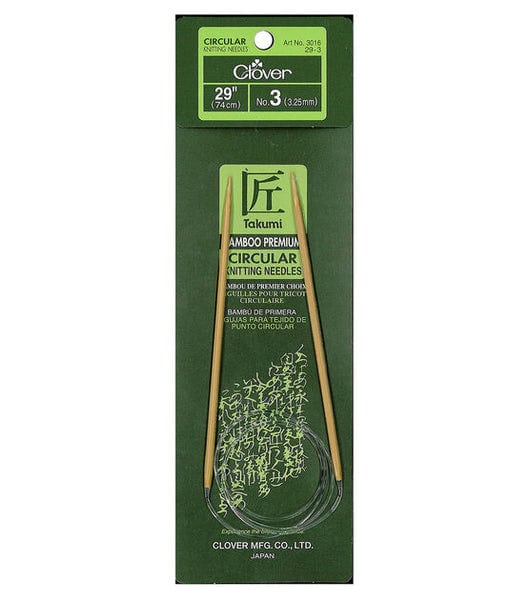
- Any weight yarn, here I'm using a #4 medium worsted weight yarn.
Tools
- Knitting needles to match your yarn. I'll use 5 mm for this tutorial.
Instructions
2x2 knit flat

Cast on a stitch multiple of 4.
First row: Knit the first 2 stitches.
Purl the next 2 stitches.
Knit the next 2 sts, purl the next 2 sts.
Continue repeating the pattern across: *k2, p2 to the end of the row.
Next row: *K2, p2 rep * across.
Repeat last row.
When you're ribbing is to the desired height bind off in pattern.
2x2 knit in the round

Cast on a stitch multiple of 4, being careful not to twist, join to work in the round.
First rnd: Knit the first 2 stitches.
Purl the next 2 stitches.
Knit the next 2 sts, purl the next 2 sts.
Continue repeating the pattern around: *k2, p2 to the end of the round.
Next rnd: *K2, p2 rep * around.
Repeat last round.
You can learn how to finish a hat here if that's what you're knitting.
Recommended Products
As an Amazon Associate and member of other affiliate programs, I earn from qualifying purchases.