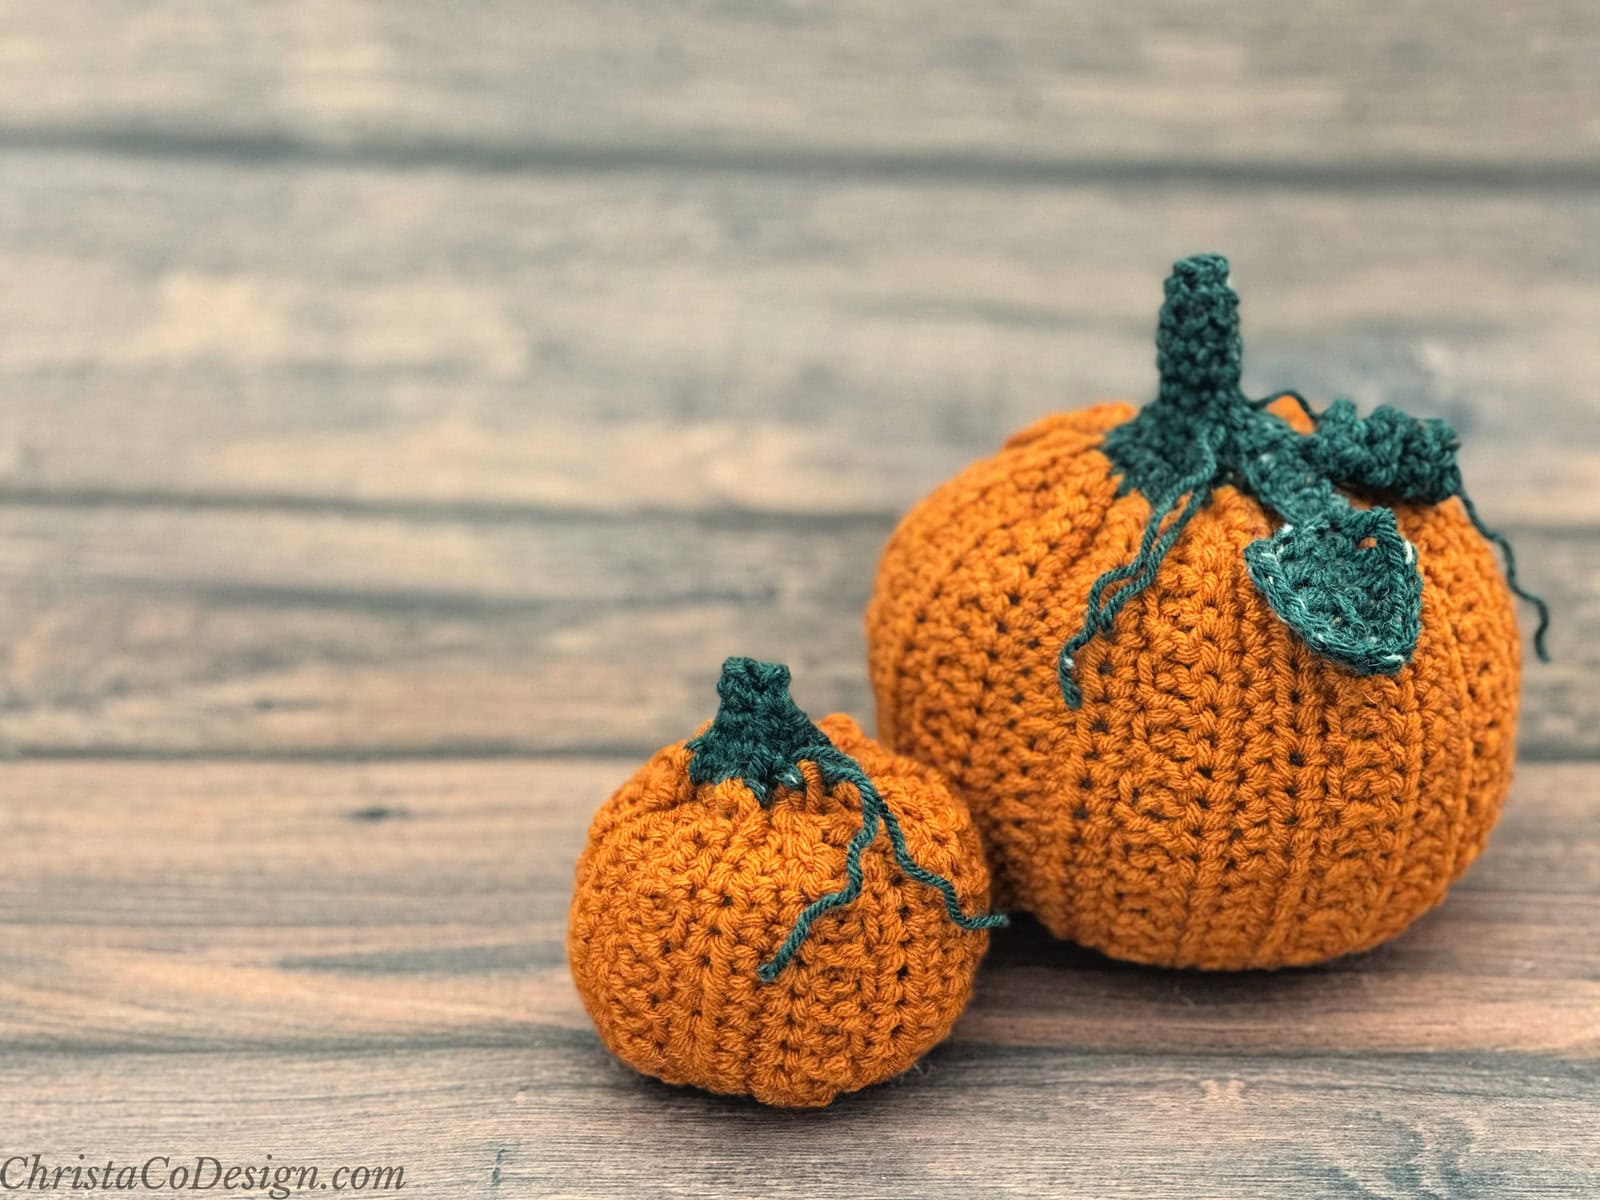
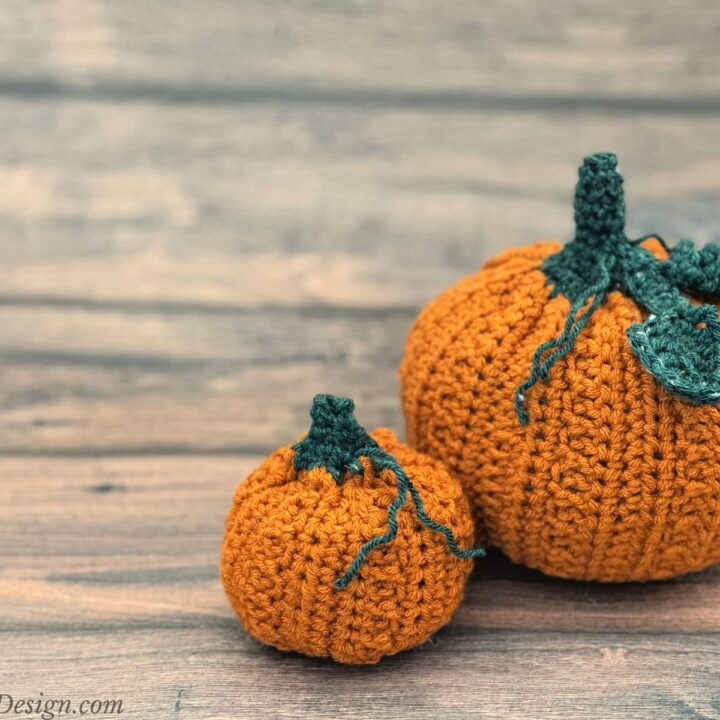
Zucca Textured Pumpkin Crochet Pattern With Video
The Zucca Pumpkin is perfectly textured and easy to crochet. With several finishing options this little pumpkin with bring your fall decor together.

This post contains affiliate links, I may earn a fee. Read more disclosure policy.
Join the ChristaCoDesign Newsletter
Never miss a pattern!
There are two sizes included with this crochet pumpkin pattern. Plus it’s and easy pattern to adjust to any size.
Keep it simple and finish your pumpkins with a cinnamon stick or use the included patterns for pumpkin stem, leaf and vine.
Purchase the ad-free, well formatted printable PDF Pattern from my shop. Scroll down for the free pattern!
Purchase My Ad-Free PDF Patterns In Your Favorite Shop Here:
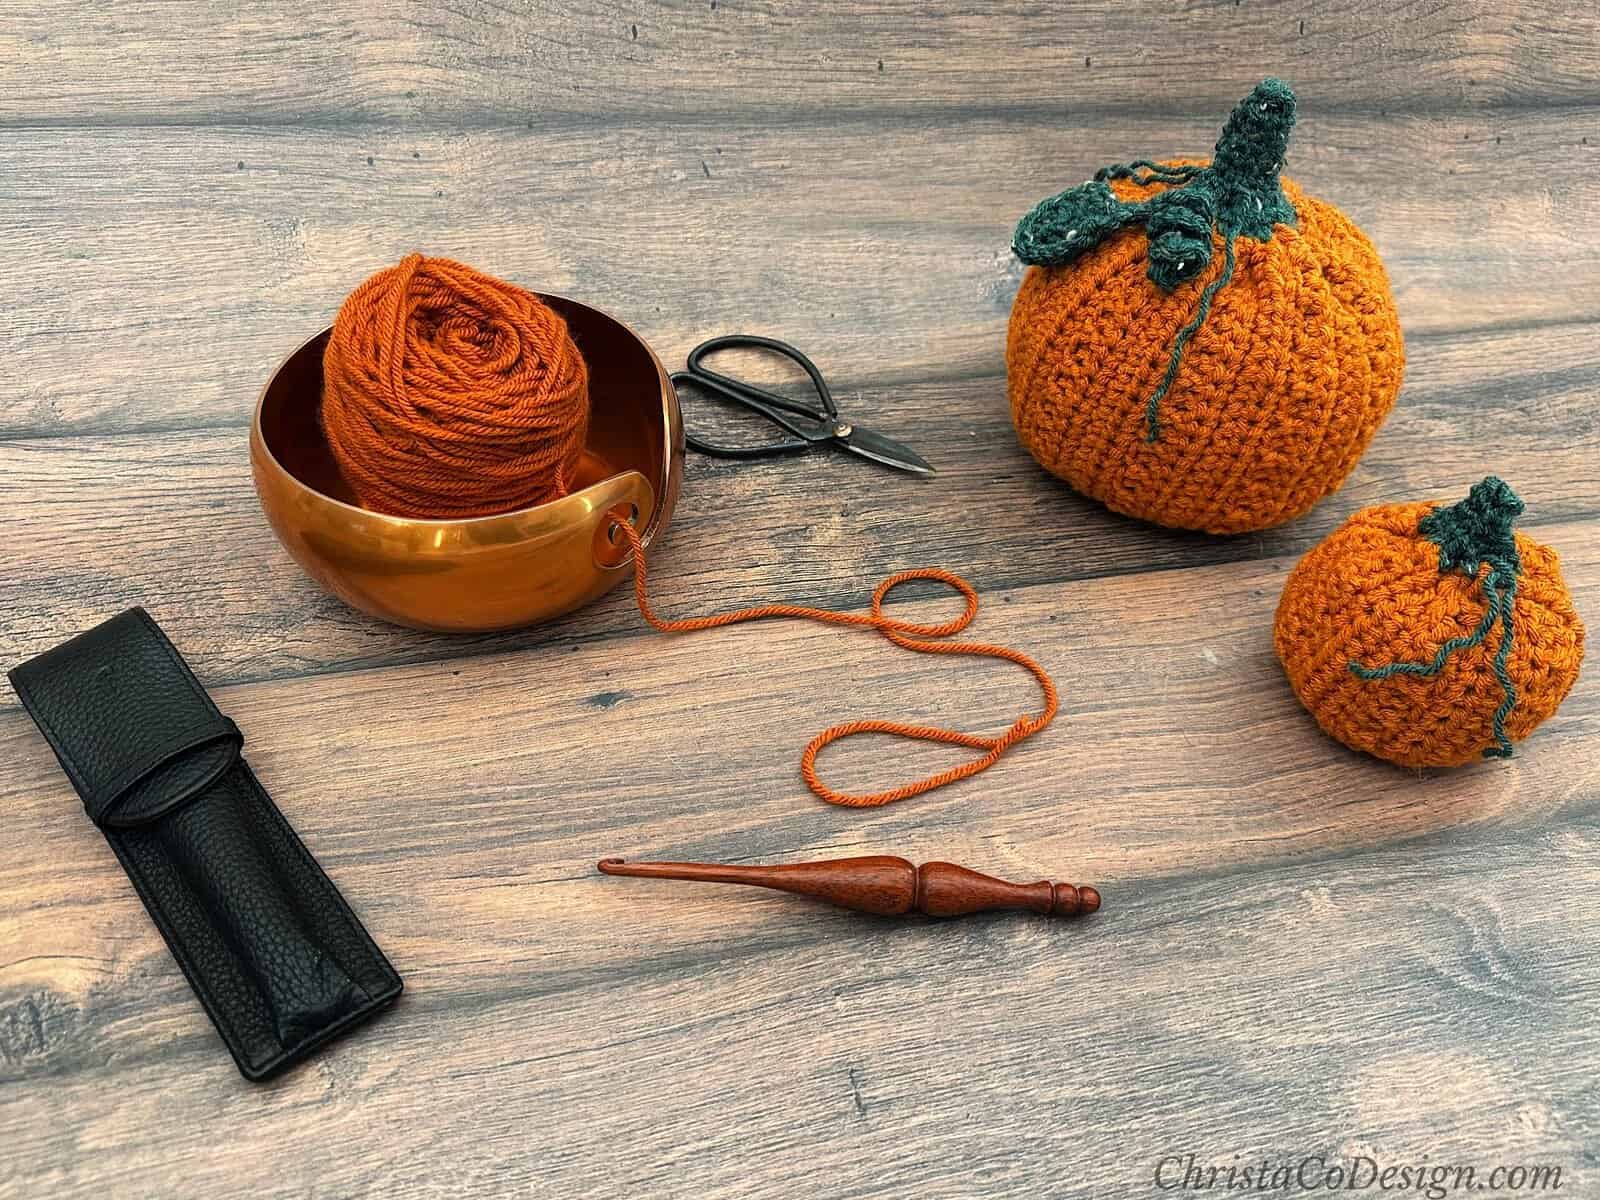
Materials
- #4 medium worsted weight yarn pictured in WeCrochet Brava* (100% Premium Acrylic, 218 yd (200 m) per 100 g skein) in shades Orange: 25 [45] yd & Wreath: 10 [15] yd.
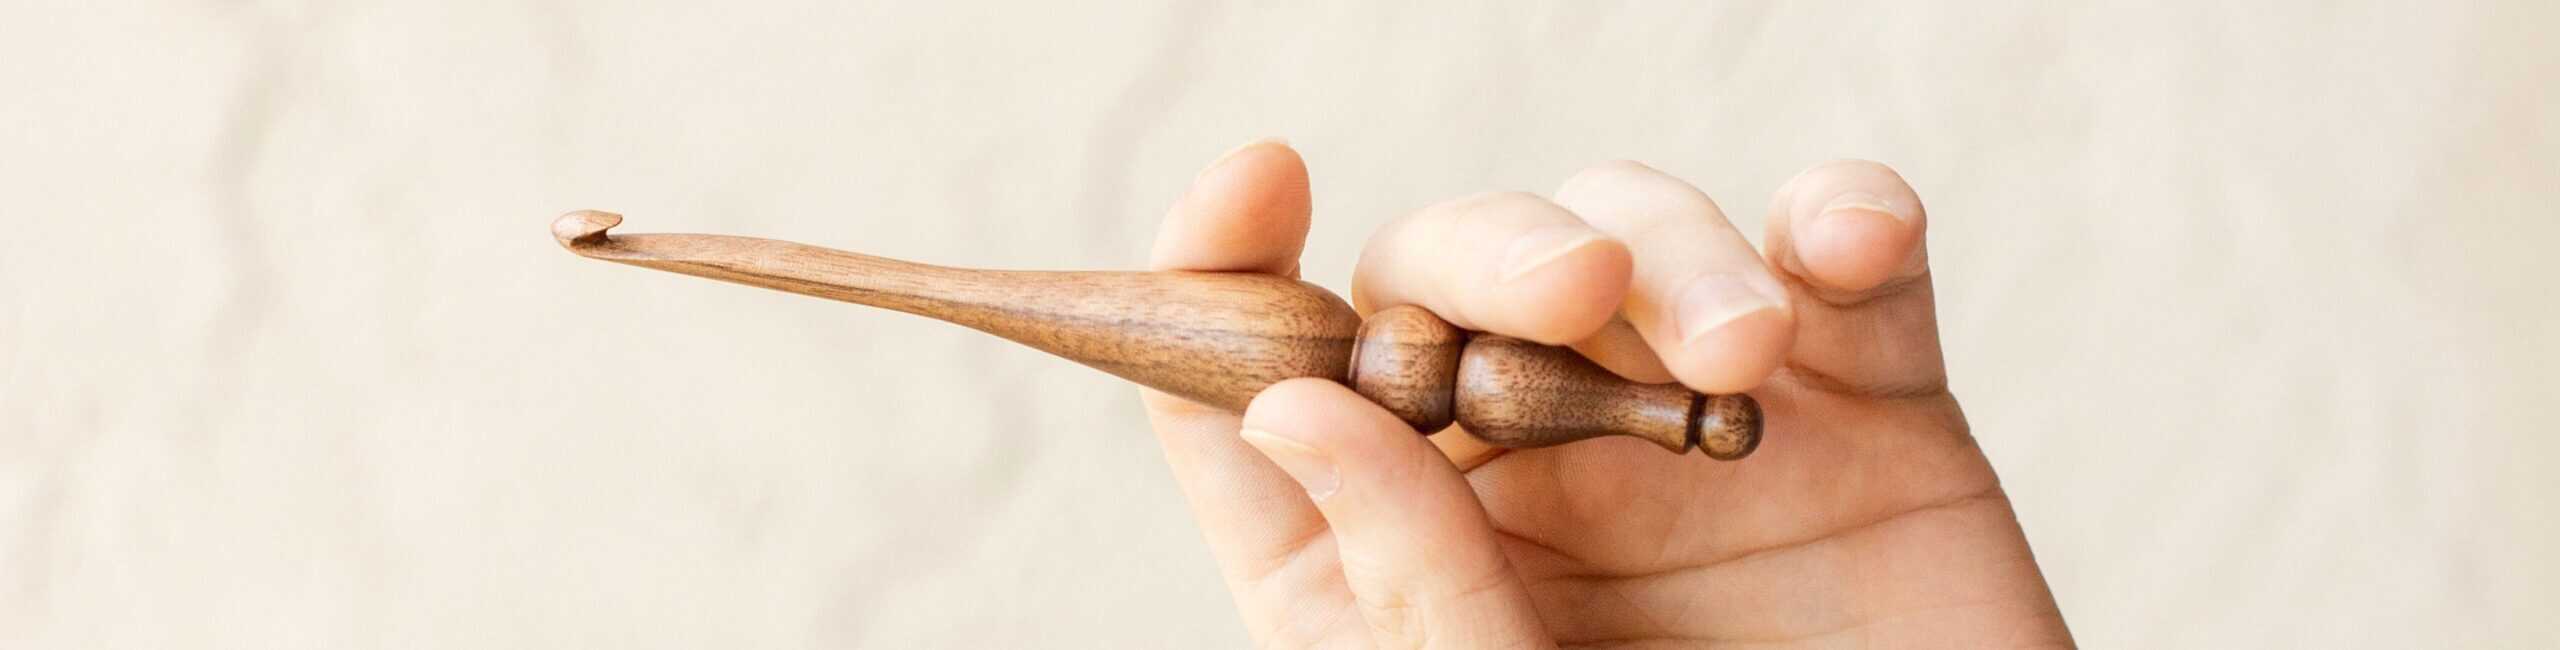
- 5 mm US size H–8 crochet hook,* or size needed to meet gauge.
- Polyfill, or similar for stuffing.
- Yarn needle, measuring tape, scissors, stitch marker(s).
Notes
- Please read through all notes and pattern before you begin.
- Please check gauge first.
- Ch 3 counts as a st, I recommend a ch 3 alternative like this one.
- Ch 1 does not count as a st.
Gauge
8 sts x 4 rows (after blocking) to 2” (5 cm) measured in hdc.
Sizing
Small rectangle – 6” wide x 12” long
Large rectangle – 8” wide x 18” long
Finished Pumpkin Sizes
Small – 3.5” wide x 2.5” tall (without stem) stem adds 1”
Large – 6” wide x 4” tall (without stem) stem adds 1.5”
Skill Level
Easy
Stitches/Abbreviations
US Terms
blo – back loop only
ch(s) – chain(s)
dc – double crochet
fhdc – foundation half double crochet
hdc – half double crochet
inv dec – invisible decrease
rep – repeat
RS – right side
sc – single crochet
sl st – slip stitch
st(s) – stitch(es)
WS – wrong side
Construction
This crochet pumpkin pattern is worked as a flat rectangle. Then you will slip stitch the short ends to seam the fabric into a tube. Next you will close the bottom of the pumpkin by sewing with a yarn and needle.
Now it’s time to stuff your little pumpkin. To finish the top you can sew it together & add a cinnamon stick. Or I include a crochet pumpkin stem pattern for those who prefer to crochet one.
Adjustments
You can make the pumpkins any height you want, by increasing the number of stitches. You need an odd number of stitches for the stitch pattern. Keep in mind that you will lose some height when seaming.
To make your pumpkin wider or more narrow crochet a longer or shorter rectangle by adding or subtracting another set of repeat rows.
Video
Watch the full video tutorial on my YouTube.
Scroll down for the free pattern.
Pattern Instructions
How To Crochet Textured Pumpkins
Textured pumpkin in two sizes.
Materials
- #4 yarn in orange and green
- polyfill to stuff
Tools
- 5 mm hook, tapestry needle, scissors, measure tape
Instructions
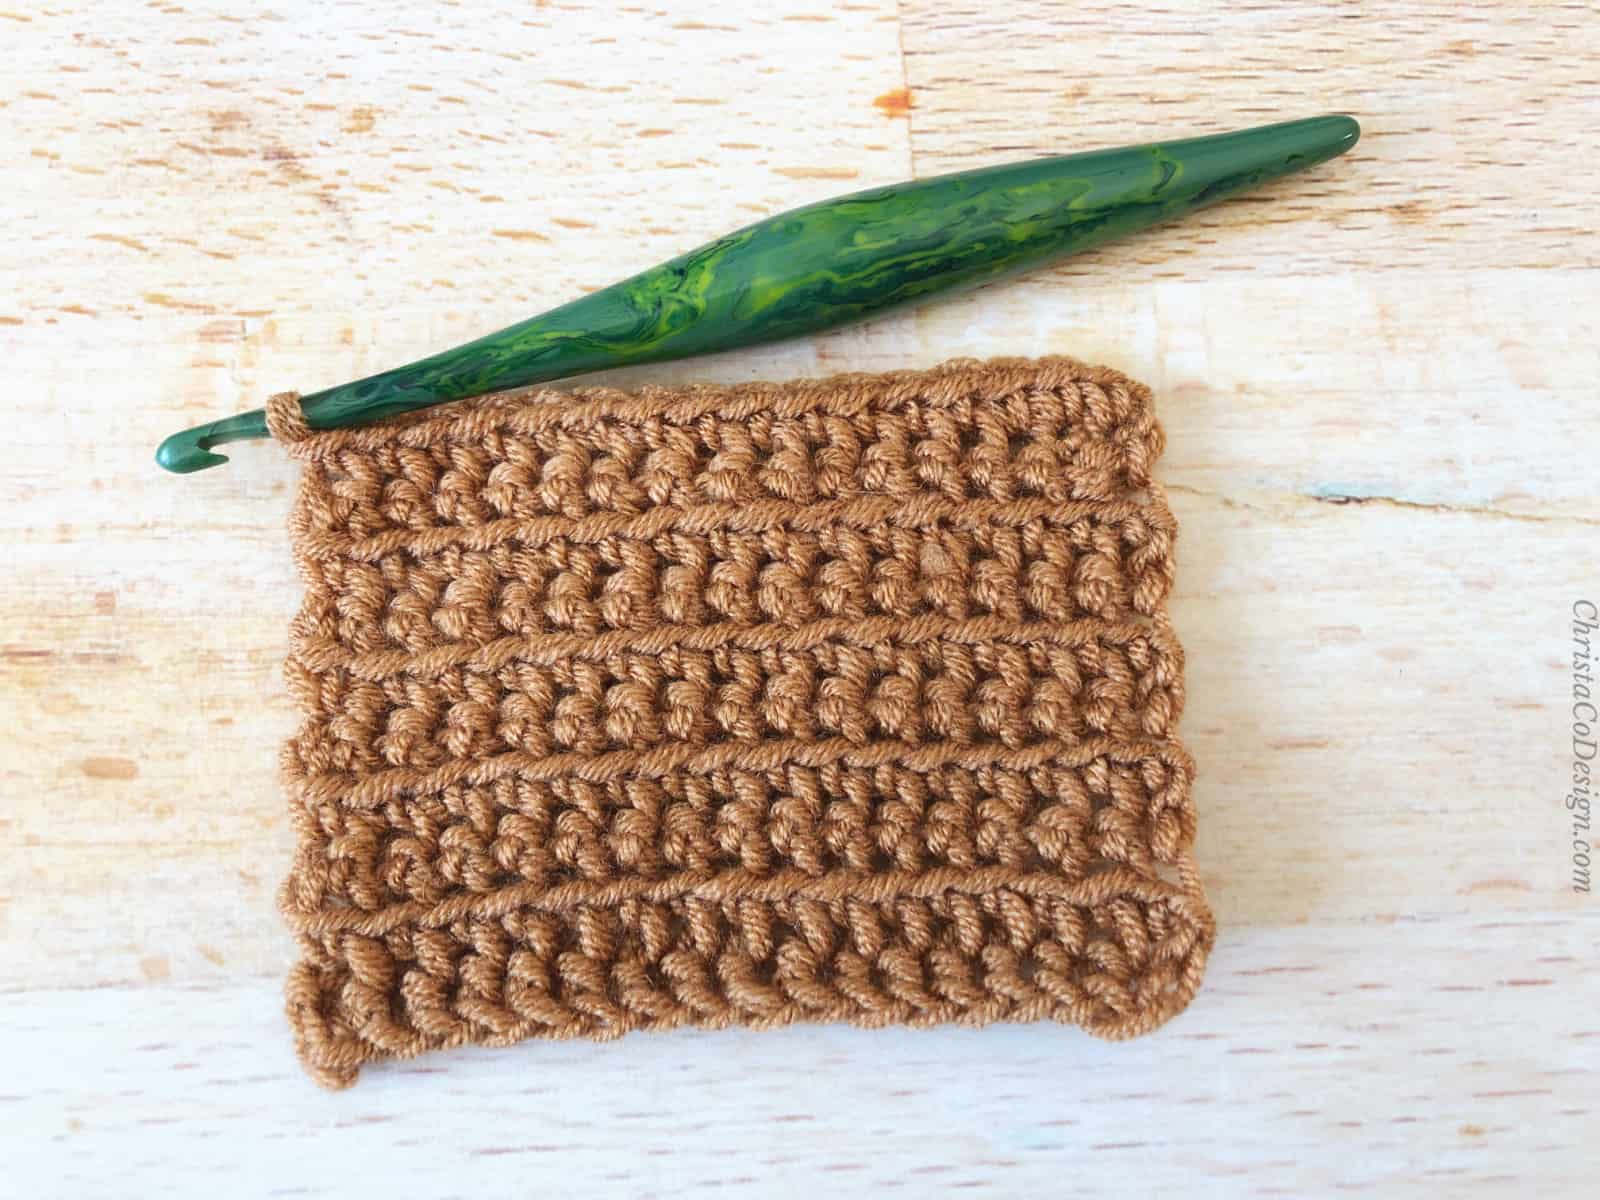
Row 1. Fhdc 15 [25] or ch 16 [26] and hdc in 2nd st from hook (skipped st does not count), hdc in each ch across, turn. 15 [25] sts
Row 2. Ch 1, sc in same st and in each st across, turn.
Row 3. Ch 3, *blo dc in next st, flo dc in next st; rep from * across, turn.
Row 4. Rep row 2.
Row 5. Ch 1, hdc in same st and in each st across, turn.
Rep rows 2 – 5 until work measures 6" [12] in. Do not cut yarn.
Create the Tube
Fold in half, matching short ends together with the wrong side facing you.
Use a slip stitch to seam the ends together.
Cut yarn, leaving a long tail for seaming.
Sew Bottom
Thread the yarn needle with your long tail.
Use a running stitch to weave yarn in and out of the stitches to close the bottom.
Weave the yarn back and forth over the hole to sew closed.
Cut yarn and weave in end.
Stuff
If you need to turn it right side out do that now.
Use polyfill to stuff pumpkin. You want it full, but not bulging.
Sew Top
Thread the needle with an extra long piece of yarn and weave around the top. Use the running stitch to close top. Leave top slightly open with a small hole to fit your chosen stem.
Crochet Stem
Work in continuous rounds. After first rnd don’t join, mark first st of each round.
In green join yarn with sl st to top of pumpkin at opening.
Rnd 1. Sc 18 [24] sts evenly around opening, sl st to first st to join this round only. 18 [24] sts
Rnd 2. *Sc, inv dec; rep * around, don’t join continue around moving st marker as you go. 12 [18] sts
Rnd 3. *Inv dec; rep * around. 6 [9] sts
Sm stem Rnds 4 – 5. Sc in each st around. [6 sts] Cut yarn & sew closed.
Lg stem Rnds 4 – 9. Sc in each st around. [9 sts]
Rnd 10. Sc in first st, *inv dec; rep * around. [5 sts]
Cut yarn and sew top closed. Weave away ends.
I did not segment this pumpkin pattern, but here are the instructions if you would like to do so.
Segment
To create the segments, with matching yarn and needle thread needle straight down, through filling and out the bottom.
Pull the needle and yarn out of the bottom, wrap it around the outside of the pumpkin and back down into the center.
Continue to repeat around the outside of pumpkin for the number segments you want. Remember to leave room for your stem in the center.
Leaf Pattern
Chain 11-the first 6 will be the stem and leaf is worked over the last 4 sts, so add more here for a longer leaf or stem.
SC in the 2nd ch and in each ch across,
On the last ch add 2 more sc (3 total in this st),
Continue around on to the other side of the chain and place 1 sc in each of next 3 sc (you're working into the opposite side, so there will be sts in both sides as you work), turn.
Place 1 dc in each of next 3 sc,
Place 2 dc in each of next 3 sc. (again you're working around the end back on to the other side),
Place 1 dc in each of next 3 sc.
Cut yarn, leave a long tail for sewing.
Sew on to top of pumpkin.
Crochet Pumpkin Vine
You can vary your starting chain to increase or decrease your finished lengths.
For this one, I use single crochets, but you opt for hdc or dc as well. There are longer size crochet vines here.
Ch 15,
Place 3 sc in the 2nd ch from your hook,
Continue to place 3 sc in each ch, until you have 3 ch left,
Place 1 sc in each of the last 3 ch.
Sl st on to your stem base. Cut yarn and weave in ends.
This gave me about 1.5" in length of curl, and about an inch for it to dangle.
Recommended Products
As an Amazon Associate and member of other affiliate programs, I earn from qualifying purchases.