Briones Bobble Sweater Crochet Pattern

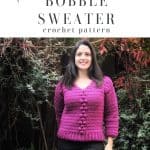
The Briones Crochet Sweater Pattern features an eye catching bobble design down the center. This chunky sweater pattern is easy to crochet and cozy to wear.

Join the ChristaCoDesign Newsletter
Never miss a pattern!
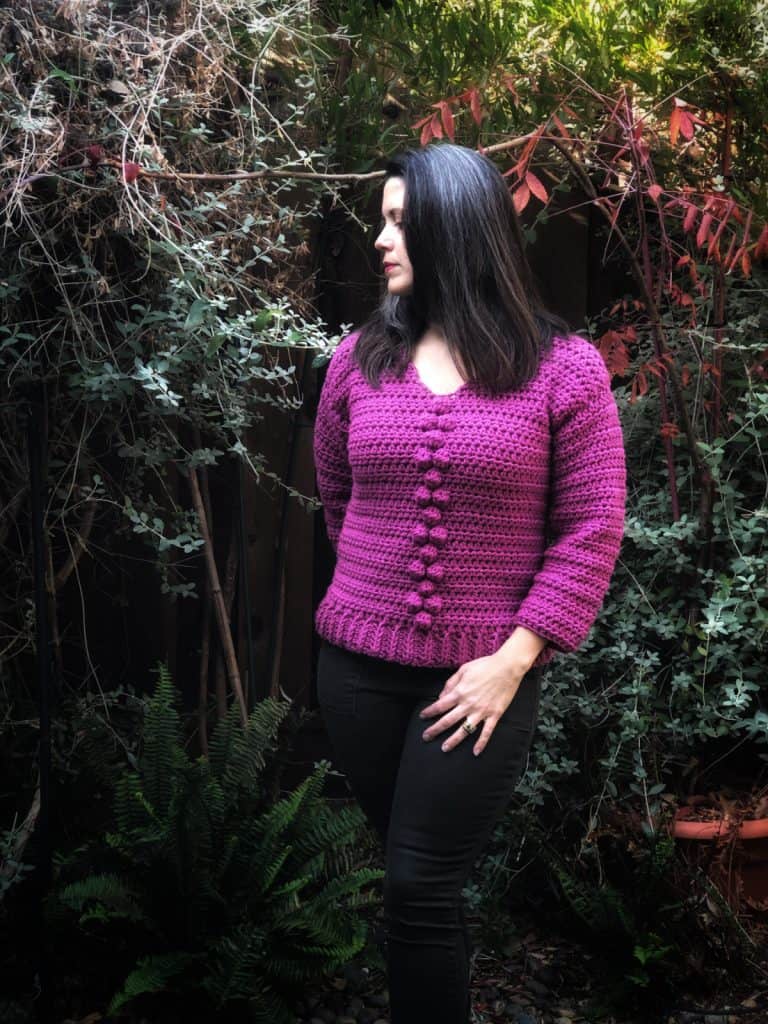
The pullover sweater pattern has a subtle v-neck that’s simple to achieve. And it’s easy to adjust, if you prefer a deeper v-neck also.
The sleeves on the Briones Sweater are my favorite. They’re bracelet length sleeves, so they stop several inches above the wrist.

I honestly I was hesitant about this type of sleeve, but it’s been so nice not to have them “in the way.”
The sleeves, like most things on this sweater, can be easily be adjusted if prefer a full length sleeve.
This crochet sweater pattern is crocheted in #5 bulky yarn so it comes together quickly. Which means you can wear it this season!
Purchase the ad-free, well formatted printable PDF Pattern from my shop. Scroll down for the free pattern!
Purchase My Ad-Free PDF Patterns In Your Favorite Shop Here:
More Crochet Patterns
The Sunset Sweater has a cozy cowl neck that keeps you ultra warm.
If you’re looking to crochet a pullover in men’s sizes, the Simple Striped Sweater is an easy make.
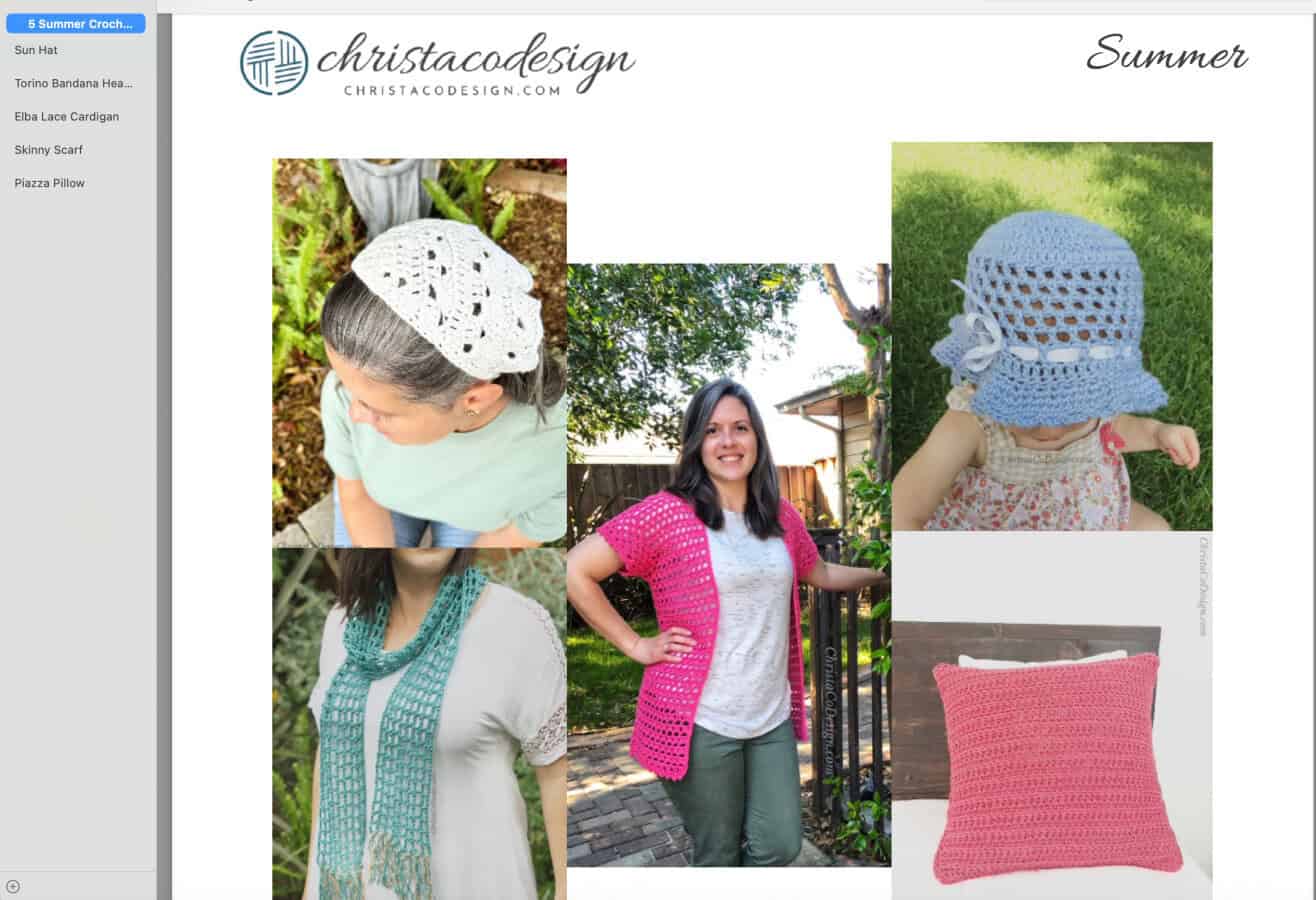
I love crocheting sweaters all year. This Crochet Summer Romance Top from BlueStarCrochet is gorgeous! Makes me want to crochet all the summer things for sure.
Pin It Now & Make It Later
Don’t forget to pin this for later!

Yarn
The Lion’s Pride Woolspun yarn is an acrylic and wool blend. This makes it easy to care for and squishy warm.
This sweater pattern uses a #5 chunky/bulky weight yarn. The Woolspun yarn in the sample picture is thicker than some other #5 yarn.
I recommend Color Made Easy or Hue + Me as a substitute. These yarns are comparable and come is so many beautiful colors.
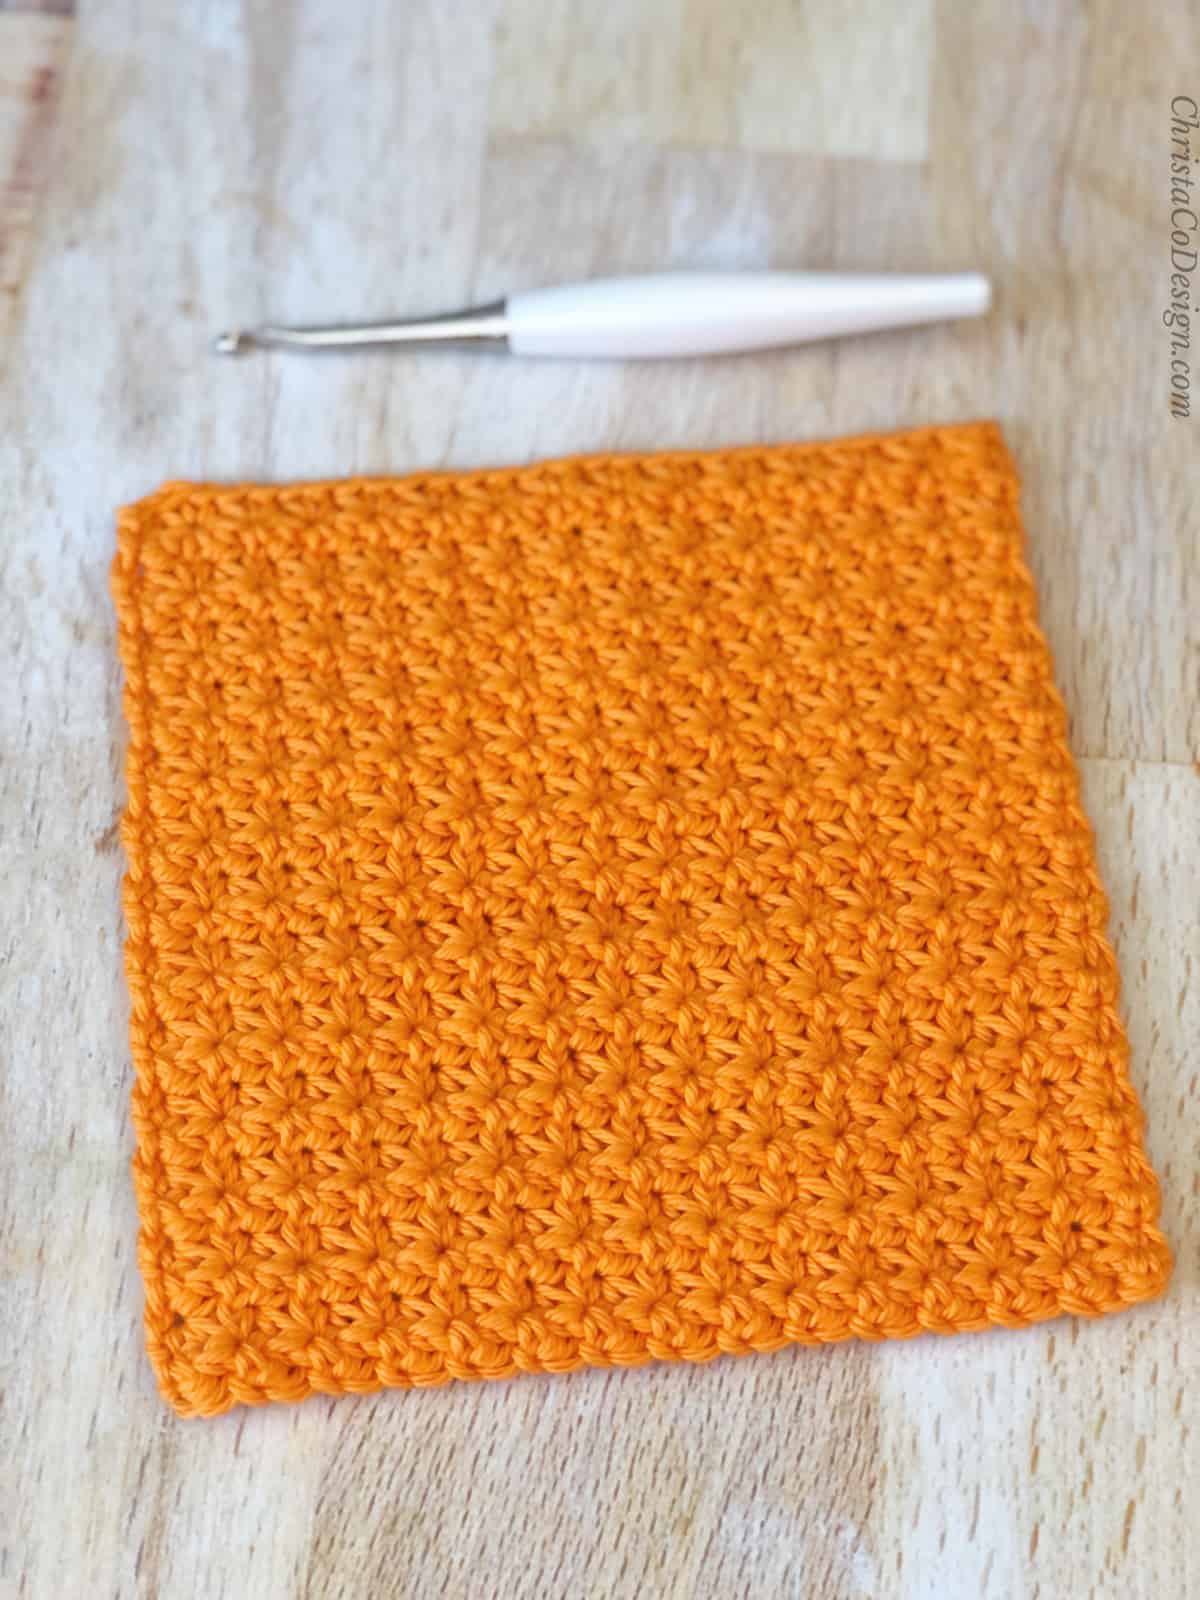
Stitch
For the most part the half double crochet makes up a majority of this sweater pattern.
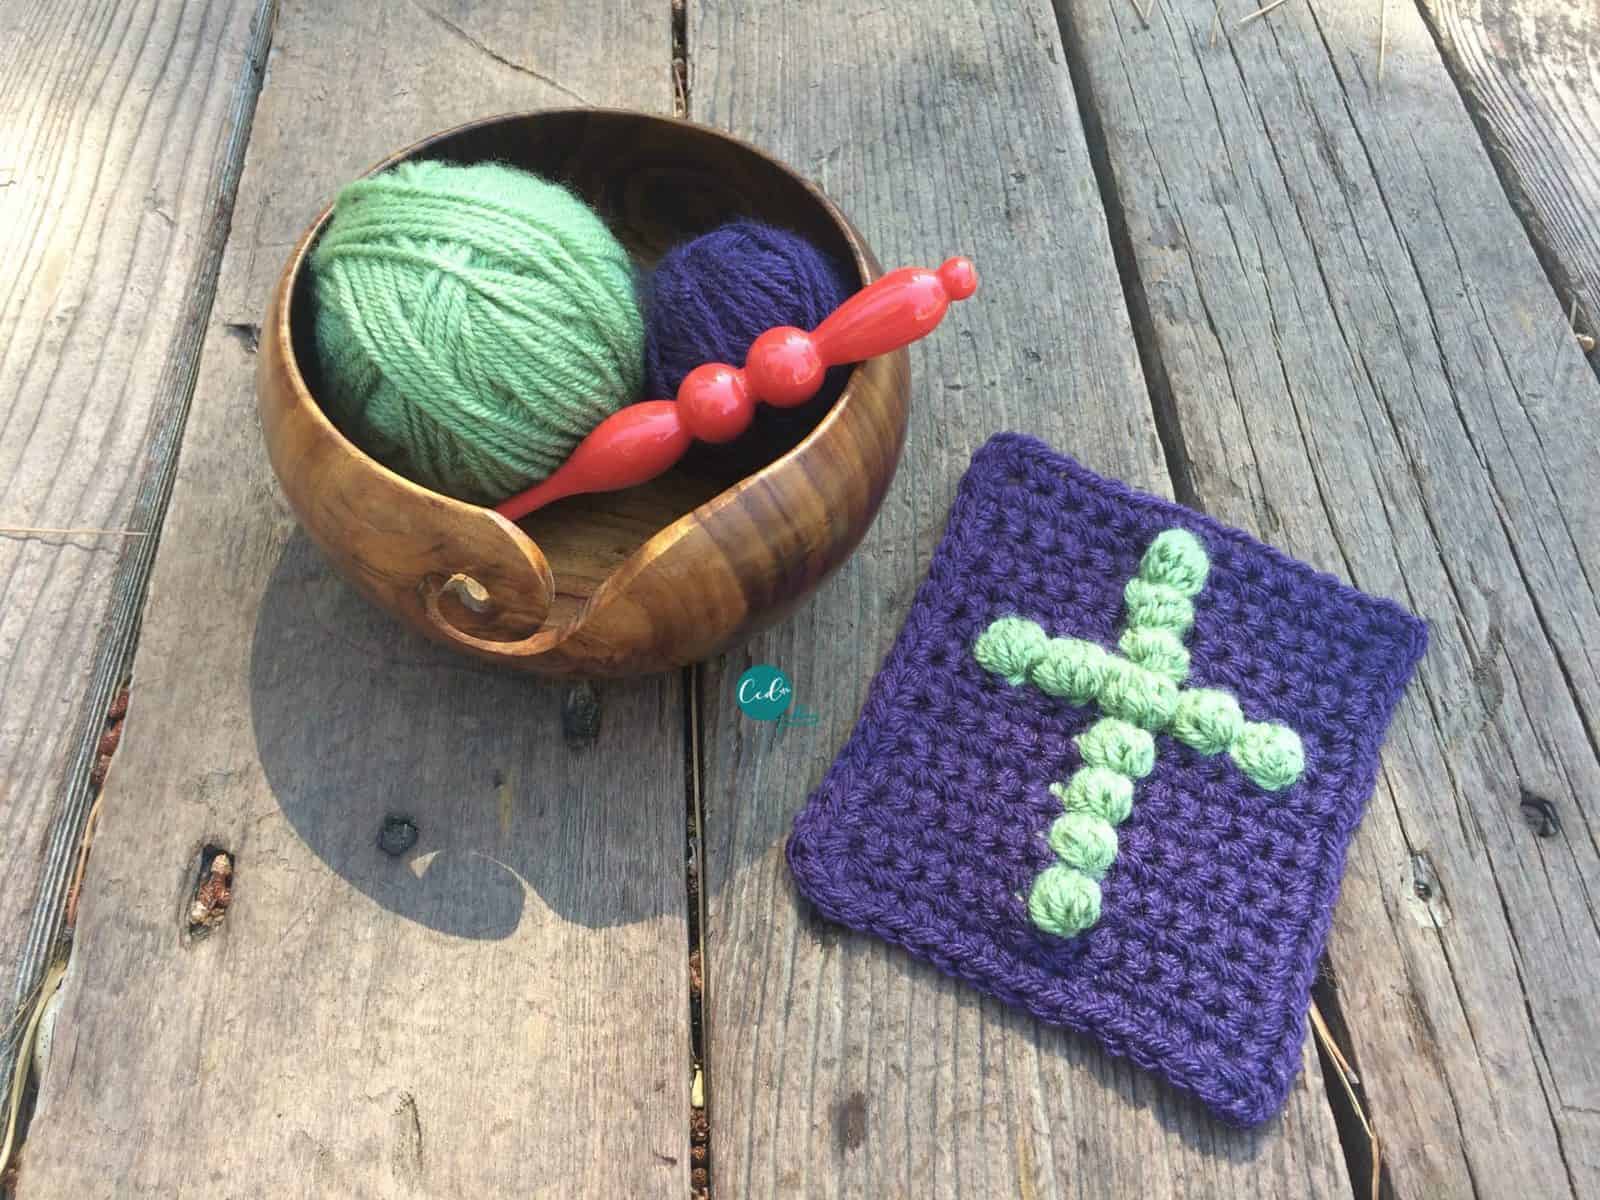
It has a label of “intermediate” label due to the bobble stitches that are front and center. These are easy to learn and I’m confident that an advanced beginner can crochet this sweater.
Materials
- #5 bulky weight yarn pictured in Lion Brand’s Woolspun discontinued (80% Acrylic, 20% Wool, 127 yd (116 m) per 100 g skein) in shade Orchid: 6 [7, 8, 9, 10, 11, 12, 13, 14] skeins. Suggested substitute is Lion Brand’s Hue + Me* (80% Acrylic, 20% Wool, 137 yd (125 m) per 125 g skein).
- 6.5 mm (US size K–10.5) hook, or hook size needed to meet gauge.
- Yarn needle, measuring tape, scissors, stitch marker(s).
Yarn By Size
- XS – 762 yd (697 m)
- SM – 889 yd (813 m)
- MED – 1016 yd (929 m)
- LG – 1143 yd (1045 m)
- XL – 1270 yd (1161 m)
- 2X – 1397 yd (1277 m)
- 3X – 1524 yd (1394 m)
- 4X – 1651 yd (1510 m)
- 5X – 1778yd (1626 m)
Some more of the patterns I use this lovely squishy chunky yarn in are the Ana Pocket Shawl crochet pattern. And if you’re a knitter, be sure to check out the Giana Pocket Shawl knitting pattern.
Notes
- Ch 1 at the beginning of a row does not count as a stitch.
- Pattern is written for multiple sizes, where the first number given is the smallest size and the larger sizes follow in parenthesis. For example, “Rep Row 2 for 37 [41, 45, 51, 55, 59, 65, 69, 73] rows total” indicates that for the XS you would repeat row 2 until you have 37 rows total, or if making the 2X you would repeat row 2 until you have 59 rows total.
Stitches/Abbreviations
US Terms
bo – bobble
ch(s) – chain(s)
fhdc – foundation half double crochet
hdc – half double crochet
hdc2tog – half double crochet two together
rep – repeat
rnd(s) – round(s)
RS – right side
sk – skip the indicated stitch
st(s) – stitch(es)
tlo – third loop only
WS – wrong side
yo – yarn over
Gauge
9 sts x 8 rows (after blocking) to 4” (10 cm) measured in hdc.
Level
Intermediate
Construction
This sweater pattern is worked in fours pieces: front + back panels, and two sleeves. The panels are seamed at the sides and shoulders. The sleeves are worked in the round and seamed on to the sweater.
Sizing
XS [S, M, L, XL, 2X, 3X, 4X, 5X]
To fit 30 [34, 38, 42, 46, 50, 54, 58, 62] (76 [86.5, 96.5, 106.5, 117, 127, 137, 147.5, 157.5] cm) bust circumference.
Finished Measurements
After blocking 32.5 [36, 40, 45, 48.5, 52, 57, 60.75, 64] (83 [91.5, 101.5, 114.5, 123, 132, 145, 154, 163] cm) bust circumference.
Intended to be worn with 1.5 – 3” (4 – 8 cm) of positive ease at the bust.
The model is 5’ 2” and wears size M with 3” (8 cm) of positive ease at the bust.
Save your favs!
Add this pattern to your Ravelry queue.
Fit/Adjustment
This chunky sweater has a suggested 1.5-3” of ease, where the finished sweater is larger than the actual bust measurement. For a snugger fit, go down a size. For a looser fit, go up a size. Body and sleeve length can be easily altered by crocheting more or less rows.
To alter the v-neck, you can lengthen it, or widen it. To lengthen the v-neck you can add more rows to the shoulders. Remember to also lengthen your back panel if you lengthen the v-neck section. The v-neck is created with decreases on every other row. You can decrease every row to create a wider neck line.
To keep the v-neck as is, but lengthen the body of the panel, crochet more repeats before dividing the shoulders. The shoulders are worked over the last 5” [5, 5, 5, 7, 7, 7, 7, 7] in (13 [13, 13, 13, 18, 18, 18, 18, 18] cm).
Purchase the ad-free, well formatted printable PDF Pattern from my shop. Scroll down for the free pattern!
Pattern Instructions

Briones Bobble Sweater Crochet Pattern
The Briones Crochet Sweater Pattern features an eye catching bobble design down the center. The pullover sweater pattern has a subtle v-neck and bracelet length sleeves.
Materials
- #5 bulky weight yarn, see chart below for specifics by size.
Tools
- 6.5 mm/US size K-10.5 hook, or hook needed to meet gauge.
- Yarn needle
- Measuring tape
- Scissors
Instructions
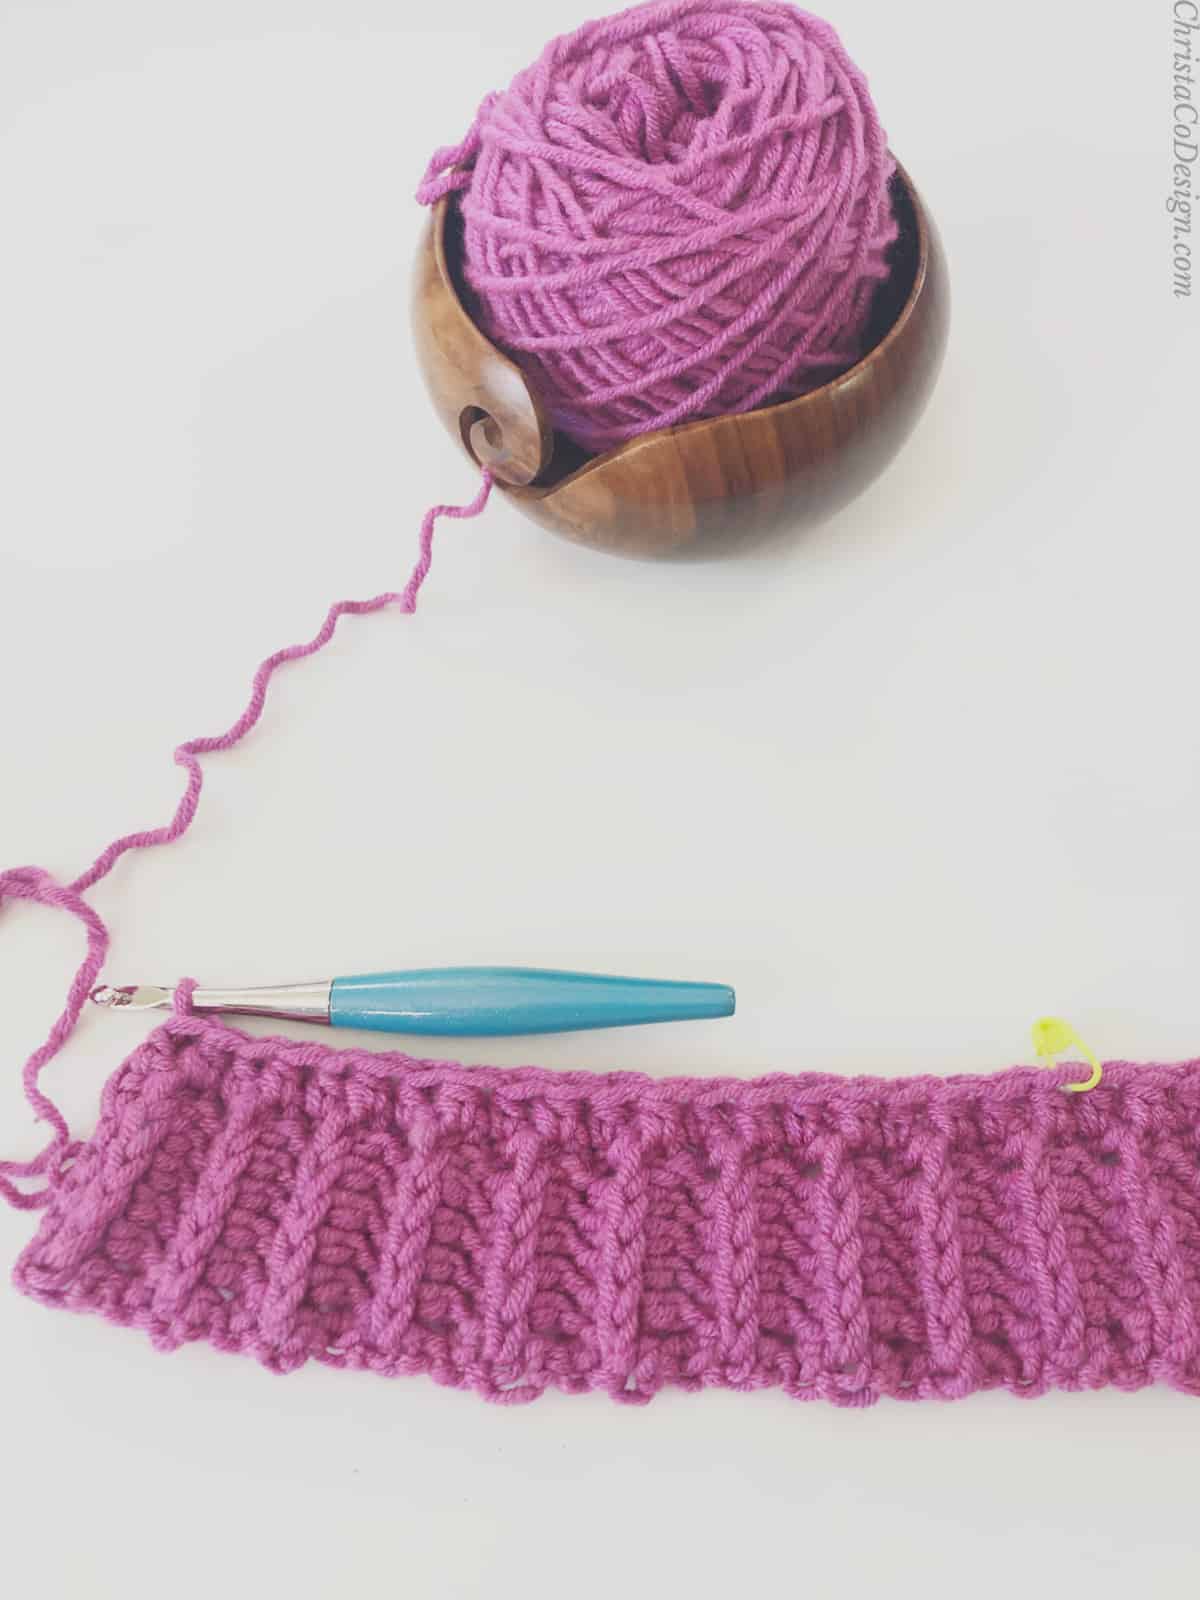
Front Panel Ribbing
The length of your ribbing will be the width of your panel. If you would like a snugger fit, go down a size. For a looser fit, go up a size. To customize further, crochet as many ribbing rows as needed.
Ch 7,
Row 1. Hdc in 2nd ch from your hook and in each ch across, turn. [6 sts]
Row 2. Ch 1, in tlo hdc in each st across, turn. [6 sts]
Rep Row 2 for 37 (41, 45, 51, 55, 59, 65, 69, 73) rows total = 16.25” [18, 20, 22.5, 24.25, 26, 28.5, 30.5, 32] in (41.5 [45.5, 50, 57, 61.5, 66, 72.5, 77.5, 81.5] cm) long.
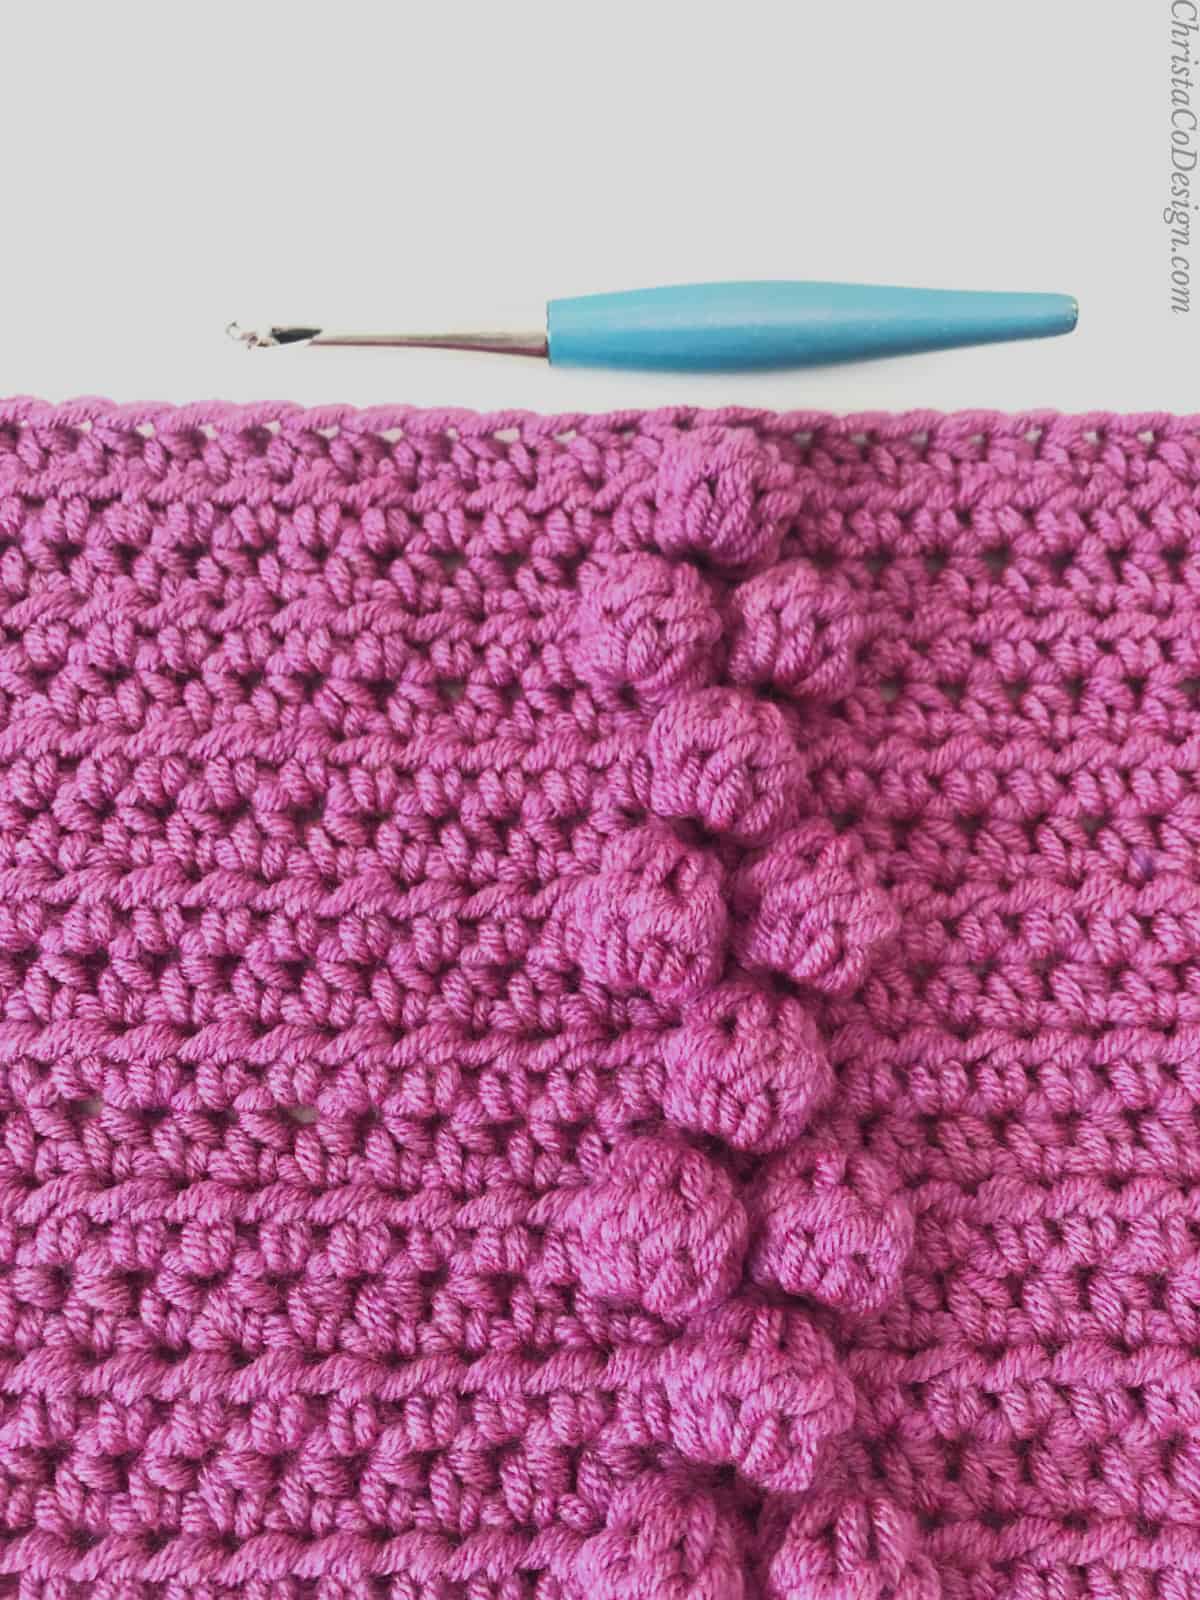
Front Panel
Row 1. Turn, and work on long edge of ribbing. Ch 1, place 1 hdc into the side of each ribbing row, turn. 37 [41, 45, 51, 55, 59, 65, 69, 73 sts]
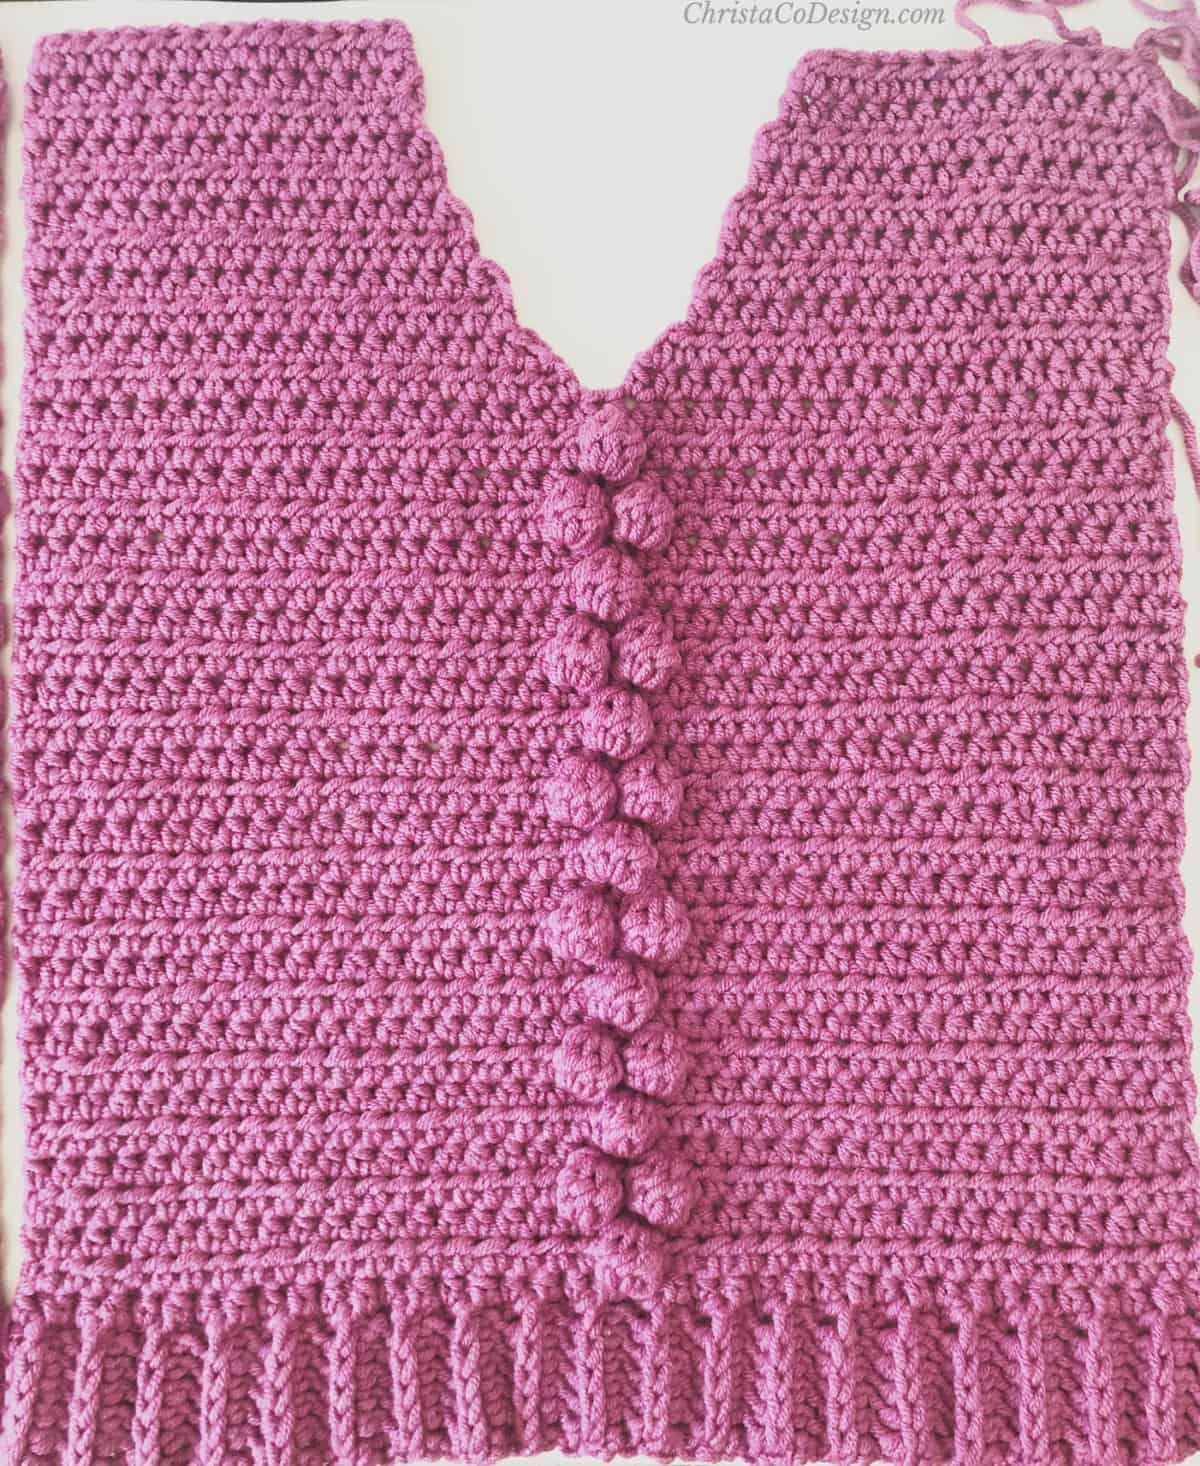
Row 2. (WS) Ch 1, in same st hdc and next 17 [19, 21, 24, 26, 28, 31, 33, 35 sts], bo in next st, hdc in last 18 [20, 22, 25, 27, 29, 32, 34, 36] sts, turn. 37 [41, 45, 51, 55, 59, 65, 69, 73 sts]
Row 3. (RS) Ch 1, in same st hdc and in each stitch across, turn.
Row 4. (WS) Ch 1, in same st hdc and next 16 [18, 20, 23, 25, 27, 30, 32, 34 sts, bo in next st, hdc in next st, bo in next st, hdc in last 17 [19, 21, 24, 26, 28, 31, 33, 35 sts], turn. 37 [41, 45, 51, 55, 59, 65, 69, 73 sts]
Row 5. Ch 1, hdc in same st and in each stitch across, turn.
Rep Rows 2-5: 5 [5, 6, 6, 7, 7, 8, 8, 8] more times, until front panel length is 17” [17, 19, 19, 19, 19, 21, 21, 21] in (43 [43, 48, 48, 48, 48, 53, 53, 53]cm) including the ribbing. See note below.
*To lengthen your panel add more reps of Rows 2-5 here. V-neck/shoulders are worked over last 5” [5, 5, 5, 7, 7, 7, 7, 7] in (13 [13, 13, 13, 18, 18, 18, 18, 18] cm)
Last 2 rows before v-neck/shoulders rep Rows 2-3.
Front Panel Right Shoulder When Wearing
Row 1. (WS) Ch 1, in same st hdc and in each st across, turn. 18 [20, 22, 25, 27, 29, 32, 34, 36 sts]
Row 2. Ch 1, hdc2tog, hdc in each st across, turn. 17 [19, 21, 24, 26, 28, 31, 33, 35 sts]
Row 3. Ch 1, in same st hdc and in each st across, turn. 17 [19, 21, 24, 26, 28, 31, 33, 35 sts]
Row 4. Ch 1, hdc2tog, hdc in each st across, turn. 16 [18, 20, 23, 25, 27, 30, 32, 34 sts]
XS-L:
Rows 5-10. Rep rows 3-4, until 13 [15, 17, 20 sts] left = 5.75” [6.5, 7.5, 8.75] in (14.5 [16.5, 19, 22] cm) wide.
XL-5X:
Rows 5-14. Rep Rrows 3-4, until 22 [22, 25, 27, 29 sts] left = 9.75” [9.75, 11, 12, 12.75] in (25 [25, 28, 30.5, 32.5] cm) wide.
Cut yarn, leave a long tail for seaming.
Front Panel Left Shoulder When Wearing
On WS, skip center st # 19 [21, 23, 26, 28, 30, 33, 35, 37], join yarn with sl st to next st.
Row 1. Ch 1, in same st hdc and next 17 [19, 21, 24, 26, 28, 31, 33, 35 sts], turn. 18 [20, 22, 25, 27, 29, 32, 34, 36 sts]
Row 2. Ch 1, in same st hdc and in each st until 2 sts left, hdc2tog, turn. 17 [19, 21, 24, 26, 28, 31, 33, 35 sts]
Row 3. Ch 1, in same st hdc and in each st across, turn. 17 [19, 21, 24, 26, 28, 31, 33, 35 sts]
Row 4. Ch 1, in same st hdc and in each st until 2 sts left, hdc2tog, turn. 16 [18, 20, 23, 25, 27, 30, 32, 34 sts]
XS-L:
Rows 5-10. Rep rrows 3-4, until (13, 15, 17, 20 sts) left = 5.75” [6.5, 7.5, 8.75] in (14.5 [16.5, 19, 22] cm) wide.
XL-5X:
Rows 5-14. Rep rows 3-4, until (22, 22, 25, 27, 29 sts) left = 9.75” [9.75, 11, 12, 12.75] in (25 [25, 28, 30.5, 32.5] cm) wide.
Cut yarn, leave a long tail for seaming.
Back Panel Ribbing
Ch 7,
Row 1. Hdc in 2nd ch from your hook and in each ch across, turn. (6 sts)
Row 2. Ch 1, in tlo hdc in each st across, turn. (6 sts)
Rep Row 2 for 37 (41, 45, 51, 55, 59, 65, 69, 73) rows total= 16.25” [18, 20, 22.5, 24.25, 26, 28.5, 30.5, 32] in (41.5 [45.5, 50, 57, 61.5, 66, 72.5, 77.5, 81.5] cm) long.
Back Panel
Row 1. Turn, and work on long edge of ribbing. Ch 1, place 1 hdc into the side of each ribbing row, turn. 37 [41, 45, 51, 55, 59, 65, 69, 73 sts]
Row 2. Ch 1, in same st hdc and in each st across, turn.
Rep Row 2 until back panel length is 17” [17, 19, 19, 19, 19, 21, 21, 21] in (43 [43, 48, 48, 48, 48, 53, 53, 53]cm), including the ribbing. If you lengthened the front panel, then be sure the back panel matches it in length now.
Sleeves
- Make 2.
- Sleeves are worked in the round. You will join with a sl st and turn each round.
- Sleeve length is designed to be bracelet length (a few inches above the wrist). You can alter the length easily by adding more rounds.
Since sleeve is worked bottom up, to check fit you can try it on as you go.
Rnd 1. Fhdc 22 [24, 24, 26, 26, 28, 28, 30, 30] or ch 23 [25, 25, 27, 27, 29, 29, 31, 31] and hdc in 2nd ch from hook and each ch across, join and turn. 22 [24, 24, 26, 26, 28, 28, 30, 30 sts]
Rnd 2. Ch 1, in same st hdc, 2 hdc in next st, hdc in each st around, join and turn. 23 [25, 25, 27, 27, 29, 29, 31, 32 sts]
Rnd 3. Ch 1, in same st hdc and in each st around, join and turn.
Rep Rnds 2-3 increasing to 28 [32, 34, 37, 37, 41, 41, 46, 46 sts] = sleeve width measures 12.5” [14, 15, 16.5, 16.5, 18, 18, 20.25, 20.25] in (32 [35.5, 38, 42, 42, 45.5, 45.5, 51.5, 51.5] cm). If desired, add more increase rounds to widen your sleeve.
Once sleeve is to width, continue to rep Rnd 3 until sleeve is a total of 27 [29, 31, 31, 33, 33, 35, 37, 37] rnds long and measures 13.5” [14.5, 15.5, 15.5, 16.5, 16.5, 17.5, 18.5, 18.5] in (34.5 [37, 39.5, 39.5, 42, 42, 44.5, 47, 47] long, or to desired length.
Cut yarn, leave a long tail for seaming.
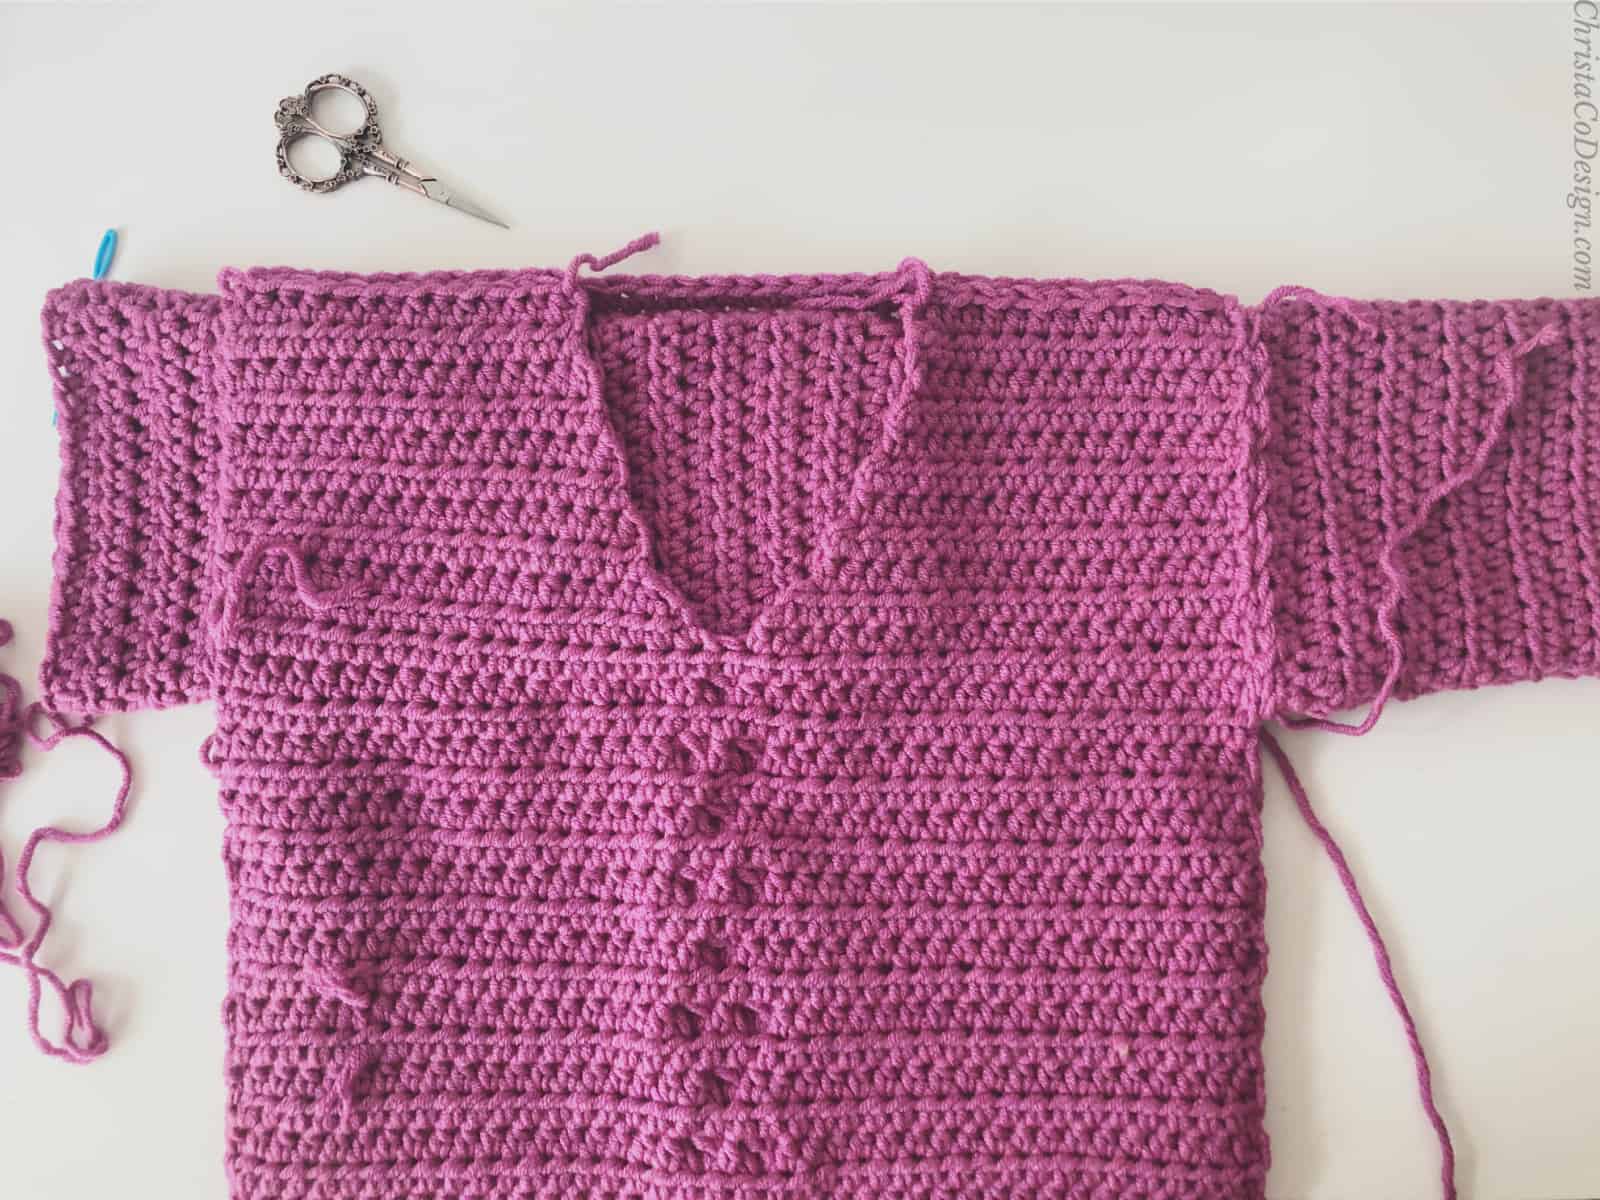
Seaming
- Place front panel on top of back panel with RS together.
- Use long tail left, or a length of matching yarn, and a yarn needle for seaming. Use a mattress stitch to sew pieces together.
- Working on the WS, sew panels together at the sides. Start at the bottom and sew up sides, leave 6” [7, 7.5, 8, 8, 9, 9, 10, 10] in (15 [18, 19, 20.5, 20.5, 23, 23, 25.5, 25.5] cm)open for sleeve armhole.
- Sew front panel shoulders to back panel, matching st for st.
Finishing
- With sweater body still WS out and sleeves RS out, slide sleeve into sweater.
- Line up wide end of sleeve to armhole opening.
- Sew sleeve to armhole opening.
- Rep for other sleeve.
- I prefer how the neckline looks without any other sts. However, if you like, join yarn, ch 1 and sc evenly around the neckline, sl st to first st.
- Cut yarn and weave in ends.
Recommended Products
As an Amazon Associate and member of other affiliate programs, I earn from qualifying purchases.