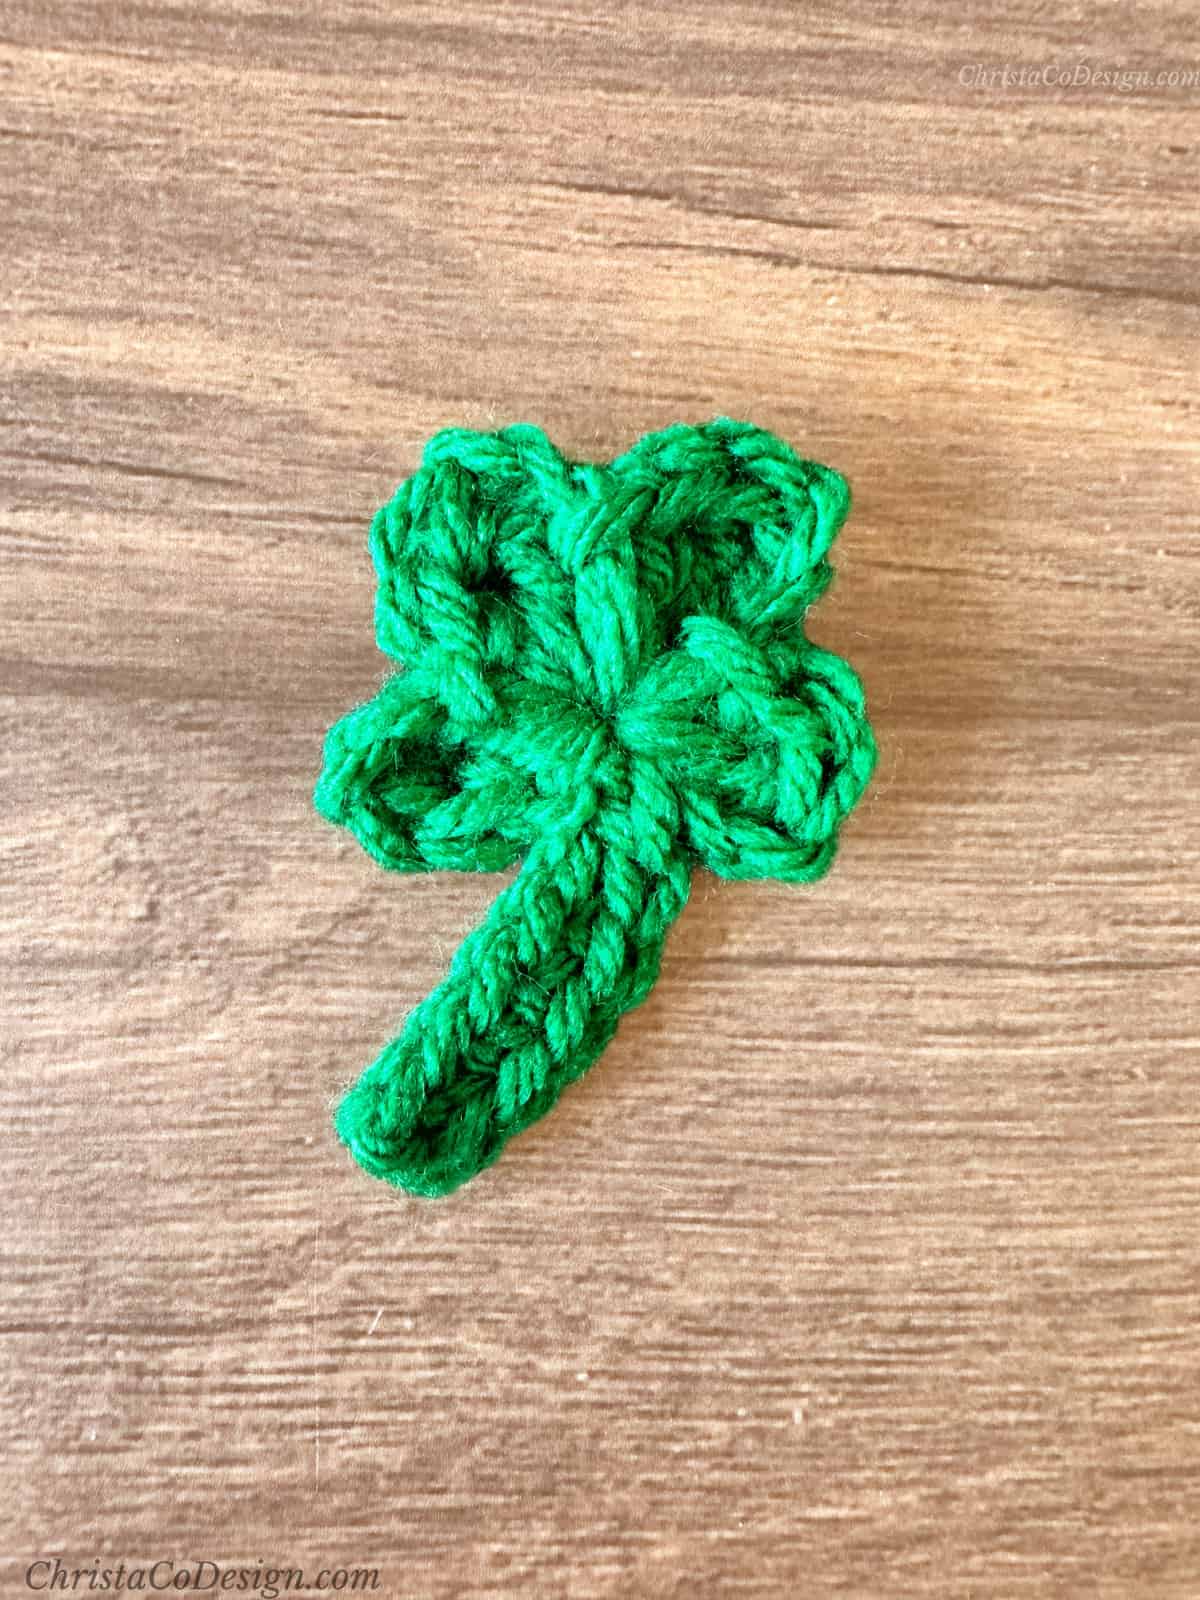
How to Crochet Four Leaf Clover Free Pattern + Video
My kids call St. Patrick’s Day “Leprechaun’s Day” and love to celebrate by making traps that those leprechauns are always too clever to fall for! To give them good luck we made crochet 4 leaf clovers, and you can too with this free crochet pattern.

This post contains affiliate links, I may earn a fee. Read more disclosure policy.
Join the ChristaCoDesign Newsletter
Never miss a pattern!
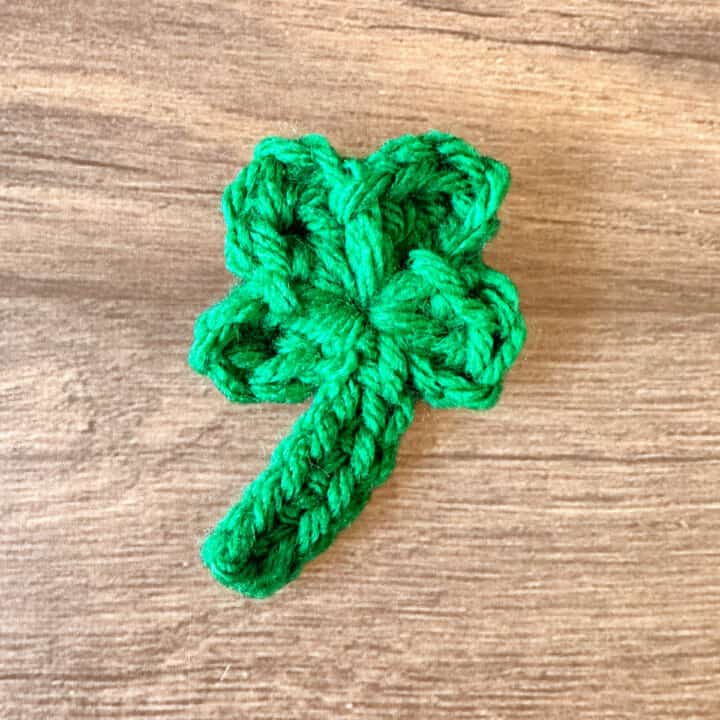
Learn how to crochet a simple four leaf clover in this step by step tutorial. This crochet shamrock would also be great to sew on a hat, scarf or blanket.
With March, Saint Patrick’s Day and Spring approaching this crochet four-leaf clover will get you in the mood for warmer days. More ideas for using this cute little clover is to add them to hair clips for the girls or as a “bow tie” for the boys.
Purchase the ad-free, well formatted printable PDF Pattern from my shop. Scroll down for the free pattern!
Purchase My Ad-Free PDF Patterns In Your Favorite Shop Here:
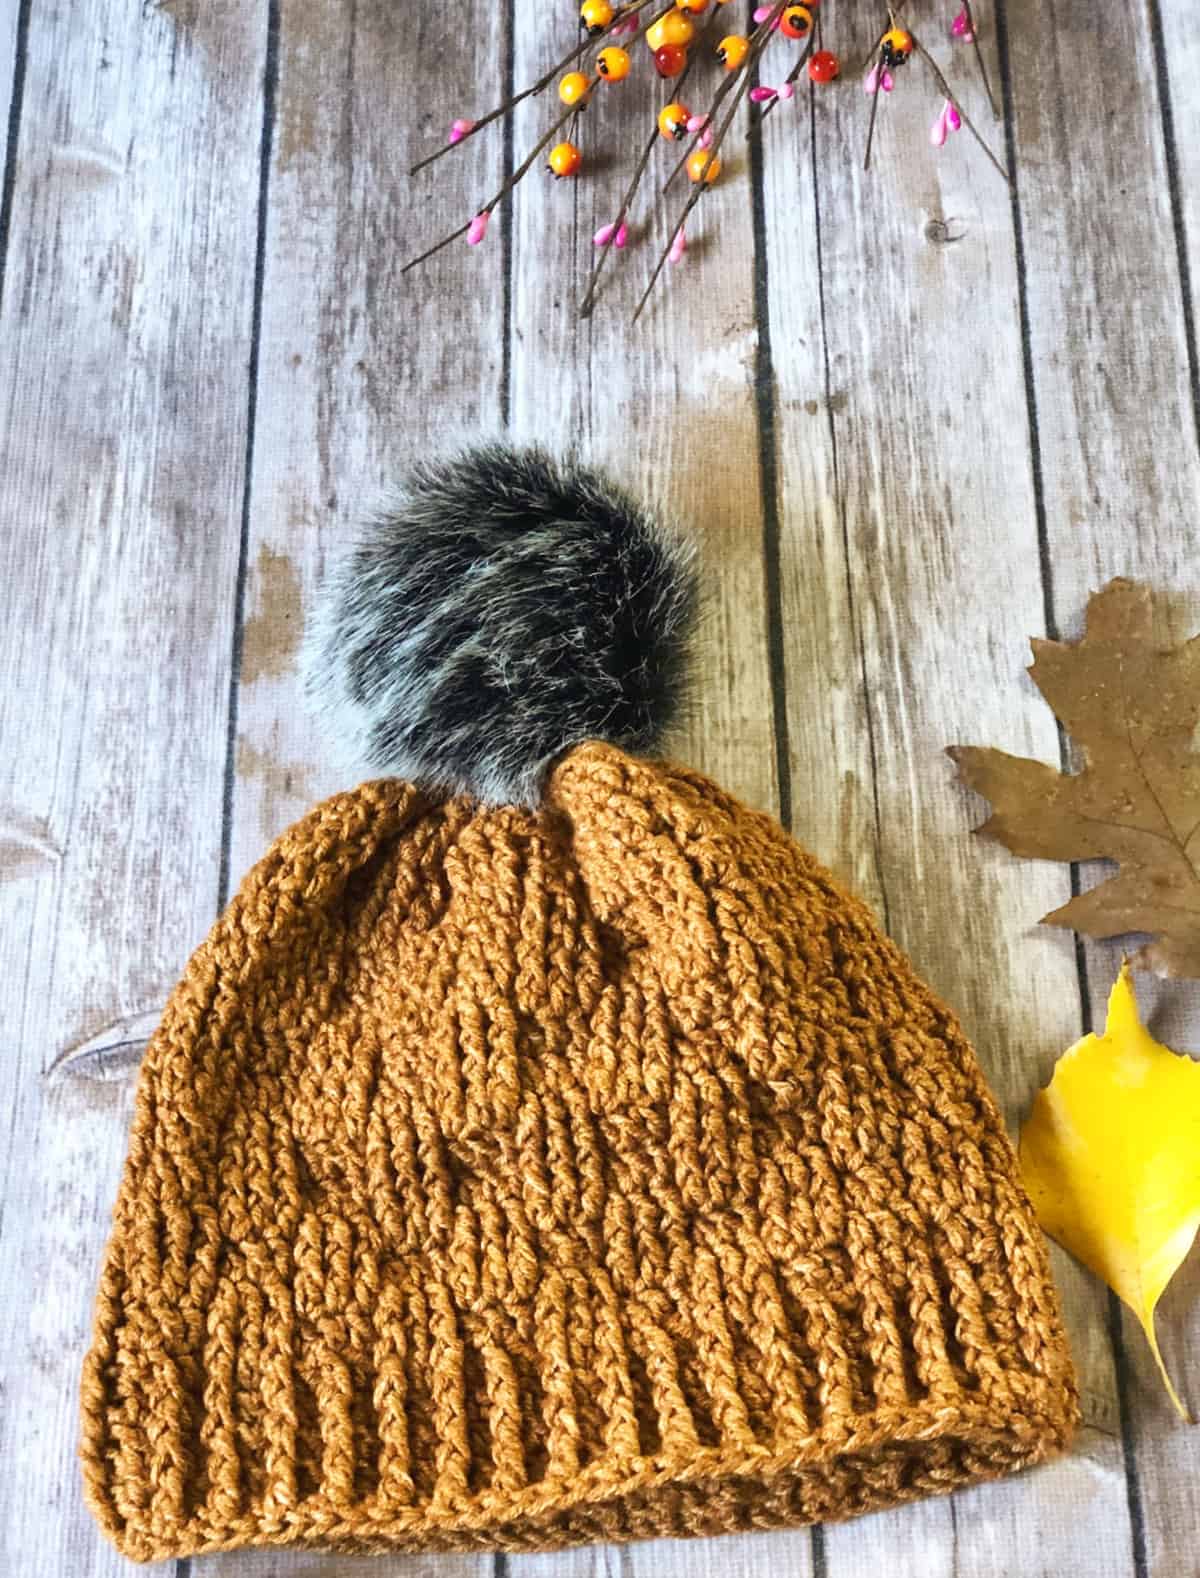
Using a simple hat pattern like the Lontano to add these clovers too is a great idea.
Materials
- 3 yds of green yarn Hobby Lobby’s I Love This Yarn # 4 medium weight yarn (100% Acrylic, 355 yd (325 m) per 199 g skein) in shade Green — 1 skein.
- 4 mm US Size G crochet hook, or hook needed to meet gauge.
- Yarn needle, Measuring tape, Scissors, Stitch marker(s)
Stitches/Abbreviations
US Terms
dc – double crochet
mc – magic circle (or magic ring)
tr – treble crochet
sc – single crochet
sl st – slip stitch
Skill Level
Easy
Gauge
5 sts x 3 rows (after blocking) to 1” (2.5 cm) measured in sc.
Sizing
2.5″ tall x 1.5″ wide
Fit/Adjustments
For a 3 leaf clover, only repeat the stitch pattern three times.
Video
Watch the video tutorial on my YouTube Channel.
Pattern Instructions
Start with a mc.
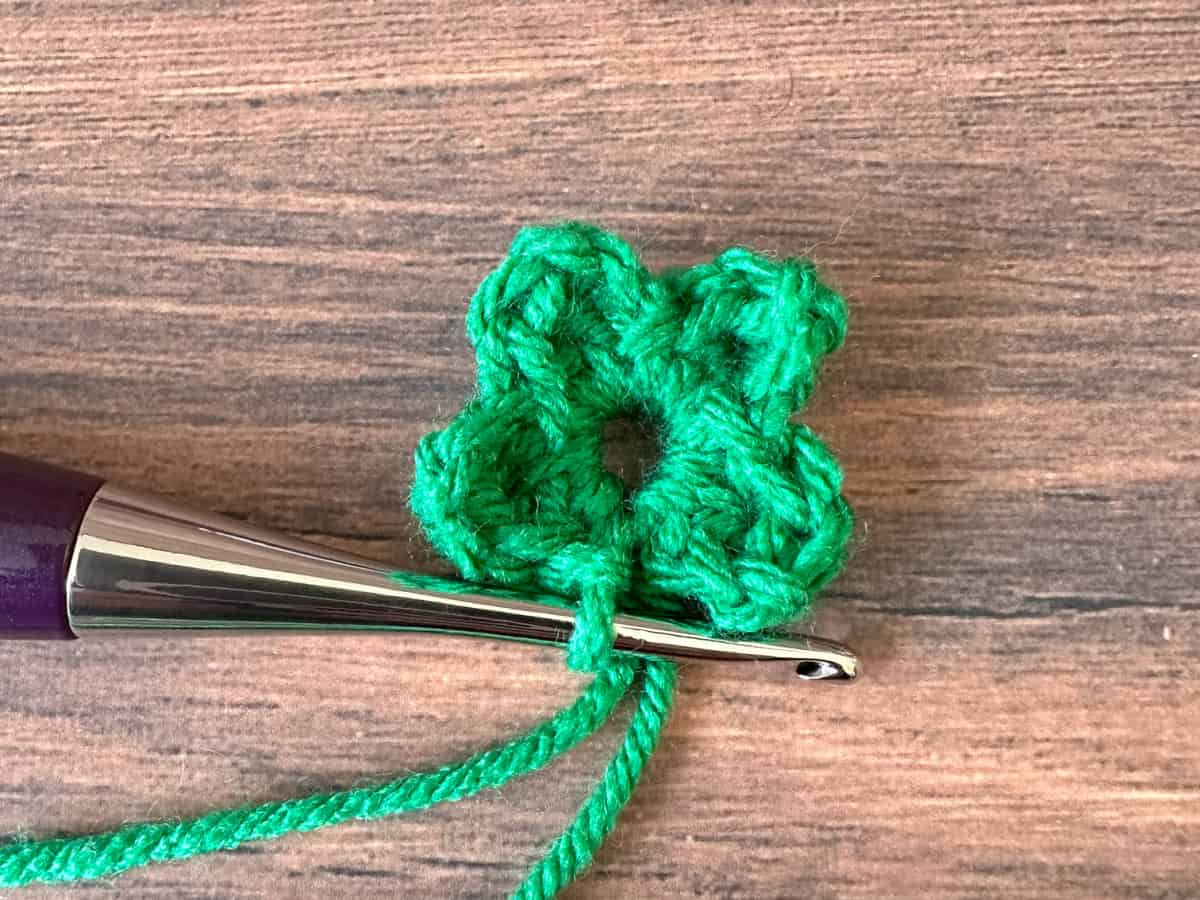
*Ch 3, tr, dc, sl st into mc, rep * 3 more times.
Continue from where you are, ch 7.
Sk the first chain, sc in 2nd ch from hook and in each st across.
Sl st to mc on final time.
Pull up a long loop and cut yarn.
Weave in ends.
Photo Tutorial
How To 4 Leaf Clover Crochet Pattern
Learn how to crochet a simple 4 leaf clover in this step by step tutorial.
Materials
- • 3 yds of Hobby Lobby’s I Love This Yarn # 4 medium weight yarn (100% Acrylic, 355 yd (325 m) per 199 g skein) in shade Green — 1 skein.
Tools
- 4 mm US Size G crochet hook, or hook needed to meet gauge.
- Yarn needle, Measuring tape, Scissors, Stitch marker(s)
Instructions
Start with a mc.
In the center of the ring place: *ch 3, tr, dc, sl st, rep from * 3 more times.
 Continue from where you are, ch 7.
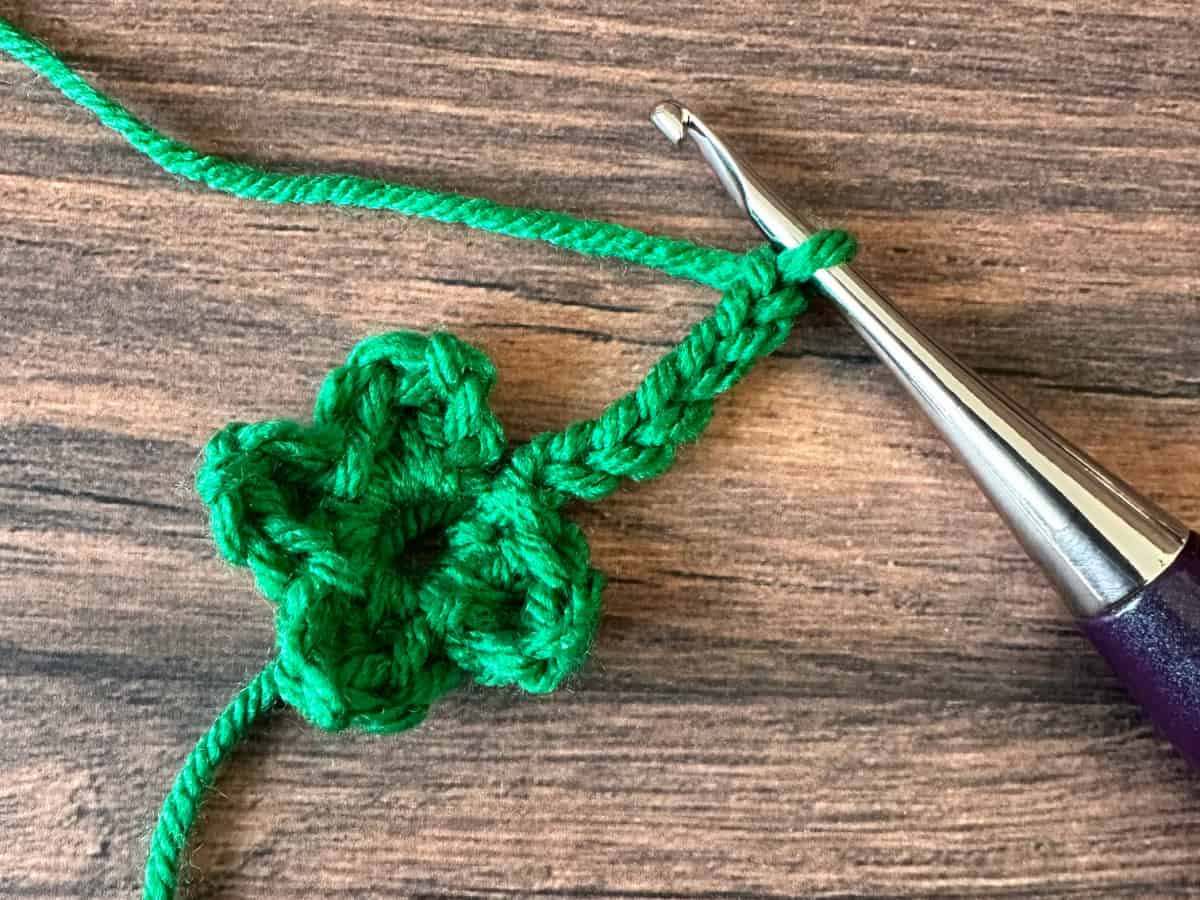
Sk the first chain, sc in 2nd chain from hook and in each st across.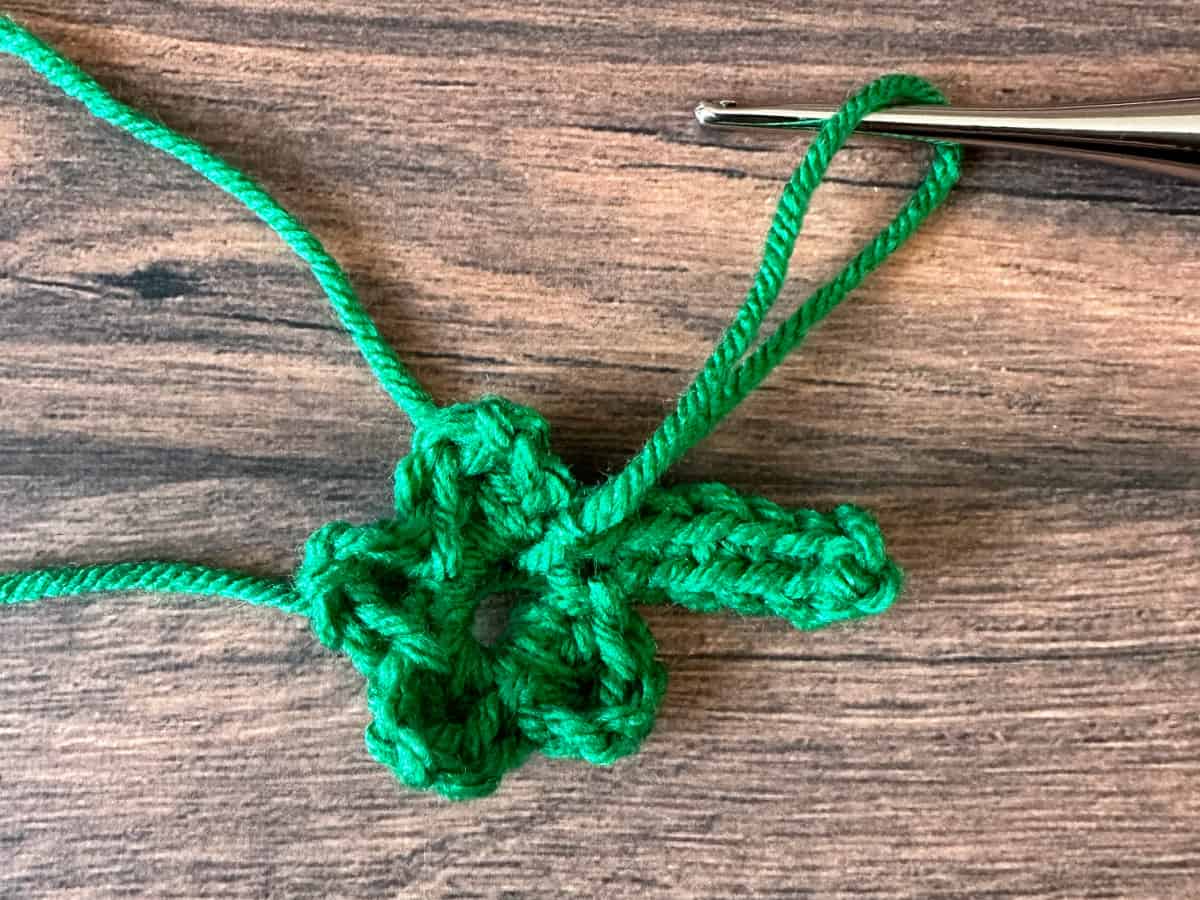
Sl st to mc on final time. 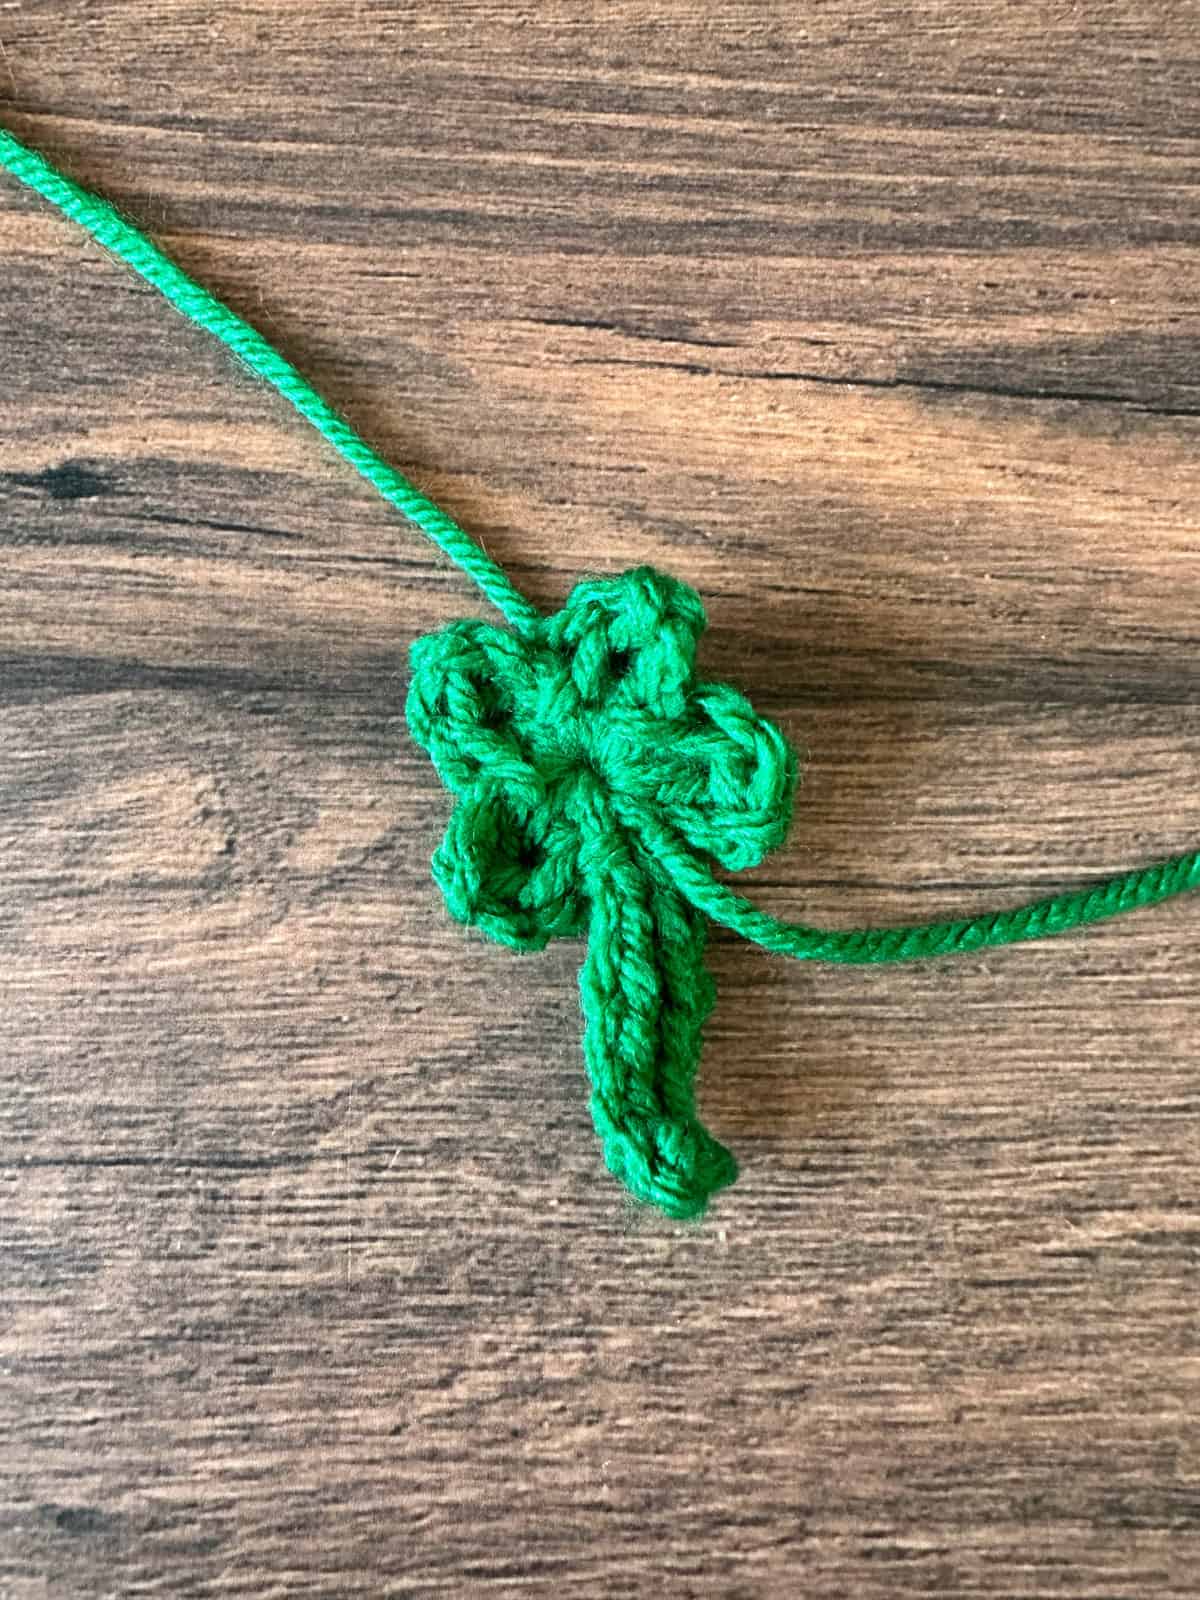
Pull up a long loop and cut yarn.
Weave in ends.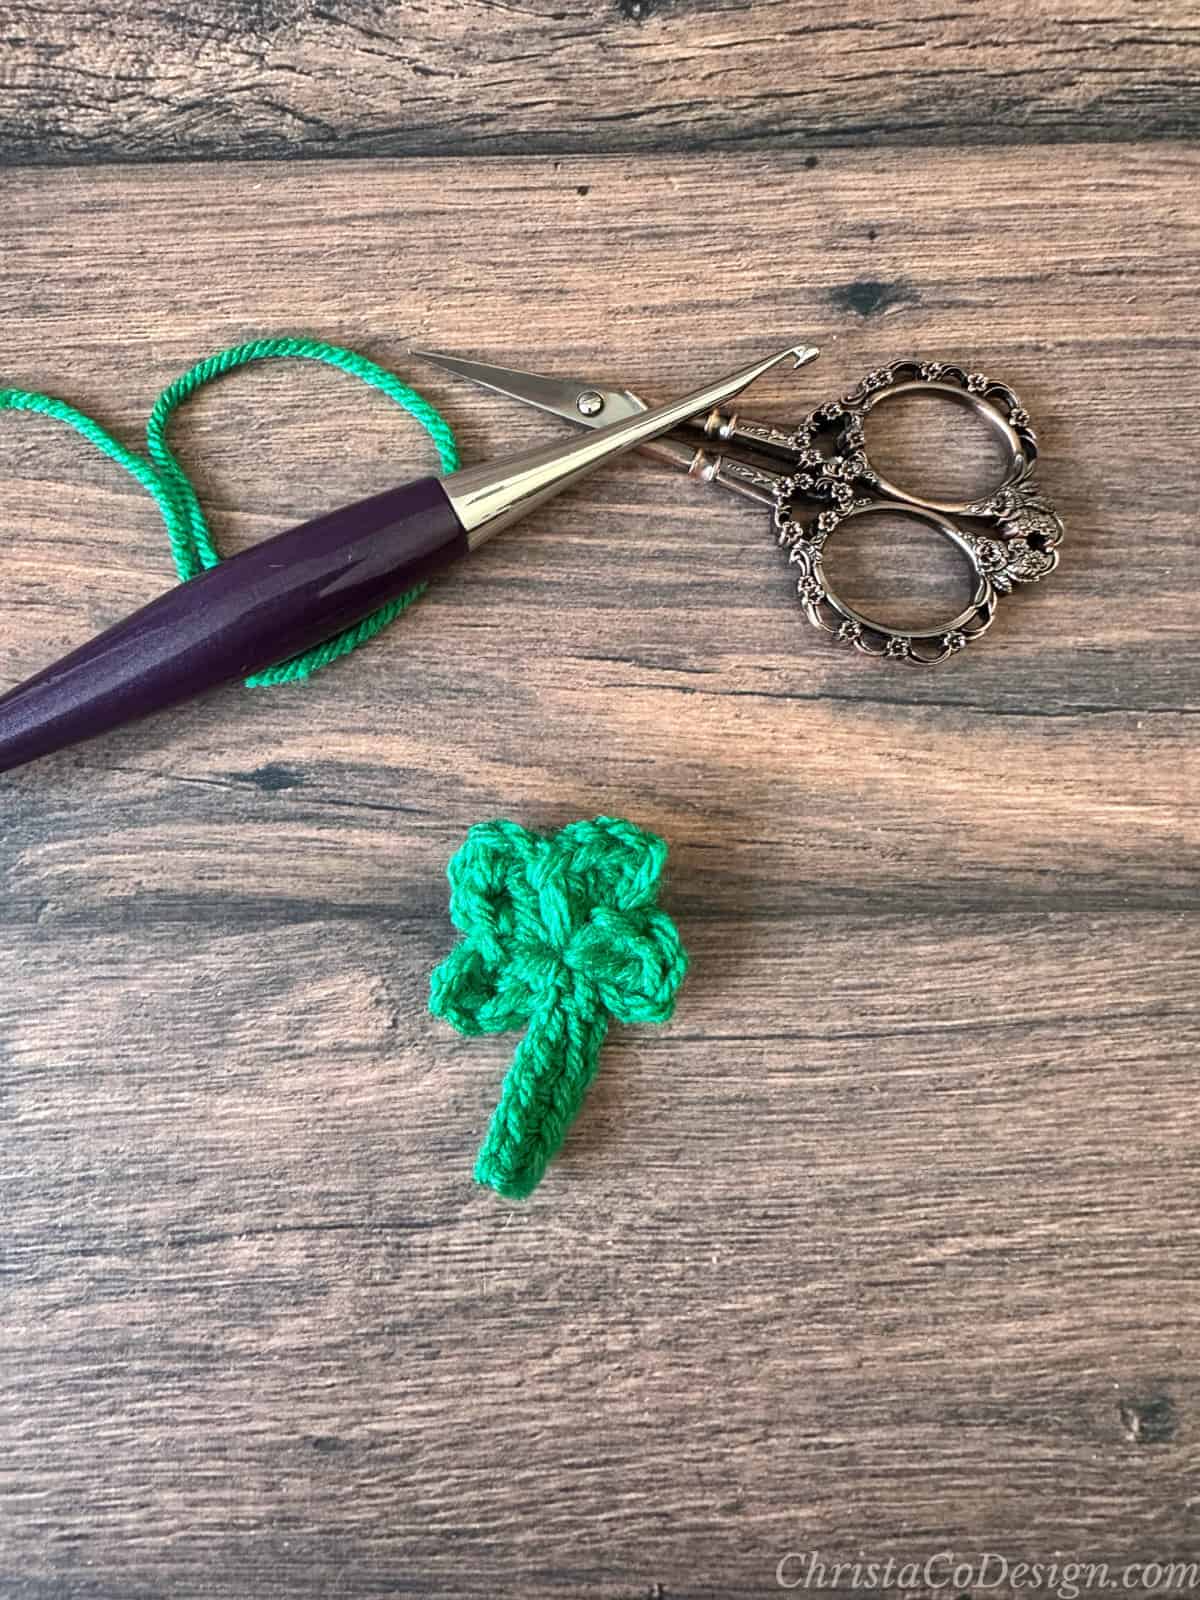
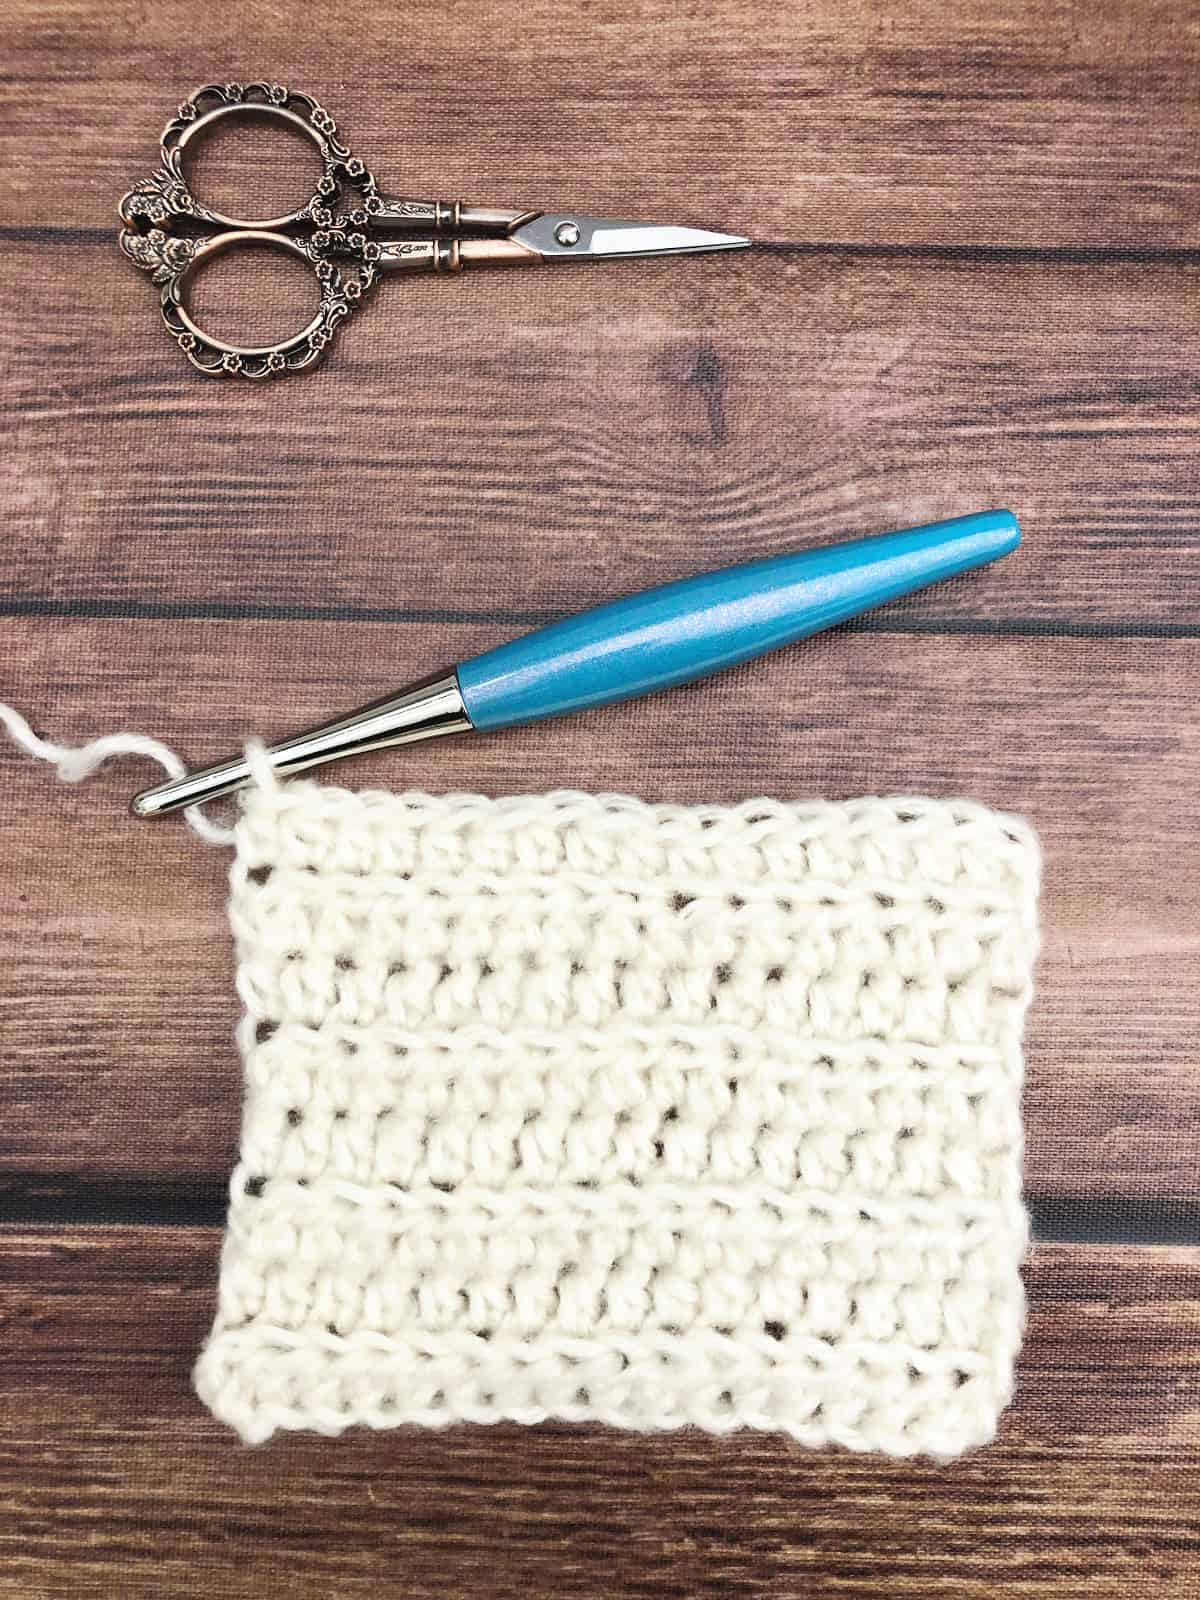
Headband
Materials
Hobby Lobby’s I Love This Yarn # 4 medium weight yarn (100% Acrylic, 355 yd (325 m) per 199 g skein) in shade Anitque White — 1 skein.
4 mm US Size G &
5 mm US Size H crochet hooks, or hook needed to meet gauge.
Yarn needle, Measuring tape, Scissors, Stitch marker(s)
Yarn By Size
Baby 0 – 3 mos ~ 18 yd (45 m)
Baby 3 – 6 mos ~ 22 yd (56 m)
Baby 6 – 12 mos ~ 27 yd (69 m)
12-24 mos – 33 yd (84 m)
Toddler 1 – 2 yrs ~ 38 yd (97 m)
Preschool – 42 (107 m)
Child – 47 yd (120 m)
Tween – 53 (135 m)
Sm Adult – 58 (148 m)
Med Adult – 64 (163 m)
Lg Adult – 69 (175 m)
Notes
1. This pattern is worked in the round meaning you will join the last stitch to the first stitch and continue working in the same direction.
Stitches/Abbreviations
US Terms
ch - chain
dc - double crochet
sl st - slip stitch
Skill Level
Easy
Gauge
15 sts x 8 rnds (after blocking) to 4” (10 cm) measured in dc.
Sizing
The pattern includes different sizes for head circumferences:
To fit age ~ head circumferences:
Baby 0 – 3 mos ~ 14” (35.5 cm)
Baby 3 – 6 mos ~ 15” (38 cm)
Baby 6 – 12 mos ~ 16” (40.5 cm)
12-24 mos ~ 17” (43 cm)
Toddler 1 – 2 yrs ~ 18” (45.5 cm)
Preschool ~ 19” (48.5 cm)
Child ~ 20” (51 cm)
Tween ~ 21” (53.5 cm)
Sm Adult ~ 22” (56 cm)
Med Adult ~ 23” (58.5 cm)
Lg Adult ~ 24” (61 cm)
Fit/Adjustments
This pattern has a suggested 2” / 5 cm of negative ease. This means the finished item is 2” / 5 cm smaller than the actual head circumference, and will stretch to fit.
Pattern Instructions
0-3 mos [3-6 mos, 6-12 mos, 12-24 mos, toddler, preschool, child, tween, sm adult, md adult, lg adult]
With larger hook ch 43 [46, 50, 55, 59, 63, 67, 71, 75, 78, 81] being careful not to twist join last ch to first ch with a sl st.
Rnd 1. Ch 3, dc in next ch and in each ch around, sl st to 3rd ch to join. (43, 46, 50, 55, 59, 63, 67, 71, 75, 78, 81 sts)
Switch to smaller hook for the rest of the headband.
Rnd 2. Ch 3, dc in each st around, sl st to first st to join.
For 0-3 mos [3-6 mos, 6-12 mos, 12-24 mos] sizes rep rnd 2: 2 more times until you have 4 rnds total.
For toddler [preschool, child, tween, sm adult, md adult, lg adult] sizes rep rnd 2: 4 more times until you have 6 rnds total.
Cut yarn and weave in ends.
Recommended Products
As an Amazon Associate and member of other affiliate programs, I earn from qualifying purchases.