
Free Textured Crochet Blanket Pattern: Raspberry Ridges
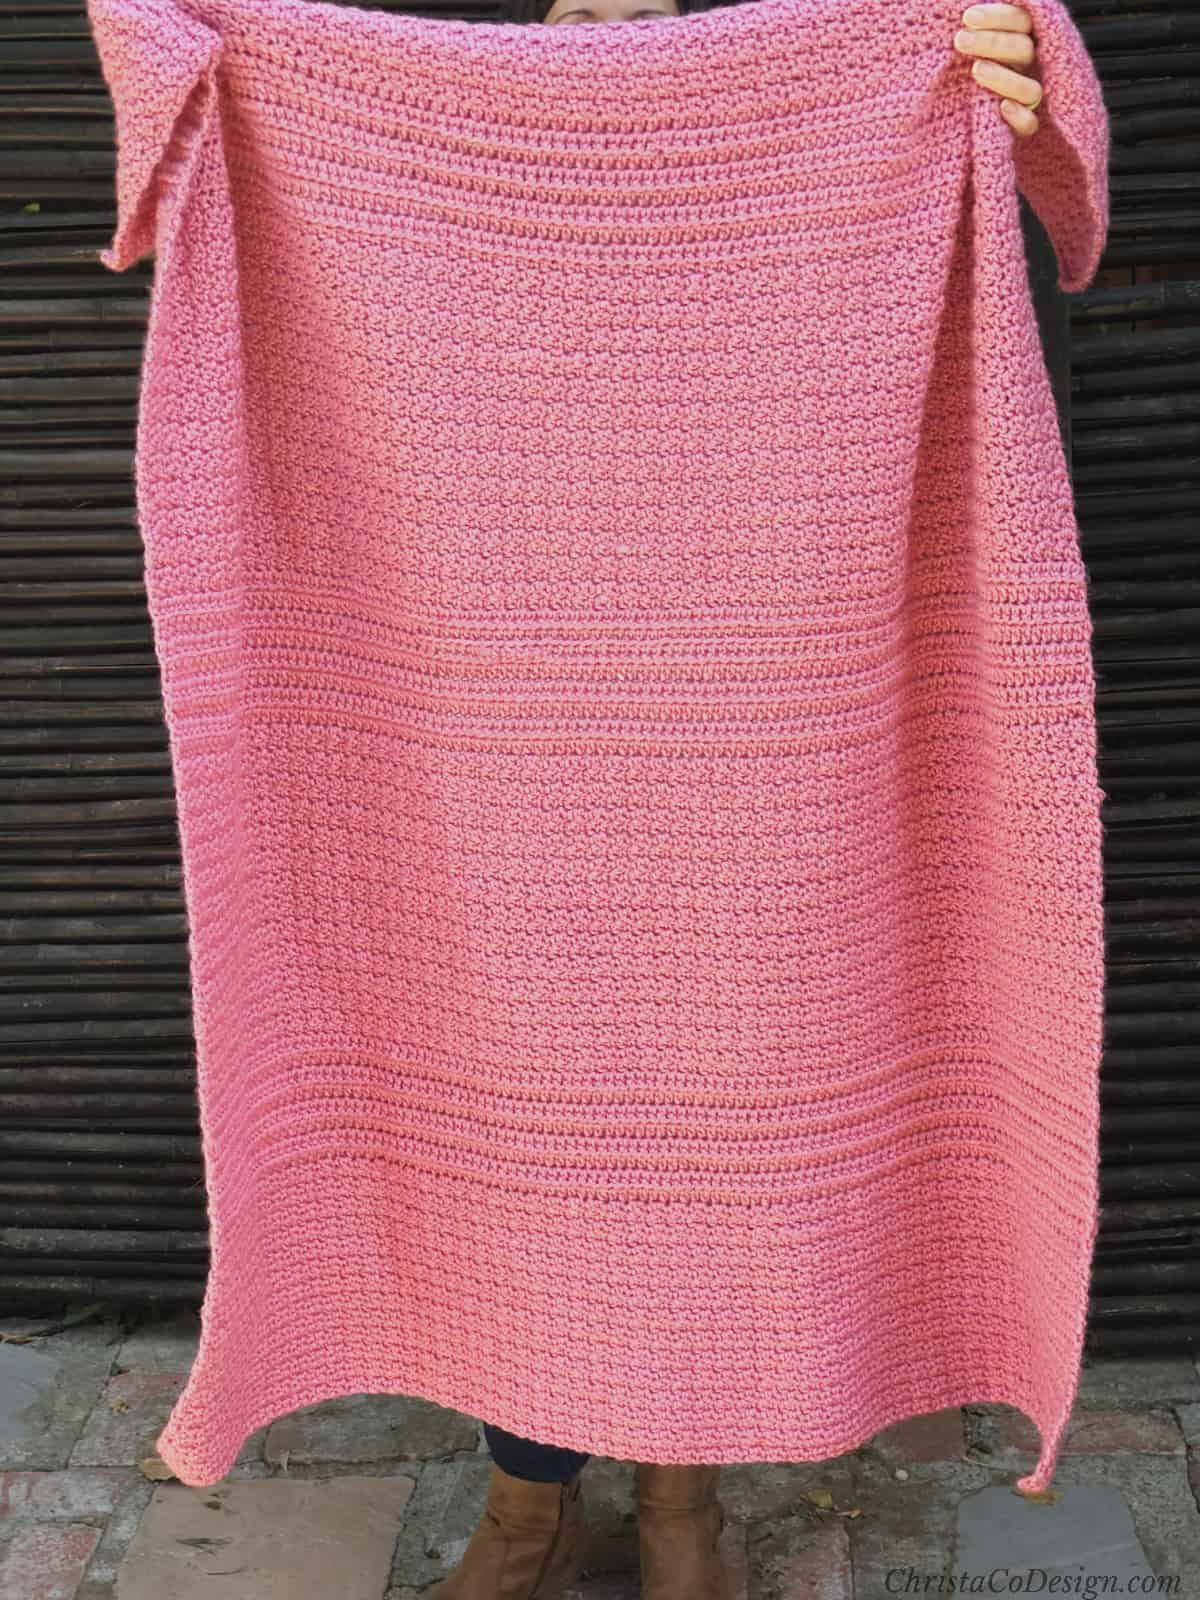
The Raspberry Ridges Crochet Blanket is the perfect combination of simple stitches and beautiful texture. With enough repeats to be eye catching, but not so many that you can’t enjoy your favorite shows, this blanket is a great way to relax and crochet.

Join the ChristaCoDesign Newsletter
Never miss a pattern!
The Lemon Peel stitch is one of my favorites. I’ve crocheted 3 blankets with it! It’s a stitch pattern that uses basic stitches and the best part is it’s really pretty.
I love how quickly double crochet stitches work up. I opted for great texture so this one would look great in solid colors, but you can use different colors of course!
Purchase the ad-free, well formatted printable PDF Pattern from my shop. Scroll down for the free pattern!
Purchase My Ad-Free PDF Patterns In Your Favorite Shop Here:
This blanket pattern includes 9 sizes so you can crochet this beauty for anyone!
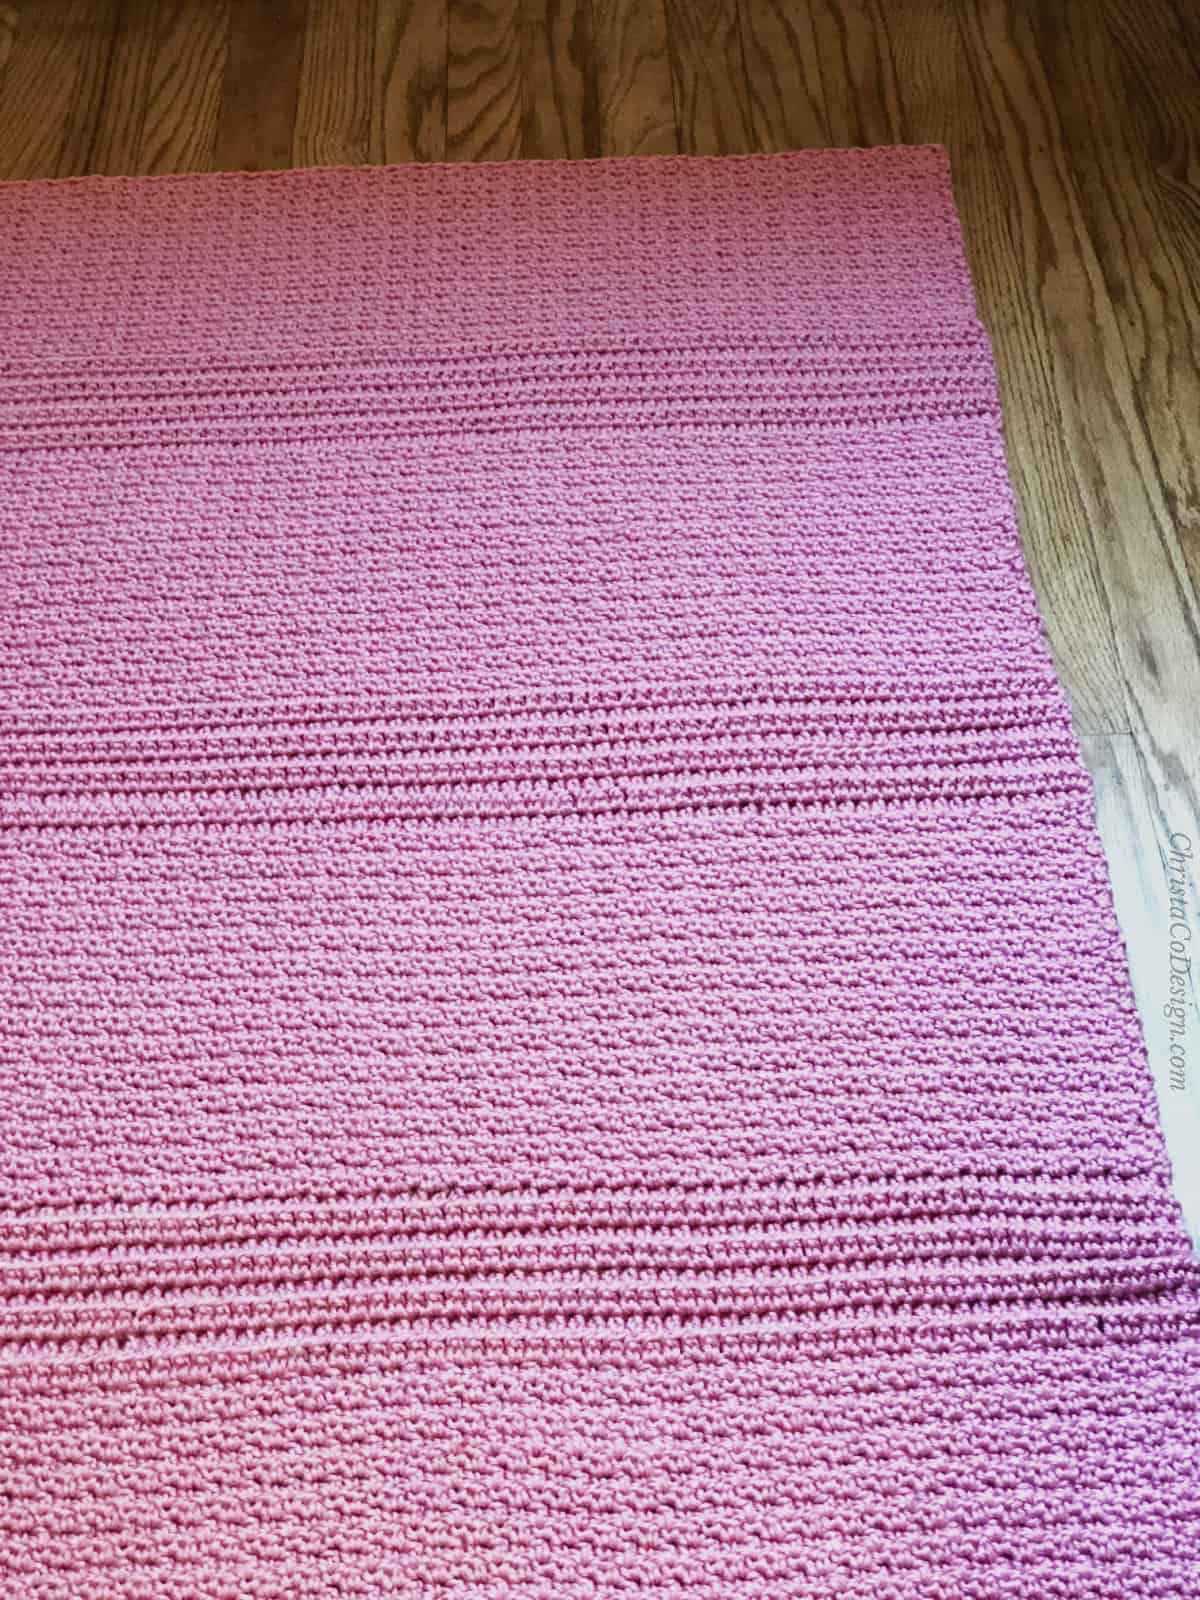
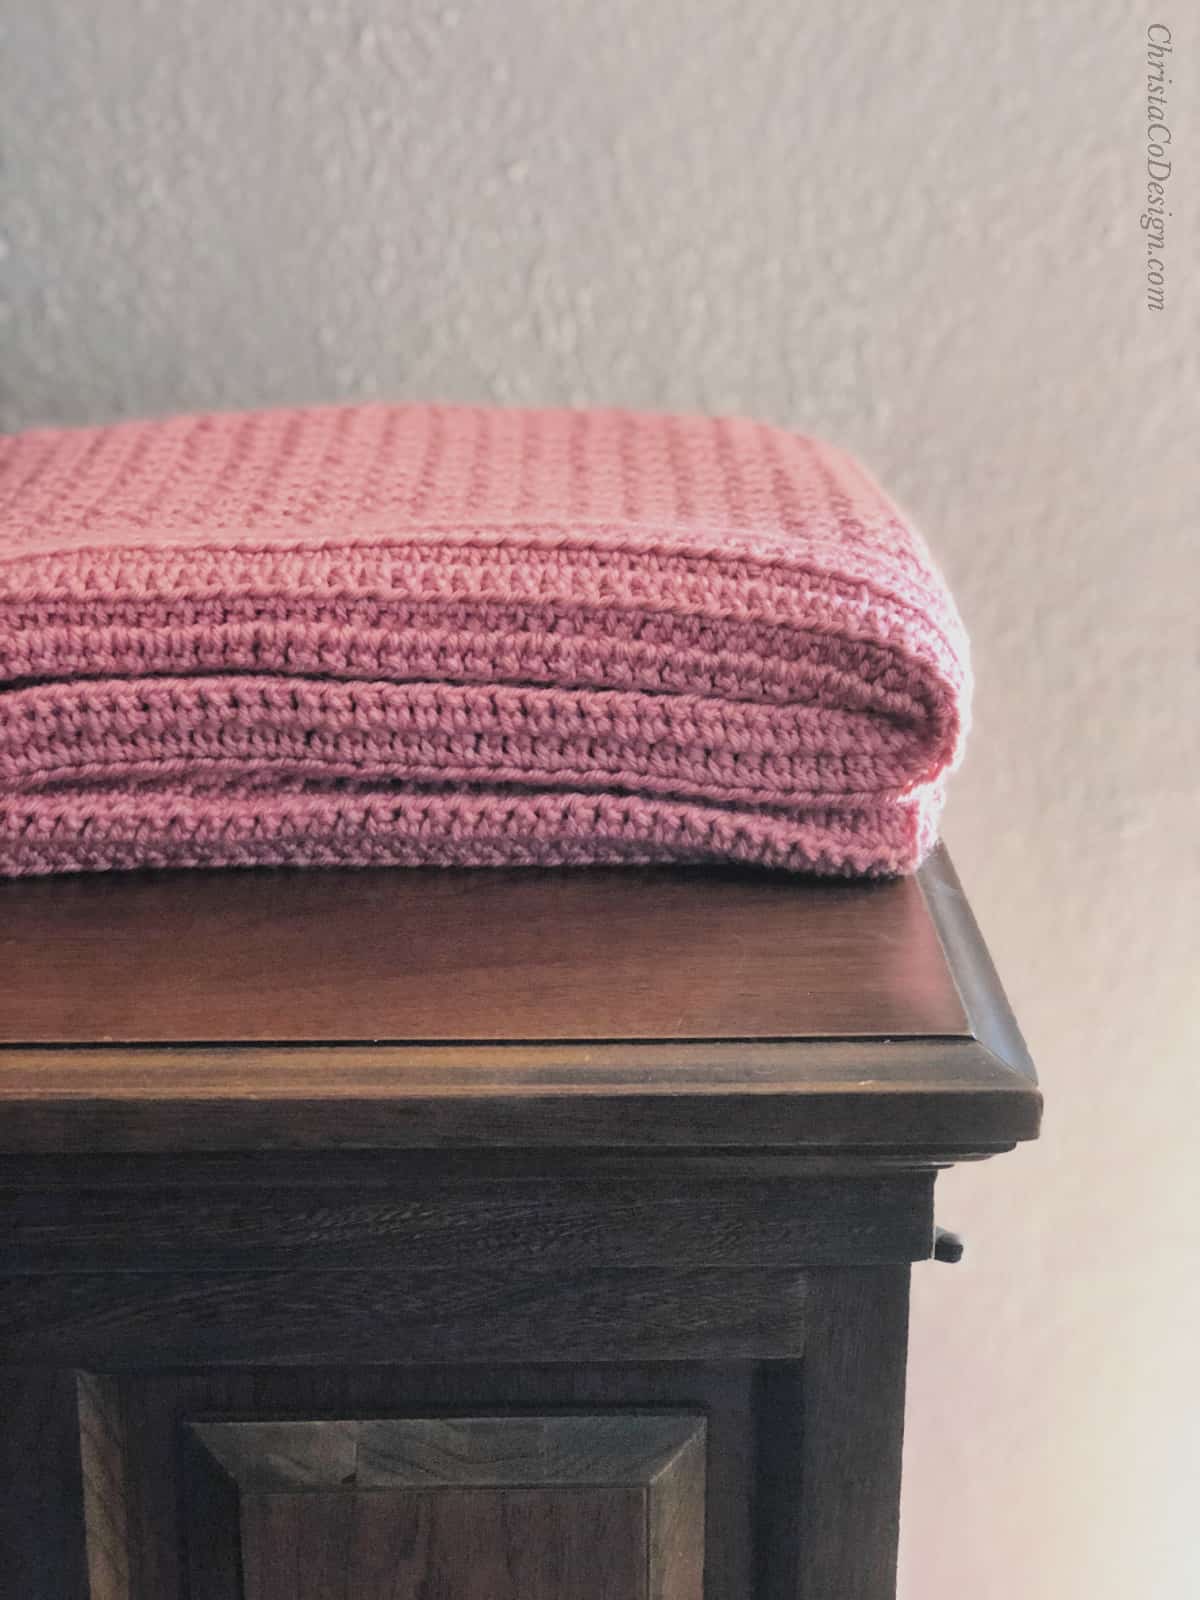
Those ridges are made with the extended half double crochet stitch. They’re just a single repeat row and I love it. I also use this stitch in my Pixie Spice Hat. It easily creates such interesting texture.
Get 33 gorgeous patterns in this crochet pattern bundle!
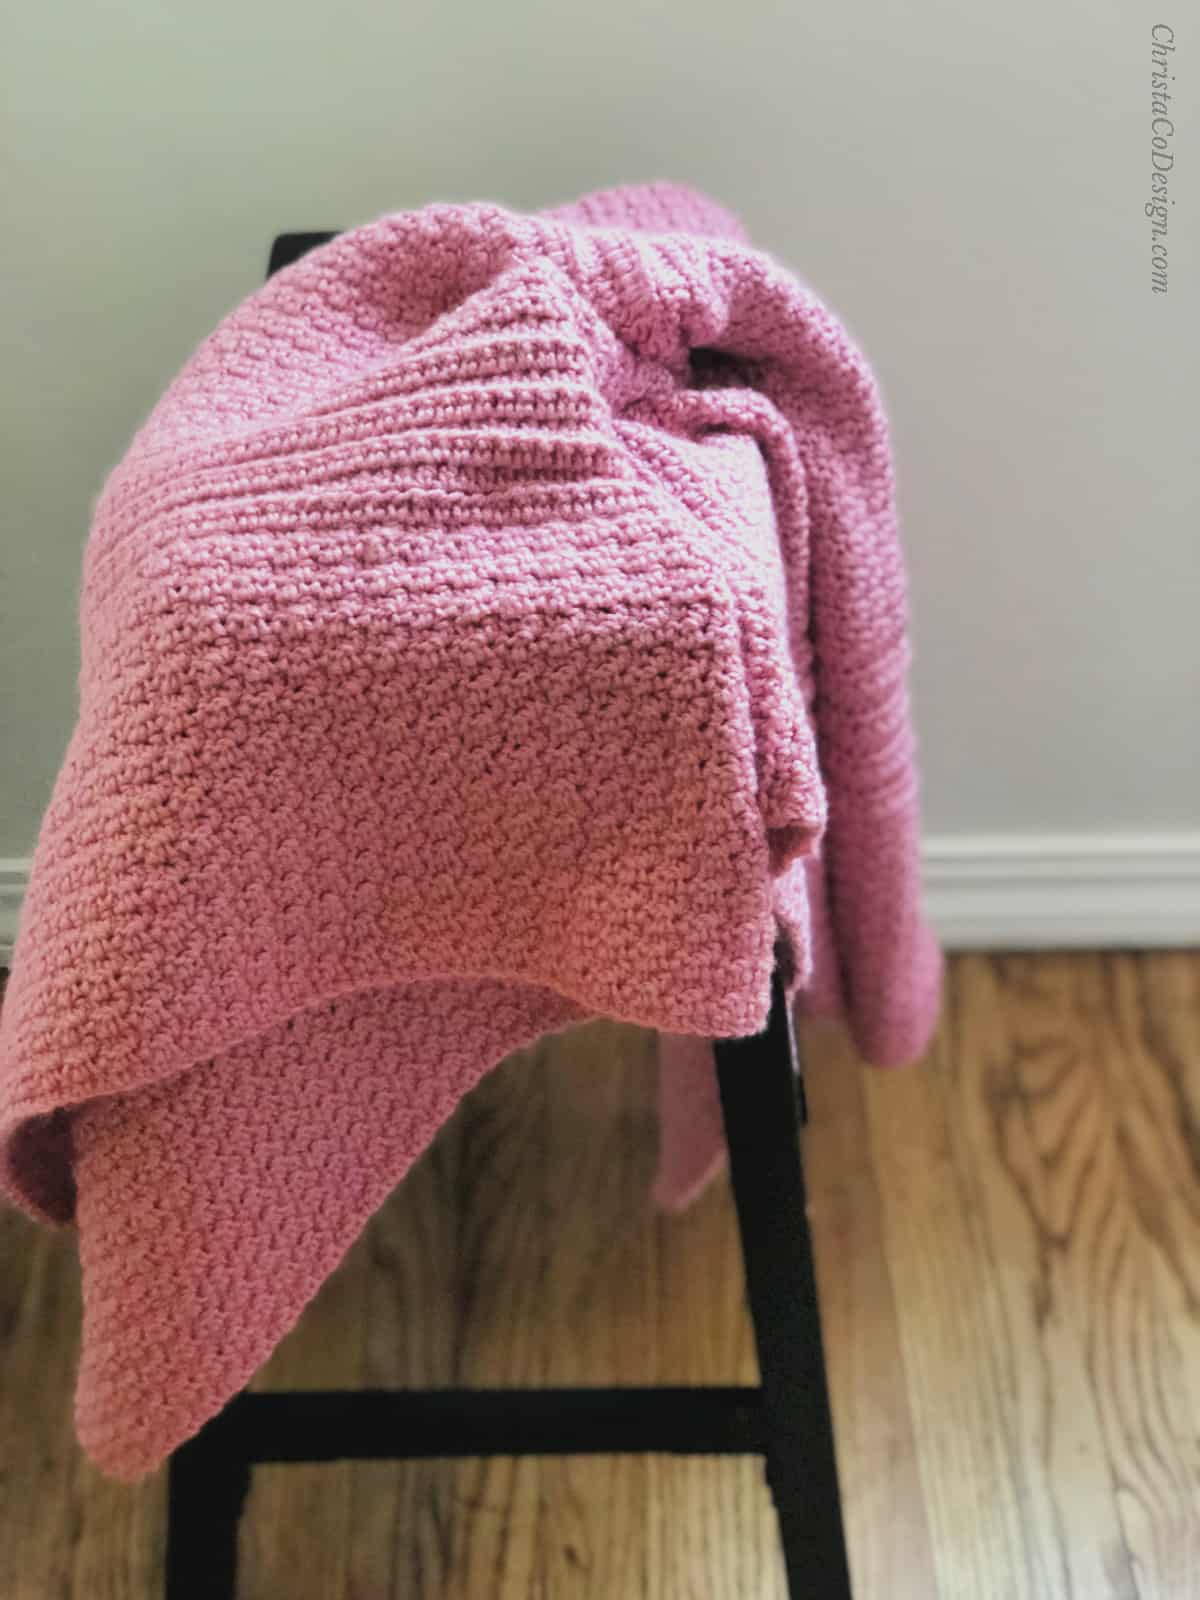
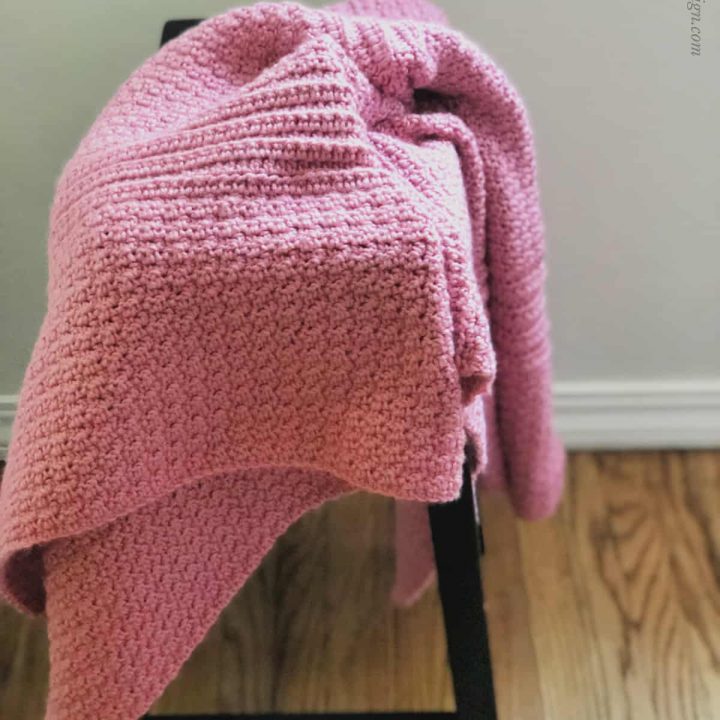
This gorgeous pink blanket was gifted to my son’s teacher-a mama of 2 boys with a little girl on the way! How could I not shower her in all things pinky pink? And isn’t Lion Brand’s Denali just the loveliest? I love that Heartland is soft, squishy and washable! Perfect for littles.
More free blanket patterns
Blankets are great crochet projects to always have going in the background. I love a simple repeat when I want a mindless, relaxing project.
Christmas Lights Blanket is a classic for decorating at Christmas time the finished blanket is sure to beloved for many years.
More Crochet Blankets
Have a look for more blanket inspiration!

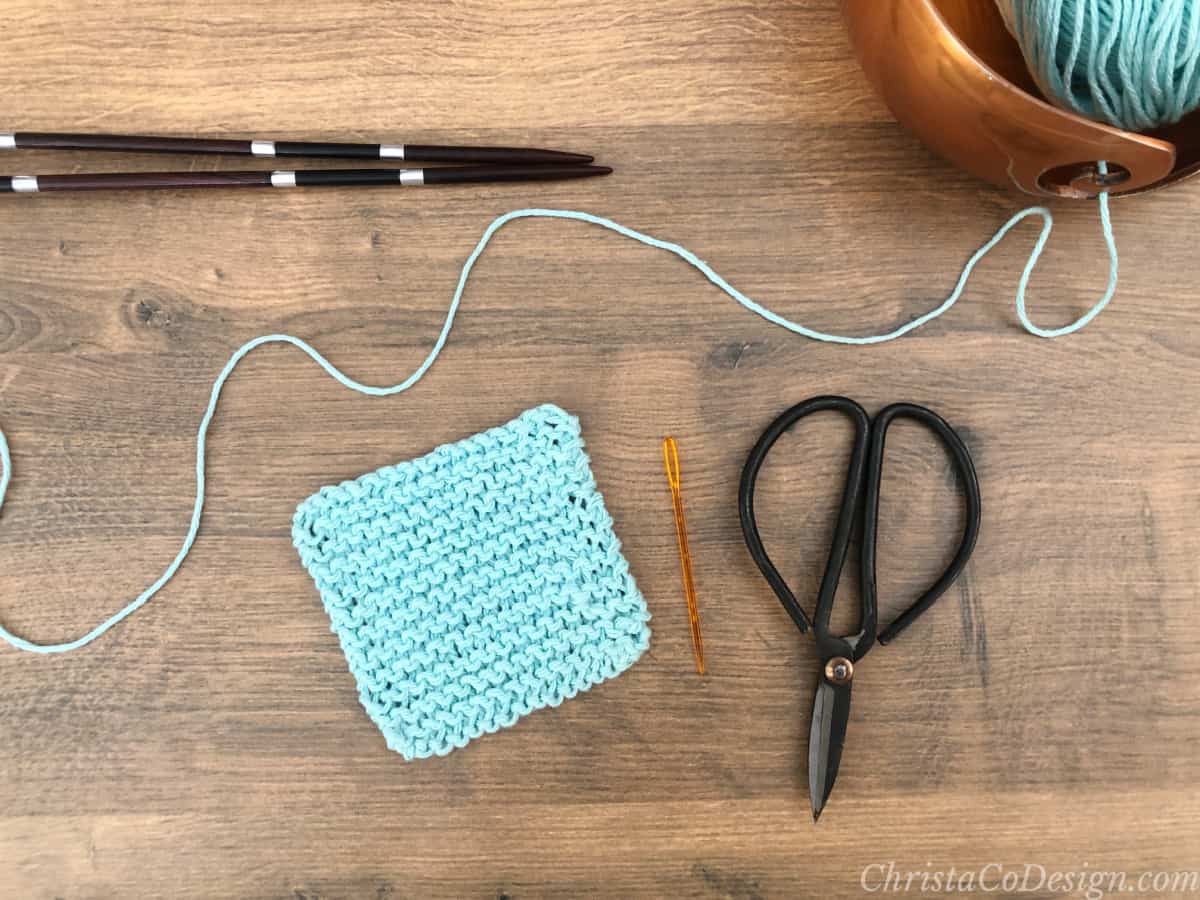
Materials
- #4 med worsted weight yarn, pictured in Lion Brand’s Heartland in Denali* (100% acrylic, 251 yd / 230) color Denali. See estimated yarn by size below.
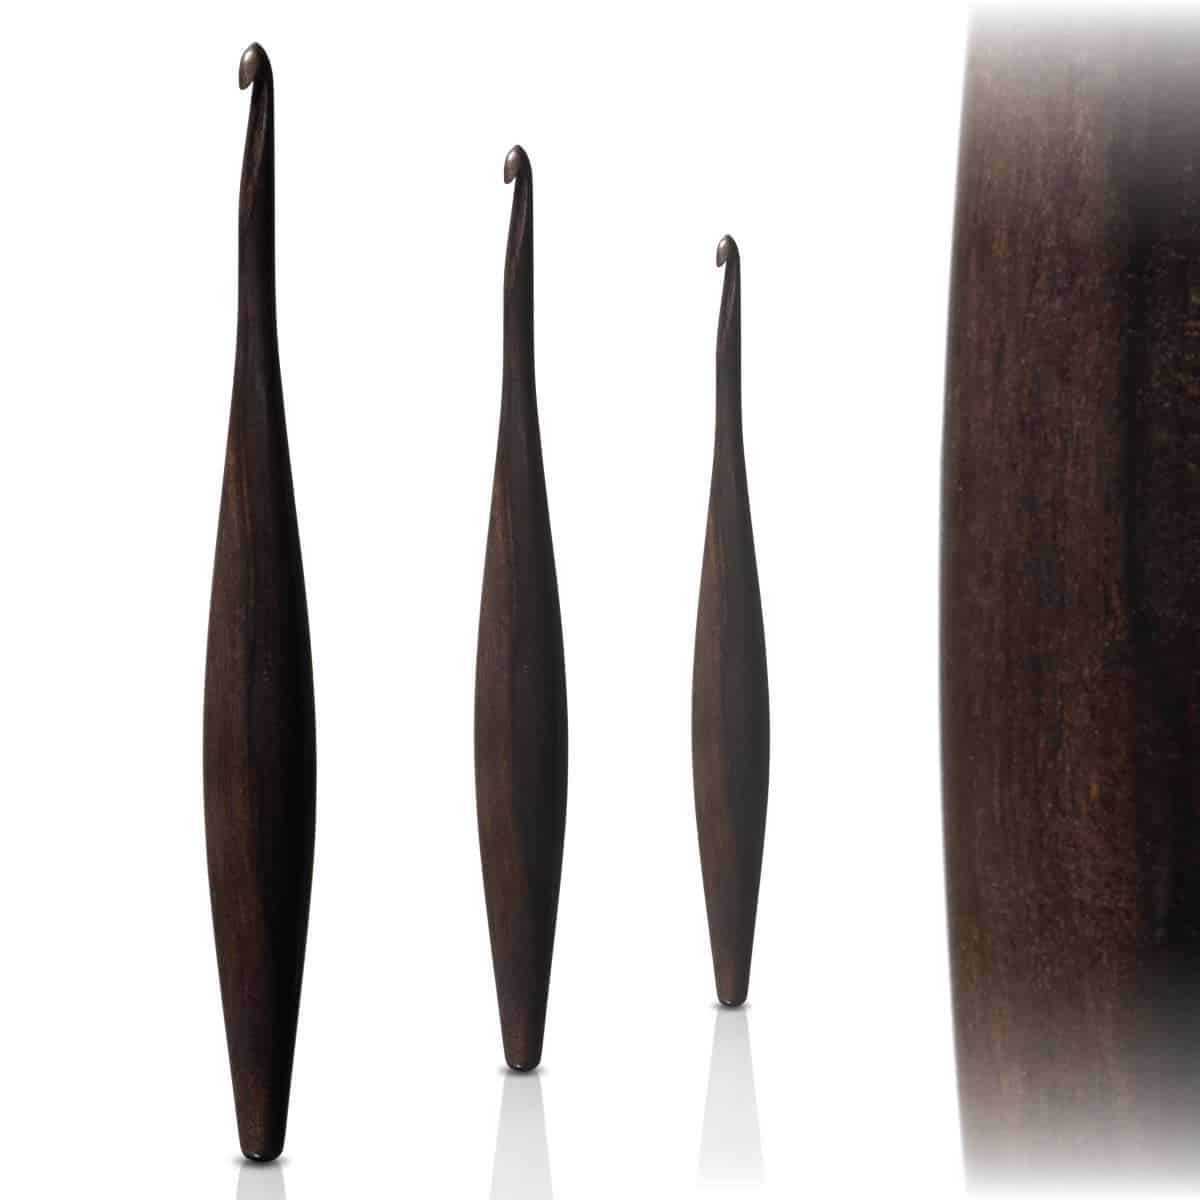
- 6 mm (J-10) crochet hook* or hook size needed to meet gauge.
- Yarn needle
- Stitch markers or spare yarn
- Measuring tape
- Scissors* I got these lovelies for Christmas and adore them!
Estimated Yarn By Blanket Size
Baby – 32” / 82 cm x 32” / 82 cm approximately 1077 yd / 985 m of yarn.
Receiving – 36″ / 92 cm x 44″ / 112 cm approximately 1666 yd / 1534 m of yarn.
Toddler – 40″ / 102 cm x 56″ / 142 cm approximately 2356 yd / 2154 m of yarn.
Sm Throw – 45″ / 114.5 cm x 56″ / 142 cm approximately 2651 yd / 2424 m of yarn.
Lg Throw – 54″ / 137 cm x 68″ / 172 cm approximately 3862 yd / 3531 m of yarn.
Twin – 66″ / 168 cm x 92″ / 234 cm approximately 6386 yd / 5839 m of yarn.
Full – 80″ / 203 cm x 104″ / 264 cm approximately 8751 yd / 8002 m of yarn.
Queen – 90″ / 229 cm x 104″ / 264 cm approximately 9845 yd / 9002 m of yarn.
King – 108″ / 274.5 cm x 104″ / 264 cm approximately 11814 yd / 10803 m of yarn.
Gauge
Gauge is taken from the first section of lemon peel stitch.
4” / 10 cm x 4” / 10 cm = 13 sts (dc / sc) x 14 rows of dc / sc
Notes
- The multiple is an even number of stitches.
- Your width will increase as you work into the foundation chain. You can check your width after a few rows and adjust if necessary.
- Use your stitch markers to mark the turning Ch 1. In the lemon peel section the last double crochet is worked into this chain at the end of the row.
- The only rows that you do not work into the turning ch are the rep rows of the exhdc section starting with the second rowthrough the last row of the exhdc section. Pay close attention to the first and last rows when changing stitch sections. Counting them helps!
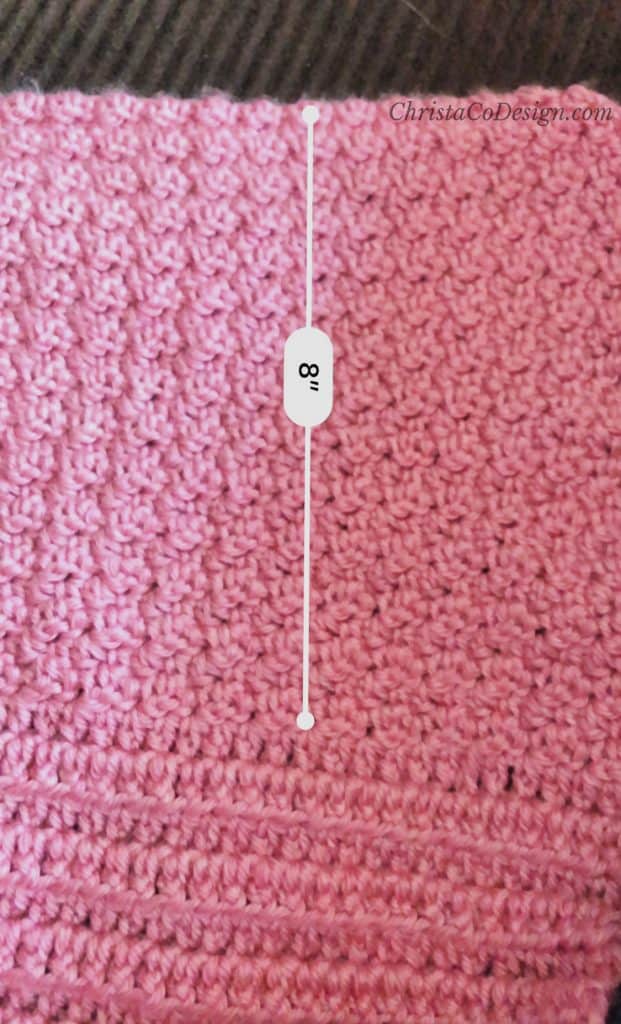
- You will work alternating sections of 8” (27 rows of dc / sc) & 4” (8 rows of exhdc) as detailed in the pattern. Begin and end with 8” sections.
Tip: When crocheting into a turning chain use a stitch marker to both see it and remember to work into it!
Skill Level
Easy
Stitch Tutorial
Check out the Lemon Peel Stitch Tutorial for step by step photos on how to crochet this stitch. It’s important to remember to crochet into the turning chain at the end of each row.
Abbreviations / Stitches
US Terms
ch – chain
dc – double crochet
sc – single crochet
sk – skip the indicated stitch
Special Stitches
Exhdc-extended half double crochet-yo insert your hook into the stitch, yo and pull up a loop, yo (4 loops on your hook) and pull through 1 loop (3 loops on your hook), yo (4 loops on your hook) and pull through all 3 loops on your hook.
Finished Dimensions
The blanket pictured is finished size 36” wide x 44” long. See “Estimated Yarn By Blanket Size”above for all the different sizes.
Adjustments
To adjust the width of your blanket, you can add or subtract 2 to my starting chain.
To change the length, add / subtract a 4” repeat and another 8” repeat. It is recommended to end with a 8” rep.
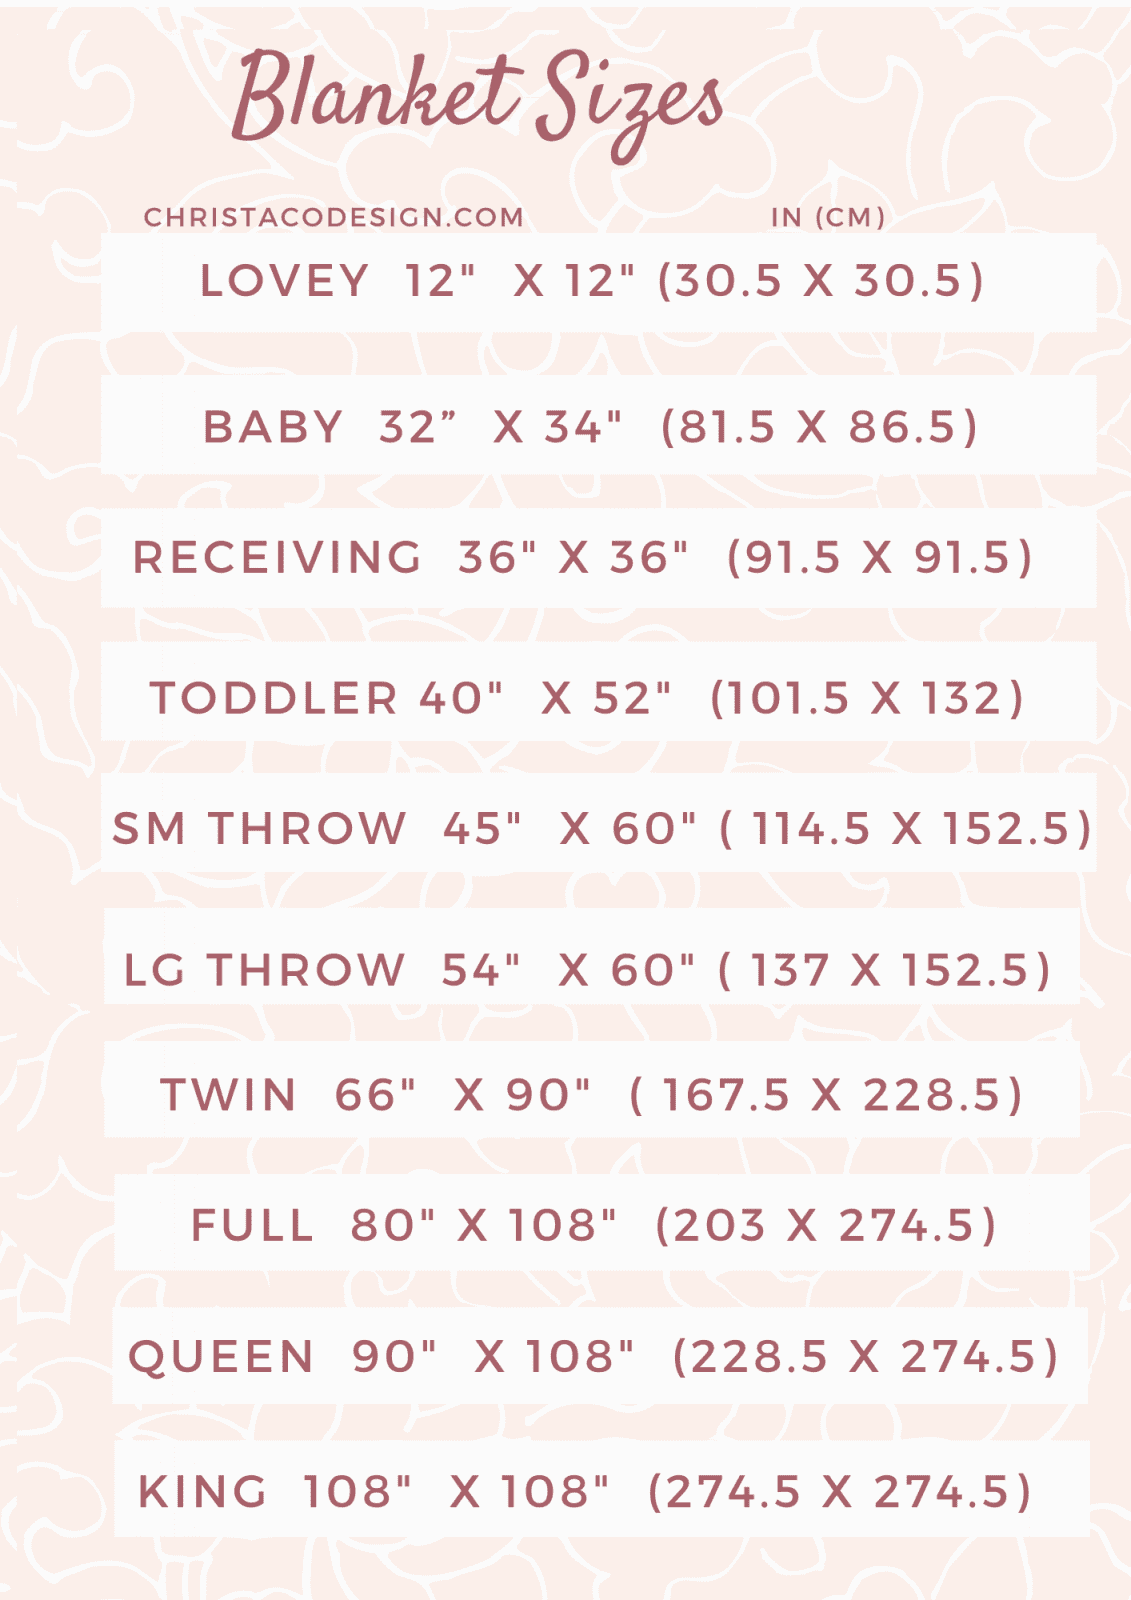
You can check out this pdf download of my blanket size chart or keep scrolling down for the free crochet blanket pattern.
Downloadable Blanket Sizes Chart
Video
Watch the video tutorial on my YouTube.
Purchase the ad-free, well formatted printable PDF Pattern from my shop. Scroll down for the free pattern!
Raspberry Ridges: Textured Crochet Blanket Pattern
The Raspberry Ridges Crochet Blanket is the perfect combination of simplicity and beautifully textured stitches.
Materials
- #4 med worsted weight yarn, pictured in Lion Brand’s Heartland* (100% acrylic, 251 yd / 230) color Denali. See estimated yarn by size above.
Tools
- 6 mm hook US Size J-10
- Yarn needle, Stitch markers, Measuring tape, Scissors
Instructions
- Lemon Peel Section = 8”
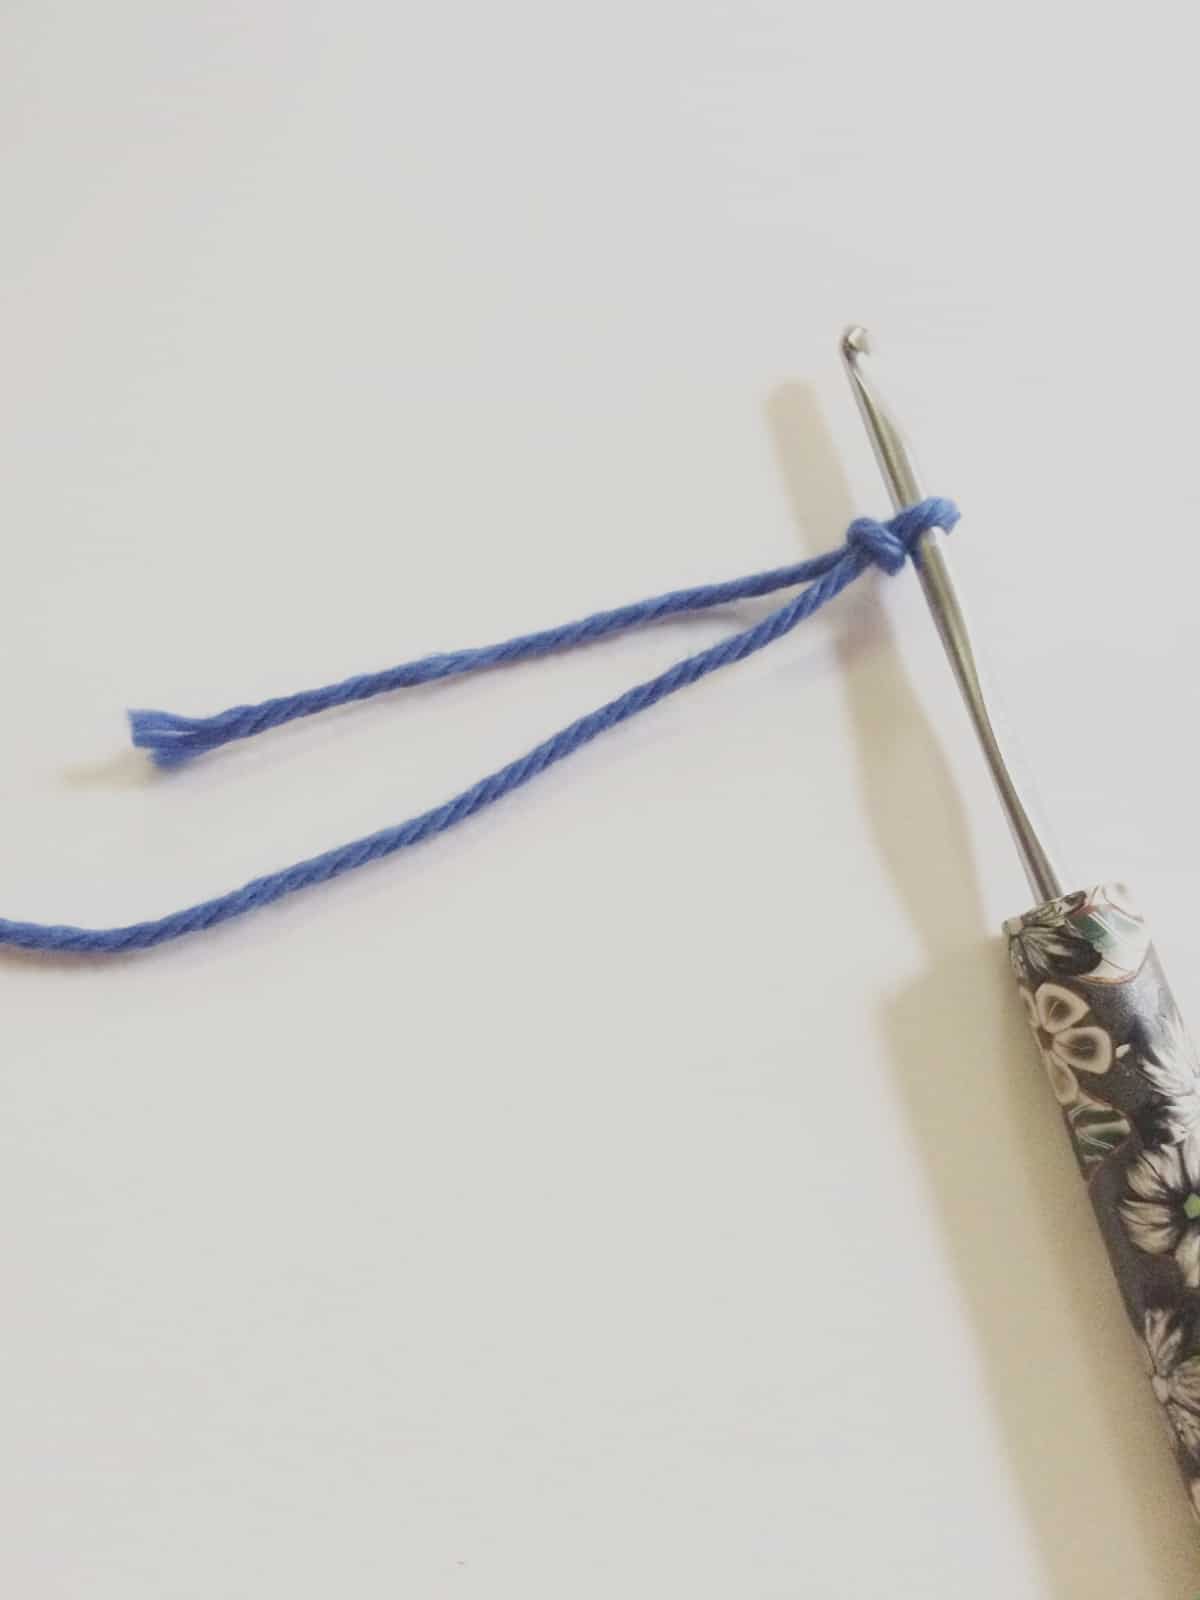
Ch 104 (116, 130, 146, 174, 212, 258, 290, 348)
Row 1. Dc in the 2nd ch from your hook (mark the skipped ch with your stitch marker, you will work into this space at the end of the next row), *{sc in the next ch, dc in the next ch} rep from * to end, turn. (104, 116, 130, 146, 174, 212, 258, 290, 348 sts) - Row 2. Ch 1 (counts as the first stitch, mark this st & all Ch 1 sts for this section, as you will crochet into it at the end of the next row), sk the first dc, *{dc in the next sc, sc in the next dc} rep from * to the end, dc into the marked turning ch, turn. (104, 116, 130, 146, 174, 212, 258, 290, 348 sts)
- Rows 3 - 27. Rep Row 2 through Row 27, or until work measures 8.”
- Exhdc Section = 4” Row 28. Ch 1, exhdc in the same st and in each st across. **Remember on this row only to work the last exhdc of the row into the turning ch 1, turn.
From Row 29 - 35 you will no longer be working into the turning chain, but into the last exhdc. - Row 29. Ch 1 (does not count as a st), exhdc in the same st (mark this st as the first st) and in each exhdc across, turn.
- Rows 30 - 35. Rep Row 29, or until 4” is reached.
- Lemon Peel Section = 8”
Rows 36 - 62. (27 rows, or 8”) Ch 1 (mark this st & all Ch 1 sts, as you will crochet into it at the end of the next row), sk the first exhdc, *{dc in the next exhdc, sc in the next exhdc} rep from * across, dc in last exhdc, turn. - Row 37. Ch 1 (counts as a st), sk the first dc, *{dc in the next sc, sc in the next dc} rep from * to the end, dc into the marked turning ch, turn.
- Exhdc Section = 4”
Rows 63 - 70. (8 rows, or 4”) Rep the exhdc Rows 28 - 35. - Lemon Peel Section = 8”
Rows 71 - 96. (27 rows, or 8”) Rep the dc / sc Rows 36 - 62. - Stop here for Baby 32” x 32” size.
All other sizes continue to repeat the 4” & 8” sections until your length in chart is reached: - Exhdc Section = 4”
Next 8 Rows (or 4”). Rep the exhdc Rows 28 - 35. - Lemon Peel Section = 8”
Next 27 Rows (or 8”). Rep the dc / sc Rows 36 - 62. - Repeat until your blanket is 32" (44", 56", 56", 68", 92", 104", 104", 104") or as long as you need.
- Cut yarn and weave in ends.
Recommended Products
As an Amazon Associate and member of other affiliate programs, I earn from qualifying purchases.


This is now a blanket I MUST make! Looks amazing and I love the color you chose! It would make for a beautiful baby blanket!
Thank you! I hope you get a chance to make it!
I think I’m going to try and make this for my parent’s anniversary
Love this pattern
Thank you!
That’s a great idea for an anniversary gift!
This is gorgeous! Definitely adding this to my list of future creations!
Thank you! I hope you’re able to make it ?
This is a beautiful blanket, I love the color you chose.