DIY Magazine Holder Makeover
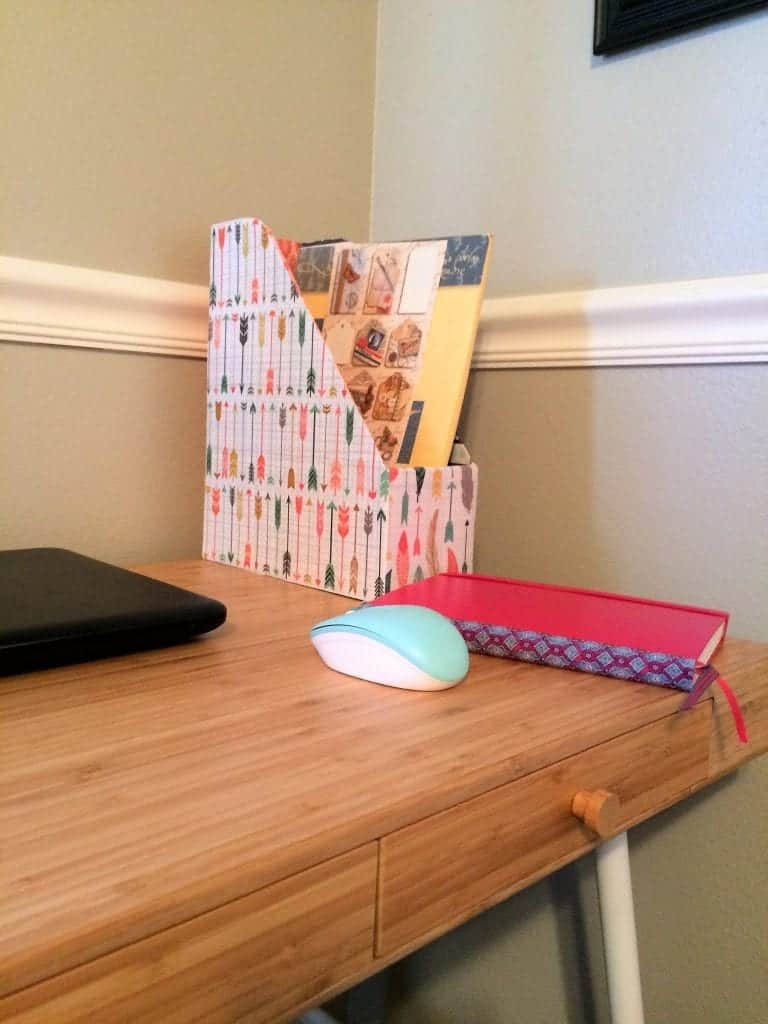
Customize a magazine holder for keeping your desk space beautiful and organized. A little decorative paper and glue and you can change it up when the mood strikes.
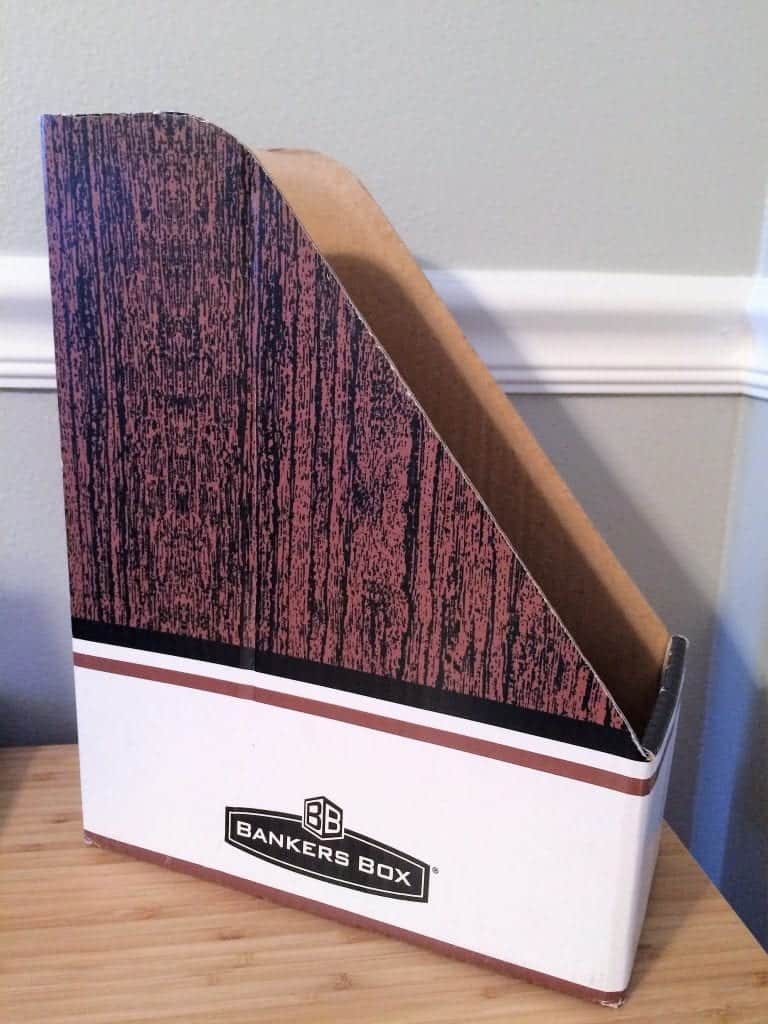
When I taught, I purchased several of the cheapest magazine holders I could find to use in my classroom. Teachers do have to buy all their supplies, which means they’re not always the nicest!
Kids thrive on color, so sprucing them up was a necessity. But it wasn’t hard.
This post contains affiliate links, I may earn a fee. Read more disclosure policy.
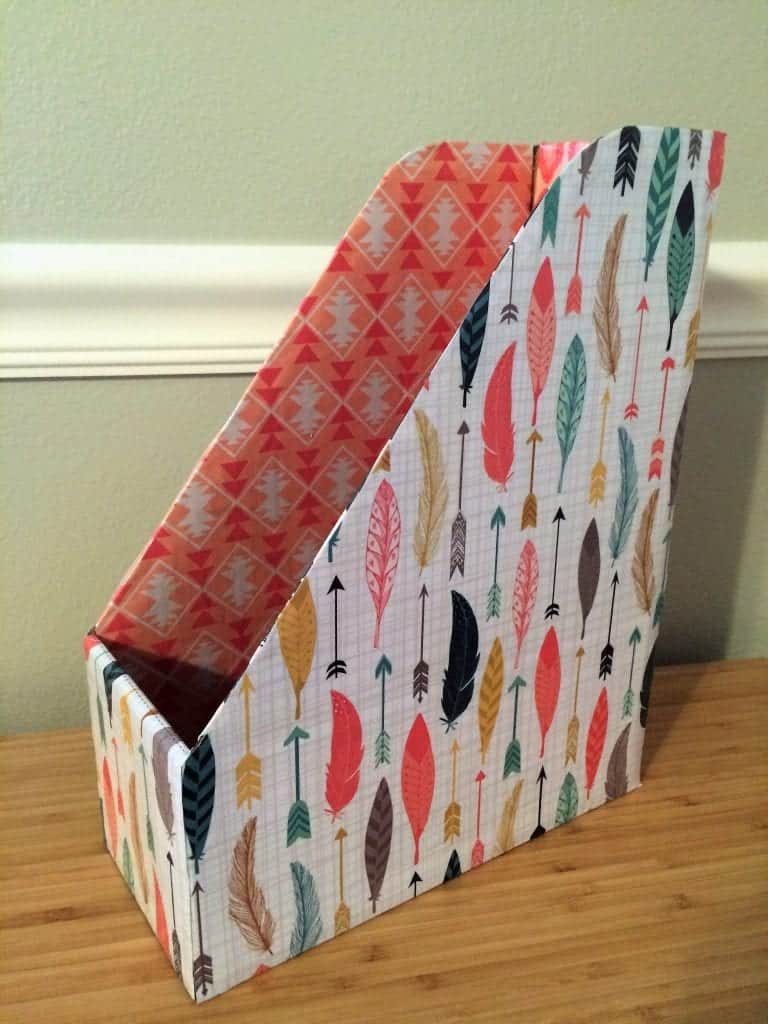
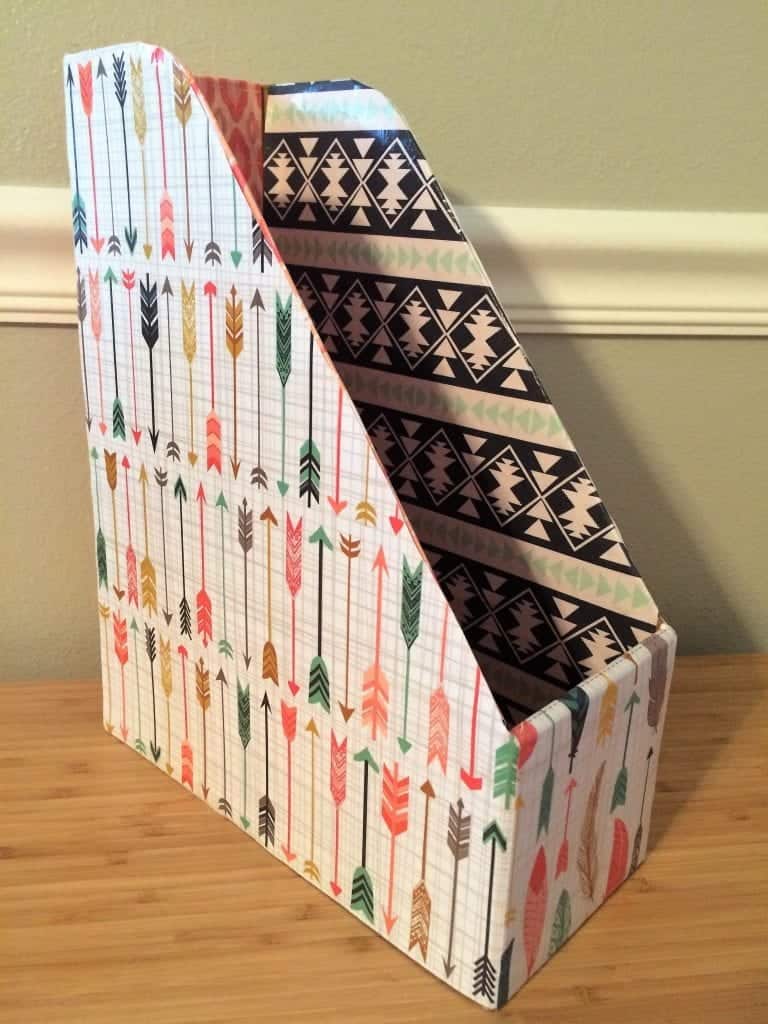
Now I have a few of them at home and decided to use one at my desk, which means it needed to be revamped. This magazine holder makeover was an easy way to add some color and interest to my desk space.
It’s an easy way to hide the ugly cardboard, but keep its functionality. These are great for storing Highlights magazines, kids workbooks, notebooks, etc.
It’s really nice for each of the kids to have their own space to keep their pictures, works in progress and what not. Older kids can help decorate too.
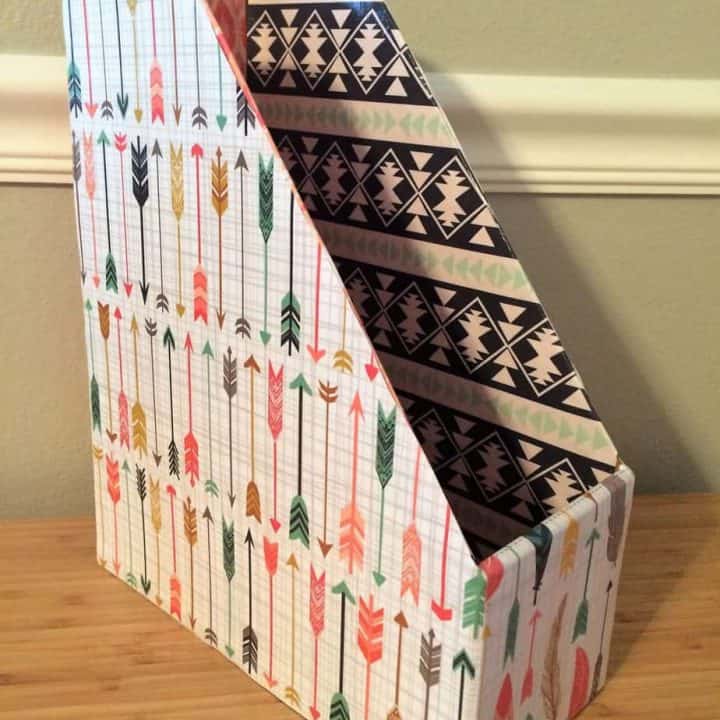
How to Customize a Magazine Holder with Decorative Paper
Learn how to recover a simple magazine holder. These are great for keeping your notebooks organized on your desk and you can customize it.
Materials
- cardboard magazine holder
- scrap book paper
- mod podge
Tools
- foam brush
- scissors
- Optional: self healing mat and exacto knife
Instructions
- Gather your supplies.
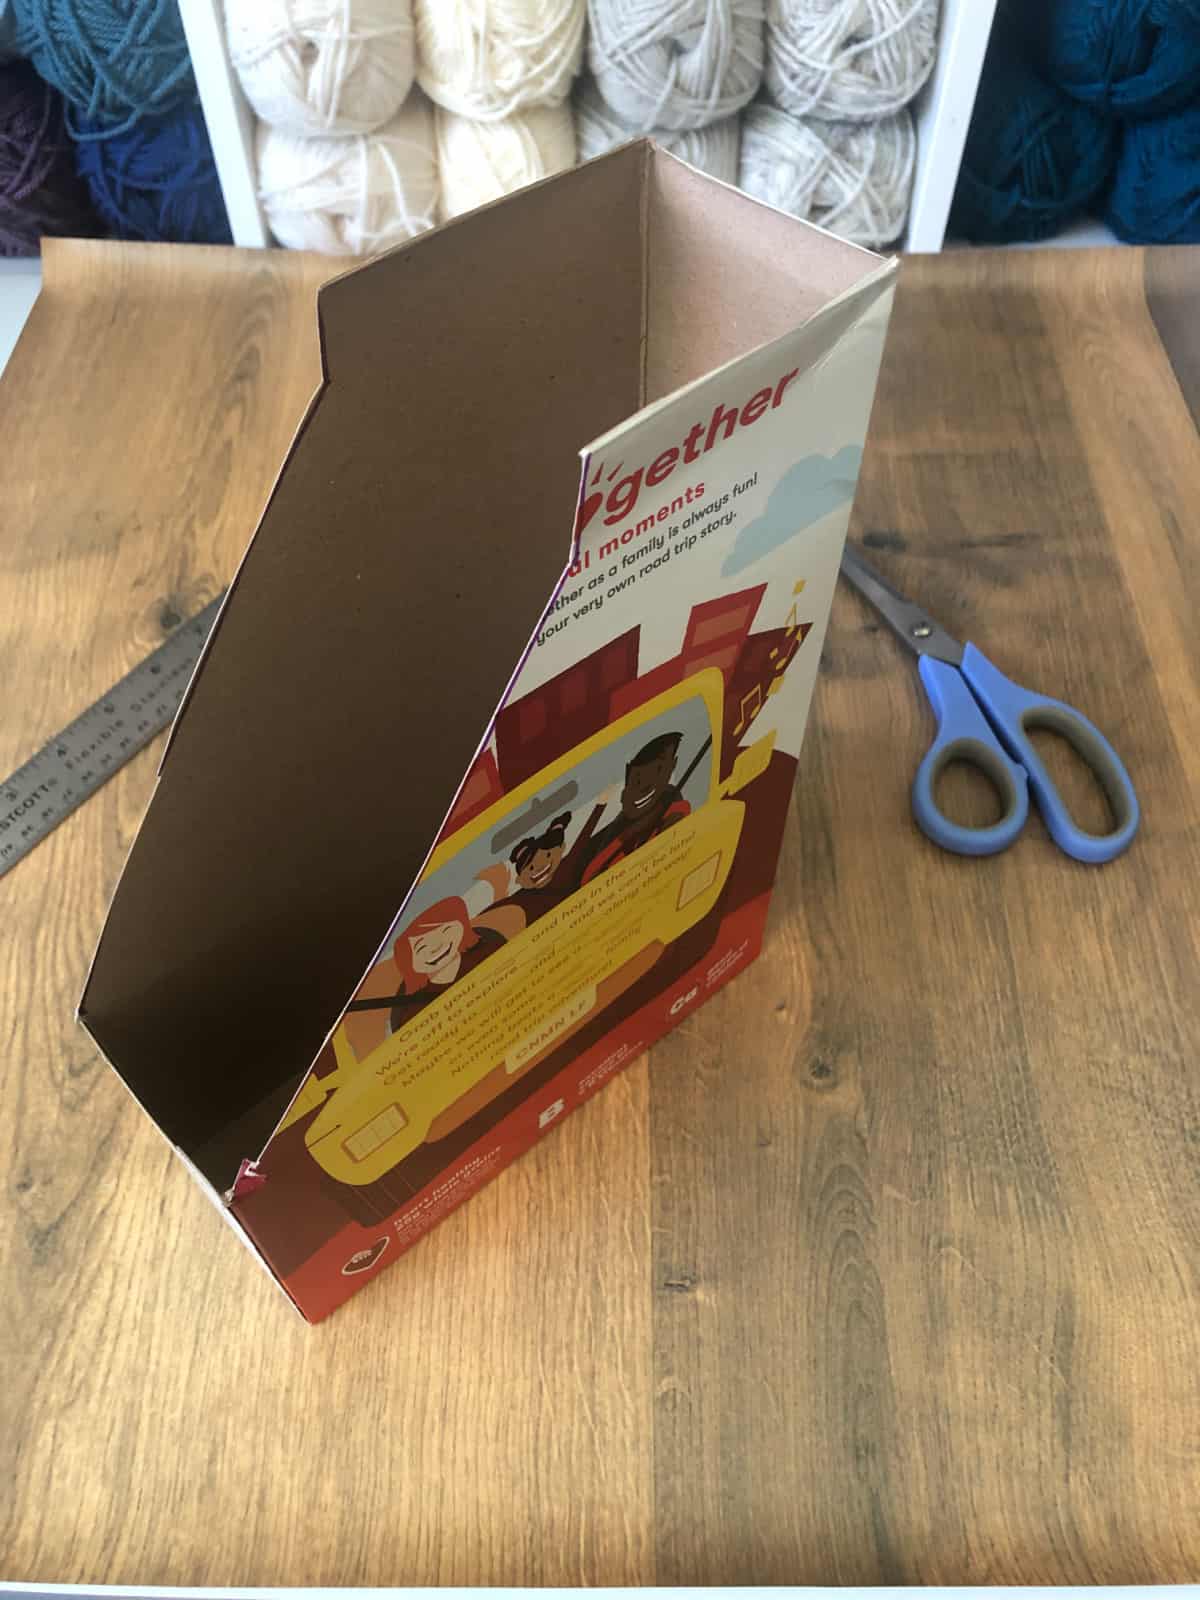
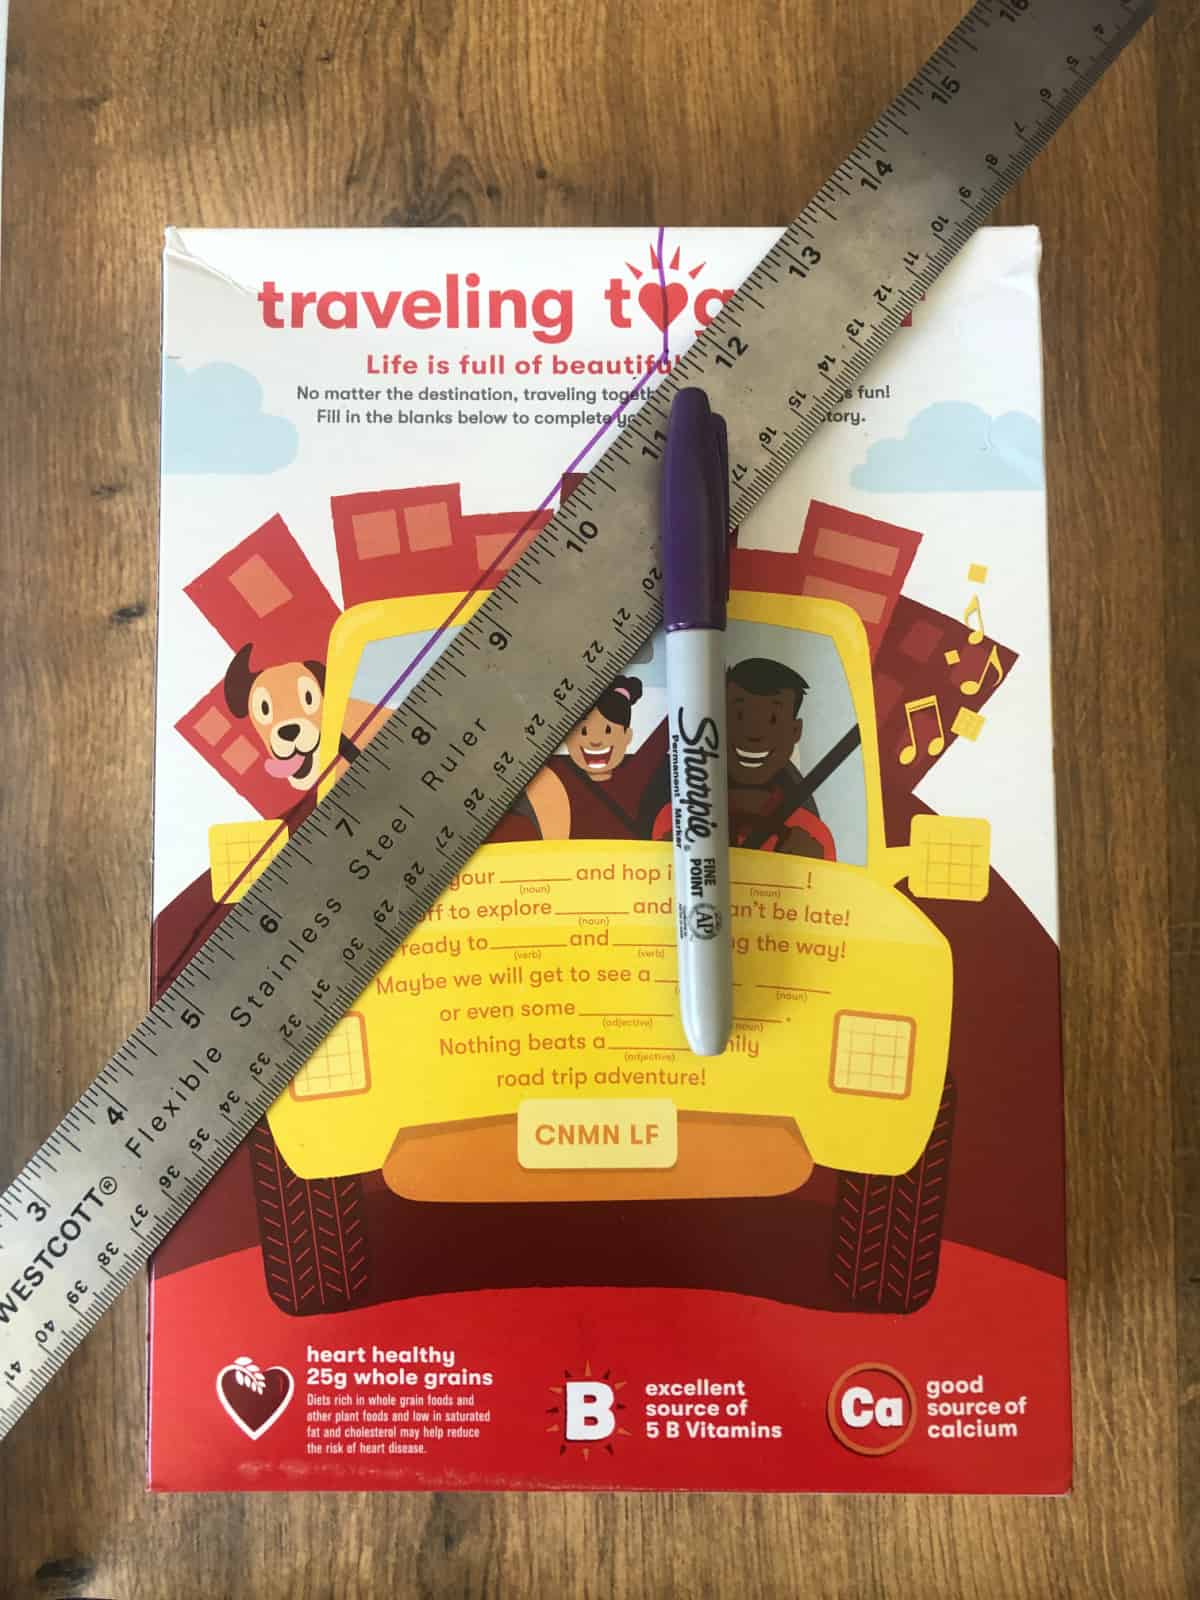
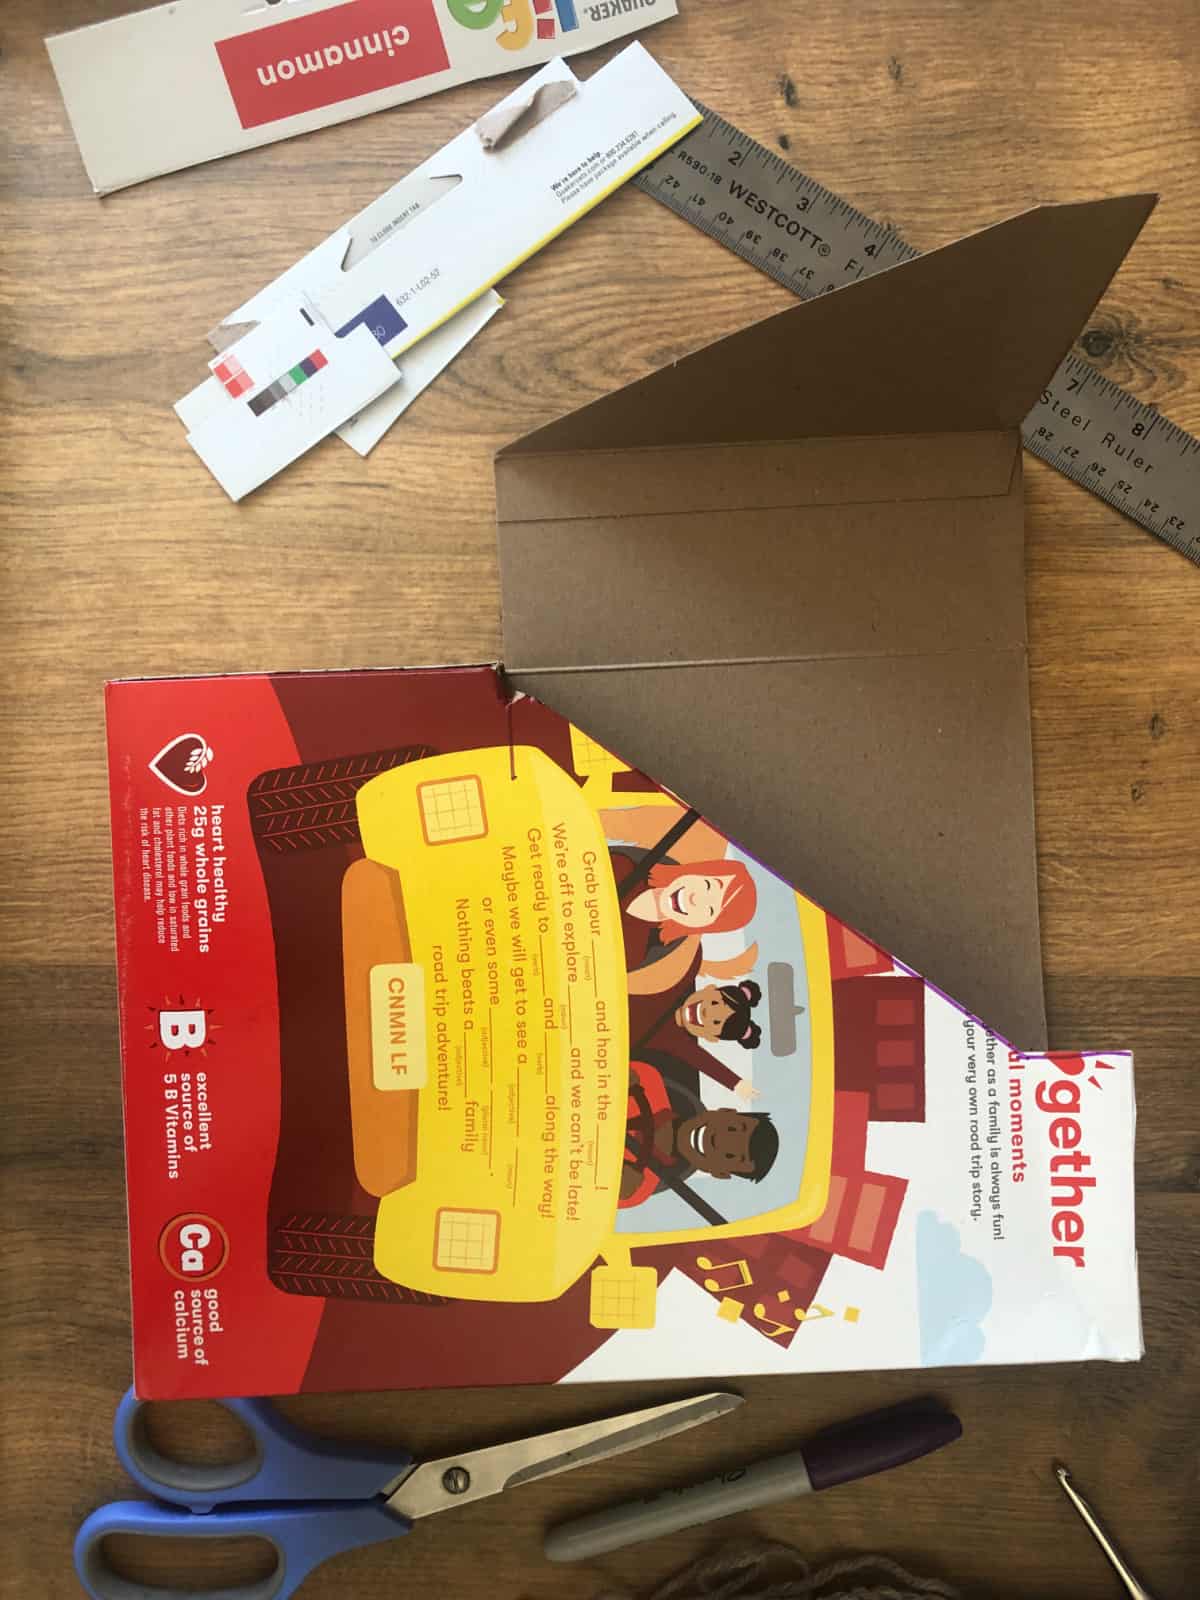
- If you want to use a cereal box to make your own magazine file then cut off the top.

- Next mark 3" in on the top.
- You want about 4" high on the bottom, so mark 4" up from the bottom.
- Now draw an diagonal line, this is where you'll cut.

- Just cut straight at the 4" height on the front spine.
- Rep steps 3-5 and cut out both.

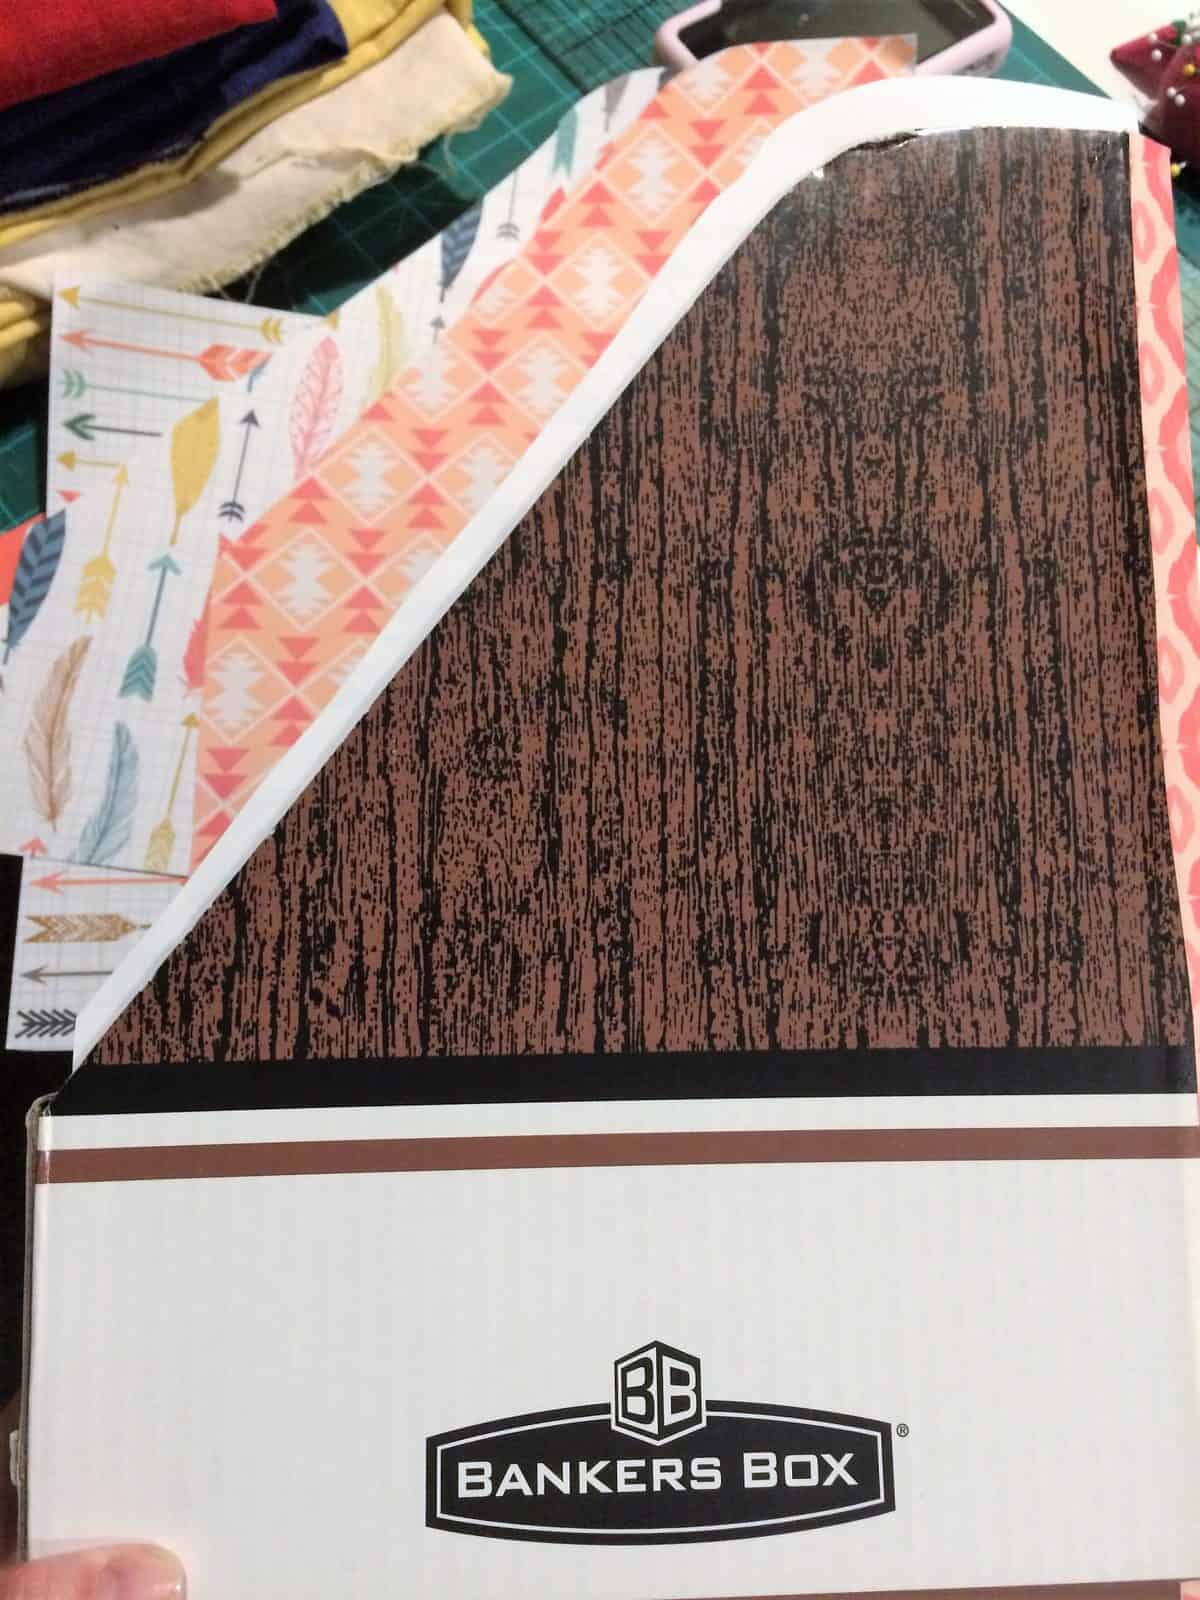
- If you're using a scrap book packet, choose your colors/patterns. I like the books because it makes combining patterns and colors easy!
- Next assign each side a specific paper. This is important because each piece will be cut to fit.
- Trace: Lay the paper down with wrong side up.
- Lay the holder on it (the side it's going to cover).
- Trace around the holder on to the paper.
- Rep for steps 10-12 for each side.
- Cut all your pieces out.

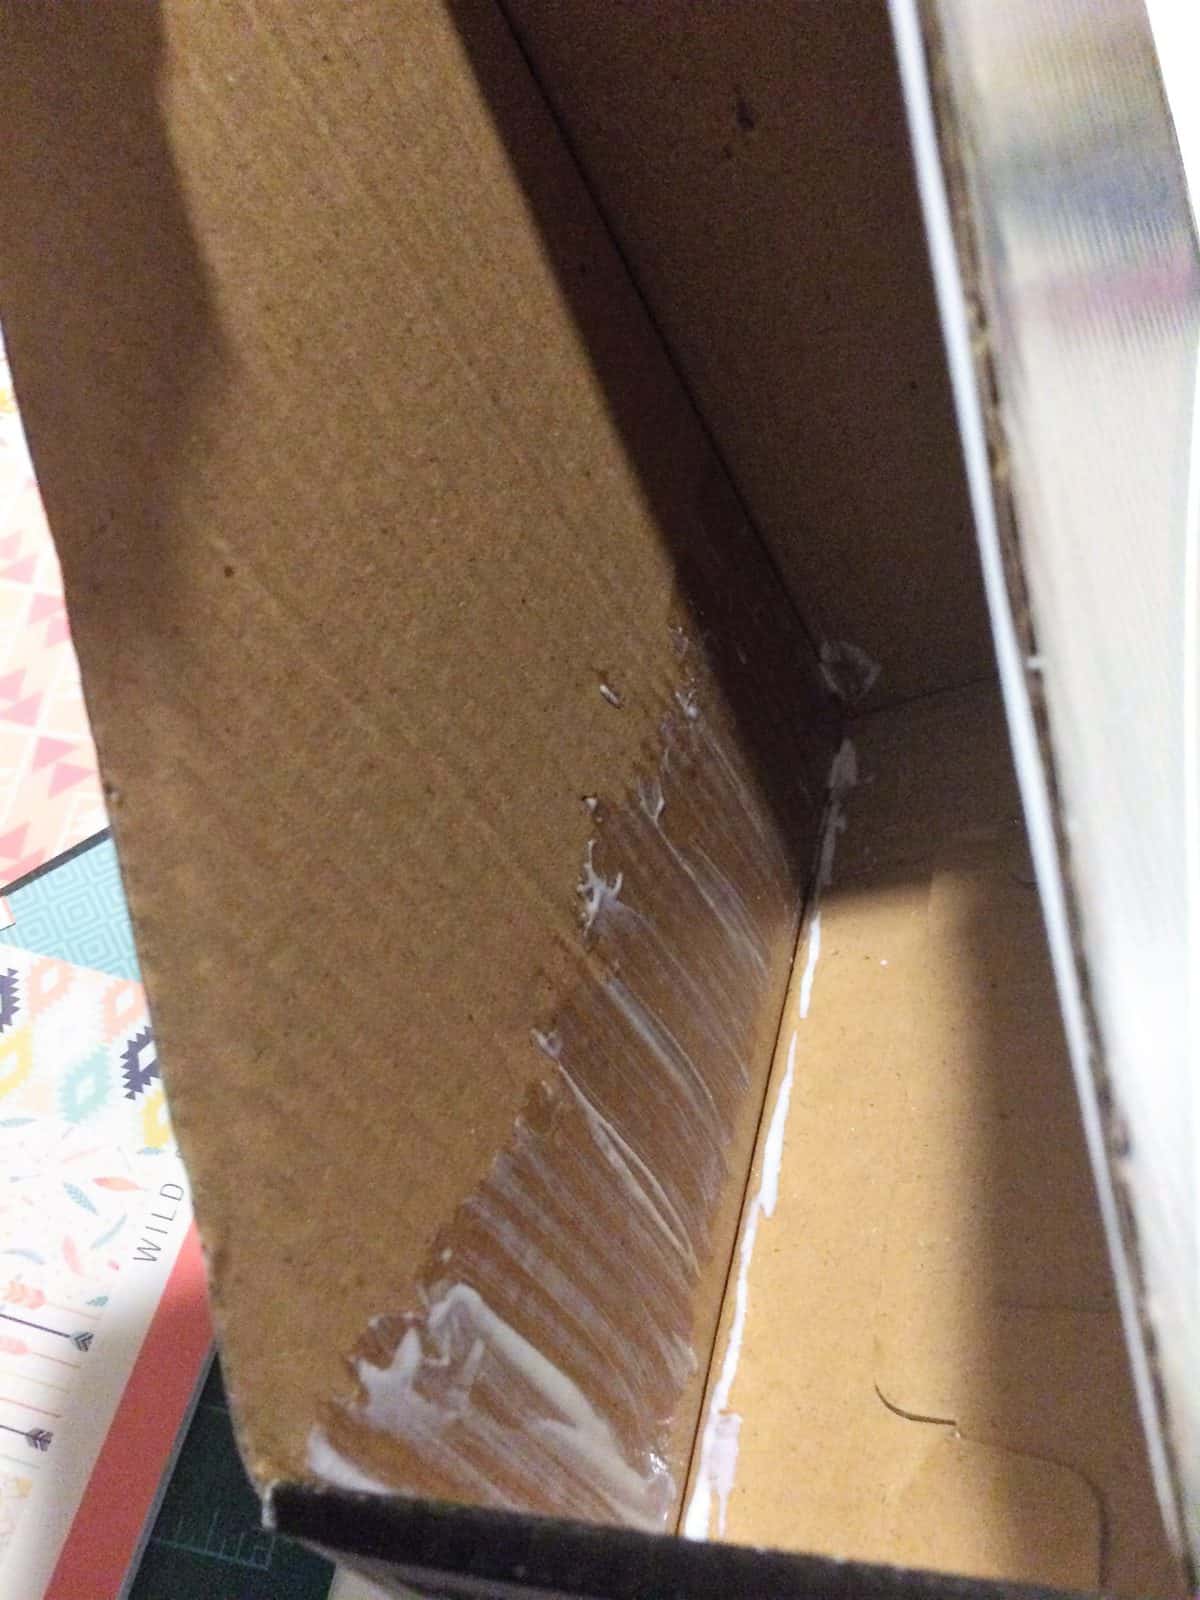
- If you want to cover the inside you can use your pieces already cut and trace those, adding about 1/2" in height to fold over the top of the box and 1/8" on each edge to ovelap your inside corners.

- Fit and trim: Start with the inside pieces.
- Place each piece in place to make sure they fit. Fold over and crease the edges.
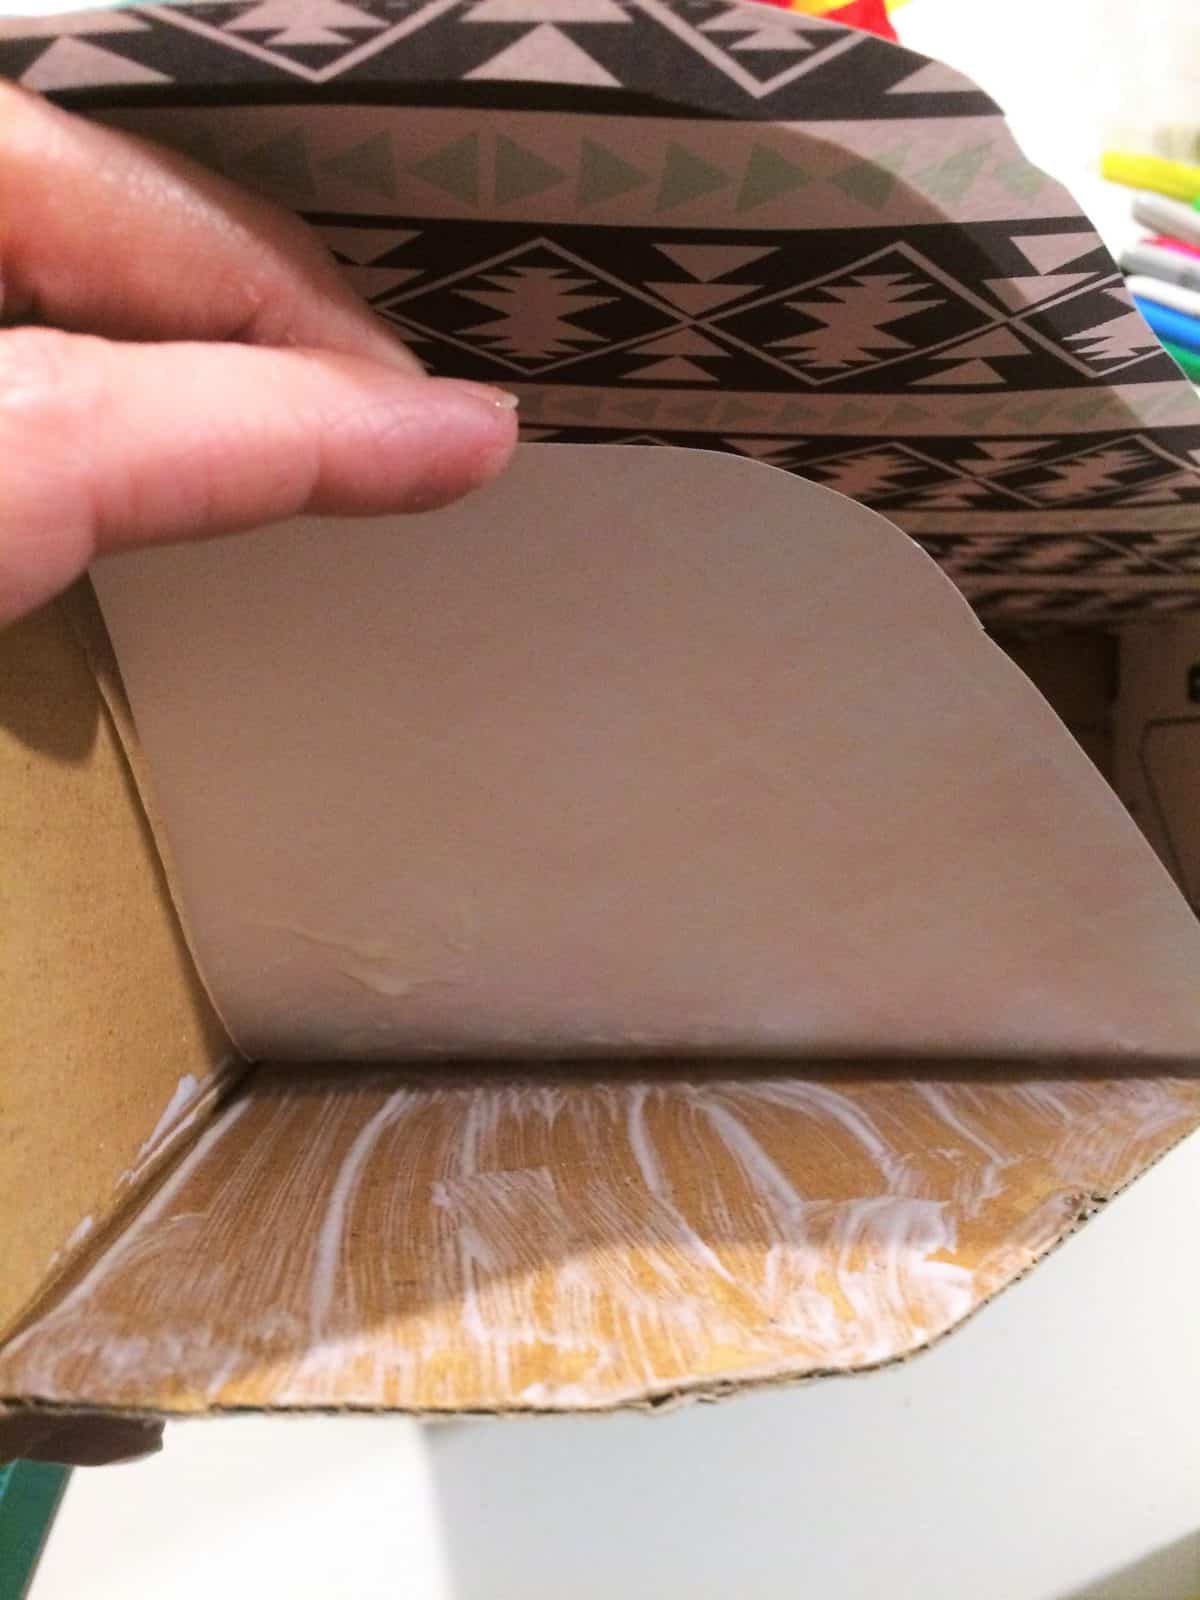
- Glue: Using your foam brush and starting on the inside, brush the modge podge on one inner panel of the magazine holder. Lay the paper on the glue, smoothing and press with your fingers.

- I did it from the bottom up, in sections. When you get to the top, glue the paper over the edges and on to the outside panels.

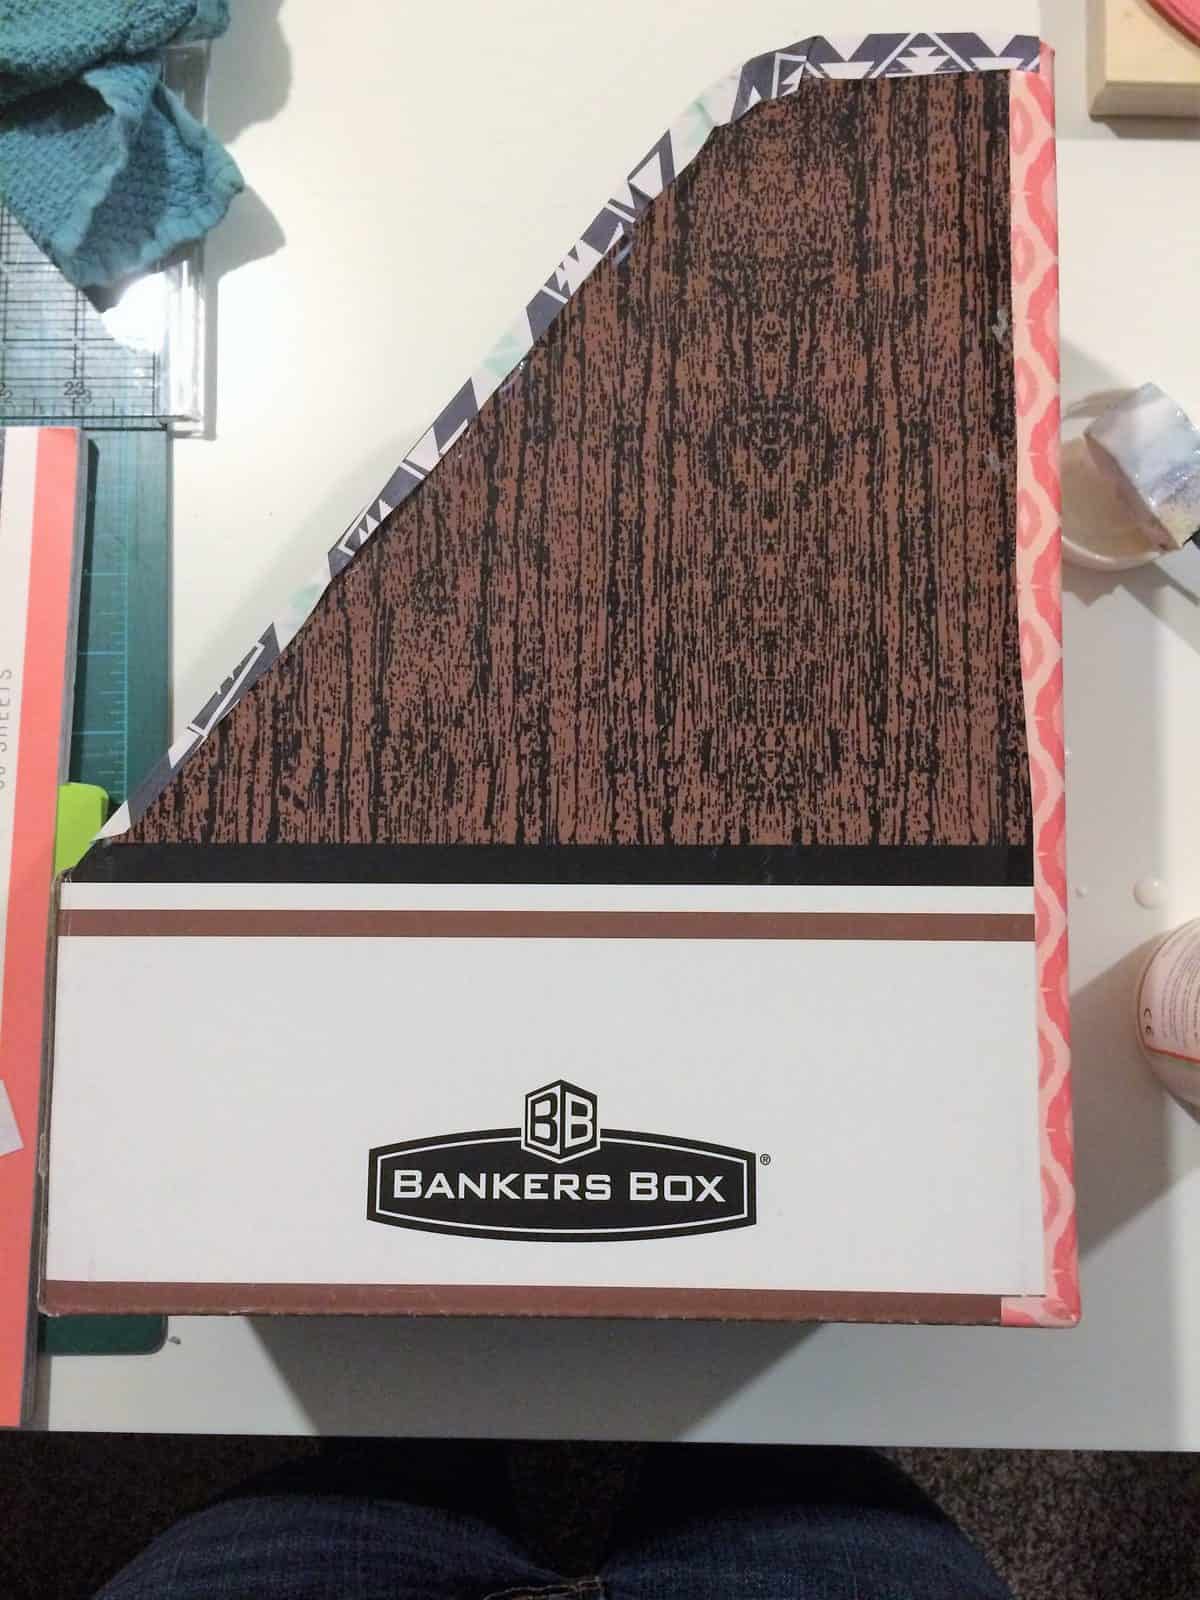
- Repeat with all the inside pieces. Move on to the outside, gluing and smoothing all the pieces.
- Let it dry: Once all your pieces are glued down let it dry, for at least 2 hours. I let mine dry overnight.
- Outer coat: After the glue has dried it’s time to add an outer coat of Modge Podge. Using a foam brush smooth on a thin layer of the glue on all the paper covered surfaces. Let this coat dry for 15 minutes.
- Let this coat dry for 15 minutes. Then you can add a second coat of Modge Podge, which I would recommend. You might even want to add a third coat, but I’ll leave that up to you.
- Now it just has to dry before you can use it! Dry 2 hours, or overnight. These are great at your desk, in kid’s rooms and craft areas. It’s such a useful tool and so easy to jazz up too!
Recommended Products
As an Amazon Associate and member of other affiliate programs, I earn from qualifying purchases.




What a pretty makeover! I need to do this too. I’m tired of the blah black magazine holder I have.
I love functional and pretty!
Just love this idea! Can’t wait to make this with the kids…Thank you!
You’re welcome! Enjoy!