Free Crochet Baby Hat Pattern | Marino Hat
Crochet an easy baby hat in his free pattern. Welcome the newest baby to your family with a sweet beanie to keep their noggin warm.

This post contains affiliate links, I may earn a fee. Read more disclosure policy.
Join the ChristaCoDesign Newsletter
Never miss a pattern!
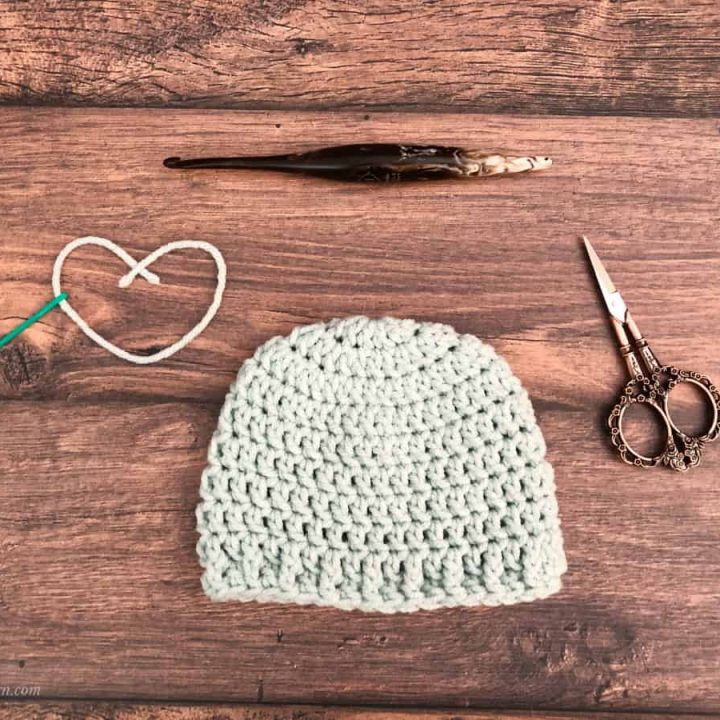
The baby hat crochet pattern features the double crochet stitch. This means it works up quickly. It also helps that they’re for little ones.
To finish off this top down newborn hat we use the front post double crochet to give it a stretchy brim.
Purchase the ad-free, well formatted printable PDF Pattern from my shop. Scroll down for the free pattern!
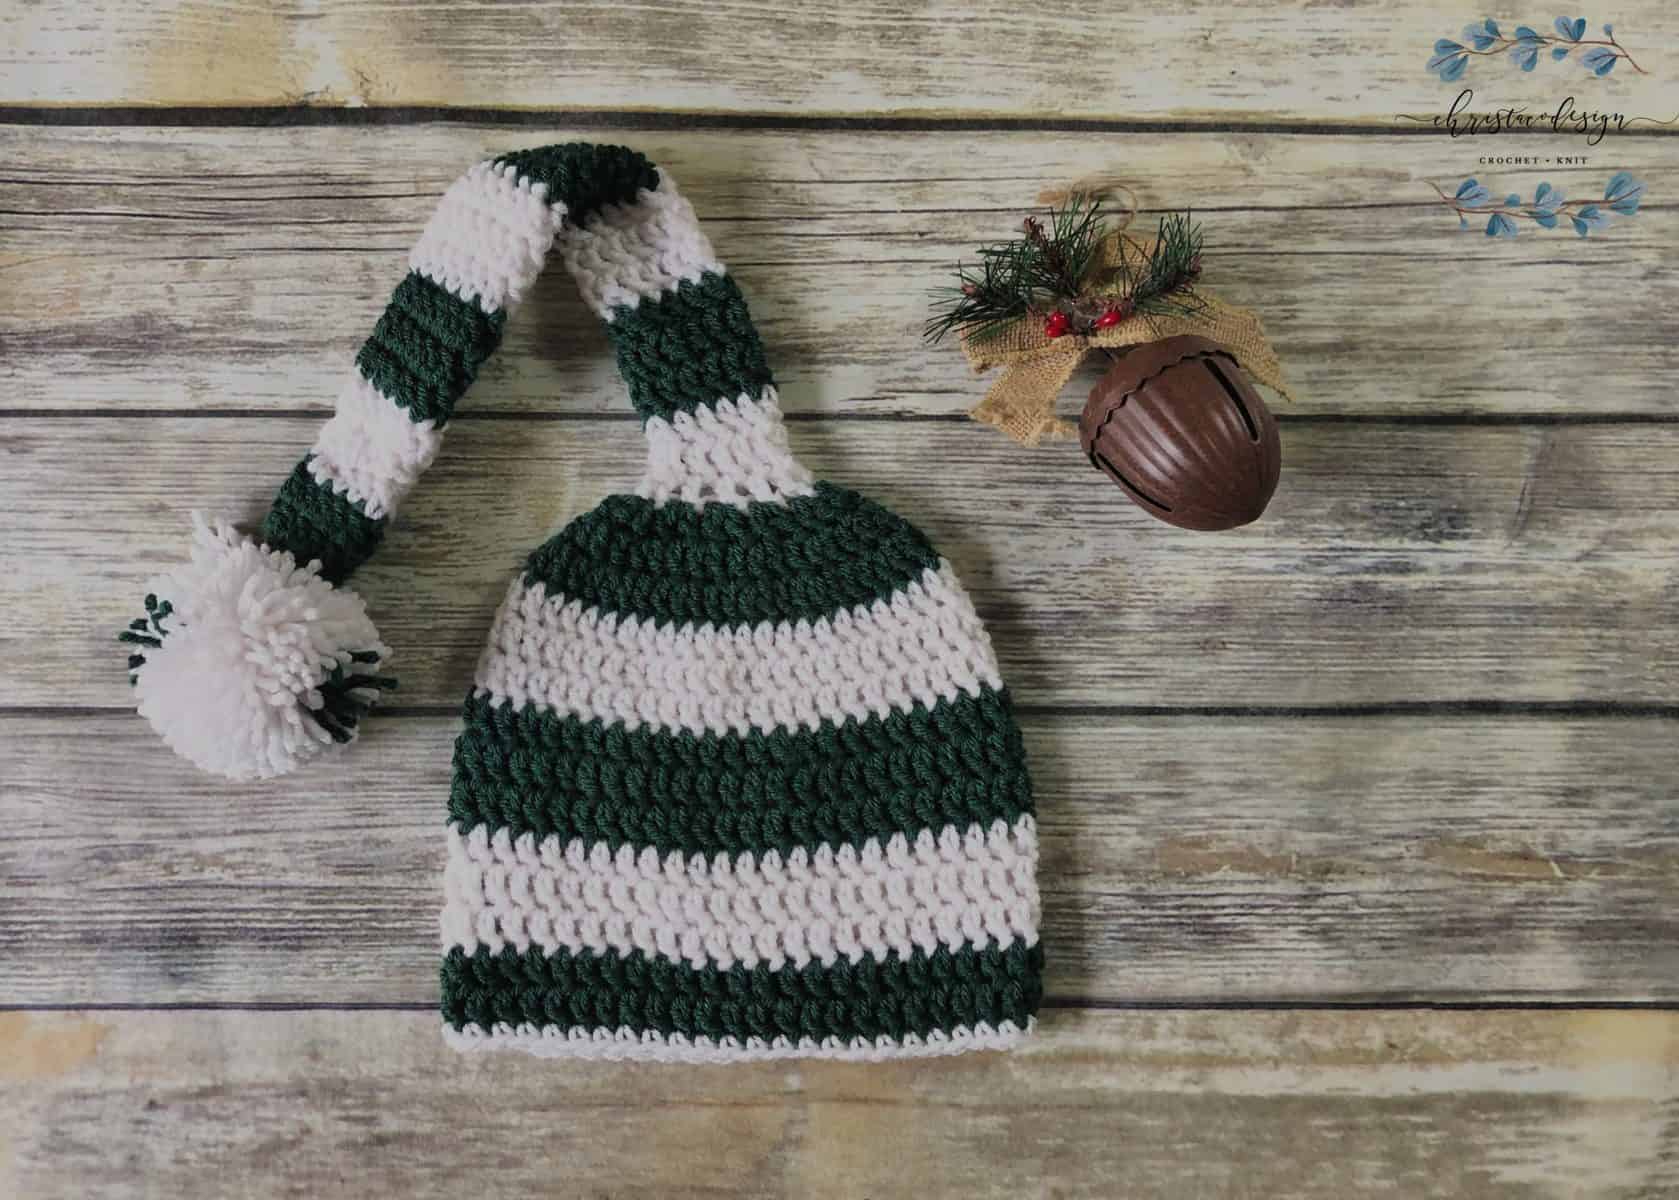
This cute hat looks great just like this for a little boy or little girl. You can add a pom pom to the top of the hat if you like.
My kids love making yarn pom poms using my Clover pom pom maker.* Top off this simple crochet baby hat pattern with a faux fur pom too.
Some tips for crocheting this hat pattern
- Check your gauge by measuring across your circle after Round 3.
- Crochet your crown circle to your size.
- Remember when working in the round to flip your hat to the right side.
- You’ll need an even stitch count to add the ribbing on your last rounds.
Be sure to check out the full pattern and materials list below
More Free Crochet Baby Hat Patterns
A bonnet is another fun hat to make and gift for baby showers!
If you’re not looking for a warm hat, but a hat with a brim this sun hat is the perfect project.
Add a crochet lilac flower for a sweet addition to your newborn baby hat pattern.
Materials
Here are the supplies you’ll need to make this free crochet pattern.
- 75 – 105 yd #4 medium worsted weight yarn,* see estimated yarn needed by different sizes below.
- 5 mm hook US Size H-8,* or crochet hook needed to meet gauge.
- tapestry needle, scissors, measuring tape
Yarn By Size
- Baby 0-3 months ~75 yd / 68 m
- Baby 3-6 months ~80 yd / 73 m
- Baby 6-12 months ~85 yd / 78 m
- Toddler (MC) ~90 yd / 83 m
- Preschool ~93 yd / 85 m
- Child (MC) ~95 yd / 87 m
- Teen/Sm Adult ~100 yd / 91 m
- M/L Adult ~105 yd / 96 m
Stitches and Abbreviations in US Terms
Here are the stitches and abbreviations I use in this hat pattern. Click on any link below for an in depth, step by step tutorial on the crochet stitch.
ch (s) – chain(s)
dc (s) – double crochet stitches
FPdc – front post double crochet
mc – magic circle (magic ring)
rep – repeat
rnd – round
sl st (s) – slip stitch (es)
st (s) – stitch(es)
Notes
Ch 3 counts as the first dc. I prefer to use a ch 3 alternative, this is my favorite one.
Gauge
Gauge is important for hats. If you need help on how to measure gauge start with this tutorial.
For a top down hat that’s worked in the round I like to provide the gauge in the round.
Rnds 1–3 = 3.75” (9.5 cm) across.
12 dc x 8 rnds tall = 4” (10 cm)

Skill Level
Intermediate. This really is an easy pattern, but since it uses post stitches it’s labeled intermediate.
Construction
This hat is a basic double crochet beanie. You work it from the top of the hat down, in the round.
This means you will join the last stitch of each round to the first stitch. Then you continue working in a circle. Use a stitch marker in the first stitch of each round to help you keep track.
Fit
To fit age (head circumference):
- baby 0-3 mos (14” / 35.5 cm)
- baby 3-6 mos (15” / 38 cm)
- baby 6-12 mos (16” / 40.5 cm)
- toddler (18” / 45.5 cm)
- preschool (19” / 48.5 cm)
- child (20” / 51 cm)
- teen / sm adult (21” / 53.5 cm)
- med / lg adult (23” / 58.5 cm)
Adjustments
To make a slouchy hat you can continue the repeat row to make your hat 1” – 3” taller. Add these after your last row of increases. This will give you the slouchy effect.
Adding stripes is an easy and fun way to personalize your hat too.
Download the Hat Sizing Chart
Get this handy dandy chart so you can crochet perfectly fitting hats!
Purchase the ad-free, well formatted printable PDF Pattern from my shop. Scroll down for the free pattern!
Scroll down for the free crochet hat pattern!
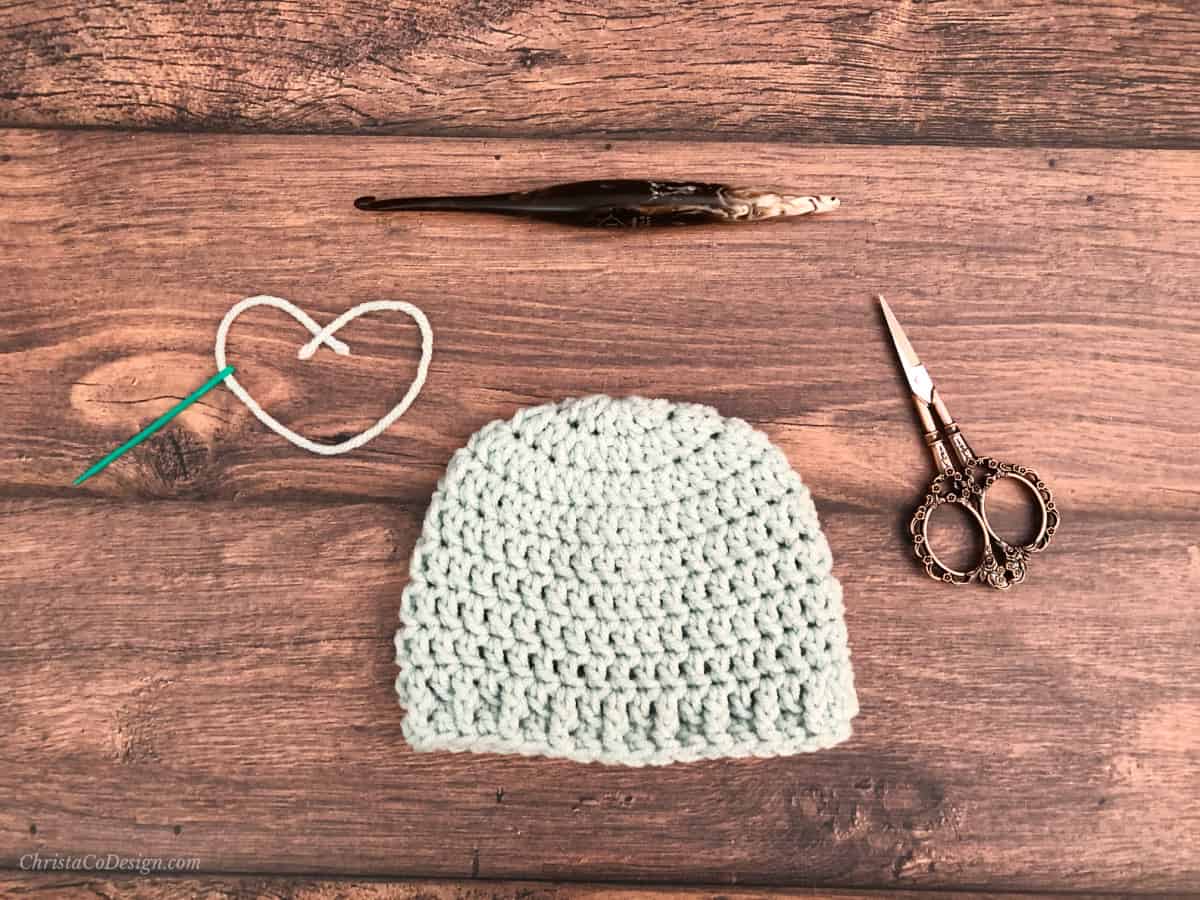
How to Crochet a Baby Hat
Make a quick and cute baby hat with this free pattern. These crochet hats are easy to make and gift.
Materials
- #4 medium worsted weight yarn.
- Estimated yarn needed by size:
- Baby 0-3 mos ~75 yds/68m
- Baby 3-6 mos ~80 yds/73m
- Baby 6-12 mos ~85 yds/78m
- Toddler ~90 yds/83m
- Preschool ~93 yds/85m
- Child ~95 yds/87m
- Teen/Sm Adult ~100 yds/91m
- M/L Adult ~105 yds/96m
Tools
- 5mm US Size H-8 crochet hook, or hook needed to meet gauge.
- yarn needle
- scissors
- measuring tape
Instructions
Baby 0-3mos Hat
Start with a magic circle, or ch 3, sl st to join into a circle.
- Rnd 1. 12 dc into mc, sl st to join.
- Rnd 2. Ch 3, dc in same st, 2 dc in the next stitch and in each st around, sl st to join. (24 sts)
- Rnd 3. Ch 3, 2 dc in next st, *{dc in next st, 2 dc in next st} rep from * around, join with sl st to first st. (36 sts) 3.75” circle
- Rnd 4. Ch 3, dc in each st around, join with sl st to first st.
- Rnds 5-10. Rep Rnd 4.
- Rnd 11. Ch 3, *{FPdc in next st, dc in next st} rep from * around, with a sl st join last st to first st. ~5.5” tall
- Pull up a long tail and cut yarn.
- Weave in ends.
Baby 3-6mos Hat
Start with a magic circle, or ch 3, sl st to join into a circle.
- Rnd 1. 12 dc into mc, sl st to join.
- Rnd 2. Ch 3, dc in same st, 2 dc in each st around, sl st to join. (24 sts)
- Rnd 3. Ch 3, 2 dc in next st, *{dc in next st, 2 dc in next st} rep from * around, join with sl st to first st. (36 sts)
- Rnd 4. Ch 3, dc in next st, 2 dc in next st, *{1 dc in next 2 sts, 2 dc in next st} rep from * around, join with sl st to first st. rep from * around, join with sl st to first st. (48 sts) 4.75”-5” circle
- Rnd 5. Ch 3, dc in each st around, join with sl st to first st.
- Rnds 6-11. Rep Rnd 5.
- Rnd 12. Ch 3, *{FPdc in next st, dc in next st} rep from * around, join with sl st to first st.~6” tall
- Pull up a long tail and cut yarn.
Weave in ends.
Baby 6-12mos
Start with a magic circle, or ch 3, sl st to join into a circle.
- Rnd 1. 12 dc into mc, sl st to join.
- Rnd 2. Ch 3, dc in same st, 2 dc in each st around, sl st to join. (24 sts)
- Rnd 3. Ch 3, 2 dc in next st, *{dc in next st, 2 dc in next st} rep from * around, join with sl st to first st. (36 sts)
- Rnd 4. Ch 3, dc in next st, 2 dc in next st, *{1 dc in next 2 sts, 2 dc in next st} rep from * around, join with sl st to first st. rep from * around, join with sl st to first st. (48 sts) 4.75”-5” circle
- Rnd 5. Ch 3, dc in each st around, join with sl st to first st.
- Rnds 6-12. Rep Rnd 5.
- Rnd 13. Ch 3, *{FPdc in next st, dc in next st} rep from * around, join with sl st to first st.~6.75” tall
- Pull up a long tail and cut yarn.
Weave in ends.
Toddler
Start with a magic circle, or ch 3, sl st to join into a circle.
- Rnd 1. 12 dc into mc, sl st to join.
- Rnd 2. Ch 3, dc in same st, 2 dc in each st around, sl st to join. (24 sts)
- Rnd 3. Ch 3, 2 dc in next st, *{dc in next st, 2 dc in next st} rep from * around, join with sl st to first st. (36 sts)
- Rnd 4. Ch 3, dc in next st, 2 dc in next st, *{1 dc in next 2 sts, 2 dc in next st} rep from * around, join with sl st to first st. rep from * around, join with sl st to first st. (48 sts) 4.75”-5” circle
- Rnd 5. Ch 3, dc in each st around, join with sl st to first st.
- Rnds 6-12. Rep Rnd 5.
- Rnds 13 - 14. Ch 3, *{FPdc in next st, dc in next st} rep from * around, join with sl st to first st. ~7” tall
- Pull up a long tail and cut yarn.
Weave in ends.
Preschool
Start with a magic circle, or ch 3, sl st to join into a circle.
- Rnd 1. 12 dc into mc, sl st to join.
- Rnd 2. Ch 3, dc in same st, 2 dc in each st around, sl st to join. (24 sts)
- Rnd 3. Ch 3, 2 dc in next st, *{dc in next st, 2 dc in next st} rep from * around, join with sl st to first st. (36 sts)
- Rnd 4. Ch 3, dc in next st, 2 dc in next st, *{1 dc in next 2 sts, 2 dc in next st} rep from * around, join with sl st to first st. rep from * around, join with sl st to first st. (48 sts) 4.75”-5” circle
- Rnd 5. Ch 3, dc in each st around, join with sl st to first st.
- Rnds 6-13. Rep Rnd 5.
- Rnds 14 - 15. Ch 3, *{FPdc in next st, dc in next st} rep from * around, join with sl st to first st. ~7.5” tall preschool
- Pull up a long tail and cut yarn.
Weave in ends.
Child
Start with a magic circle, or ch 3, sl st to join into a circle.
- Rnd 1. 12 dc into mc, sl st to join.
- Rnd 2. Ch 3, dc in same st, 2 dc in each st around, sl st to join. (24 sts)
- Rnd 3. Ch 3, 2 dc in next st, *{dc in next st, 2 dc in next st} rep from * around, join with sl st to first st. (36 sts)
- Rnd 4. Ch 3, dc in next st, 2 dc in next st, *{1 dc in next 2 sts, 2 dc in next st} rep from * around, join with sl st to first st. rep from * around, join with sl st to first st. (48 sts)
- Rnd 5. Ch 3, dc in next 2 sts, 2 dc in next st, *{1 dc in next 3 sts, 2 dc in next st} rep from * around, join with a sl st to first st. (60 sts) 5.75”-6” circle
- Rnd 6. Ch 3, dc in each st around, join with sl st to first st.
- Rnds 7-13. Rep Rnd 6.
- Rnds 14 - 15. Ch 3, *{FPdc in next st, dc in next st} rep from * around, join with sl st to first st.~7.75” tall
- Pull up a long tail and cut yarn.
Weave in ends.
Teen/Sm Adult
Start with a magic circle, or ch 3, sl st to join into a circle.
- Rnd 1. 12 dc into mc, sl st to join.
- Rnd 2. Ch 3, dc in same st, 2 dc in each st around, sl st to join. (24 sts)
- Rnd 3. Ch 3, 2 dc in next st, *{dc in next st, 2 dc in next st} rep from * around, join with sl st to first st. (36 sts)
- Rnd 4. Ch 3, dc in next st, 2 dc in next st, *{1 dc in next 2 sts, 2 dc in next st} rep from * around, join with sl st to first st. rep from * around, join with sl st to first st. (48 sts)
- Rnd 5. Ch 3, dc in next 2 sts, 2 dc in next st, *{1 dc in next 3 sts, 2 dc in next st} rep from * around, join with a sl st to first st. (60 sts) 5.75”-6” circle
- Rnd 6. Ch 3, dc in each st around, join with sl st to first st.
- Rnds 7-13. Rep Rnd 6.
- Rnds 14 - 16. Ch 3, *{FPdc in next st, dc in next st} rep from * around, join with sl st to first st.~8” tall
- Pull up a long tail and cut yarn.
Weave in ends.
M/L Adult
Start with a magic circle, or ch 3, sl st to join into a circle.
- Rnd 1. 12 dc into mc, sl st to join.
- Rnd 2. Ch 3, dc in same st, 2 dc in each st around, sl st to join. (24 sts)
- Rnd 3. Ch 3, 2 dc in next st, *{dc in next st, 2 dc in next st} rep from * around, join with sl st to first st. (36 sts)
- Rnd 4. Ch 3, dc in next st, 2 dc in next st, *{1 dc in next 2 sts, 2 dc in next st} rep from * around, join with sl st to first st. rep from * around, join with sl st to first st. (48 sts)
- Rnd 5. Ch 3, dc in next 2 sts, 2 dc in next st, *{1 dc in next 3 sts, 2 dc in next st} rep from * around, join with a sl st to first st. (60 sts)
- Rnd 6. Ch 3, dc in next 3 sts, 2 dc in next st, *{1 dc in next 4 sts, 2 dc in next st} rep from * around, join with a sl st to first st. (72 sts) 7.25” circle med/lg adult
- Rnd 7. Ch 3, dc in each st around, join with sl st to first st.
- Rnds 8-13. Rep Rnd 7.
- Rnds 14 - 16. Ch 3, *{FPdc in next st, dc in next st} rep from * around, join with sl st to first st. ~8.5” tall
- Pull up a long tail and cut yarn.
Weave in ends.
Notes
Optionally you may wish to add a round of single crochet in the back loop to keep in stretchy to finish.
Recommended Products
As an Amazon Associate and member of other affiliate programs, I earn from qualifying purchases.