Crochet Pumpkin Stem, Leaf and Vine Pattern
Adding a crochet stem to a pumpkin, complete with curlicue vine and leaf is an easy way to crochet your own fall themed home decor.

This post contains affiliate links, I may earn a fee. Read more disclosure policy.
Join the ChristaCoDesign Newsletter
Never miss a pattern!
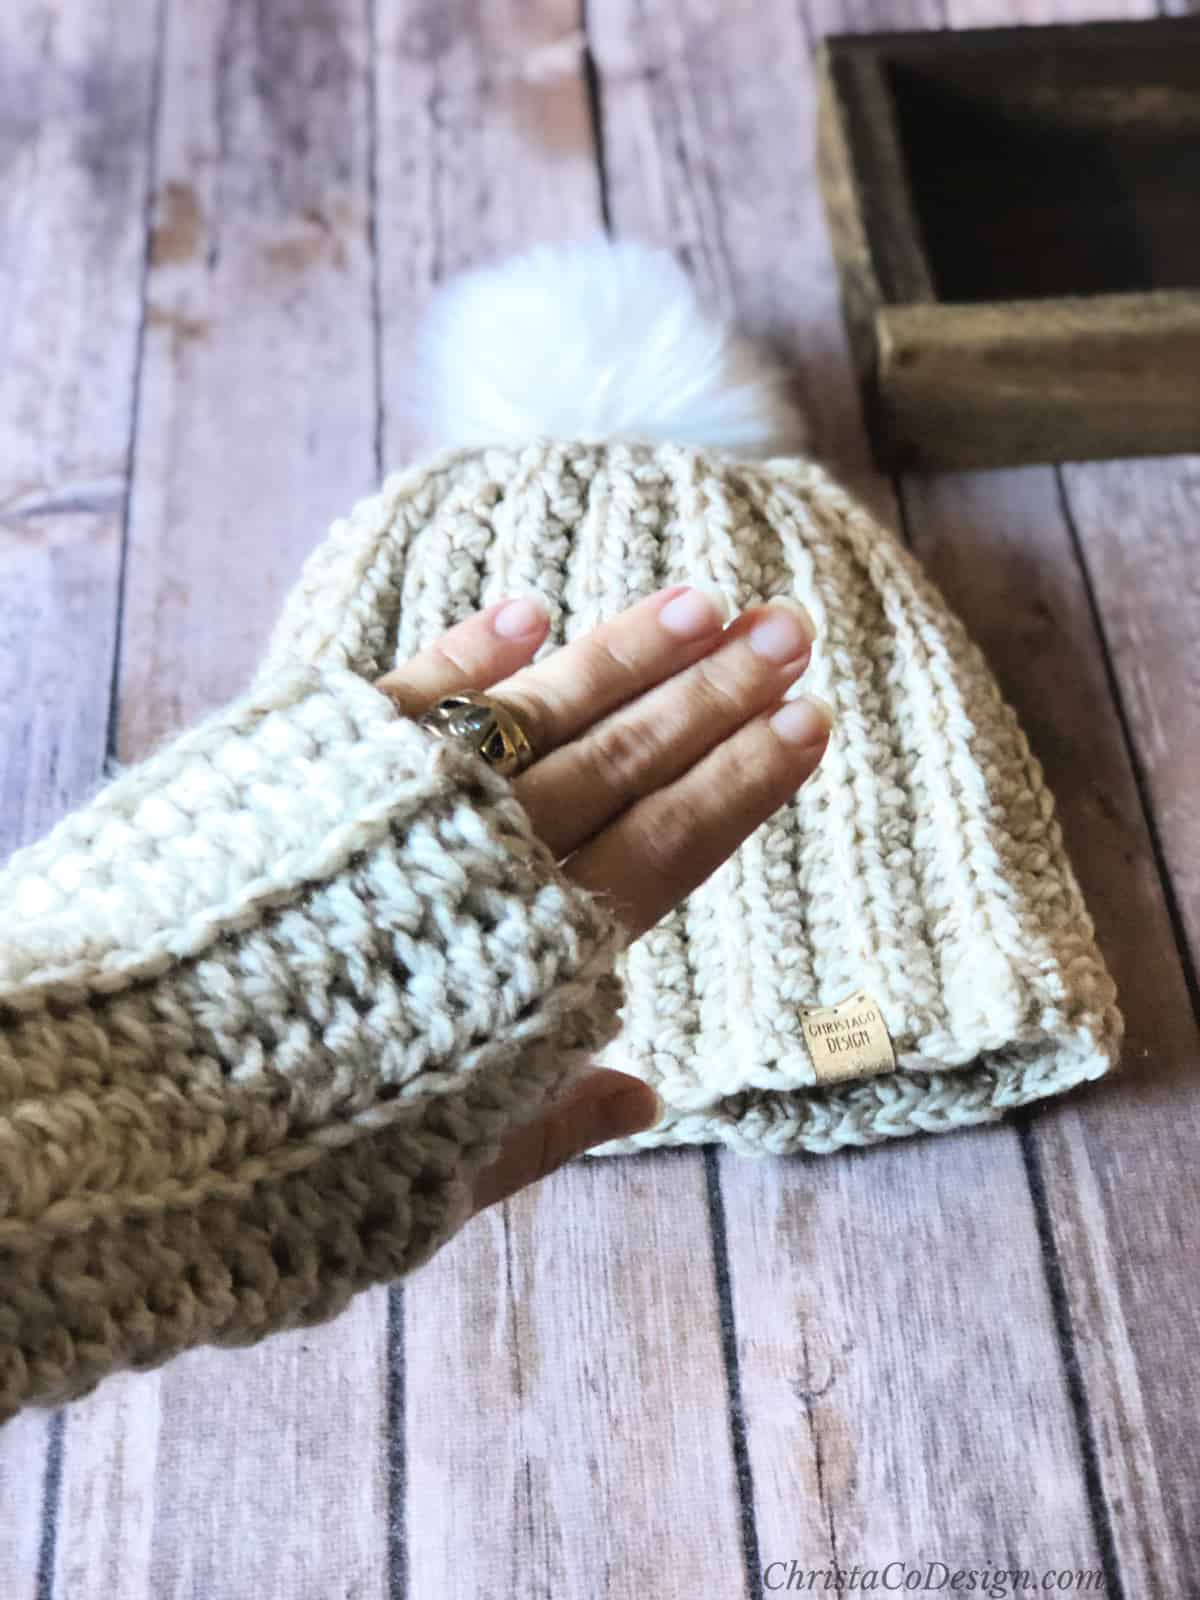
This crochet leaf, stem and vine pattern work as a topper to an orange crochet beanie for a pumpkin hat too.

This curly crochet vine is a small single crochet one. There are severals ways to crochet these, if you prefer larger ones.
Add these pumpkin toppers to:
This ribbed crochet pumpkin hat pattern that comes in all sizes. Or if you prefer to crochet little pumpkins, then these crochet pumpkin patterns in 3 sizes are perfect to pair with this stem, leaf and vine.
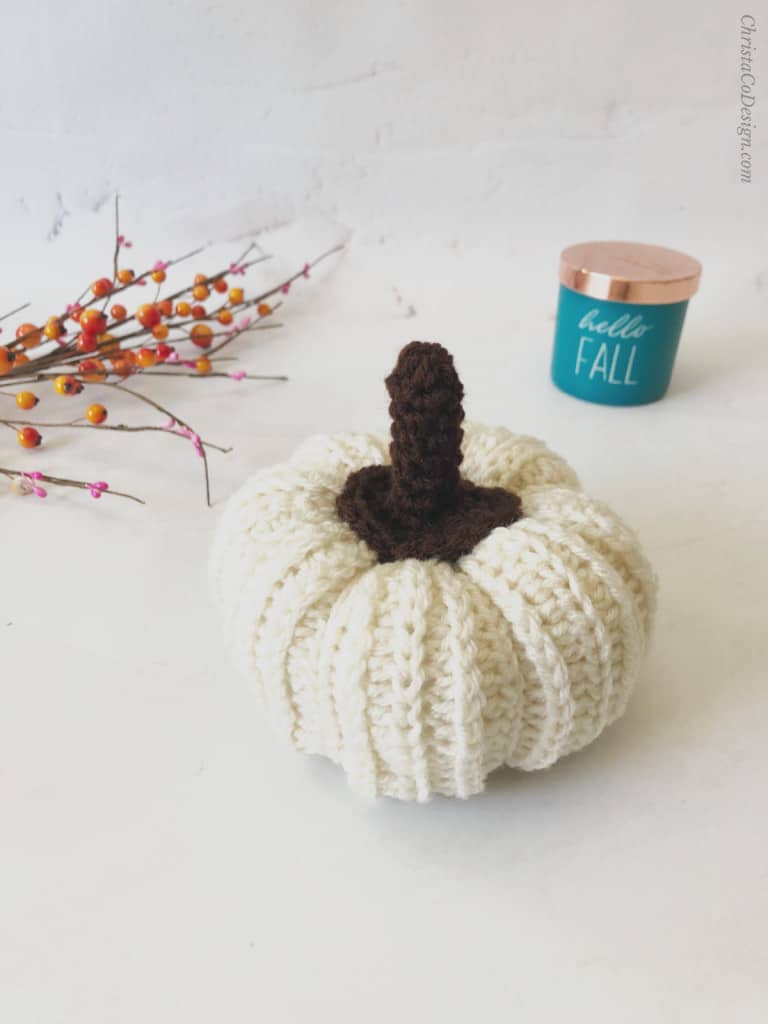
This crochet pumpkin may be my favorite! I love fall crochet patterns. These crochet flap bags from Rose of YarnCraftee look amazing in the falls colors she chose!
Materials
You can use any #4 medium worsted weight yarn. I use Red Heart Super Saver* in spring green. But I have also crochet these in brown and yellows and they work well too.
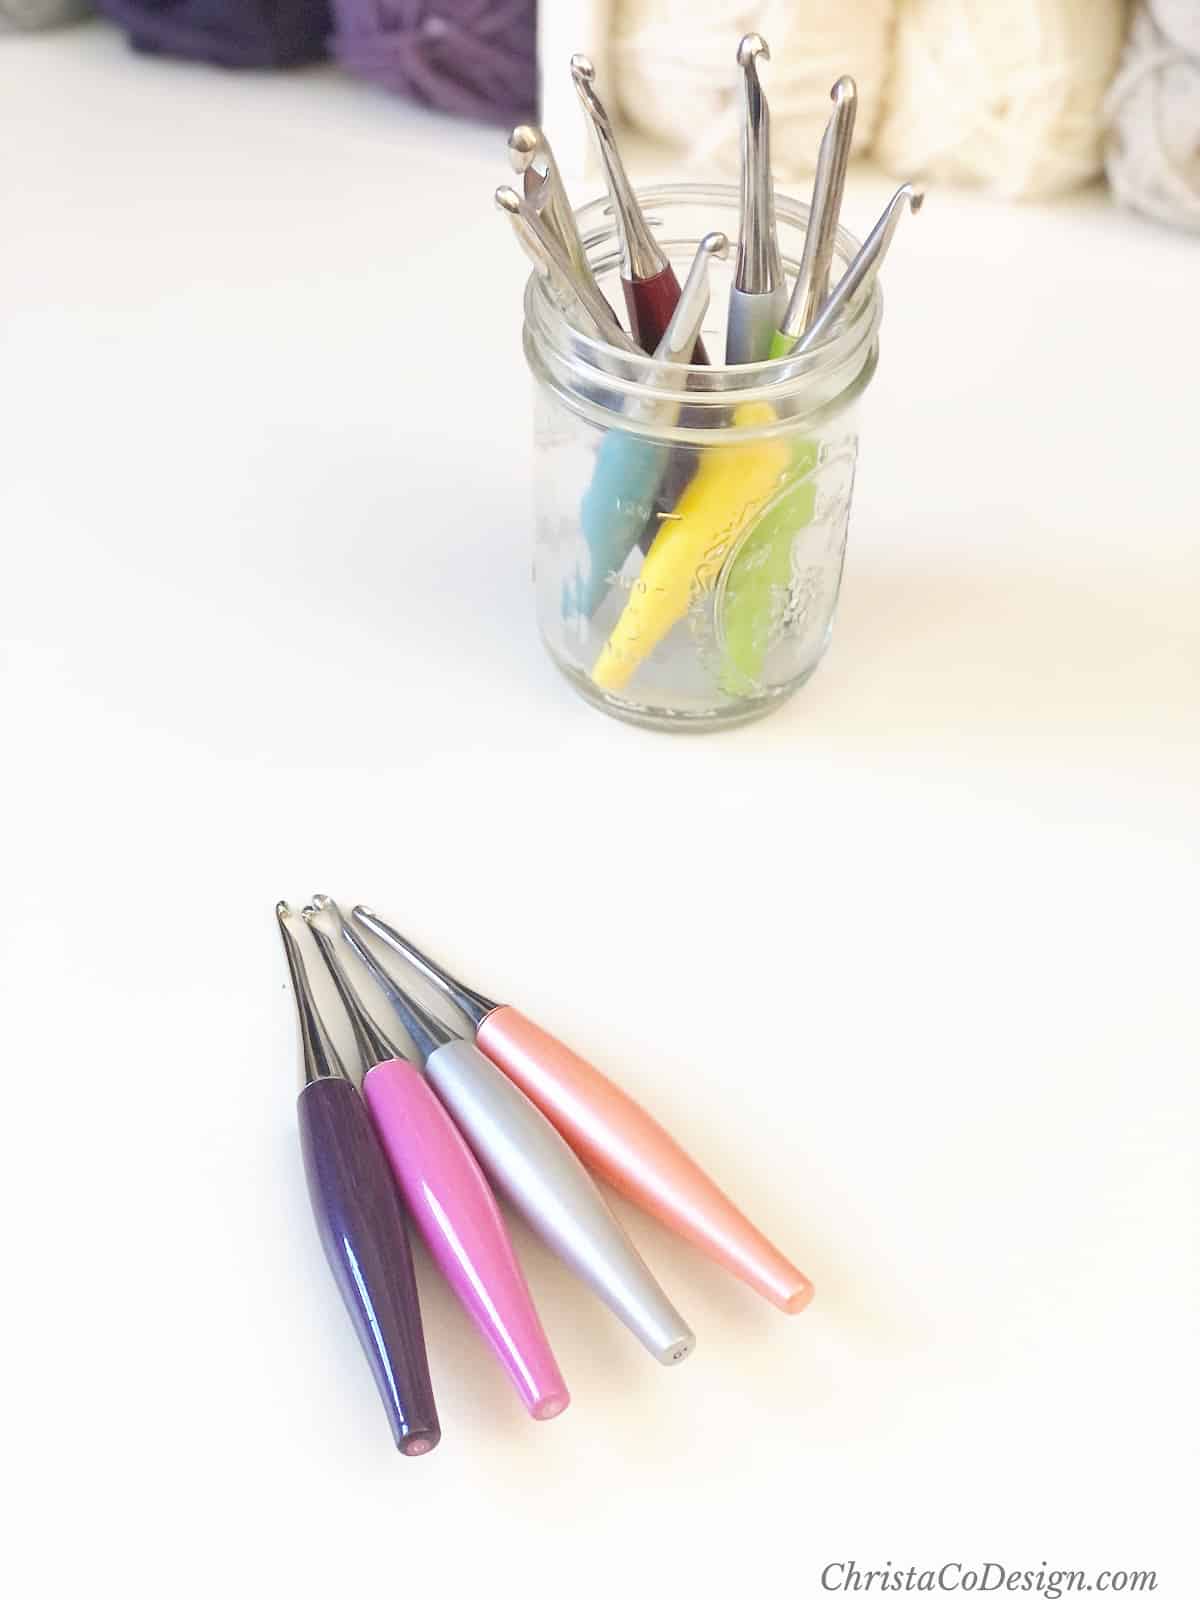
A 5mm crochet hook* pairs well with this yarn. Gauge is not terribly important here, so you can use a hook that works well for your yarn and tension.
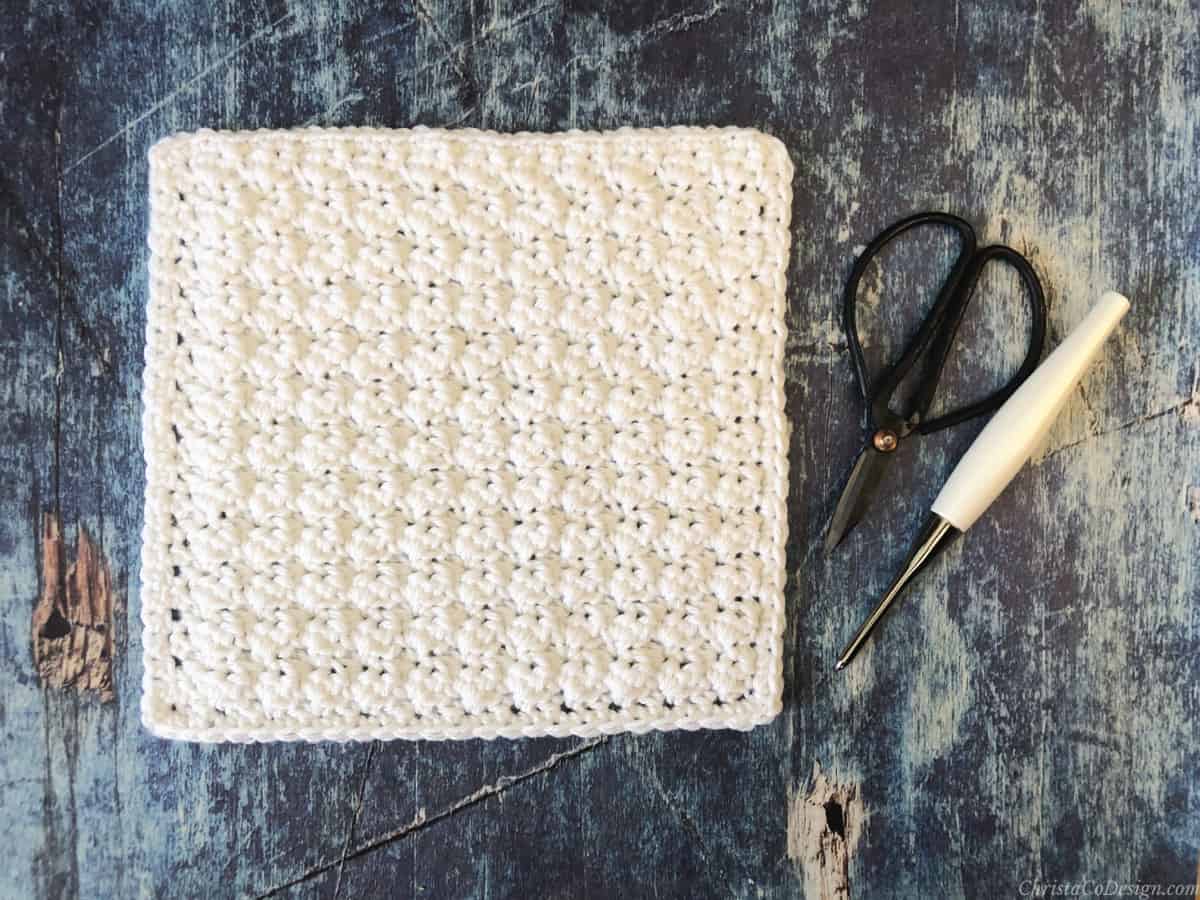
Other materials you’ll need to crochet this pumpkin stem, leaf and vine are a stitch marker, yarn needle and scissors.
Stitches/Abbreviations (US Terms)
ch(s)-chain(s)
mc-magic circle
rep-repeat
rnd-round
RS-right side
sk-skip the indicated stitch
sl st-slip stitch
st(s)-stitch(es)

How the pumpkin stem is crocheted
The stem is worked in the round, continuously. So you will not join the rounds, but just continue crocheting around. To keep track of your starting stitch plan a stitch marker in the first stitch. Then move it up for every round.
Once the stem is to the height, you’ll increase stitches at the base so it flairs out. There are two stem sizes included with the pattern. You can adjust the sizing on the stem quite easily with extra rounds.

The pumpkin leaf pattern
This simple leaf pattern is worked around a single row of stitches. You’ll work on both side of that row to form the leaf part. And you’ll leave some of the stitches for the stem part.
If you have any questions on the leaf, there a full photo tutorial for it available too.
The pumpkin vine
For the curly vine, it’s a long chain that work several stitches into each chain. This increasing causes the vine to ruffle and curl on itself.
The pattern here is for a small single crochet vine, which works great for baby pumpkin hats, or mini crochet pumpkins.
You can work these vines in a variety of stitches and sizes also.
Scroll down for the free crochet pattern!

Crochet Pumpkin Stem, Leaf and Vine Pattern
Learn how to crochet a pumpkin stem, curlicue vine and simple leaf in this easy crochet pattern. These simple crochet patterns make great additions to your crochet pumpkins or pumpkin hats!
Materials
- 23yd/21m-25yd/23m Sugar n’ Cream (100% cotton, 2.5oz/71g, 120yd/109m); color: green (Color B) Vine and Leaf shown in Red Heart Super Saver in spring green.
Tools
- 5mm US size H/8 hook,* or hook needed to meet gauge.
Instructions
Crochet Pumpkin Stem Pattern
Check out the Video Tutorial of the Stem here. *I added an extra row for the smaller stem size after I created this video.
Small Size for baby hats and mini pumpkins
Start with a mc.
- 6 sc into the mc. (6) Don't join, mark first st of each round.
- -5. Sc into each stitch around. (6)
- 6. 2 sc in each sc around. (12)
- 7. 2 sc in the first st, sc in the next, *{2 sc in the next st, sc in the next st} rep from * around. (18)
- Sc in each sc around, sl st twice. Leave a long tail.
- Sew stem to top of pumpkin hat, over the hole. Finish off.
Larger Size for Child-Adult hats and medium pumpkins.
Start with a mc.
1. 6 sc into the mc. (6) Don't join, mark first st of each round.
2.-7. Sc into each stitch around. (6)
8. 2 sc in each sc around. (12)
9. 2 sc in the first st, sc in the next, *{2 sc in the next st, sc in the next st} rep from * around. (18)
10. 2 sc in the first st, sc in each of the next 2 st, *{2 sc in the next st, sc in each of the next 2 st} rep from * around. (24)
11. Sc in each sc around, sl st twice.
Leave a long tail.
Sew stem to top of pumpkin hat, over the hole. Finish off.
Crochet Leaf
Find the full step by step crochet leaf pattern with photo tutorial here.
- Chain 11-the first 6 will be the stem and leaf is worked over the last 4 sts, so add more here for a longer leaf or stem.
- SC in the 2nd ch and in each ch across,
- On the last ch add 2 more sc (3 total in this st),
- Continue around on to the other side of the chain and place 1 sc in each of next 3 sc (you're working into the opposite side, so there will be sts in both sides as you work), turn.
- Place 1 dc in each of next 3 sc,
- Place 2 dc in each of next 3 sc. (again you're working around the end back on to the other side),
- Place 1 dc in each of next 3 sc. Cut yarn, leave a long tail for sewing. Sew on to a stem base.
- Cut yarn and weave in ends.
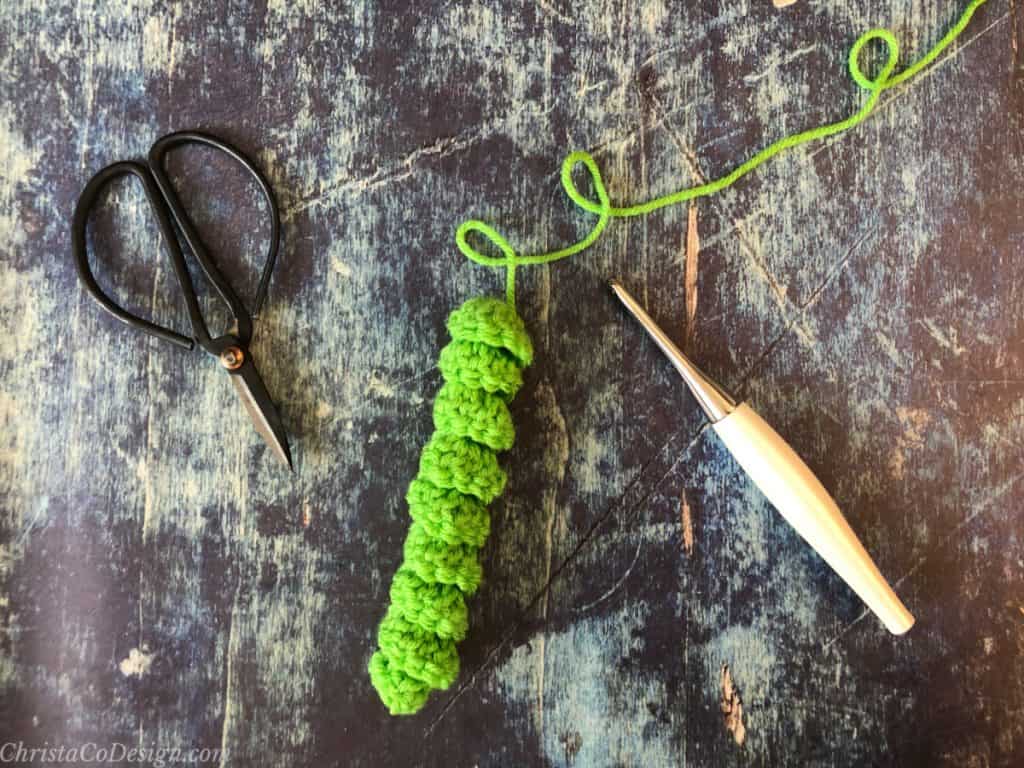
Crochet Pumpkin Vine
You can vary your starting chain to increase or decrease your finished lengths.
For this one, I use single crochets, but you opt for hdc or dc as well. There are longer size crochet vines here.
- Ch 15,
- Place 3 sc in the 2nd ch from your hook,
- Continue to place 3 sc in each ch, until you have 3 ch left,
- Place 1 sc in each of the last 3 ch.
- Sl st on to your stem base. Cut yarn and weave in ends.
- This gave me about 1.5" in length of curl, and about an inch for it to dangle.
Recommended Products
As an Amazon Associate and member of other affiliate programs, I earn from qualifying purchases.