Crochet Curlicue Pattern – Quick and Easy
The crochet curlicue is an easy pattern that you can make in many different lengths and sizes to suit your needs. Add these crochet curlicues to your crochet pumpkins as vines, or add several as crochet hair on a doll.

This post contains affiliate links, I may earn a fee. Read more disclosure policy.
Join the ChristaCoDesign Newsletter
Never miss a pattern!
There are so many great ideas for using curlicues! Crochet unicorns (well, really all unicorns, crochet or otherwise) are so popular, and you see colorful curlicue crochet hair on them often!
We have so many bookworms made from crochet curlicues. But somehow, my kids still pick up the nearest ____ (insert any every object not suited for the job) and try to use it as a bookmark.
Those jellyfish tentacles are another great way to use crochet curlicues! Moogly has a great Jellyfish Squid pattern.
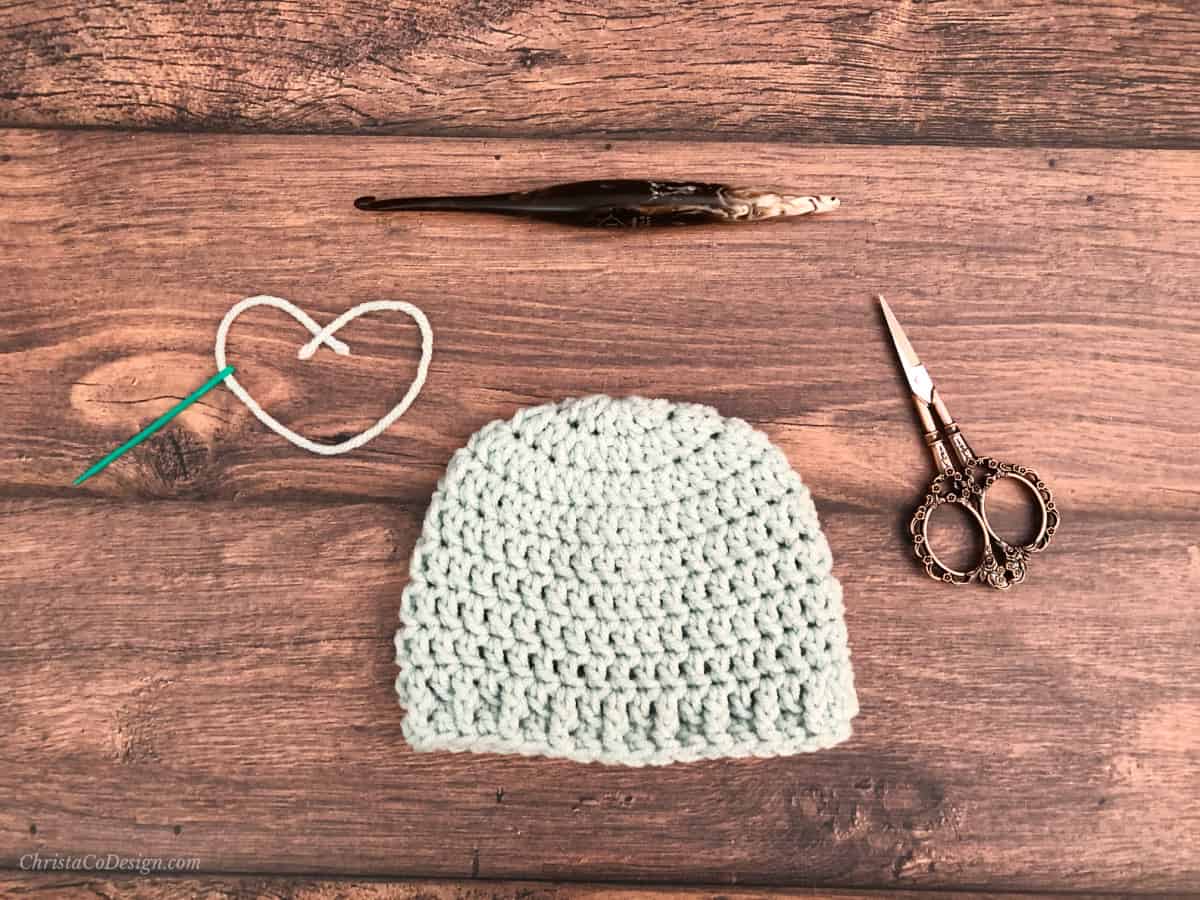
Crochet pumpkin hats are so fun for the littles in the fall. You can use this pattern to adorn your pumpkin with a crochet vine from a curlicue. Get the crochet pumpkin hat pattern here.

How do you crochet a curlicue?
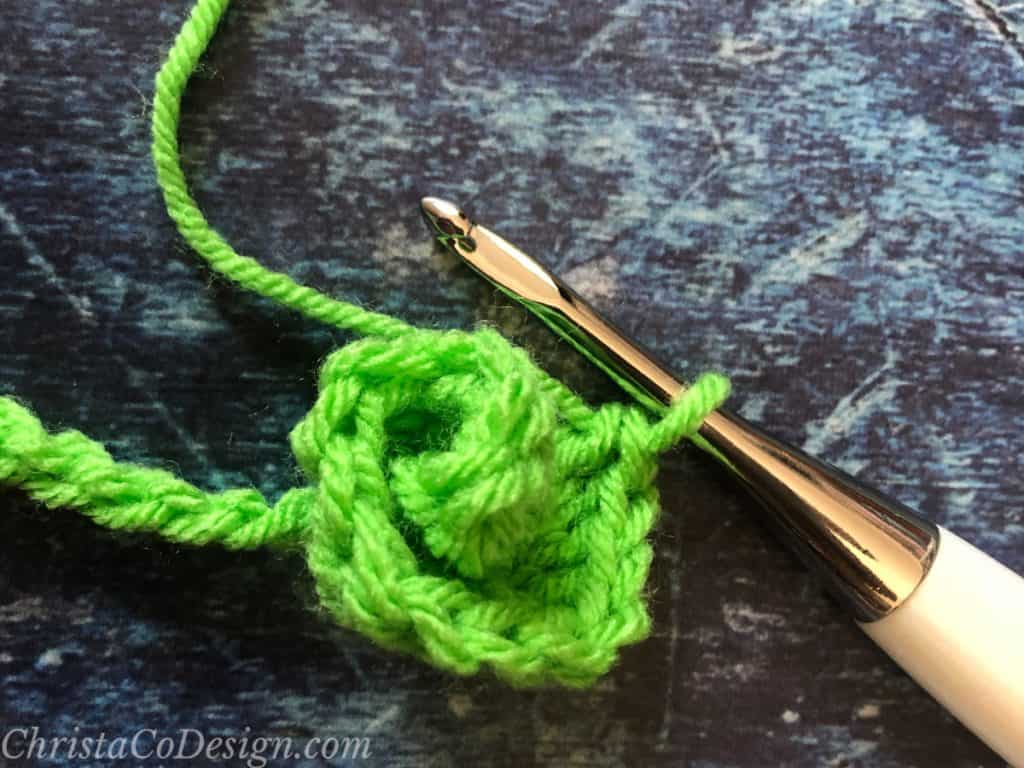
To crochet a curlicue simply add too many stitches in the same spot. It’s really that simple.
The extra stitches cause the crochet fabric you’re making to ruffle up, it’s similar to how I created the crochet ruffle on the Strisce Wrap.
When you keep adding all those stitches, to every stitch consistently, it curls up around itself and becomes the curlicue shape.
If you’ve been crocheting a while, then you’ve probably had a crochet blanket border start to get wavy. That’s because there are too many stitches in one area.
While this isn’t what we want on blankets, we can harness that waviness to crochet curlicues! This works with single crochet, half double crochet and double crochet.
Just as each of these stitches has it’s own features, so will the corresponding curlicue. So single crochet curls will be the smallest and double crochets will be the largest.
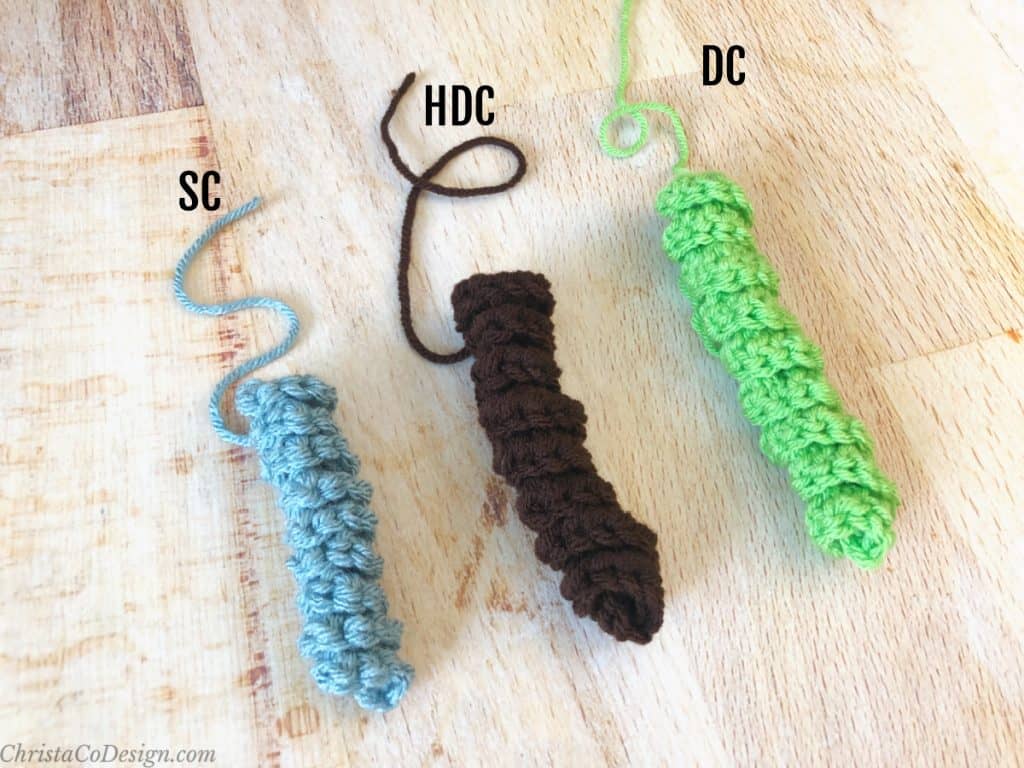
All these curlicues start with the same chain length. But the various stitches make the final curl different lengths.
They only vary about 1″ between each. The sc curl = 3.5″ long, the hdc curl = 4.5″ long and the dc curl = 5.5″ long.
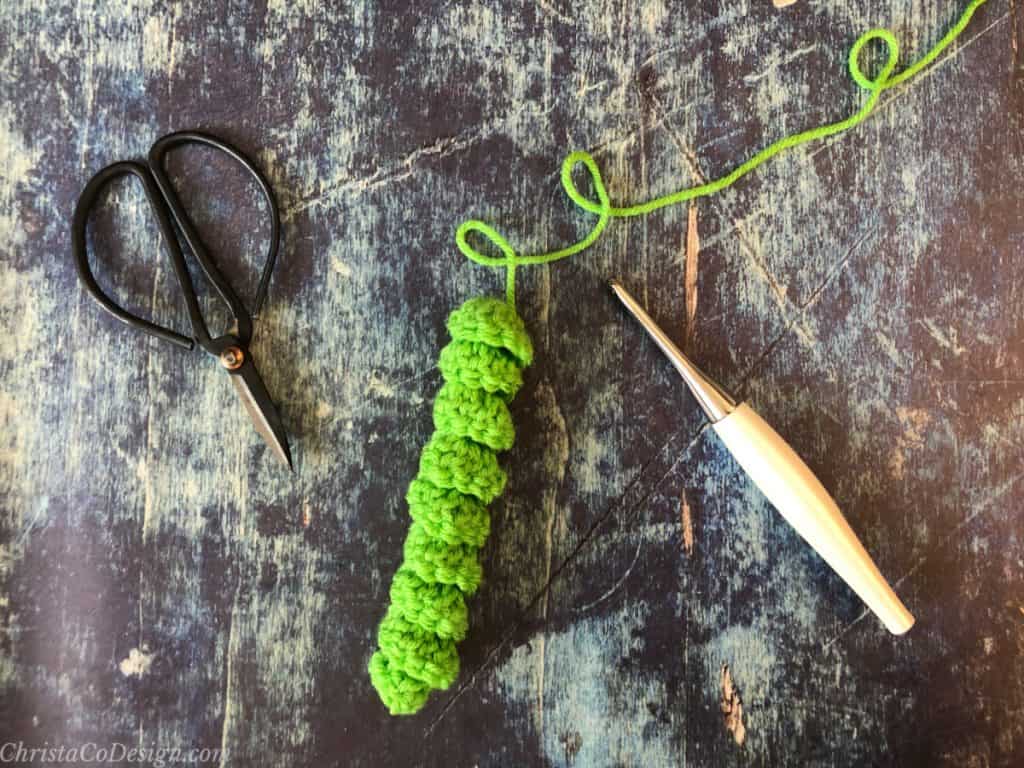
Materials
- 10yd/9m -30yd/27m #4 medium worsted weight yarn in green. I use Red Heart Super Saver* in spring green here.
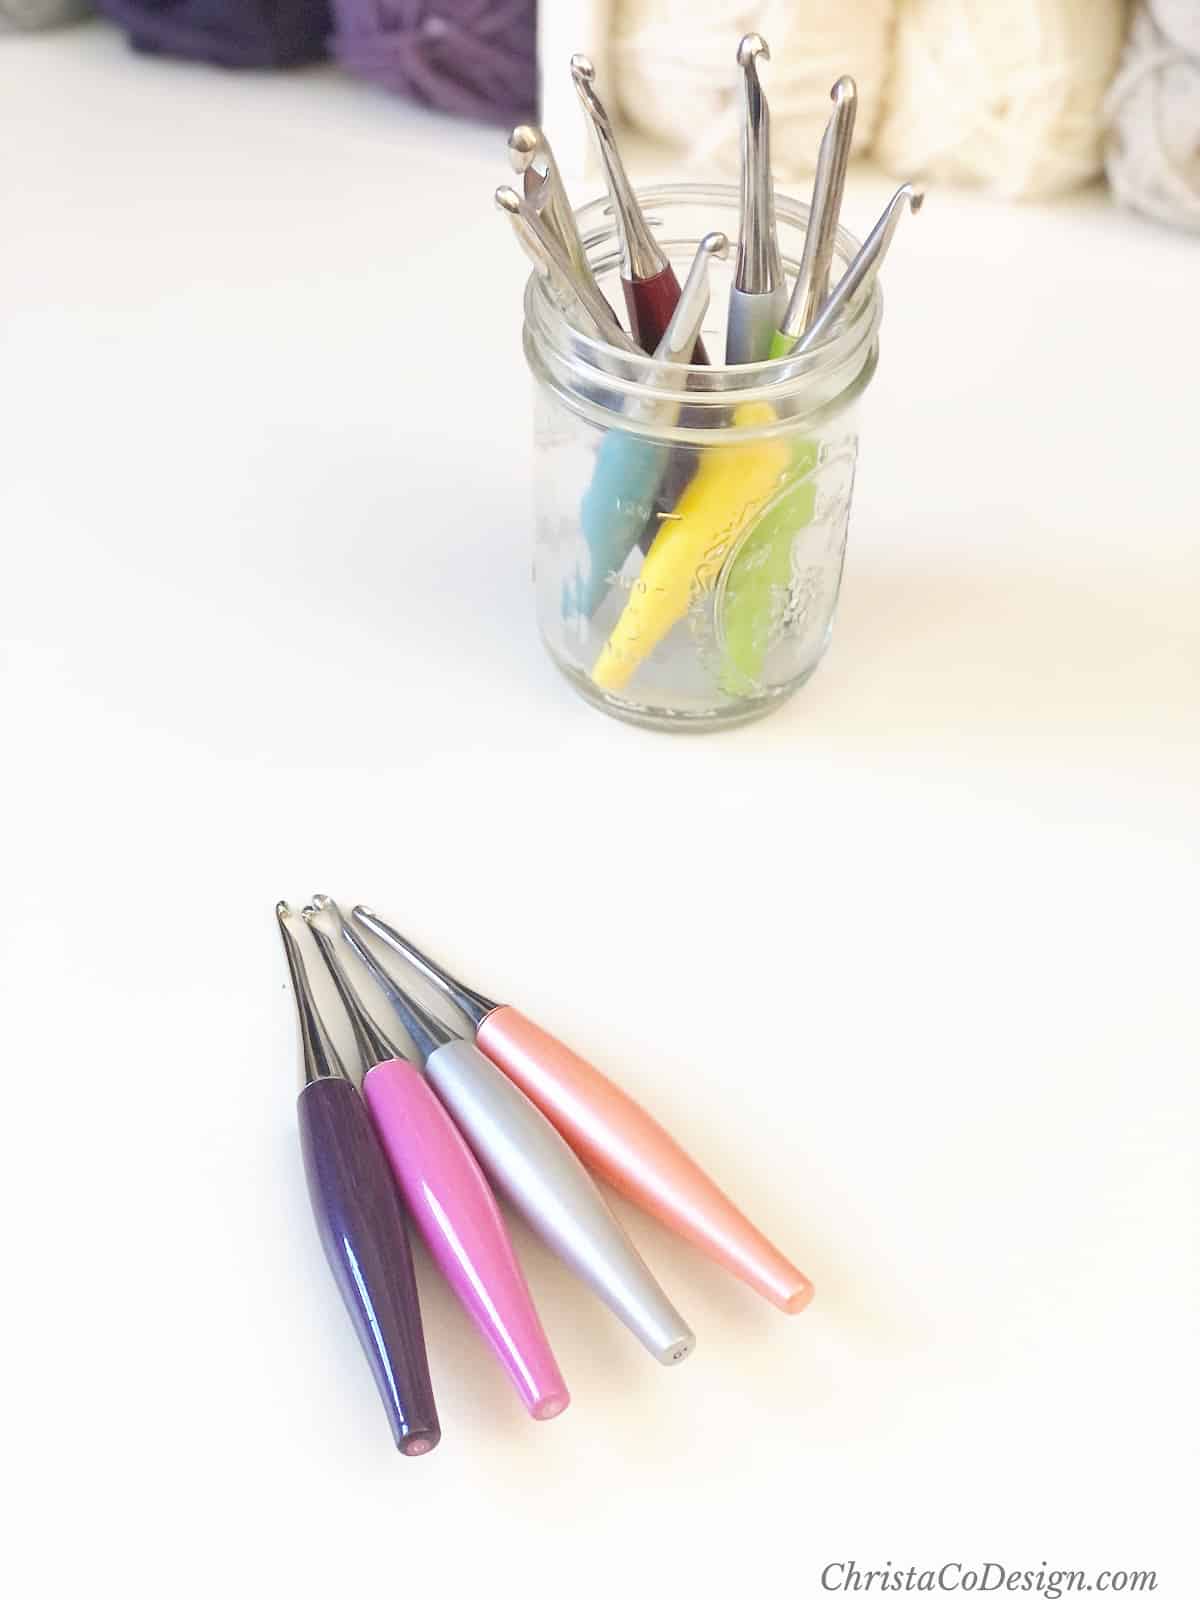
- 5mm US Size H-8 crochet hook,* hook compatible to your yarn.
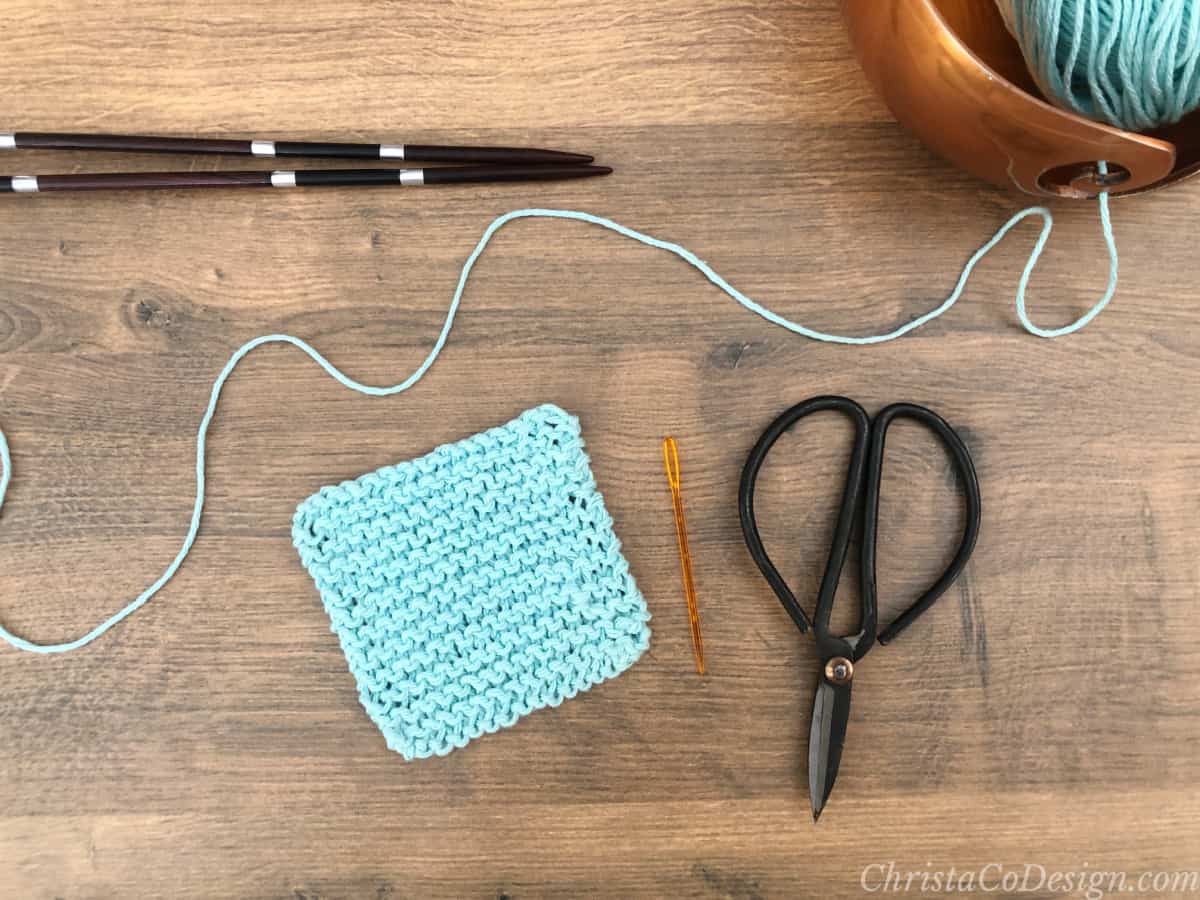
- yarn needle
- scissors
- measuring tape
Stitches/Abbreviations (US Terms)
Here are the abbreviations for the stitches in this pattern. You can click any of these links for an in depth tutorial on the stitch.
ch-chain
rep-repeat
sk-skip
st(s)-stitch(es)
Finished Sizes
The width depends on which stitch you use to make the curl. Double crochet curlicues will be widest, and single crochet ones narrowest.
The length will depend on how long you make your chain. The number of chains you start with will determine the length.
However, your chain will curl up as you crochet into it, so crochet a longer chain than you want your finished curlicue to be.
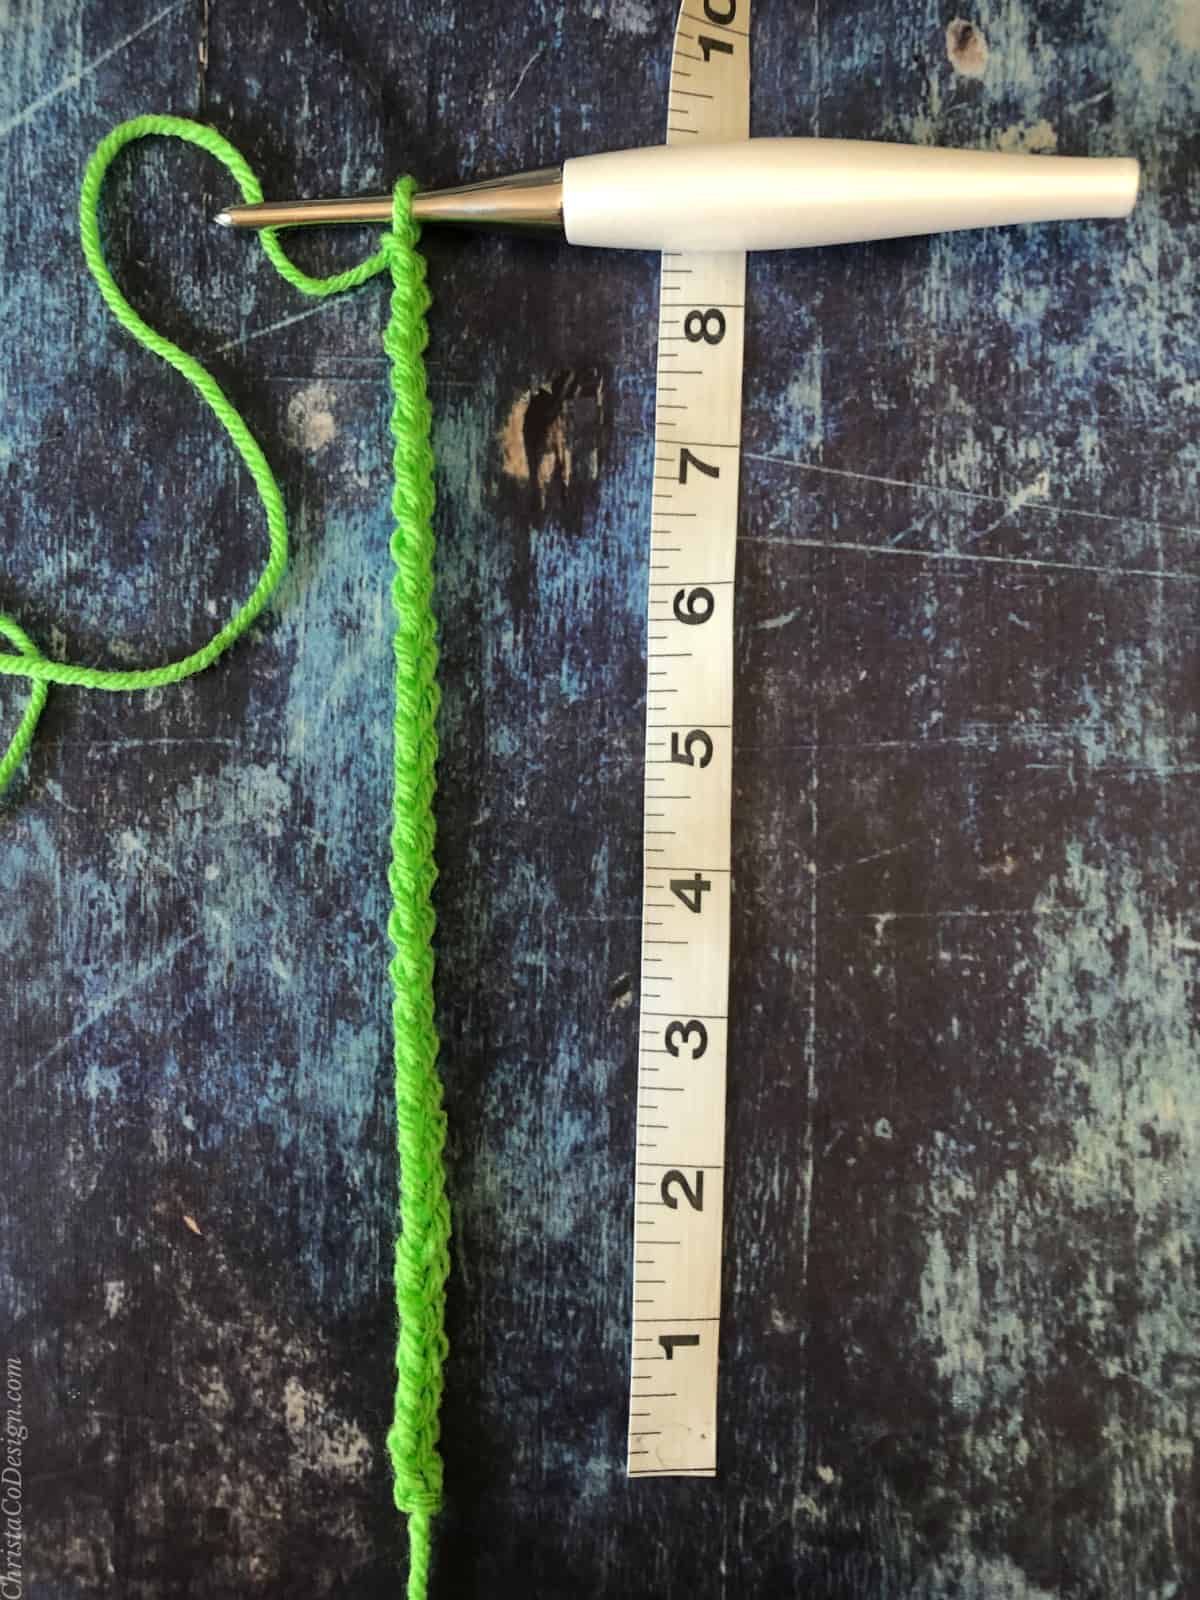
For example, if I chain 30, with a 5mm hook and #4 yarn, the chain measures 8.” After I crochet up the curlicue, it curls down to 5.5,” so I lost 2.5″ in length, or about 31% of the length.

So you can assume you’re going to lose about 30-40% of the beginning length. It’s easy enough to round that up and make a chain that’s twice as long as you want your finished curlicue to be.
And any extra chains you don’t need can be used to attach the curlicue to a hat, or doll. You can also pick apart the remaining chains, should you way overestimate-just be sure to pull the last one through it’s self to keep it from unraveling.
Scroll down for the free crochet curlicue pattern!
How to Crochet a Curlicue
The crochet curlicue is an easy pattern that you can make in many different lengths and sizes to suit your needs. Add these crochet curlicues to your crochet pumpkins as vines, or add several as crochet hair on a doll.
Materials
- 10yd/9m -30yd/27m #4 medium worsted weight yarn in green. I use Red Heart Super Saver in spring green here.
Tools
- 5mm US Size H-8 crochet hook, hook compatible to your yarn.
- yarn needle
- scissors
- measuring tape
Instructions
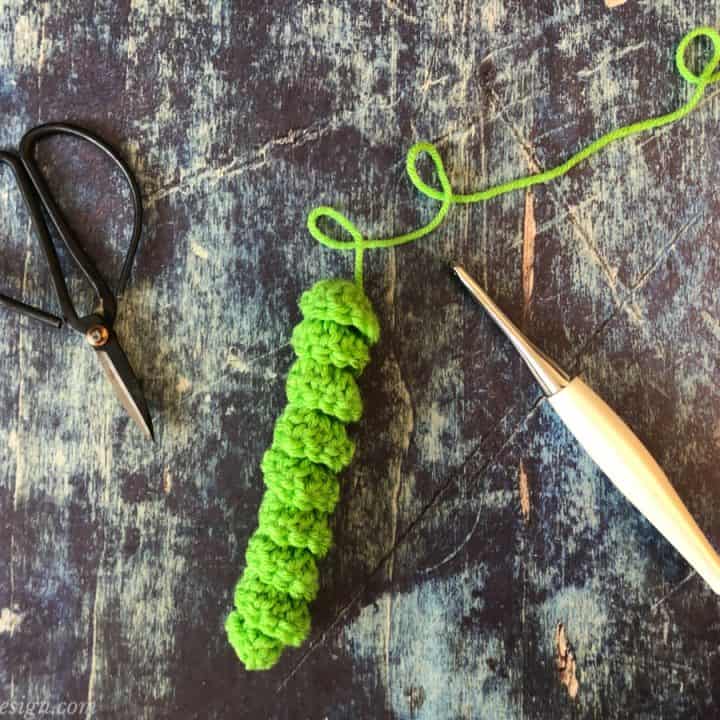
Double Crochet Curlicue
- Ch 30,
- Place 3 dc in the 3rd ch from your hook,
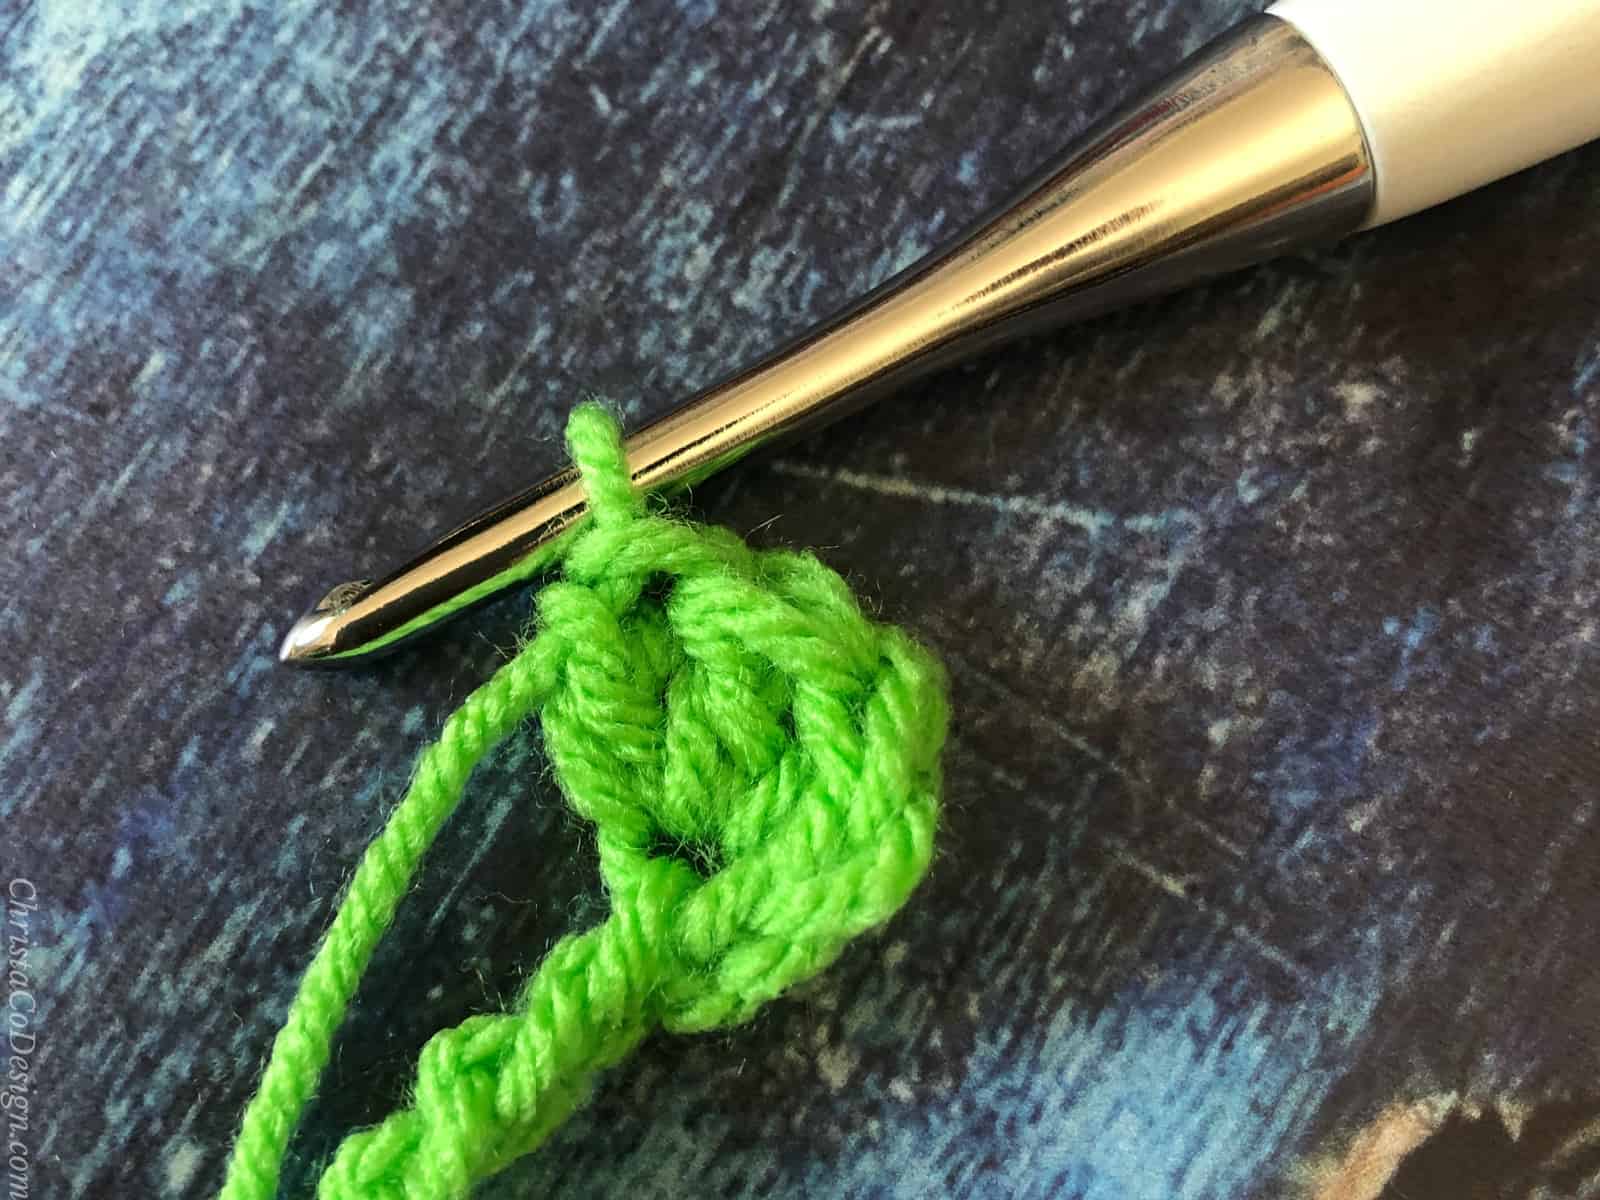
- Continue to place 3 dc in each ch until you have 3 ch left,
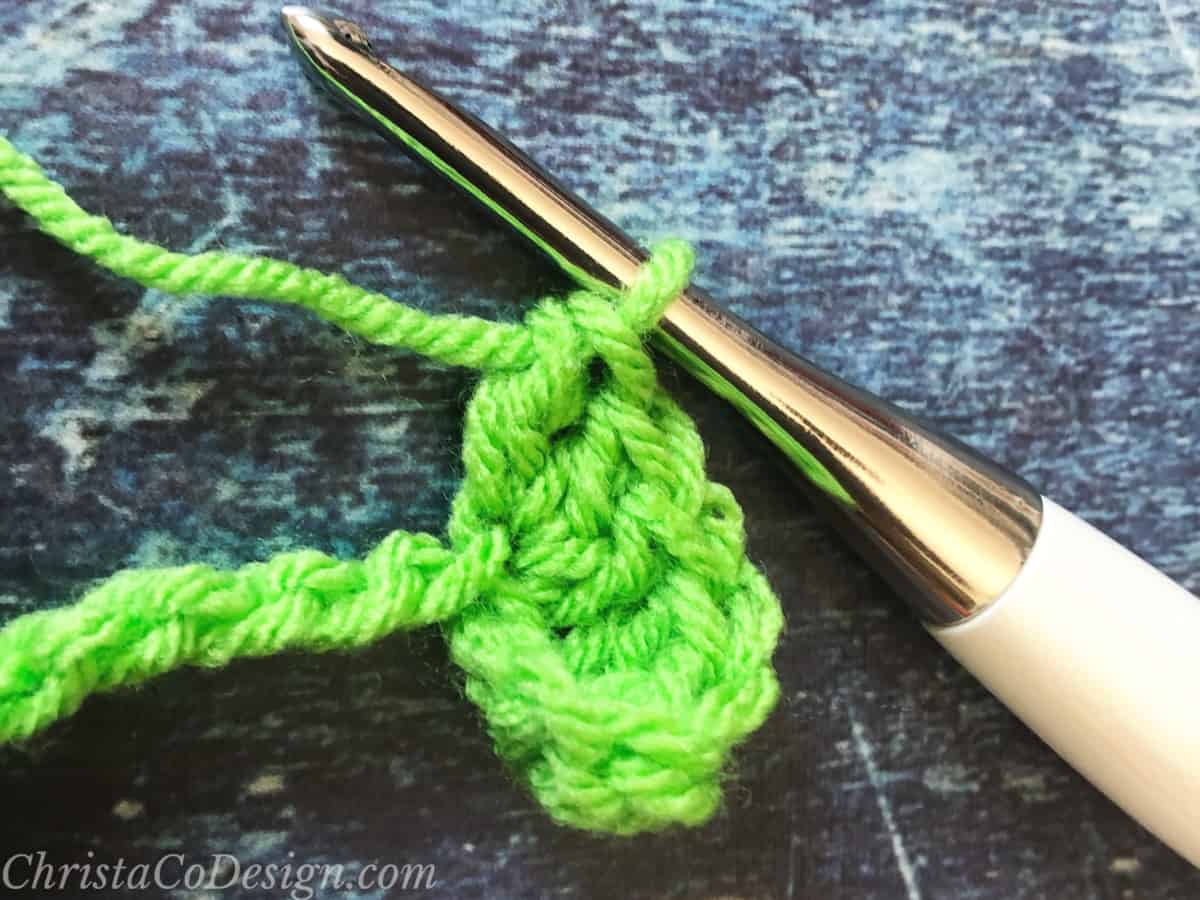 It will take a few stitches before you see it start to curl.
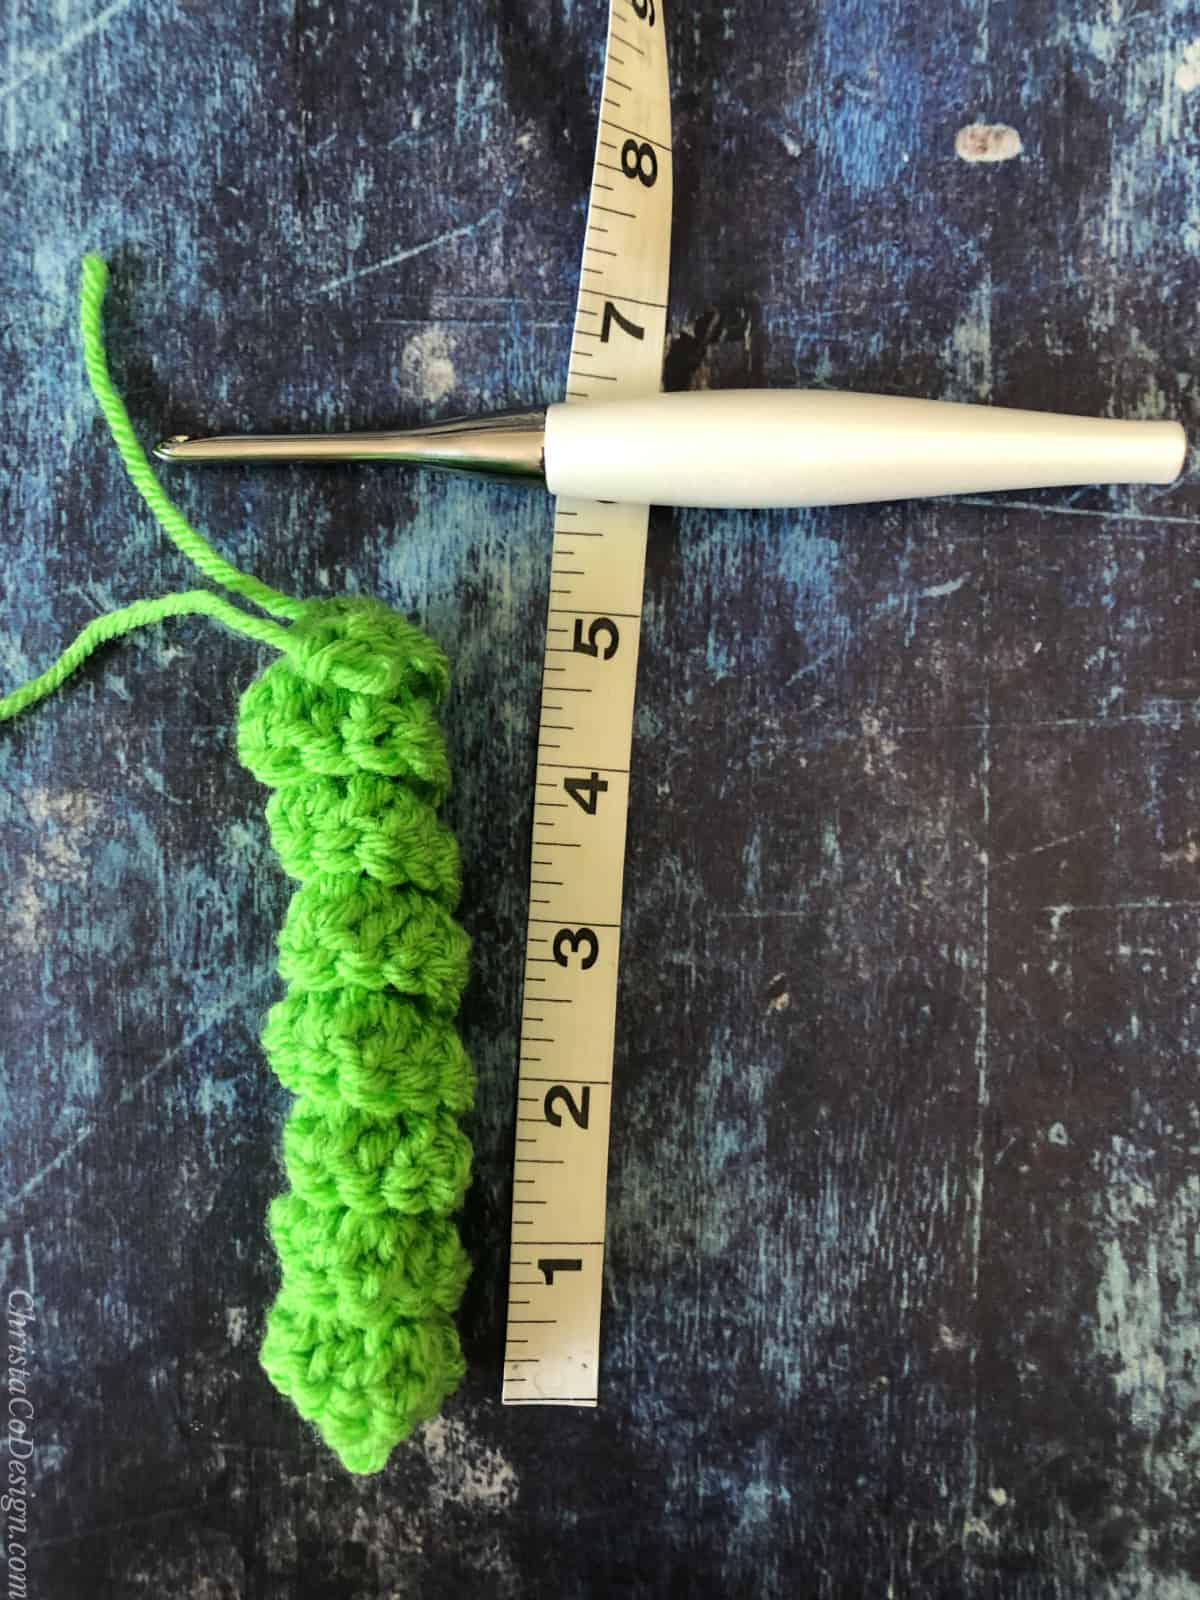
- Place 1 dc in each of the last 3 ch.
- Sl st on to your project.
- Cut yarn and weave in ends.
- This gave me about 5.5" in length of curl, and about an inch for it to dangle.
Half Double Crochet Curlicue
- Ch 30,
- Place 3 hdc in the 2nd ch from your hook,
- Continue to place 3 hdc in each ch until you have 3 ch left,
- Place 1 hdc in each of the last 3 ch.
- Sl st on to your project.
- Cut yarn and weave in ends.
- This gave me about 4.5" in length of curl, and about an inch for it to dangle.
Single Crochet Curlicue
- Ch 30,
- Place 3 sc in the 2nd ch from your hook,
- Continue to place 3 sc in each ch, until you have 3 ch left,
- Place 1 sc in each of the last 3 ch.
- Sl st on to your project.
- Cut yarn and weave in ends.
- This gave me about 3.5" in length of curl, and about an inch for it to dangle.
You can vary your starting chain to increase or decrease your finished lengths.
For my pumpkin hat, I added a small single crochet curlicue. I started with a ch 15 and followed the Single Crochet Curlicue instructions. This gave me a finished lenght of 1.5."
For those who are familiar with foundation stitches, you can use them to crochet a curlicue to any length.
Start with 1 fdc, *{going back into this same st, make 2 more dc, then make your next fdc} keep repeating from * until your curlicue is to length.
Recommended Products
As an Amazon Associate and member of other affiliate programs, I earn from qualifying purchases.