How To Cable Cast On Knitting Tutorial With Video
Learn how to do the cable cast-on for your next knitting project. In this step by step tutorial I show you how to easily make this cast-on method.

This post contains affiliate links, I may earn a fee. Read more disclosure policy.
Join the ChristaCoDesign Newsletter
Never miss a pattern!
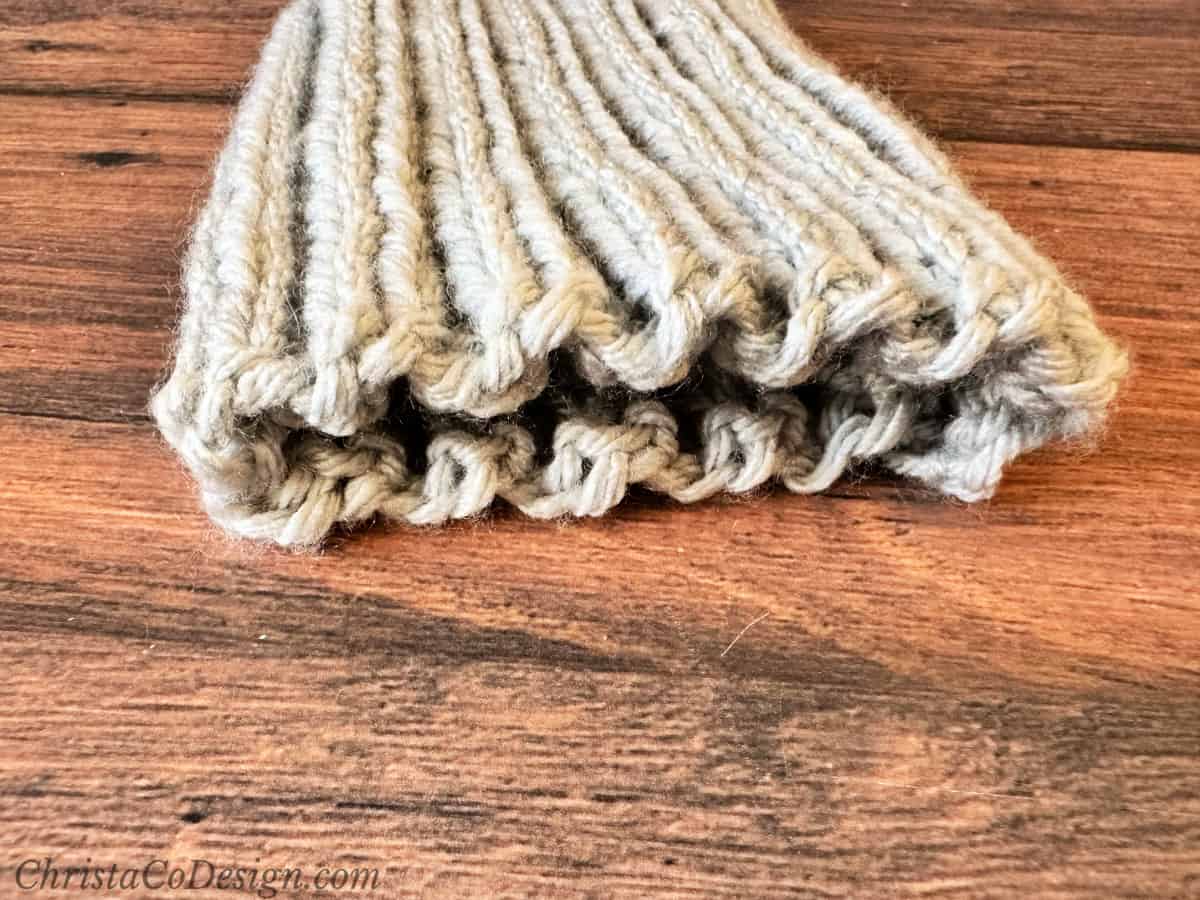
The cable cast on makes a beautiful firm edge. I would not recommend this one if you need a stretchy edge. So depending on your project this may be the cast on for you.

If you are looking for a stretchier cast on, then try the knitted cast-on. It’s very similar to the cable cast on, but instead of working in between the stitches, you working into the stitches.
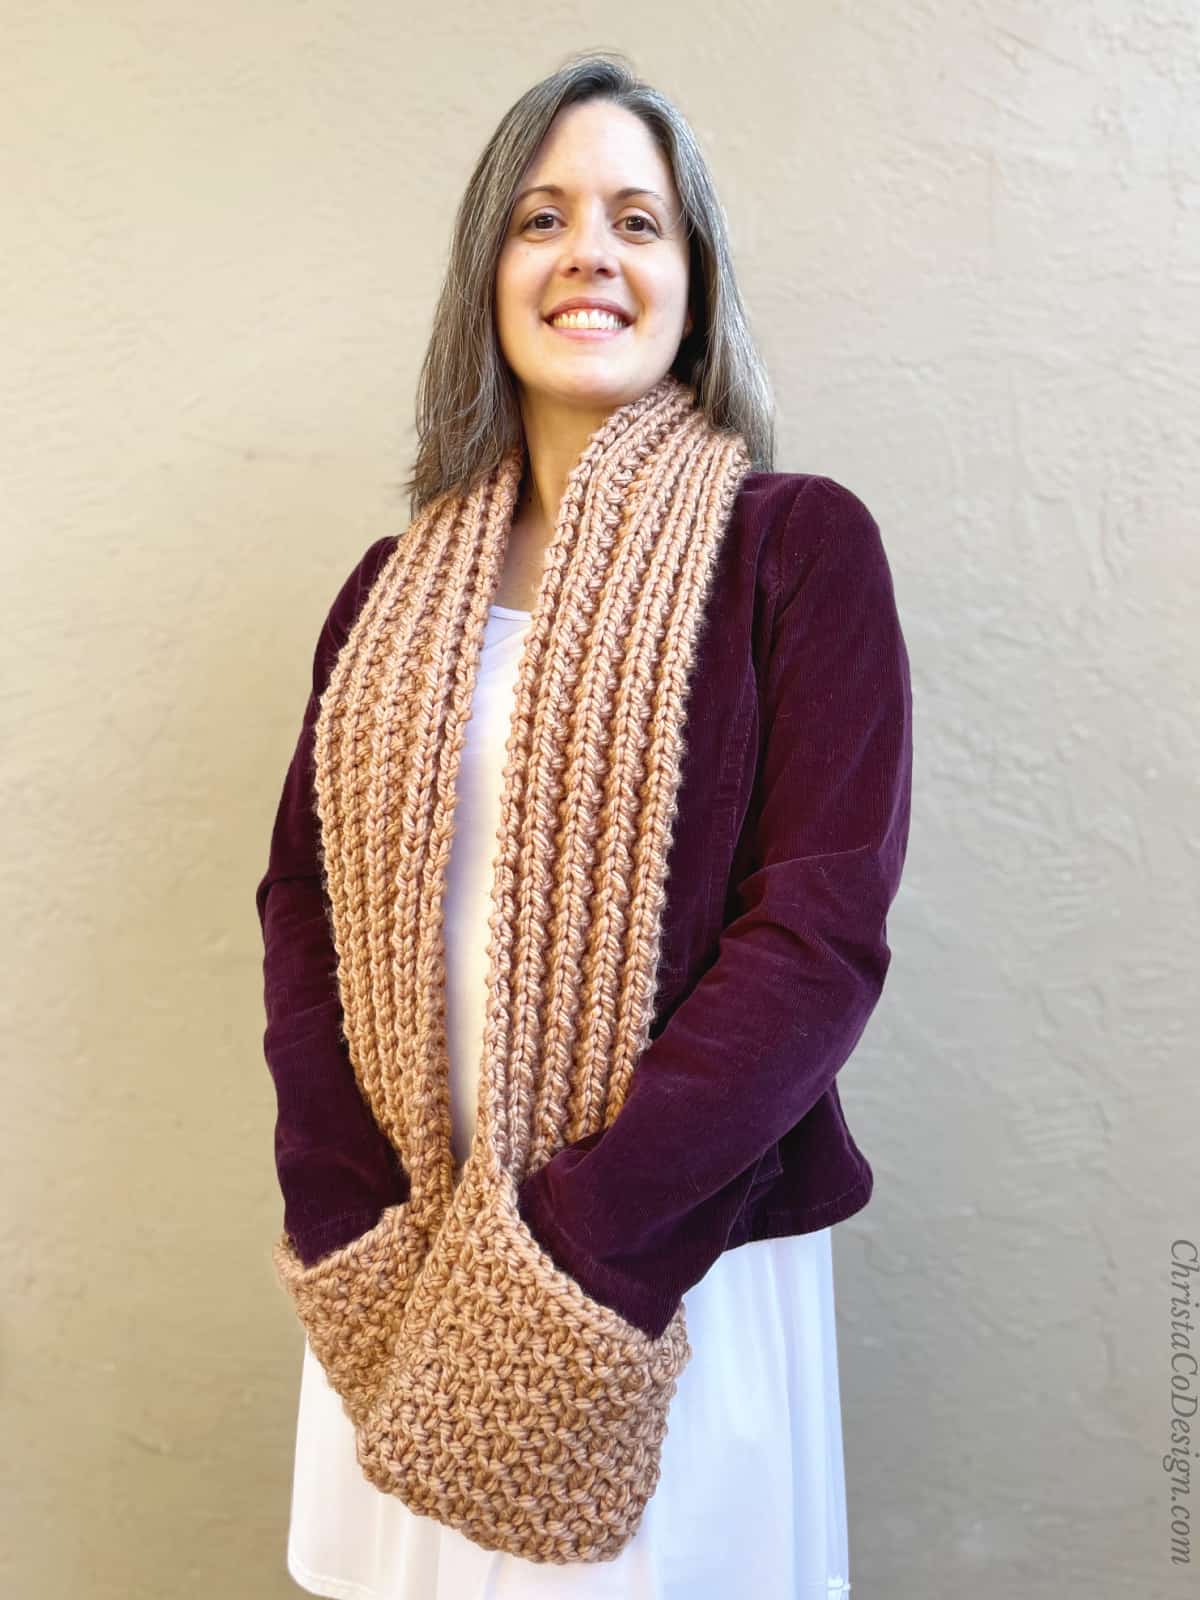
Another similarity the knitted and cable cast on share is that you can use these to cast on stitches anywhere: at the beginning of a row, or end of a row, and better still, in the middle of your work, as in the Mura Hanging Towel knitting pattern.
This cast on is not very fast like the long tail cast on, but it only requires a short tail. So getting started is faster.
Video
Watch the video tutorial on my YouTube.
How To Cable Cast On
Learn how to knit the cable cast on in this step by step tutorial with video.
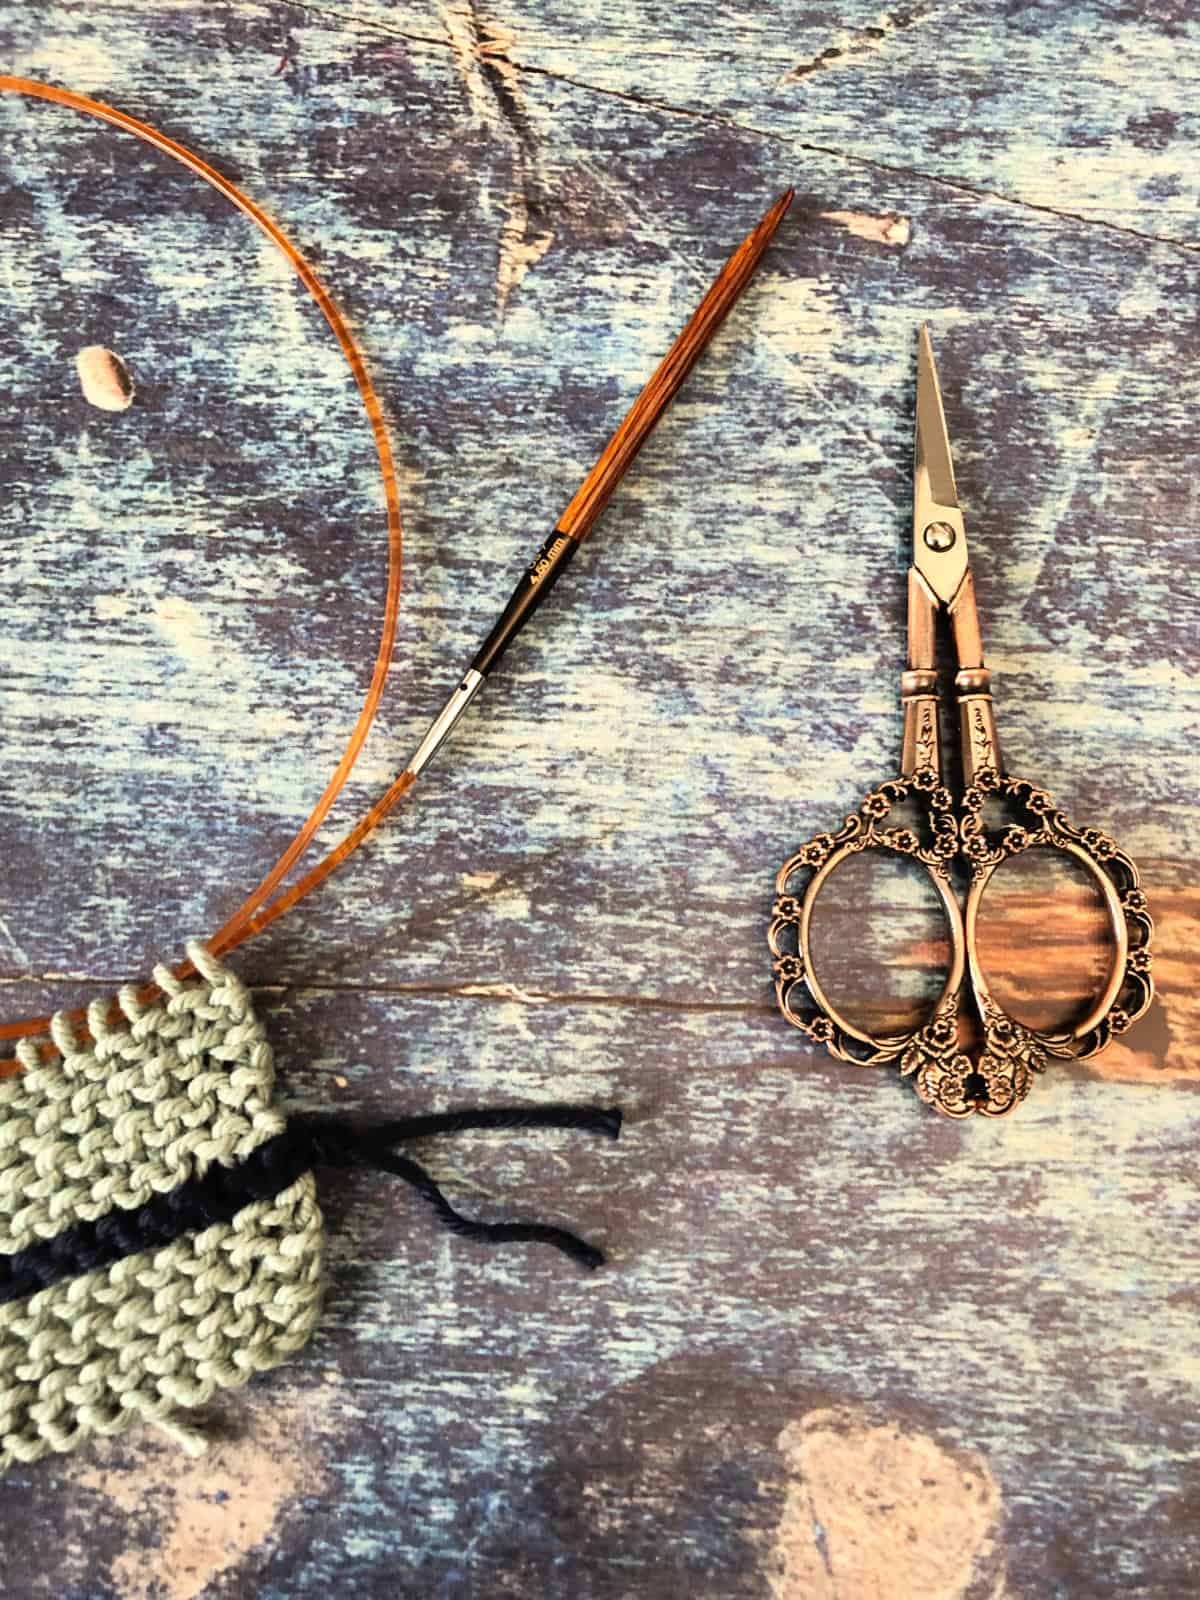
Materials
- Any yarn, here I'm using Brava Speckle a #4 medium worsted weight yarn.
Tools
- Knitting needles to match your yarn. I'm using my 4.5 mm (US Size 7) circulars.
Instructions
- Start with a slip knot on your left hand needle. This counts as the first stitch. (1 st)
- Insert the right needle tip into the stitch knit wise.
- Yarn over and pull a loop through.
- Twist the knit stitch and slide it on to the left needle. (2 sts)
- Insert right-hand needle between the two cast-on stitches.
- Repeat steps 3 - 5 to keep casting on new stitches going between the new stitch and the previous stitch until you reach the number of desired stitches.
- Once you get to the last stitch cast on you're ready to turn and work your first row.
- Remember the cast-on edge does not count in your row count.
Recommended Products
As an Amazon Associate and member of other affiliate programs, I earn from qualifying purchases.