Camilia Poncho Crochet Pattern From 2 Rectangles
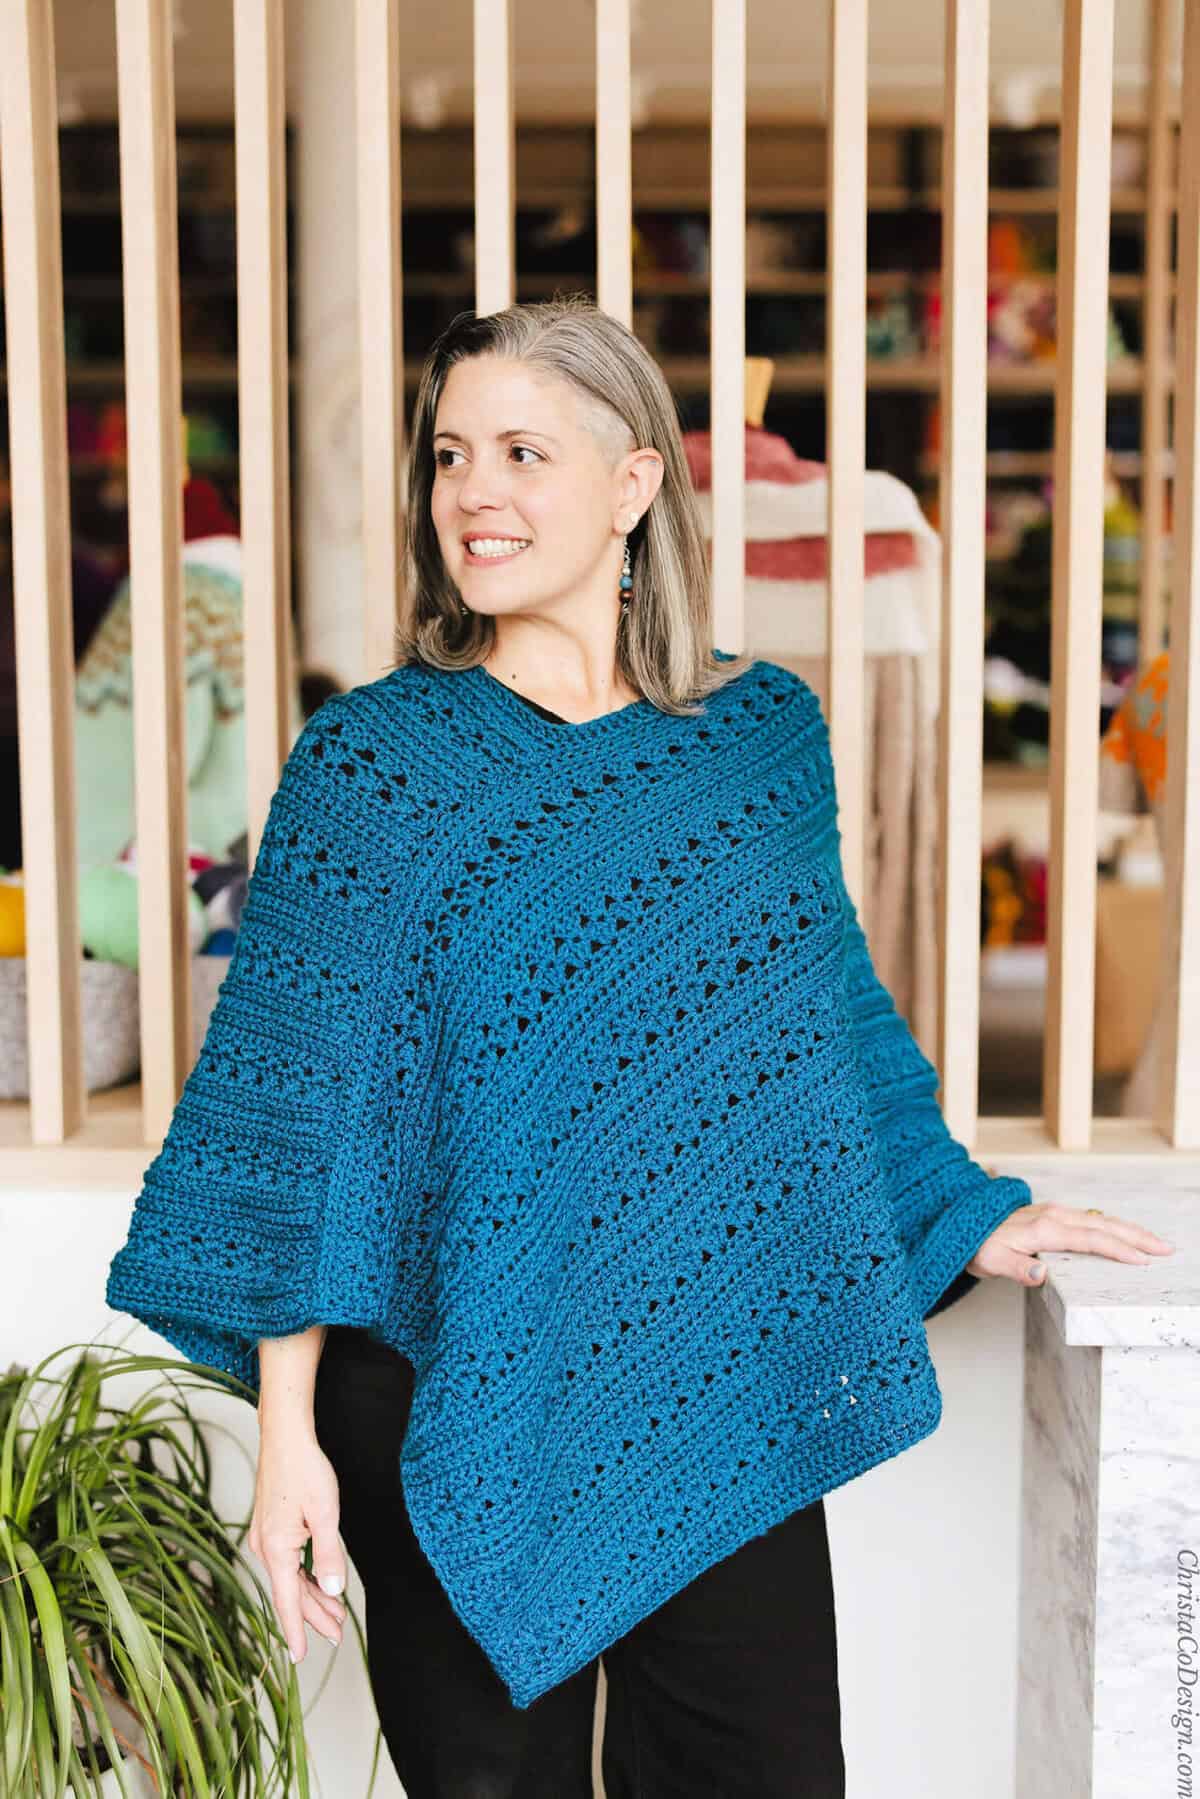
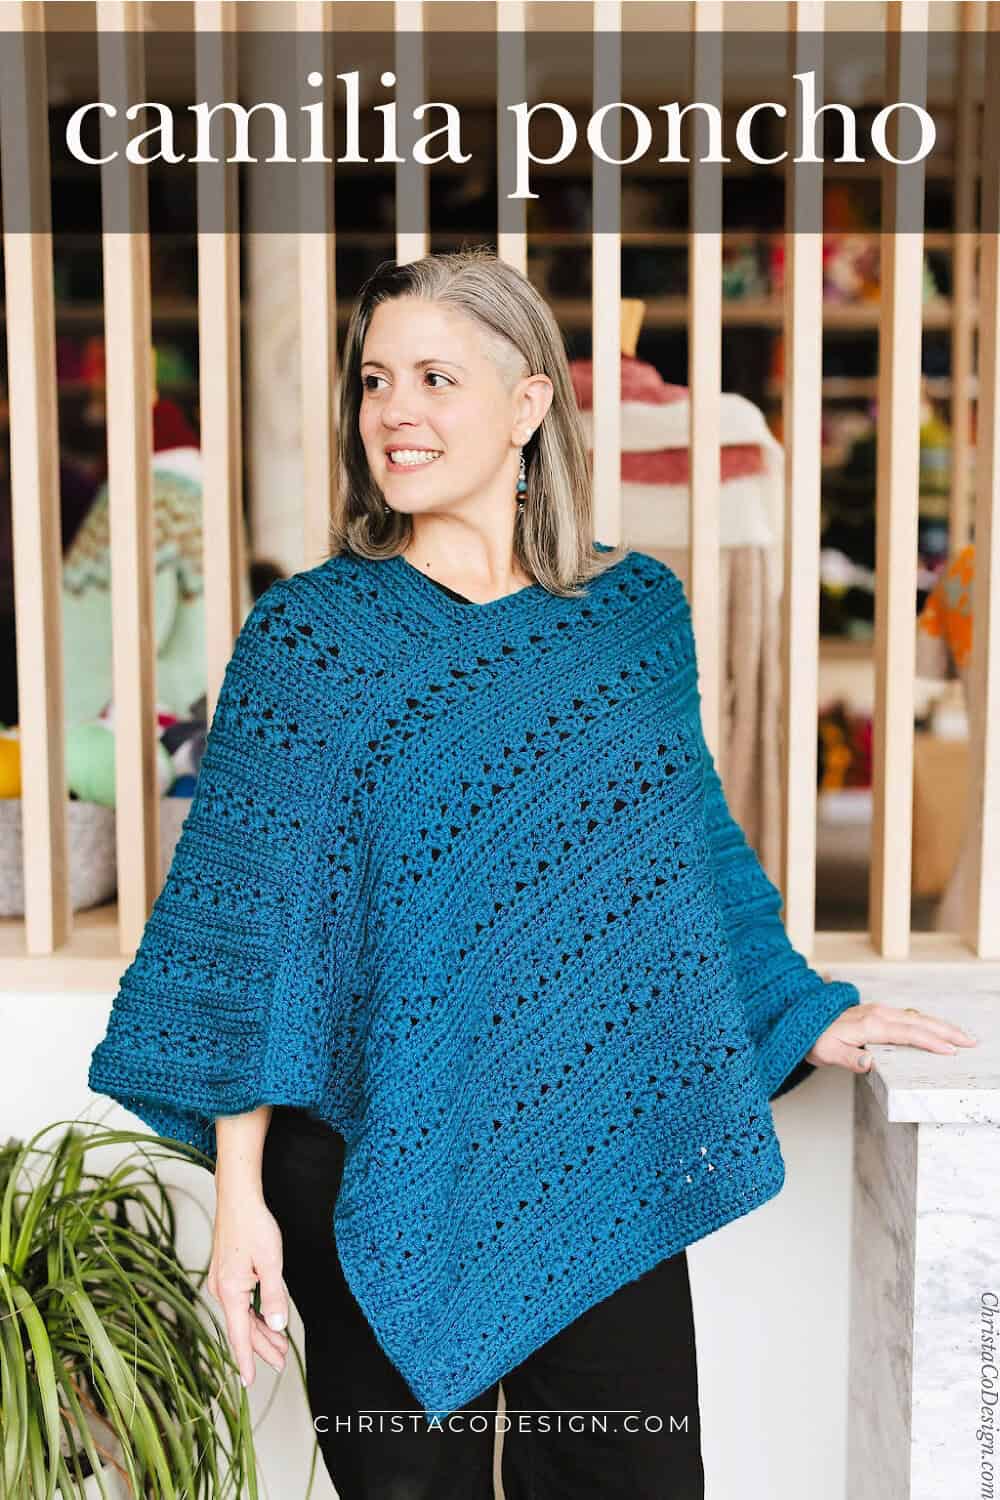
The Camilia Poncho keeps you warm and cozy with a pretty stitch pattern that’s easy to crochet! This crochet poncho is made simply with two rectangles and seamed.

This post contains affiliate links, I may earn a fee. Read more disclosure policy.
Join the ChristaCoDesign Newsletter
Never miss a pattern!
I love a warm and cozy poncho to throw over your winter outfit. The Camilia is easy to style with virtually any outfit.
Purchase the ad-free, well formatted printable PDF Pattern from my shop. Scroll down for the free pattern!
Purchase My Ad-Free PDF Patterns In Your Favorite Shop Here:
The Yarn
I’ve had a crochet poncho in mind for this Red Heart with Love yarn forever. Sometimes there’s just not enough time in the day to make all the things (but we try)!
Teal and all varieties of blue are a fav of mine. I’m drawn in to this texture and color combination here.
Color is one of my favorite things about Red Heart Yarns. You can be sure to find any color imaginable available, that’s so helpful when you have something specific in mind!
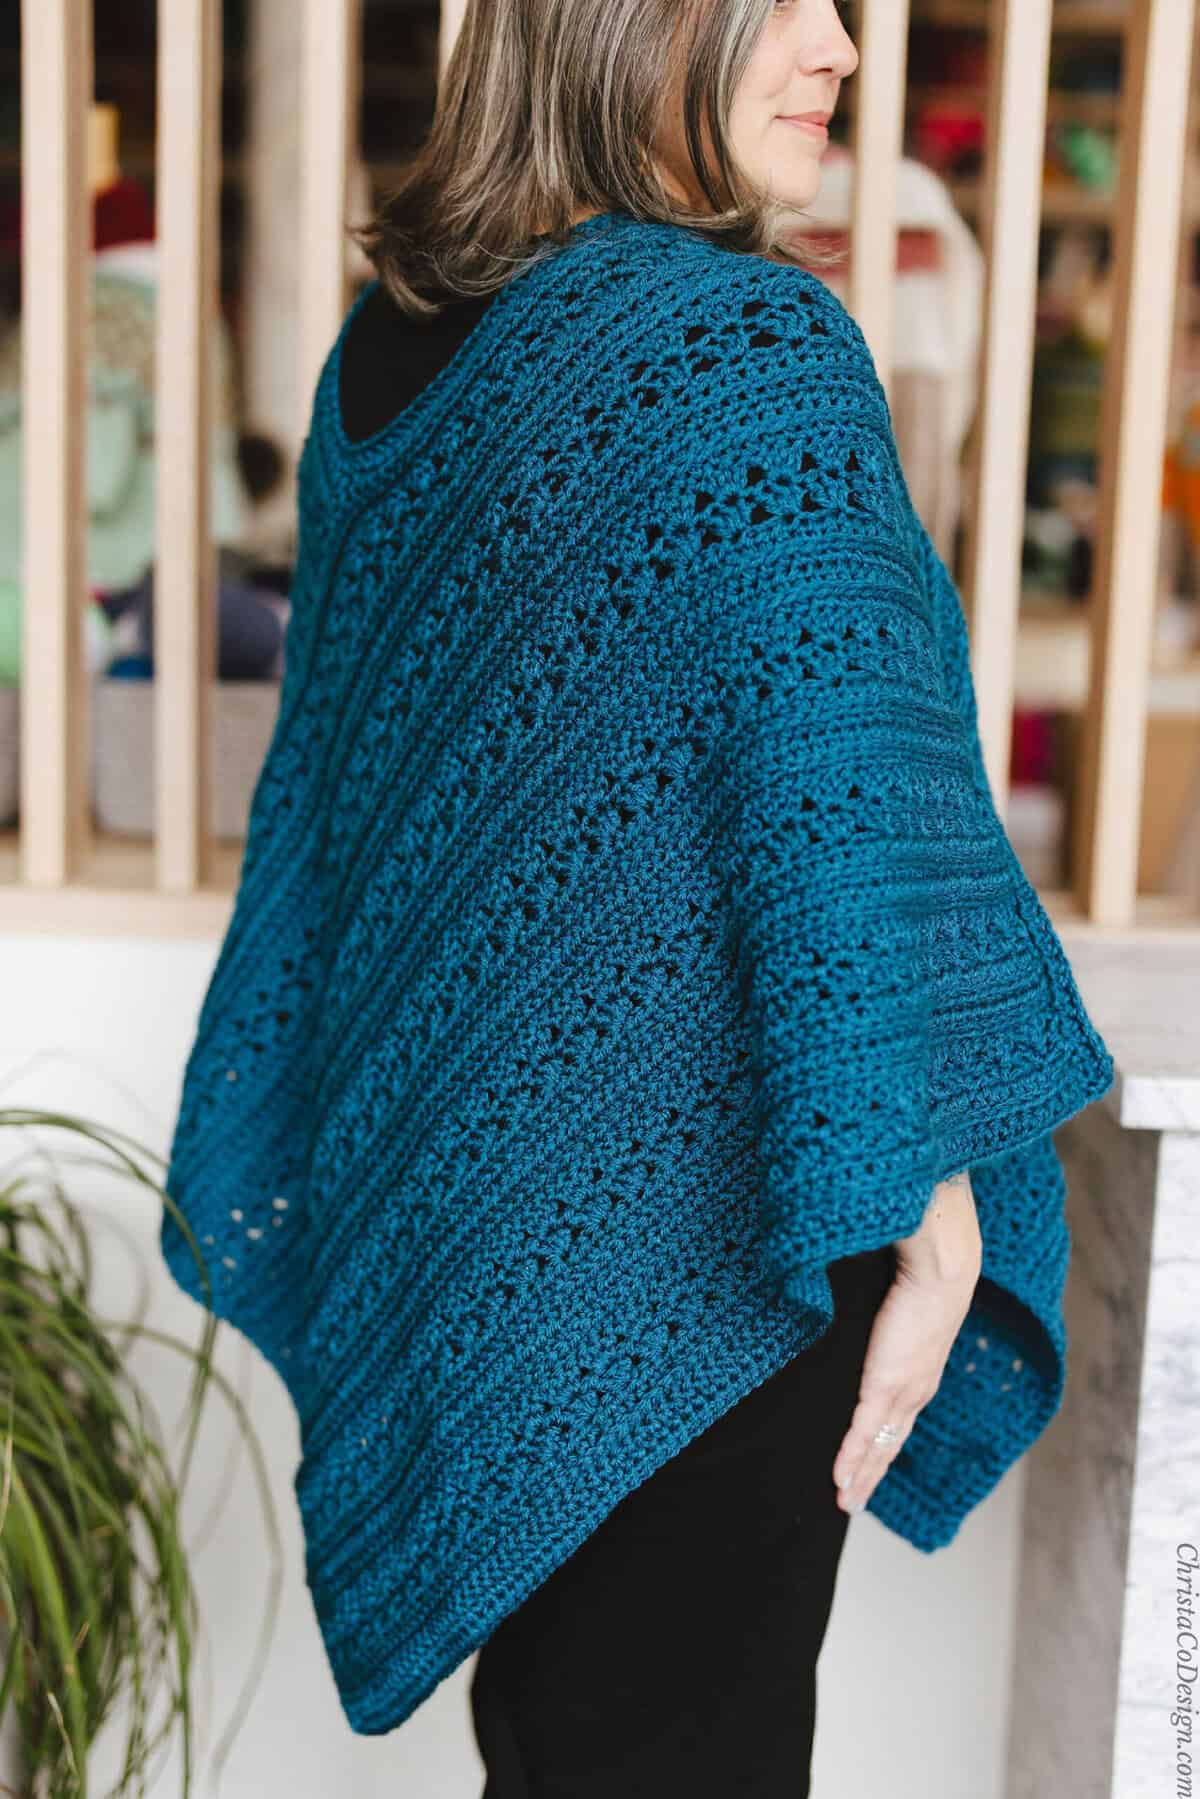
I like how you can easily customize these rectangles for a shorter or an even longer length over your arms.
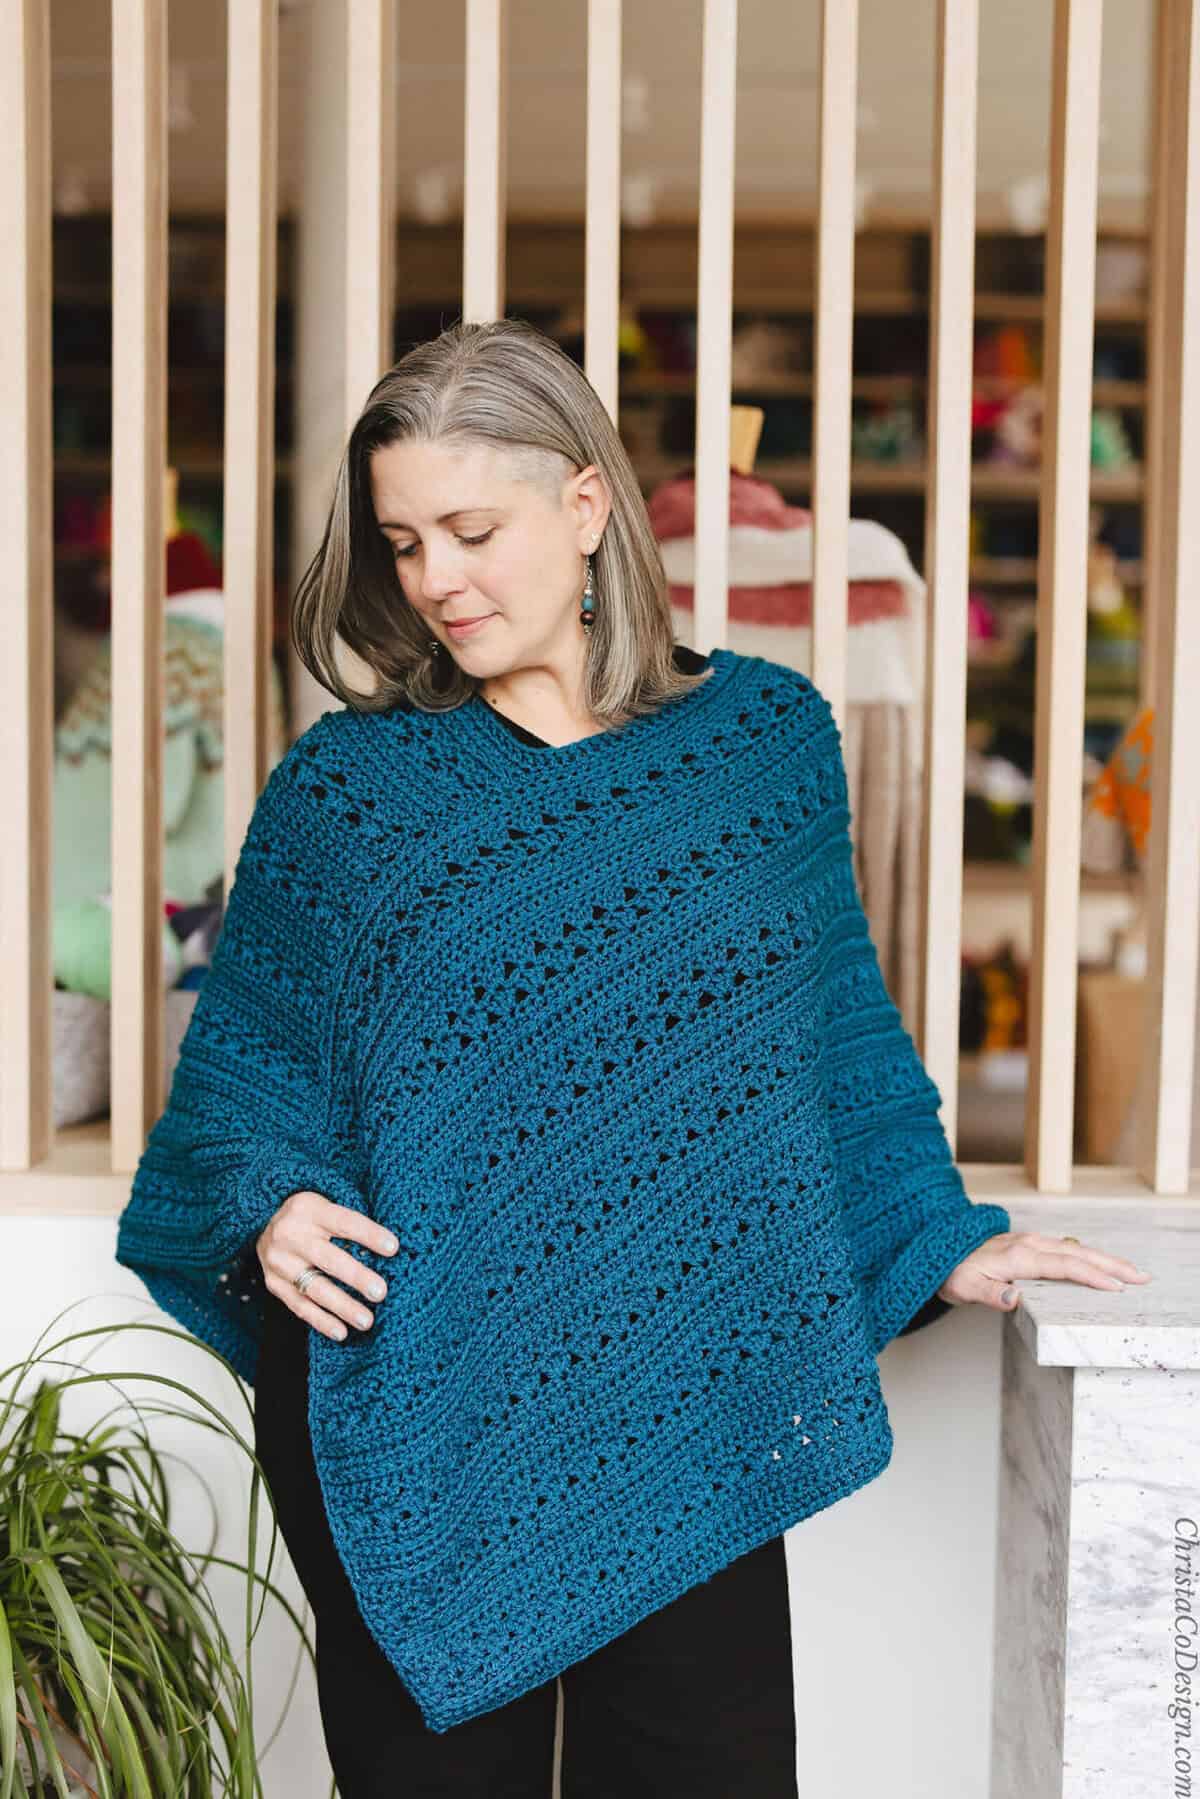
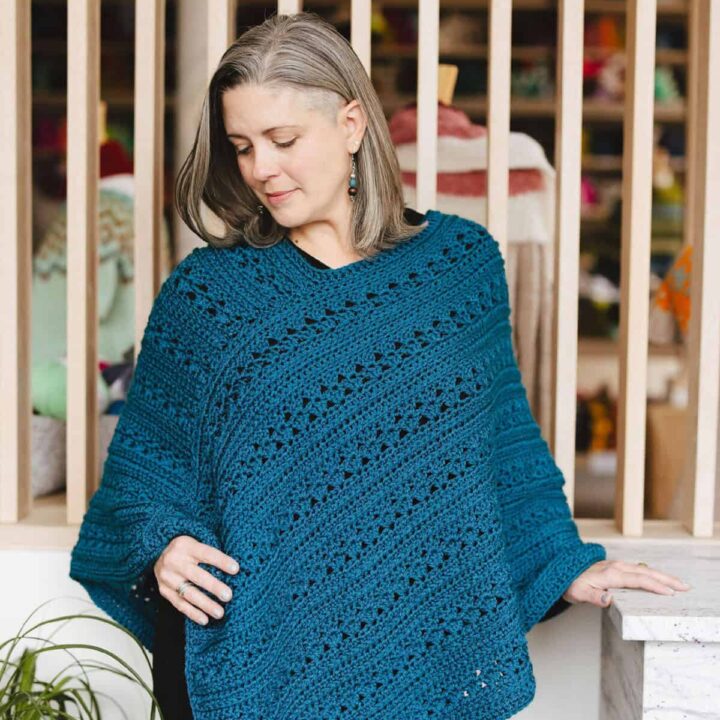
Here I have positioned the poncho so it sits back further, making the back length a little longer than the front. This is just related to how you where the neckline, so it’s easy to even up.
Materials
- 1239 – 1623 yd Red Heart* a #4 medium worsted weight yarn (100% acrylic, 256 yd (234 m) per 141 g skein) in shade: teal 5 [6, 6, 7] skeins.
- 6mm (US Size J-10) hook,* or crochet hook needed to meet gauge
- yarn needle, measuring tape, scissors
Yarn By Size
- 1239 yd (1133 m) – S/M
- 1367 yd (1250 m) – L/XL
- 1495 yd (1367 m) – 2/3X
- 1623 yd (1484 m) – 4/5X
Notes
- Stitch multiple is 3, plus 2.
Stitches/Abbreviations
ch – chain
dc – double crochet
hdc – half double crochet
rep – repeat
sl st – slip stitch
st(s) – stitch(es)
tlo – third loop only (on a hdc)
WS – wrong side
Gauge
13 sts x 8 rows (after blocking) to 4″ (10 cm) measured in pattern
Fit
To fit bust sizes:
S/M: 32 – 38” (81 – 96.5 cm)
L/XL: 40 – 46” (101.5 – 117 cm)
2/3X: 48 – 54″ (122 – 137 cm)
4/5X: 56 – 62” (142 – 158 cm)
Adjustments
To adjust the length of your rectangle, start with a stitch multiple of 3, plus 2. You can add/subtract 3 to my starting change. This will make your poncho longer/shorter on your arms and from neck to hem.
To change the height of your rectangle, adjust the number of rows you repeat. I recommend stopping after a Row 7 repeat. This will make neck hole bigger/smaller and effect the overall size.
Level
Easy
Construction
This poncho is made from two crochet rectangles that are seamed together to form the neck hole.
The number of stitches you begin with is the length of your rectangle. The number of rows you work is the height of your rectangle.
Finished Dimensions
Measured from neckline to hem point.
S/M [L/XL] – 28″ long
2X/3X [4X/5X] – 32.5″ long
Rectangle Dimensions
Written as Length x Width.
S/M – 30″ x 20″
L/XL – 31″ x 20″
2X/3X – 32″ x 23″
4X/5X – 33″ x 23″
Pin It
Pin It Now & Make It Later
Don’t forget to pin this for later!
Purchase the ad-free, well formatted printable PDF Pattern from my shop. Scroll down for the free pattern!
Scroll down for the free crochet poncho pattern!
Pattern Instructions
Camilia Poncho
The Camilia Poncho keeps you warm and cozy with a pretty stitch pattern that’s easy to crochet!
Materials
- 1239 yd/1133m - S/M
- 1367 yd/1250m - L/XL
- 1495 yd/1367m -2/3X
- 1623 yd/1484m - 4/5X
- of #4 medium worsted weight yarn; pictured in Red Heart Soft (100% acrylic, 5 oz/141 g, 256 yds/234m) color: teal 5 (6, 6, 7) balls.
Tools
- 6mm (US Size J-10) hook, or hook needed to meet gauge
- yarn needle
- measuring tape
- scissors
Instructions
Make 2
S/M (L/XL, 2/3X, 4/5X)
Row 1. Fdc 98 (101, 104, 107)
Row 2. Ch 1, hdc in same st and in each st across, turn. (98, 101, 104, 107 sts)
Row 3. (WS) Ch 1, hdc in same st, tlo hdc in next st and in each st until one st is left, hdc in last st, turn. (98, 101, 104, 107 sts)
Row 4. Ch 3, sk 1, 3 dc in next st, *{sk 2 sts, 3 dc in next st} rep * until last 2 sts, sk 1, dc in last st, turn. (98, 101, 104, 107 sts)
Row 5. Rep last row.
Row 6. Ch 1, hdc in same st and in each st across, turn. (98, 101, 104, 107 sts)
Row 7. (WS) Ch 1, hdc in same st, tlo hdc in next st and in each st until one st is left, hdc in last st, turn. (98, 101, 104, 107 sts)
S/M (L/XL) Rows 8-49. Rep Rows 2-7 six more times until you have a total of 7 reps, or work is 20” tall.
2/3X (4/5X) Rows 8-56. Rep Rows 2-7 seven more times until you have a total of 8 reps, or work is 23” tall.
If you would like to adjust the size of your rectangles, do so here. You can add or subtract rows to your liking. This measurement is from neckline down the arm, to the wrist. Once the rectangles are seamed this is where the width of the rectangle will lie on your body.
Seaming 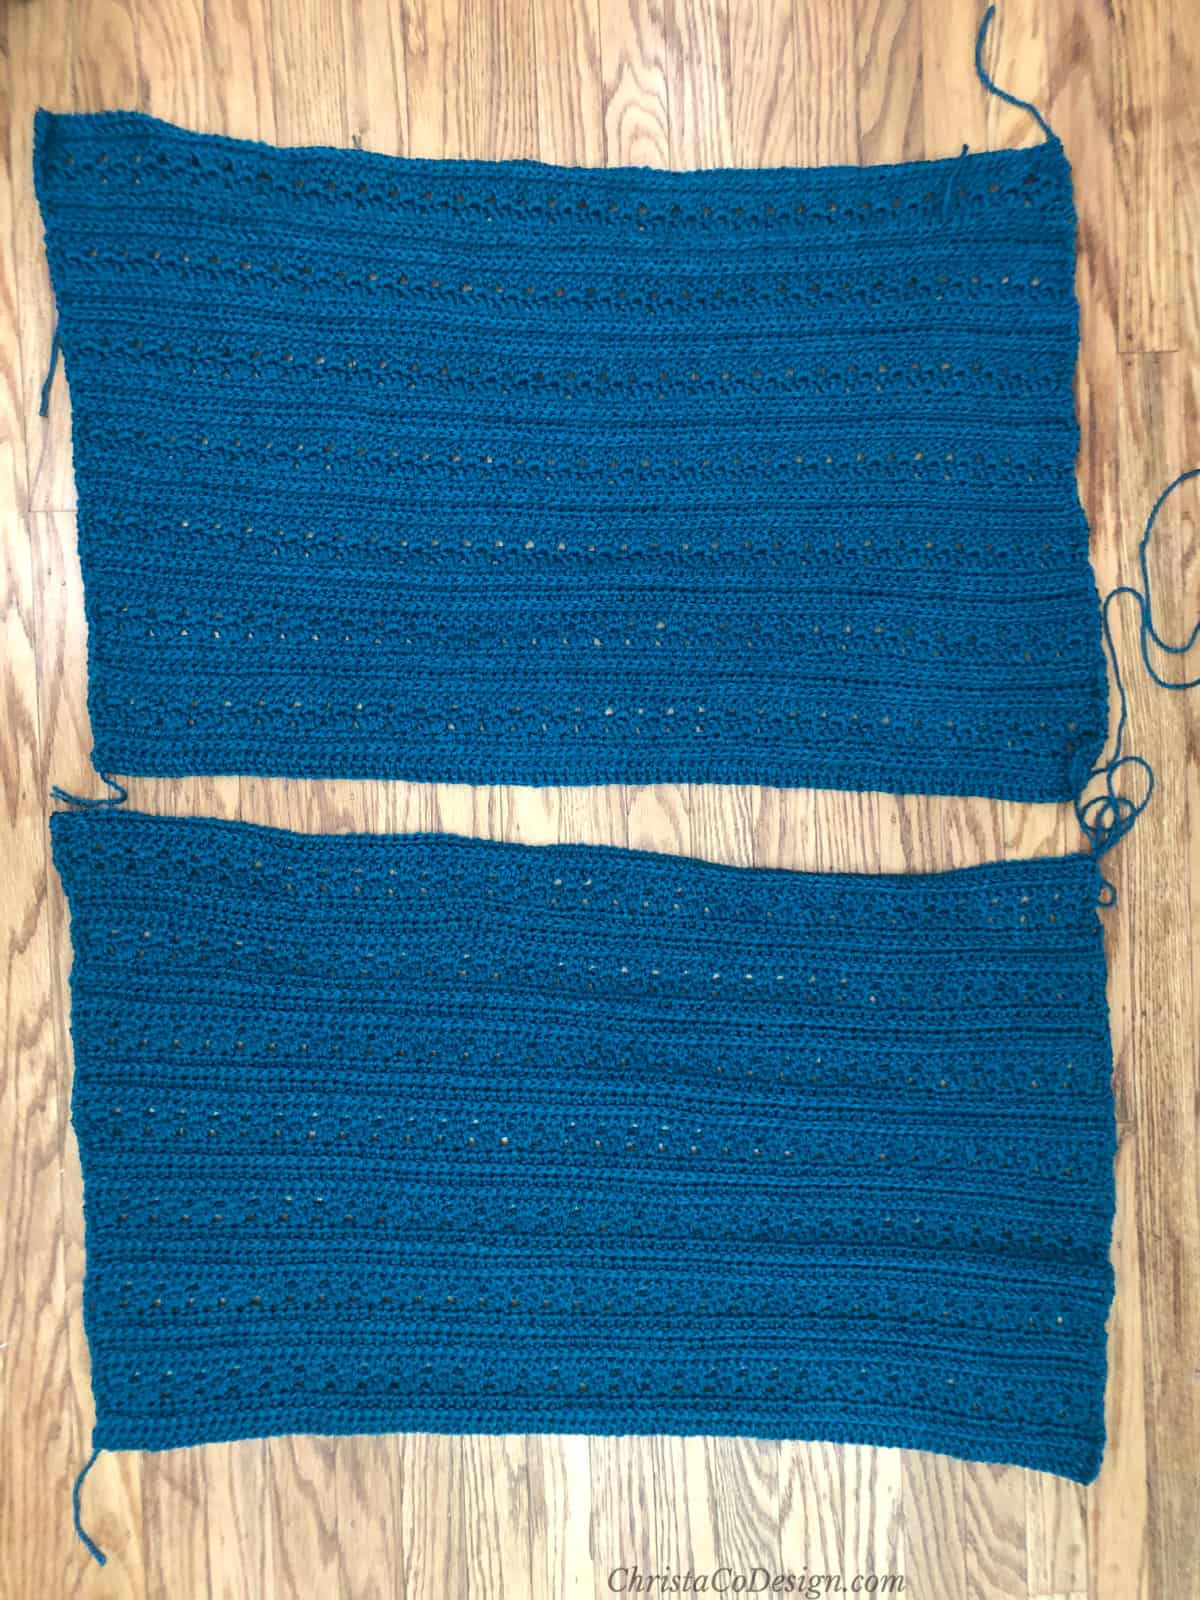

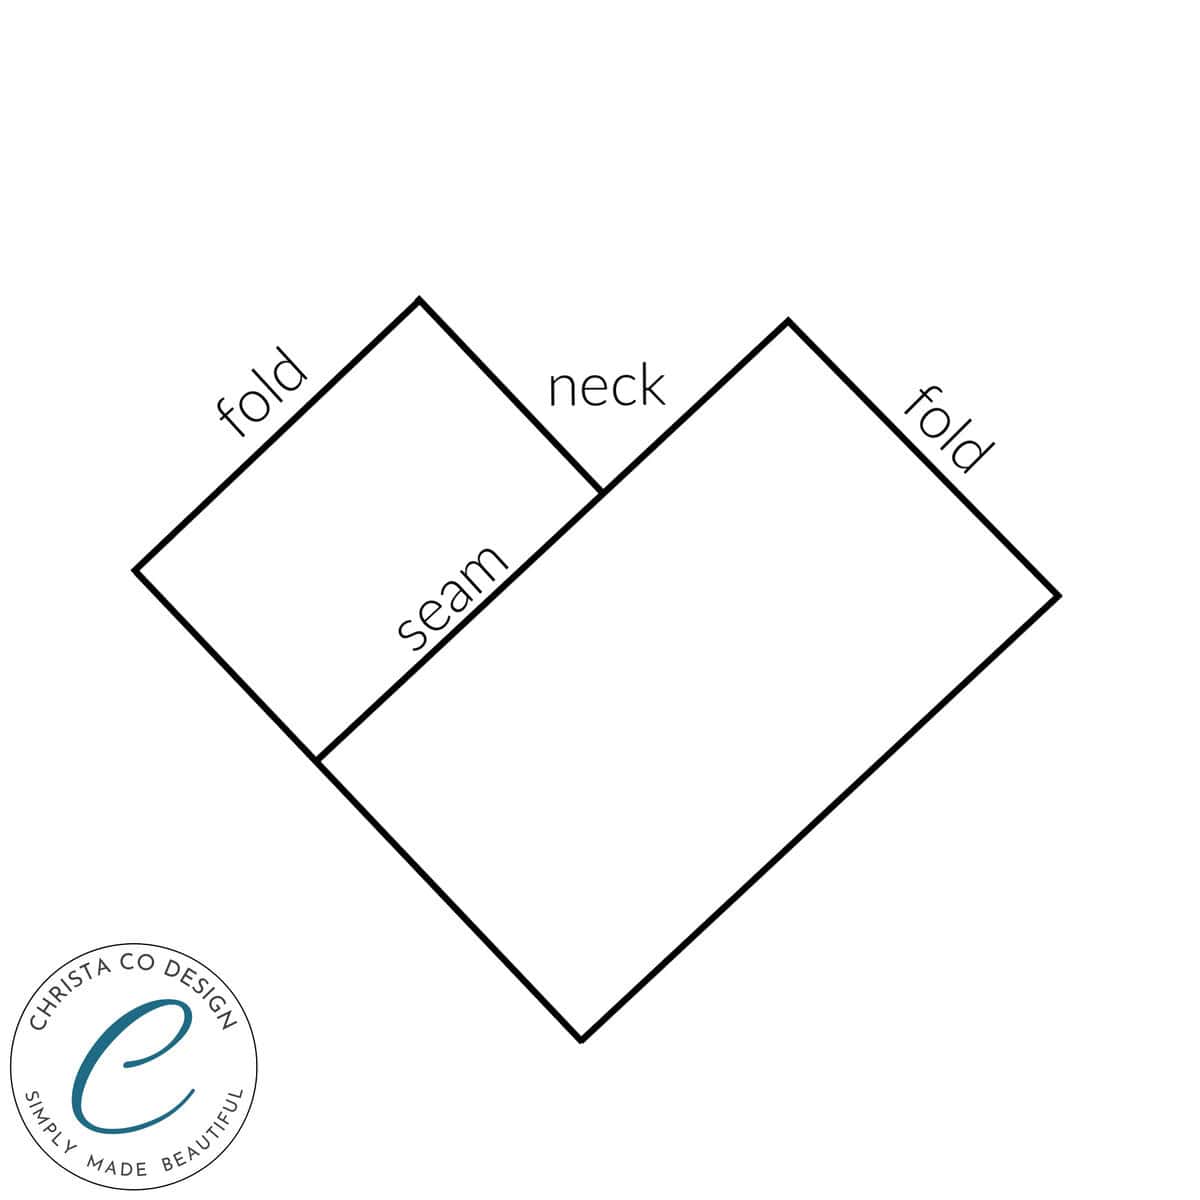
Lay both rectangles out in front of you. Make sure they’re both going in the same direction-that one isn’t upside down. Place one vertical and one horizontal, so they form an L shape.
Use the graphic below, match up the two blue edges, labeled A and sew.
On the WS, sew together where they meet. This will be the edge of one, and part of the last row on the other.
Match up the red edge, labeled B with the other red edge also labeled B and sew.
On the WS, sew together.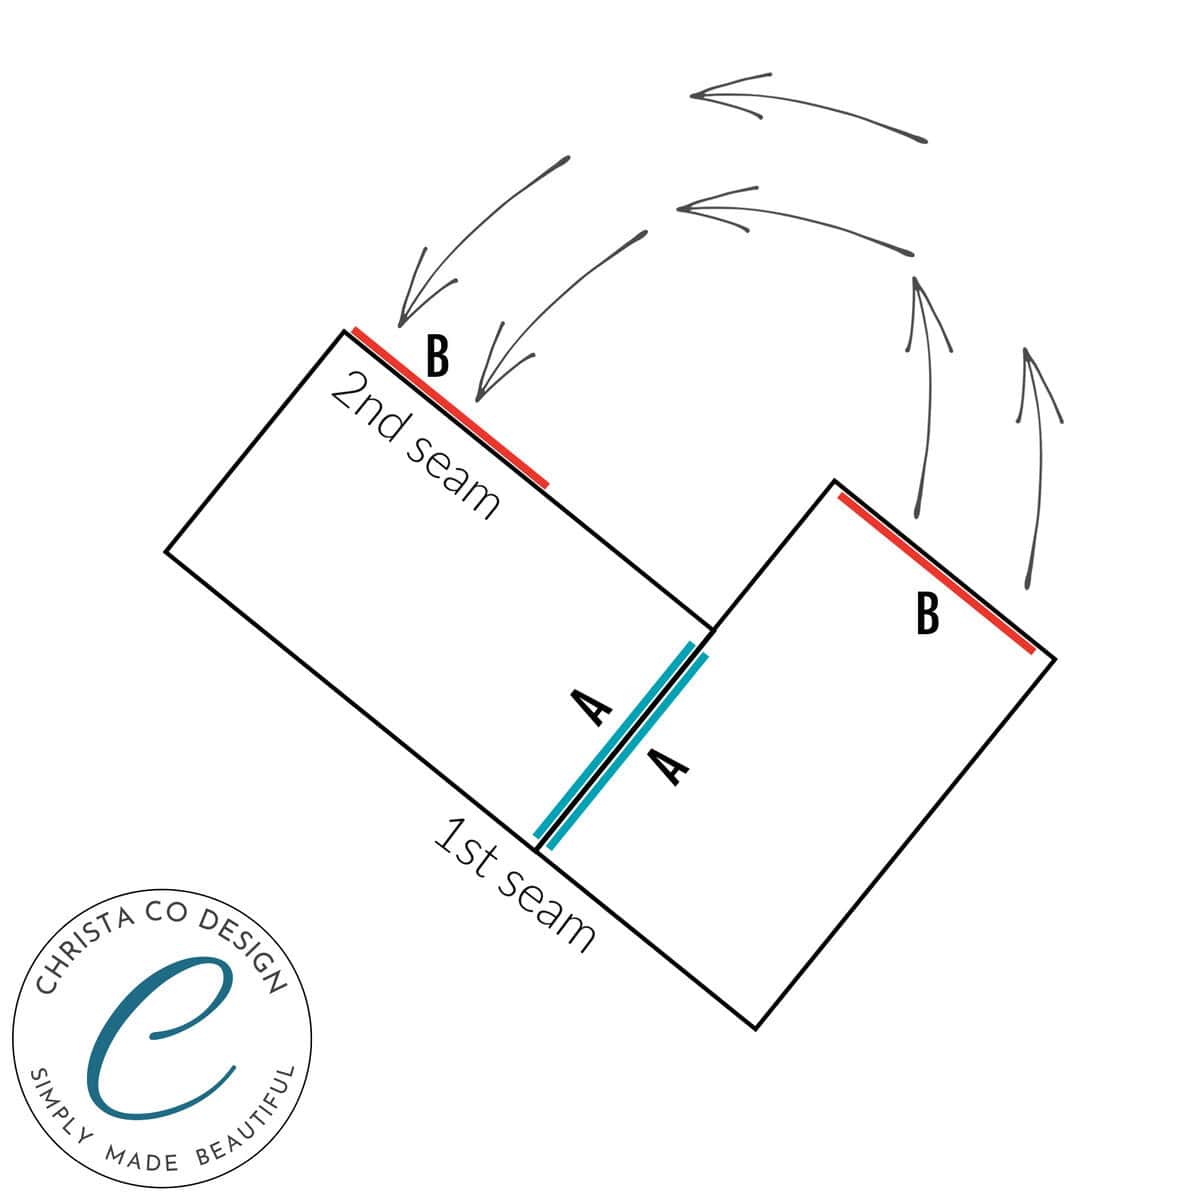
Finishing
You may consider going down a hook size here for a tighter neckline.
Join yarn with sl st anywhere on neckline. Ch 1, sc evenly around, join with a sl st to first sc. Ch 3, dc in each sc around, join with sl st to first st. Ch 1, sc in each st around, join with sl st to first st.
Cut. yarn.
Join yarn sl st anywhere on hem of poncho. Ch 1, sc evenly around, join with sl st to first st. Cut yarn and weave in ends.
Recommended Products
As an Amazon Associate and member of other affiliate programs, I earn from qualifying purchases.




Beautiful poncho. I am going to enjoy making this xxx
Thank you, I’m so glad you like it!
This is so beautiful! I ❤️❤️❤️ Your designs!
How did you sew this together? Type of stitch used and where did you put it? Ive tried several times and cant get it to look right. Thanks.
Hi Debbie, I prefer using the mattress stitch for seaming. Here is a video if you like https://youtu.be/rBHzUMXZSUc I sew under the top loops of the stitch (exactly where you would place your crochet hook) and when seaming on the sides I go under two loops which is usually the side of a stitch. I like to catch 2 loops for a sturdier seam. This can look different for each type of stitch or row. I hope this helps.
I am confused as to the final construction of this poncho. Do you have a photo or video showing how you attach the second side ?
Thanks!
Hi Laura, There is a photo included showing where to place both seams. It’s just above the “finishing” section. The first seam creates an “L” shape. The second seam is marked with a “2” and arrows showing where to place it. I hope this helps.
Hello Crystal…….I am having an extremely difficult time matching up the two panels. When I do what looks like is shown in your drawing, the front of the poncho comes down to a long point and the back of the poncho is straight across and the neckline is ridiculously wide. Shouldn’t the two pieces form a ‘triangle’ in both the front & the back? Is there a short video of the assembly of the two pieces? Thank you so much for the pattern and in advance for your assistance……Claire
Hi Claire,
Thanks for reaching out with your question. Sorry you’re having trouble. Unfortunately I do not have a video demonstration for this one. I’m going to add some more graphics with colored bars and letters to match the seams, plus a finished graphic showing the fold. Basically to wear it the longer part of the neckline goes front to back on the body. Hopefully the graphics will help you check that your seams are in the right place.