Crochet Gauge: What is Gauge + How do you Measure it
Gauge is simply the number of stitches and rows within a certain measurement, usually 4″/10cm square.

This post contains affiliate links, I may earn a fee. Read more disclosure policy.
Join the ChristaCoDesign Newsletter
Never miss a pattern!
Why is gauge important? Because it’s what makes a crochet pattern out of a project. Without gauge, you can crochet the same project and get wildly different results (even when using the same yarn and hook)!
Most importantly, we measure gauge so that our handmade items will fit. Gauge is most important on crochet hats and garments, or anything with a fit.
How to measure crochet gauge
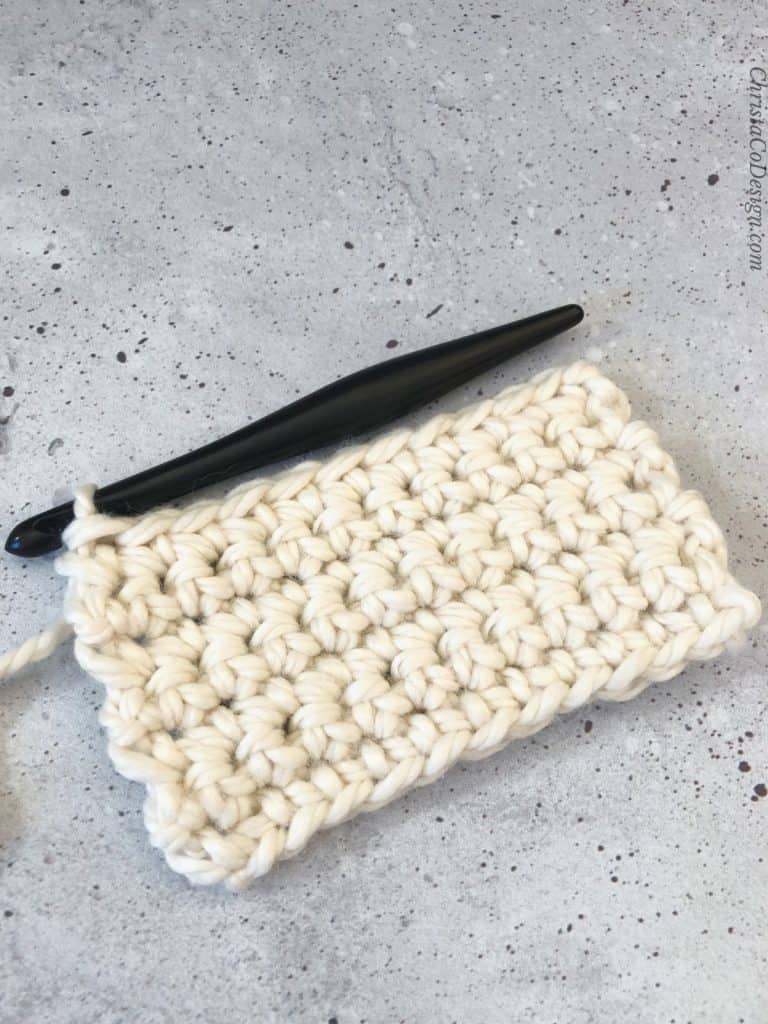
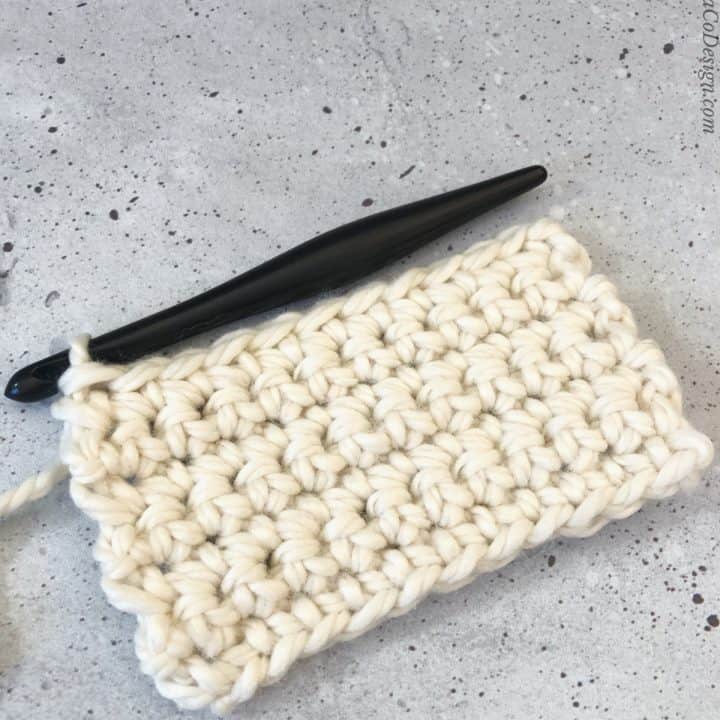
- Crochet a swatch that is larger than 4″/10cm square.
- Measure how many stitches you have across a 4″/10cm section.
- Measure how many rows you have over a 4″/10cm section.
- You now know your gauge.
Tip-try to measure your stitches and rows without inlcuding end stitches and beginning and ending rows. These are often not as consistent as our center stitches. That’s why we recommend crocheting a swatch that is a little larger than 4″/10cm square.
But how does your gauge compare to the pattern gauge?
You pattern will give you gauge information under a section titled Gauge.
For Crochet it may looks something like this:
Gauge
4″/10cm x 4″/10cm = 14 sts x 16 rows in single crochet
This example is giving you the pattern designer’s gauge. For most patterns to work, i.e. for your finished item to have a similar look, drape, feel and to fit you head or body then you will need to check and match gauge.
Other important information to know is if the gauge is before or after blocking. If blocking is important (as in a sweater pattern) then likely it will be blocked gauge.
How to Check Gauge, after blocking (for beginners)
- For best result check gauge by crocheting a swatch in the indicated stitch that is larger than 4”/10cm square.
- Block your swatch by wetting it with a spray bottle, or soaking it and then pin it to a blocking board, or safe surface covered by a towel (like a counter, or bed). Let it dry before you measure gauge. If you are not using acrylic yarn, be sure to follow the care instructions on your yarn label. If you are using acrylic, then you can just toss the swatch in the washer and dryer (double check that care label, as I can’t speak for every yarn)!
- Once your swatch is dry, measure the number of stitches in 4”/10cm and compare it to the stitches listed under the Gauge section above.
How to Adjust your gauge
- After working a swatch and measuring gauge: If you crochet fewer stitches in 4”/10cm than the listed gauge, then your gauge is larger and you may want to go down a hook size.
- If you crochet more stitches in 4”/10cm then your gauge is smaller and you may want to go up a hook size.
- If your gauge does not match and you know you need to go up or down a hook size, you should swatch again with the new hook size! I know, I don’t want to either, but I do want your sweater to fit. And it’s much faster to crochet a small swatch and block it, than to crochet a whole sweater and realize it doesn’t fit.
Other ways to meet gauge
- There are other ways to adjust your gauge to match a pattern, but it can get a bit mathy. You can add/subtract stitches or rows. But if you’re working a more complicated stitch pattern then the math may do you in, as you’ll need to understand how to adjust a pattern that uses stitch multiples.
- Changing your yarn can also help. Many yarns that are in the same weight category are actually quite different and will affect your gauge as well.
- If the pattern has multiple sizes, you may consider going up or down a size in the pattern. So if you’re stitches are larger, your item will be larger than intended, so you would go down a size. And if your stitches are smaller then your item will be smaller than intended, so you would go up a size.
- Usually, stitch gauge is most important, as row gauge is easier to adjust. You simply crochet more or less rows. However, in raglan patterns, or top down designs the row gauge becomes just as important as stitch gauge.
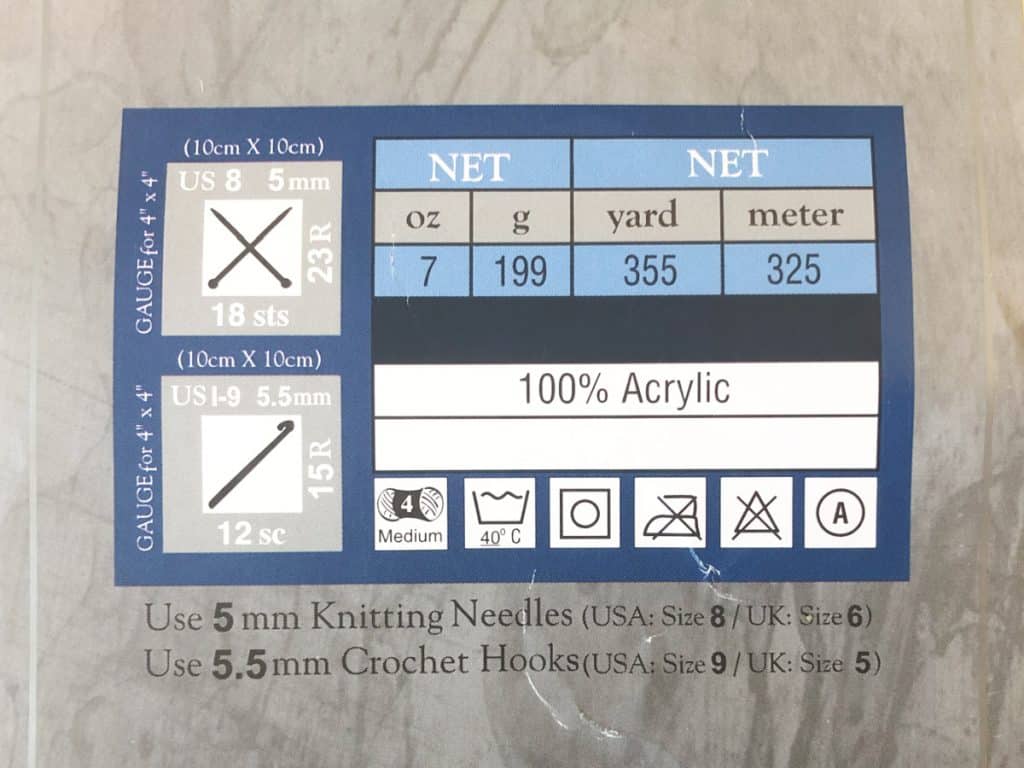
The yarn label here gives the suggested crochet hook of 5.5.mm I-9 with this #4 medium worsted weight yarn. If you crochet a swatch with this yarn and hook combo it is likely you will get 12 single crochets in 4″/10cm and 15 rows of single crochet in 4″/10cm.
However, it is entirely possible that you will not get the same measurements! This does not mean you’re doing anything wrong. Our tension is very specific to how we crochet, how we hold the yarn, how we move the hook.
Sincerely Pam did a little gauge swatch test between some designers and the results were pretty interesting, and totally what you’d expect-they’re all different. A few stitches may not seem like a lot but they add up over the many inches we crochet!
Crochet Tension
Sometimes the terms gauge and tension are used interchangeably in the crochet world. The tension is how tightly or loosely you crochet with your yarn.
Tension is most affected by how you hold your yarn. It’s important to hold it comfortably, and allow the yarn to flow freely through your fingers and on to your hook.
There are different ways to hold the yarn that will help tighten or loosen it, but some of it is just personal preference and that is ok. Some of us crochet tighter and some looser.
Setting up your crocheting station can help much with having an easy, comfortable tension. For right handed crocheters, you want the yarn on your left, as it glides through your left hand first.
For left handed crocheters, you’ll want the yarn on your right, if that’s the hand you hold the yarn with.
Anything your yarn touches will add tension to it. So you want to get the ball/skein/cake set up in a yarn bowl (even if it’s a clean popcorn or salad bowl from the kitchen) or open project bag. Be sure the bag sides don’t fall down on the yarn, which will add to the tension. You’ll have to tug harder to get the yarn out.
If you have the space, you can actually set up your yarn bowl pretty far away from you. Like sit on one end of the couch and place the yarn bowl on the floor, on the opposite end of the couch. Here the yarn would not be on the floor, but going from the bowl up into your hand.
This allows the yarn flowing into your hand and hook to already be free of the ball/skein/cake that it’s in, which means easier tension.
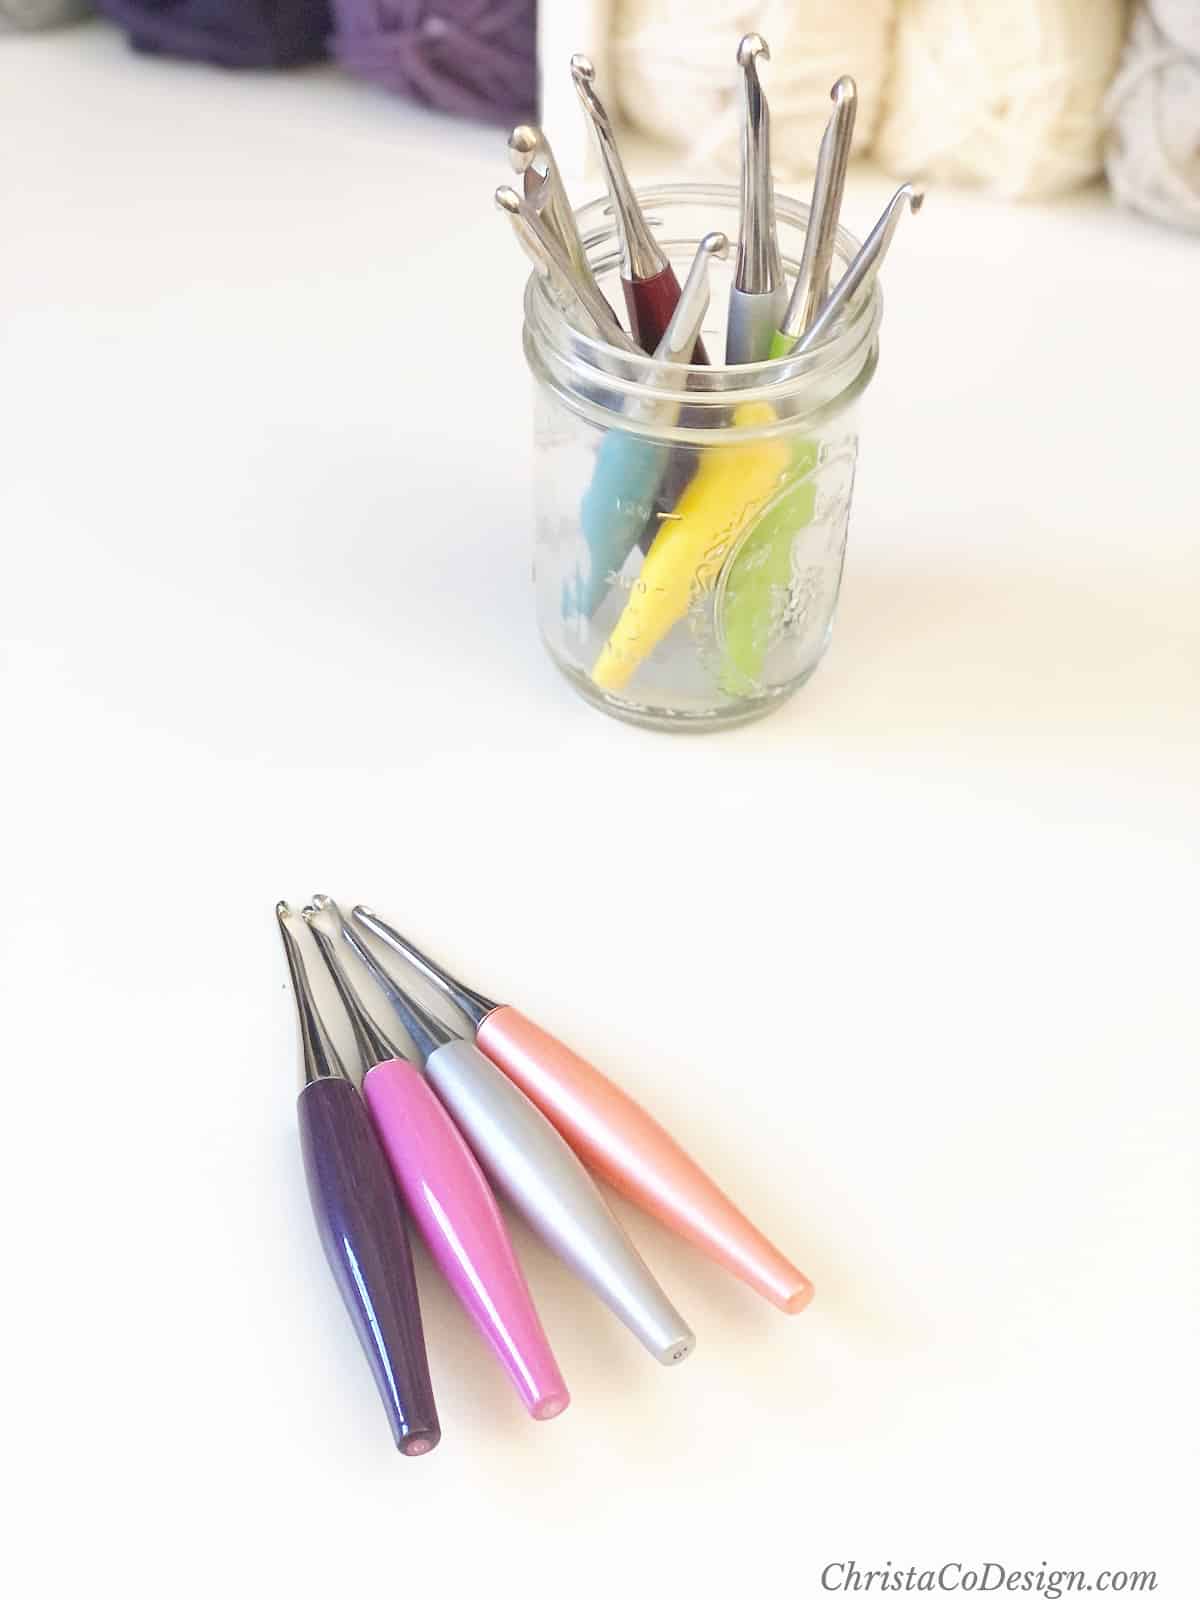
Yarn + Hook Habits
Sometimes we develop habits with the yarn or hook that may affect our gauge and tension.
- Are you pulling the yarn tight, after you make a stitch? Your tension may be too loose, try a different yarn hold.
- Are you tilting your hook, to finish your stitches? The hook should remain horizontal for the most part when crocheting. If you are moving the handle up or down, to work your stitches you may have a tight tension.
How to Check Crochet Gauge
Learn how to check gauge and make sure your crochet project will fit!
Materials
- Yarn designated by your pattern.
Tools
- Hook designated by your pattern.
Instructions
- Crochet a swatch that is larger than 4"/10cm square.
- If applicable: Block your swatch by wetting it (or washing if able), and let it dry.
- Measure how many stitches you have across a 4"/10cm section.
- Measure how many rows you have over a 4"/10cm section.
- Compare your gauge to the pattern gauge.
- If your gauge matches, then you're ready to start crocheting.
- If your gauge does not match then go up or down a hook size, and swatch again with the new hook size.
Notes
Remember if you have more stitches than the gauge, go down a hook size.
If you have less stitches than the gauge, go up a hook size.
Recommended Products
As an Amazon Associate and member of other affiliate programs, I earn from qualifying purchases.