How to Make a Crochet Slip Knot Tutorial Photo + Video
Learn how to crochet a slip knot. This post includes a step by step photo tutorial for how to make a slip knot. Plus a video tutorial demonstrating the slip knot.

This post contains affiliate links, I may earn a fee. Read more disclosure policy.
Join the ChristaCoDesign Newsletter
Never miss a pattern!
The first thing to learn for your crochet projects is how to get the yarn on your hook. Since pictures are an easy way for new crocheters to learn, I include photos in the tutorial below.
Beginner crocheters can feel overwhelmed with all the new terminology. Learning those basic crochet stitches will definitely set you on your crochet journey!
The slip knot is so named because it’s a sliding knot and you can pull the yarn to tighten it. You can start with a loose slip knot that you make with your fingers, and then tighten it to the crochet hook.
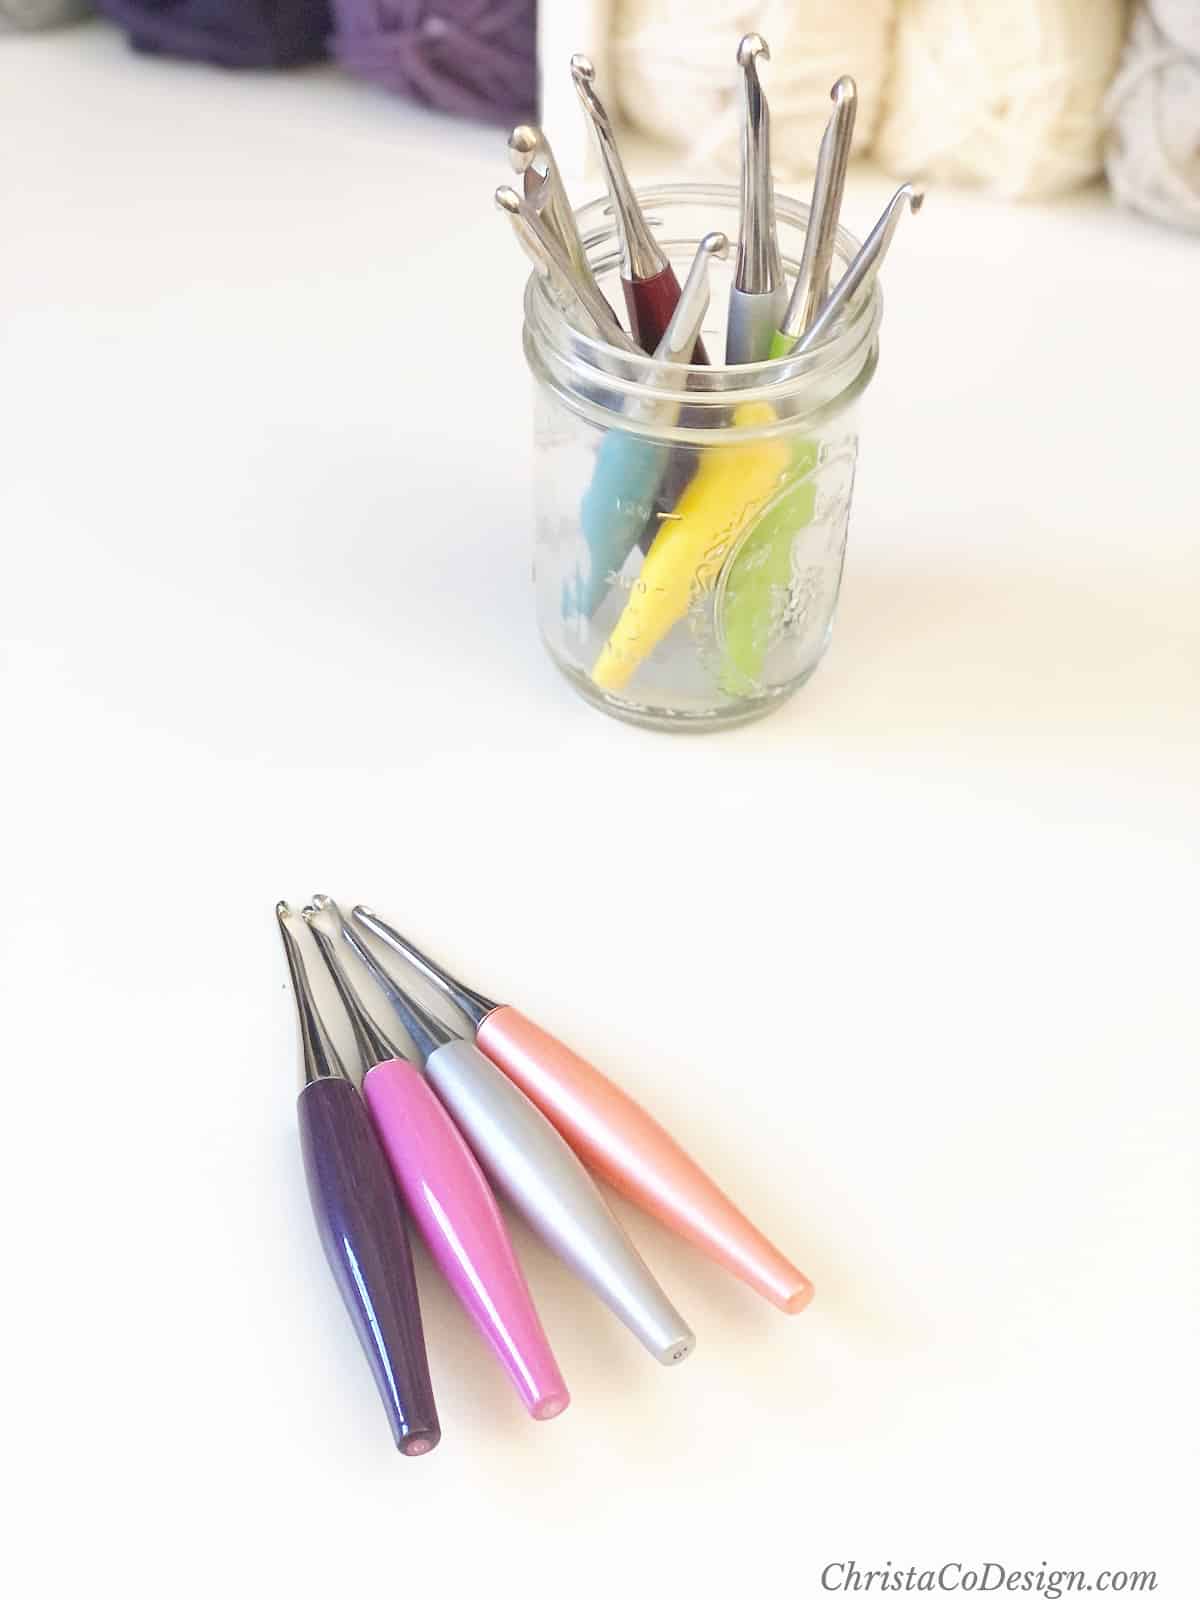
Materials
- Crochet hook (any size) Susan Bates Silvalume Crochet Hook Set in Pouch Sizes F, G, H, I, J, K*
- A skein of yarn like RED HEART Classic Yarn, Lime*
or any type of yarn works for this tutorial.
How to hold your yarn
This can feel awkward when you’re just starting out. Keep practicing! There are also alternate ways to hold yarn (& your hook) if it still feels odd after a while. Check out the post on how to hold your yarn, plus variations.

Video Tutorial
If you love crochet video tutorials be sure to subscribe to my YouTube channel, so I can keep creating them!
How to Make a Crochet Slip Knot Step by Step Tutorial.
Written Instructions
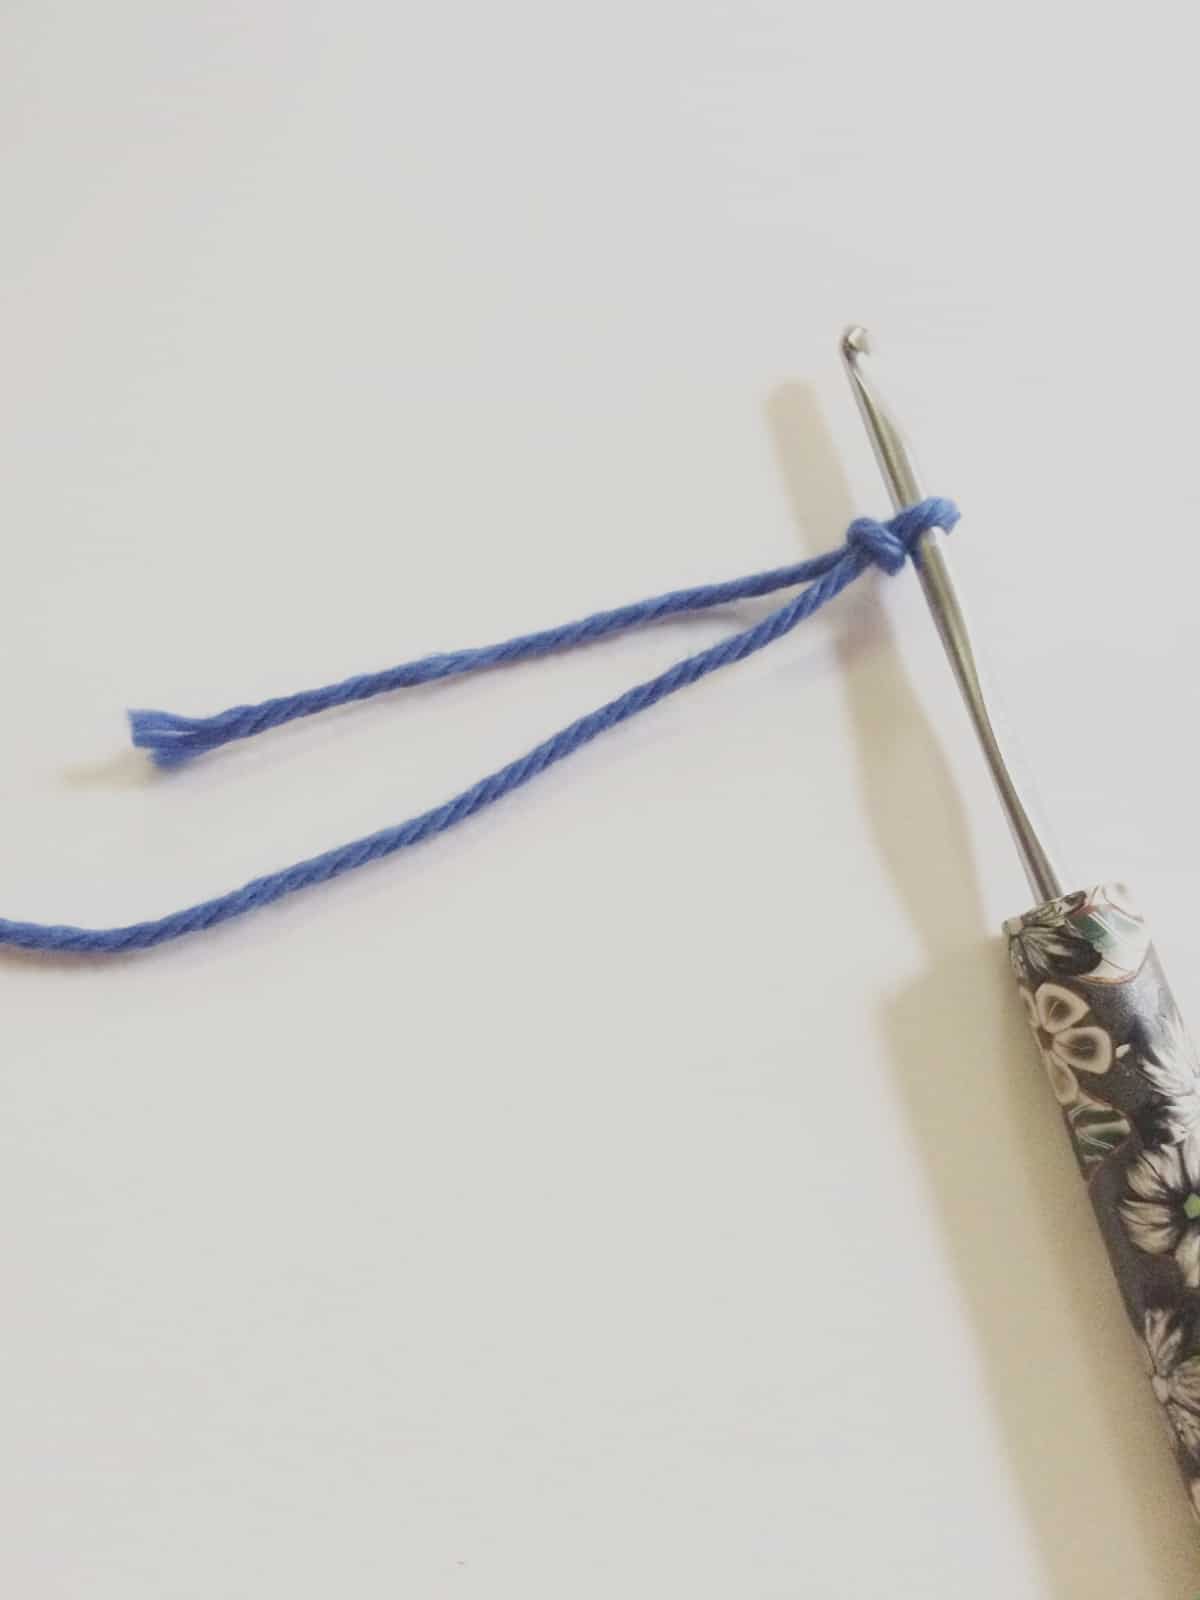
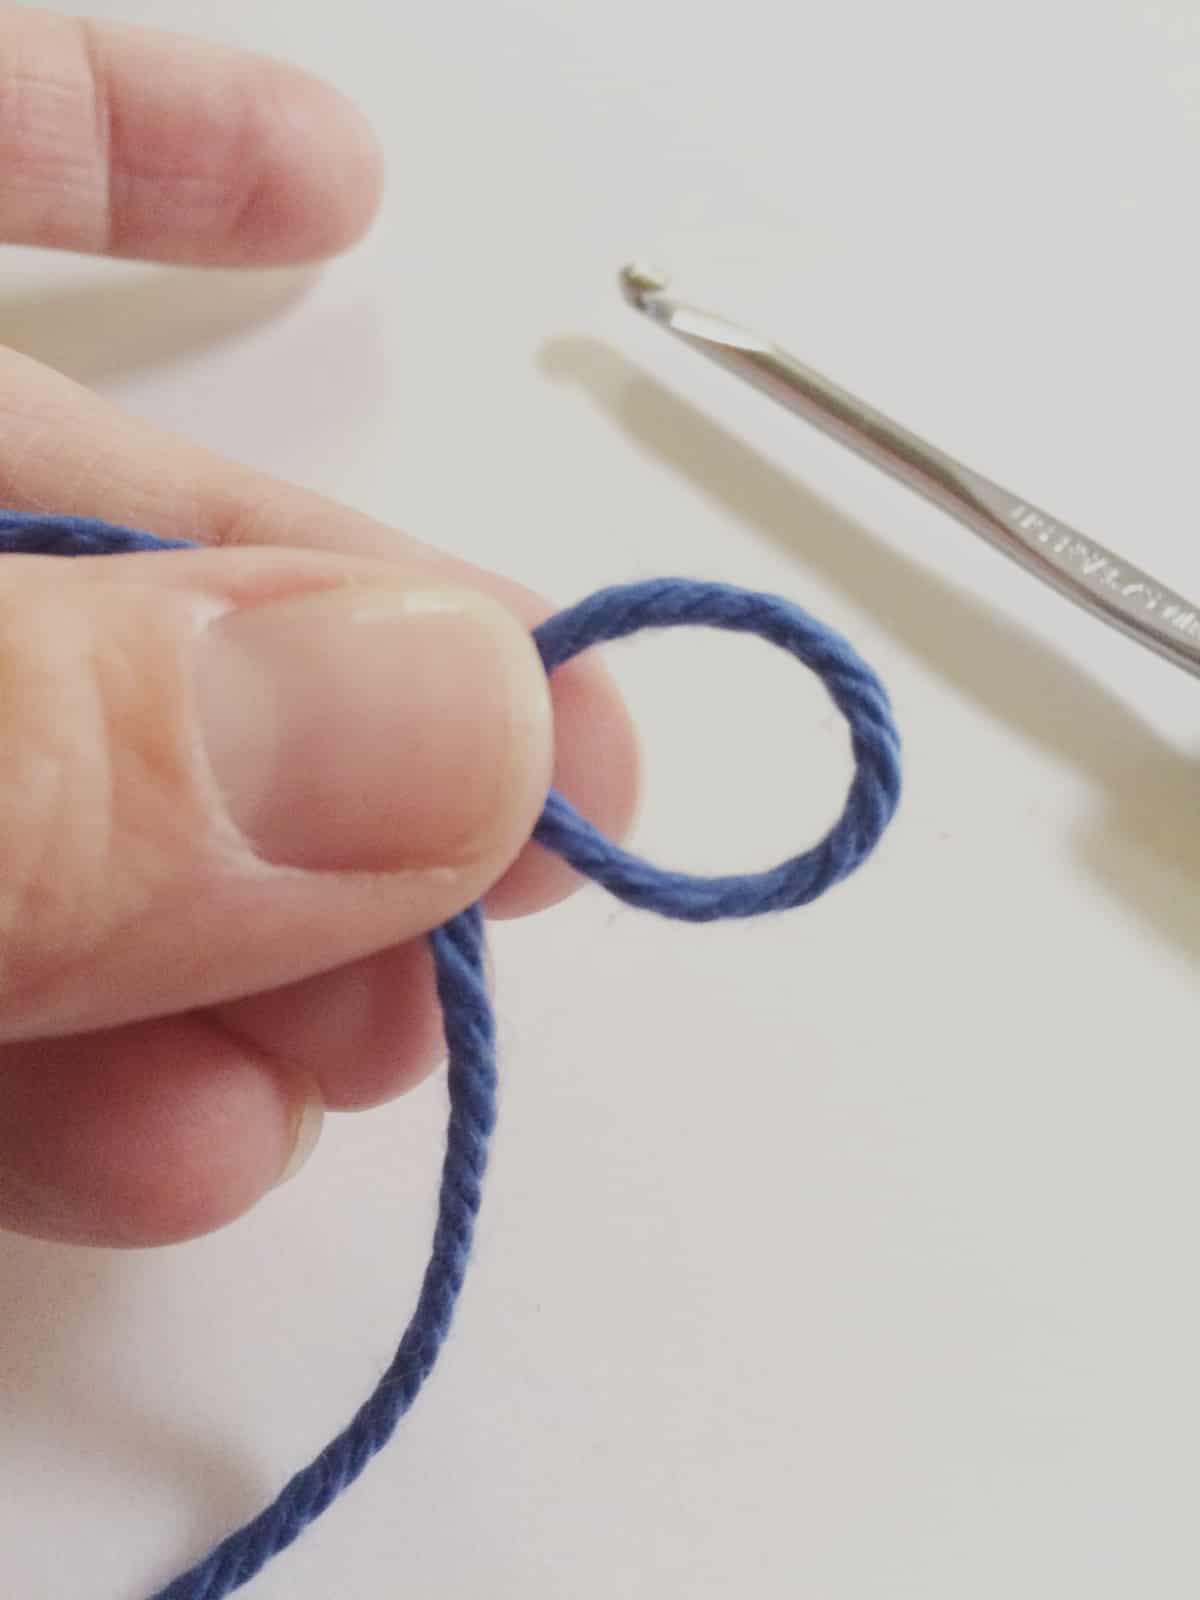
To get started locate a yarn strand from your yarn ball. Pull out a length of yarn, this will be the tail end of the yarn. There are two ends of the yarn, the working yarn is attached to the ball and the tail is the free end of the yarn.
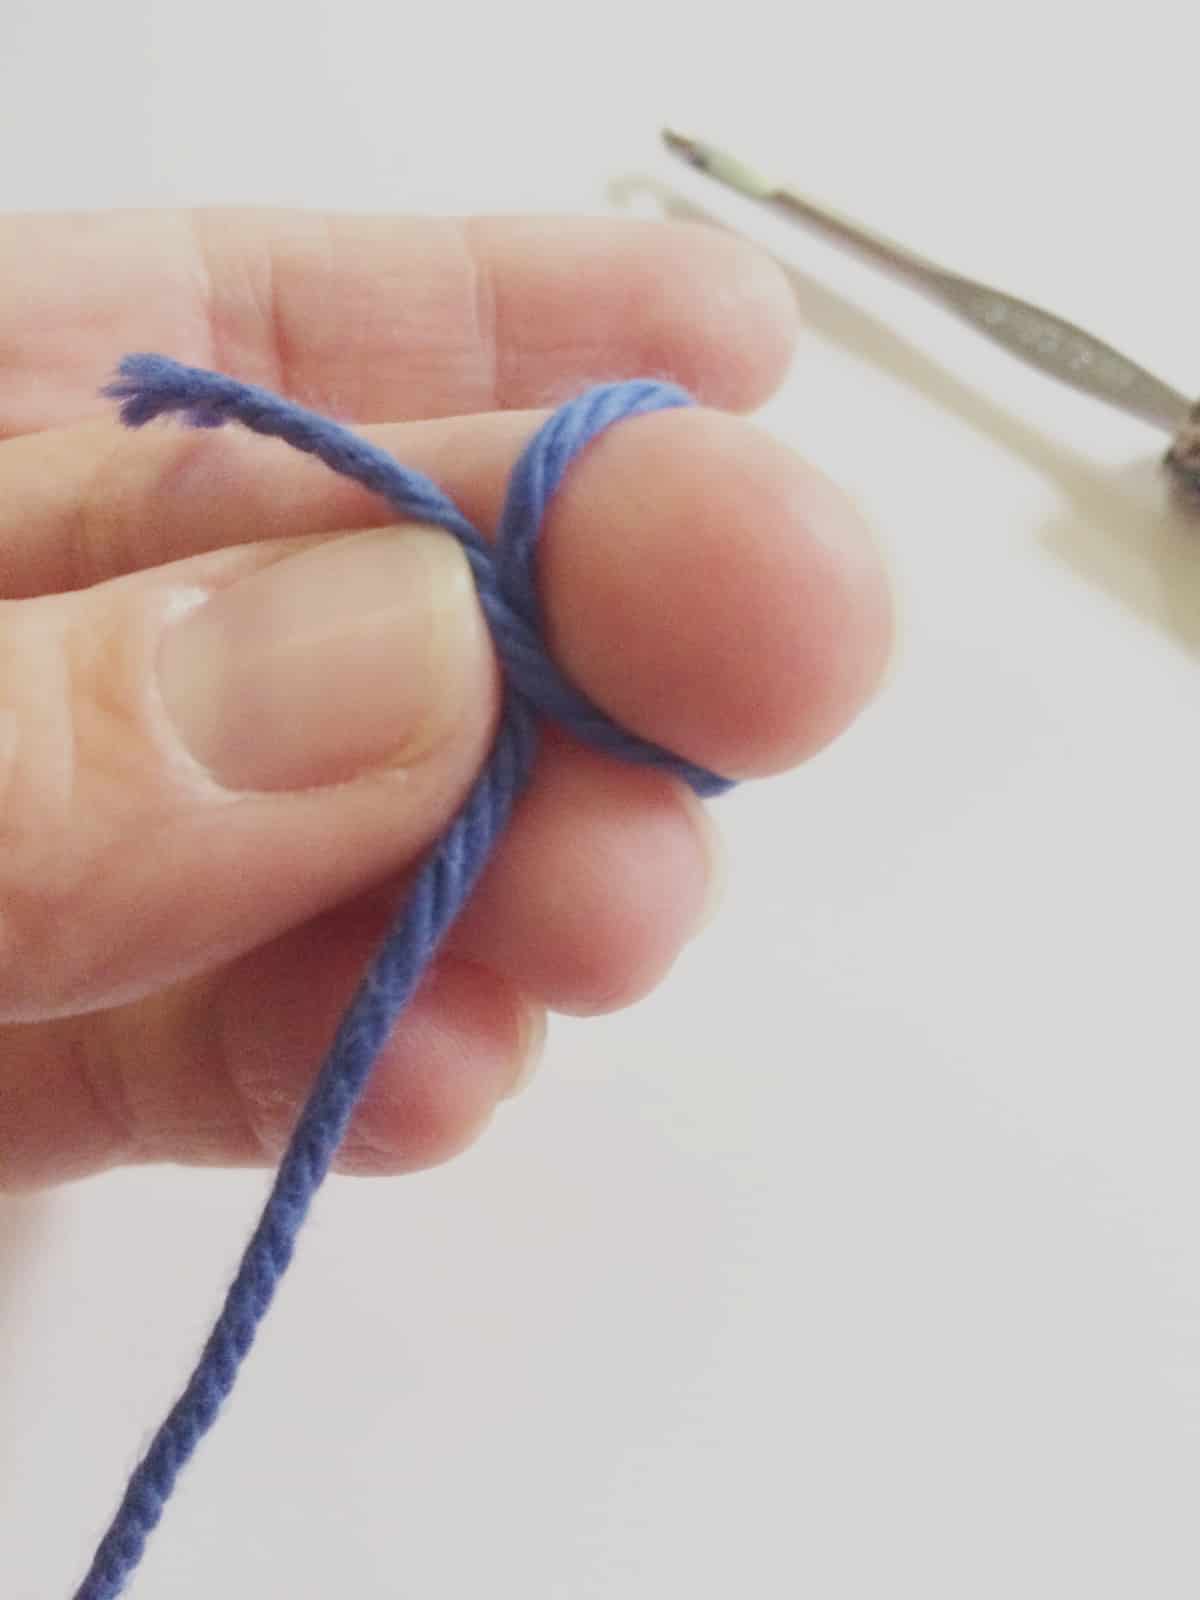
Wrap yarn around your middle finger.
The next step is to slip the yarn loop off your finger, pinching it together with your thumb and index finger.
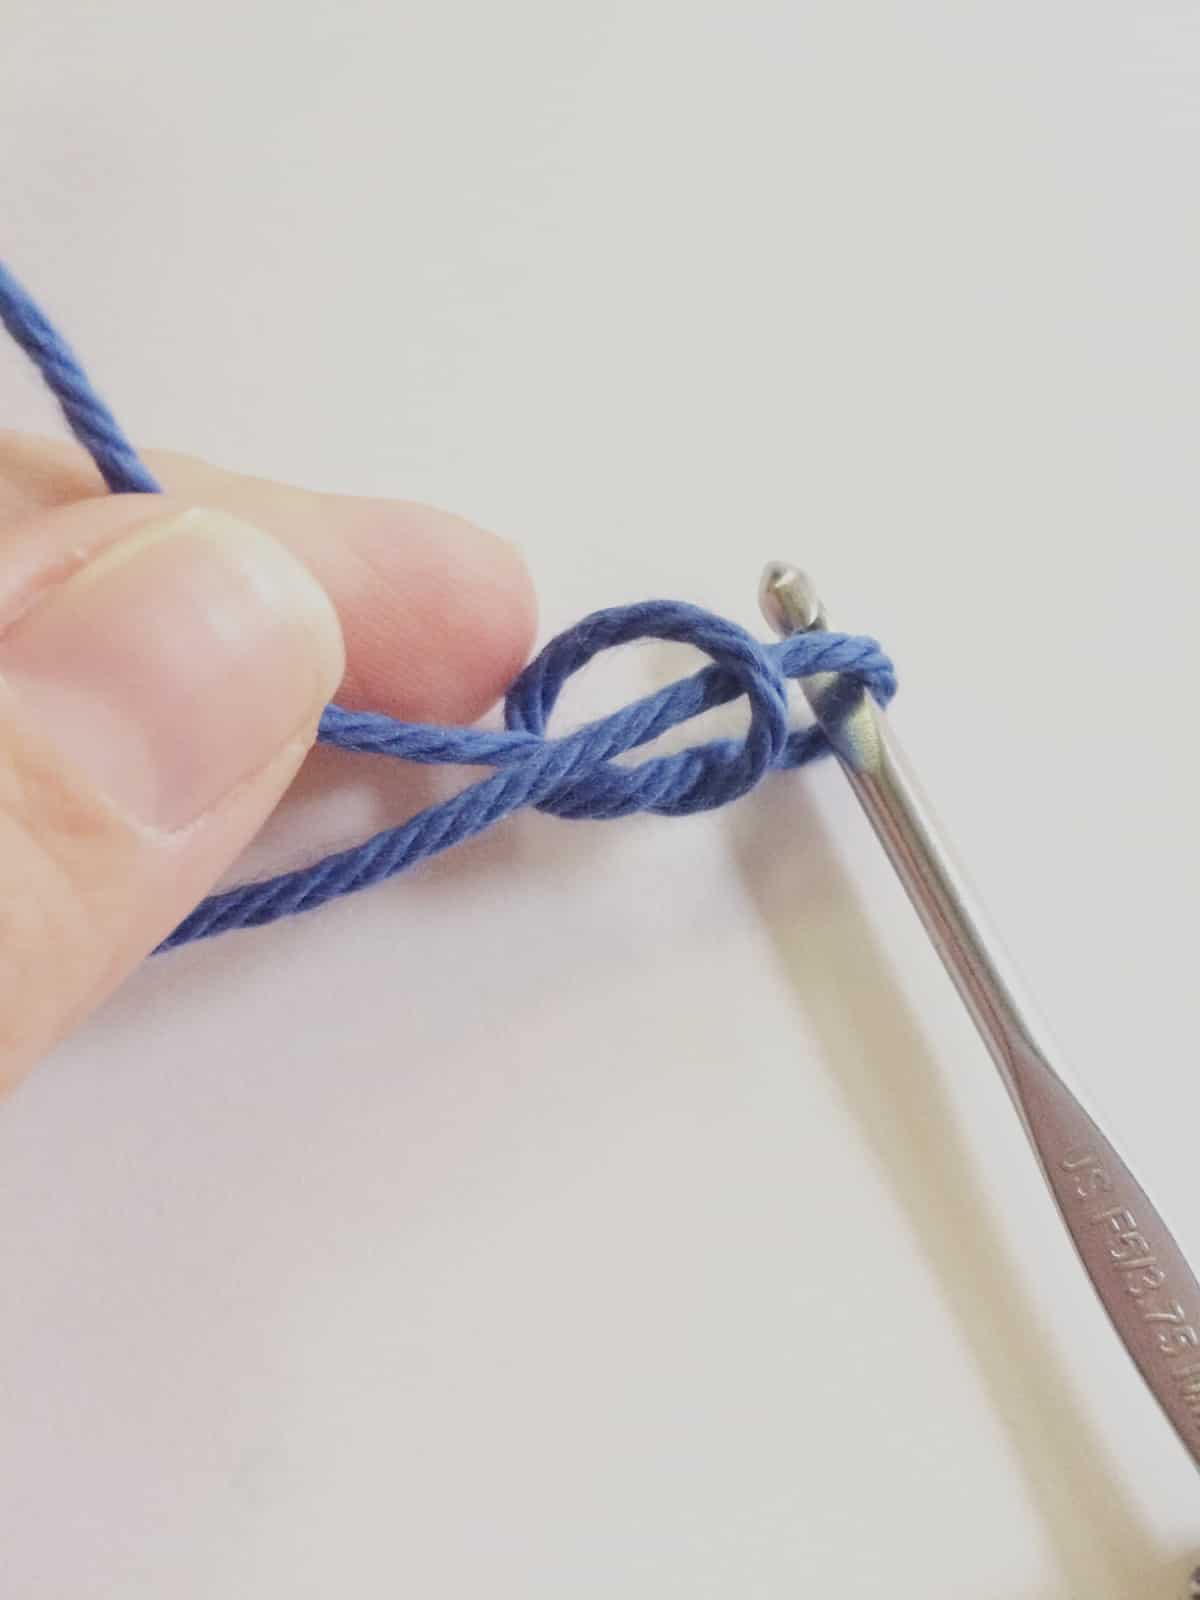
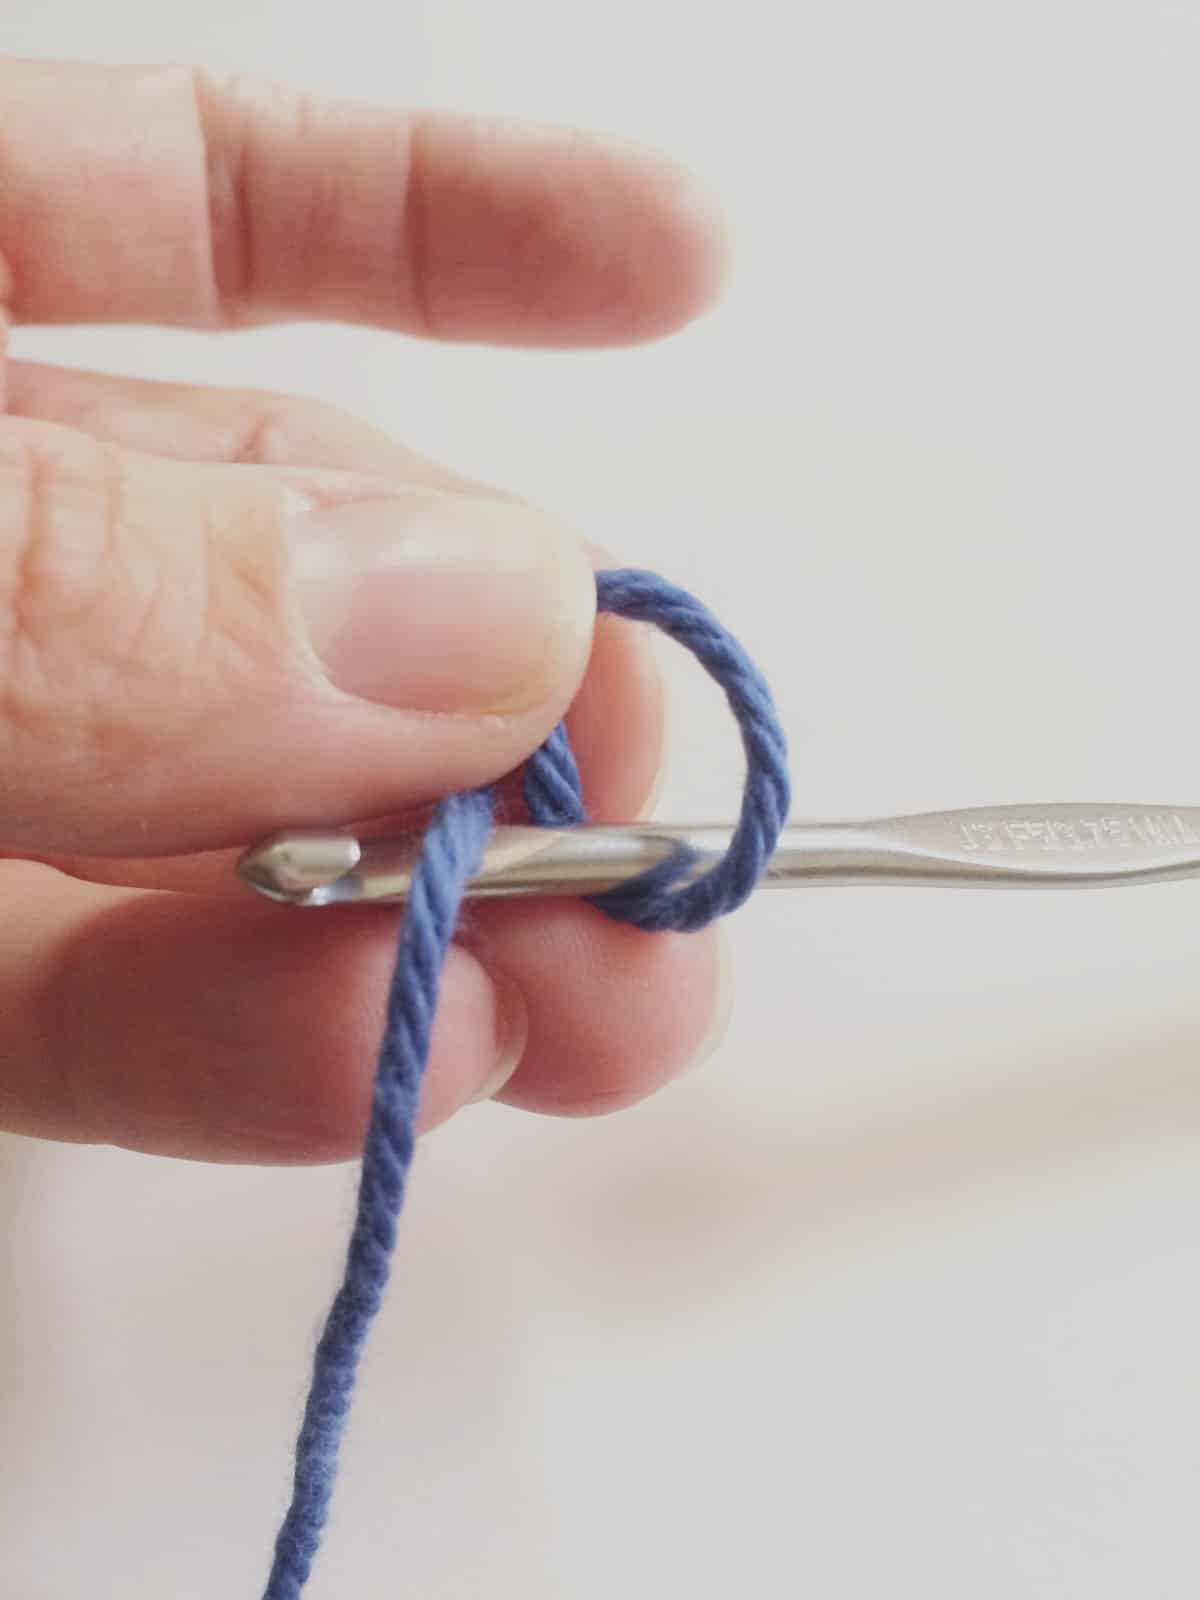
Insert hook into the loop, and yarn over. Use the hook to grab the yarn.
You can also use two fingers from your right hand to grab the yarn here instead.
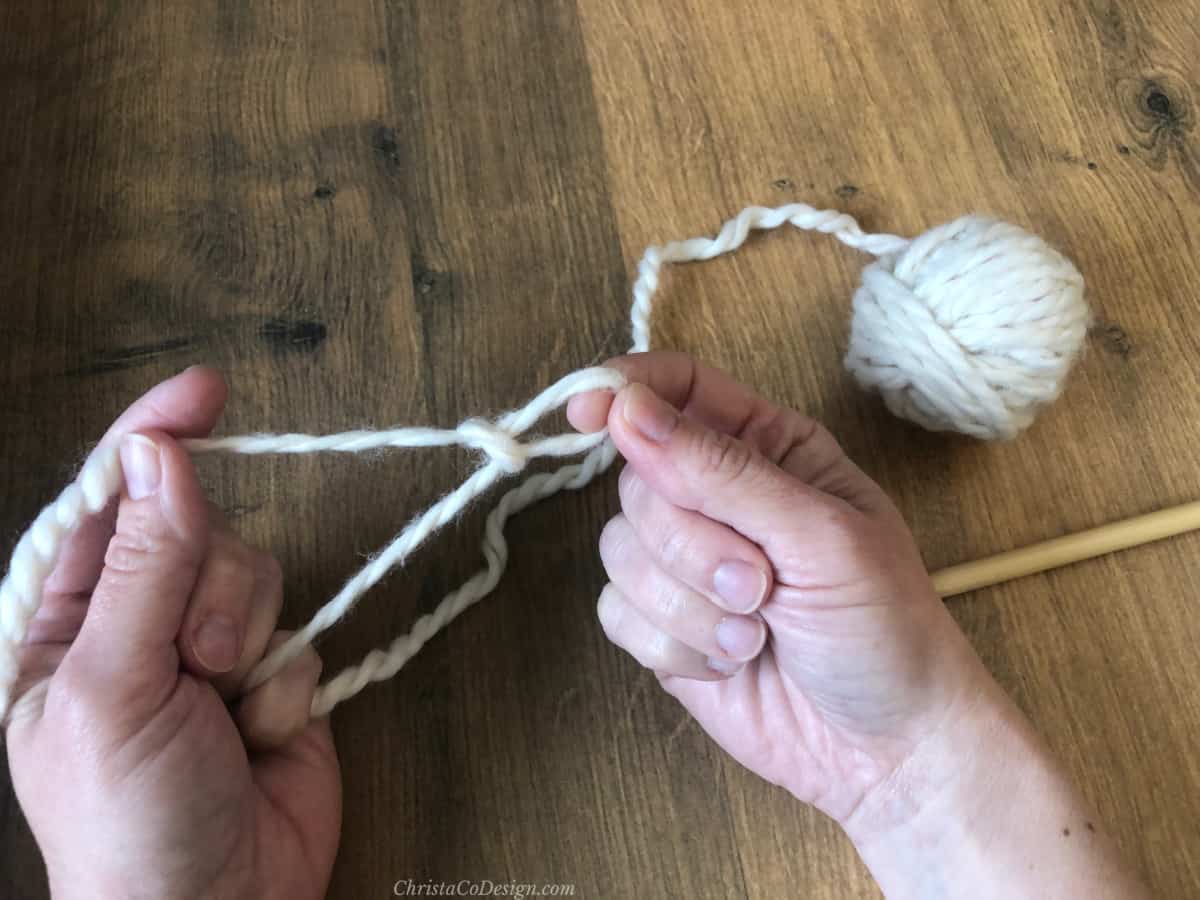
Pull yarn through the loop.
If you use your fingers, then place this first loop on the hook now.
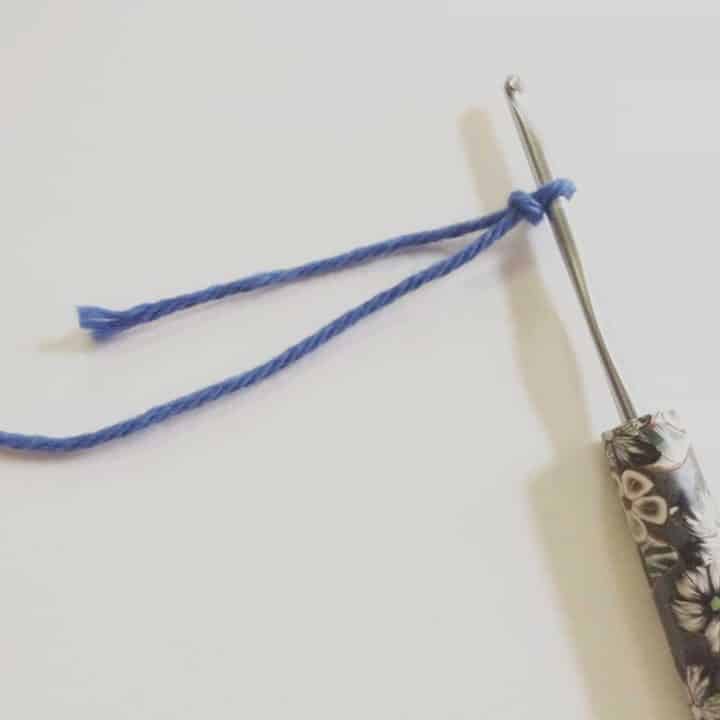
Continue to pull the hook to close the loop, creating your slip knot.
Be sure to leave enough of a yarn tail, 6″ is usually a good length. The tail of the yarn will get weaved in when you’re completely finished with your crochet project.
Now you’re ready to make your first stitch in your foundation chain, which is a series of chain stitches.
Photo Tutorial
How to Make a Slip Knot for Crochet Tutorial
Learn how to crochet a slip knot to get started crocheting in this step by step photo tutorial with video.
Materials
- A ball of yarn in any weight, I'm using a #4 medium worsted weight yarn.
Tools
- You can use any size hook, but make sure it matches your yarn. I'm using crochet hook size 3.75mm.
Instructions
- To get started locate a yarn strand from your yarn ball. Pull out a length of yarn, this will be the tail end of the yarn. There are two ends of the yarn, the working yarn is attached to the ball and the tail is the free end of the yarn.
- Wrap yarn around your middle finger.
- The next step is to slip the yarn loop off your finger, pinching it together with your thumb and index finger.
- Insert hook into the loop, and yarn over. Use the hook to grab the yarn.
 You can also use two fingers from your right hand to grab the yarn here instead.
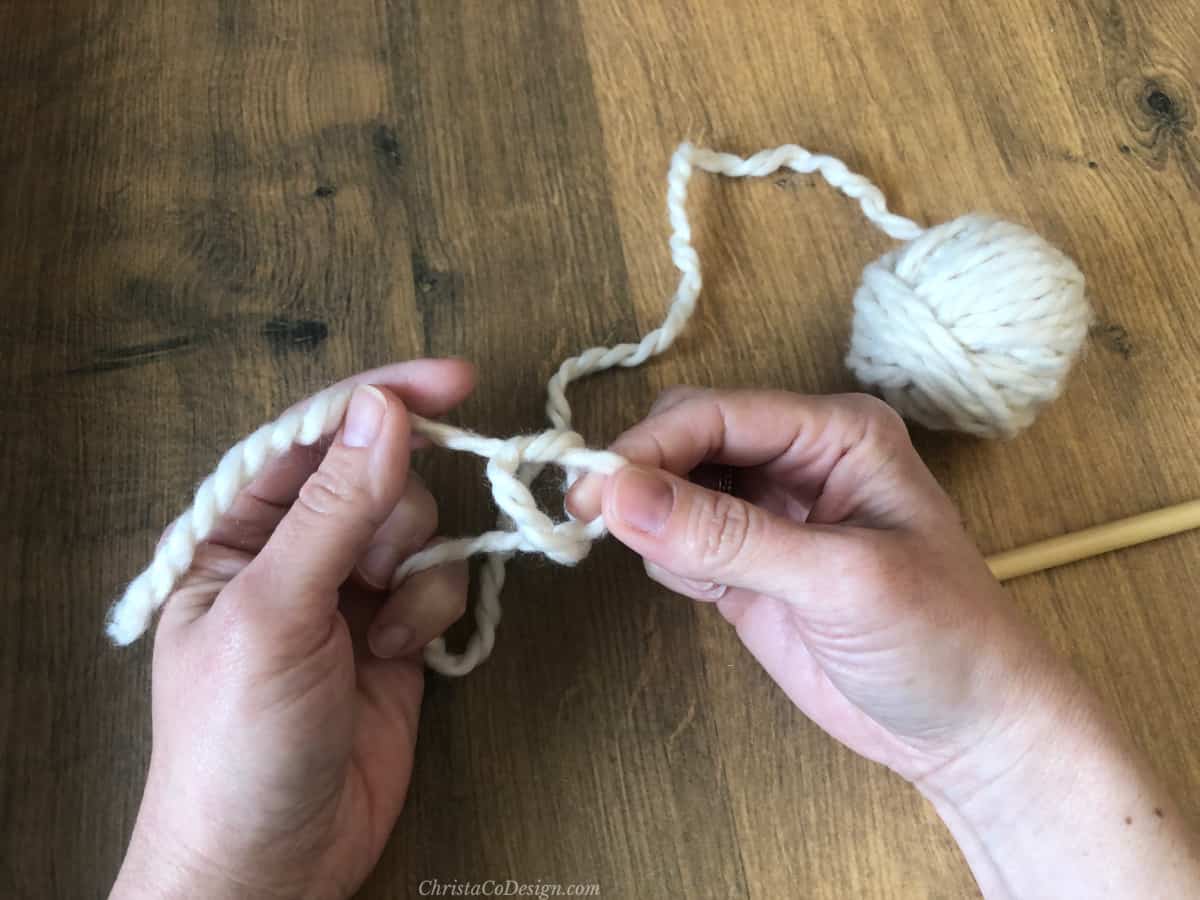
- Pull yarn through the loop.If you use your fingers, then place this first loop on the hook now.
- Continue to pull the hook to close the loop, creating your slip knot.
- Be sure to leave enough of a yarn tail, 6" is usually a good length. The tail of the yarn will get weaved in when you're completely finished with your crochet project.
- Now you're ready to make your first stitch in your foundation chain, which is a series of chain stitches.
Notes
This basic slip knot is the easiest way to get the yarn on your hook and you crocheting!
Recommended Products
As an Amazon Associate and member of other affiliate programs, I earn from qualifying purchases.