
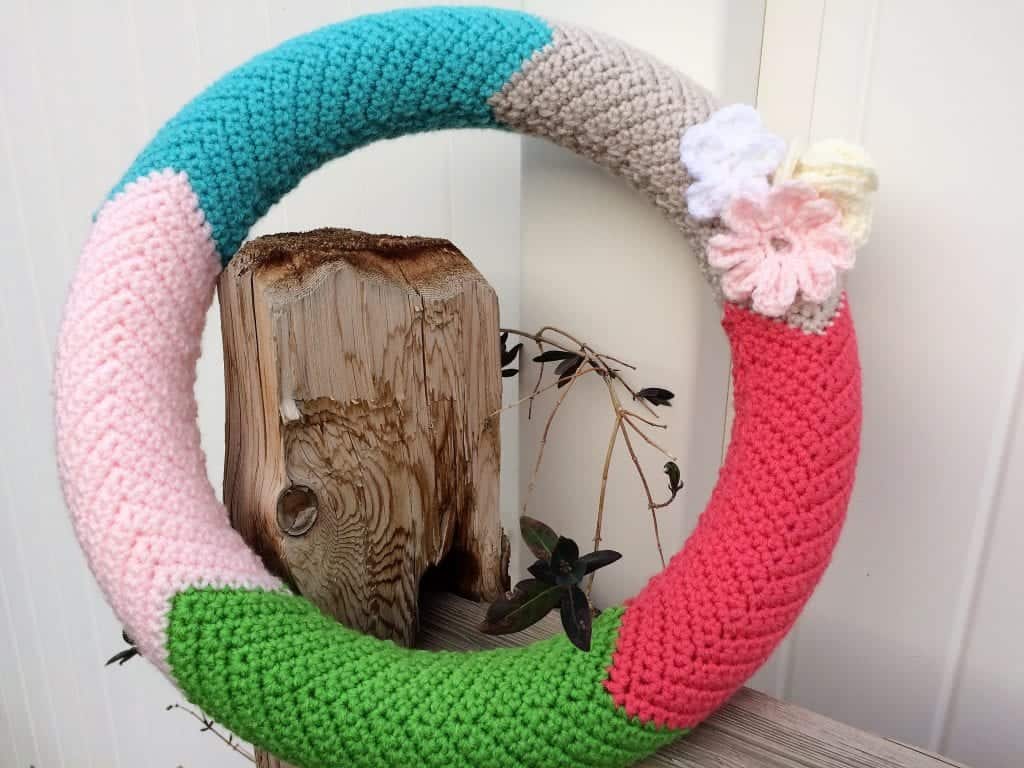
Front Door Wreath Crochet Photo Tutorial
This chevron wreath was inspired by a bright, colorful wreath I pass by every Sunday on my way to church. It’s not a crochet wreath, but like any good crafter I thought, “hey, I could make that!”

This post contains affiliate links, I may earn a fee. Read more disclosure policy.
Join the ChristaCoDesign Newsletter
Never miss a pattern!
I decided on a chevron wreath because I made Rescued Paw’s chevron throw blanket a few years ago and I just love it. I’ve been eyeing it lately thinking I wanted to do some more chevron.
So eventually these two came together to become the chevron wreath you see here!
Materials:
14″ foam wreath
I Love This Yarn, Turquoise
I Love This Yarn, Linen
Red Heart with Love, Papaya (I could not find this color online, but I think I got it at Walmart. It’s called Papaya, but it’s more of a Coral color)
Red Heart Super Saver Yarn, Spring Green
I Love This Yarn, Soft Pink
Size G hook,* yarn needle & scissors
*Sorry the yarns are all over the place, I just used what I had on hand. They’re all worsted weight yarns so as long as you use #4 worsted weight yarn* you can choose any color or brand!
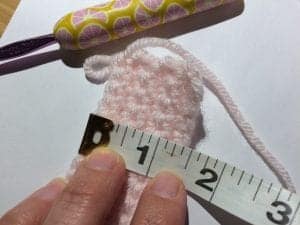
Gauge:
Gauge is important for this project since you’re changing colors and it needs to fit the foam ring.
To check your gauge:
chain 11, turn
R1: sc in second chain from hook and across (10)
R2: *ch.1, sc across, turn* (10)
R3-6: repeat row 2
Your gauge rectangle should be 1.5″ tall by 2.5″ long. Adjust your hook size: if your rectangle is bigger, go down a hook size, if it is smaller go up a hook size.

Now you have your materials and have checked your gauge, next let’s get started with the pattern!
Pattern (scroll down for photo tutorial):
Start with Turquoise, chain 33.
Row 1: In 2nd chain from your hook sc2tog, 1 sc in each of the next 5 stitches, 3 sc in the next stitch, 1 sc in each of the next 7 stitches, skip the next 2 stitches, 1 sc in each of the next 7 stitches, 3 sc in the next stitch, 1 sc in each of the next 5 stitches, sc2tog the last two stitches, turn.
Row 2: Ch. 1, sc2tog, 1 sc in each of the next 5 stitches, 3 sc in the next stitch, 1 sc in each of the next 7 stitches, skip the next 2 stitches, 1 sc in each of the next 7 stitches, 3 sc in the next stitch, 1 sc in each of the next 5 stitches, sc2tog the last two stitches, turn.
Row 3-25: (or until about 8″ in length) Repeat Row 2.
In last stitch (sc2tog of row 25) change to Linen. Leave a long tail of turquoise for sewing together.
Repeat pattern from Row 2 for a total of 25 rows (or about 8″)
In last stitch (sc2tog of row 25 in Linen) change to Papaya. Leave a long tail of Linen for sewing together.
Repeat pattern for 25 more rows (about 8″)
In last stitch (sc2tog of row 25 in Papaya) change to Spring Green. Leave a long tail of papaya for sewing together.
Repeat pattern for 25 more rows (8″)
In last stitch (sc2tog of row 25 in Lime) change to Soft Pink. Leave a long tail of Spring Green for sewing together.
Repeat pattern for 25 more rows (8″).
Cut yarn, but leave a long tail for sewing together.
Finishing:
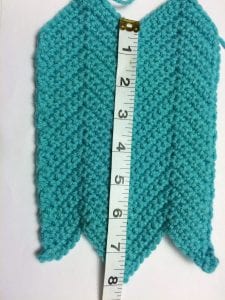
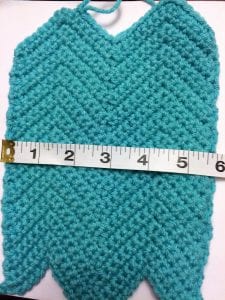
Your piece should be about 6″ wide and 40-42″ long. The yarn stretches so it should fit snugly around your wreath form.
Wrap it around the form, then sew the long ends together, matching up the colors row by row. Use a yarn needle and the long tails you left of each color (if you forgot just use a length of the color you’re sewing together).
Next, in either turquoise or pink, sew the short ends together. Finally finish off by weaving in any ends and trim.
Now your wreath is covered! You can leave it as is for a gorgeous streamlined look or add some flowers. I think it looks great both ways!
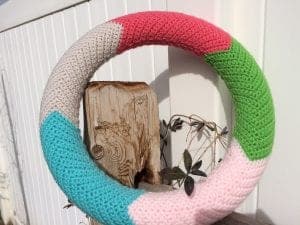
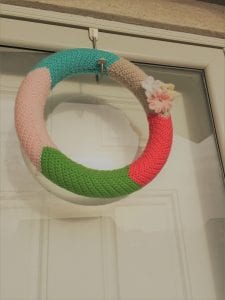
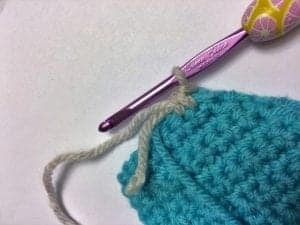
Photo Tutorial:
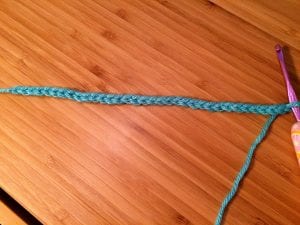
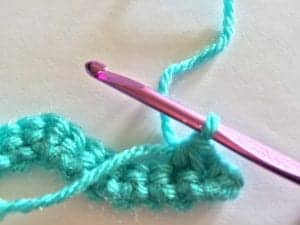
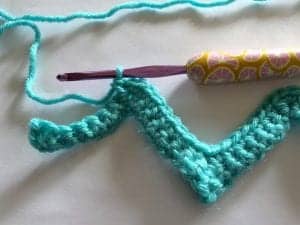
Row 1:
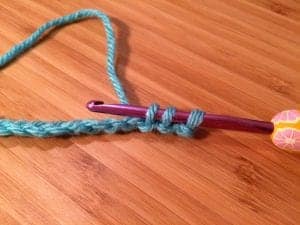
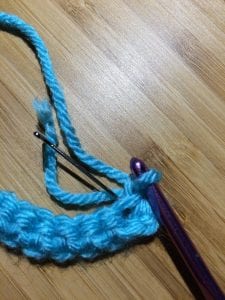
Start with a slip knot on your hook. Chain 33.
Single crochet together (sc2tog) the first two chains.
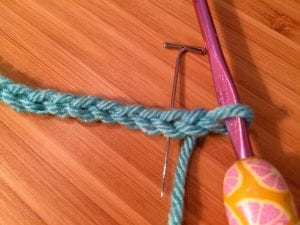
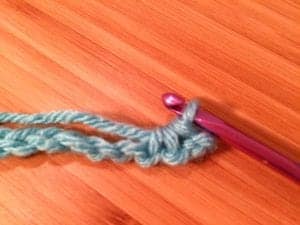
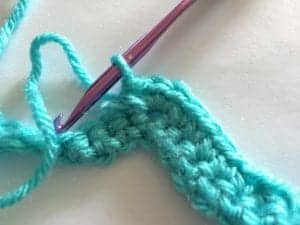
Single crochet (sc) into the next 5 chains.


In next chain single crochet three times (3 sc) into the same chain.
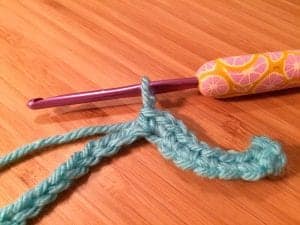
Sc in next 7 chains.
Skip next 2 chains.
Sc in next 7 chains.
3 sc into next chain (all in the same).

Sc into next 5 chains.
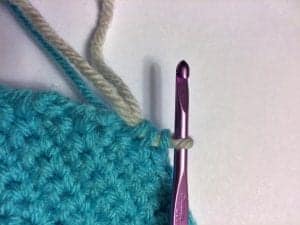
Single crochet together (sc2tog) the last two chains and turn and chain 1.
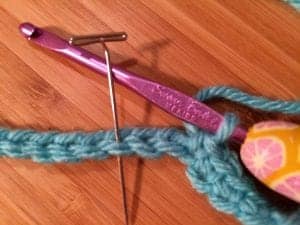
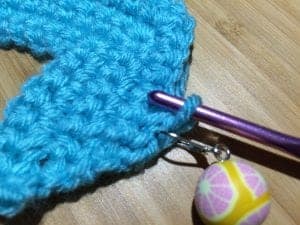
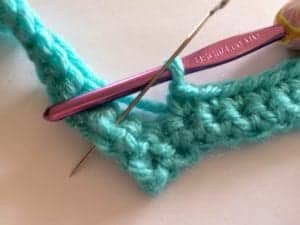
Tip:
When I first started crocheting I found it hard to understand which stitches were my end stitches and which were turning chains. To avoid confusion, I recommend using a stitch marker. After you make the stitch, insert the stitch marker. When you get to the end of the next row you will know the stitch you marked is the last one. You can buy stitch markers like these Clover Lock Ring Markers, or use an old earring, a safety pin, or even a longish piece of yarn threaded in.
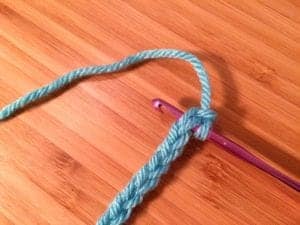
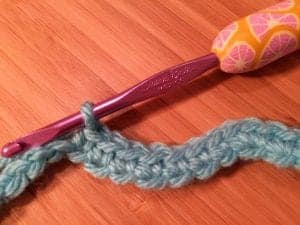
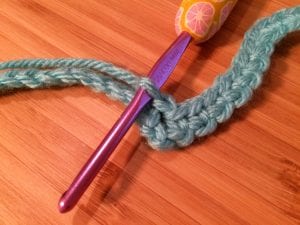
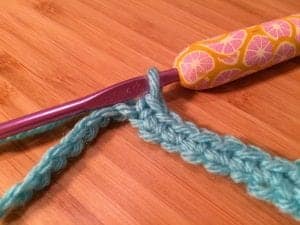
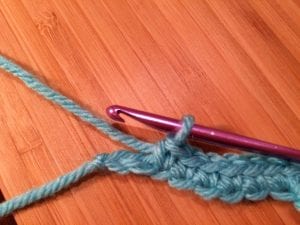
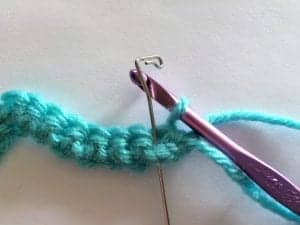
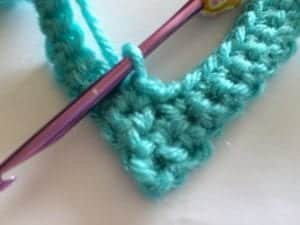
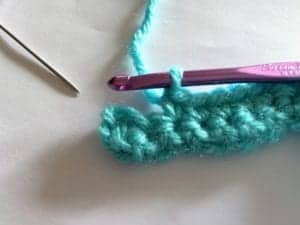
Row 2:
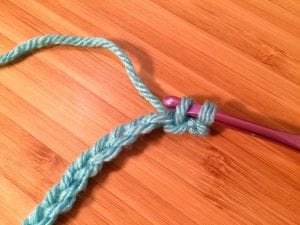
Sc2tog the first two stitches.
Sc in next 5 stitches.

3 Sc into next stitch.
Sc into next 7 stitches. Skip next 2 stitches.
Sc into next 7 stitches. 3 sc into next stitch.
Sc into next 5 stitches.
Sc2tog the last 2 stitches, turn and chain 1.

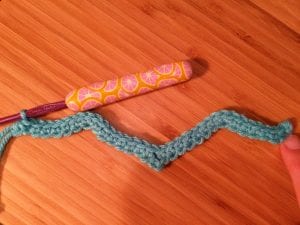
That’s about all the photos you need for this tutorial. Continue working the pattern as written above. If you’ve never done chevron before once you get these first couple of rows worked out, it’s easy to see how the pattern goes.

I love this wreath! And all of the tutorials!
Thanks, you’re too sweet!
This is really cool, haven’t seen anything like it.
Thank you! I need to make more of these, they’re so fun!