How To Tubular Bind Off For 1 x 1 Ribbing Tutorial
Learn how to do the tubular bind off. This is a beautiful technique for finishing 1 x 1 ribbing on garments and sock or anything with ribbed stitches.

This post contains affiliate links, I may earn a fee. Read more disclosure policy.
Join the ChristaCoDesign Newsletter
Never miss a pattern!
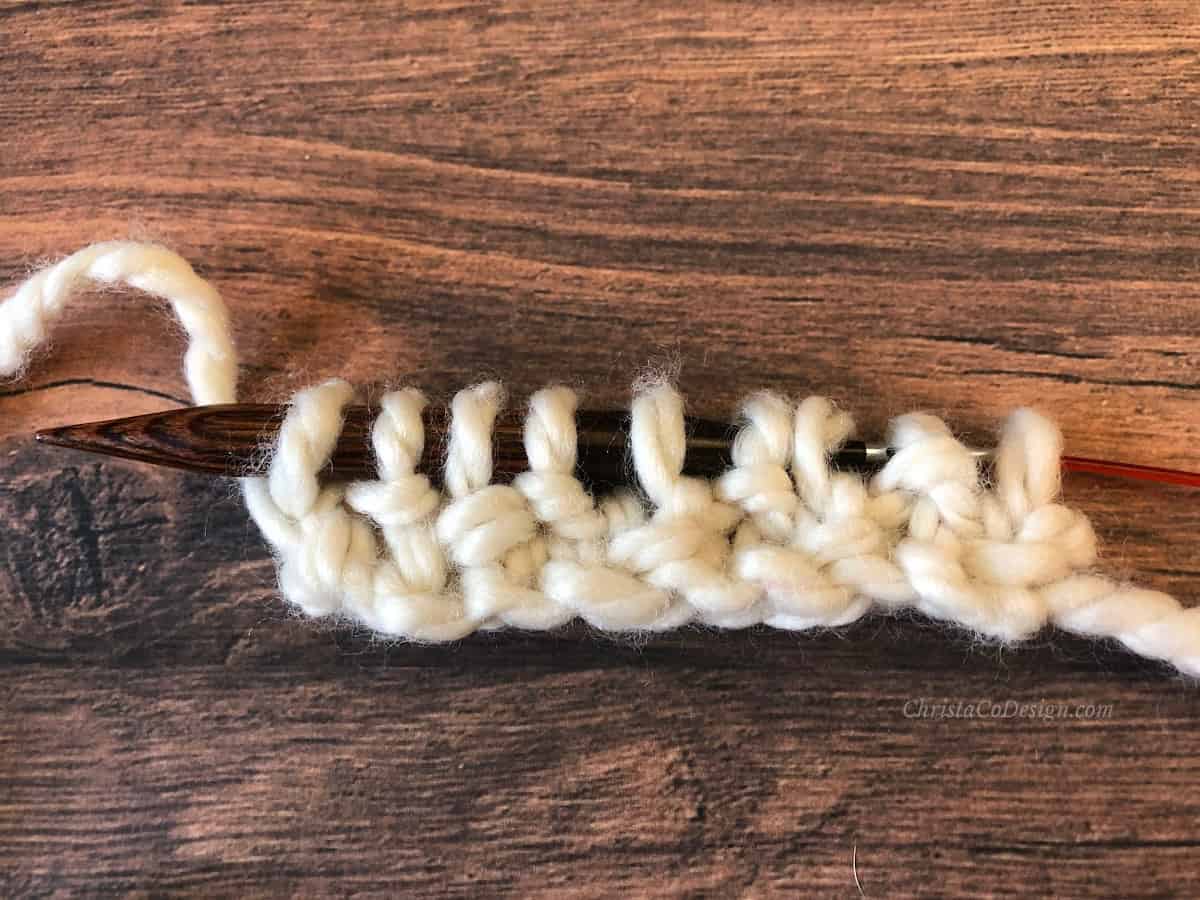
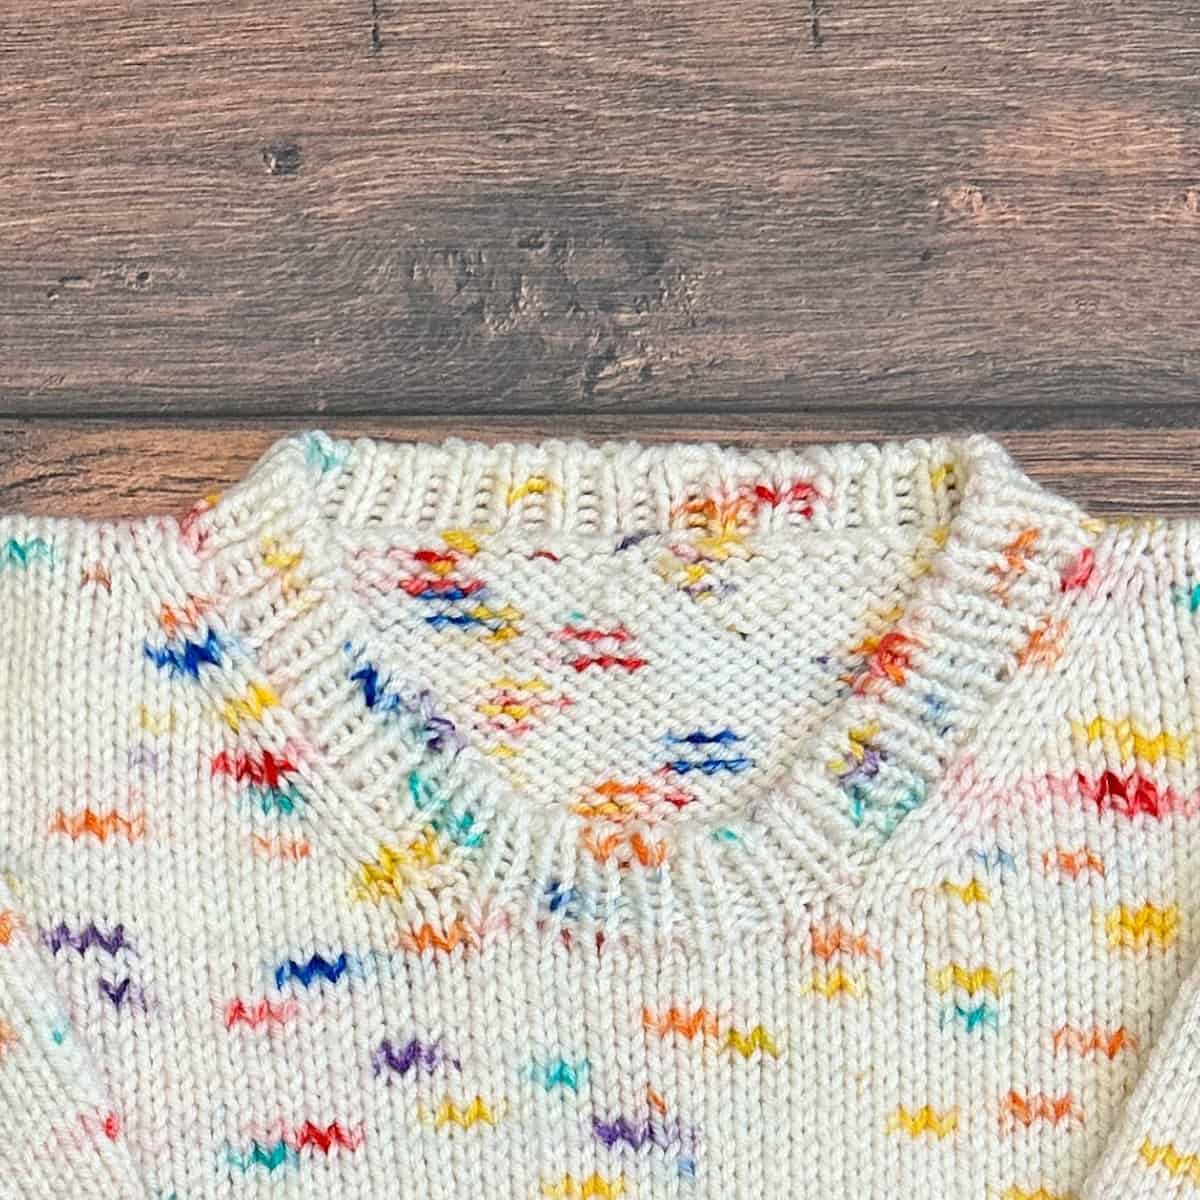
The alternating knit stitches and purl stitches of the rib seem to continue on, rolling over the edge. With no break in the pattern it reminds me of an infinity pool. It also matches the tubular cast-on.
Not only is it beautiful but’s functional too creating a stretchy bind off that’s also sturdy enough to withstand those high usage areas. If you’ve used the kitchener stitch then you’ll recognize this too, as it’s similar.
This is a sewn bind-off meaning you will use your tapestry needle to finish off. You can use this technique when knitting flat or in the round. If you’re knitting flat then bind off on the front of the work.
If you’re working in the round I’ll show you how to join it up at the end. Just be sure to mark the first two stitches.
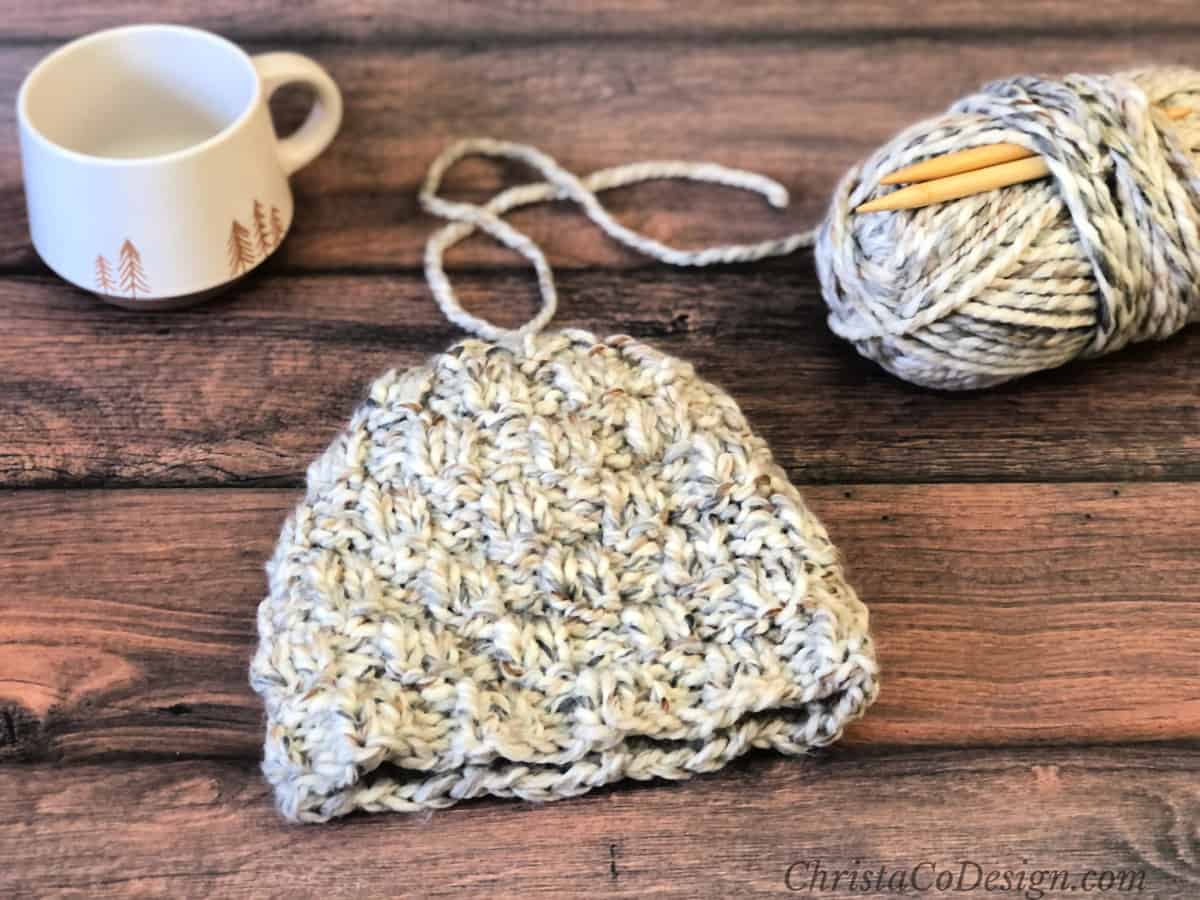
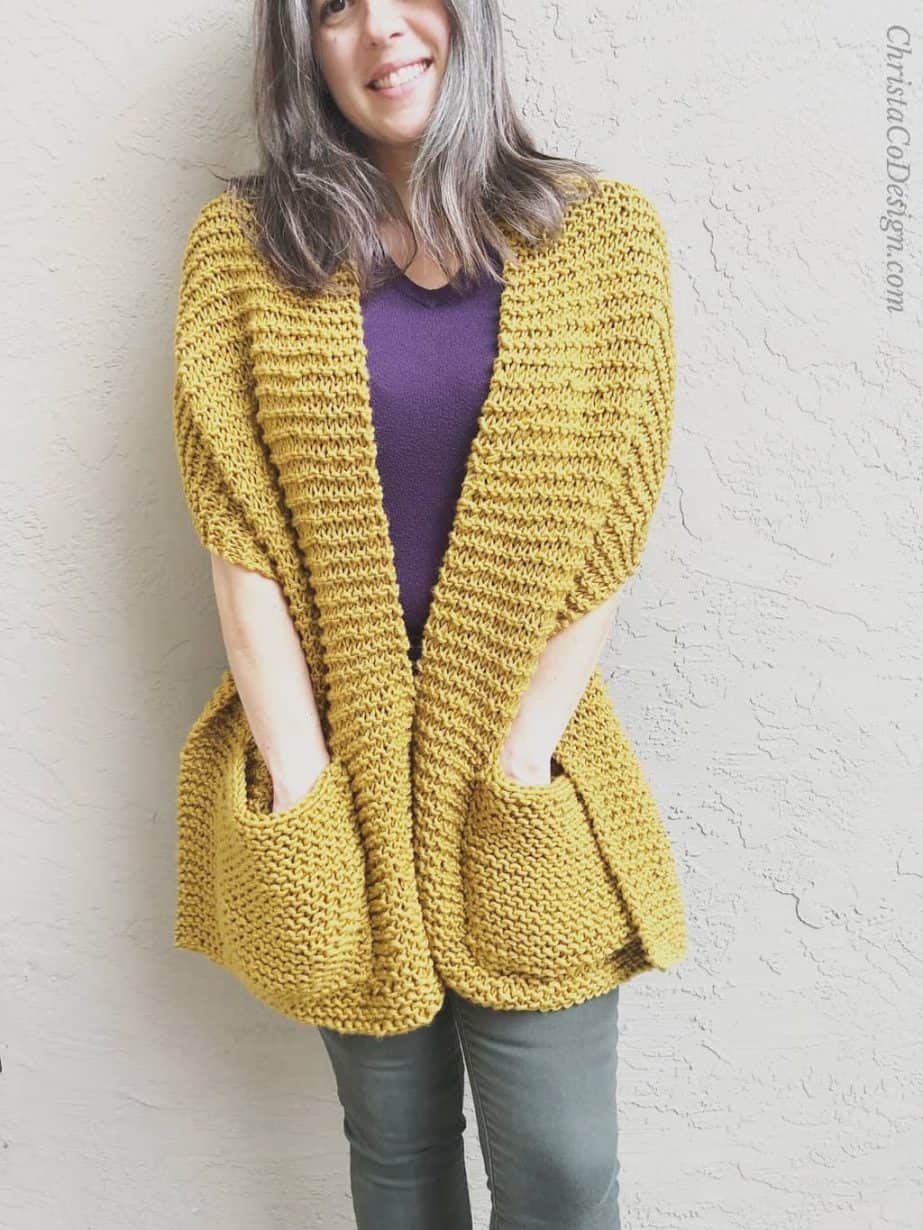
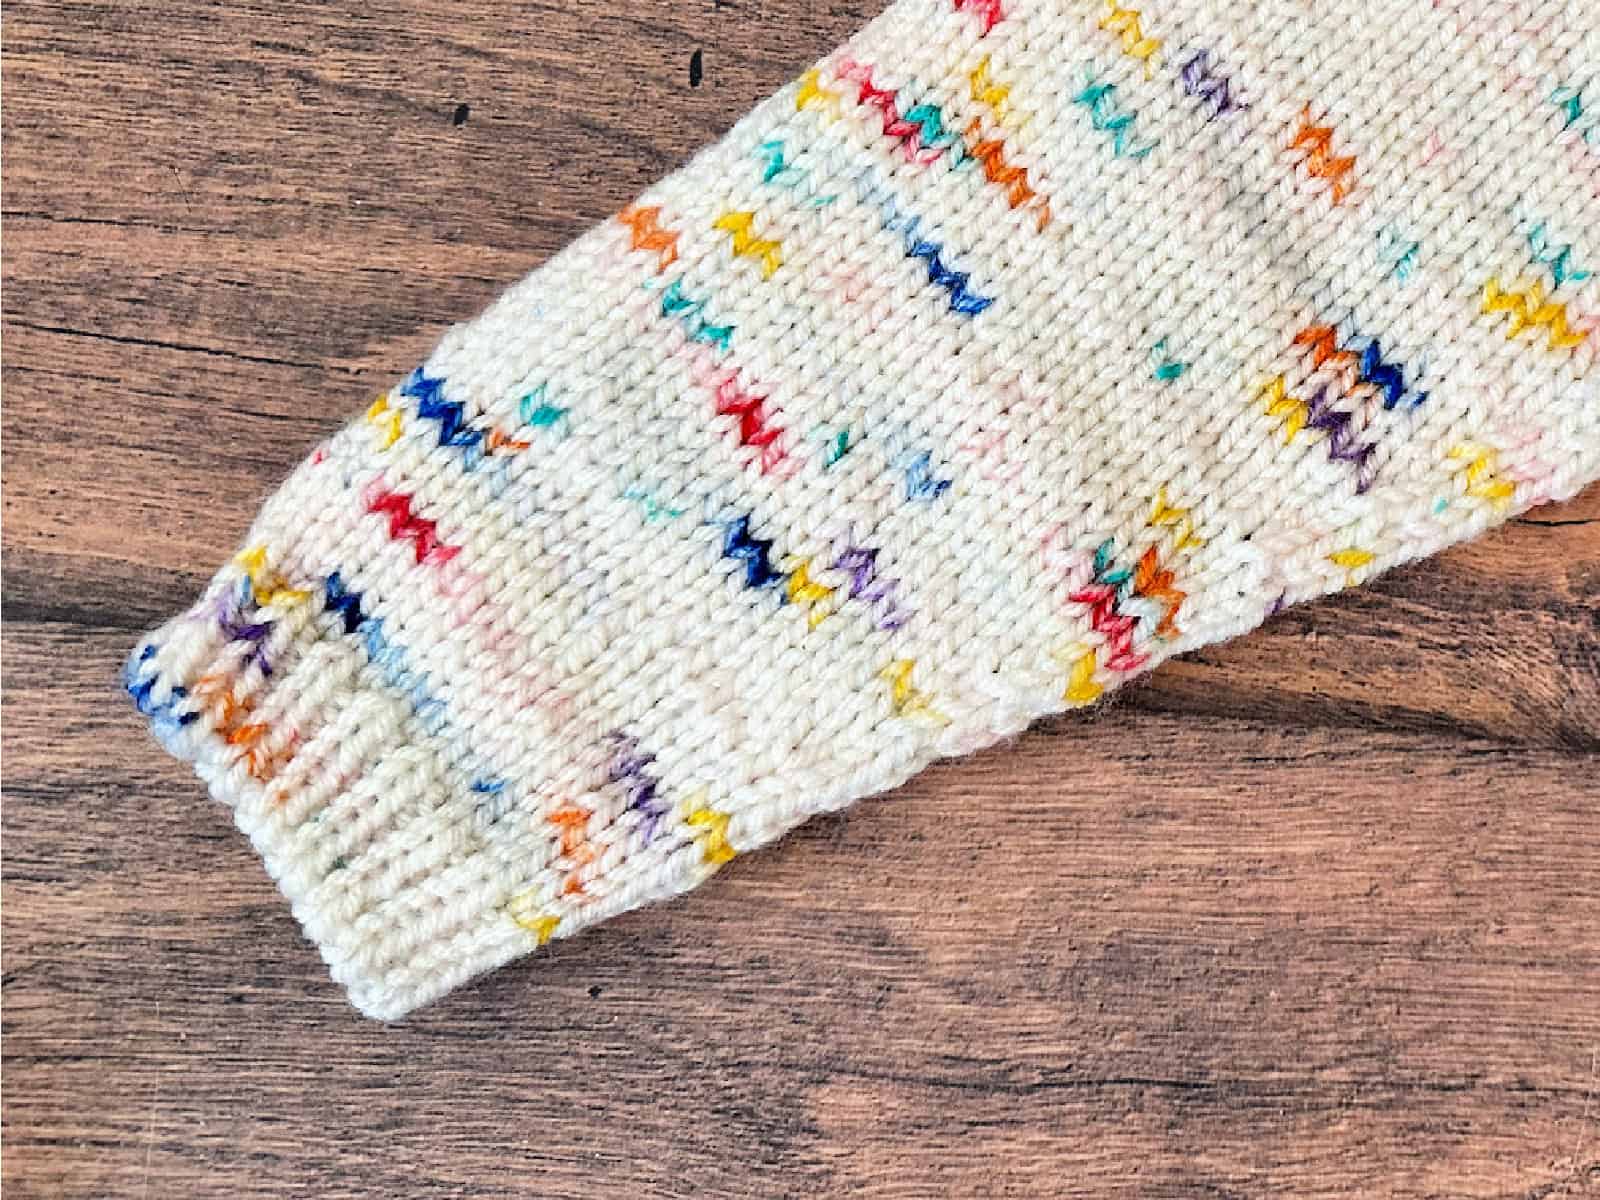
This works great on a sweater hem, neckline and sleeve cuffs. It makes the front and back of the work look the same as the edge joins them. As with most new techniques it can take a little practice to get right. But the more you do it, the better you get!
Video Tutorial
In the following video tutorial you can watch how to do the tubular bo step by step, and stop and repeat it as many times as you need.

How To Tubular Bind Off
Learn how to finish a 1 x 1 rib edge with the tubular bind-off.
Materials
- Your project worked in 1 x 1 rib on your knitting needle and ready to bind off.
Tools
- Yarn needle
- Scissors
Instructions
When you are ready to BO, cut a long tail from your working yarn. You'll need a length of yarn that's about 4x the length you wish to bind off.
Thread tail on your yarn needle.
You will drop the right needle and work with the stitches on the left needle.
When working in the round mark the first 2 sts with a st marker. Make sure your first stitch is a knit.
Step 1. Insert your yarn needle into the first knit stitch as if to knit, pull the yarn through and slide that stitch off the left hand needle.
Step 2. Skip the next stitch, go into the next knit stitch purl-wise, pull yarn through, but not too tightly. 
Step 3. Go into the first purl stitch purl-wise, pull the yarn through and slide that st off.
Step 4. From the back of your work, insert the yarn needle between the stitches and pull the yarn through.
Step 5. Insert the yarn needle into the second stitch knit wise and pull through.
Repeat from beginning.
If you're working flat when you get to the last stitch, just pull through and weave in your ends.
If you're working in the round you're going to use the first two stitches you marked as the last two stitches. This will join them.
Here I'm on Step 2 using the first marked stitch as the second stitch and the stitch on the needle as the first stitch.
Now Step 3 using the last stitch on the needle. The last stitch on your needle has been bound off.
Then Step 4 using the two marked stitches.
Last is Step 5 on that second marked stitch.  Now your round is joined and all stitches bound off.
You can remove the stitch marker, weave in your ends and enjoy that gorgeous finish!
Recommended Products
As an Amazon Associate and member of other affiliate programs, I earn from qualifying purchases.