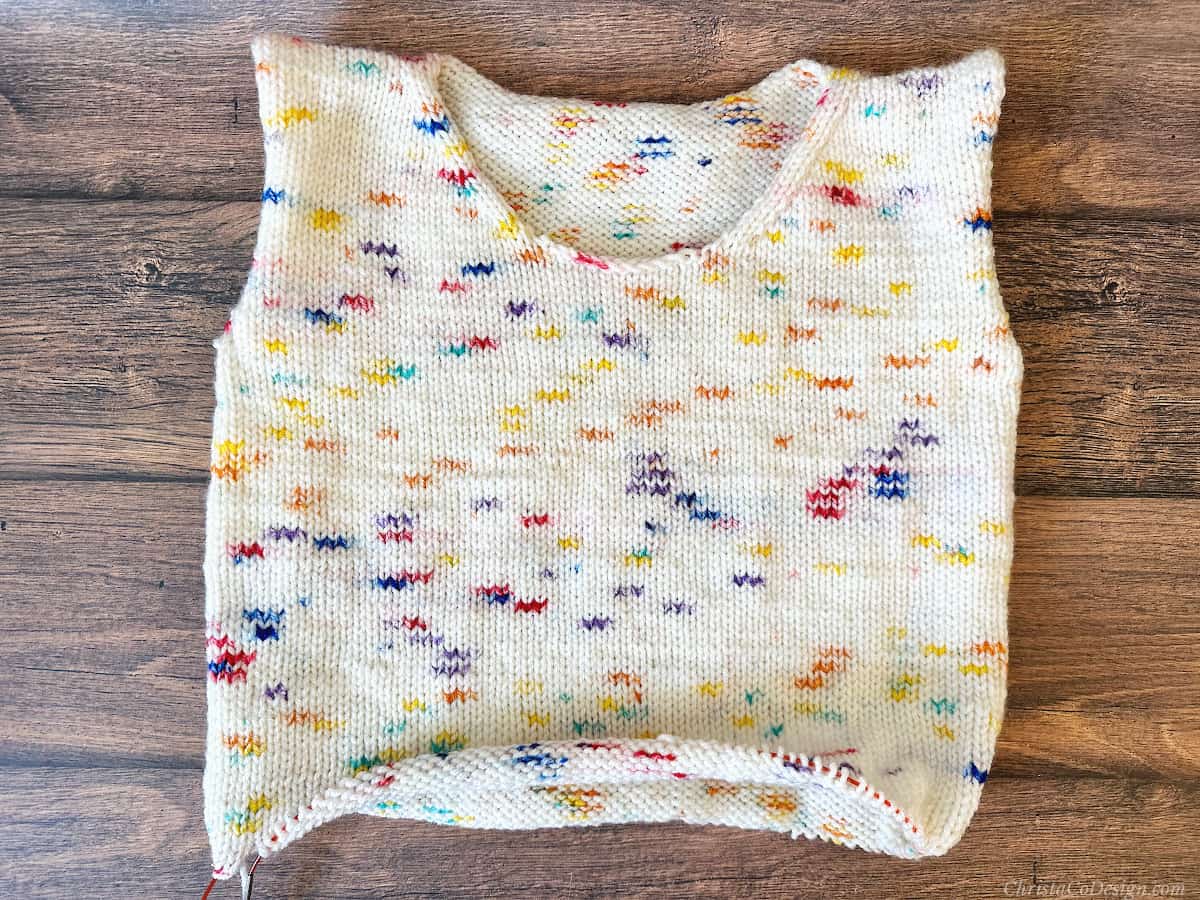
How To Pick Up Stitches At The Armhole For Sleeves
When it’s time to knit the sleeves on your sweater the pattern instructions may say to pick up and knit. Picking up and knitting at the armhole edge allows you to start knitting those sleeves directly on your pullover. In this tutorial, I’ll cover how to pick up and knit stitches for sleeves.

This post contains affiliate links, I may earn a fee. Read more disclosure policy.
Join the ChristaCoDesign Newsletter
Never miss a pattern!
To pick up the stitches on the side edge of your work you will be looking at the last stitch in each row. Generally, these are the messiest stitches. You will insert your needle between the last stitch and the previous stitch.
For this tutorial we’re working on the right side of our work, using circular needles for magic loop, and joining on a new length of yarn.
Pick Up Rate
When you pick up on a cast-on edge the rate at which you pick up is usually stitch for stitch. However, when picking up along the side of your work (the end of the row) it’s not a 1:1 ratio.
Here we’re working in stockinette stitch so the stitch is slightly taller than it is wide. So we’ll pick up stitches at a rate of 3:4 which means for every 3 stitches you pick up, skip 1. Or for every 4 rows only pick up 3 stitches.
Knitting patterns will tell you where to pick up stitches (on the neck edge, bind-off edge, etc.), the specific number of stitches to pick up, and the ratio at which to pick them up. For a horizontal edge like a cast-on you will pick up stitch for stitch.
When you pick up stitches on a vertical edge, like for an armhole you may need to skip a stitch for every 3 you pick up, so at a rate of 3:4. This ratio is typical when picking up along rows of stockinette where the stitch is taller than it is wide. To pick up the correct number of stitches there are different rates as it’s based on the stitch gauge versus the row gauge.
Handy tip: Use a hook!
You know I love a crochet hook cast-on, you can also pick up stitches using a hook. It makes it very easy to snag the working yarn and pull it through.
Selvedge
For vertical edges specifically, it helps if you add a selvedge stitch. Working the first and last stitches in garter stitch makes it easier to find the edge stitch where you will pick up. To do this you would work all your stockinette rows as:
Row 1. (RS) K all.
Row 2. (WS) K1, p to one st left, K last st.
Rep Rows 1-2.
This creates a one stitch garter edge border that makes it easier to identify when to insert your needle when picking up on those vertical edges (or the edge of rows).
Video Tutorial
Watch how to do it in this video.

How To Pick Up + Knit At Armhole
Learn how to pick and knit stitches along the side edge for sleeves in this step by step tutorial.
Materials
- Your knitting project knit in stockinette stitch.
Tools
- Circular knitting needles with a 32" - 40" cable for magic loop and new yarn to join.
Instructions
- First get set up by turning your work so you're on the right side.
- Start at the bottom of the armhole.
 Have your new ball of yarn ready to add on as you pick and knit here.
 - Work from the bottom around the armhole, counter clockwise. I'm a continental knitter so I hold the working yarn with my left hand. I'll use the right-hand needle to pick up the stitches.
- At the bottom of the armhole are two columns of stitches.
 To minimize holes, first we will pick up 1 stitch for each of these. You can also insert the right needle under both of these stitches and only pick up 1 stitch here.
 - Insert the right needle tip under both loops of the stitch, from the right to the left.
 If picking up both these stitches together, insert your needle tip from right to left under all 4 loops (just straight across).
 - Leaving a long tail to weave in later, wrap the yarn around the needle counter clockwise. I trap the yarn tail with my right hand for this first stitch.

- Scoop the loop of yarn and pull it through. It can be a bit tricky. Use your right first finger to hold it on the needle while doing.

- Insert the tip of the needle under the 2 loops of the next stitch, knitwise.

- Wrap yarn over the needle as if to knit and pull through a loop.
 You have picked up and knit the second stitch at the bottom of the armhole which will elimate the need to sew up a hole at the end.
 - Now you'll pick up stitches along the end of the rows. Insert your needle between the last stitch and the second to last stitches.

- Insert the needle under that bar joining the last 2 stitches, wrap yarn counter clockwise around needle.
 The loop you see on the needle is the bar between the last 2 stitches that we inserted the needle under.
 - Pull the yarn through to knit it.
 You've picked up & knit one stitch for the first row.
 - Now repeat, moving to the next row, marked by the horizontal bar that joins the last 2 stitches of each row.

- When you have picked up and knitted 3 stitches, it's time to skip one.

- My left thumb is indicating the one to skip.
 Pick up and knit in the next one.
 - Continue repeating in groups of 3, skipping the 4th.
 Just keep pushing your new stitches down your knitting needle and cable.
 - You want to distribute half of your stitches from the bottom of the armhole to the top of the shoulder, and the second half down the other side.

- As I am working I stop about halfway to the shoulder and make sure I have about a quarter of the total sleeve stitches on my needle. If you need more or less you can make adjustments, like picking up 2 for every 3 or 4 for every 5 to get to the right stitch count.

Recommended Products
As an Amazon Associate and member of other affiliate programs, I earn from qualifying purchases.