Crab Stitch Tutorial | How to Crochet Reverse Single Crochet
Learn how to crochet the crab stitch, also known as the reverse single crochet stitch. This tutorial walks you through the crochet crab stitch step by step with photos, written instructions and a video tutorial.

This post contains affiliate links, I may earn a fee. Read more disclosure policy.
Join the ChristaCoDesign Newsletter
Never miss a pattern!
The crab stitch is a single crochet that is made going in the opposite direction than a normal single crochet. If you are a right handed crocheter, you crochet right to left.
The crab stitch is also known as the reverse single crochet because we crochet it going in the reverse direction.
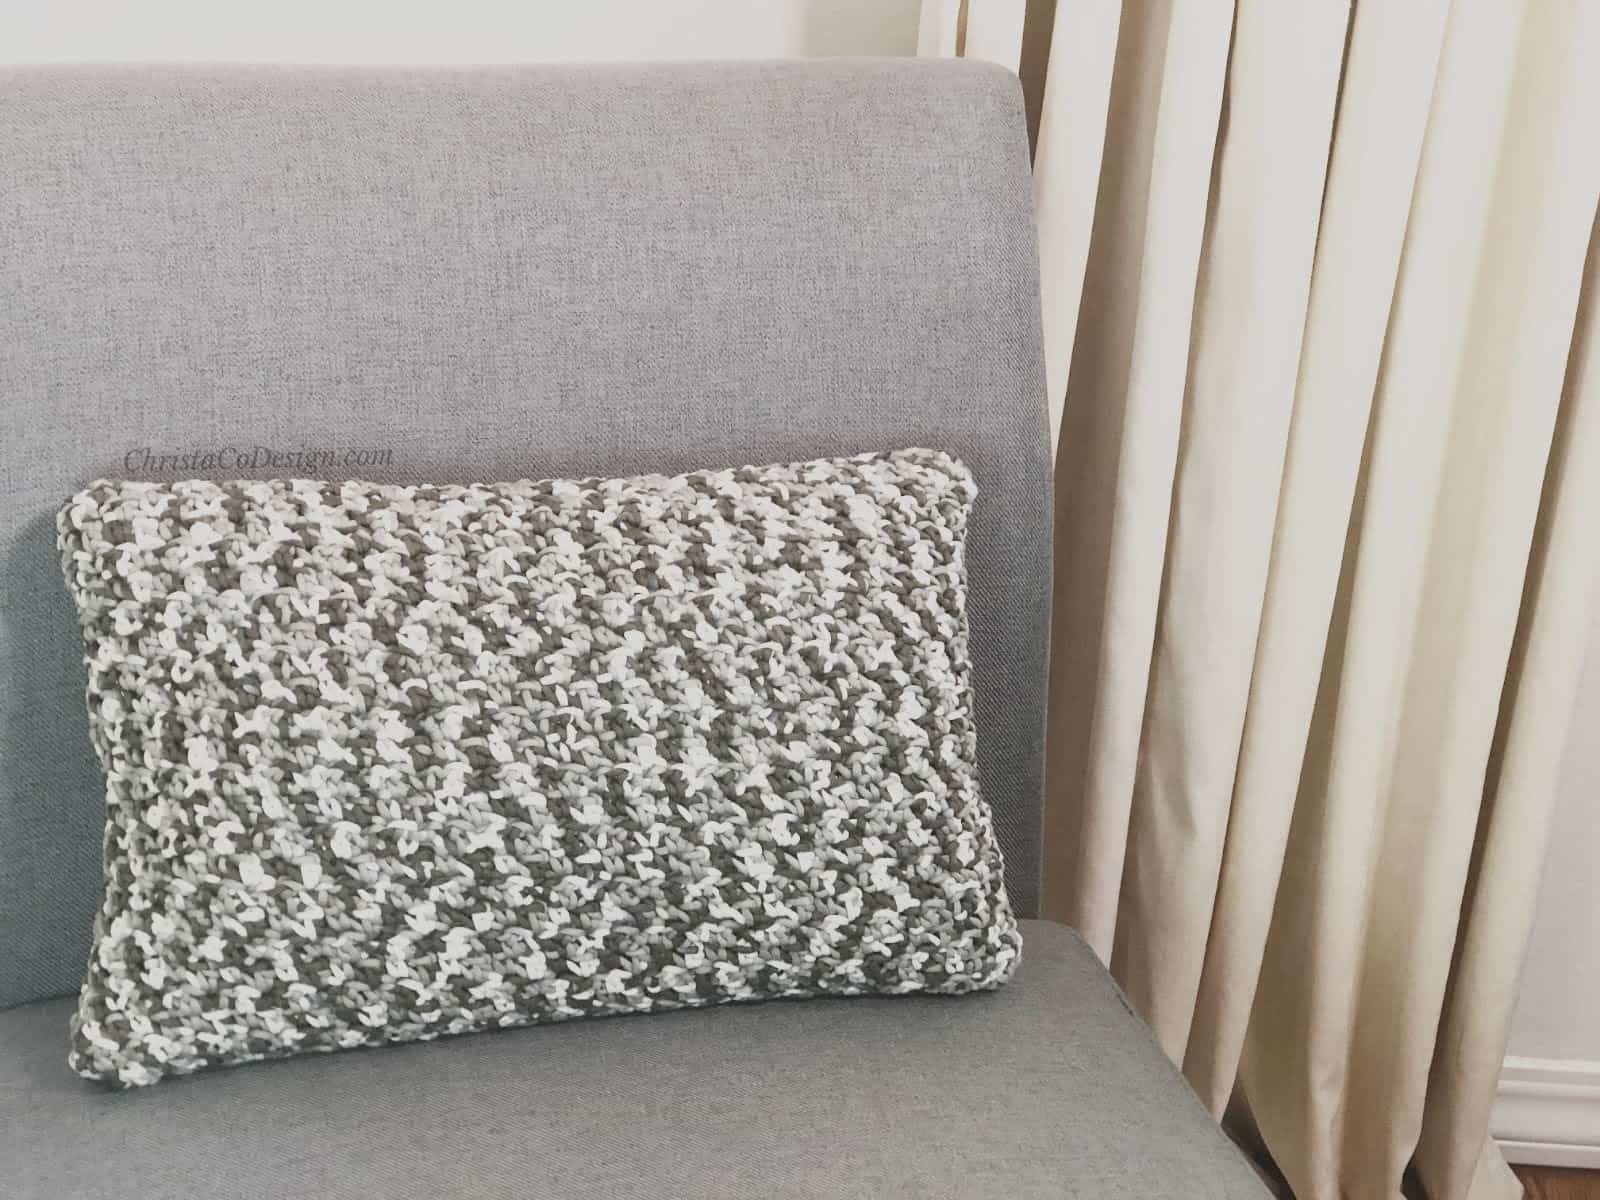
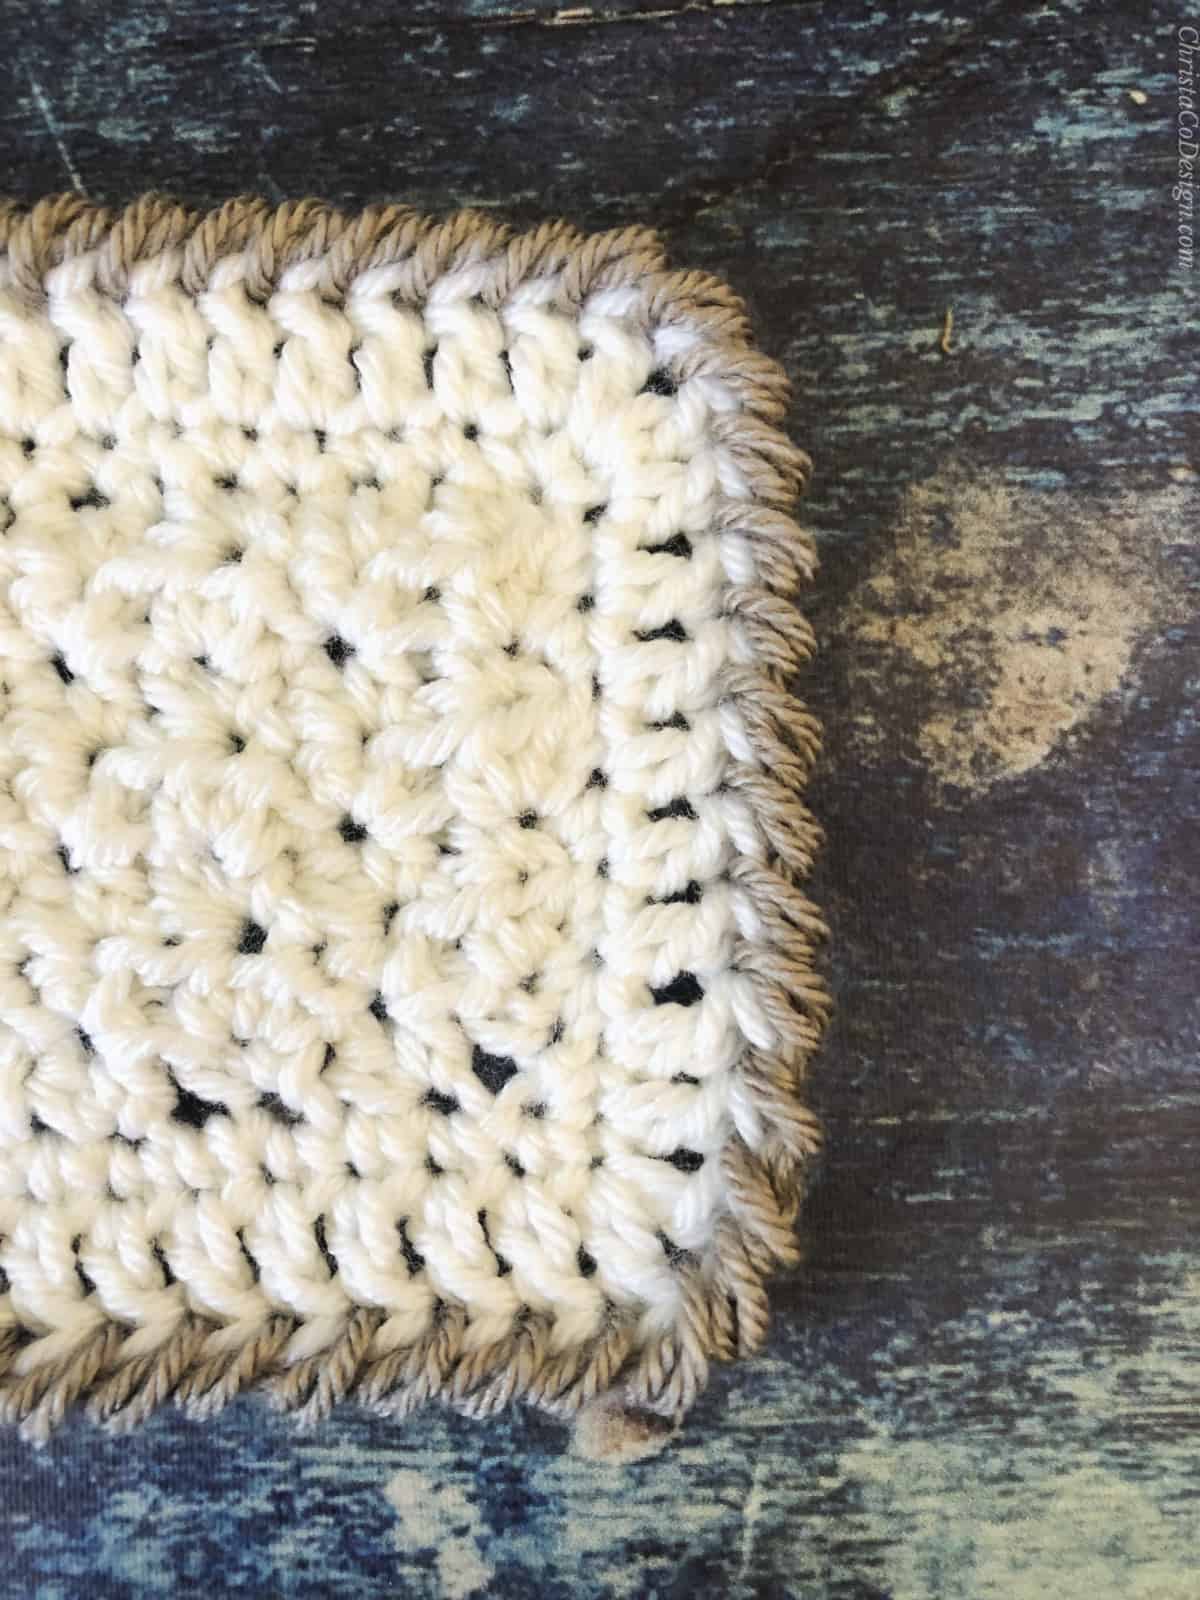
Crab stitch is a popular stitch to use to add a border on crochet blankets. It’s a textured, visually interesting stitch that works well to use as a finish on your projects.
Free Crochet Patterns
The Emilio crochet baby blanket pattern is a totally beginner friendly pattern that features a crab stitch border.
These chunky crochet boots from LittleJohnsYarn are fabulous and look like that crochet up quick.
Another fun crochet stitch to learn is the grit stitch! I love this crochet texture.
Materials
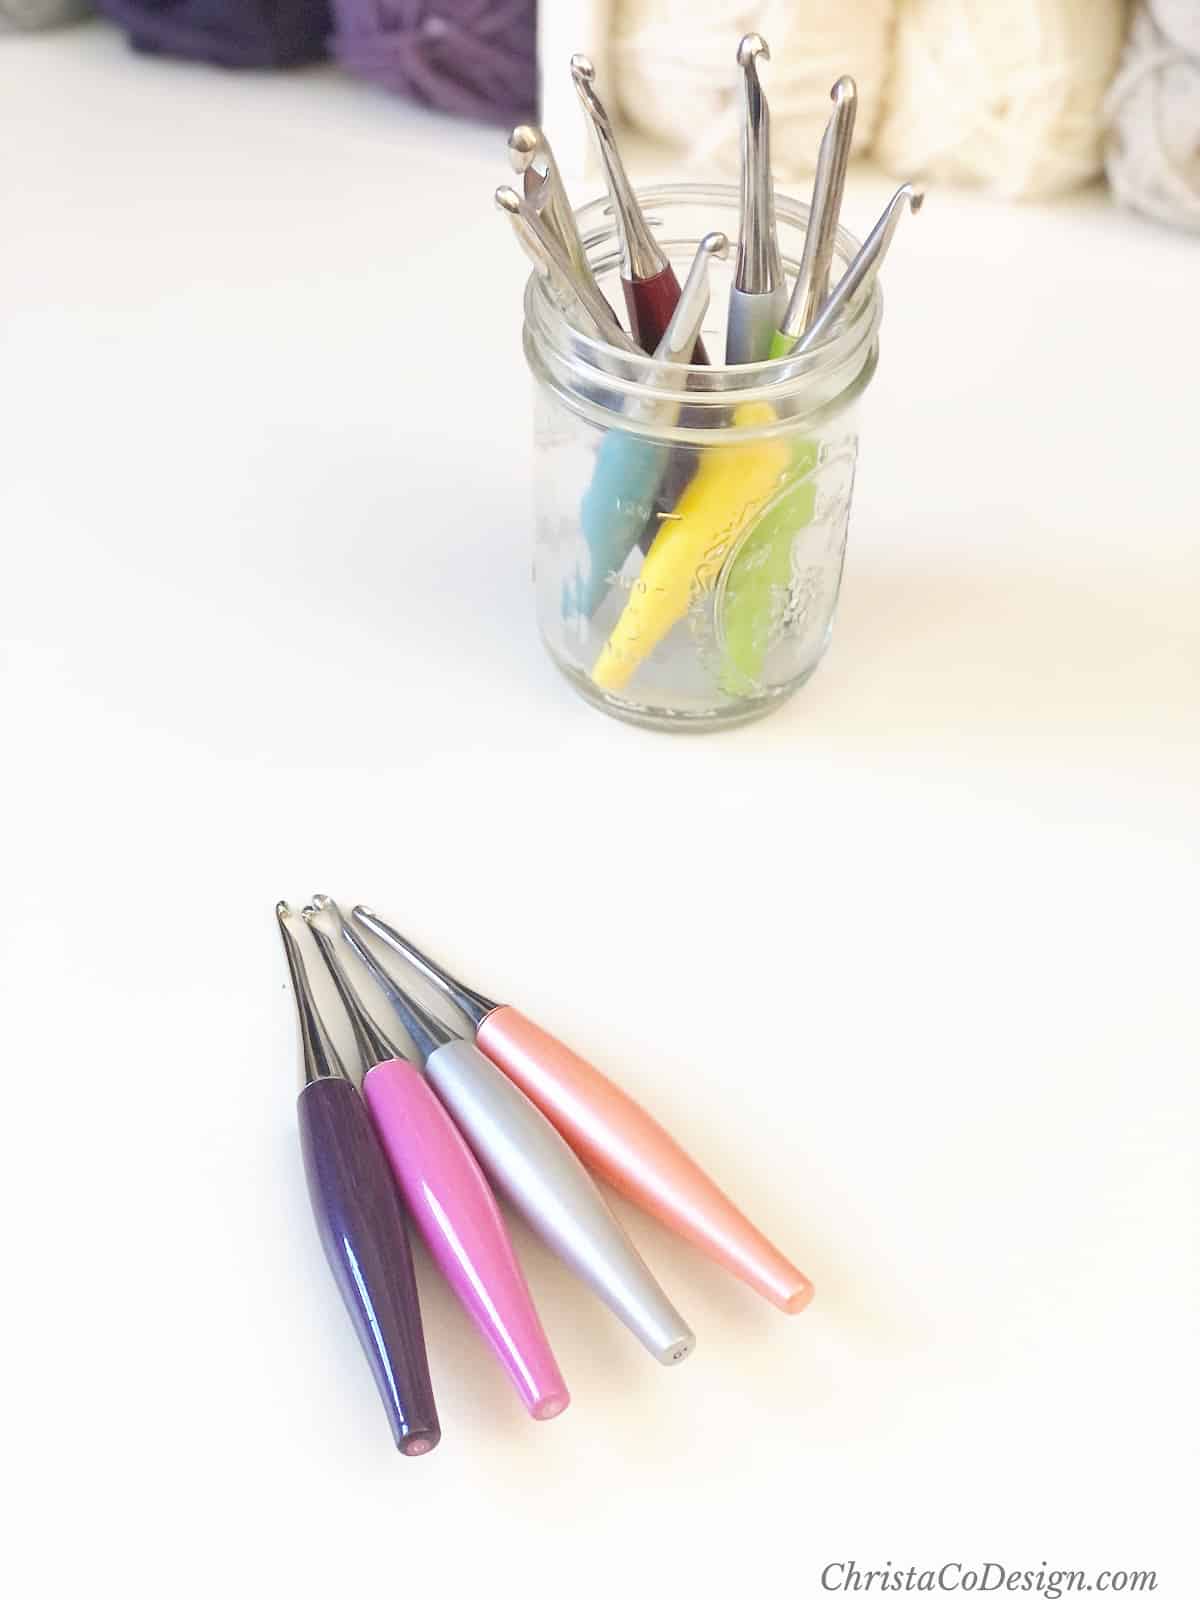
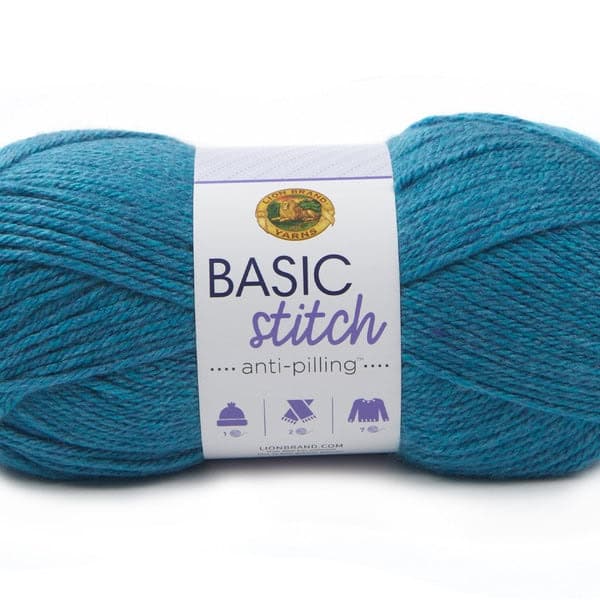
To crochet the crab stitch you can use any weight yarn and matching hook size. For this tutorial I’m using a #4 medium worsted weight yarn: Premier Yarn Everyday Anti Pilling* in Chinchilla.
I pair this yarn with a 5.5mm US Size I-9 crochet hook.*
Notes
In the tutorial I demonstrate how to add the crab stitch as a border.
I’ll start by joining a new color yarn. Then I begin with a regular single crochet stitch before making the first crab stitch.
To finish, I show you how to use your yarn needle to weave in your end and keep that crab stitch border line looking sharp.
Stitches and Abbreviations in US Terms
You can click on any of these links for a step by step tutorial on how to crochet these stitches.
ch(s)-chain(s)
rep-repeat
st(s)-stitch(es)
Scroll down for the step by step crab stitch crochet tutorial {including how to add a crab stitch border}!

Crochet Crab Stitch Tutorial | How to Crochet Reverse Single Crochet
Learn how to crochet the crab stitch, also known as the reverse single crochet stitch. This tutorial walks you through the crochet crab stitch step by step with photos, written instructions and a video tutorial.
Materials
- For this tutorial I’m using a #4 medium worsted weight yarn: Premier Yarn Everyday Anti Pilling in Chinchilla. To crochet the crab stitch you can use any weight yarn and matching hook size.
Tools
- I’m using my Furls Odyssey 5.5mm US Size I-9 crochet hook in white.
- You'll also need scissors and a yarn needle to finish off and weave in ends when you're done.
Instructions
- I start here with regular single crochet stitch.
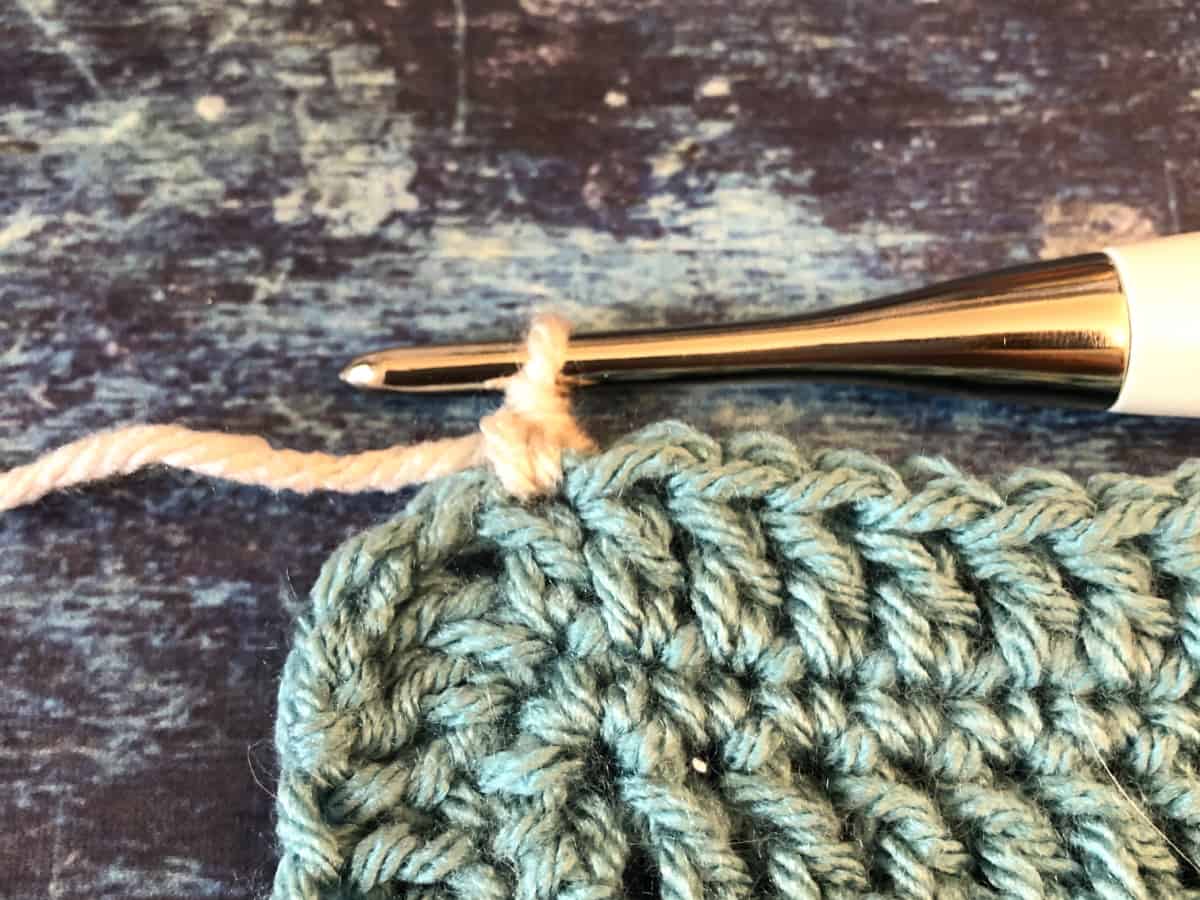
- You can also start with a chain 1, if you prefer. You might want to pull it up a little looser than usual.
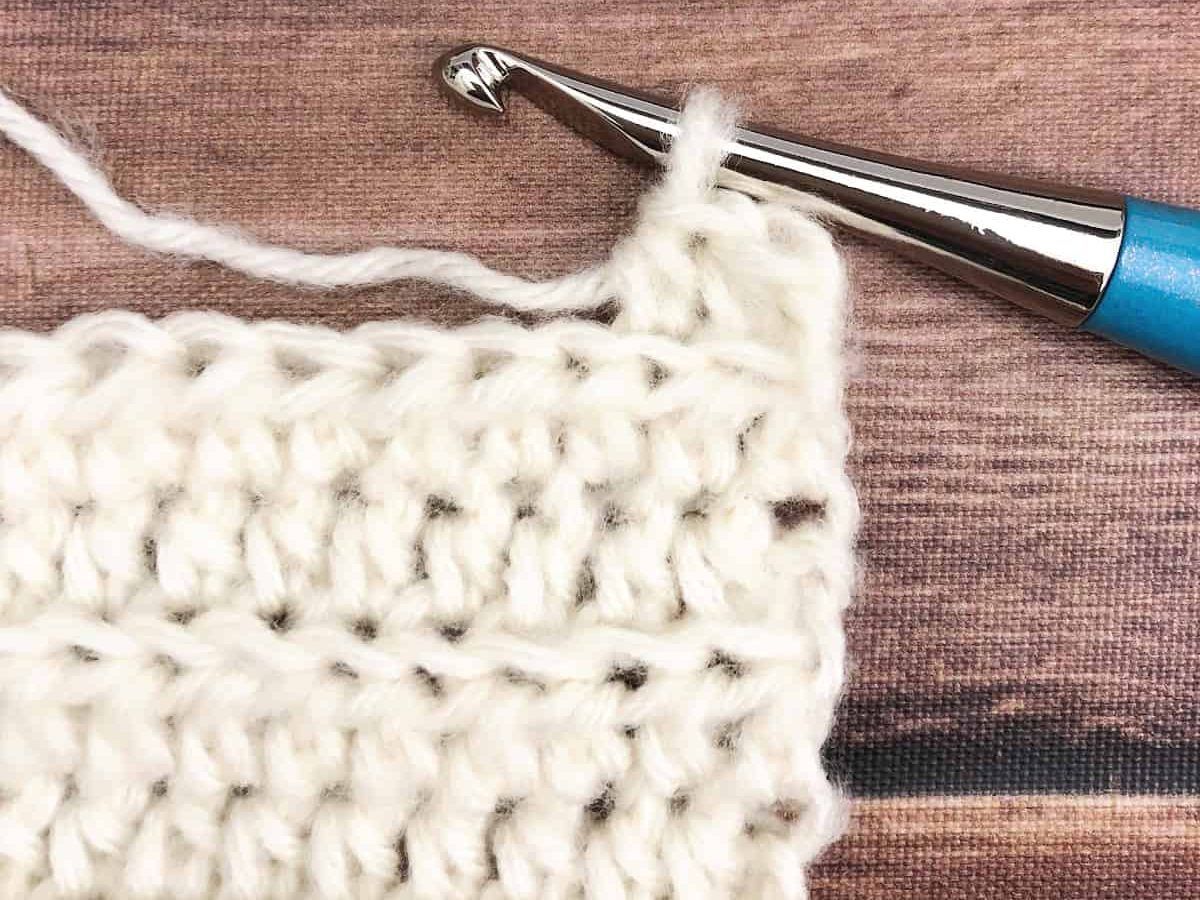
- Insert your hook in the stitch to the right.

- Yarn over.
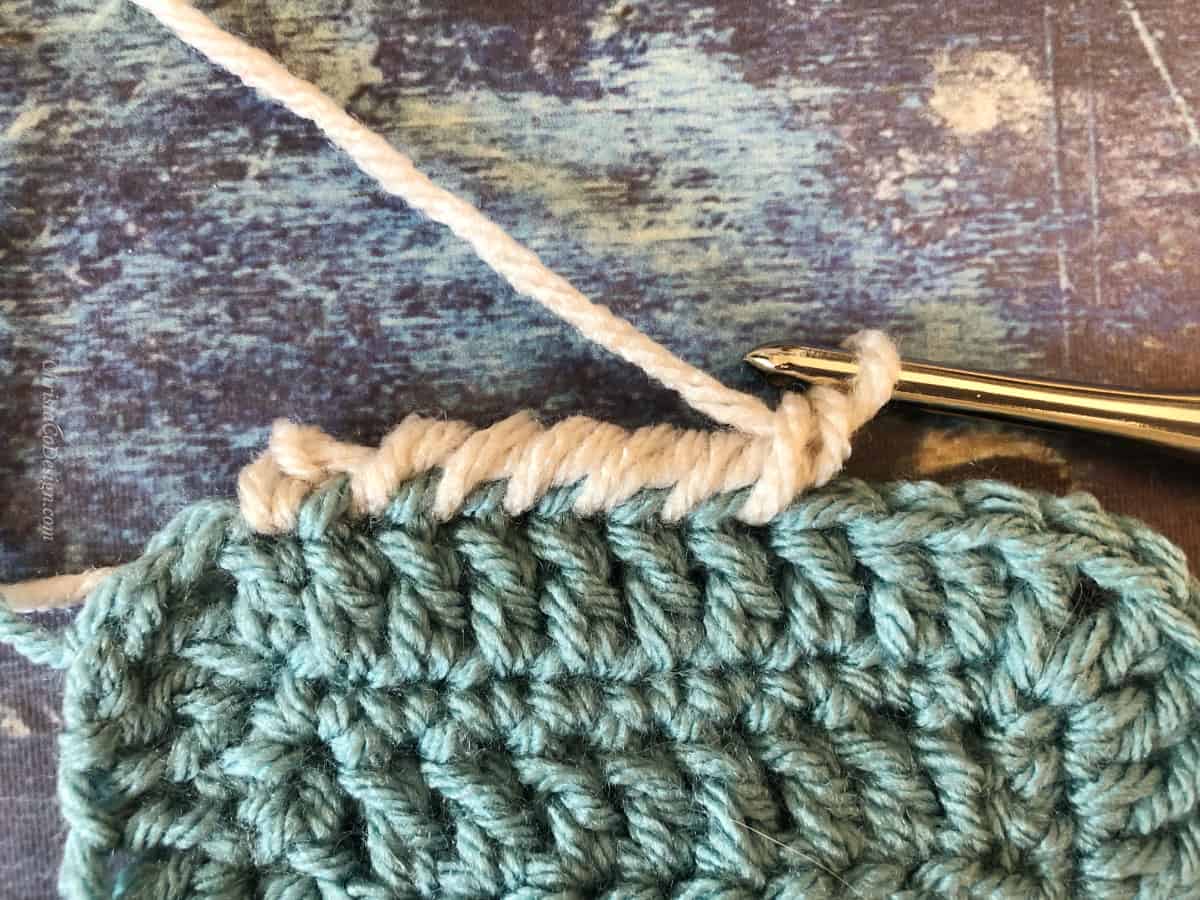
- Pull this loop through the stitch.

- Yarn over again.
- Pull through both loops on your hook.

- You've crocheted a crab stitch.
- Now continue crocheting steps 3-7, always working to the right, for more crab stitches.
- If you are adding a crochet crab stitch border, then continue all the way around the blanket or square you're crocheting.
- I chose to only add one crab stitch to each corner, as this is my last round.

- This makes the corner more rounded, which I like for the crab stitch border.
- However, if you feel it's pulling too tight, then just add 1-2 more crab stitches in each corner stitch place.
- If they're too bunched up, then place less in the corner.
- To finish off this crab stitch border,
 I place a crab stitch in the same space as the first single crochet.
- Then I cut the yarn, leaving a long tail and pull it through the last stitch.
- Next I thread the yarn needle with this tail.

- To mimic the crab stitch, I loop the yarn over (the join) and under.

- Make sure to not pull it too tightly here.
- Repeat loop a couple of times.
- Then weave away the tail. Be sure to go back and forth (I like making a square as I weave away ends) to secure it.
- Trim and you're done!

Recommended Products
As an Amazon Associate and member of other affiliate programs, I earn from qualifying purchases.