How to Weave in Ends a Crochet Tutorial for Finishing
Learn how to finish off your crochet project by weaving in your tail, or loose ends. This step by step tutorial shows you the process and includes a video tutorial too.

This post contains affiliate links, I may earn a fee. Read more disclosure policy.
Join the ChristaCoDesign Newsletter
Never miss a pattern!
So you finished your first crochet project, congrats! Now you might be wondering “how do I finish it?”
Well, the answer is, you have to sew it in between the stitches.
How does the yarn not unravel?
- Leave a long tail.
- Thread your yarn needle.
- Sew the loose end through the stitches.
- Then be sure to go in opposite direction.
Be sure to check out the full step by step tutorial below
Wait, I have to put my crochet hook down? Why yes, you do. But not to worry, it won’t take a long time.
Unless you make big projects with color changes… well then, you might have a lot of ends to do! But it’s so worth it, because your hard work will be beautiful, finished and well loved.
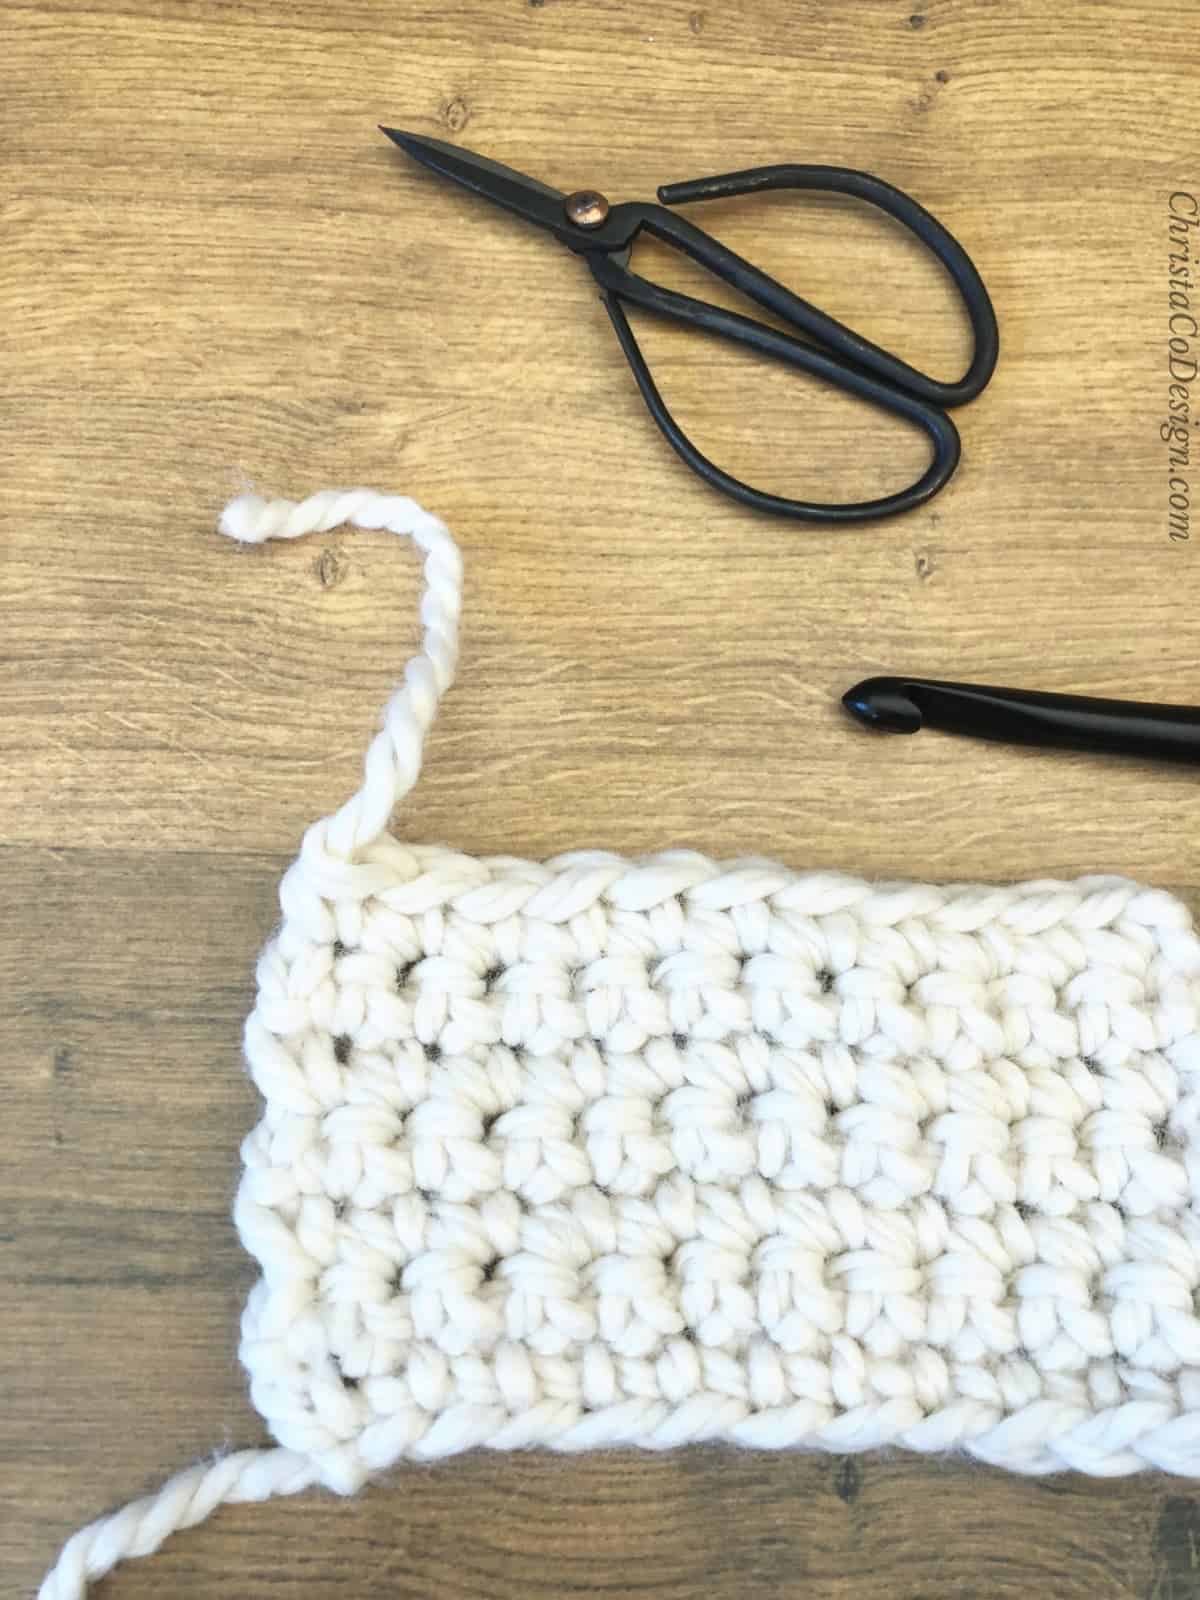
Pulling the tail through the last stitch is the a great way to keep it from unraveling.
My top tip!
The best way to be sure your ends are secure is to sew it in different directions.I usually recommend a square. So go up, down, and to both sides. We want to keep it from pulling free from your finished project.
This is especially important with the magic circle.
Stitch
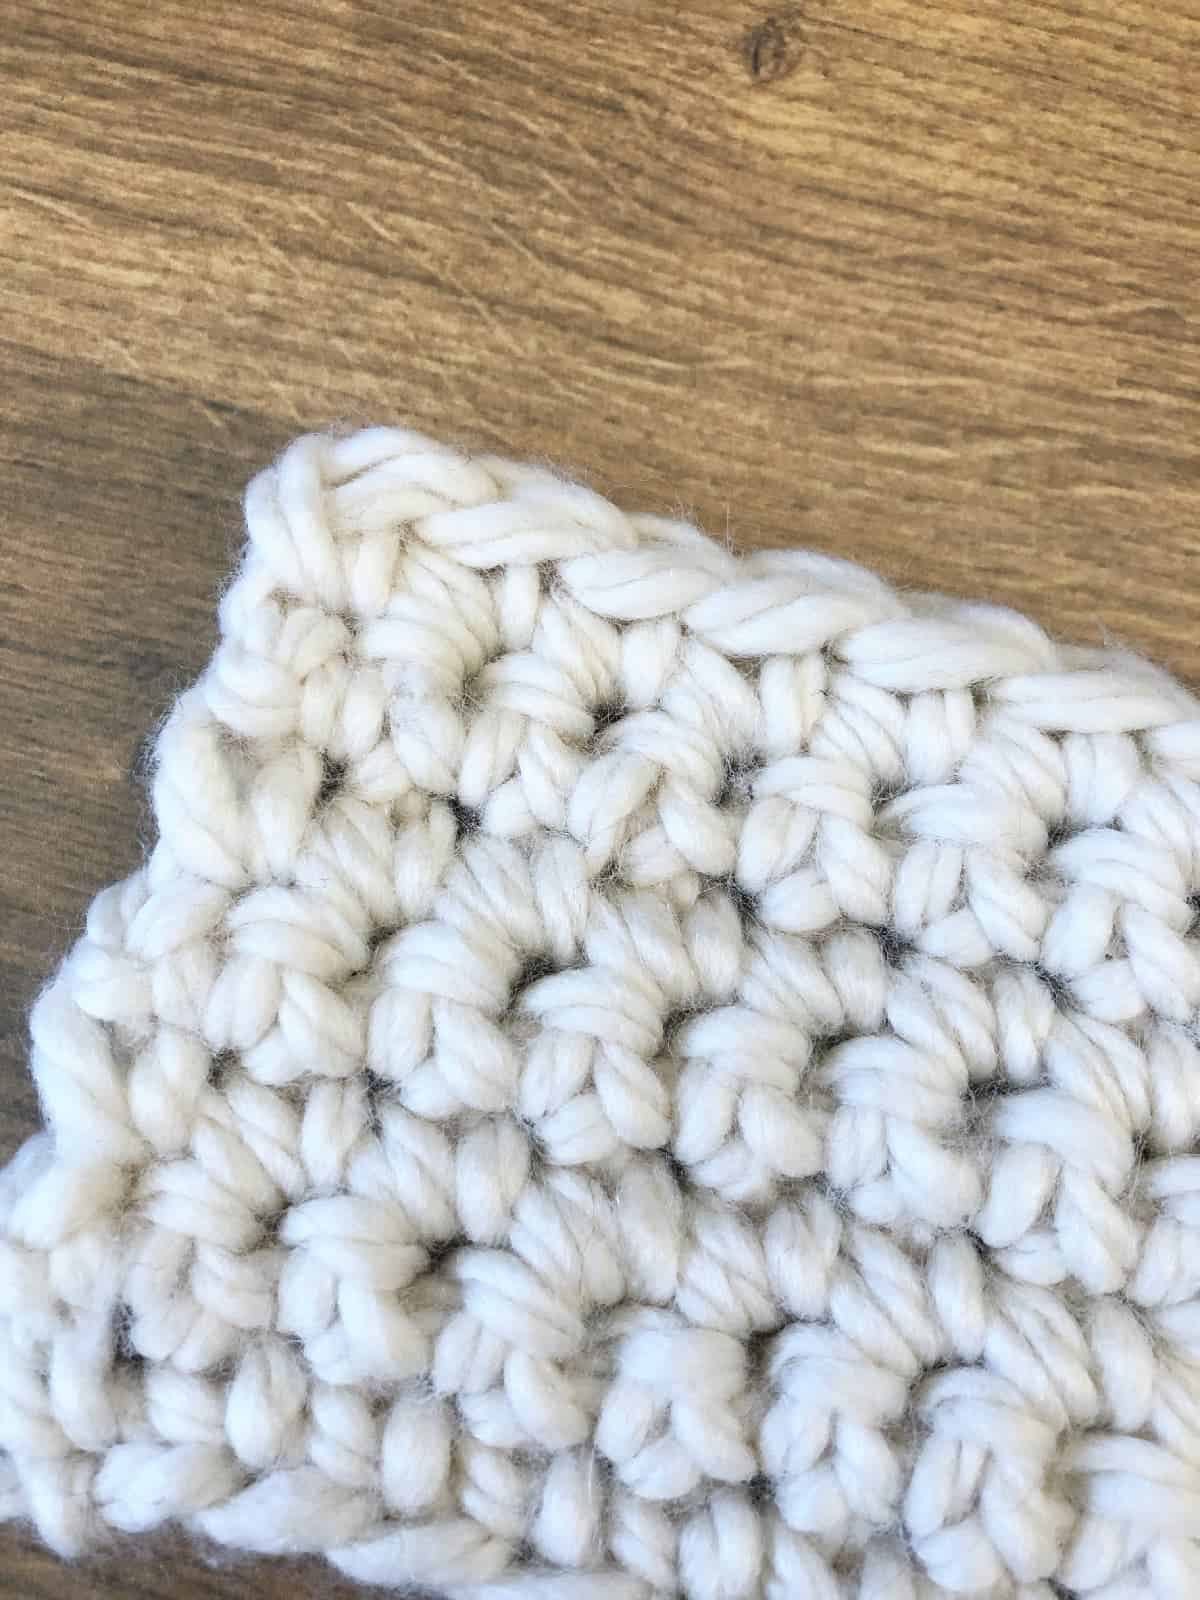
Weaving in the yarn end or tails, is done about the same way for almost every stitch pattern. Single crochet is the easiest to weave in since it’s the tightest stitch.
You will follow, or mimic, the path of the stitches for half double crochet, double crochet, cluster stitches and all the fancy stitches too. Your weaving may just take a different path. Again the key point is to go every which way to bury the ends of the yarn.
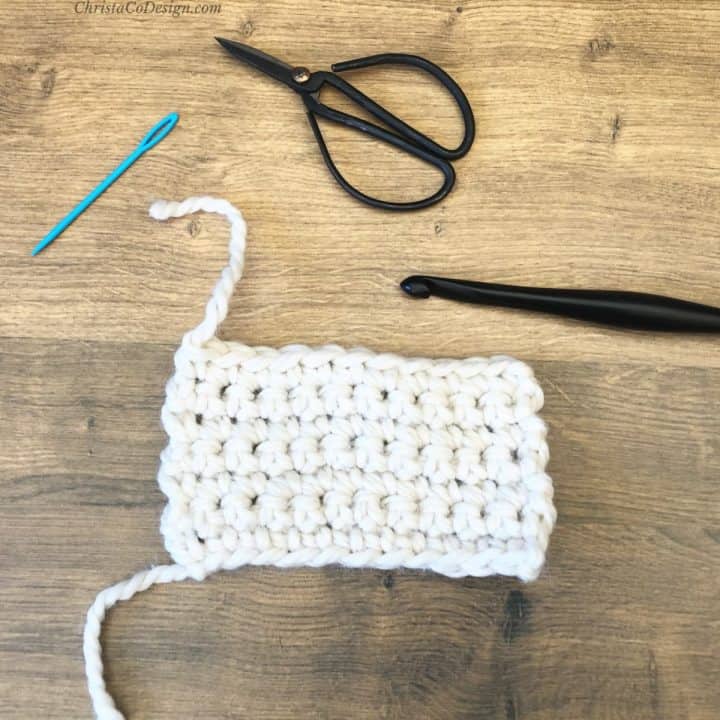
Materials
At this point you should already have used your yarn and hook to crochet something amazing! Now you’ll just need two more things to be able to finish your crochet project.
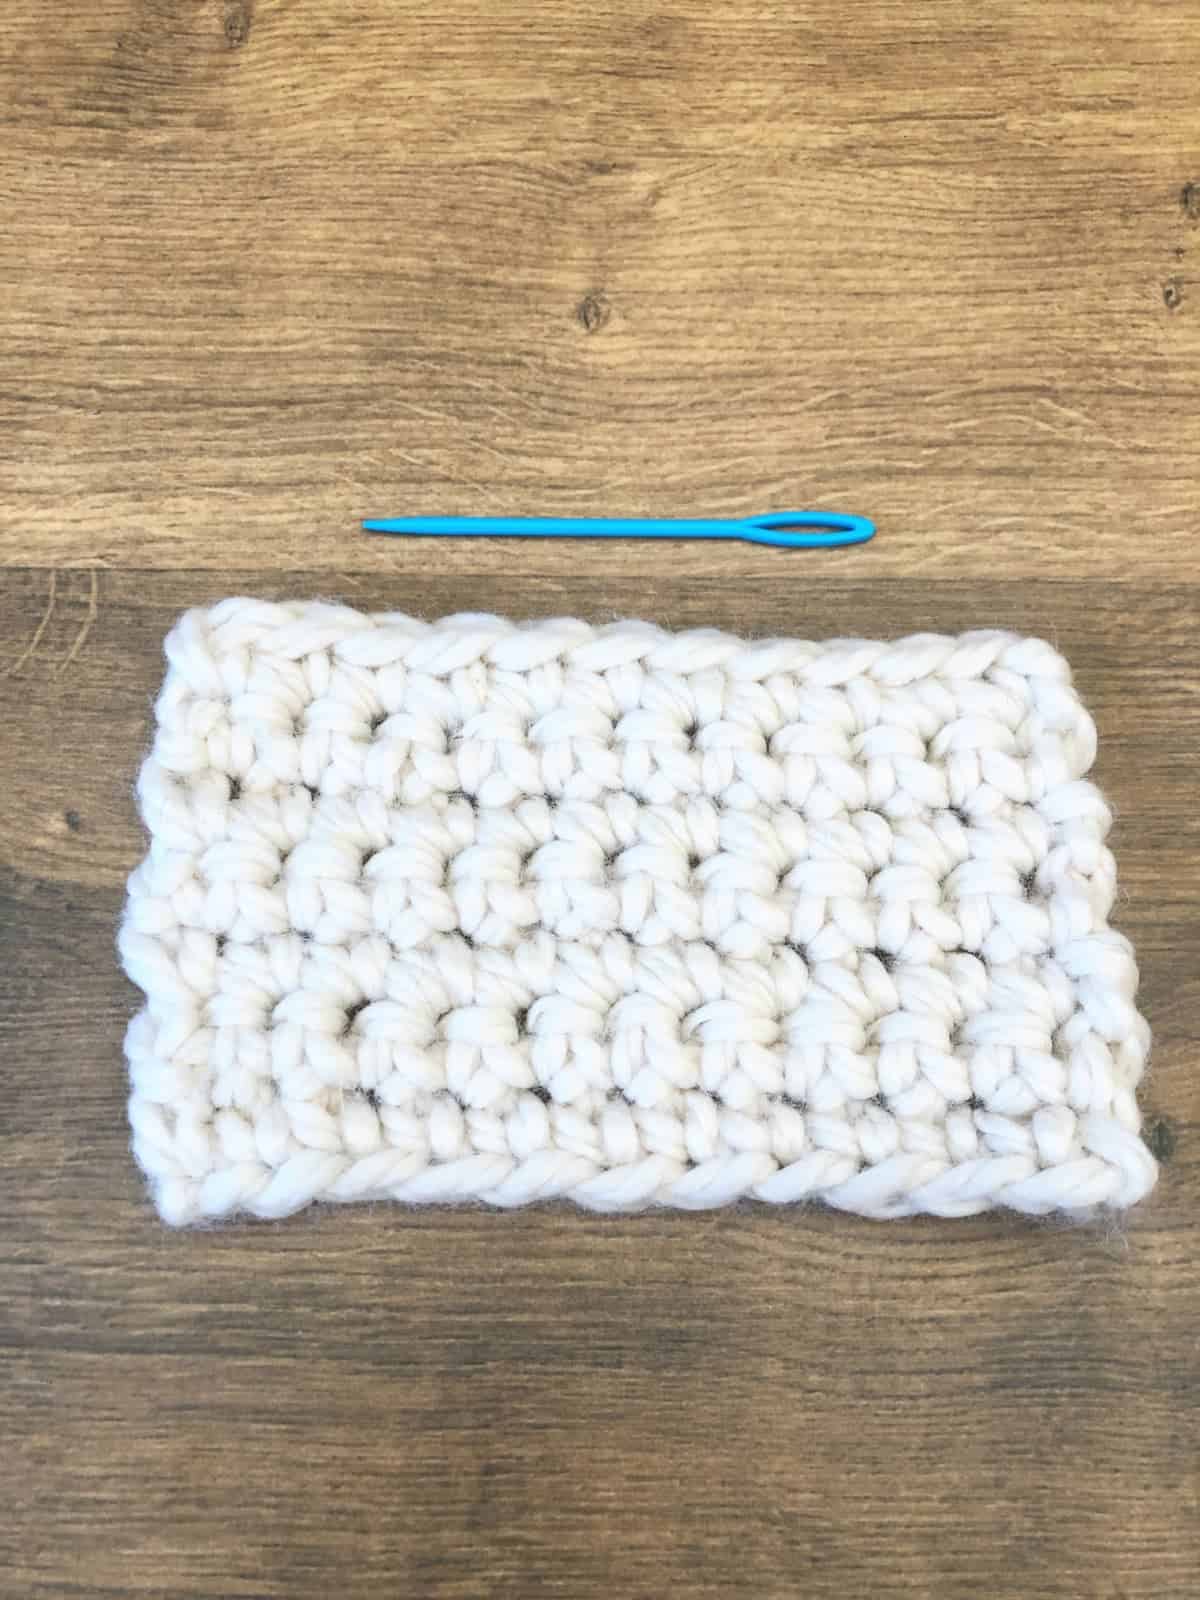
- A large eye, blunt tip yarn needle.* Some patterns will list this as a tapestry needle. You can use plastic needles or a metal one. Just like crochet hooks metal will glide smoother and easier with the yarn.
- A pair of scissors. I like a small, sharp pair of embroidery scissors* for trimming ends. When I have a few small pair, I can keep them in my various zipper pouches.*
Yarny Tip!
I don’t mix paper cutting scissors with yarn cutting scissors. Paper dulls scissors fast. You want sharp scissors to cut yarn cleanly!
When do you need to weave in ends?
It’s usually a good idea to weave in at the very end. This is helpful if you need to frog (rip out the rows you already crocheted)! Here are the instances that will create loose ends in your finished work.
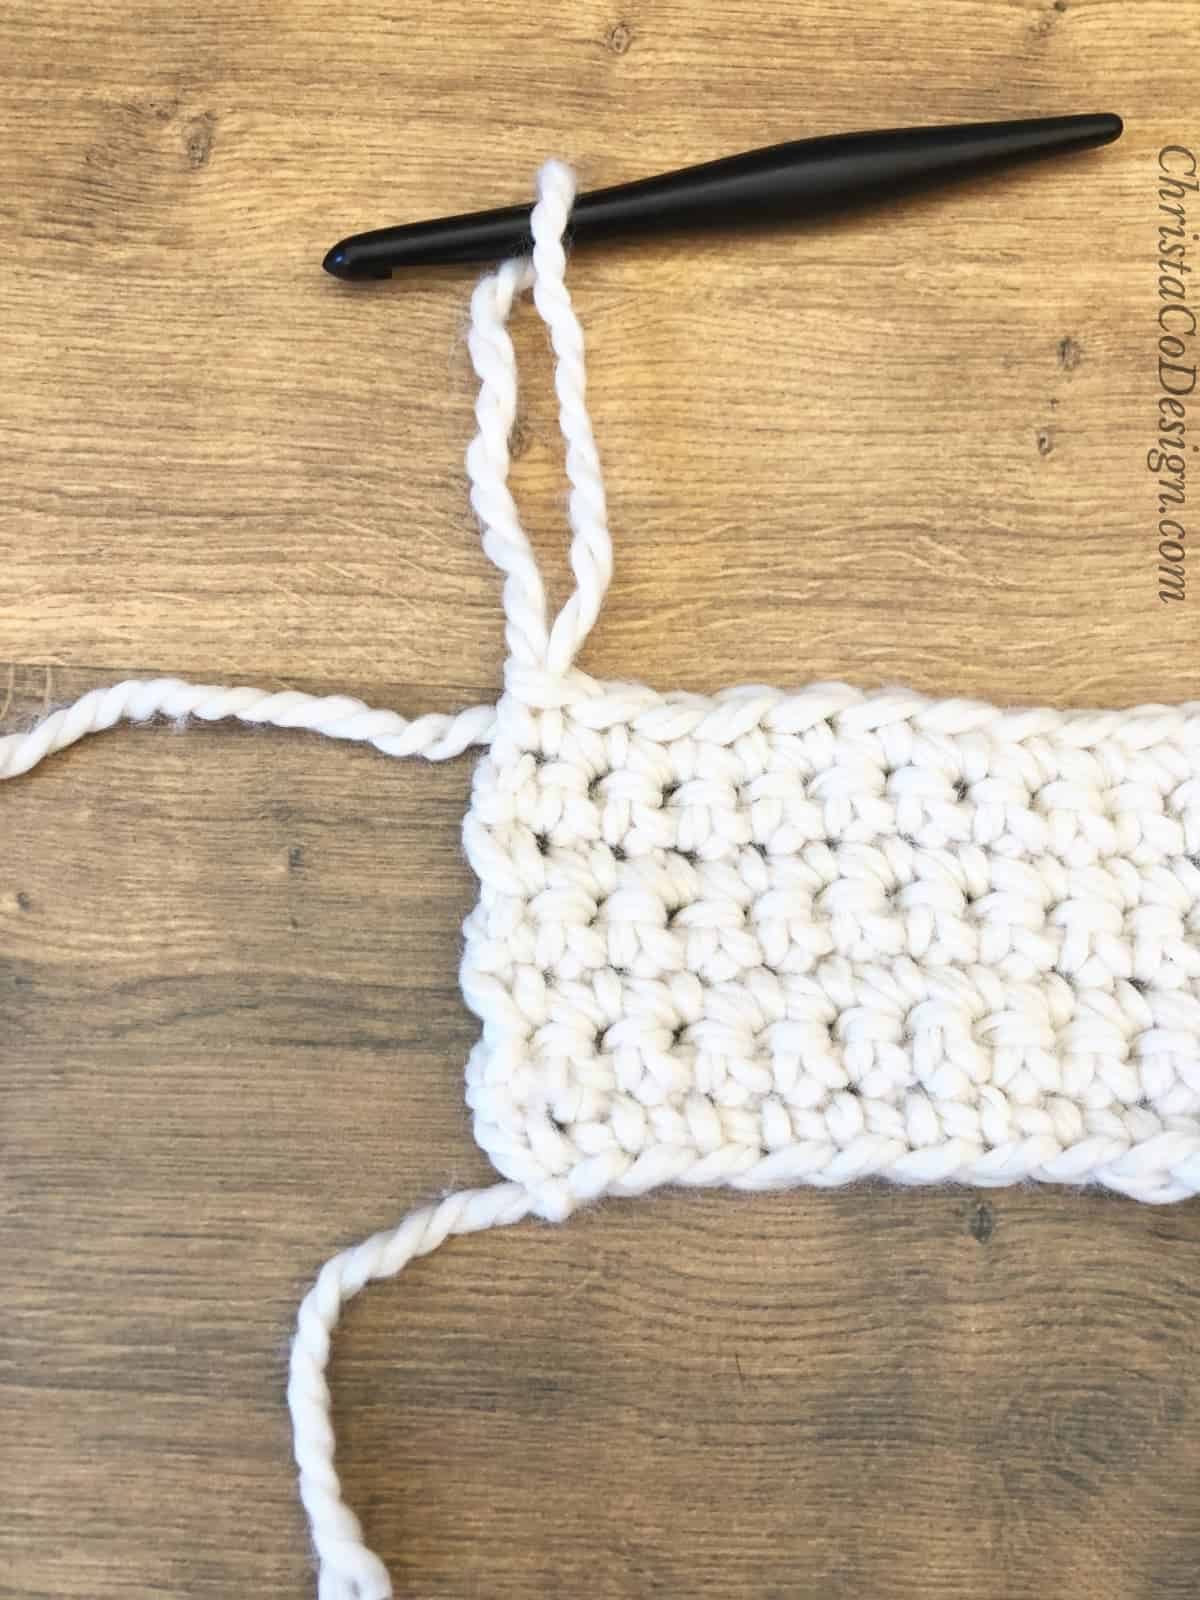
Your starting tail is the length of yarn before your slip knot from when you get started. Just thread it in the needle and weave it away.
At the end of the project you finish by pulling up a long loop-through the last stitch. Pull up about a 6″ length of yarn and then cut the yarn. Some crochet patterns may say, “break the yarn” here.
When you run out of yarn and need to join new yarn. You can join a new ball of yarn in a few ways. The magic knot is a popular one.
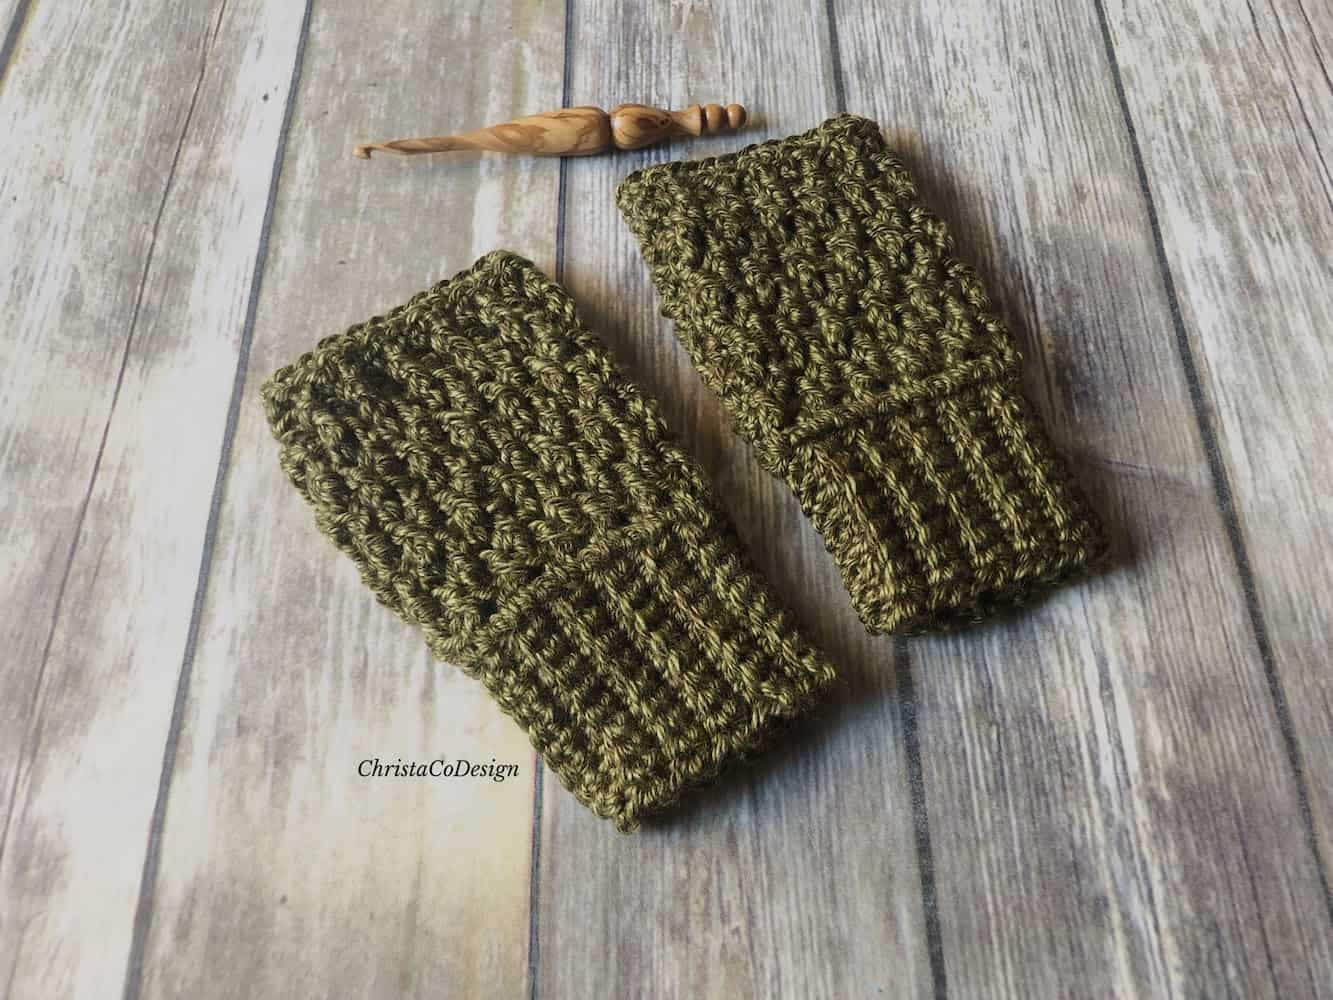
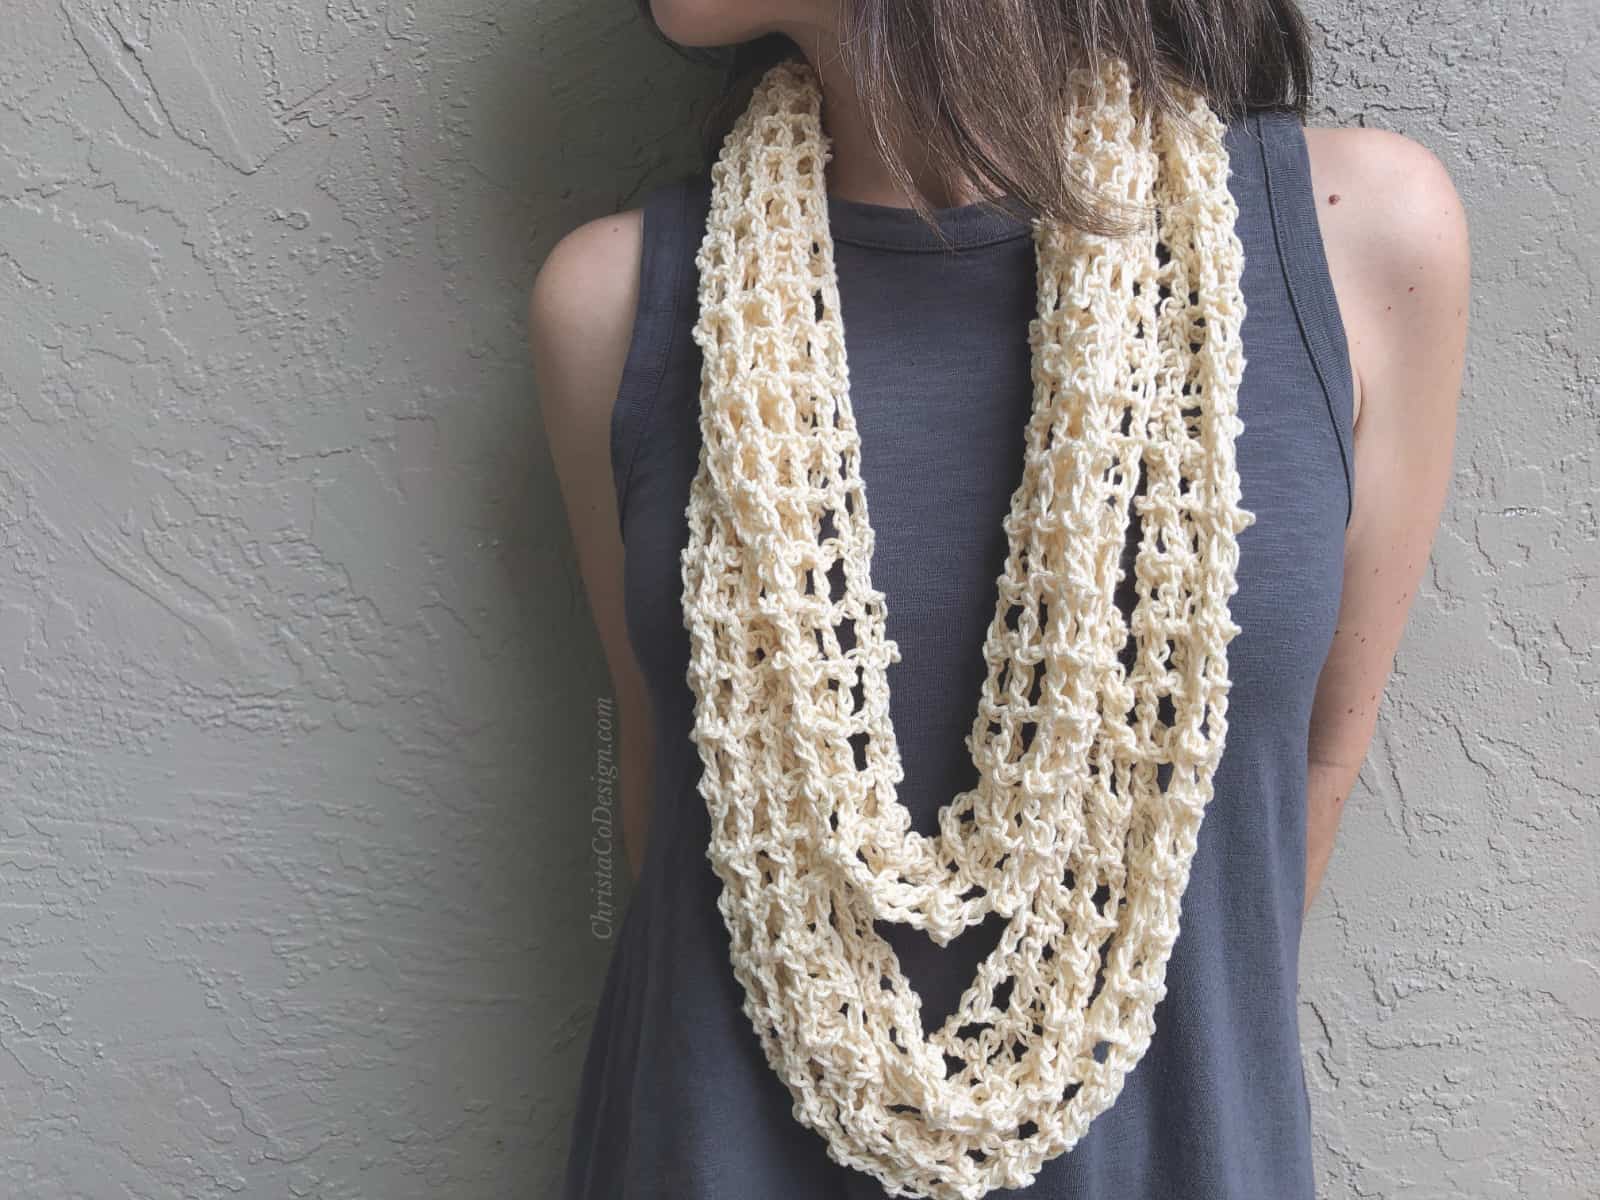
If you’re ready for a color change then you can cut the yarn and join a different color. You’ll have to weave it in. Or drop it and carry it like I do in this bookmark. I have tutorials on changing colors at the end of a row and seamless color changes in the middle of a row.
Abbreviations (US Terms)
break the yarn – cut yarn from ball or skein, leaving a long enough tail to weave in.
ends – the yarn tail after it is cut from the ball (or you use almost all of it). See “tail.”
tail – the end of the yarn, after you cut it from the ball of yarn. Sometimes called “ends.”
working yarn – this is the yarn that you are working with (crocheting) and is still attaching to the ball or yarn.
Which side?
Should you weave in ends on the front of the work or on the wrong side of the work? The answer is it depends.
I think it’s generally accepted that you weave them in on the back of your work. However there are definitely stitches / yarns where I want to see how it looks on the right side of my work.
So either works and you should not see the ends either way. Be sure you are following along the same lines as the stitches and rows whether you’re on the front or back.
Video Tutorial on How to Weave in the End of your Tail
Video tutorial on my youtube channel
Weave in Your Tail Crochet Tutorial
How to Weave in Ends a Crochet Tutorial for Beginners
Learn to crochet how to weave in those ends when your first crochet project is complete.
Materials
- Finished crochet project
Tools
- Large eye, blunt tip needle, yarn needle or tapestry needle
- Scissors
Instructions
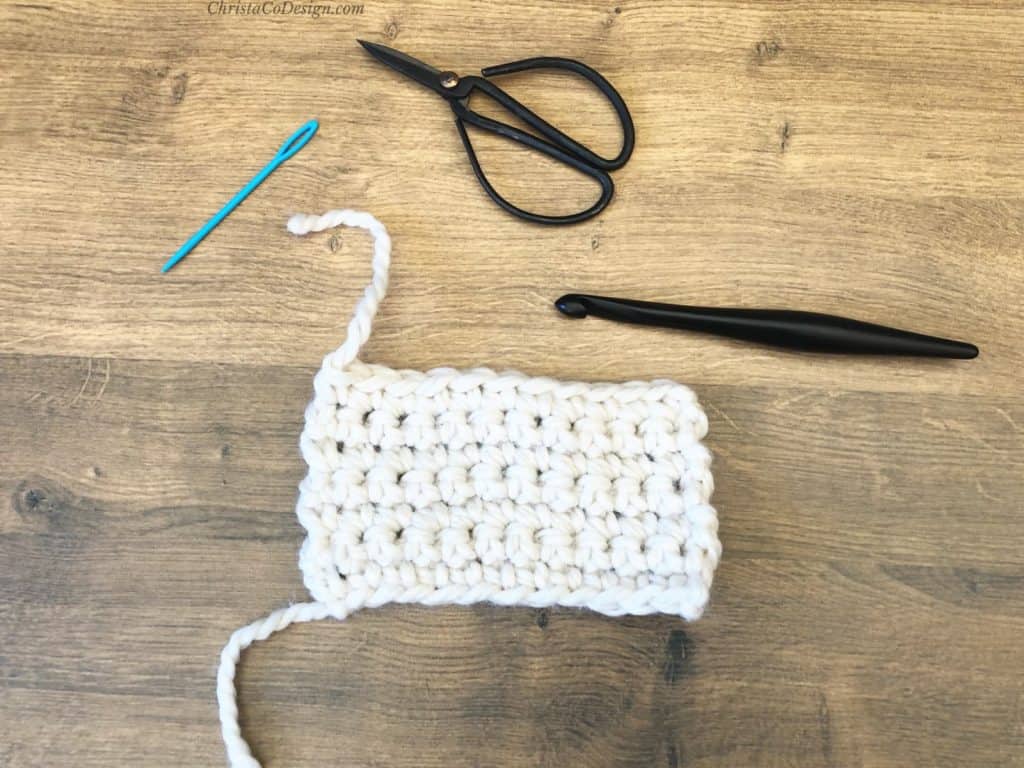
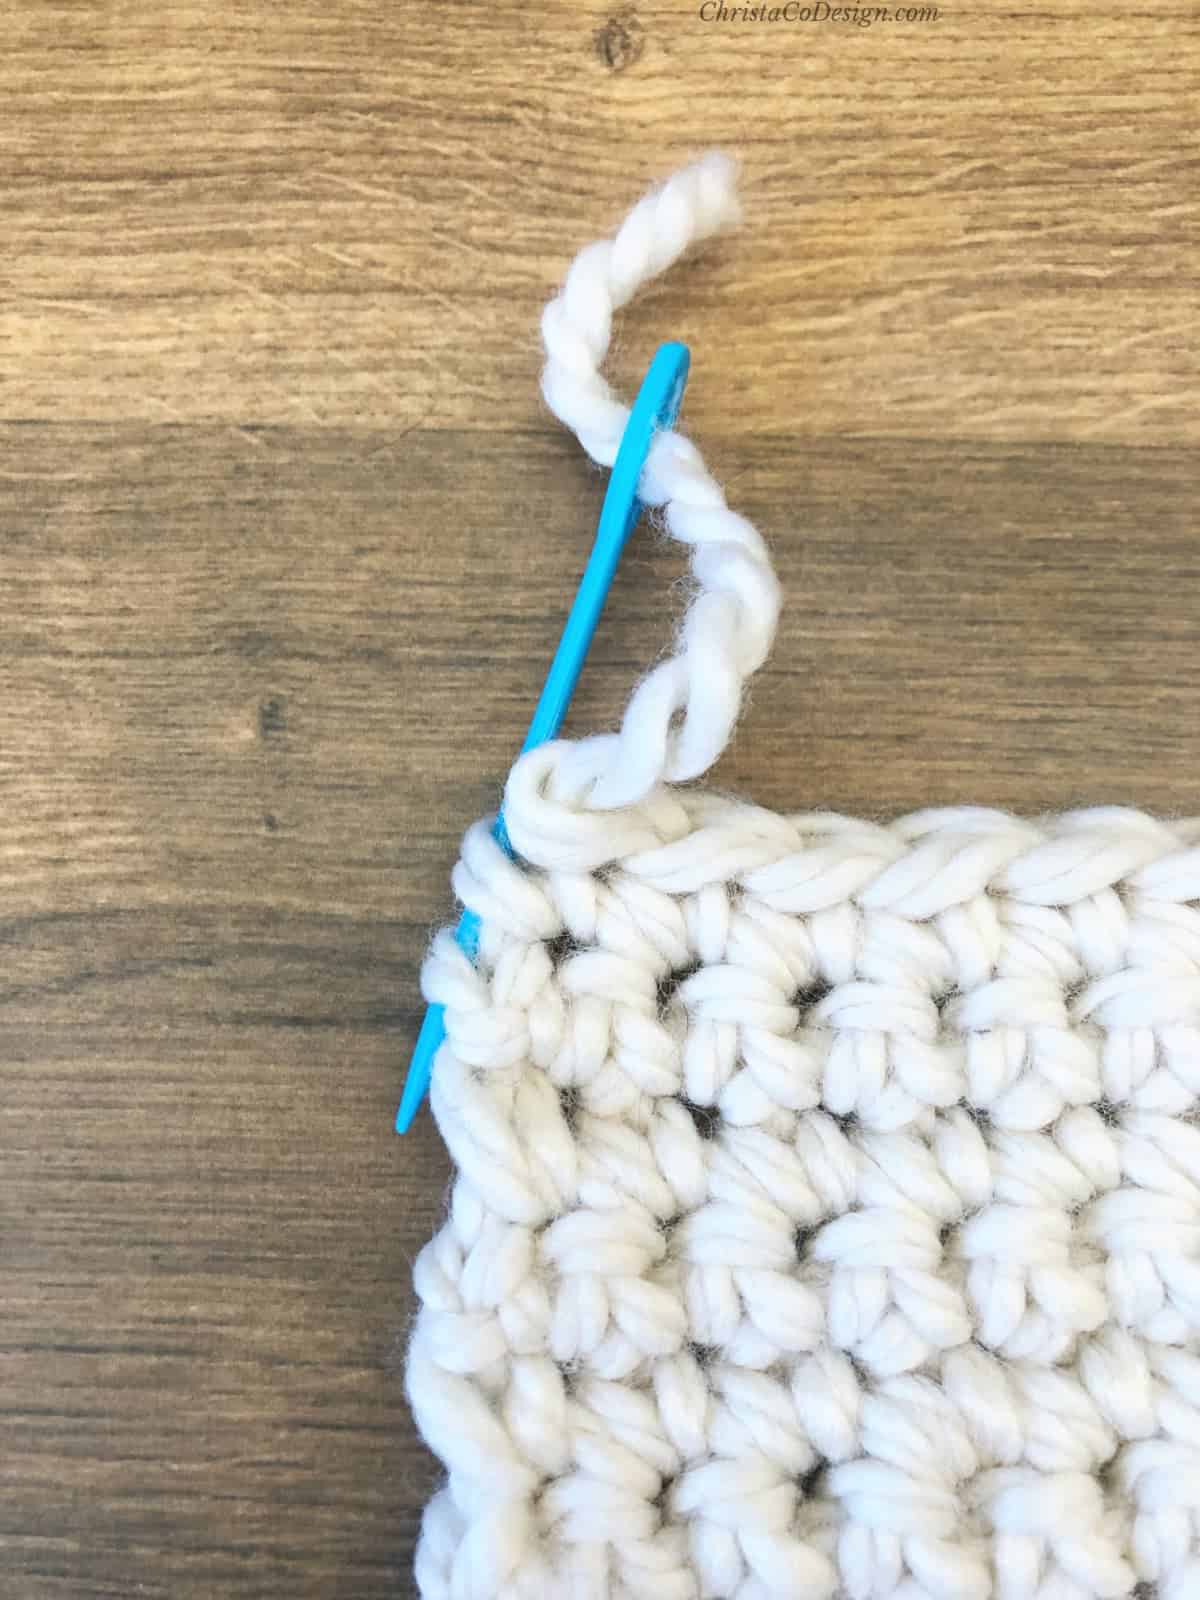
- If you just finished your crochet pattern, on the last stitch pull up a long loop of yarn with your hook (at least 6").
- Cut yarn.
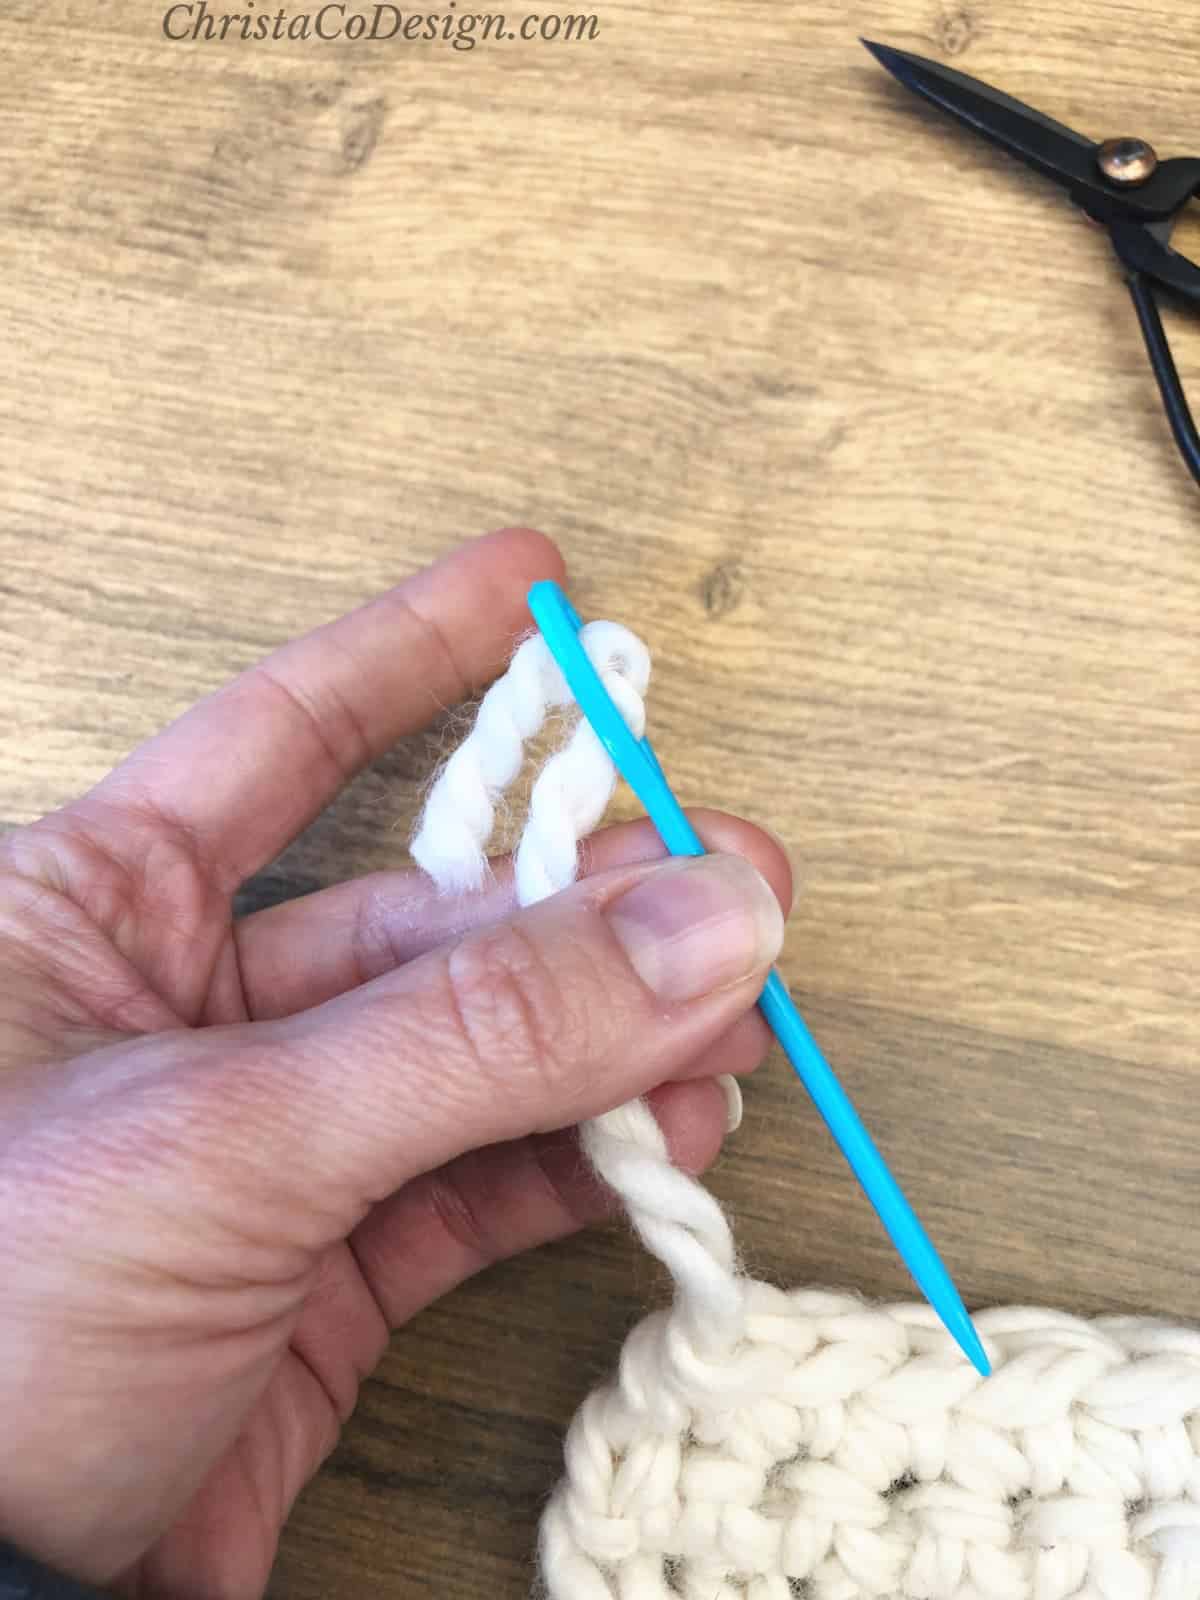
- Thread your yarn needle.
- Insert needle down into the side of your work, slide it between yarn loops.
- Slide needle between stitches along a row.
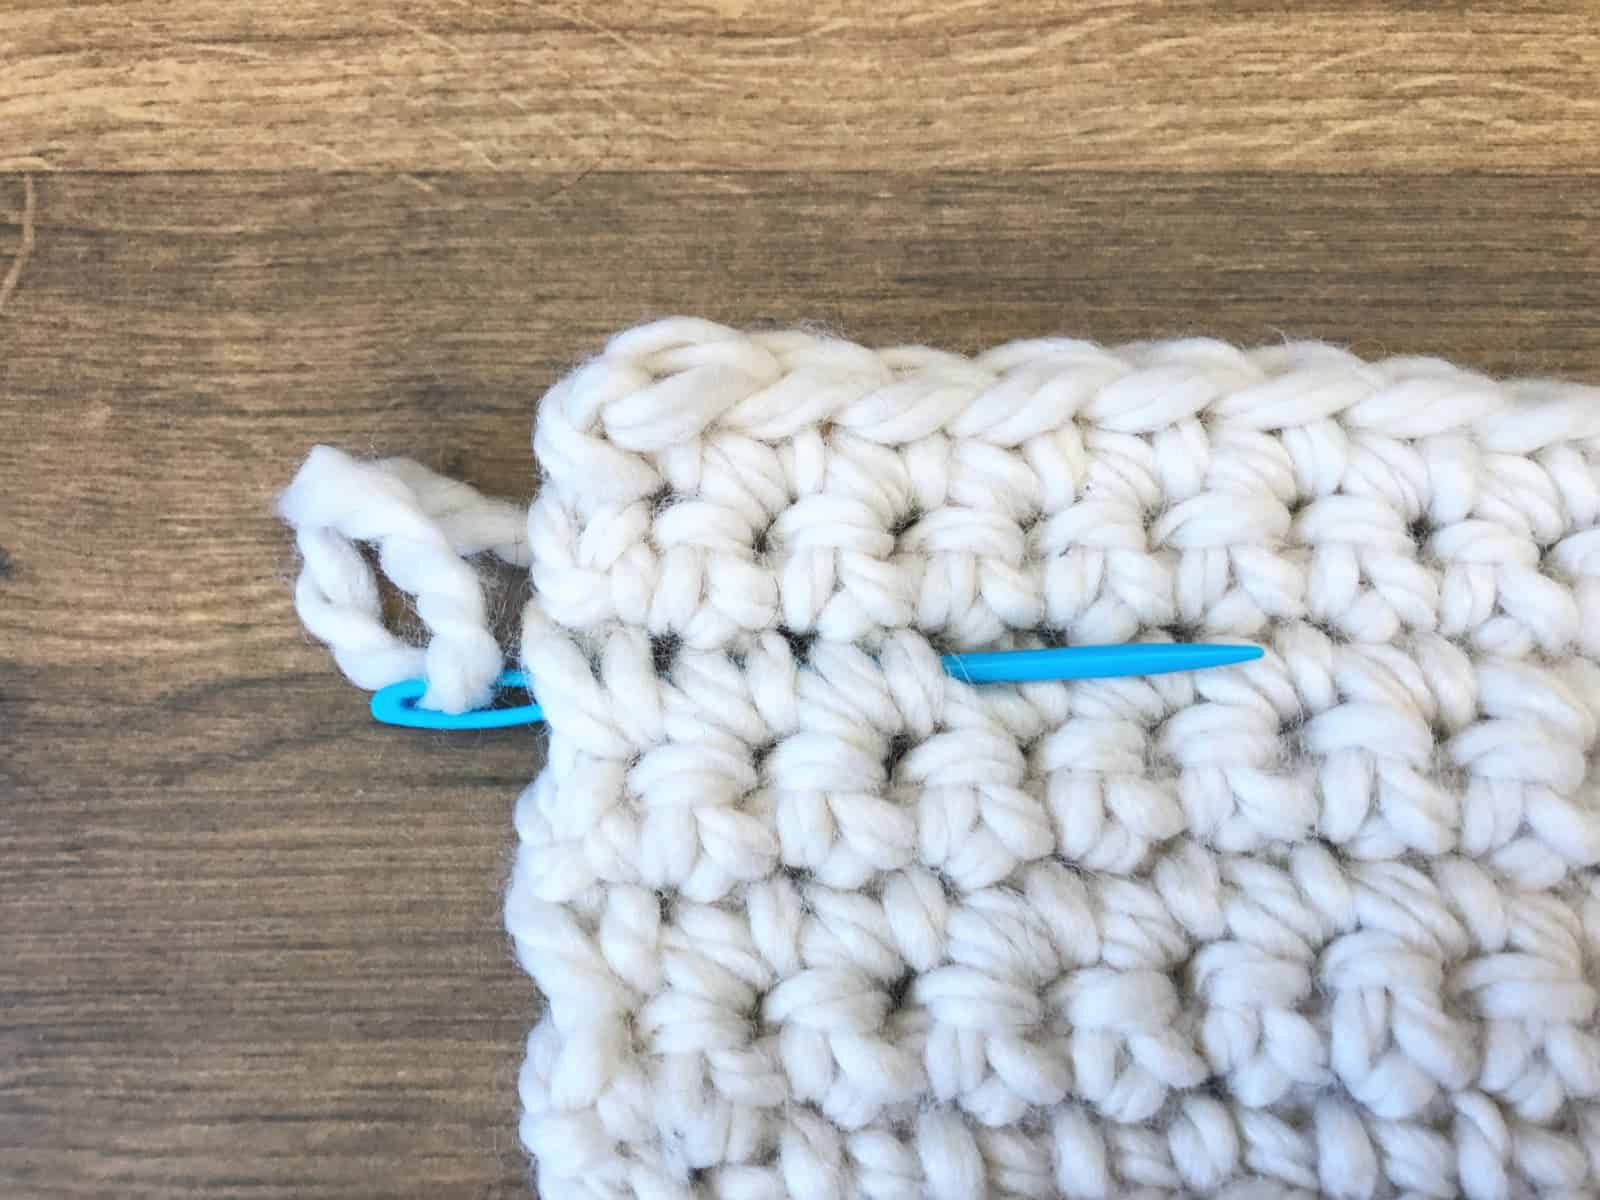
- Go up and back the other way, continuing to slide the needle between the row of stitches.
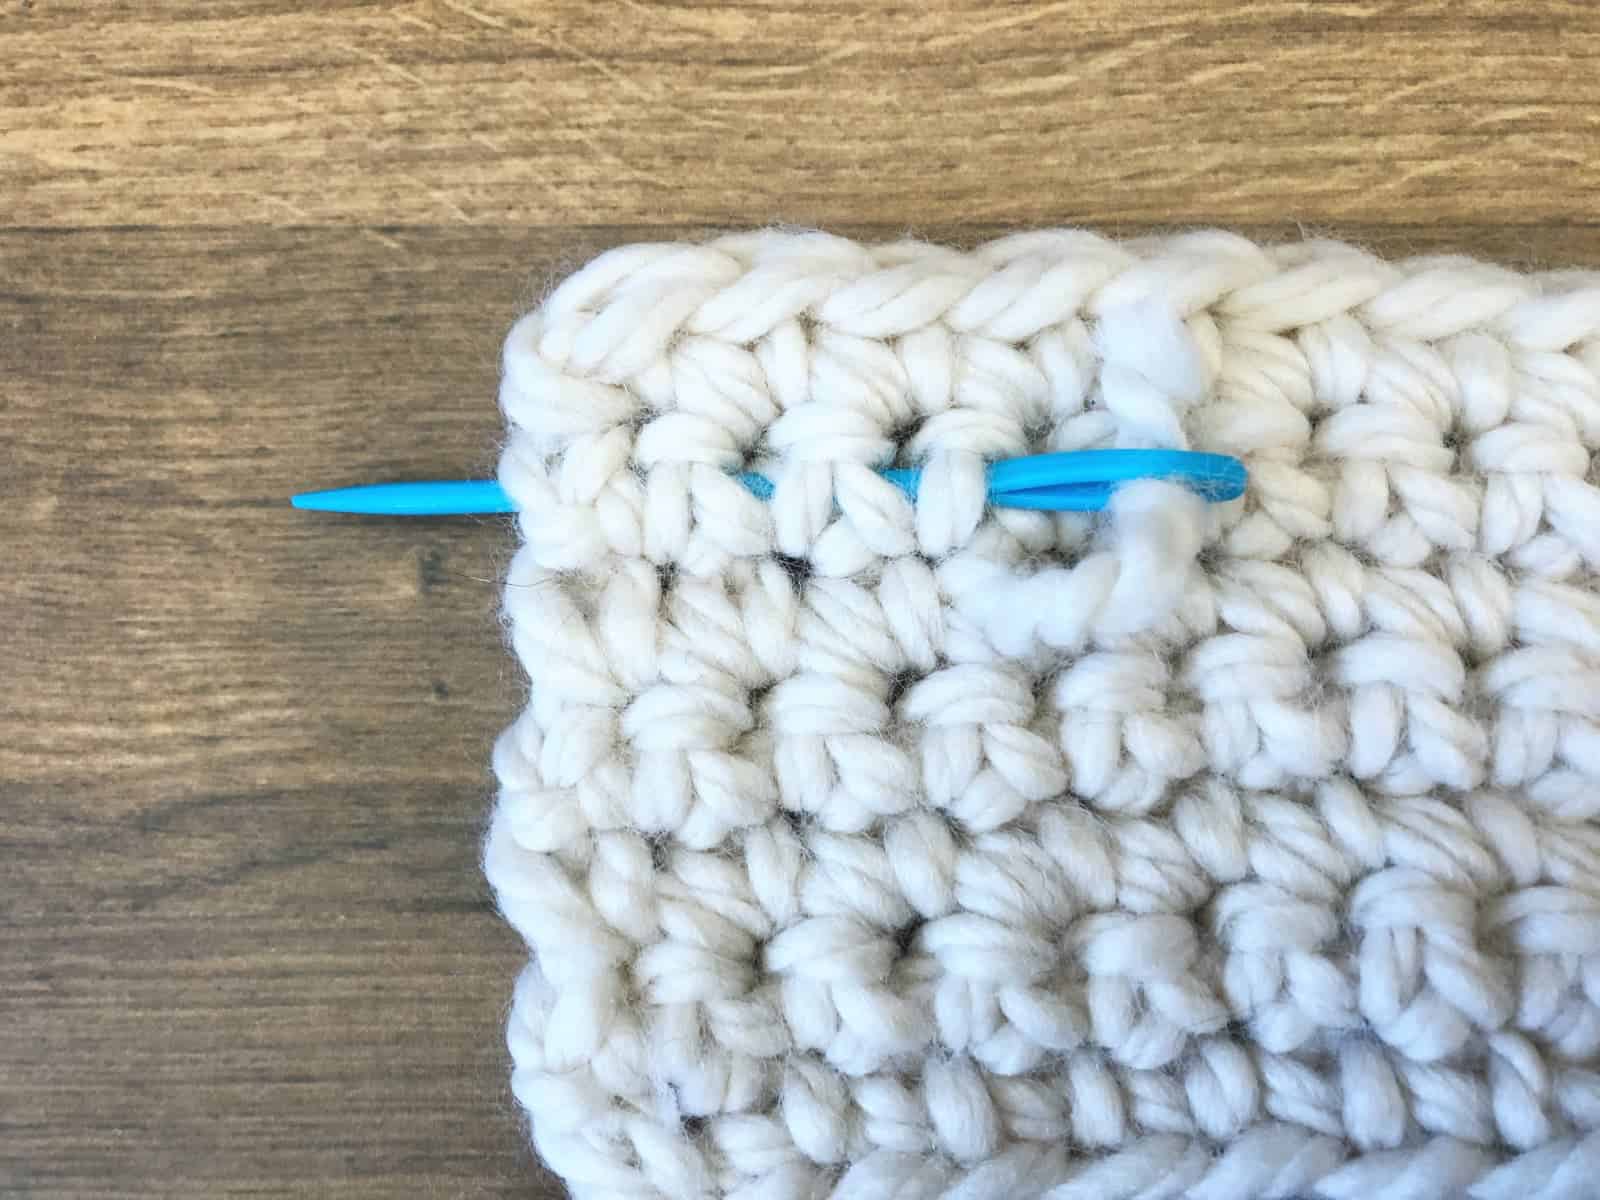
- Keep weaving away the end, back and forth, up and down to lock it in place.
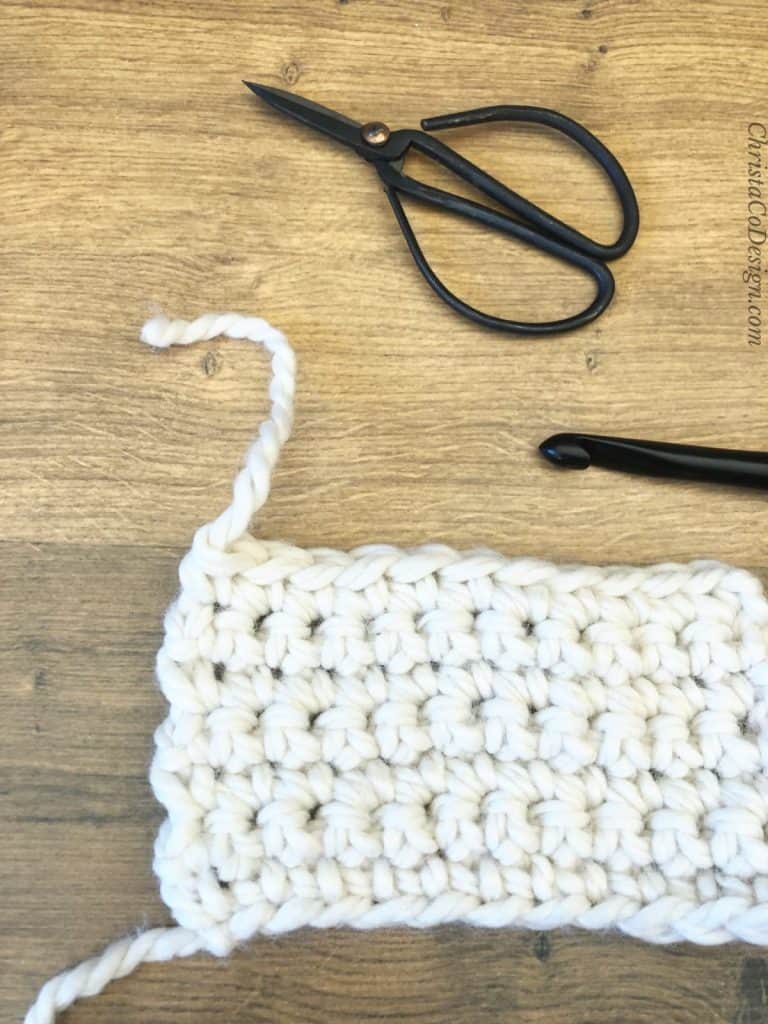
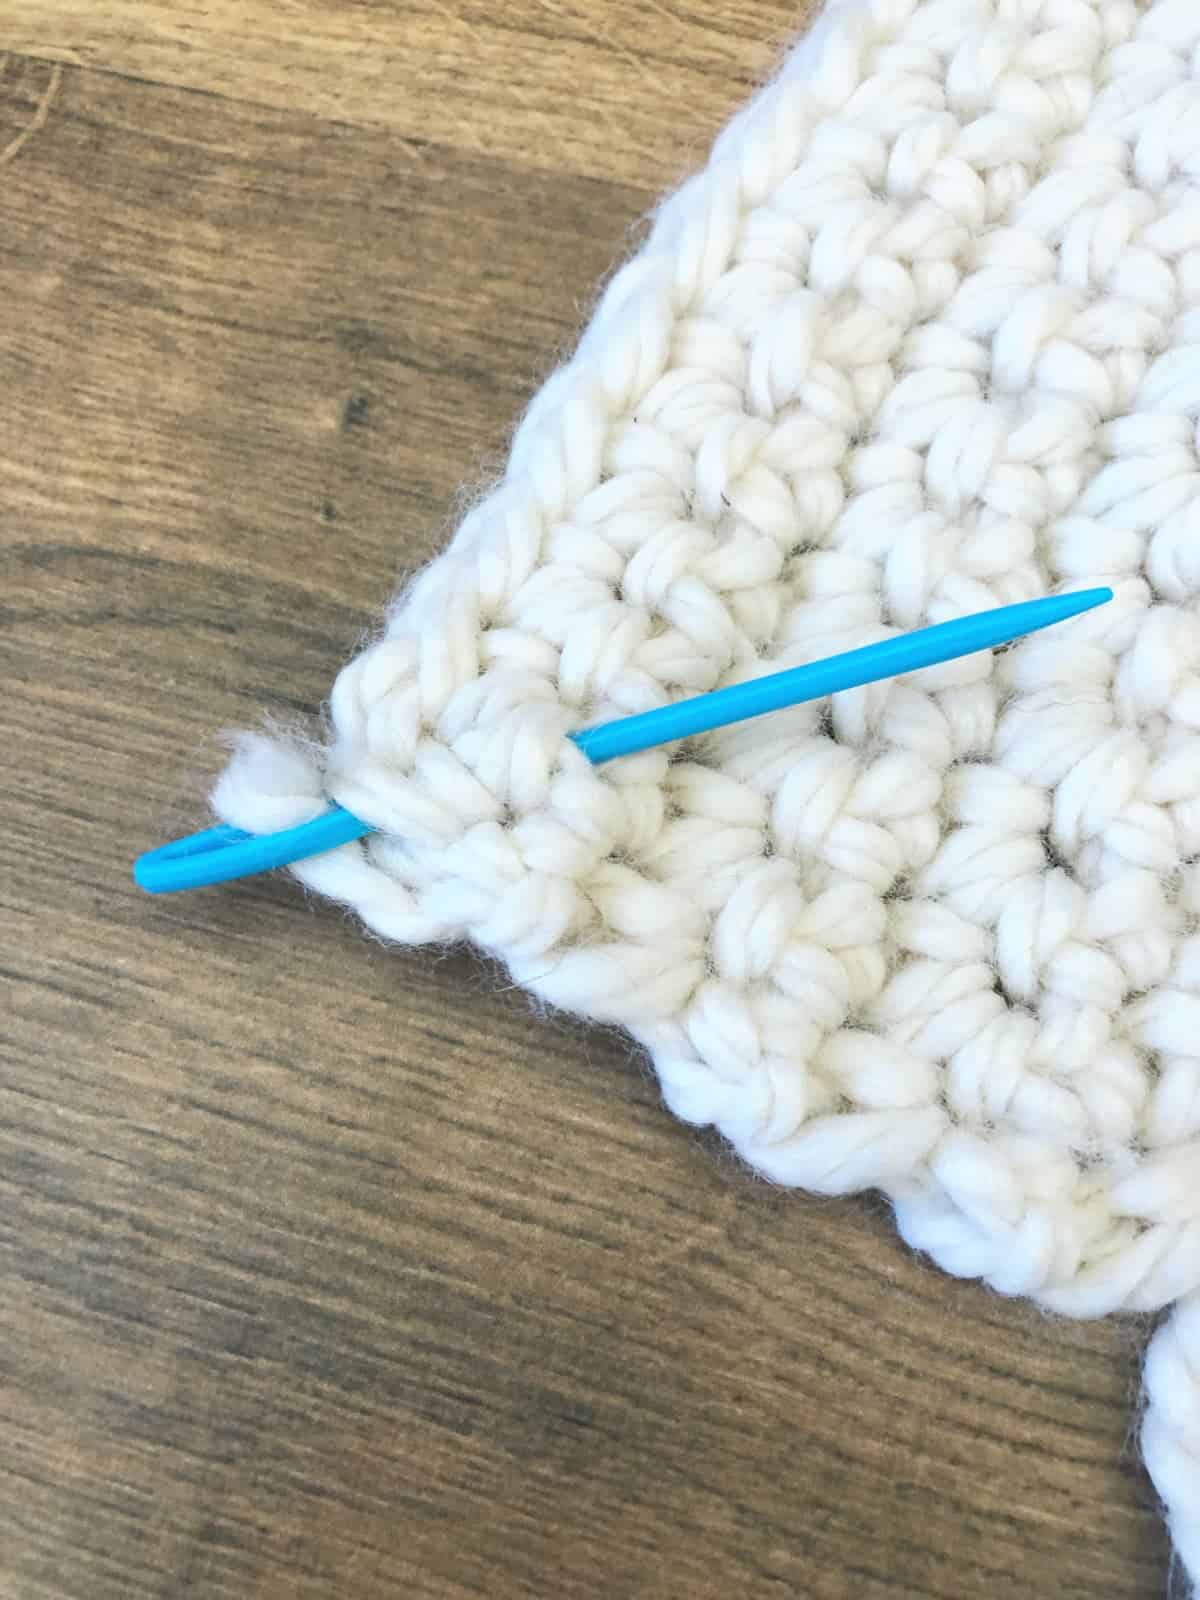 Tip: when the tail gets too short, send the needle in ahead (without the yarn) get it into position, and then thread the yarn into the eye of the needle again, and use the needle to pull that little bit through. That's how I get as much of the tail weaved around as possible.
 - Trim the end.
- Rep for other tail(s).
Notes
Ends like to poke out, even after trimming. Just poke them back in. Or, if you're sure you've securely weaved them, trim it again.
I remember when my mother in law crocheted my first born a blanket, that was her advice, "if a yarn tail pokes out, just pull it gently and trim the end."
Recommended Products
As an Amazon Associate and member of other affiliate programs, I earn from qualifying purchases.