Modern Crochet Pillow Pattern | Trentino Reversible Pillow
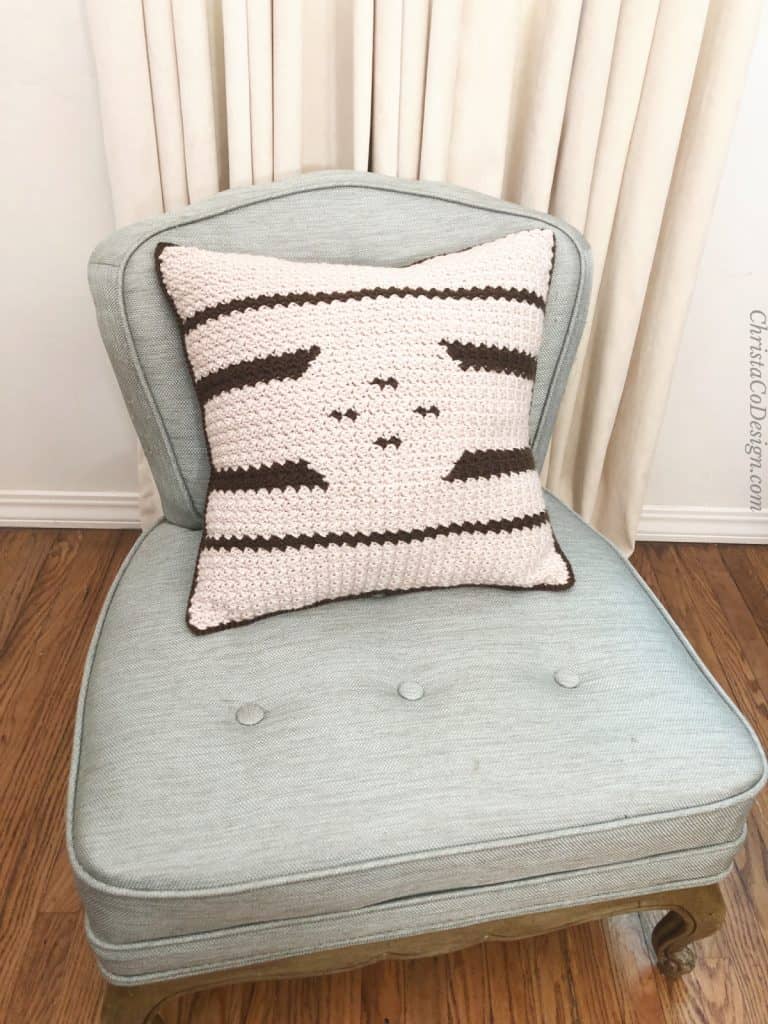
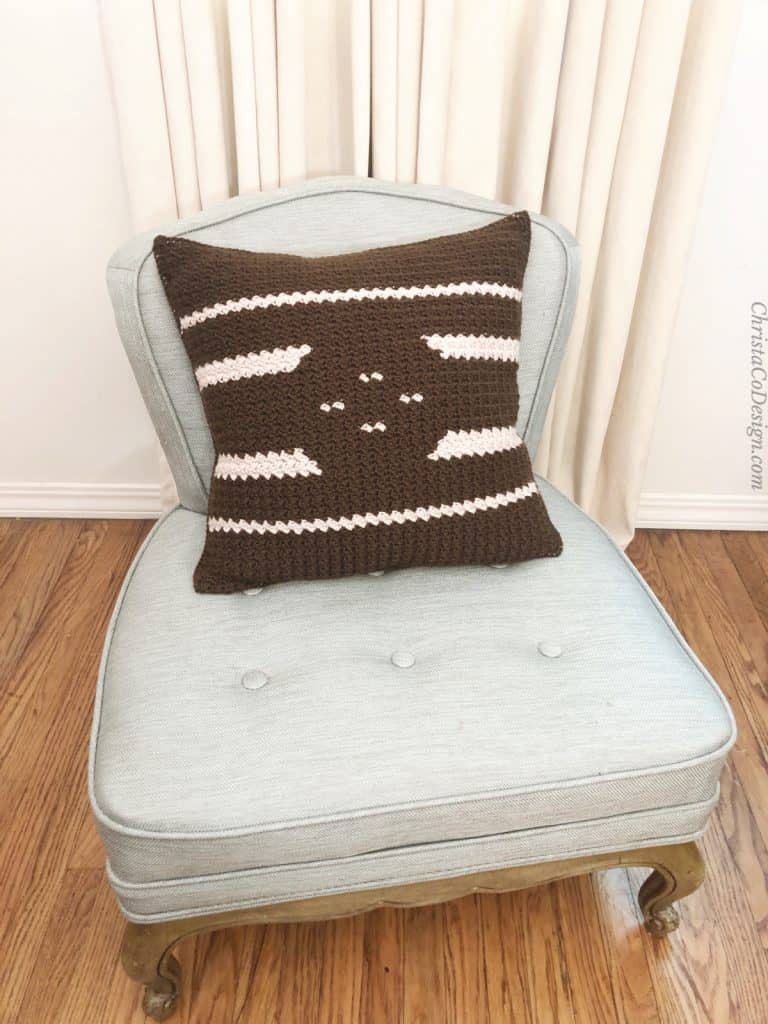
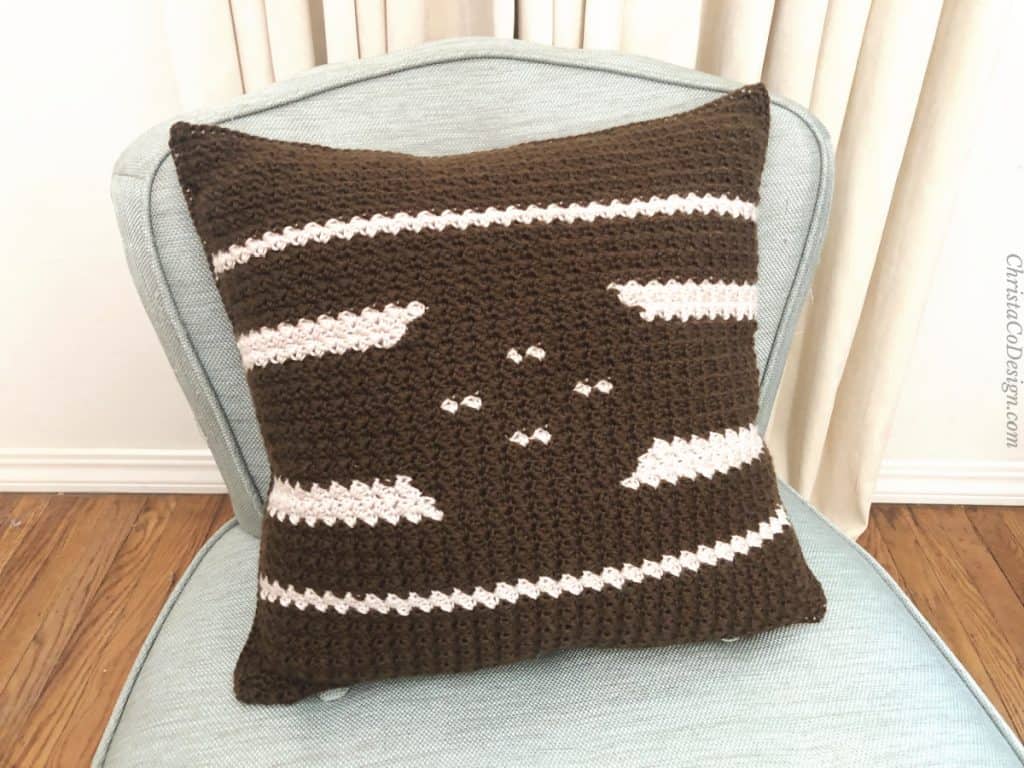
The Trentino is a modern crochet pillow pattern featuring a geometric design accentuated by the contrasting colors. This reversible pillow features a light side and a dark side to showcase your chosen colors.

This post contains affiliate links, I may earn a fee. Read more disclosure policy.
Join the ChristaCoDesign Newsletter
Never miss a pattern!
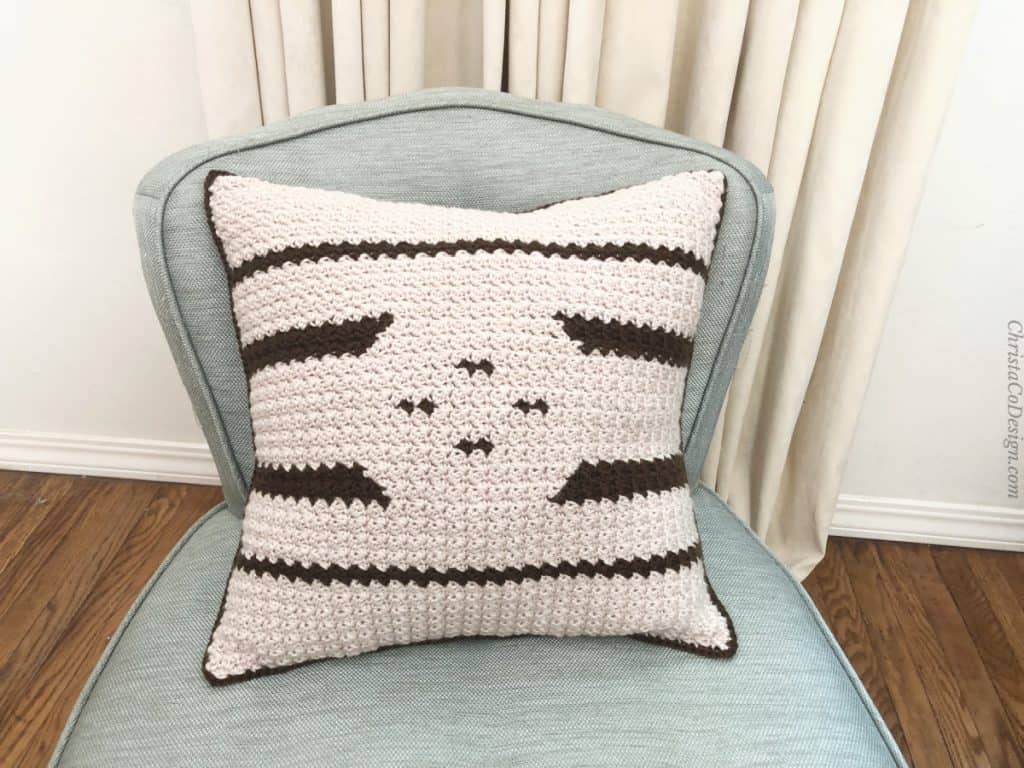
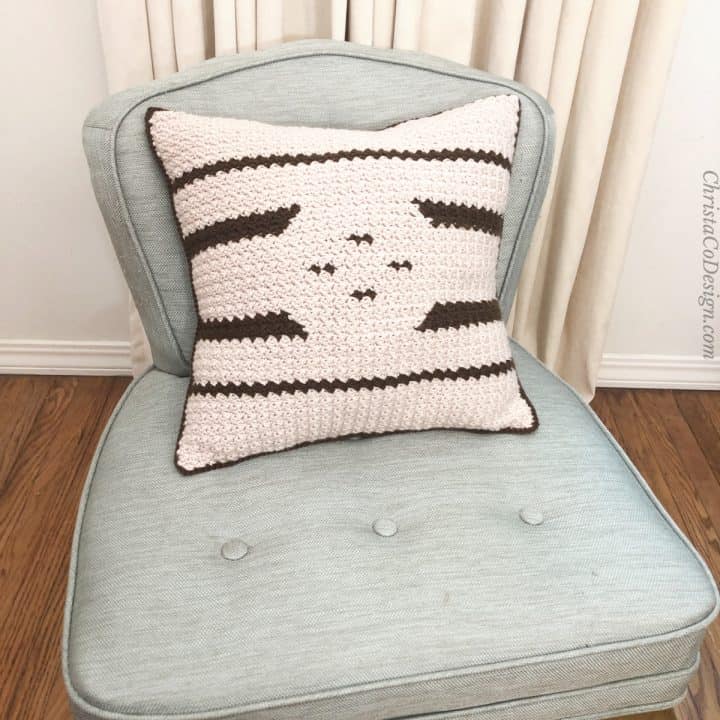
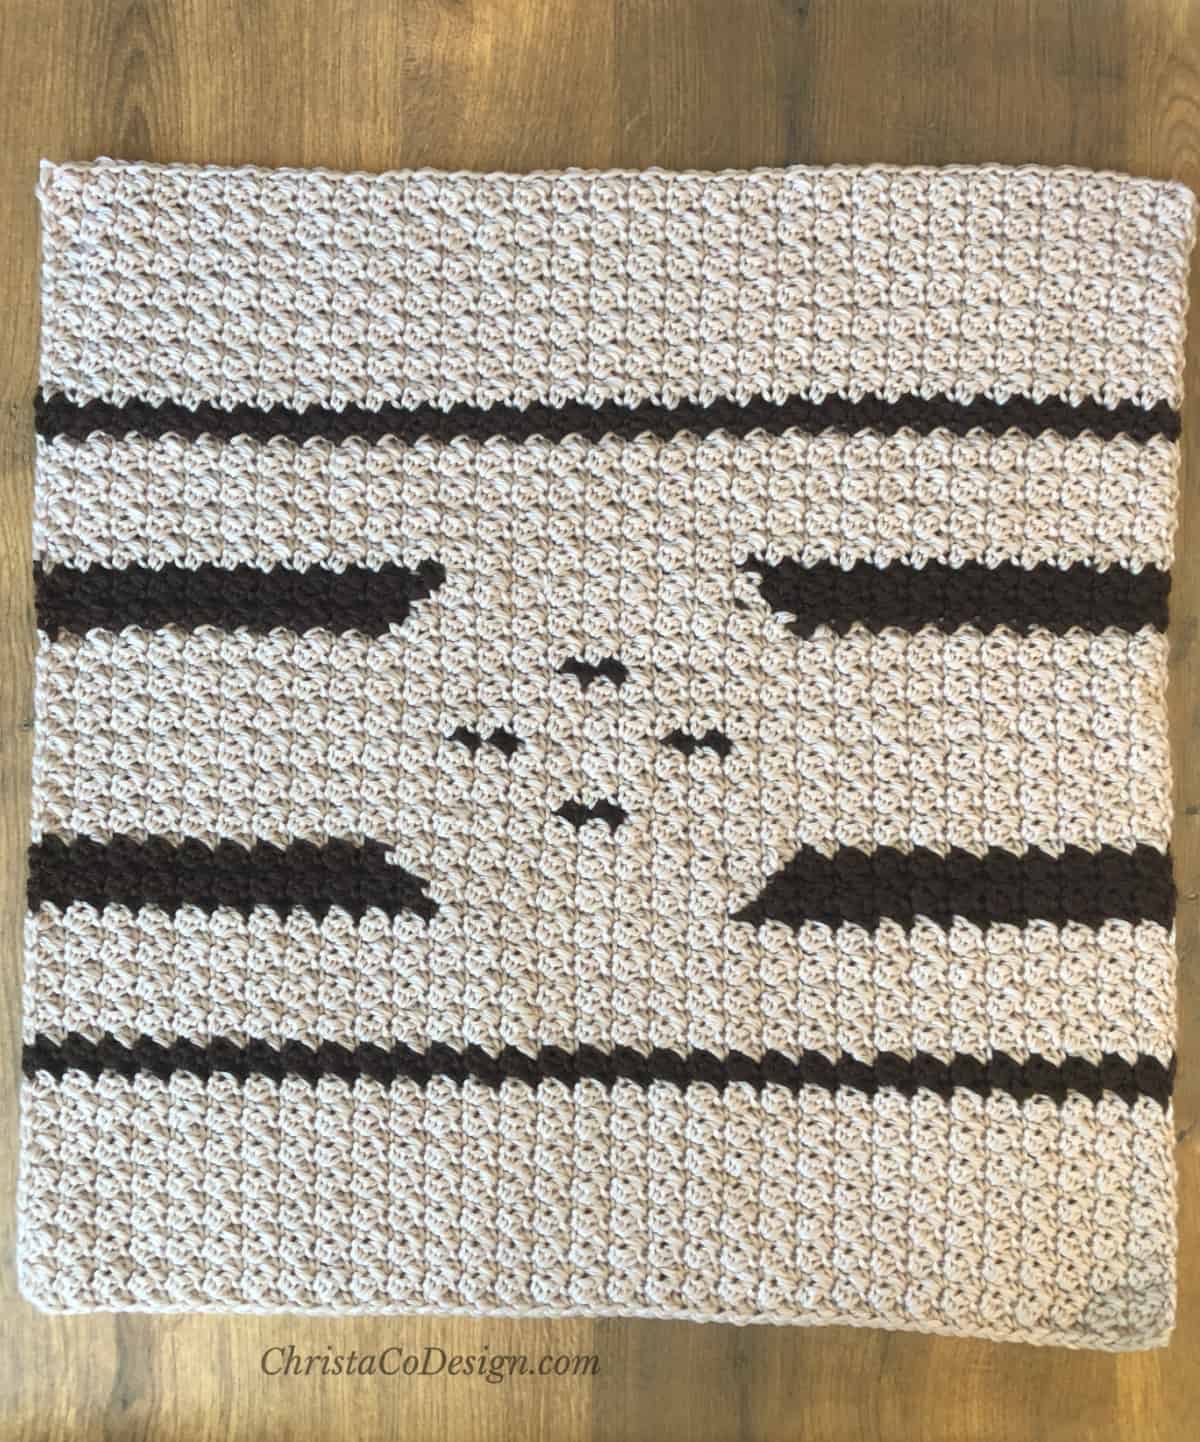
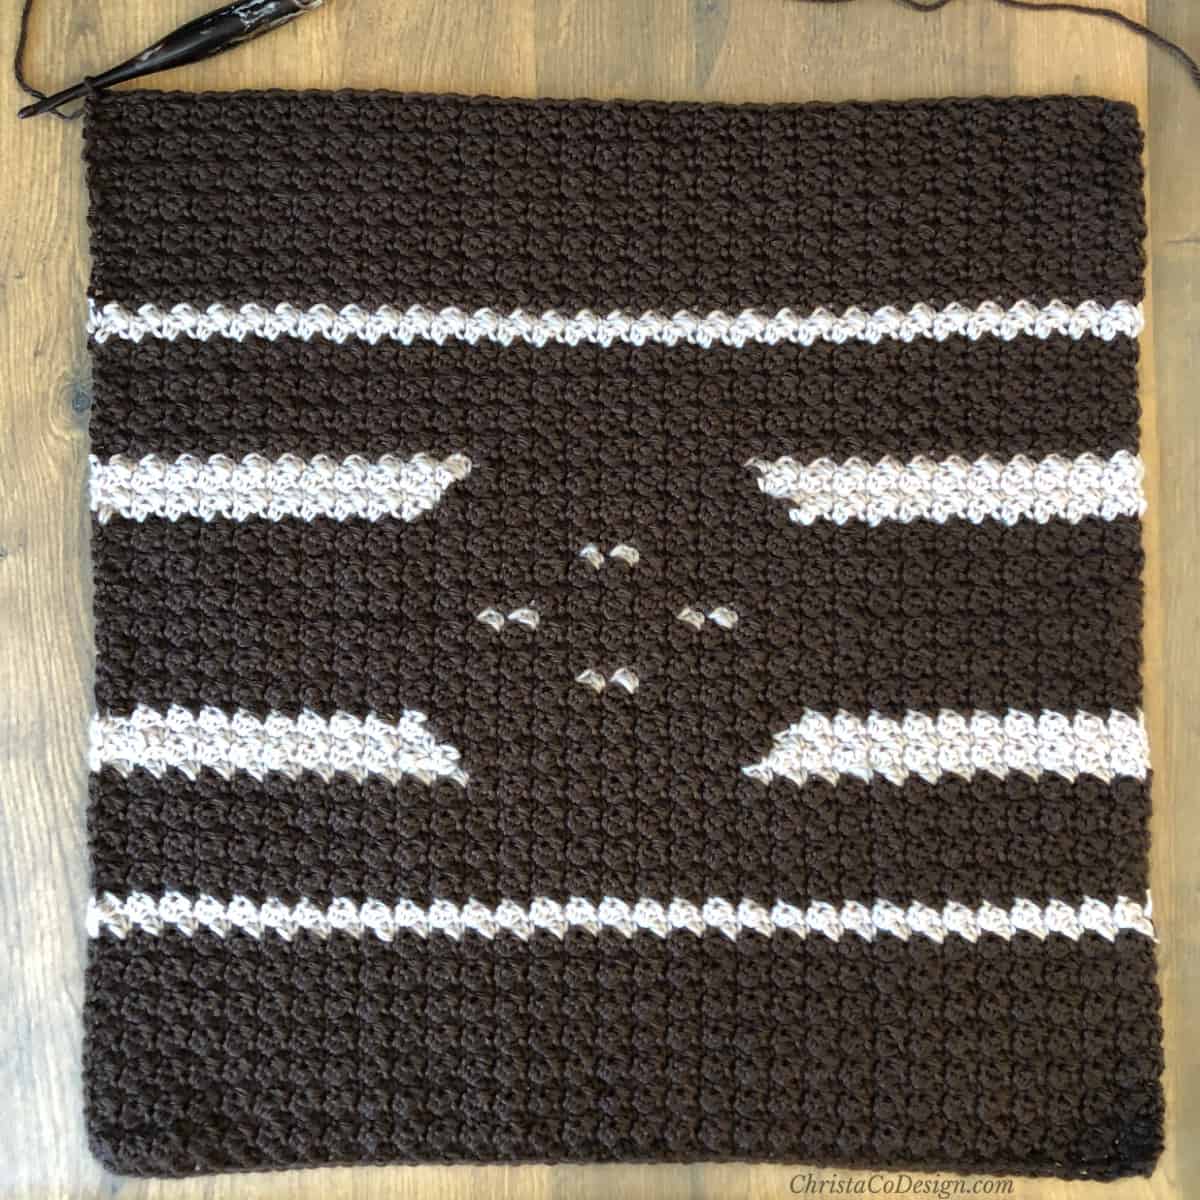
With a light background and contrasting stripes on one side, you can flip this pillow over to reveal a dark background with light stripes.
I love that this makes choosing the colors a little bit easier, because you’ll have an opportunity to feature them both. Yarn shopping and making color decisions are the hardest (but fun) part!
Thanks to WeCrochet for sending me the yarn to make this pattern.
This crochet pillow features a textured stitch and simple color changes to achieve a striking result. A beginner can feel confident crocheting this pattern.
To assist you further, I link up some color change tutorials for you below.
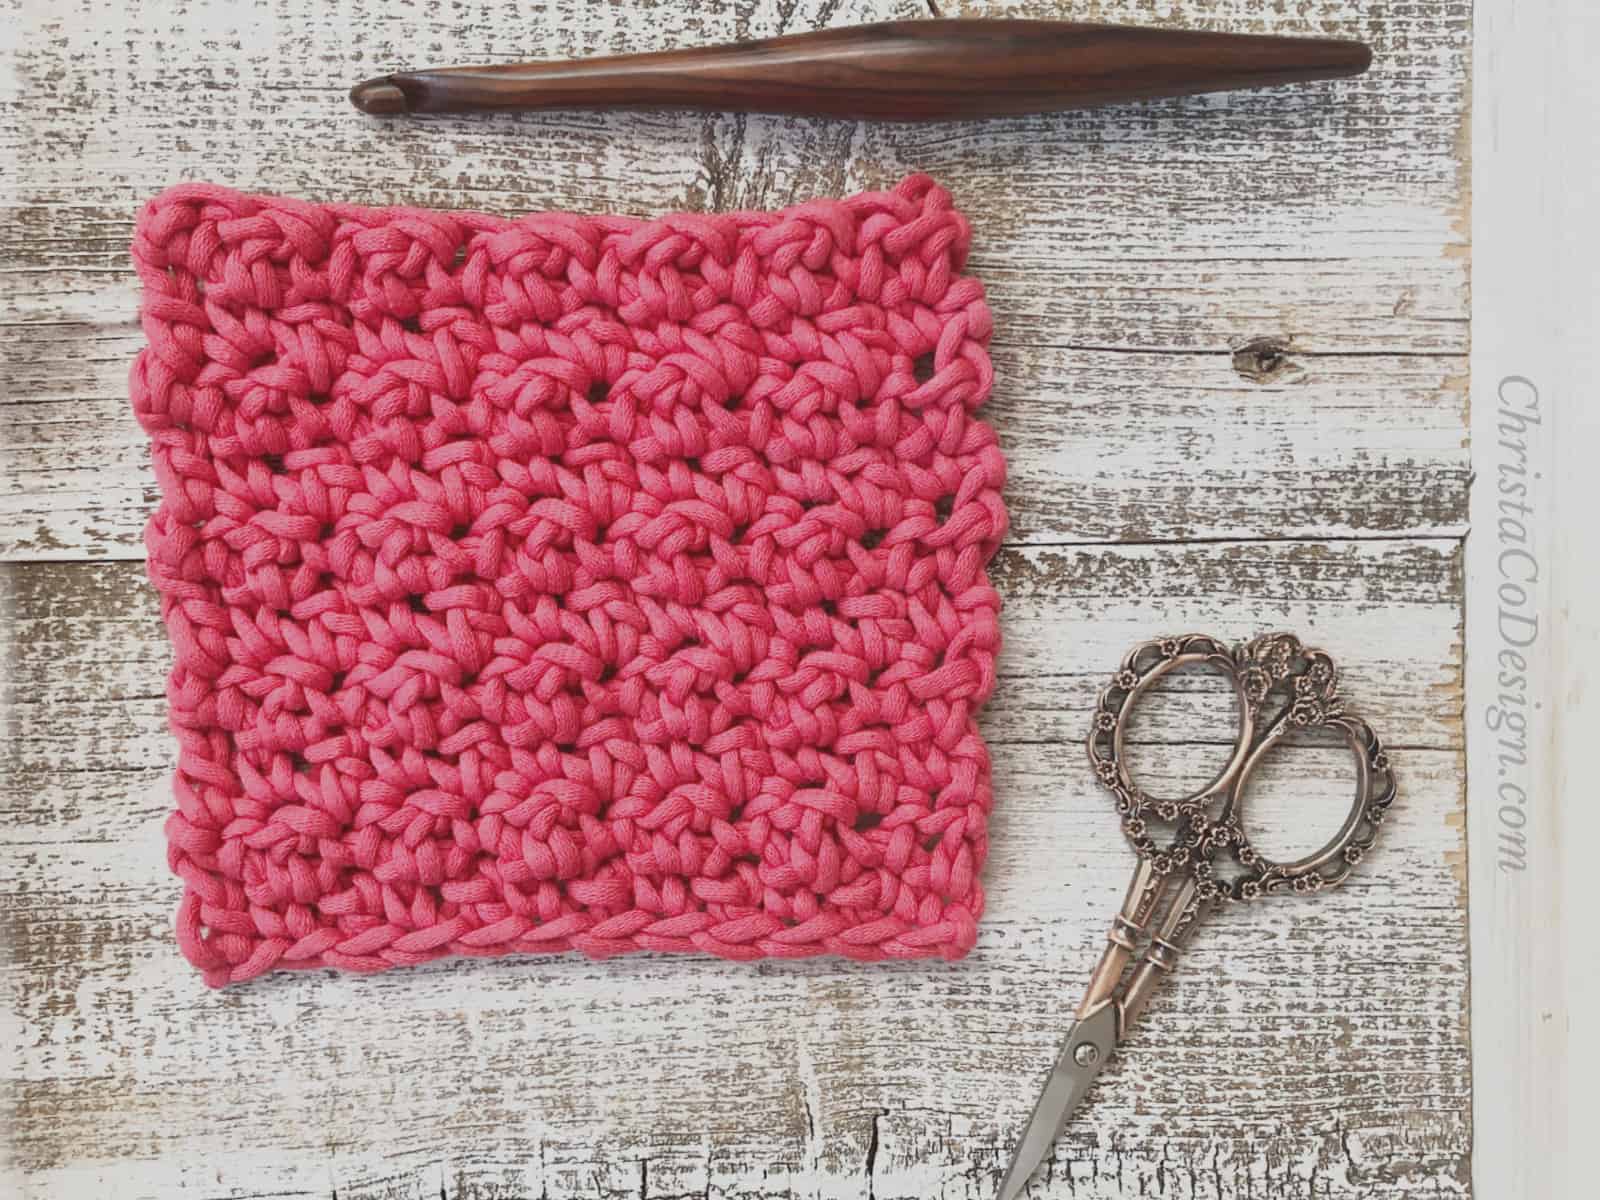
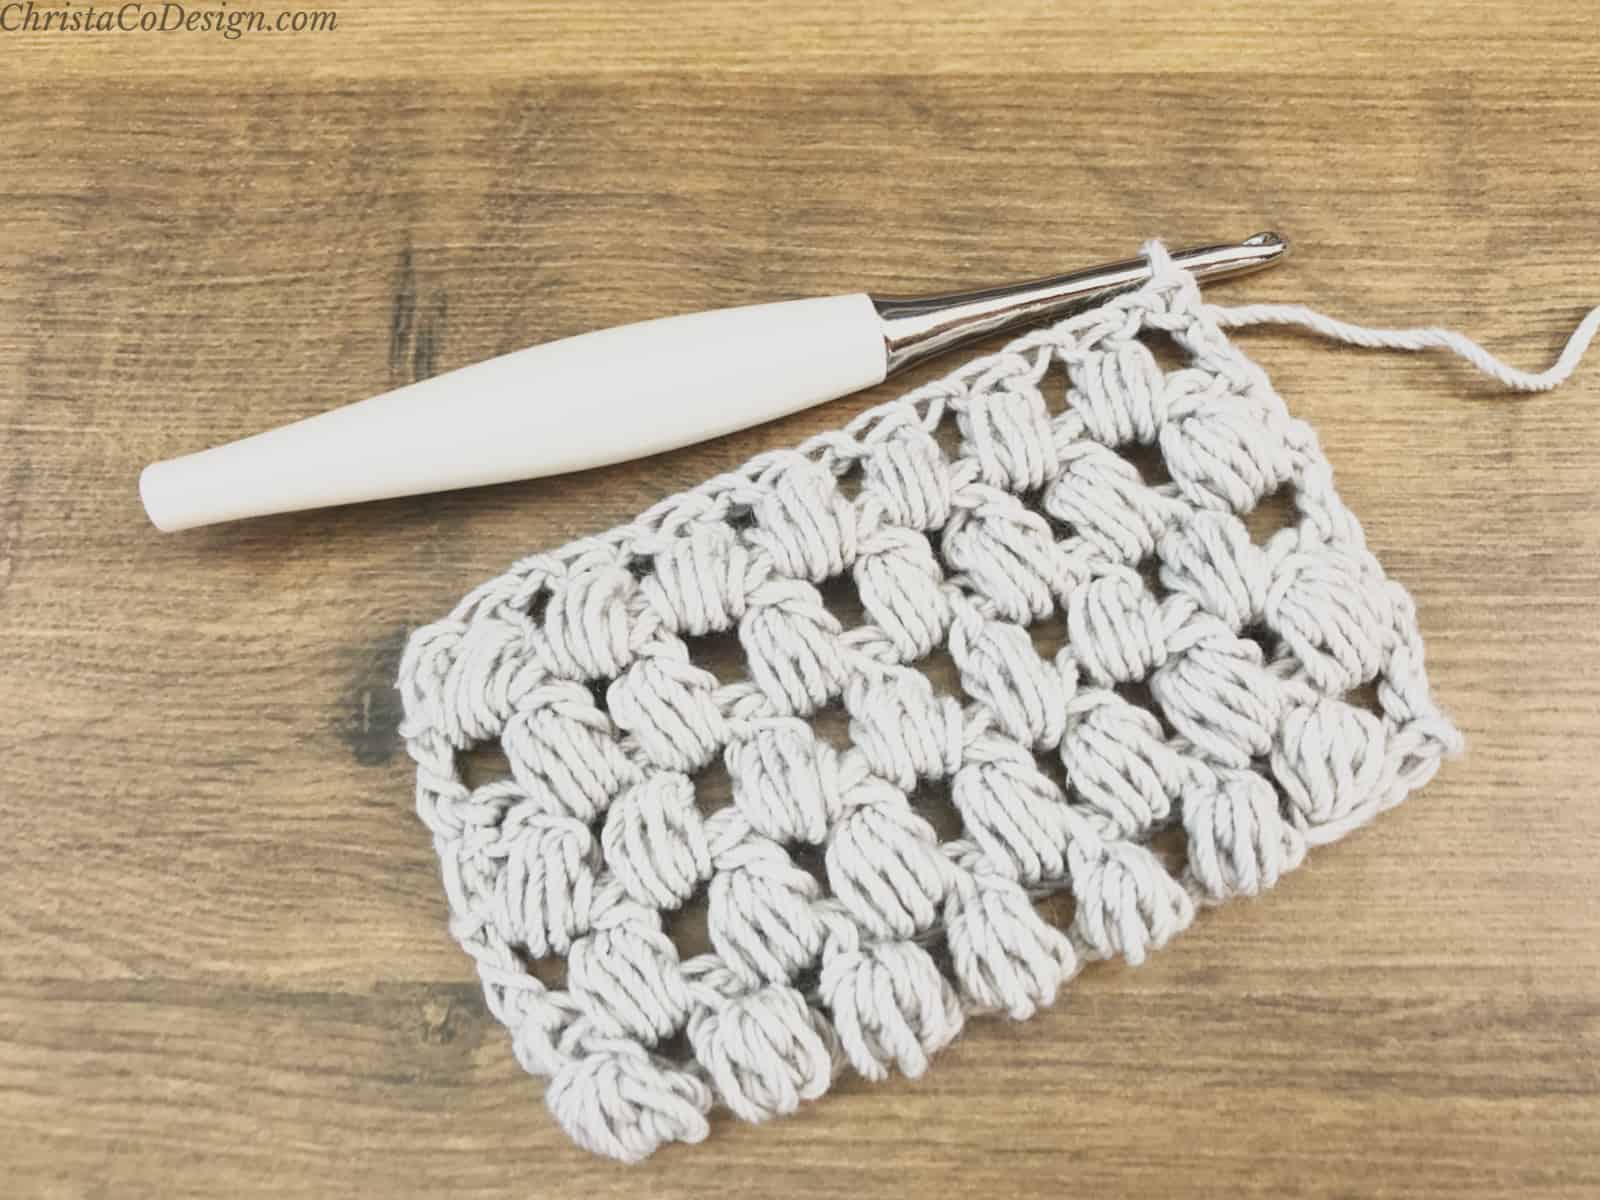
The Trentino uses the crochet grit stitch which just has lovely texture, and I like how the color changes work in this stitch.
All about the yarn for this modern crochet pillow design!
The yarn for this crochet pattern was generously supplied by WeCrochet.
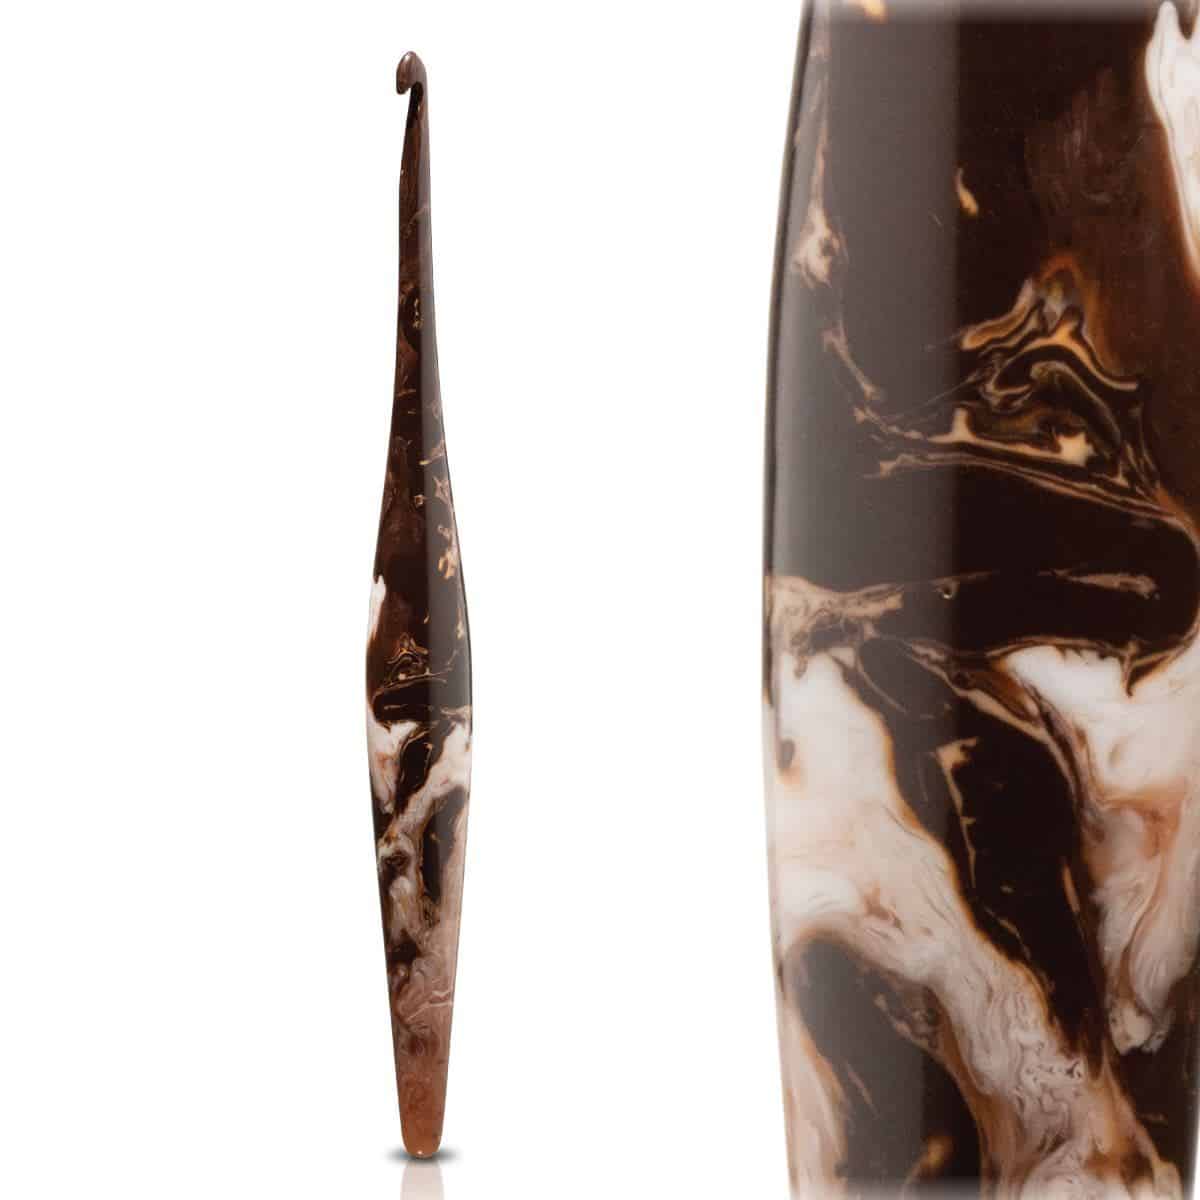
For this pillow I chose Mighty Stitch in two warm, comforting colors- oyster and bark. I love the contrast here.
The Mighty Stitch is a #4 medium worsted weight yarn. It has a touch of super wash wool and is primarily acrylic otherwise.
It’s a silky smooth yarn with shine to it. Since it was my first time crocheting with this yarn I’m excited to use it again!
Materials
- Mighty Stitch,* a #4 worsted weight yarn (80% acrylic, 20% super wash wool, 3.5 oz/100g, 208 yd/190 m) color: Oyster-Color A, Bark-Color B; 2 balls each, or 832 yds of comparable yarn divided in 2 colors.
- 5mm US size H/8 hook,* or hook needed to meet gauge.
- 18”/45.7cm x 18”/45.7cm pillow form
- Yarn needle
- Measuring tape
- Scissors
Notes
- Please read through all notes and pattern before you begin.
- Work up a gauge swatch using the provided gauge information. If your gauge matches great, continue on. If not, change your hook size and swatch again. If your stitches are smaller, go up a hook size, if they’re larger, go down a hook size.
- Ch 1 at beginning of the row counts as the first single crochet. Stitch counts will include this stitch.
- Stitch multiple is an odd number plus 2.
- Color changing tip: before the last movement of last stitch before the color change, drop the first color and pick up the second color, finish the stitch in the new color.
- For color changes you can cut yarn and join with a slip stitch or carry the yarn. Since my colors are contrasting, I chose to cut the yarn and rejoin.
Construction
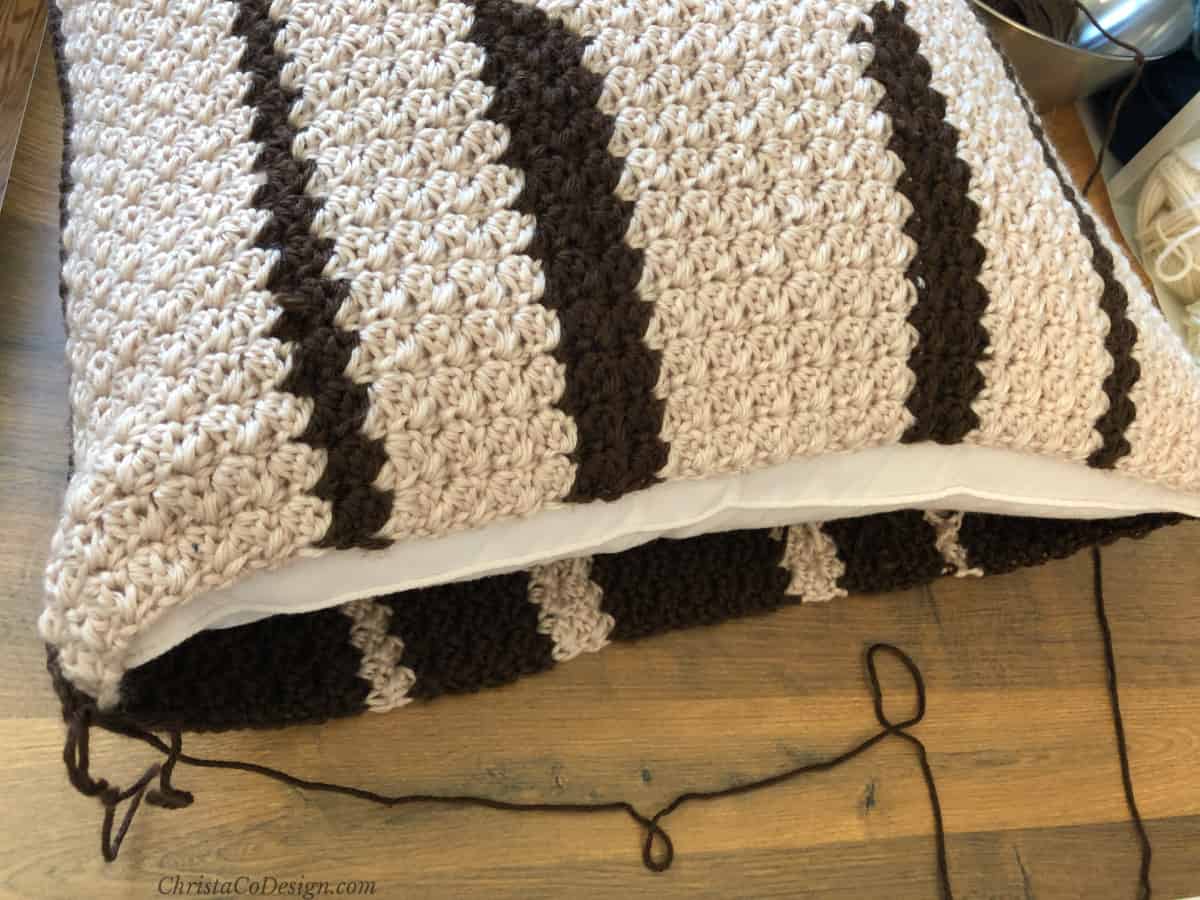
The pillow pattern is crocheted in two squares. The squares are then joined by single crocheting them together. Stuff the pillow and finish the final seam.
Level
Easy
Gauge
4”/10cm x 4”/10cm = 14 sts x 14 rows in pattern, unblocked
Finished Dimensions
18”/45.7cm x 18”/45.7cm
Color Changes in this Modern Crochet Pillow
This pillow design uses easy tapestry crochet techniques. You simply change colors on the indicated row or stitch by stopping before the last yarn over and pulling through the new color.
Check out this tutorial for more help on how to changes colors at the end of a row.
Visit this tutorial if you would like more on how to change colors on individual stitches throughout a row.
Add this pattern to your Ravelry queue.
Stitches/Abbreviations-US Terms
ch(s)-chain(s)
rep-repeat
RS-right side
sk-skip the indicated stitch
st(s)-stitch(es)
WS-wrong side
You can purchase the ad-free, well formatted PDF Pattern in one of my shops. Scroll down for the free pattern!
If you like this pattern and would like to know when I have new pattern, tutorial and special events please join my email list!

Did you miss some patterns?
This pattern was featured in the Fall into Autumn Blog Hop! If you missed it, you can find the free version by scrolling down below.
If you prefer the pdf, it’s included in this awesome Autumn themed crochet pattern bundle!

You can get all these gorgeous crochet patterns in one place! All 32 patterns, plus 2 bonus patterns for one price.
Scroll down for the free crochet pillow pattern!
Modern Crochet Pillow Pattern | Trentino Reversible Pillow
The Trentino Crochet Pillow Pattern is a reversible pillow. With a light background and contrasting stripes on one side, you can flip this pillow over to reveal a dark background with light stripes.
Materials
- Mighty Stitch, a #4 worsted weight yarn (80% acrylic, 20% super wash wool, 3.5 oz/100g, 208 yd/190 m) color: Oyster-Color A, Bark-Color B; 2 balls each, or 416 yds of comparable yarn divided in 2 colors.
- 18”/45.7cm x 18”/45.7cm pillow form
Tools
- 5mm US size H/8 hook,* or hook needed to meet gauge.
- Yarn needle
- Measuring tape
- Scissors
Instructions
- Row 1. (RS) Dc in 3rd ch from your hook (sk chs count as first sc), *sk 1 ch, sc and dc in next ch, rep from * until last 2 sts, sk 1 ch, sc in last ch, turn. (63 sts)
- Row 2. Ch 1 (counts as sc), dc in same st, *sk first dc, sc and dc in next sc, rep from* to last 2 sts, sk next dc, sc in turning ch, turn. (63 sts)
- Repeat Row 2 for the length of the pillow. Below are the color changes.
- Color Changes
Rows 1-14. Color A for 14 rows. (63 sts) = 4” tall. You can adjust your rows here and after the design, over the last 14 rows, if needed. - Rows 15-16. Color B for 2 rows.
- Rows 17-24. Color A for 8 rows.
- Row 25. (RS) Color B for 24 sts, Color A for 16 sts, Color B for 23 sts. (63 sts)
- Row 26. Color B for 22 sts, Color A for 18 sts, Color B for 23 sts. (63 sts)
- Row 27. Color B for 22 sts, Color A for 20 sts, Color B for 21 sts.
- Row 28. Color B for 20 sts, Color A for 22 sts, Color B for 21 sts.[mv_imgid="18762"]
- Rows 29-30. Color A for 2 rows.
- Row 31. Color A for 30 sts, Color B for 4 sts, Color A for 29 sts. (63 sts)
- Rows 32-34. Color A for 3 rows. = 9” tall
- Row 35. Color A for 24 sts, Color B for 4sts, Color A for 8 sts, Color B for 4sts, Color A for 23 sts.
- Rows 36-38. Color A for 3 rows.
- Row 39. Color A for 30 sts, Color B for 4 sts, Color A for 29 sts.

- Rows 40-41. Color A for 2 rows.
- Row 42. Color B for 20 sts, Color A for 22 sts, Color B for 21 sts.
- Row 43. Color B for 22 sts, Color A for 20 sts, Color B for 21 sts.
- Row 44. Color B for 22 sts, Color A for 18 sts, Color B for 23 sts.
- Row 45. Color B for 24 sts, Color A for 16 sts, Color B for 23 sts. (63 sts)
- Rows 46-53. Color A for 8 rows.
- Rows 54-55. Color B for 2 rows
- Rows 56-69. Color A for 14 rows. Remember to match your row count here if you made any changes to start on Rows 1-14.
- Finish off. Make a second square using opposite colors, but do not finish off. Weave in ends.
- Finishing-Place squares together with WS touching, so RS is facing out. You can pin together, or use locking stitch markers. Be sure to match row to row and stitch to stitch.
- Continue in same color (b) in the corner where you left off. I turned so that my dark stitches will contrast the light yarn on the RS.
- Ch 1, insert hook through both layers place a sc in this corner, ch 1, and place a second sc in this corner.
- Continue to sc evenly around pillow squares on 3 sides, making sure to join the squares by going through both layers. Placing in each corner (sc, ch 1, sc). When crocheting along the row edges, place 1 sc per row.
- Stop when you have joined 3 sides. Stuff pillow. Pin this last edge together in a few places to help line up the stitches. Then continue to sc across, join to the first sc with a sl st.
- Cut yarn. Weave in end.
In Color A
Ch 65
Recommended Products
As an Amazon Associate and member of other affiliate programs, I earn from qualifying purchases.