
How to Block Crochet + Knit a Tutorial


Learn how to block crochet projects and knitting projects from hats to shawls. This step by step tutorial includes written instructions, photos and a video showing you the blocking process.

Join the ChristaCoDesign Newsletter
Never miss a pattern!
There are a few main types of blocking: wet blocking and steam blocking are commonly used to block both crochet and knit. For wet blocking you can submerge your item in water, or spray it.
When do you need to block your crochet or knit and what types of projects need blocking?
Do I need to block my crochet and knits?
Likely you do, but it depends. Blanket squares, like classic granny squares are the most common items blocked by crocheters. Knitters are often blocking sweaters. But most of your projects can benefits from blocking.
Blocking helps to set the stitches. It’s helpful to show off square motifs and lace patterns really well.
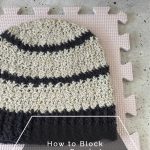
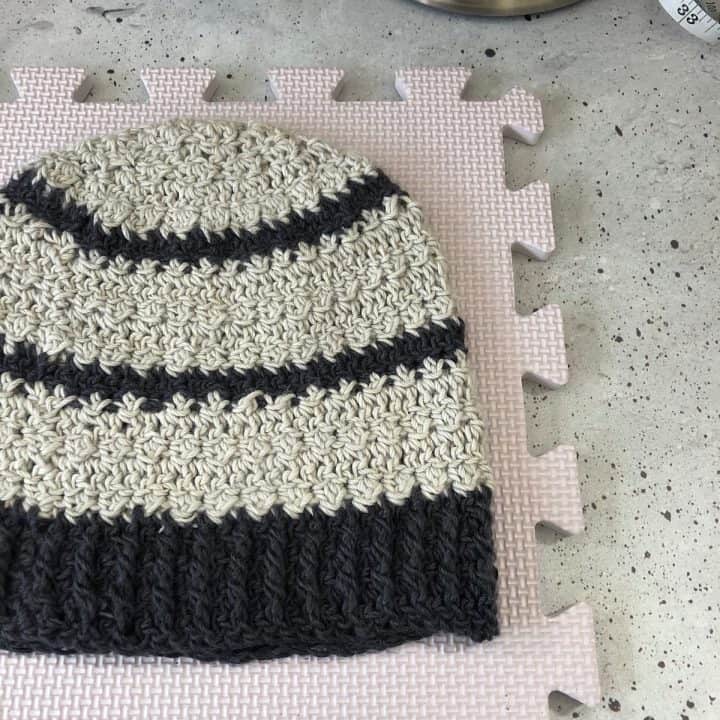
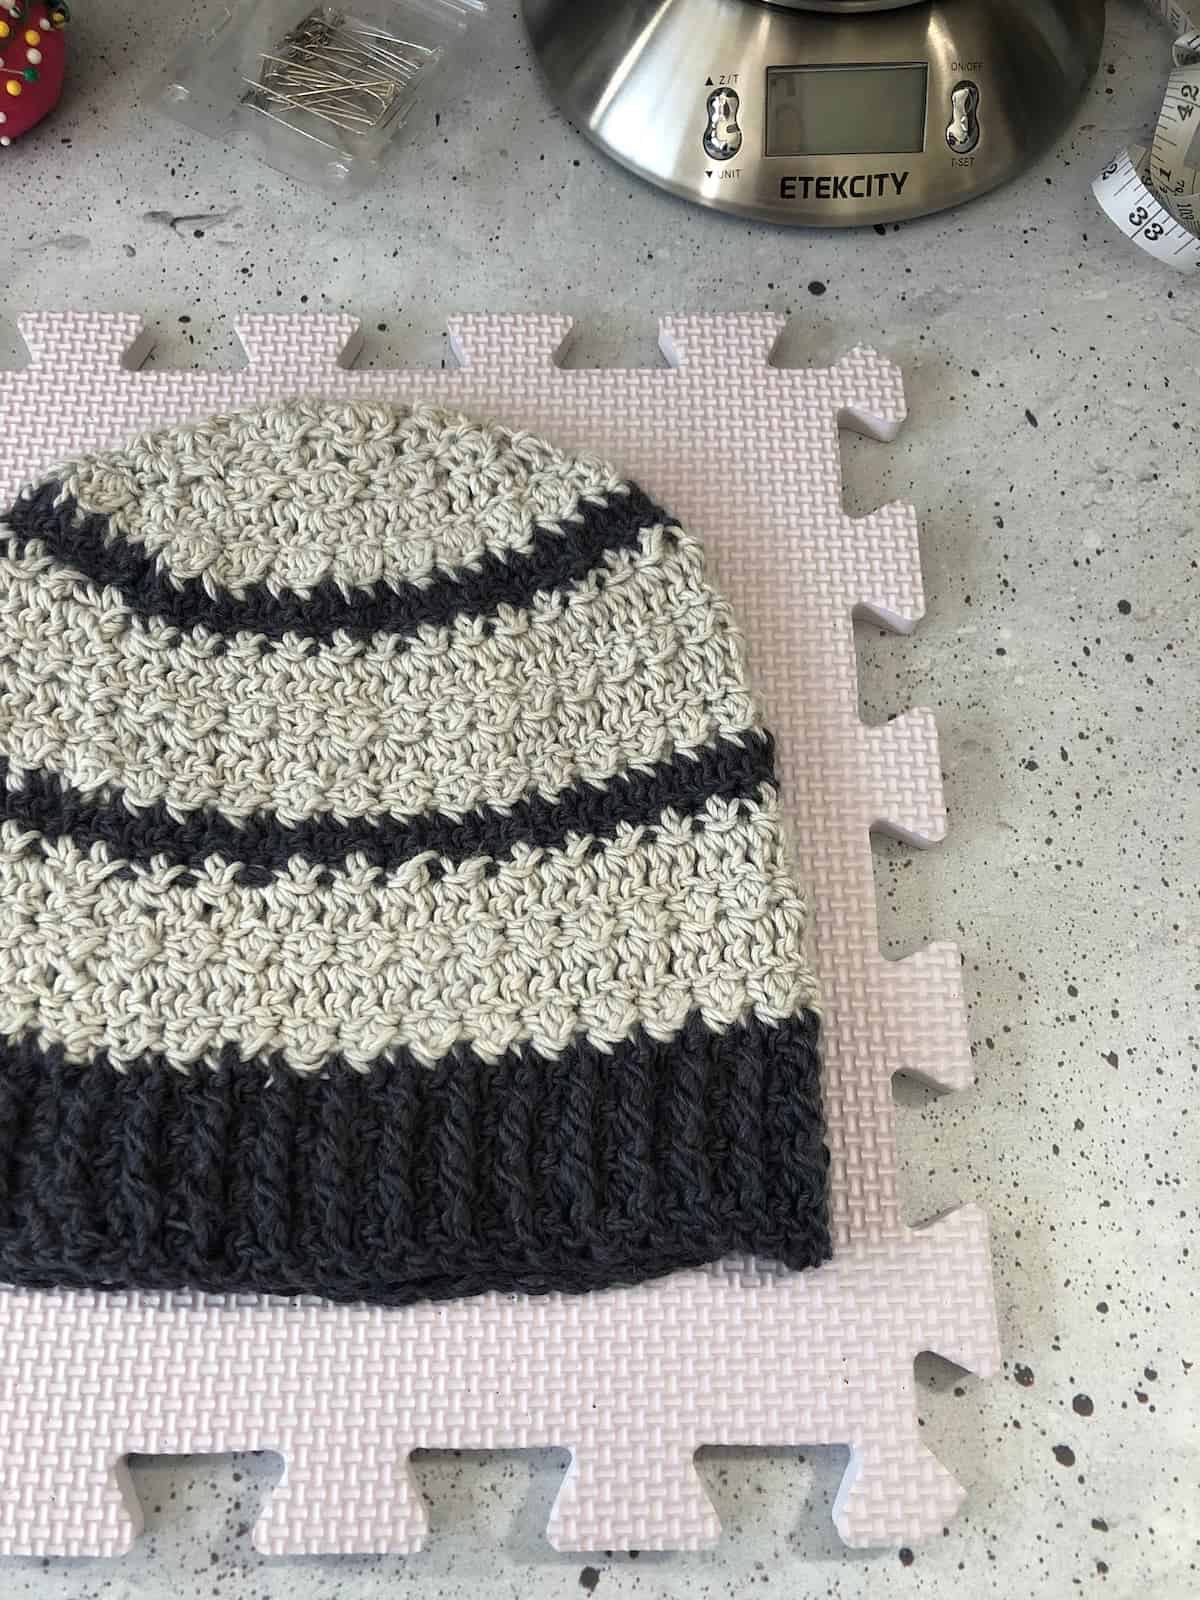
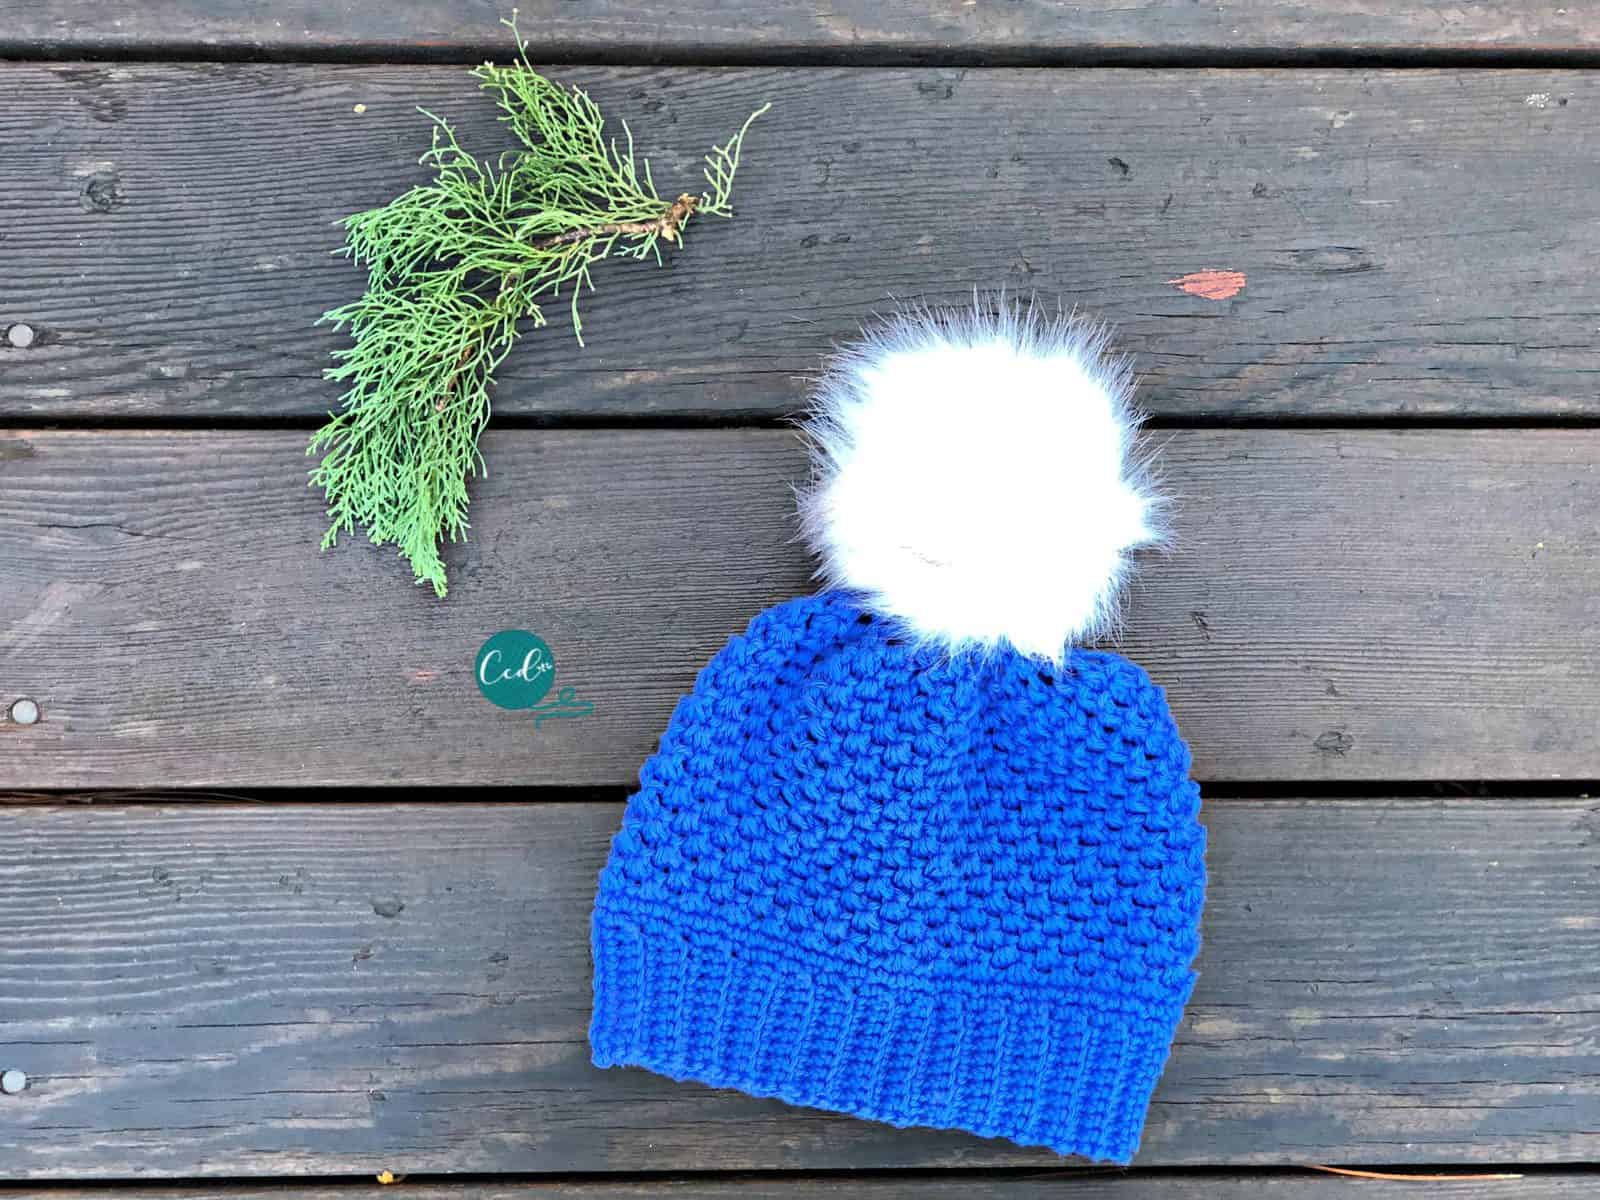
I’m using a hat for this video tutorial on blocking, because I made it with natural fibers which relax a lot more than acrylic. And I want the hat to fit even after wearing and washing.
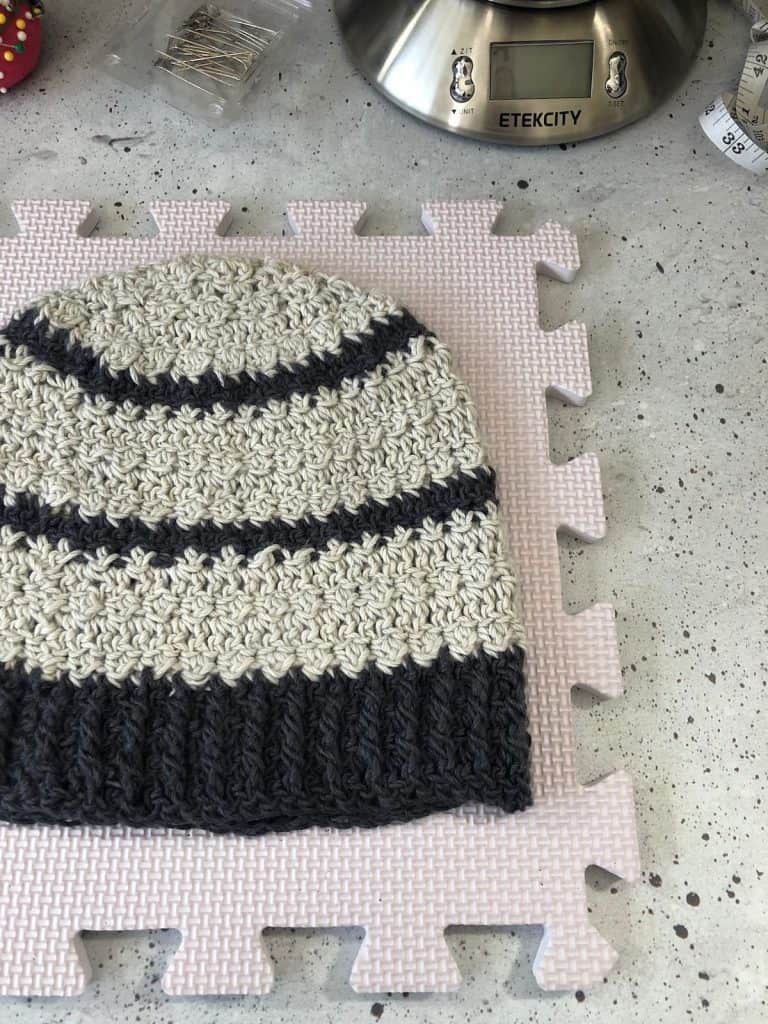
I’m using the Verso Beanie for this blocking tutorial. Since I made this hat from a merino wool yarn it was the perfect candidate for blocking.
What is blocking?
In short, blocking is the process of getting your finished crochet piece wet, either through soaking, spraying or steaming, then shaping it (which sounds complicated, but isn’t-if it’s a triangle then “shape” it into a triangle) and leaving it to dry.
There are 3 Main Ways to Block Crochet + Knit
- Wet Blocking
- Spray Blocking
- Steam Blocking
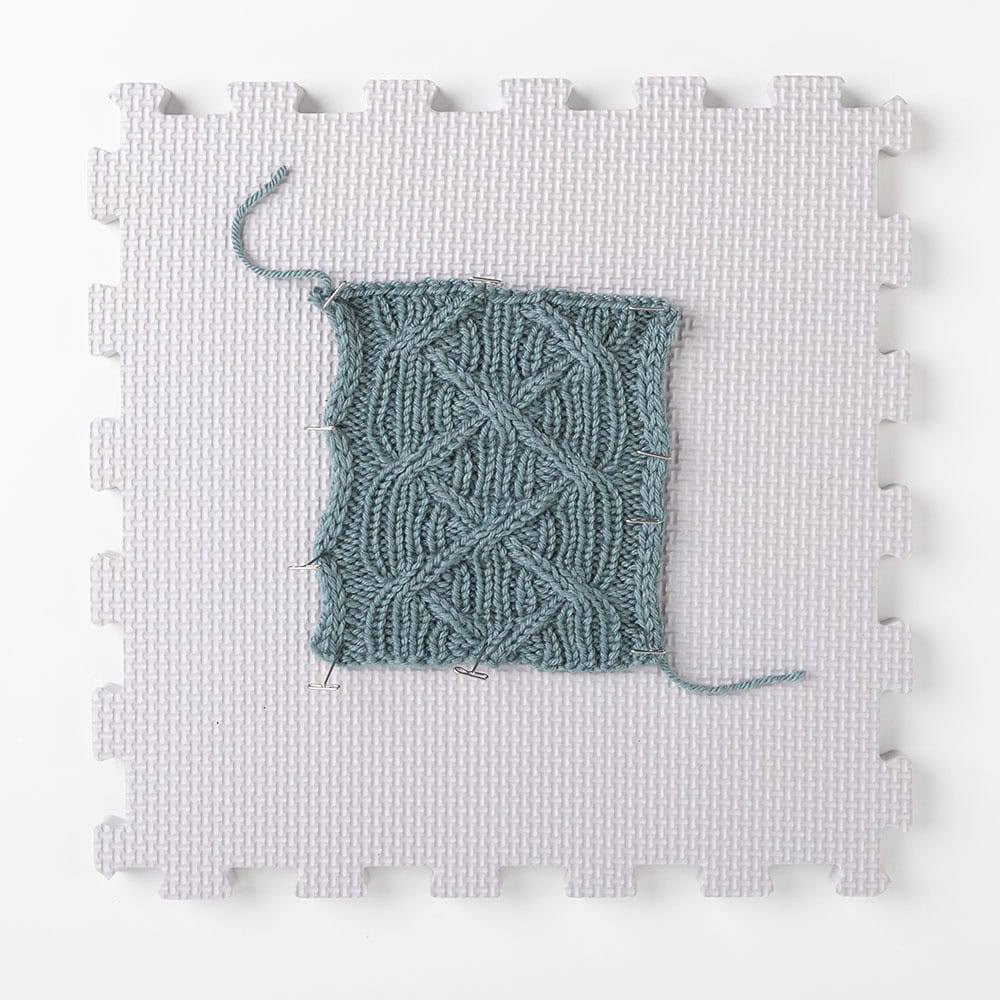
Blocking a shawl
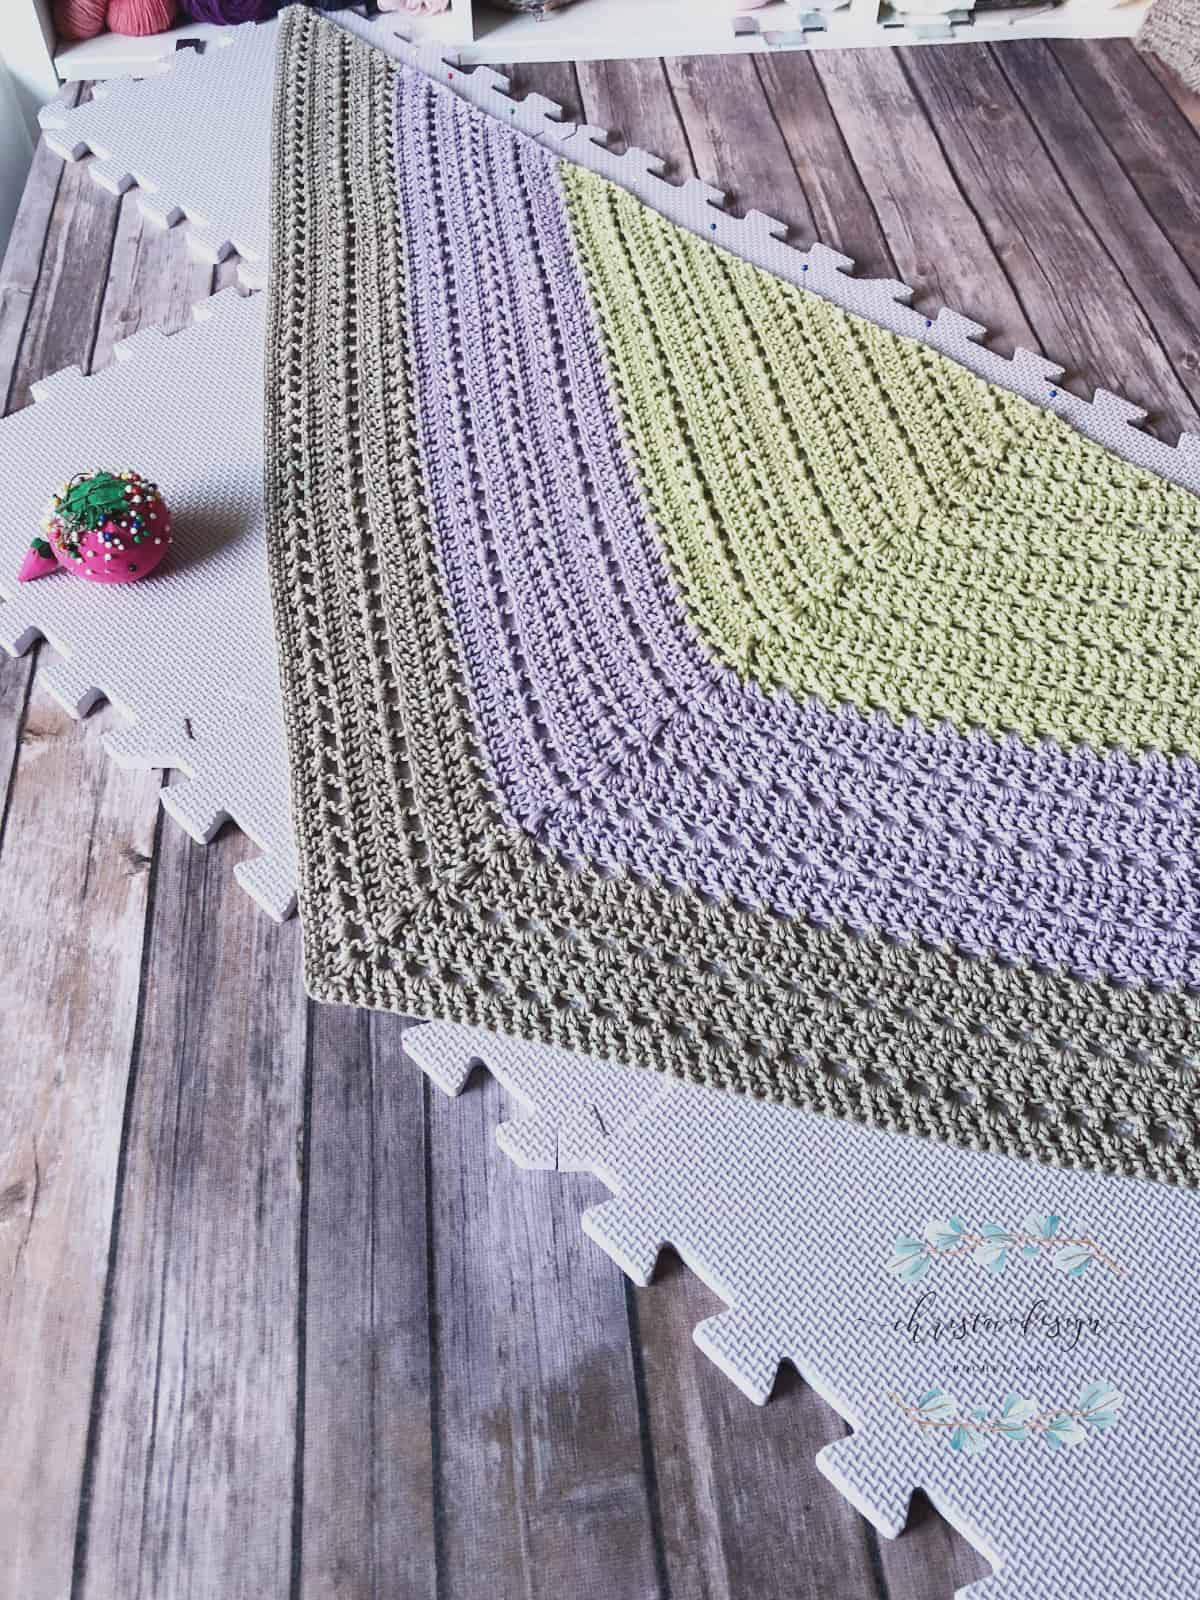
Here I use pin to achieve the desired shape.
These free crochet patterns are here: the Lilla crochet triangle shawl pattern, the Verso a free crochet beanie pattern.
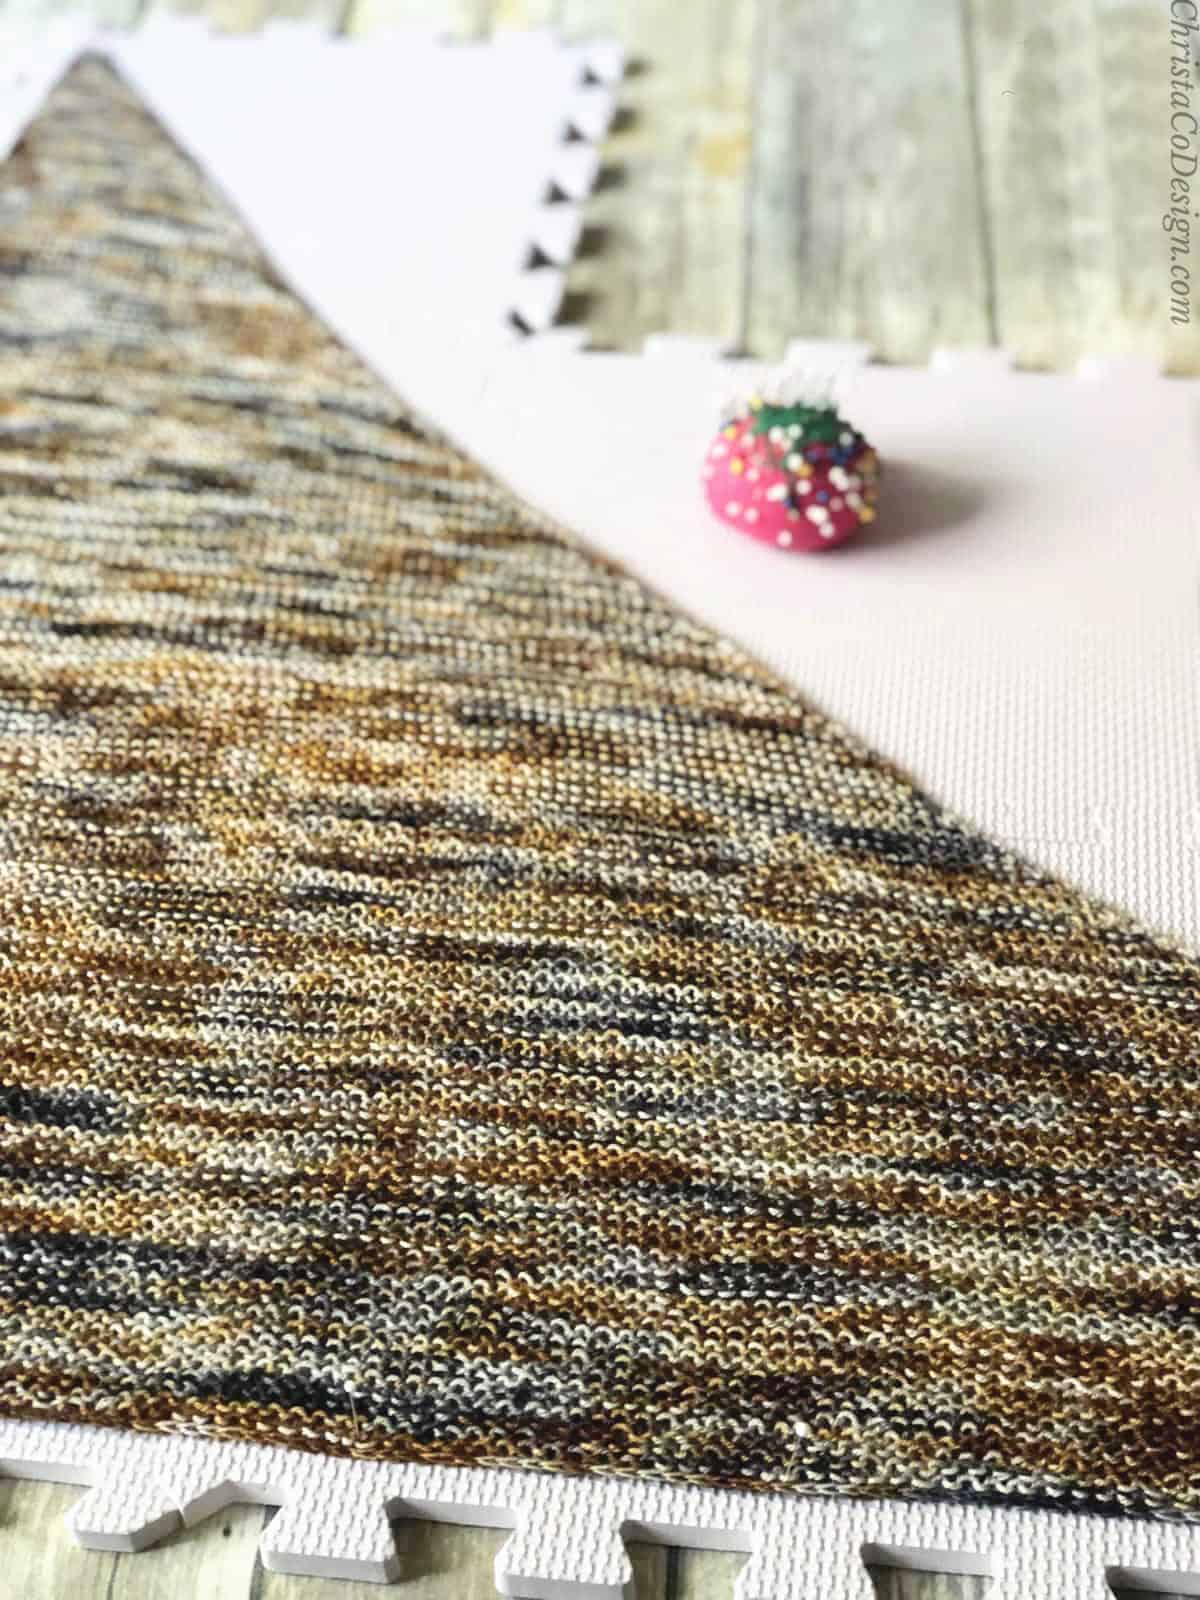
Blocking different fibers
If you’re working in natural fibers like wool or alpaca then you need to block your crochet work. These fibers will be effected most by wear and washing.
Natural fibers
Almost all yarn will relax-or grow or loosen, after washing. However, they yarn type will effect how it reacts to blocking and washing. Cotton yarns, wool yarns, or other natural fibers have a tendency to loosen up even more.
Acrylic Yarn
Blocking crochet made with acrylic yarn is still useful. Just as with other fibers, blocking acrylic fibers allows the stitches to set, relax and take shape.
Time
If you’ve been crocheting for any length of time you’ve probably already noticed that you work tends to loosen up and stretch after a while.
This “relaxing” is normal. But when you’re working with some natural fibers they change a lot more than a man made yarn, like acrylic.
So if you plan to wear and wash your handmade items, then take the time to block them. Otherwise, after the first wash (even hand washing), your hat will be a different size than when you finished crocheting it.
But once you block your hat, or wash it, it won’t revert back to the size/shape it was before.
The Tostata is a free scarf knitting pattern that’s beginner friendly.
Shaping
Another reason you might need to block is for shaping. In my experience I have seen this most in knitting. But it applies to crochet too-especially lacy patterns.
So when you block, you want to set the shape you desire. If you have stripes, line them up in a straight line. Check your edges, if it should be pointy or rounded, then make it so.
Be Gentle With Shaping
If you can get the right shape with your fingers, then you won’t need pins. You may need to pin edges or color work into the shape you want.
As the project dries, it will adhere to the shape you set it. And yes, in this case it will revert back to any old shape after the next wash.
But, most of the time your natural fibers will need to lay flat to dry. So then, you dry them in the necessary shape.
Benefits of Blocking
- Achieve the correct size.
- Get the right shape
- Relaxes the stitches for beautiful drape.
- Defines the stitch pattern.
- Your finished project won’t change drastically after the first wash.
Do I need special tools for blocking?
No, not at all. You can block your crochet with items you likely already have at home.
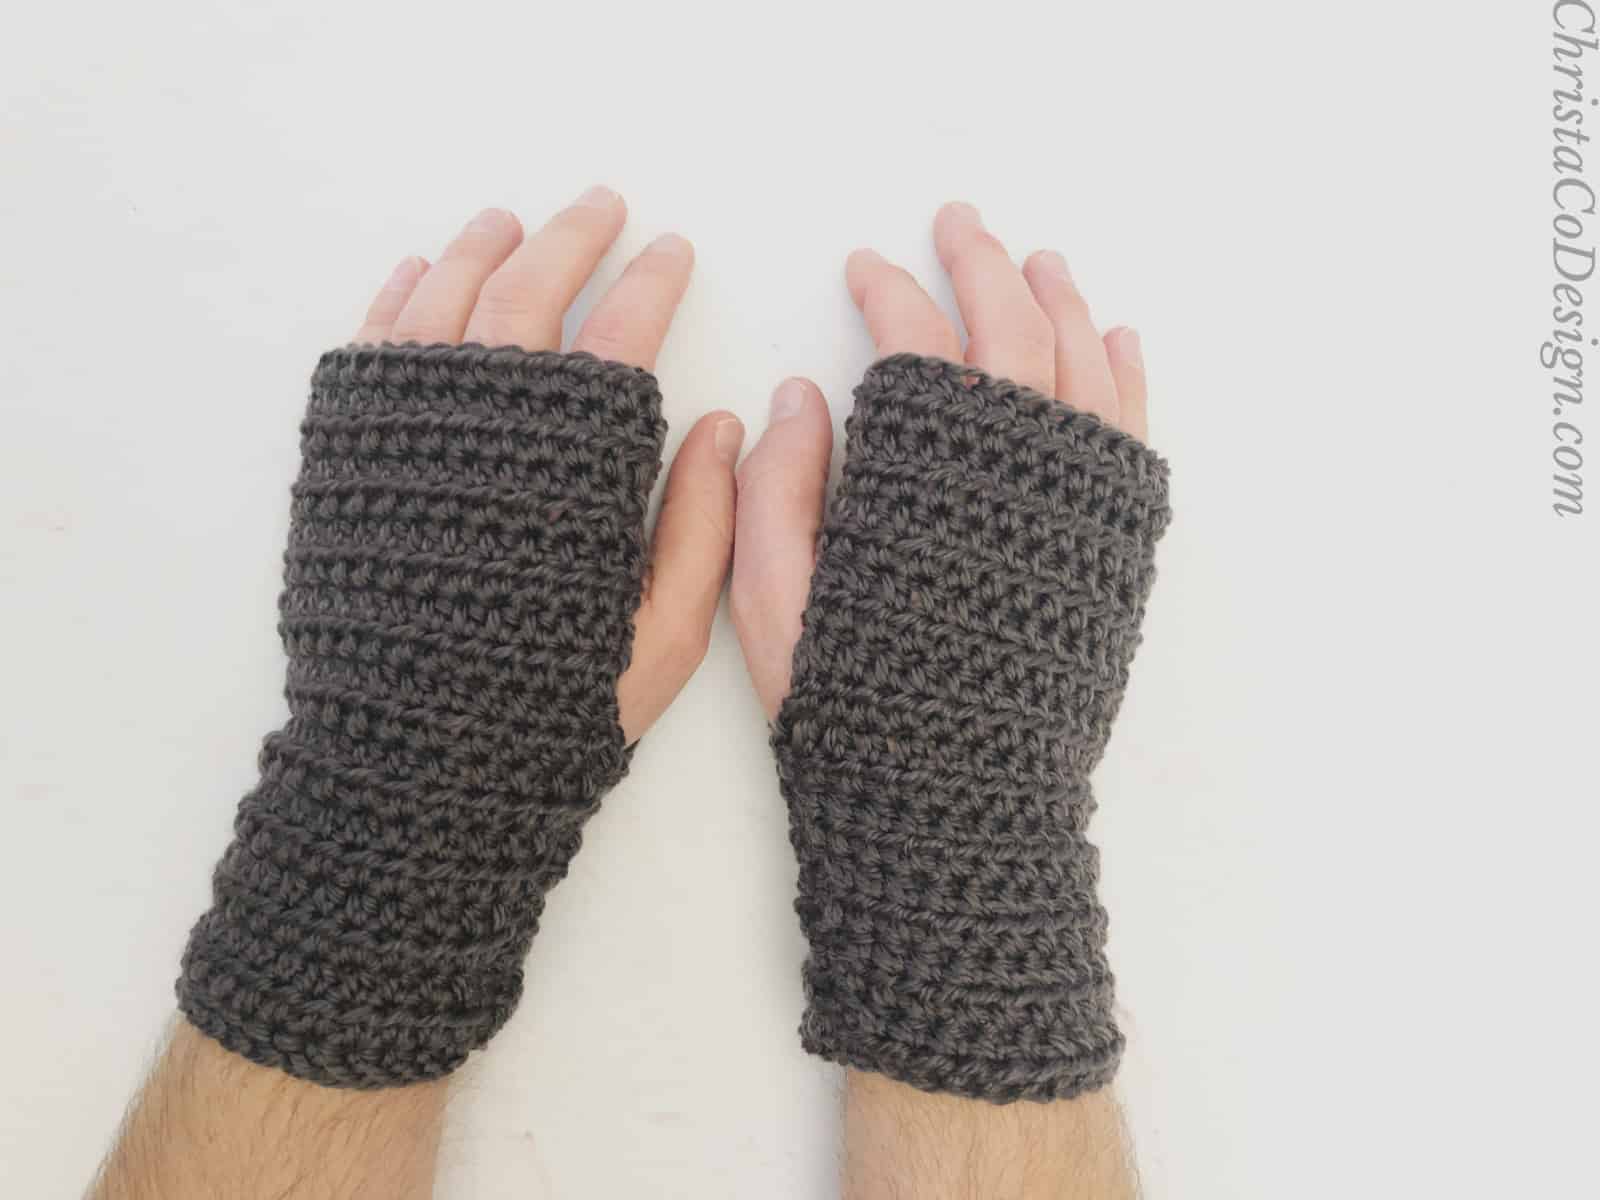
- You’ll need a finished crochet piece. In this case I’m demonstrating with a hat.
- A tape measure to block a piece to the right size.
- I use blocking boards*, which are foam mats. They are like puzzle pieces that interlock and can be arranged into different sizes and shapes. But you can use a towel and a table or bed to lay it on. And when you’re blocking larger items, you may need to use your bed anyway.
- Water and a sink or bucket to hold it.
- Optionally a little wool wash or gentle soap-but these are not required.
- Pins are used to set the shape. In the case of a hat, it’s unlikely you’ll need them.
- If you choose to steam block regularly, then getting a garment steamer is very helpful, but not required!
Is blocking hard?
No, but waiting is! It’s hard to wait for your beautifully finished blanket, hat or sweater to dry overnight. However, blocking may be the most important step in many projects! Most knit fabrics block up beautifully and it’s one reason we love the drape of that classic flat, stockinette.
It’s definitely worth the wait. Any of these easy methods outlined below will work to give your finished crochet item a beautiful outcome. Be sure to try the different ways so you can choose a go-to blocking method.
Video Tutorial
Watch the video tutorial on my YouTube channel.
Scroll down for the instructions on how to block crochet + knit!
Blocking Crochet + Knit Projects a How to Guide
Learn about blocking your knit or crochet. What crochet and knit projects need to be blocked and how to block them (it's easier than you think)!
Materials
- Finished crochet project.
- Water
- Soap, if using.
Tools
- A sink or bucket to fill with water.
- Blocking board, or a clean dry towel and a flat surface like a table or bed, where you can leave the hat overnight.
- Some blocking requires pins, hats usually do not.
Instructions
- To Wet Block: Fill the sink, or bucket with enough water to submerge your project. Be sure to follow your yarn care instructions on the yarn label for the water temperature: lukewarm water and cold water are the most common here.
- Add a dash of soap, if you're using it. I'm using wool wash, but you can use any gentle soap, or non if you prefer. Always follow your soap instructions.
- Gently submerge your completed item in the water.
- Gently press it into the water, allowing it to get fully wet.
- Allow it to soak a few minutes, 5-15 mins is plenty.
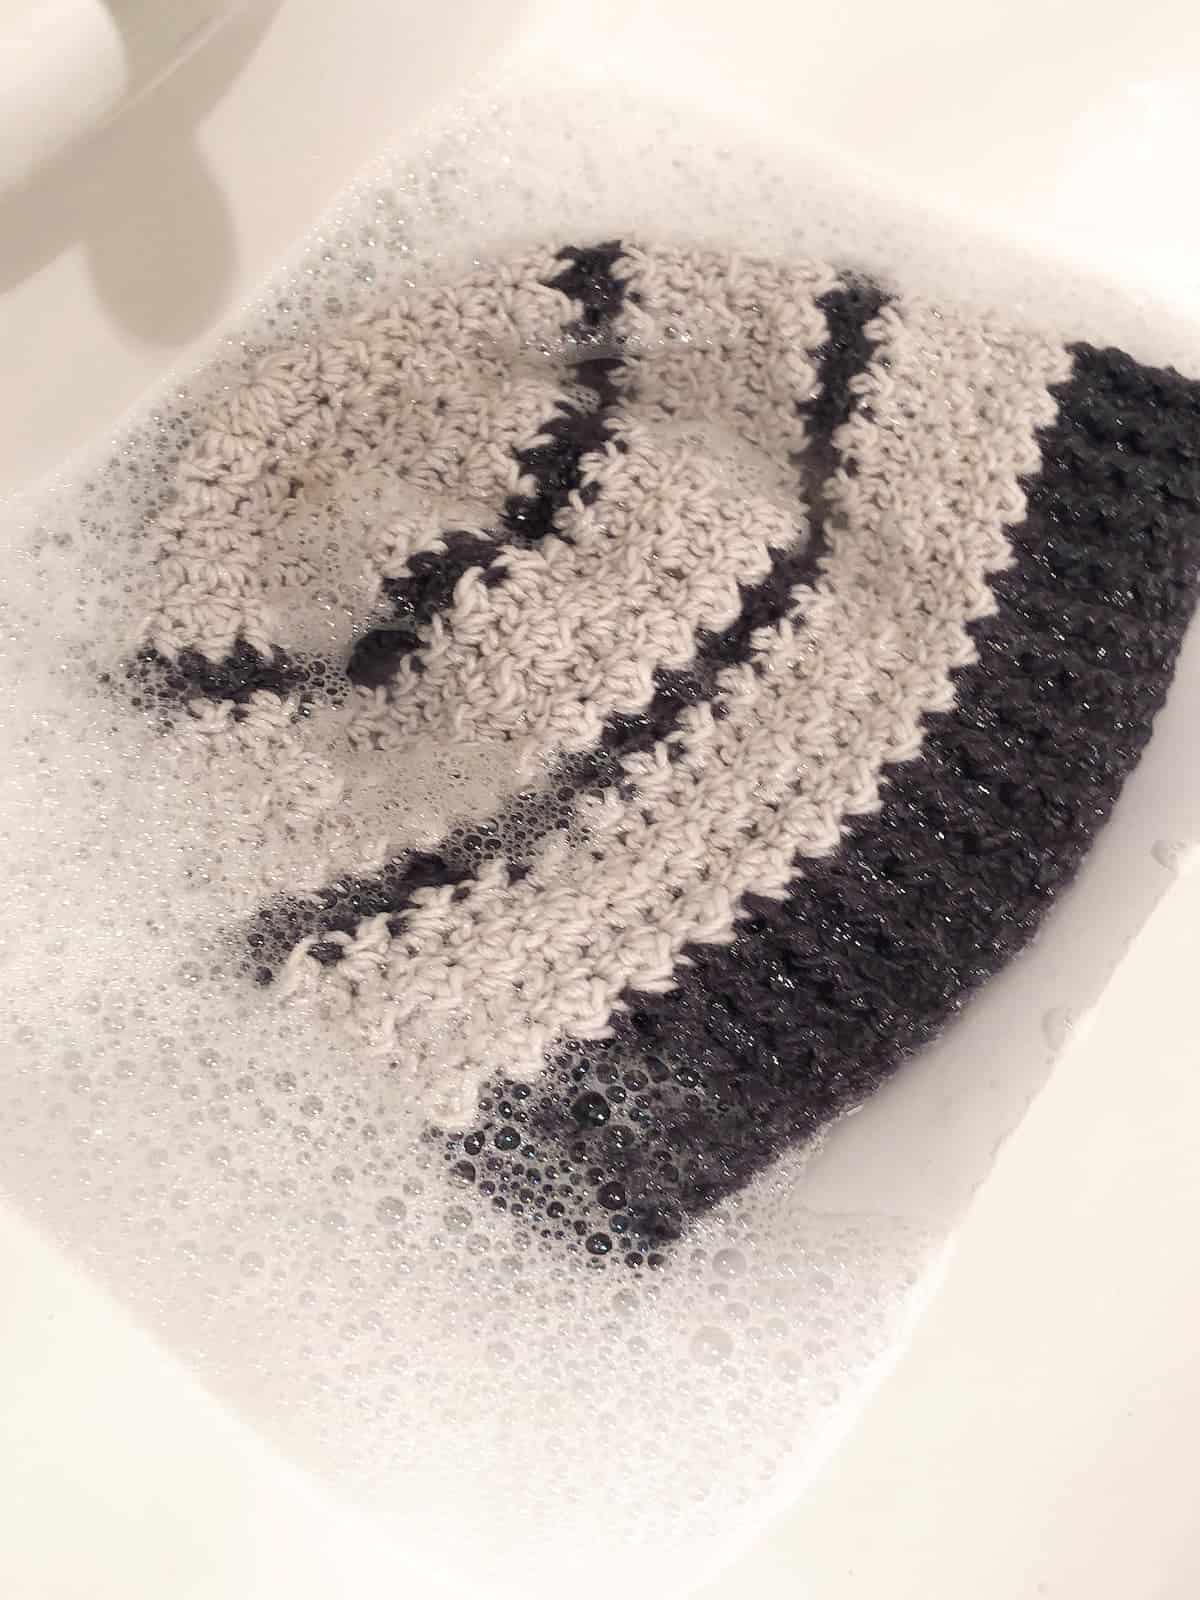
- Rinse gently.
- Gently squeeze the excess water out, without wringing it. Be very easy here, but get as much water out as possible.
- Lay your hat in a towel + roll it up, squeezing as you go to press out more water.
- Now lay out the damp item on a blocking board or clean dry towel on a flat surface.
- Use your hands to gently press into position. If needed, you can pin into place.
- Allow to dry in a comfortable place where it can dry overnight. And that's it, it's really that simple.
- To Spray Block: Instead of submerging your item in water, you a spray bottle of clean water to spray your project.
- Spray it until it is damp.
- Then follow steps 9-11 to complete the blocking process.
- To Steam Block: Instead of submerging your item in water, you use a hand held steamer, or steam iron set on the steam setting to dampen the item with the steam.
- It's important not to burn the item (or yourself) by holding it too closely to the yarn. So be sure to only hold it a few inches away.
- Once your project is damp, follow steps 9-11.
Notes
Always follow the care instructions on your yarn label, i.e. cold vs warm water, lay flat to dry, etc.
Recommended Products
As an Amazon Associate and member of other affiliate programs, I earn from qualifying purchases.


Hi,
I have a garment steamer. Do you have instructions for using it to steam crouched and knitted hats?
Sorry crocheted hats not crouched
Hi Nancy,
A garment steamer is a great way to block. I have and use one too. I don’t have a specific tutorial for it right now. At the bottom of the Berryessa Scarf pattern I do have a little video showing how to block it with the garment steamer I have. Here is the post if you want to check it out: https://christacodesign.com/2020/04/20/berryessa-scarf-a-free-crochet-pattern/
To use the steamer, lay out your hat on blocking mats or a hard surface that is protected with a towel. Prep the steamer. When it’s ready, hold the steamer over the hat but several inches away (not too close) and allow the steam to penetrate. Just move it up and down above the hat until it is damp to the touch. Then arrange your hat how you want it, pin it if needed. Allow it to dry. After it dries, then you’ll need to repeat the steps on the other side of the hat.
I hope this helps!
Best,
Crystal