How To Crochet Slip Stitch Ribbing Step By Step Tutorial
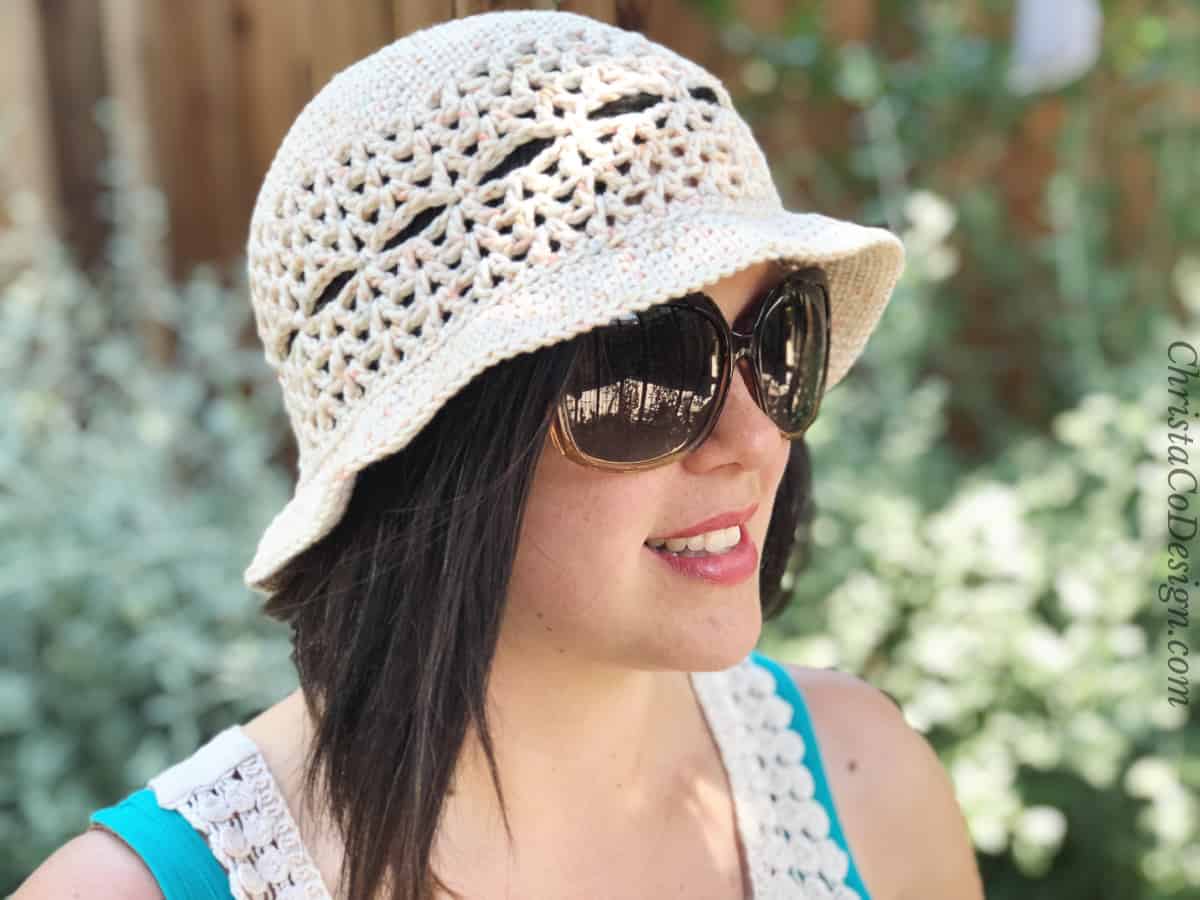
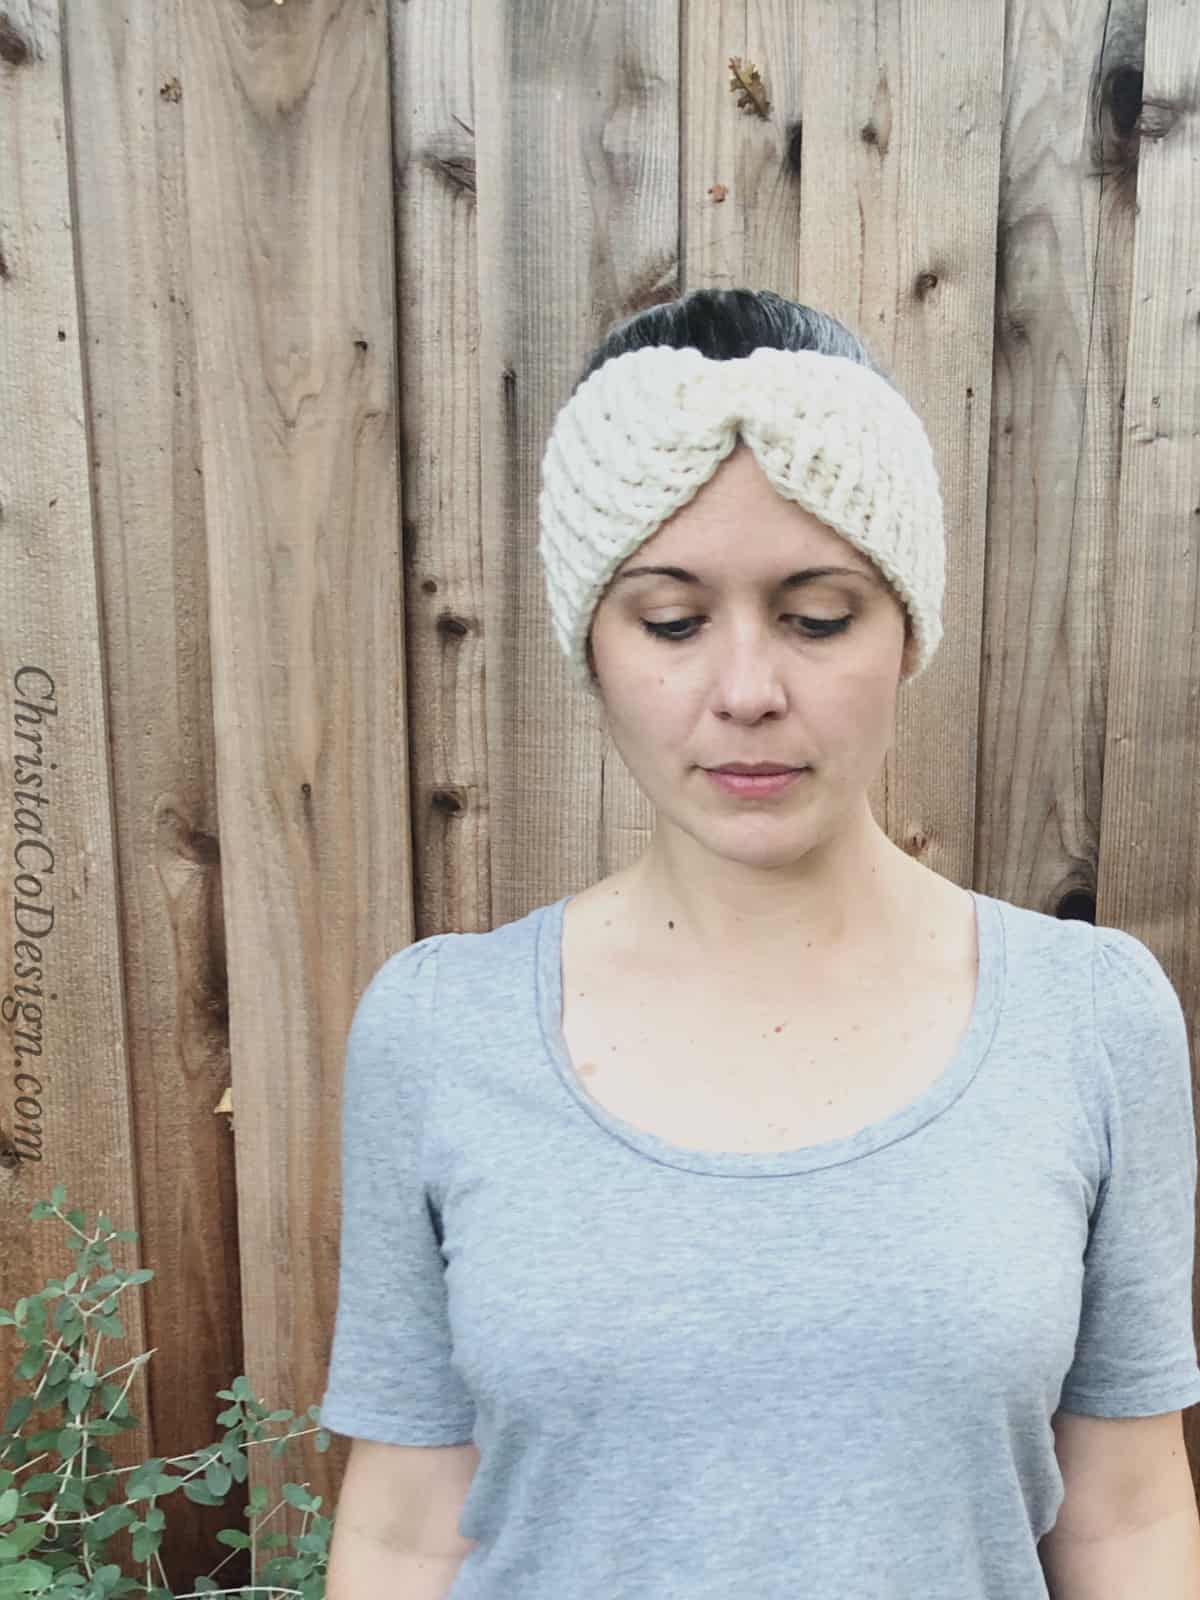
Crochet ribbing is essential for a hat brim on fitted beanies and sleeve cuffs. A polished, stretchy ribbing gives these classic crochet projects that finished look.

This post contains affiliate links, I may earn a fee. Read more disclosure policy.
Join the ChristaCoDesign Newsletter
Never miss a pattern!
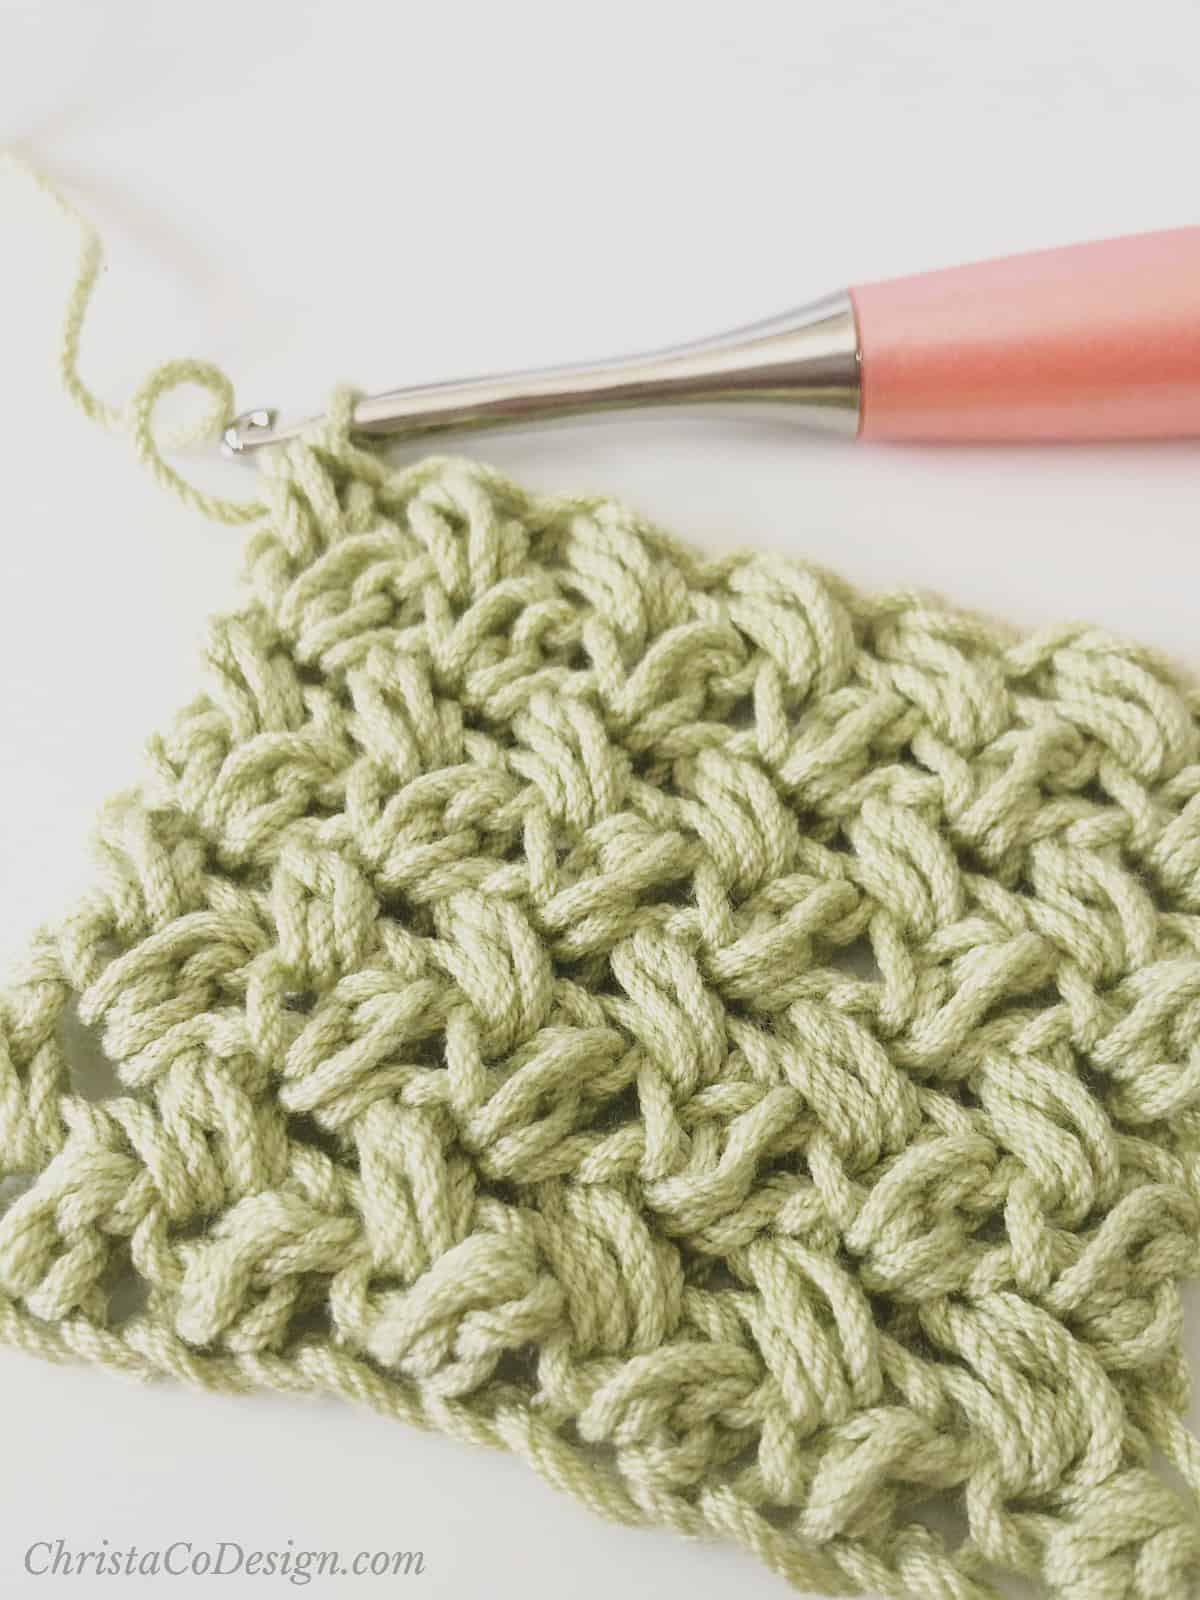
Learn how to crochet the slip stitch ribbing in this step-by-step tutorial with pictures. Plus watch the full video tutorial too.
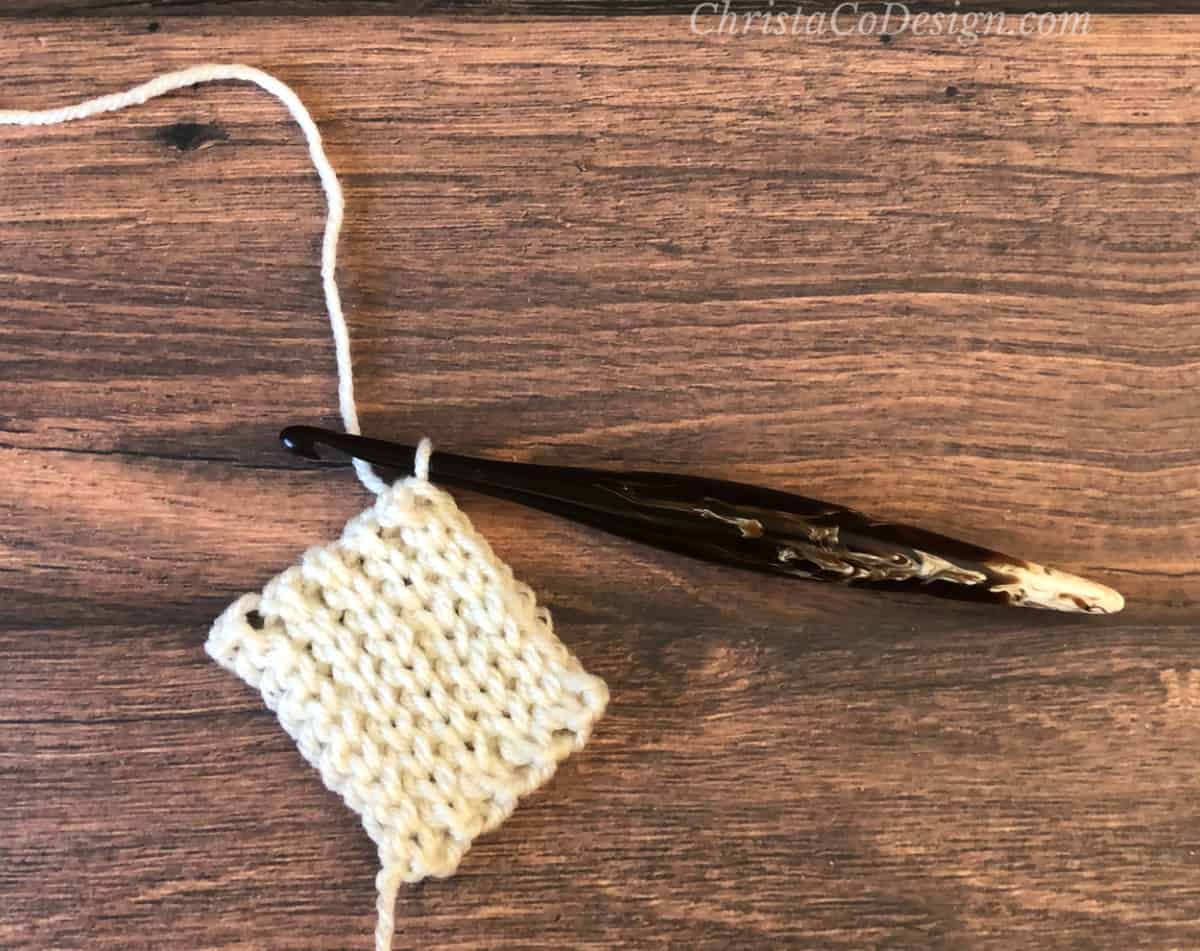
The slip stitch ribbing looks similar to knit stitches. Since this ribbing is worked sideways in crochet, the stitch mimics knit ribbing.
The rib stitches create a stretchy fabric with just one repeat row. Slip stitches are small so it works up slowly.
Free Patterns For Ribbing
The slip stitch ribbing is nice and tight but works up a bit slowly. Try the single crochet ribbing for an alternative.
The camel stitch is nice and stretchy and uses half double crochets in the 3rd loop so it works up a little faster.
Overall rib stitch patterns are slow to work, but really give your hats and sleeves the stretch they need to fit well.
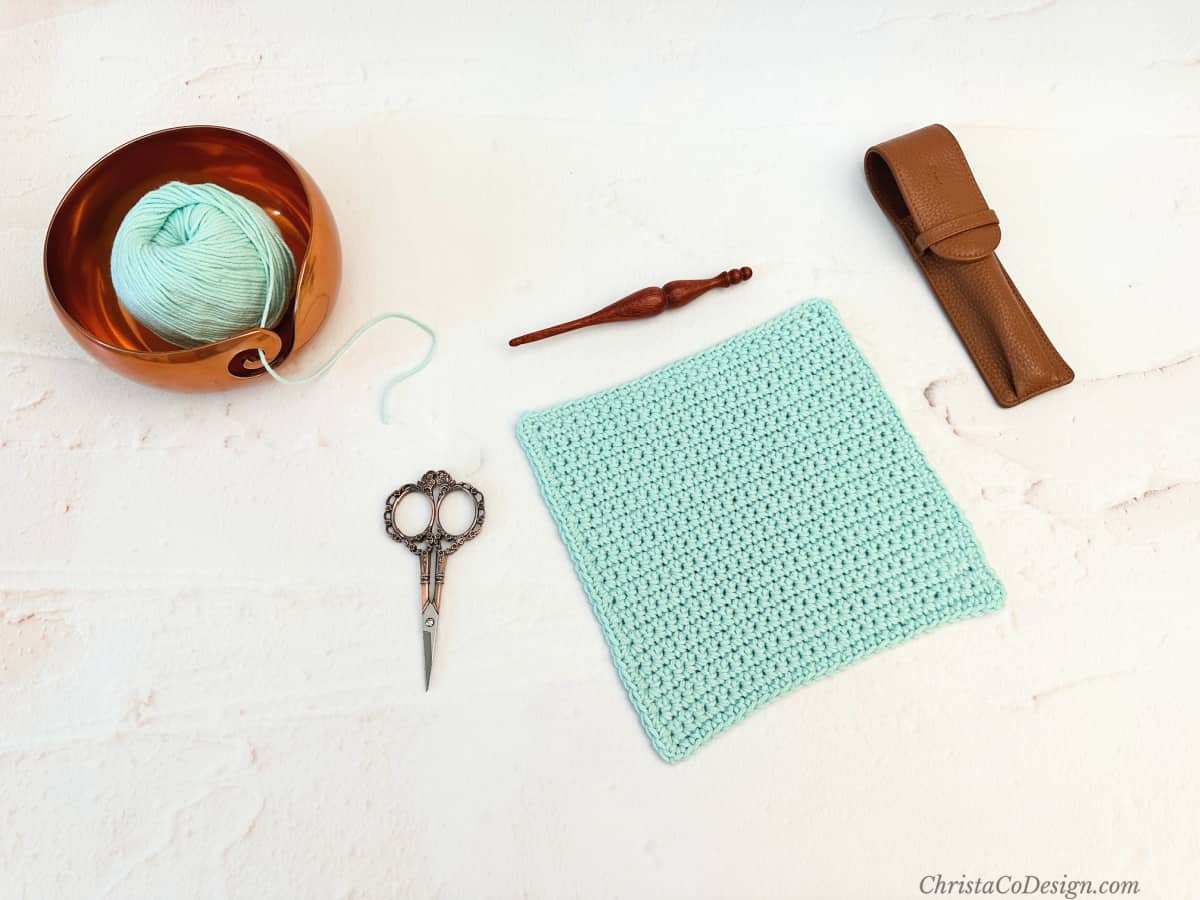
Materials
You can use any weight yarn, I am using Red Heart Super Saver* in the color aran. This is a #4 medium worsted weight yarn.
This rib stitch pattern works for a variety of yarn weights.
Stitches / Abbreviations
To crochet this ribbing you will need to know how to start with a slip knot. How to crochet a chain. And the slip stitch.
The right side and wrong side of your work look the same in this ribbing. For this tutorial, I work into the back loop, but you can also use the front loop instead.
Here are the crochet abbreviations for these stitches.
flo – front loop only
blo – back loop only
ch – chain
sl st – slip stitch
yo – yarn over
Notes
The chain 1 at the beginning of a row is a turning chain and does not count as a stitch.
You will work into the back loop of each stitch.
Skill Level
Easy
Gauge
Gauge is not important for this tutorial. The size of your crochet hook and the weight of your yarn will effect the size of your ribbing. To learn more read this article explaining gauge.
Video Tutorial
You can watch the full video tutorial on how to crochet ribbing with slip stitches on my YouTube.
Scroll down for the written instructions and photo tutorial!
How to Crochet Slip Stitch Ribbing
The slip stitch ribbing creates a stretchy ribbing that's great for sleeve cuffs and beanie brims.
Materials
- Any weight yarn, for this tutorial I am using a #4 medium worsted weight yarn.
Tools
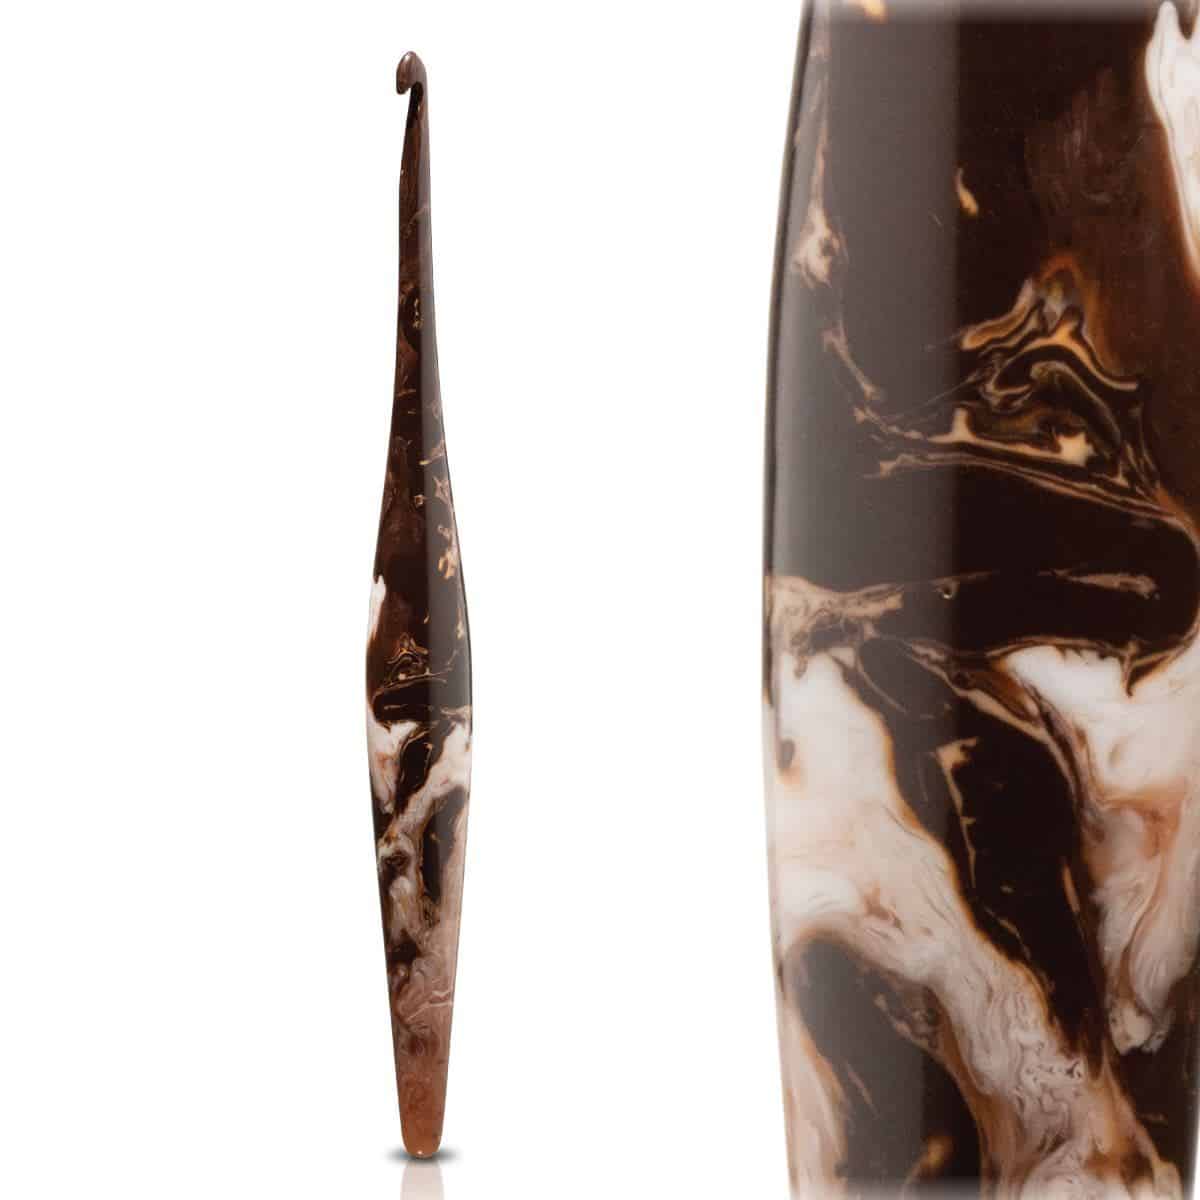
- Crochet hook to match your yarn. I'm using a 6.5 mm hook (US Size K) Streamline Swirl.
- Scissors
- Measuring Tape
- Yarn Needle
Instructions
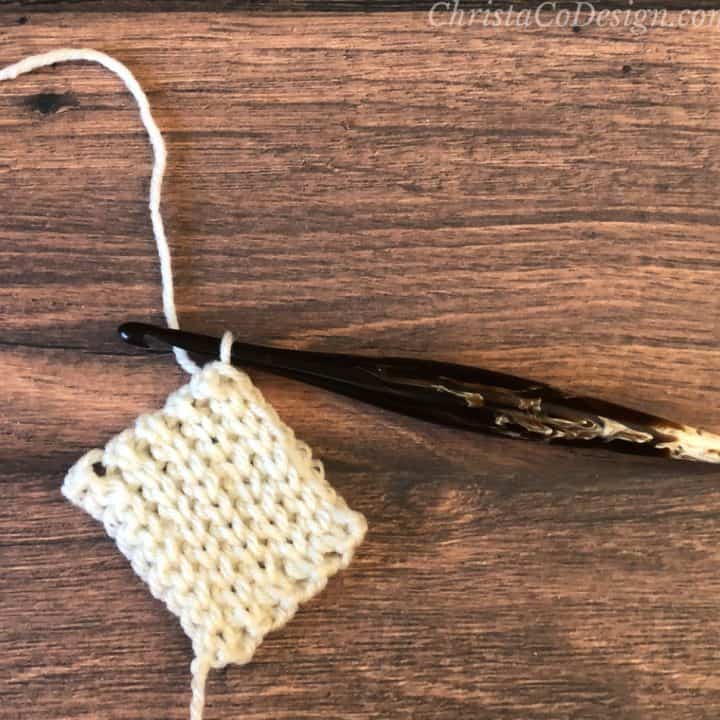
- Chain to 1 more than the desired number of stitches. Here I chain 10 and will have 9 stitches.

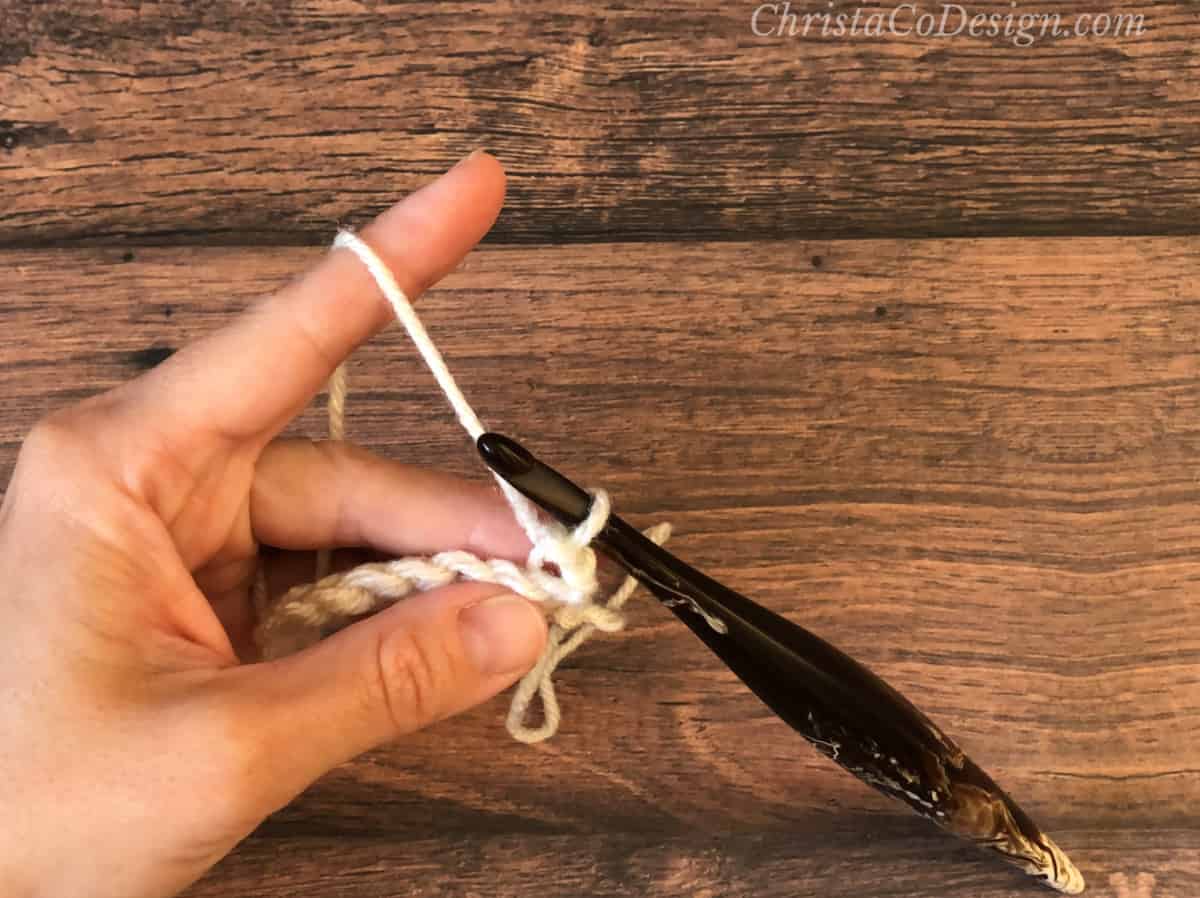
- Insert hook in 2nd chain from your hook. I'm working in the back bump of the foundation chain.

- Yarn over.

- Pull yarn through the first loop and the second loop on your hook. 1 stitch was made.

- Insert hook in next stitch.
- Yarn over.
- Pull through both loops.
- Repeat Steps 5 - 7 in each stitch across to complete the first row.

- After the last stitch, turn your work.
- Chain 1 to start the next row. This does not count as a stitch and you will not work into it.
- Insert your hook into the back loop of the first stitch.

- Yarn over.
- Pull through both loops on your hook.
- Repeat steps 11 - 13 in each stitch across to the end of the row.

- Continue this one rep row. Repeat steps 9 - 14 for the length of your ribbing.

Recommended Products
As an Amazon Associate and member of other affiliate programs, I earn from qualifying purchases.