How To Crochet Into The Back Of A Chain
This tutorial focuses on showing you how to crochet into the back bump of a starting chain. This simple technique creates a clean crochet edge.
When you crochet into the back bump of the crochet chain it leaves a finished, neat looking row. The starting rows will look just like the last row.
Crocheters who love symmetry will also love this technique. It makes both your starting chain and last row equally finished.
I also find that crocheting into the back bump is far easier. Trying to insert my hook under the top two loops of chain is fussy.
I always say that getting started in crochet is the hardest part. Crocheting into a chain can be tricky.
But learning how to crochet into the back bump makes it so much easier! And so much better looking.
This post contains affiliate links, I may earn a fee. Read more disclosure policy.
Yarn
In this tutorial I’m using Lion Brand’s Color Made Easy*. This is a nice #5 bulky weight yarn.
I love using the chunkier weight yarns for tutorials. It’s easier to see the stitches.
The color I’m using is a light, blush pink named Millenial. I paired this pink with a cream and grey in the Ava Blanket Crochet Pattern.
The Ava Blanket would be a great crochet pattern to try working into the back bump on.
Stitch
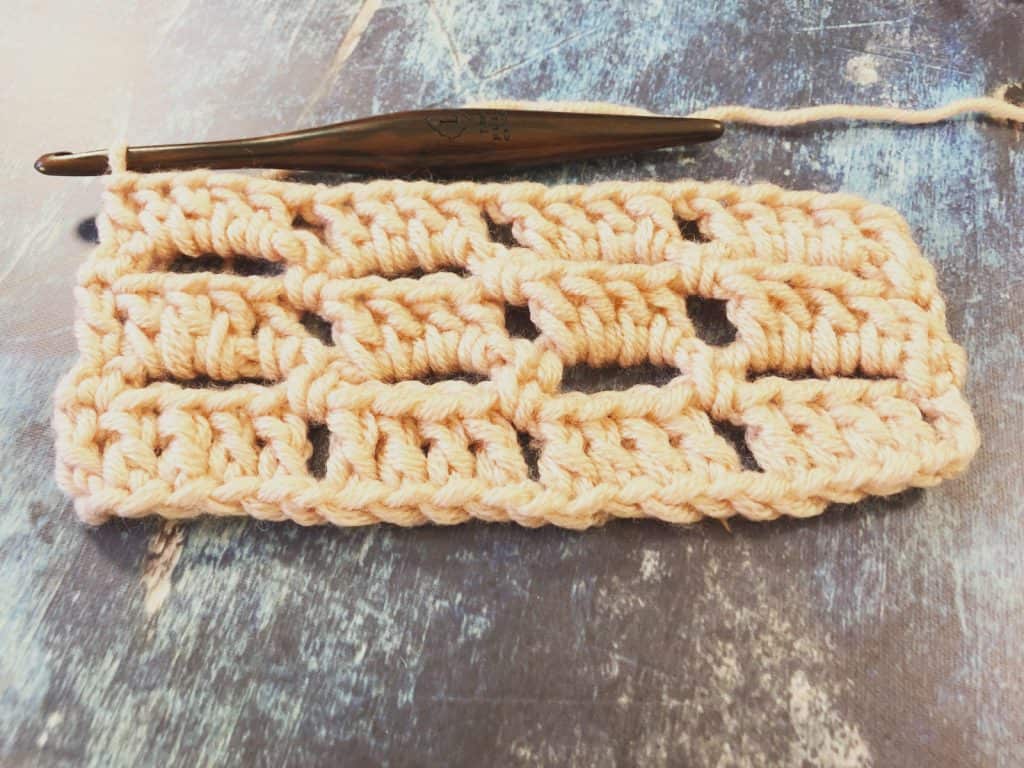
For this tutorial I’m using the double crochet stitch. You can work into the back bump using any crochet stitch.
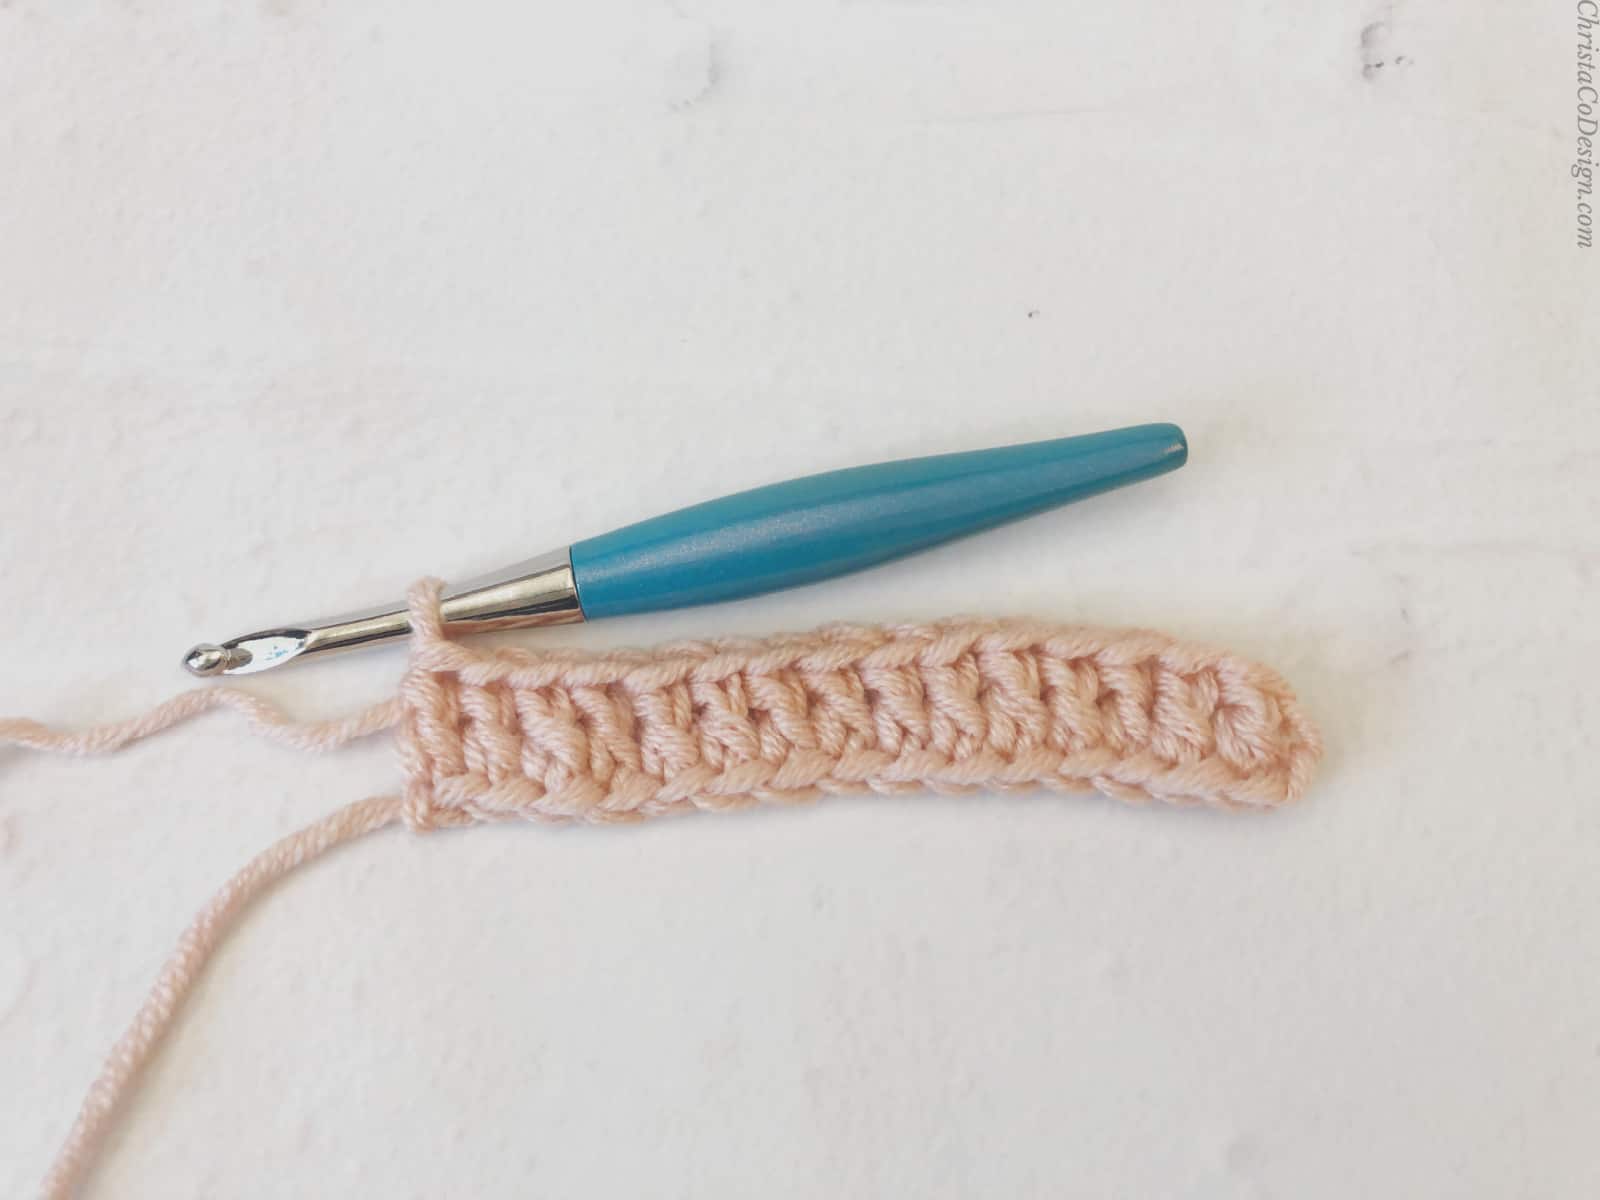
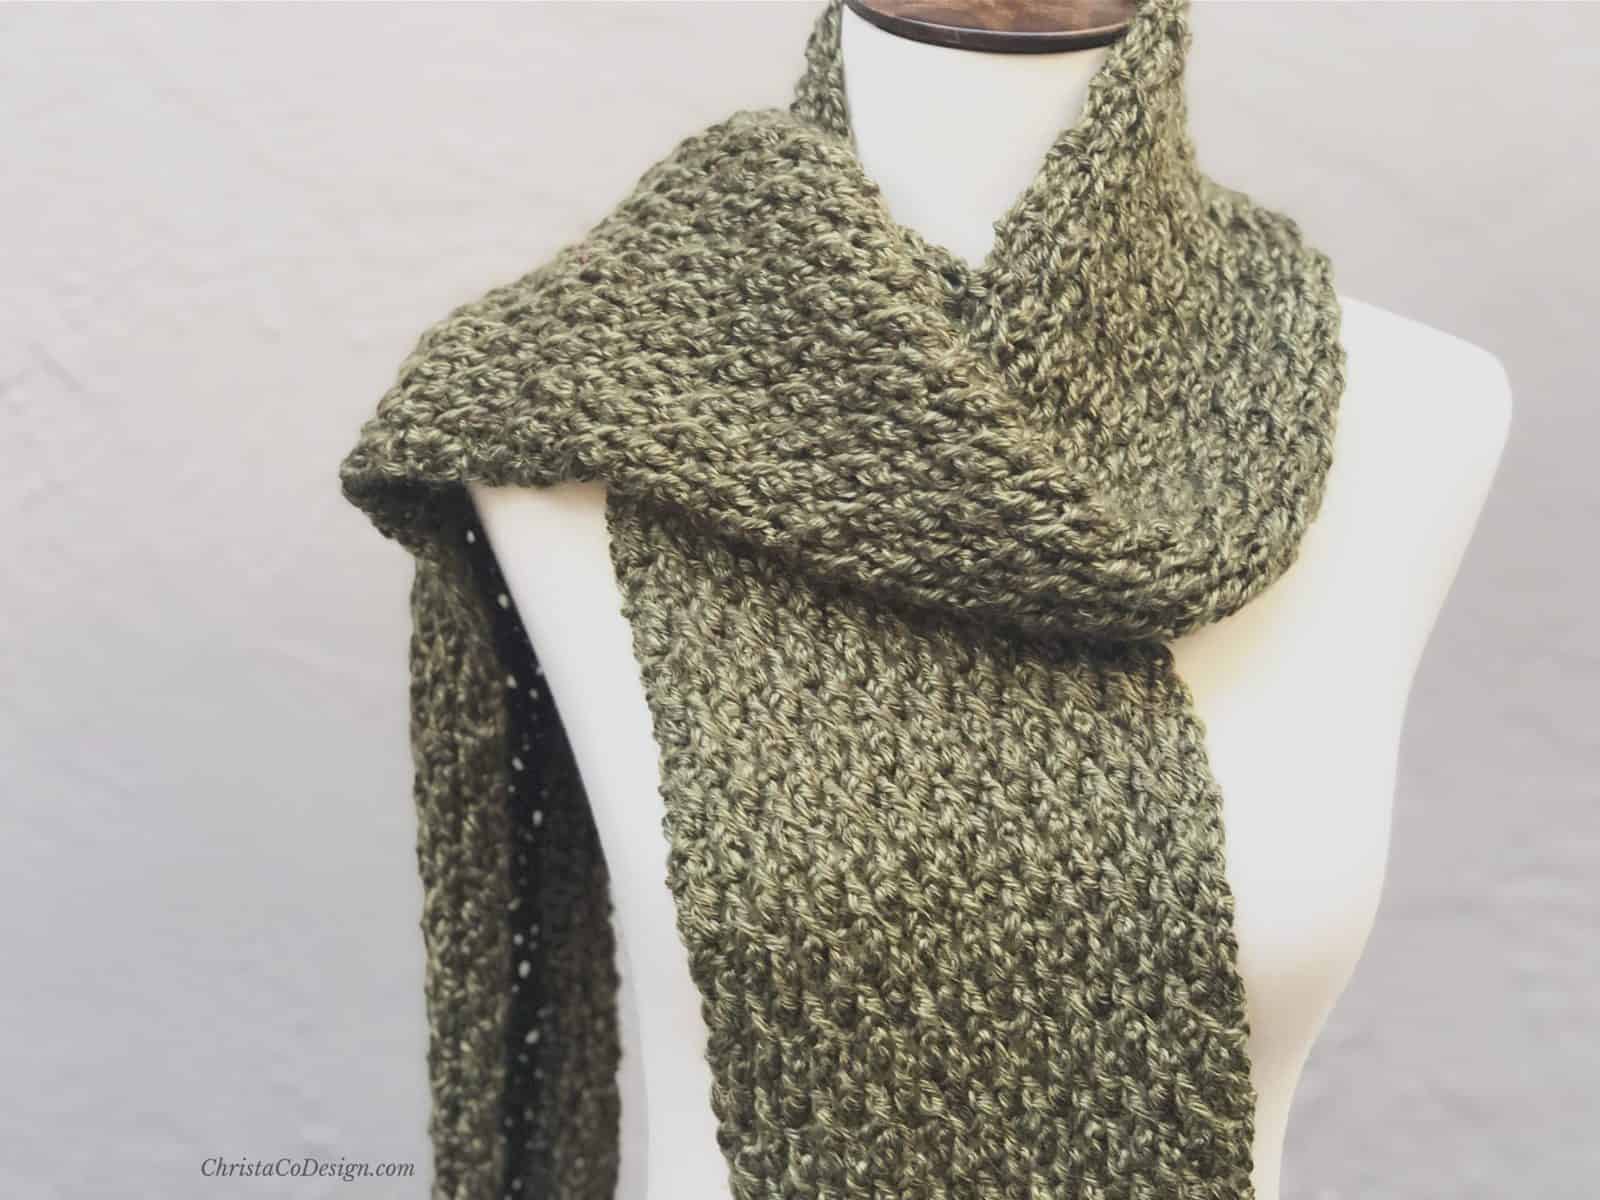
The little swatch you see here is for the Alza Scarf Crochet Pattern. You can check out the written Alza Scarf Crochet Pattern here.
This crochet scarf pattern is a great one to try crocheting into the back bump for your starting chain also.
Helpful Tutorials
If you need more help crocheting a chain then start with this tutorial on How to Crochet a Chain.
This post also includes how to hold your yarn. There’s a picture and a little Tangi video so you can see it done.
Much of time I now start my crochet projects with foundation stitches. You can see the tutorial for the Foundation Double Crochet here.
I also have separate tutorials for the Foundation Half Double Crochet and the Foundation Single Crochet stitches.
These techniques are really useful. I love starting my projects with them.
When I first learned them I thought, why didn’t I know this sooner?! But, of course, when we’re first learning a new skill there’s just so much to learn!
More Ideas
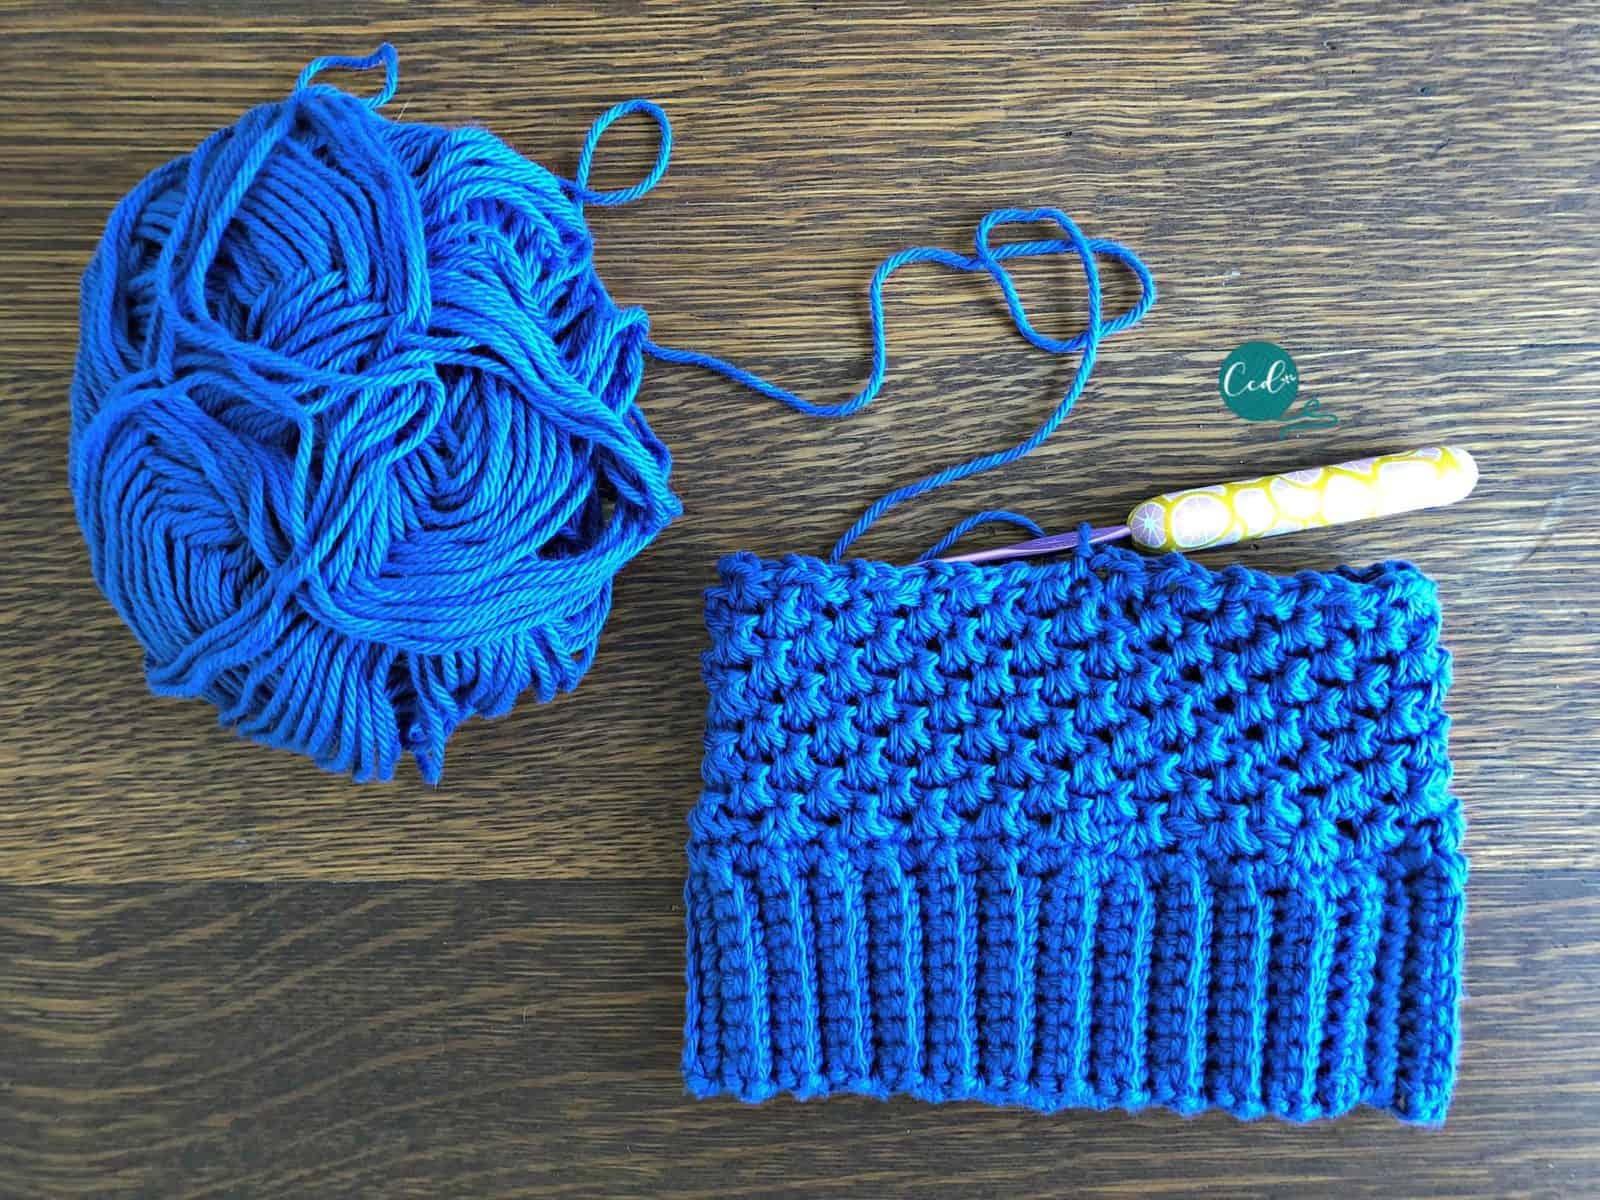
I love the look of this ribbed cowl from Crochet ‘n’ Create. It looks like an easy and cozy project!
Materials
- any weight yarn, pictured is Color Made Easy in Millenial*
- crochet hook compatible with your yarn, pictured above is Furls Streamline 7mm
Notes
- For this starting chain I’m skipping the first 3 chains and crocheting into the 4th chain. These skipped chains will count as the first double crochet of the row.
Level
Easy
Tutorial: How to Crochet into the Back of a Chain
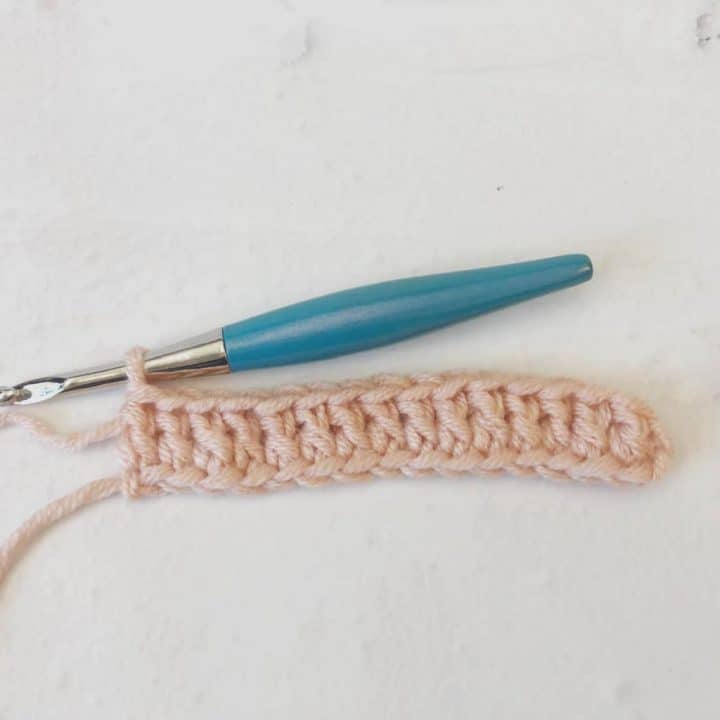
Crochet into the Back Bump of a Chain
Learn how to start your crochet projects with a clean edge by crocheting into the back bump.
Materials
- Any size yarn, I'm using a chunky #5 weight yarn.
Tools
- A compatible hook to your yarn, I’m using my 6.5mm Furls Odyssey
Instructions
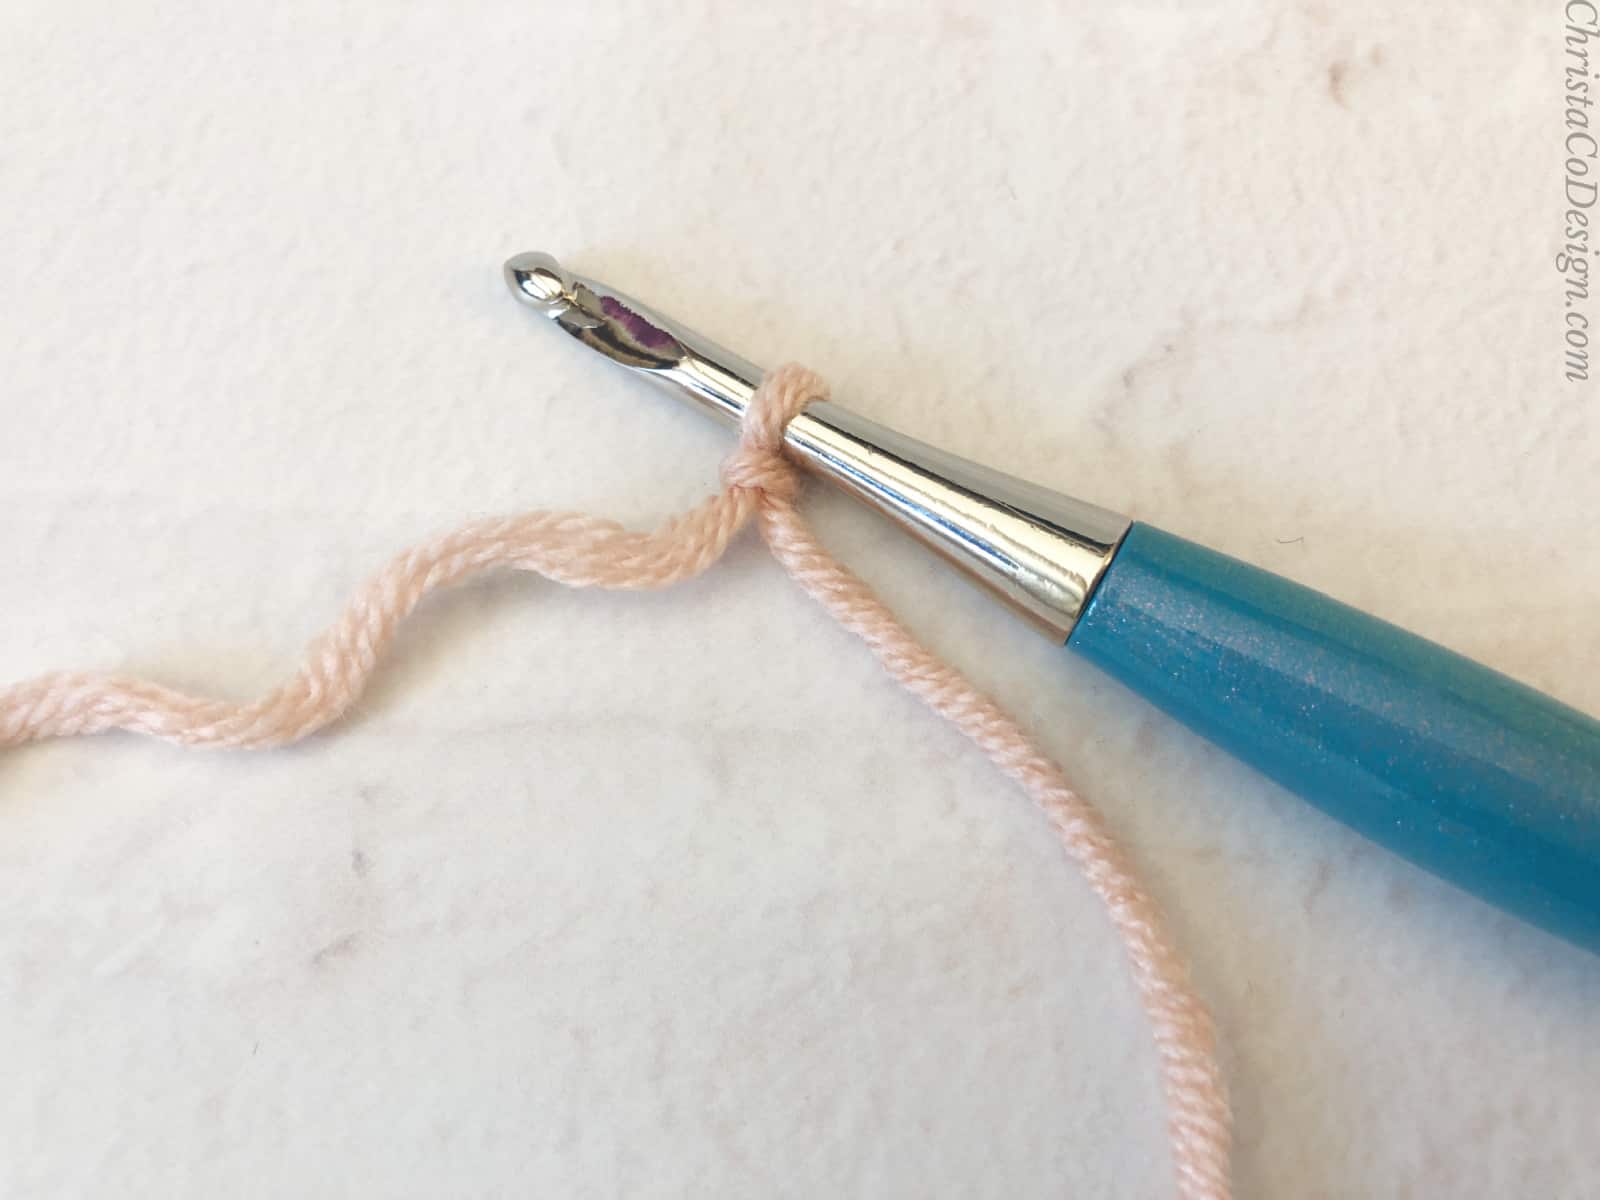
- Start with a slip knot on your hook.

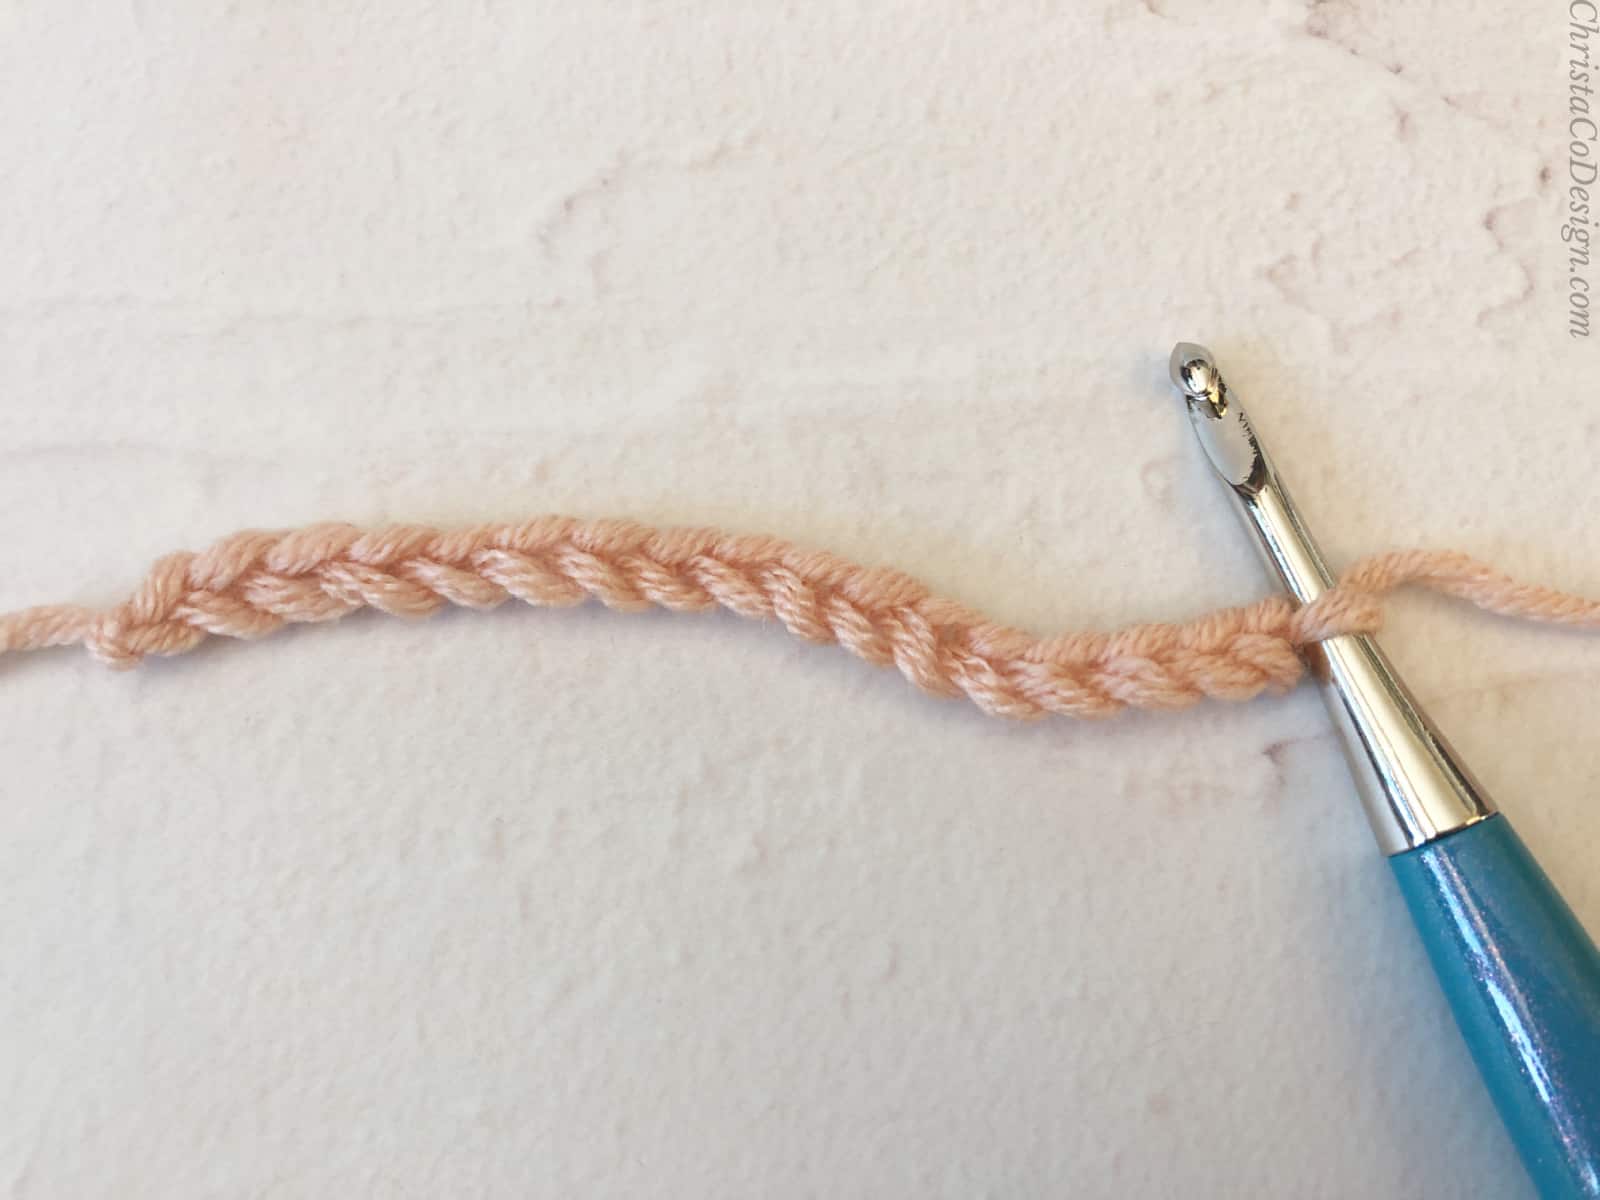
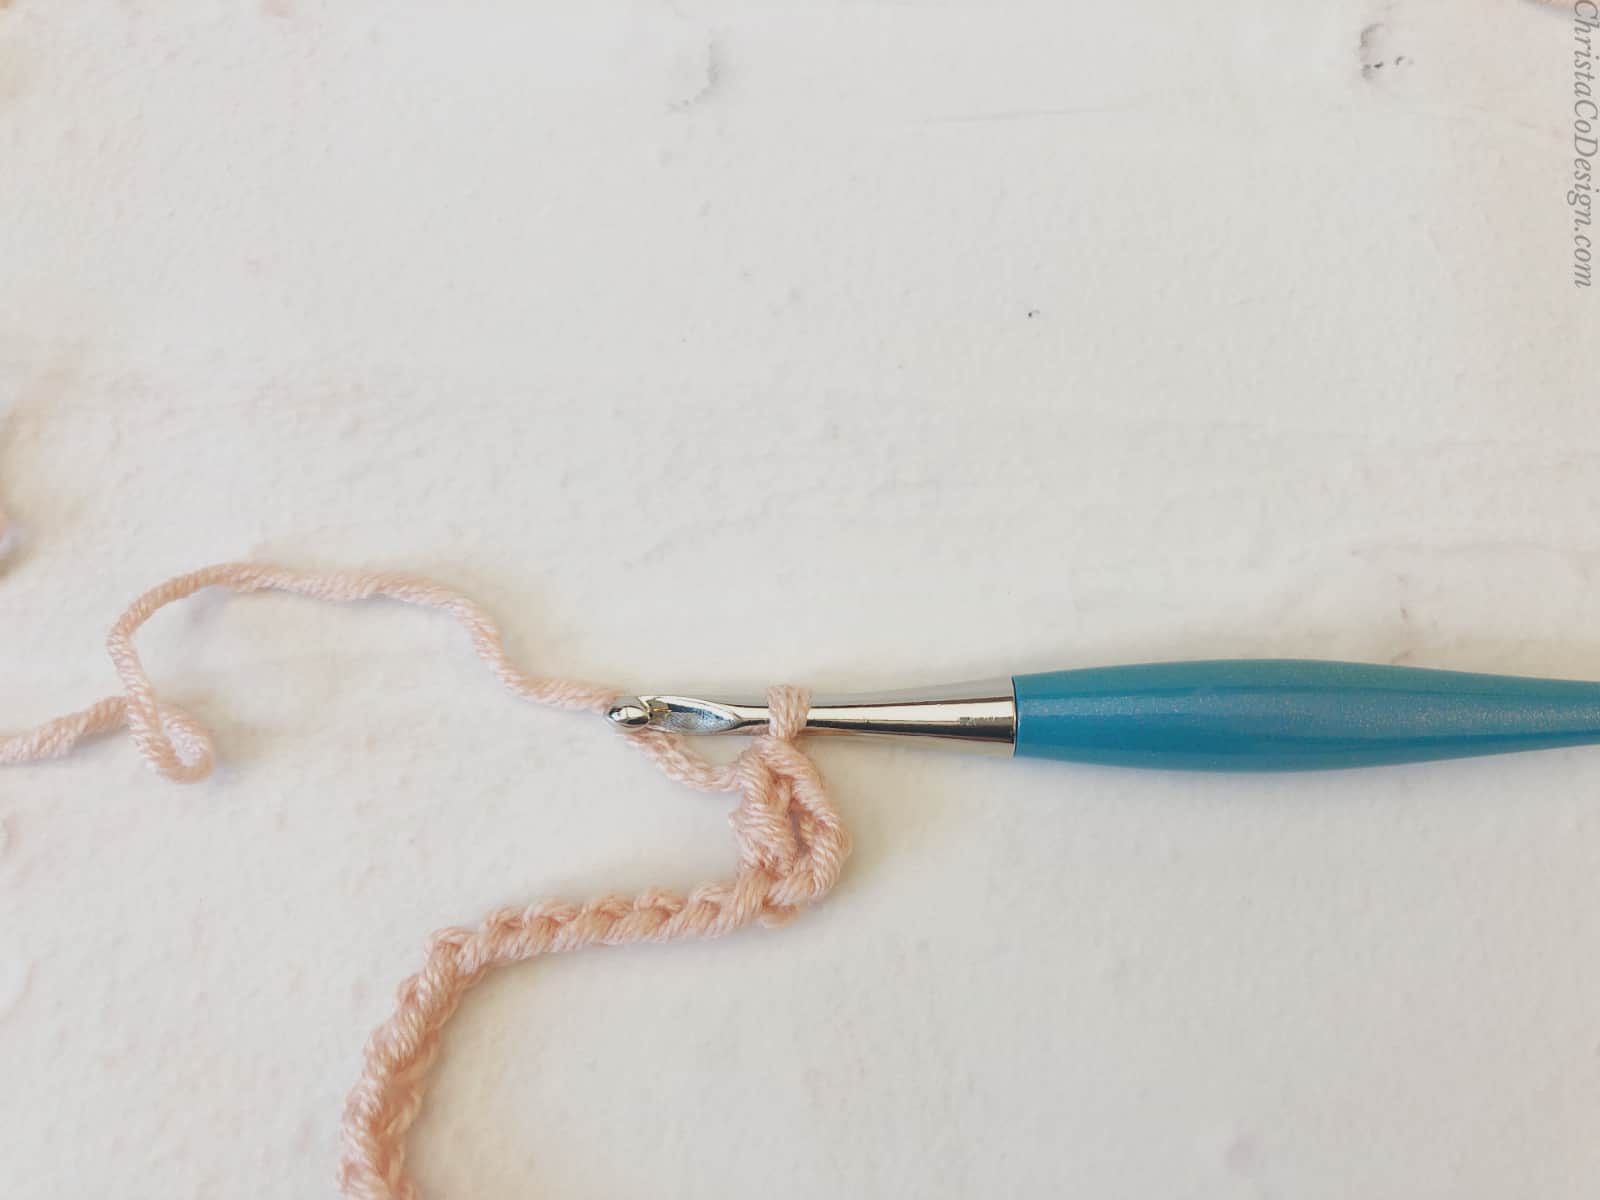
- Then we’re going to make a chain. You can chain any number to practice. Here we have the top of the chain stitches, they look like little Vs.

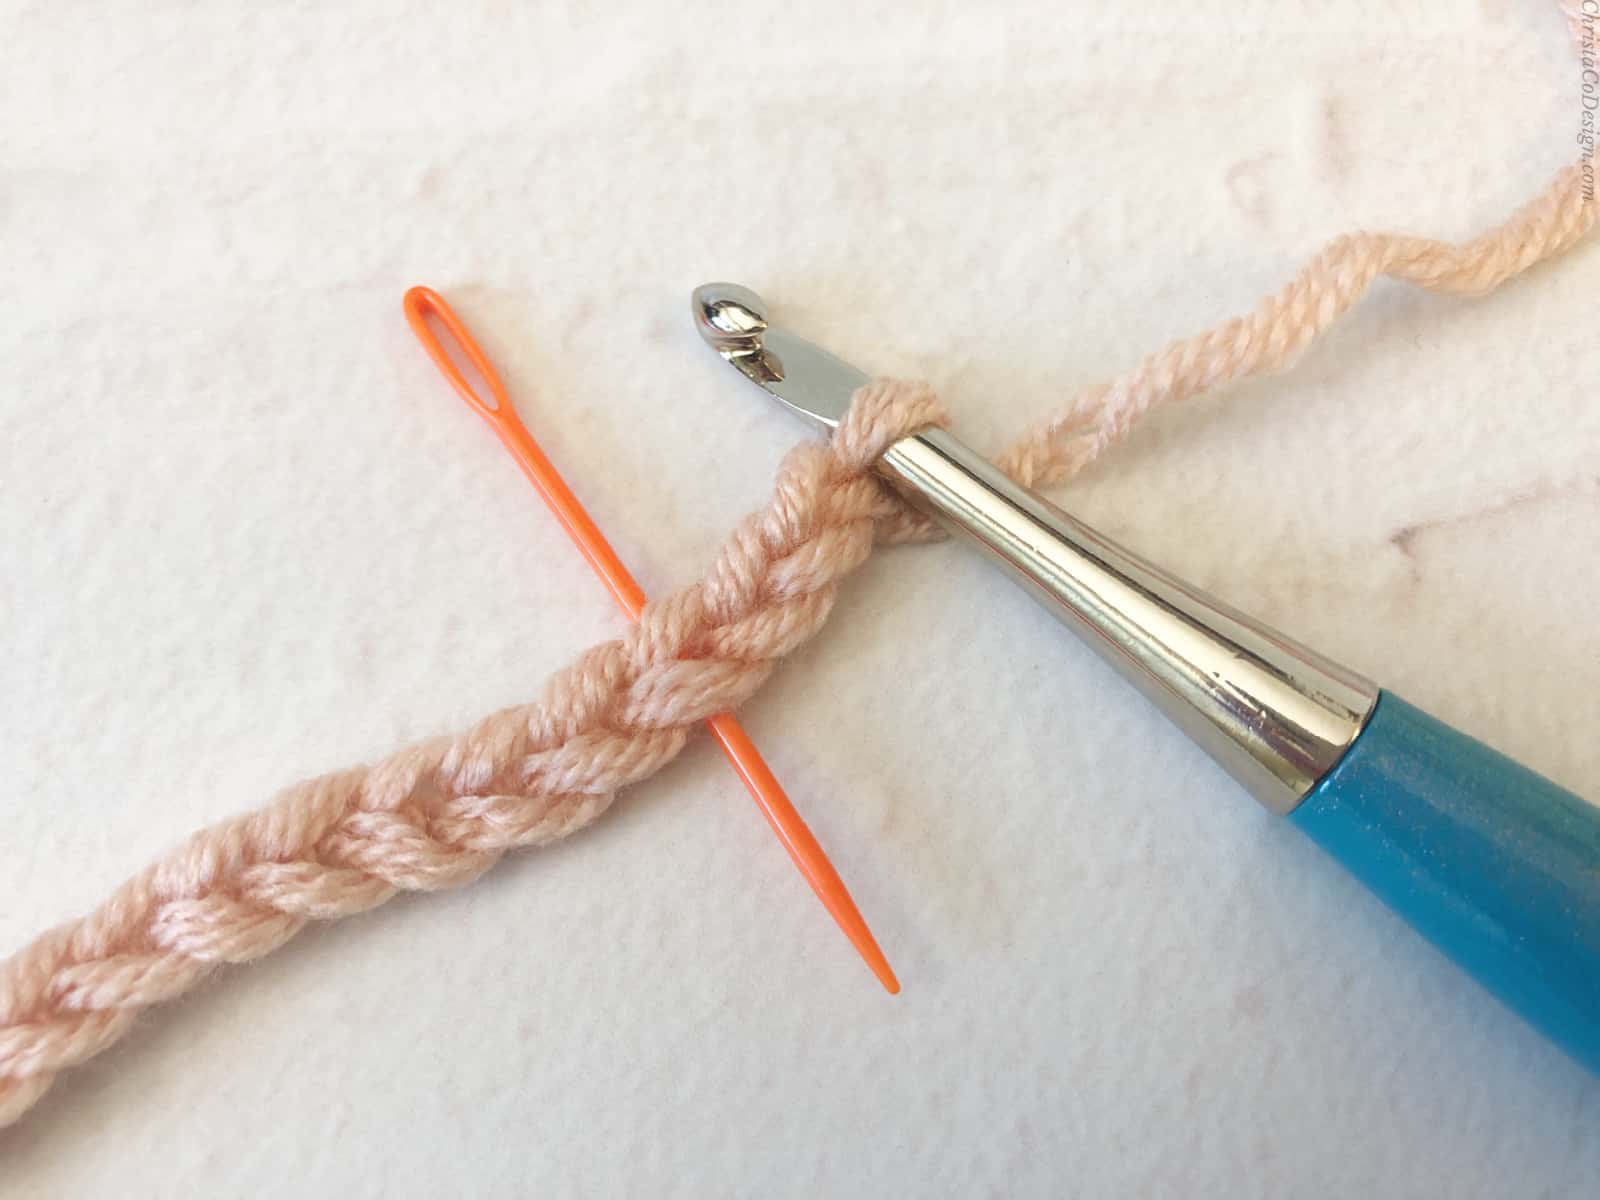
- We’ll work into the 3rd chain from our hook.

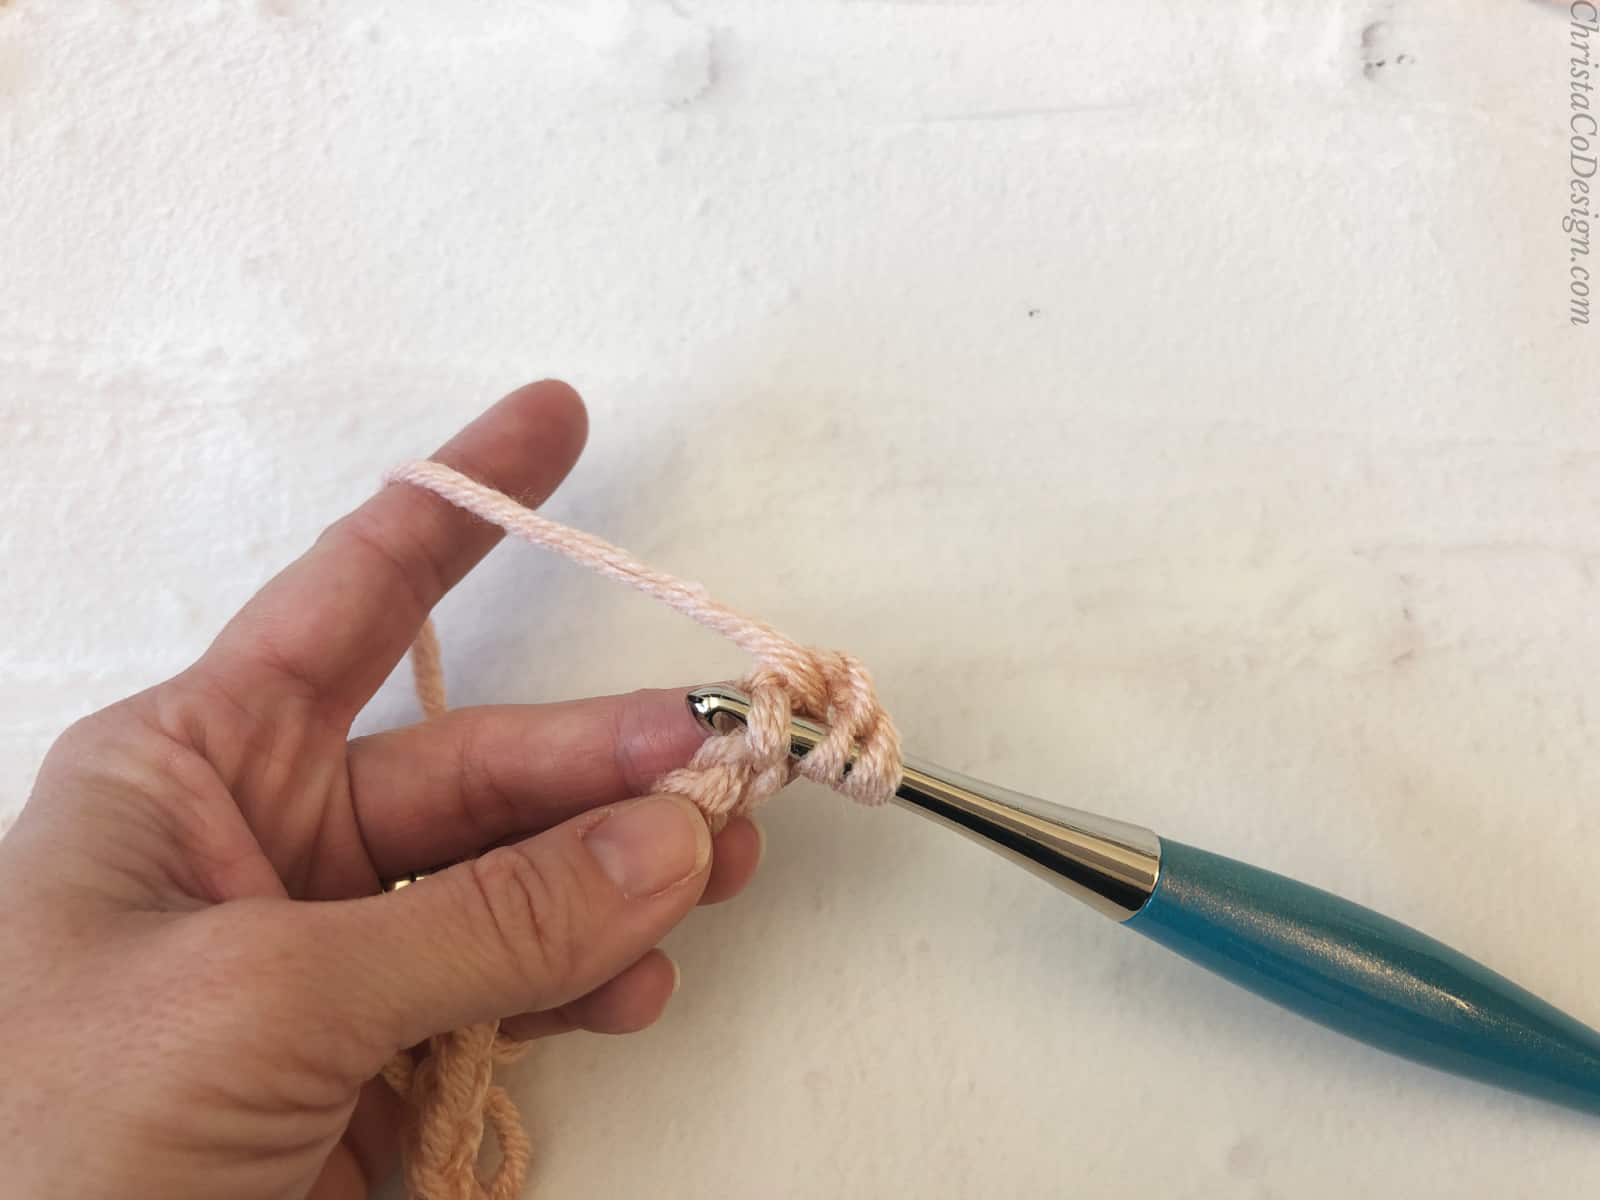
- Flip the chain over, yo + insert your hook under the back bump of the 3rd ch.

- Finish the double crochet. The skipped chains don't count here.

- Double crochet in the back bump of the next chain. Repeat in each chain across the row. Working into the back bump gives us a nice edge that looks just like the top of our stitches.

Recommended Products
As an Amazon Associate and member of other affiliate programs, I earn from qualifying purchases.
Video Tutorial
You can check out the full, step by step video tutorial for how to crochet into the back of the chain on my YouTube.

