
Lombardy Pillow a Free Crochet Pillow Pattern
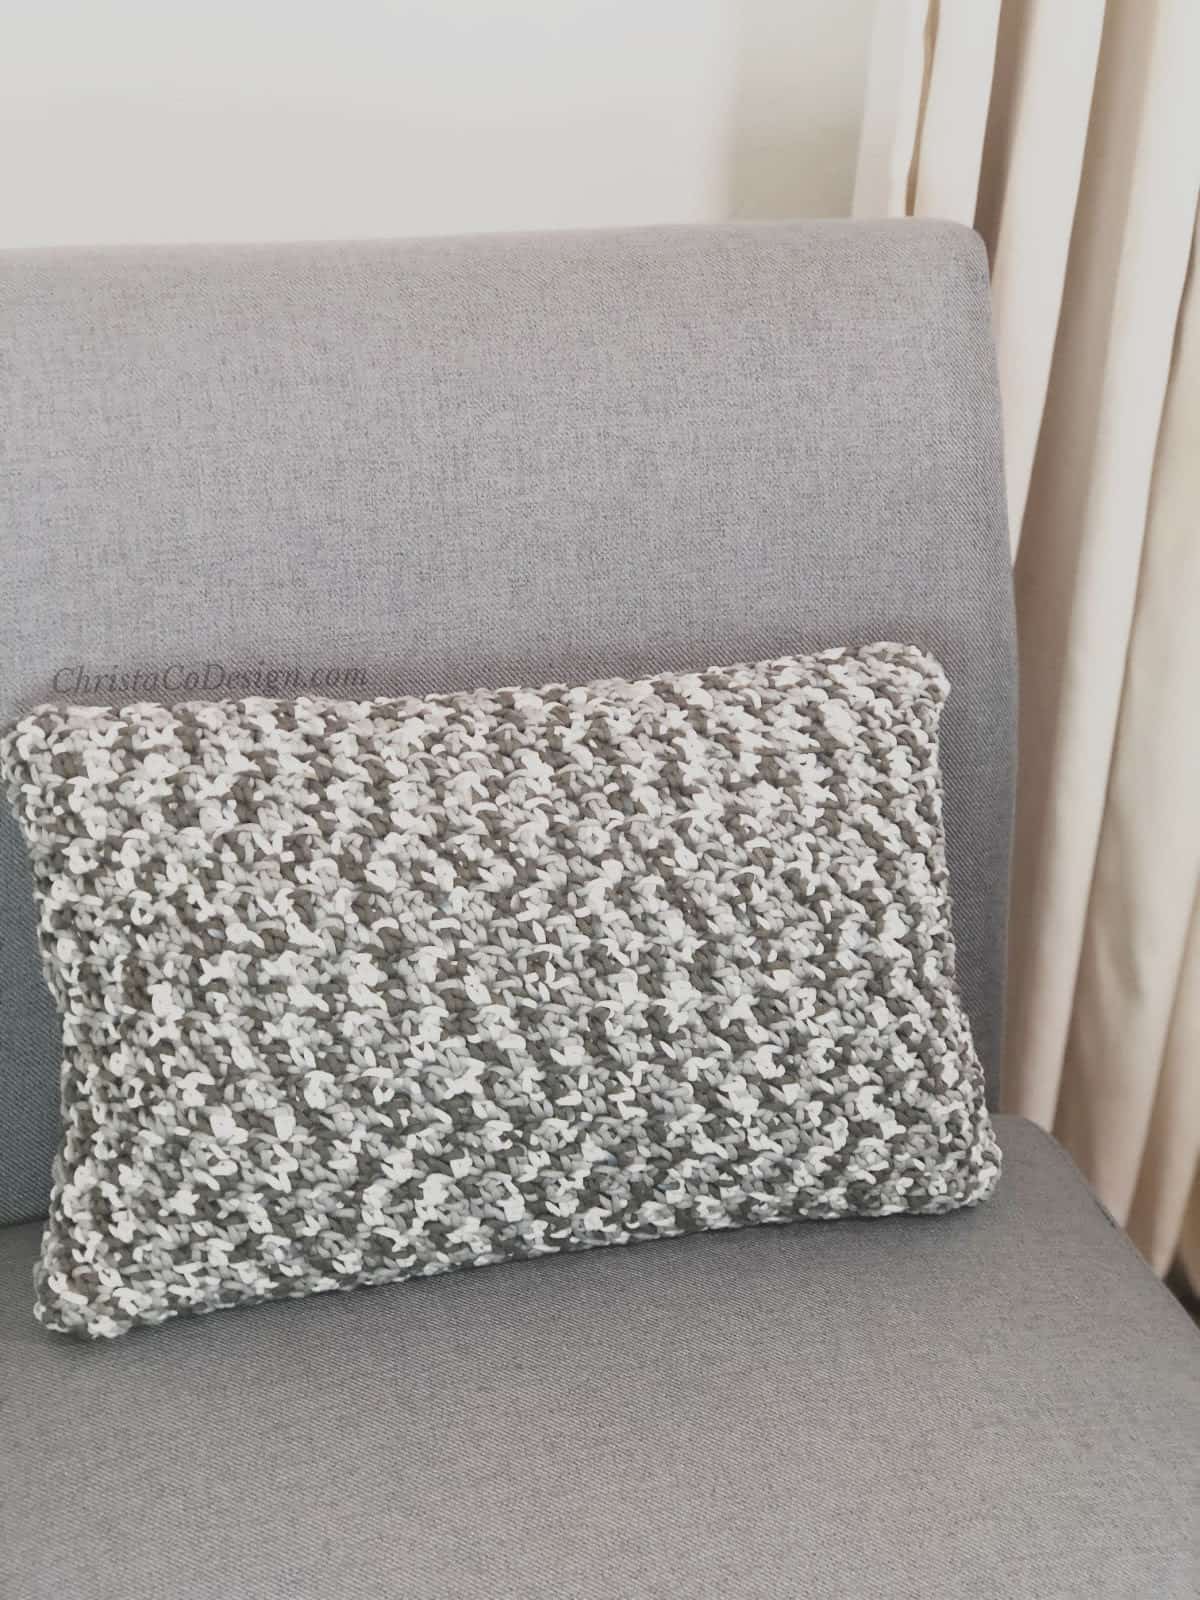
The Lombardy free crochet pillow pattern features an easy, textured stitch. Add a modern crochet touch to your home with a handmade pillow. Simple and stylish, the Lombardy Pillow is a beautiful accent for any room.

This post contains affiliate links, I may earn a fee. Read more disclosure policy.
Join the ChristaCoDesign Newsletter
Never miss a pattern!
This crochet pillow is beginner friendly pattern. The photo tutorial includes step by step directions. If you prefer a square pillow, it can also be made to fit any size pillow form.
The Lombardy Pillow pictured is 12″ x 18,” and crochets up in just one ball of yarn. A quick reference chart is included for some common throw pillow sizes. Plus stitch multiple provided for making further customizations.
Purchase the ad-free, well formatted printable PDF Pattern from my shop. Scroll down for the free pattern!
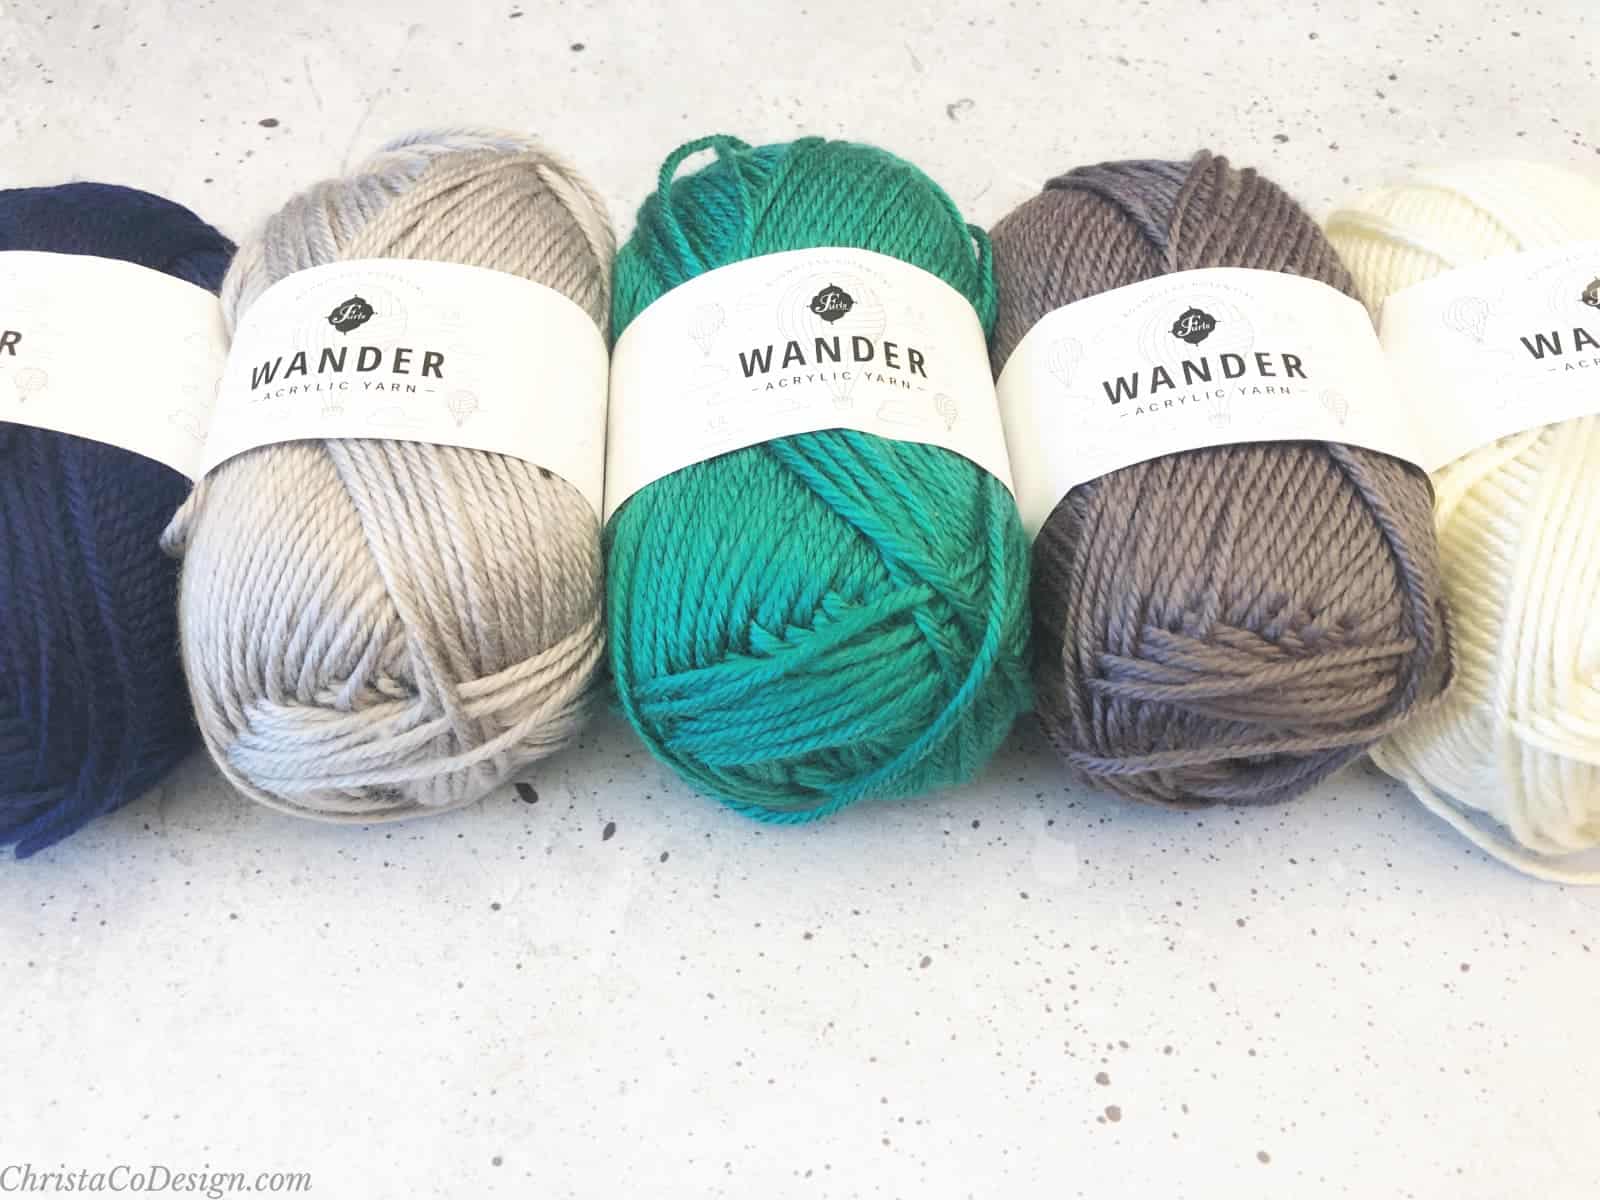
The Yarn
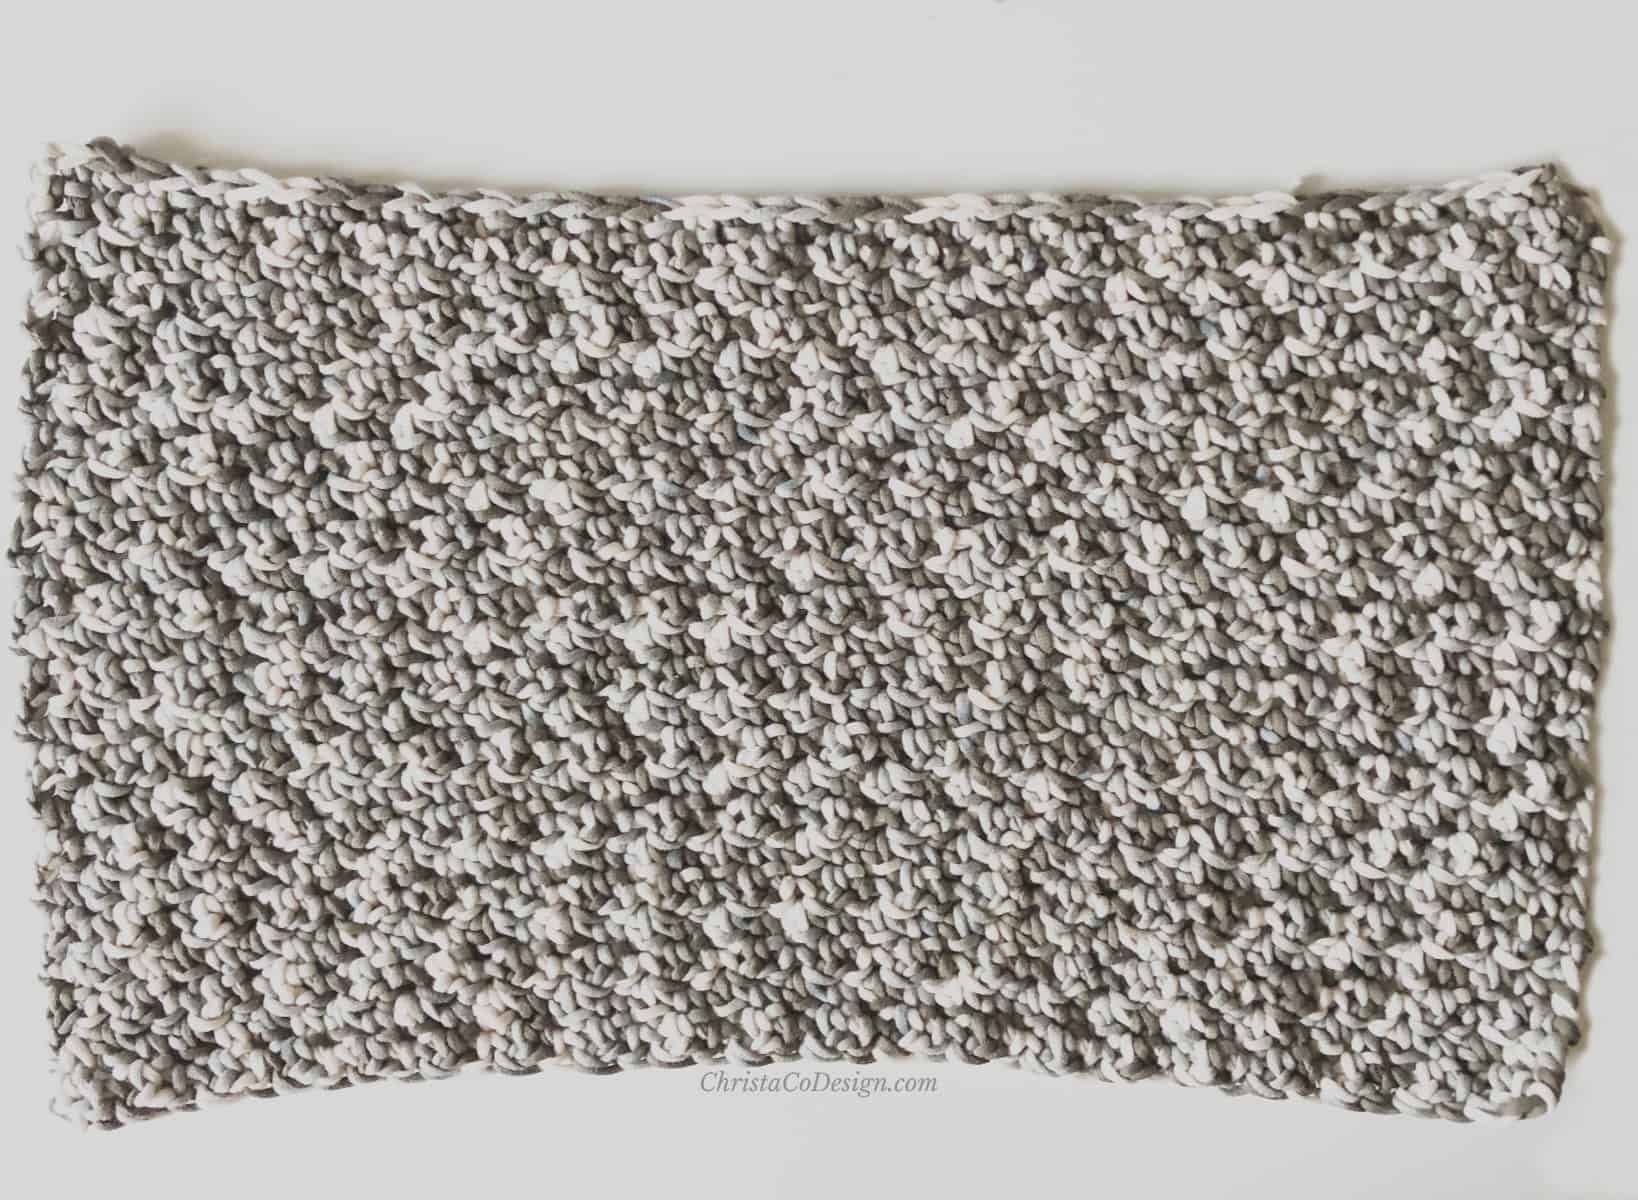
I love how the Bernat Maker Home Dec yarn in the variegated color worked up. Even my husband commented how much he likes it. And you know what it means if the husband compliments it.
Sometimes you just don’t know how the variegated yarns will look with certain stitch patterns. So I was thrilled when this combo worked up so well. The Pebble Beach Variegated + the lemon peel stitch + free crochet pillow pattern = a win.
Amanda from Loops and Love Crochet has designed a beautiful beach bag with this yarn in a gorgeous color combo.
Purchase My Ad-Free PDF Patterns In Your Favorite Shop Here:

Well I can’t let this one go without mentioning the name. Lombardy is a region in northern Italy. And as some of you may have noticed, I have a little Italian name theme going on with my patterns.
Mostly that’s because I met my husband in Italy. We were able to travel to the Lombardy region while we were there. Since this design is a lumbar pillow, I just had to use Lombardy for it’s name. See what I did there? I know, I know.
Save your favs!
Add this pattern to your Ravelry queue.
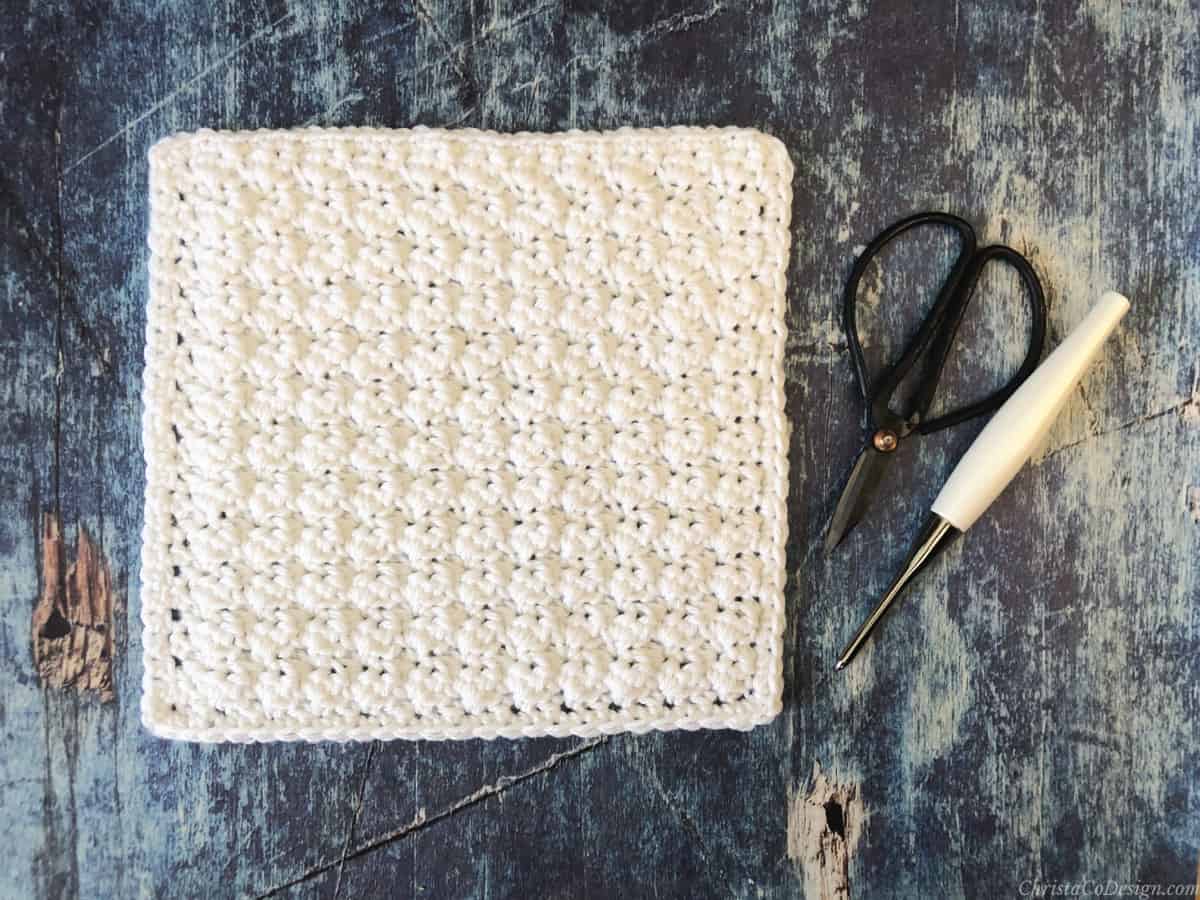
Materials
- 1 ball Bernat Maker Home Dec, in Pebble Beach Variegated, or 317 yds of #5 bulky weight yarn for the 12″ x 18″ pillow
- 8 mm hook, love my Furls ergonomic hooks!*
- Yarn needle, Measuring tape, Scissors
Notes
- Stitch multiple is 2 + 1
- Ch 1 at the start of a row does not count as st.
Stitches/Abbreviations
ch(s) – chain(s)
sk – skip the indicated stitch
st(s) – stitch(es)
rep – repeat
sc – single crochet
dc – double crochet
RS – right side
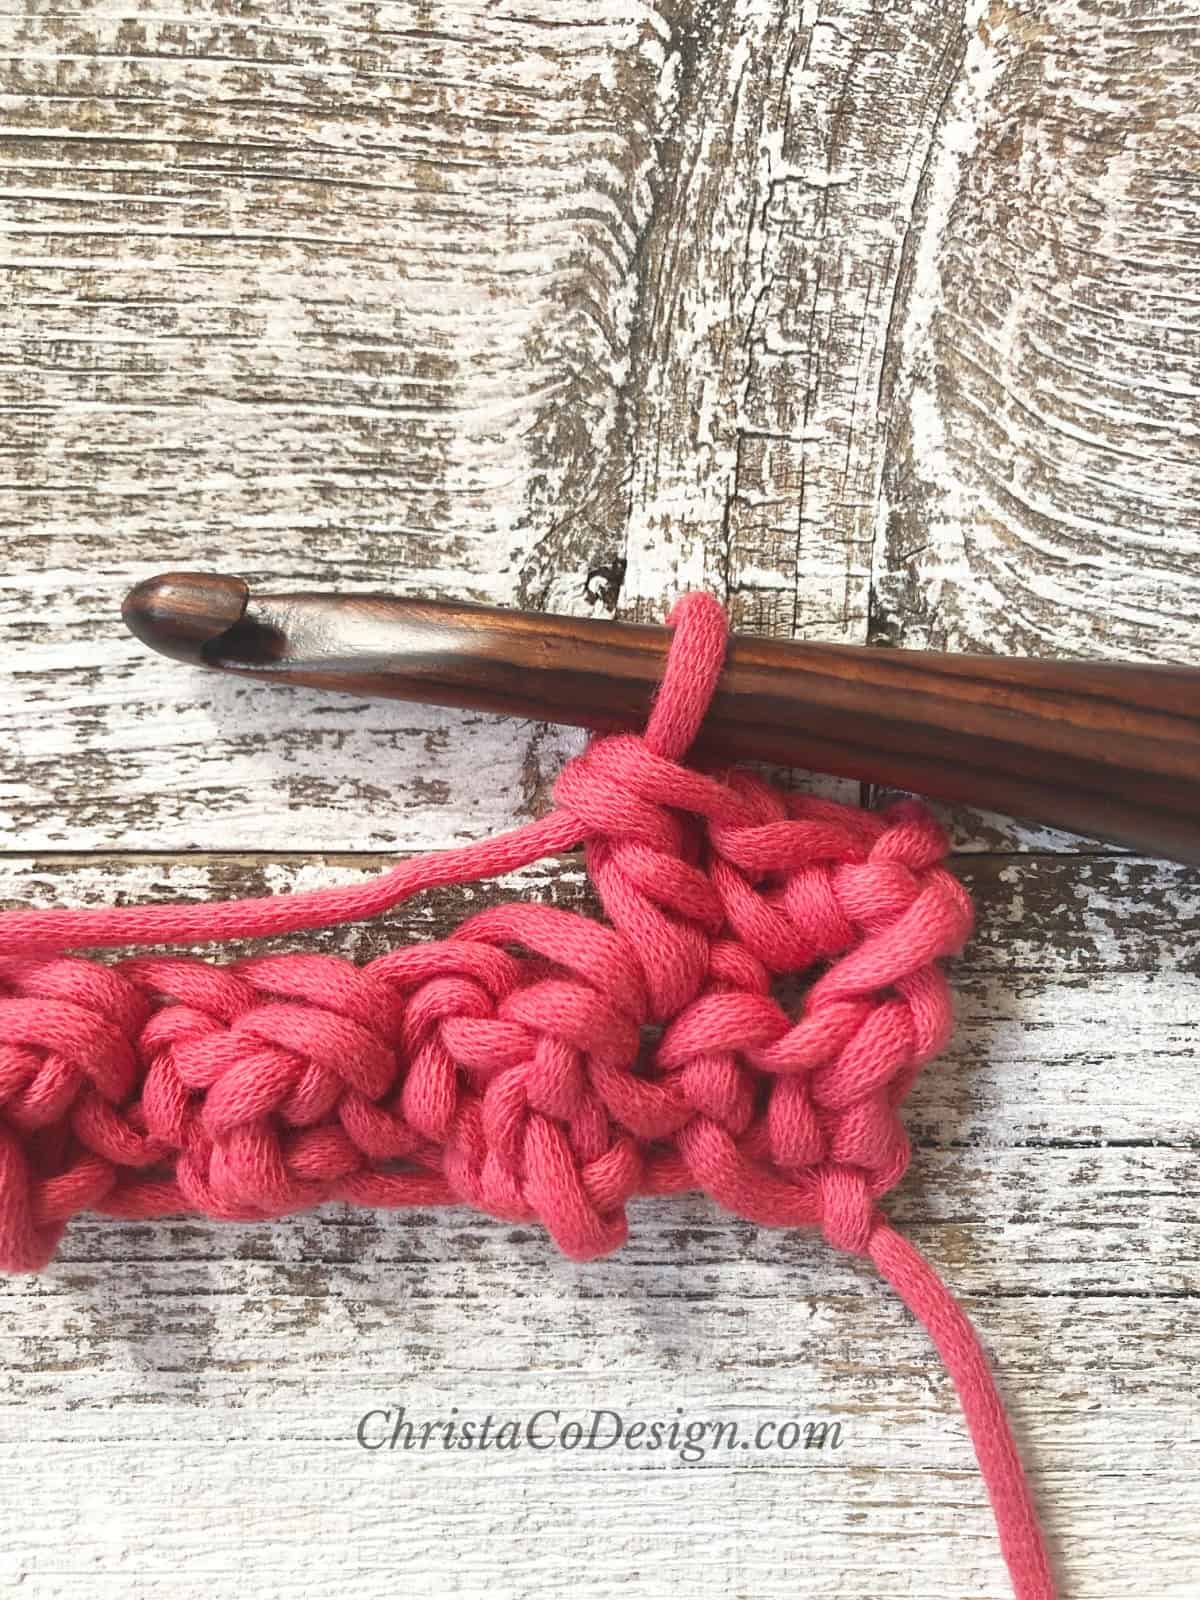
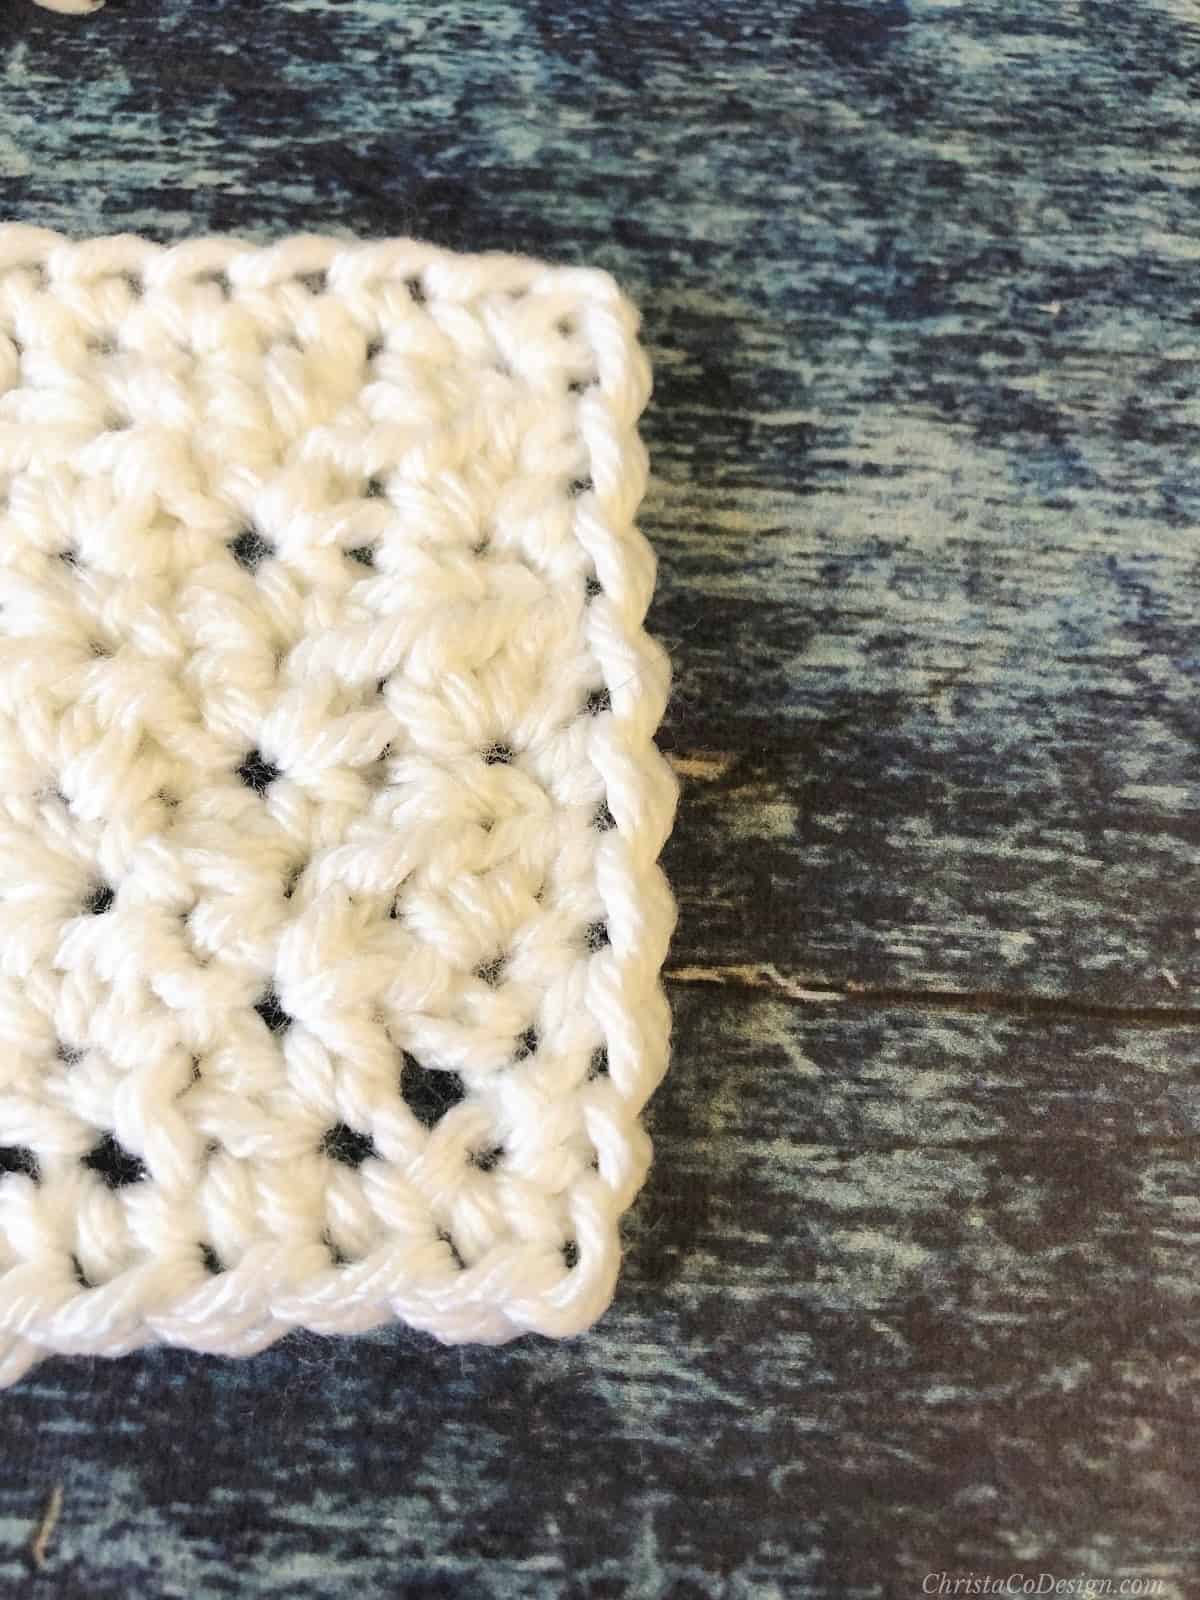
The stitch used for this pillow is one of my favorites, the lemon peel stitch. I’ve included pictures below, but if you’d like a more in depth tutorial you can check out my post on 2 ways to crochet the lemon peel stitch.

Gauge
4″ x 4″ = 9 sts x 10 rows in the pattern
Level
beginner
Construction
The Lombardy Pillow pattern is worked flat, on the long end. You’ll make two rectangles and then seam 3 sides together. Next you’ll stuff the pillow form inside. Finally you’ll seam the last edge.
Fit/Adjustment
Finished Dimensions: 11.75″ x 17.75″ fits a 12 x 18” pillow insert
Please note making any changes will effect the amount of yarn required, so plan accordingly.
To adjust the width of your pillowcase, use a stitch multiple of 2, then add 1 for the foundation row. See the chart below for recommended stitch counts for some common pillow form sizes. Aim for .5-1″ less than the actual pillow size.
To adjust the length, just crochet more rows.
| To Fit a Pillow Width | Start with a Chain of |
| 12″ | 27 |
| 14″ | 31 |
| 16″ | 35 |
| 18″ | 41 |
| 20″ | 45 |
Pattern
Fits a 18″ x 12″ rectangular pillow.
Make 2
Ch 41,
Row 1. Sc in the 2nd ch from your hook, dc in the next ch,
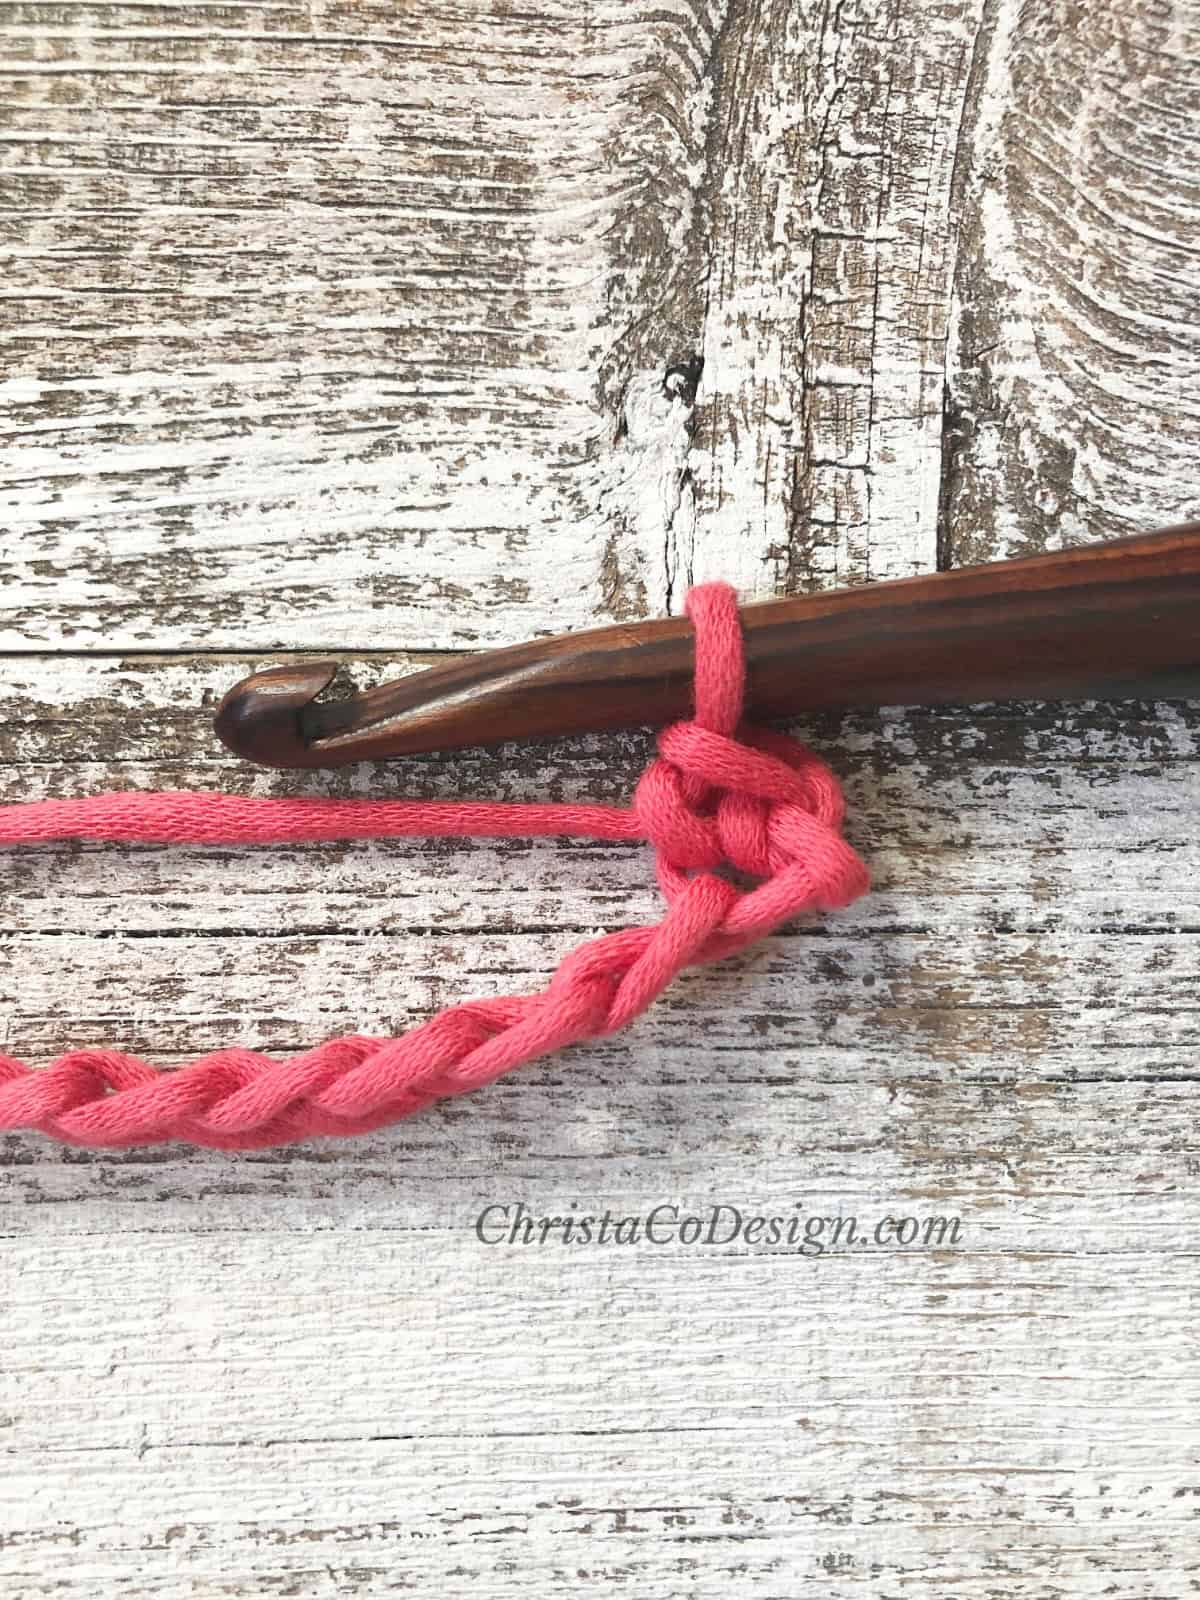
*{sc in next ch, dc in next ch}
rep from * across, turn. (40 sts)
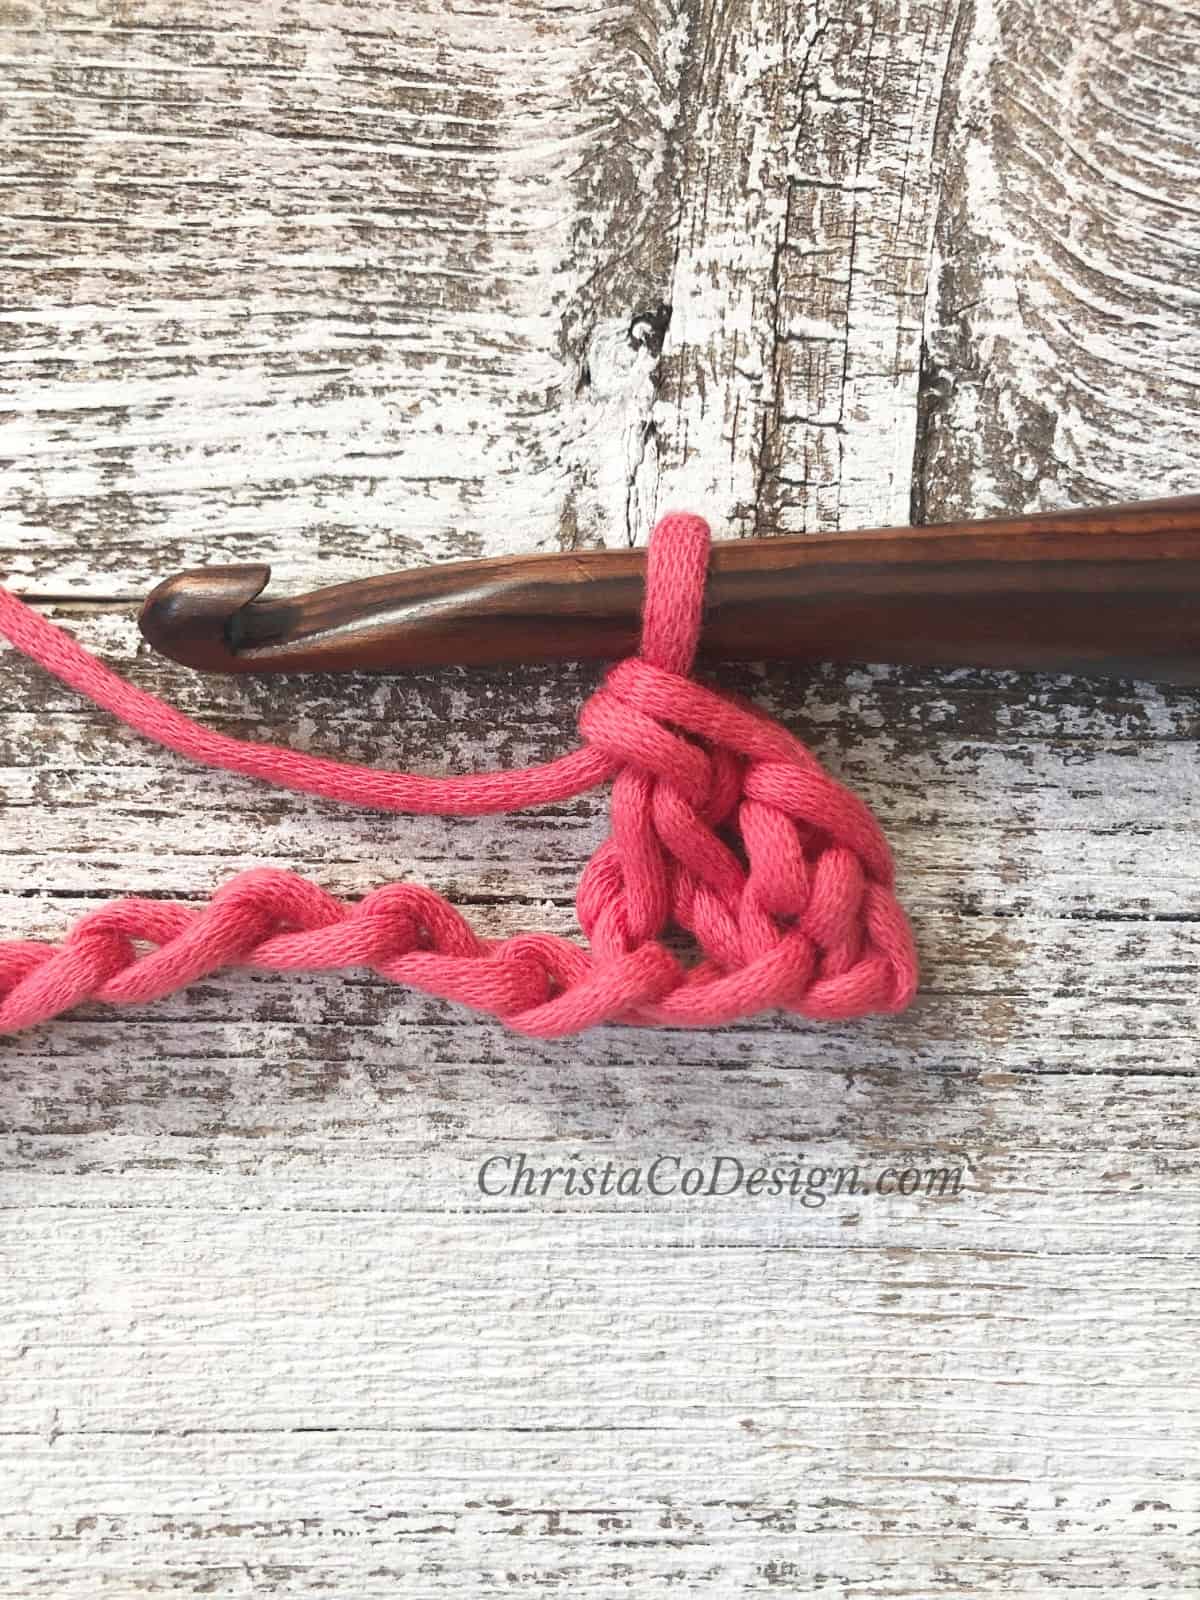
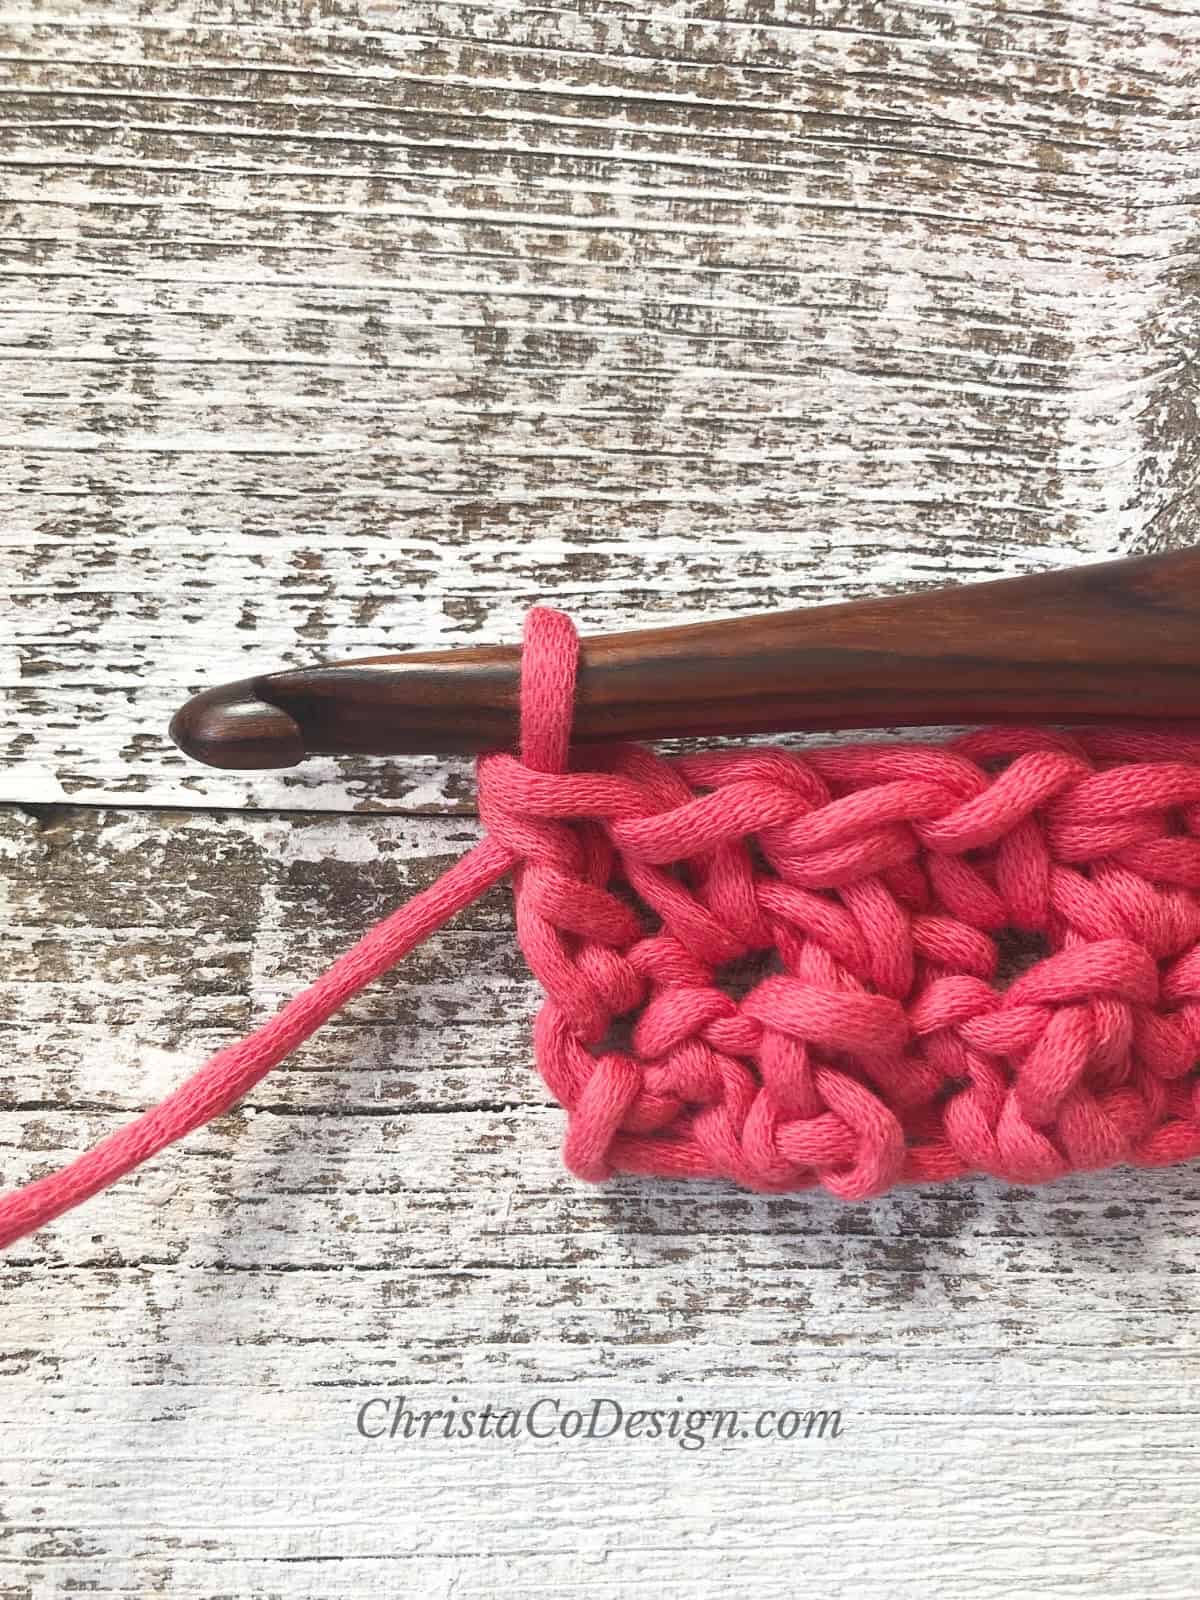
Row 2. Ch 1, sc in the same st, dc in the next st,
*{sc in the next st, dc in the next st} rep from * across, turn.
Row 3-25. Rep Row 2.
Leave a long tail for seaming.
Seam
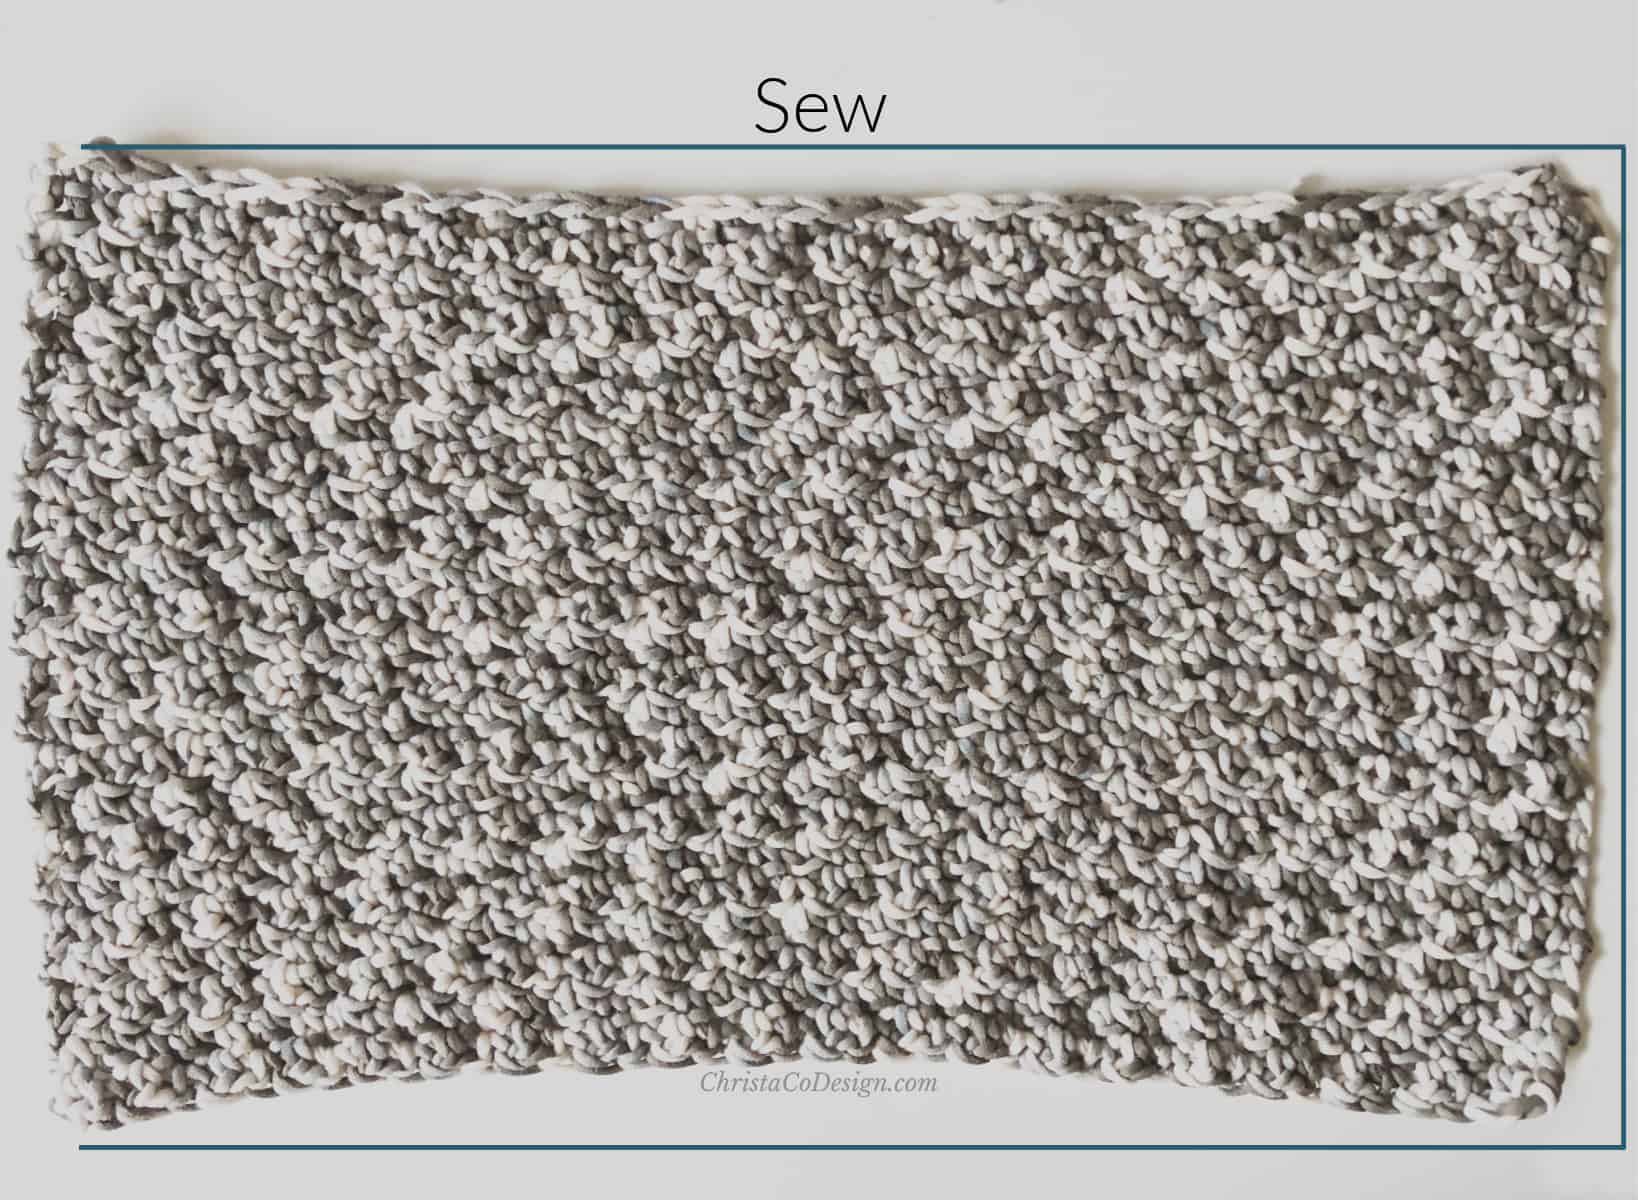
Place RS together. Use long tail you left to sew three sides together. I used the mattress stitch.
Leave one side open and turn RS out. Stuff with pillow insert.

Video Tutorial
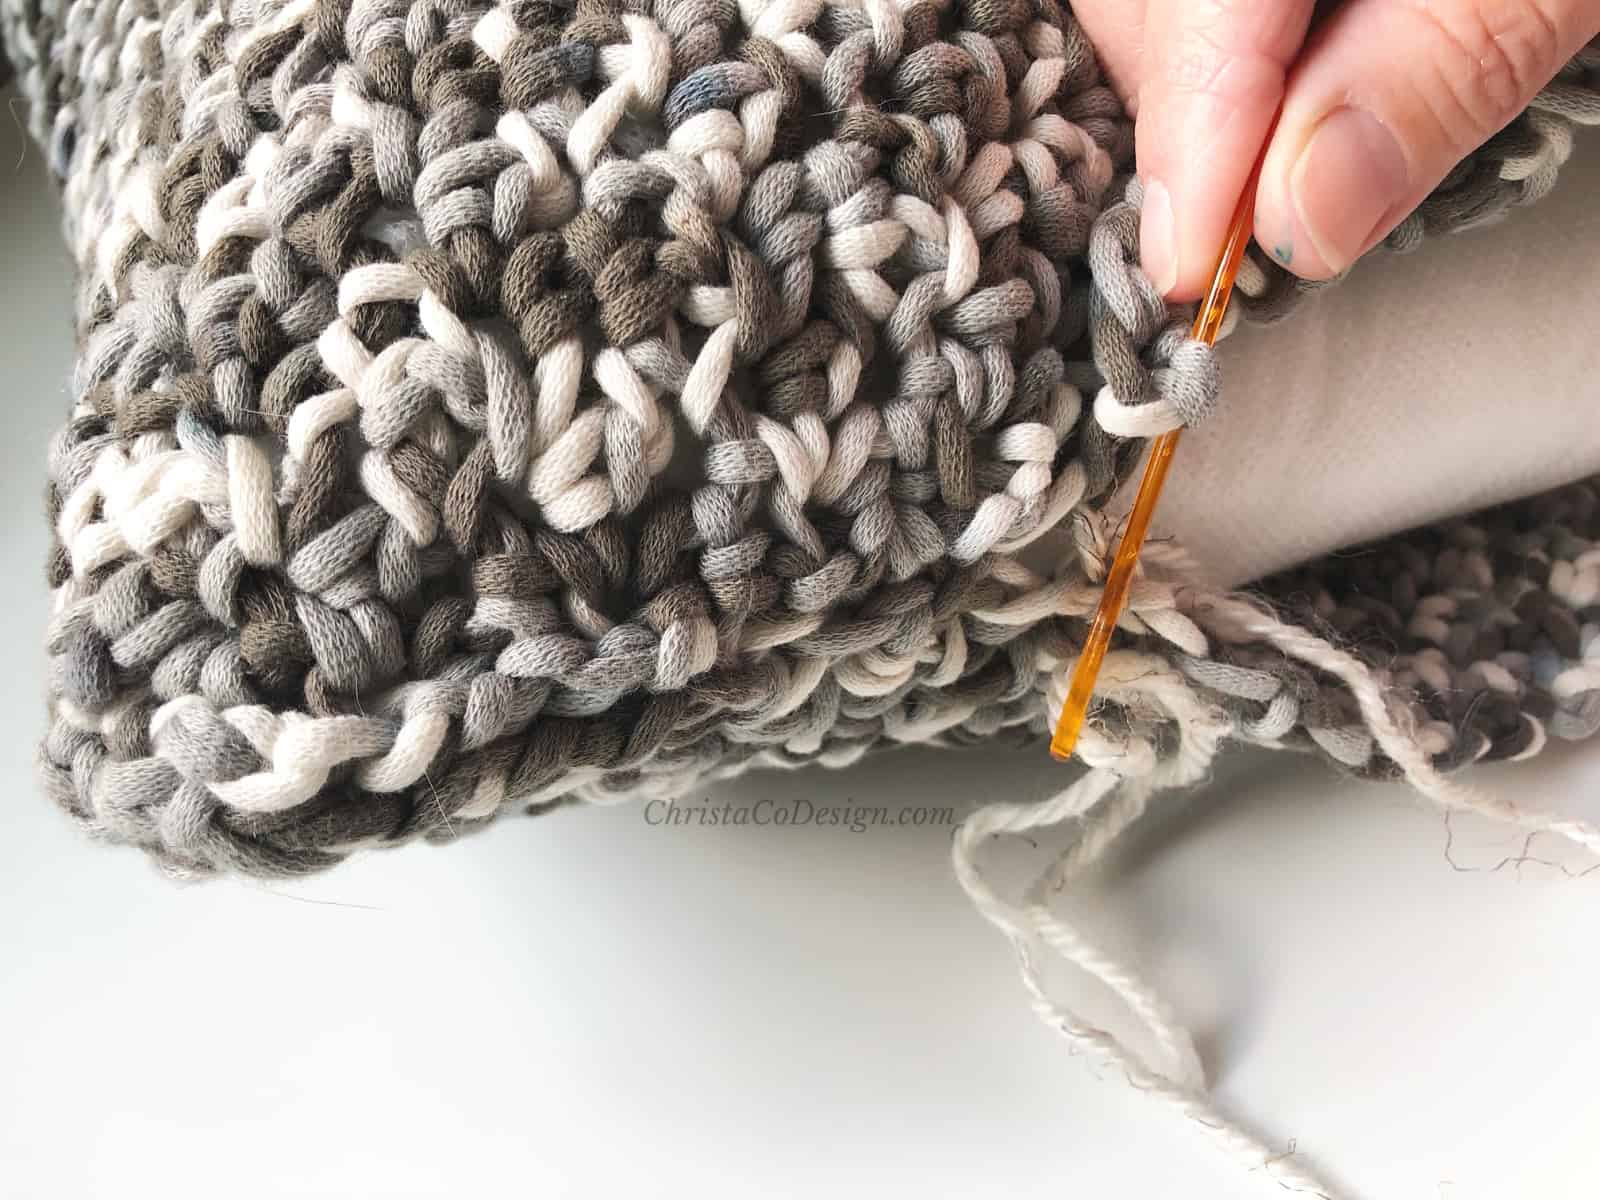
There are a few pictures below showing the final seam. But I also created a video to show you how to close it.
Sew last side together.
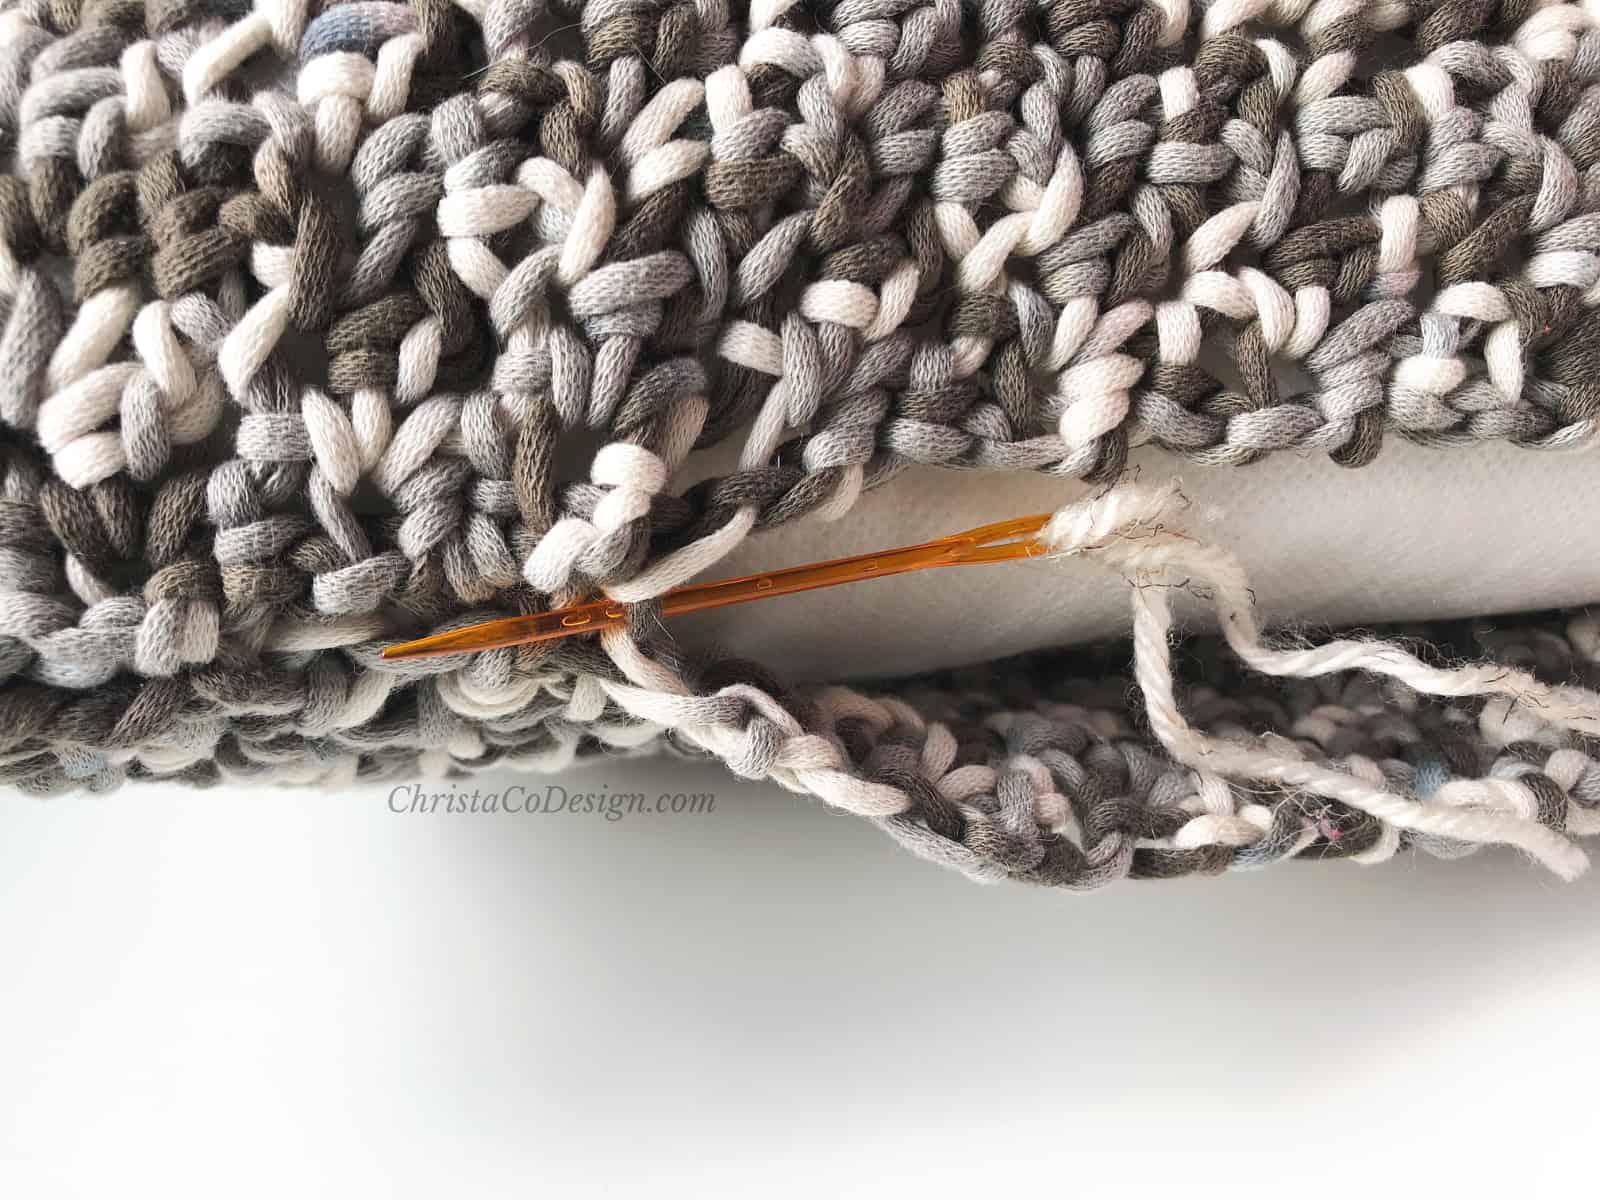
To keep the last seam invisible, I worked with my hand inside-squishing the pillow over, and sewing on the inside.

I grabbed the back side loops of the stitches with the yarn needle. Working like this allows the top of the stitches to come together, virtually seamless.
Finishing
Cut yarn and weave in ends.

I love the lemon peel stitch! I’ve always done it in a solid-color yarn… amazing to see how it looks in variegated yarn! Great pattern. Thank you.
Thanks Beth! I agree it looks really good in variegated. I was pleasantly surprised.
I have tried this stitch and always forget which chain I did.
Yes, I could totally see that happening!