How To Crochet A Throw Blanket With Border
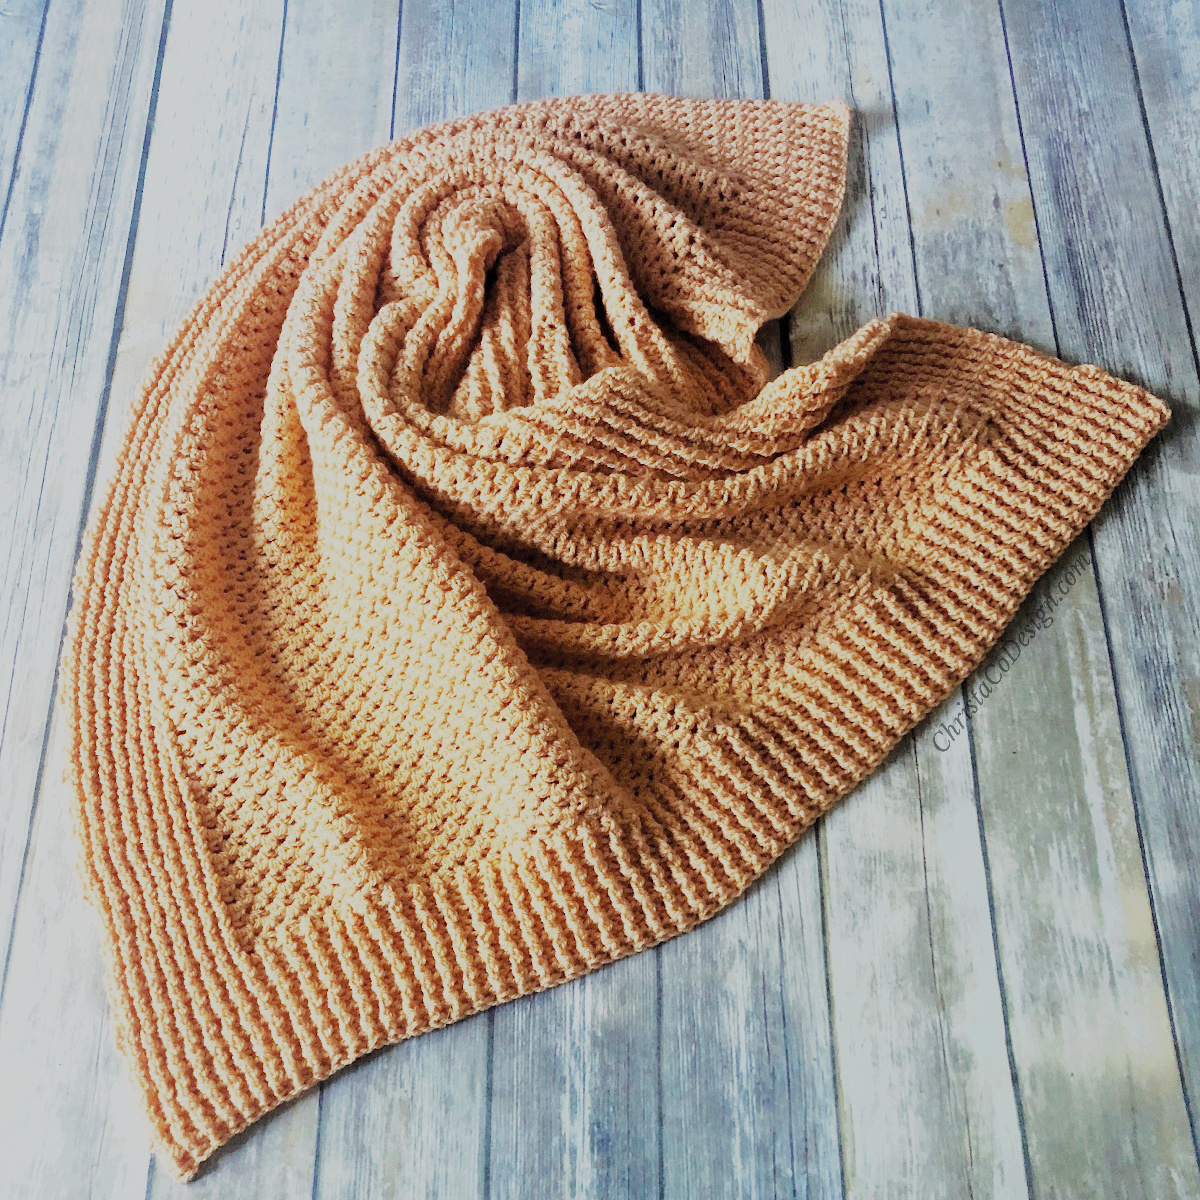
Between the Ridges Crochet Throw Blanket is so cozy and comfy that you’ll never want to leave. Snuggle up with a warm drink and good book or ready to those little sweeties under your handmade blanket. Whatever your style of relaxing is, the Between the Ridges Blanket will keep you toasty snug.
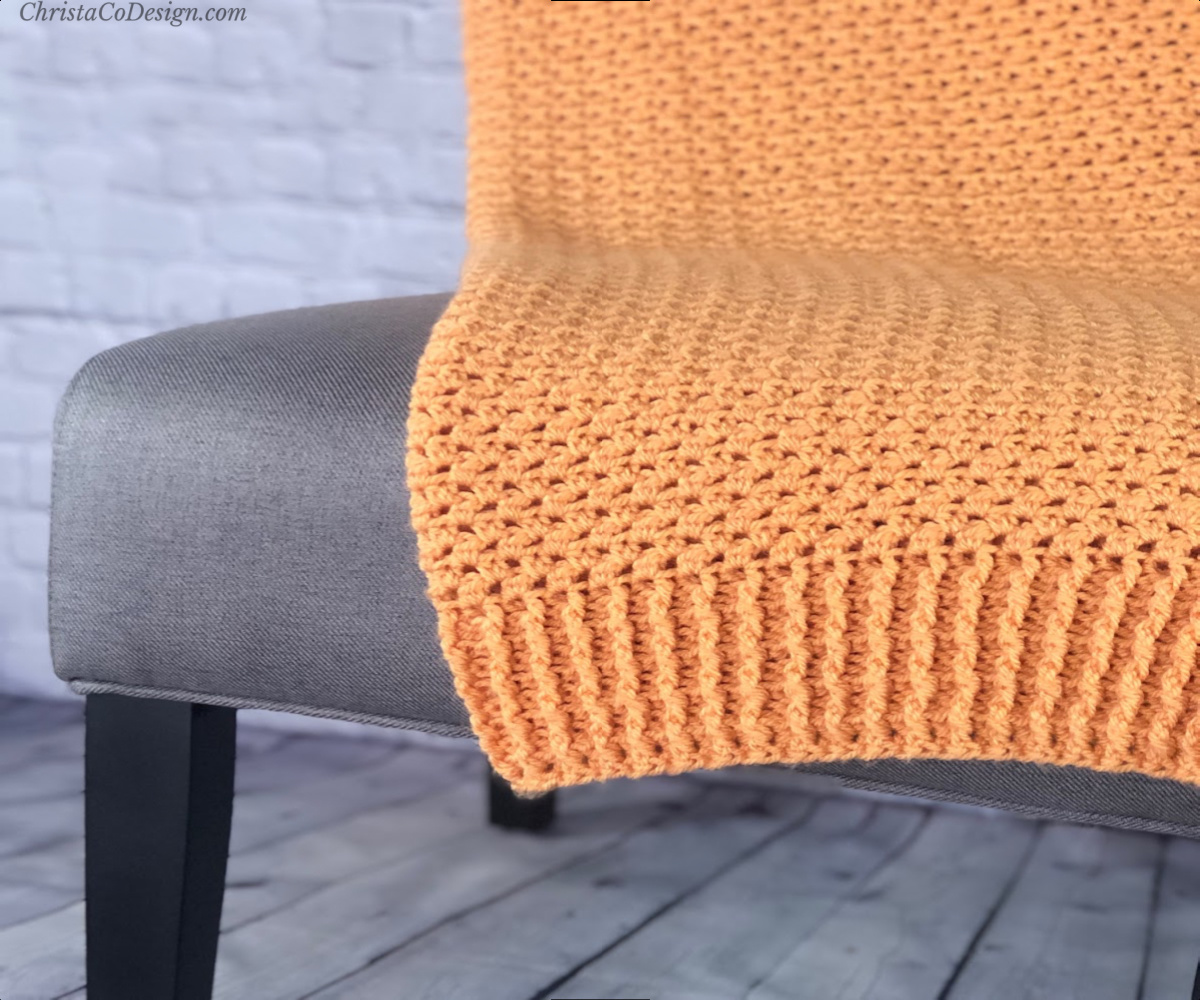
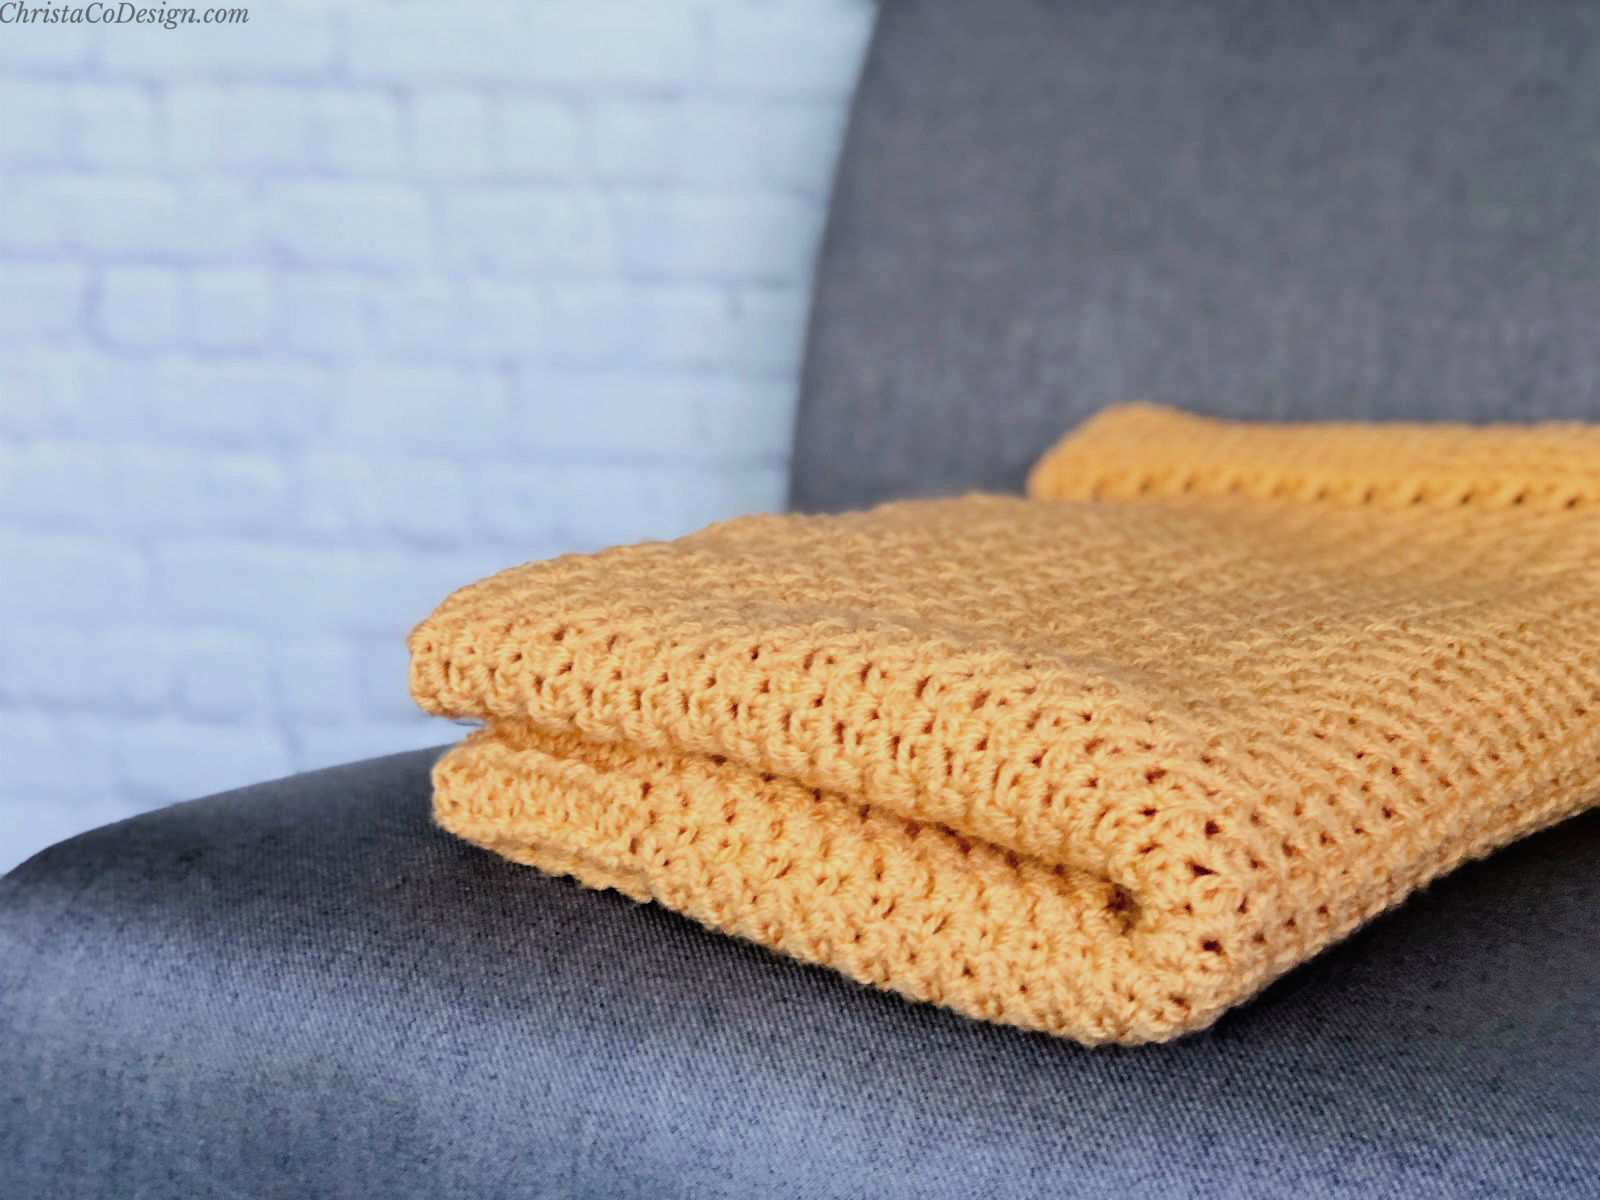
This squishy crochet afghan is made with worsted weight yarn and your favorite 6mm hook. I chose Paintbox Aran in Melon Sorbet, which is a gorgeous peachy orange. My favorite thing about this pattern is that the crochet blanket border is made as you go! I kinda love it.
This post contains affiliate links, I may earn a fee. Read more disclosure policy.

Join the ChristaCoDesign Newsletter
Never miss a pattern!
Purchase the ad-free, well formatted printable PDF Pattern from my shop. Scroll down for the free pattern!
Purchase My Ad-Free PDF Patterns In Your Favorite Shop Here:
I always enjoy having a large crochet project going “in the background.” This usually means I have something I can pick up and continue here and there throughout my day. So often I’m crocheting a sweater or a blanket pattern, since they take the longest to work up.
I have loved working on this beautiful blanket. The repeat is simple and easy to memorize too–a bonus for tired moms, or any of us who like to crochet at night.
It’s been a while since I crocheted a blanket that we get to keep. But I think this one will be much loved in our house this season. And one of my little guys is a huge fan of orange.
Purchase My Ad-Free PDF Patterns In Your Favorite Shop Here:
Ravelry Library
Save Your Favs!
Add this pattern to your Ravelry queue.
The Yarn
For this crochet blanket I used a 10 ball pack of Paintbox Simply Aran*. I love how LoveCrafts will put these on sale quite regularly. 10 balls of this aran/worsted weight yarn was just the right amount for a throw size blanket.
Construction
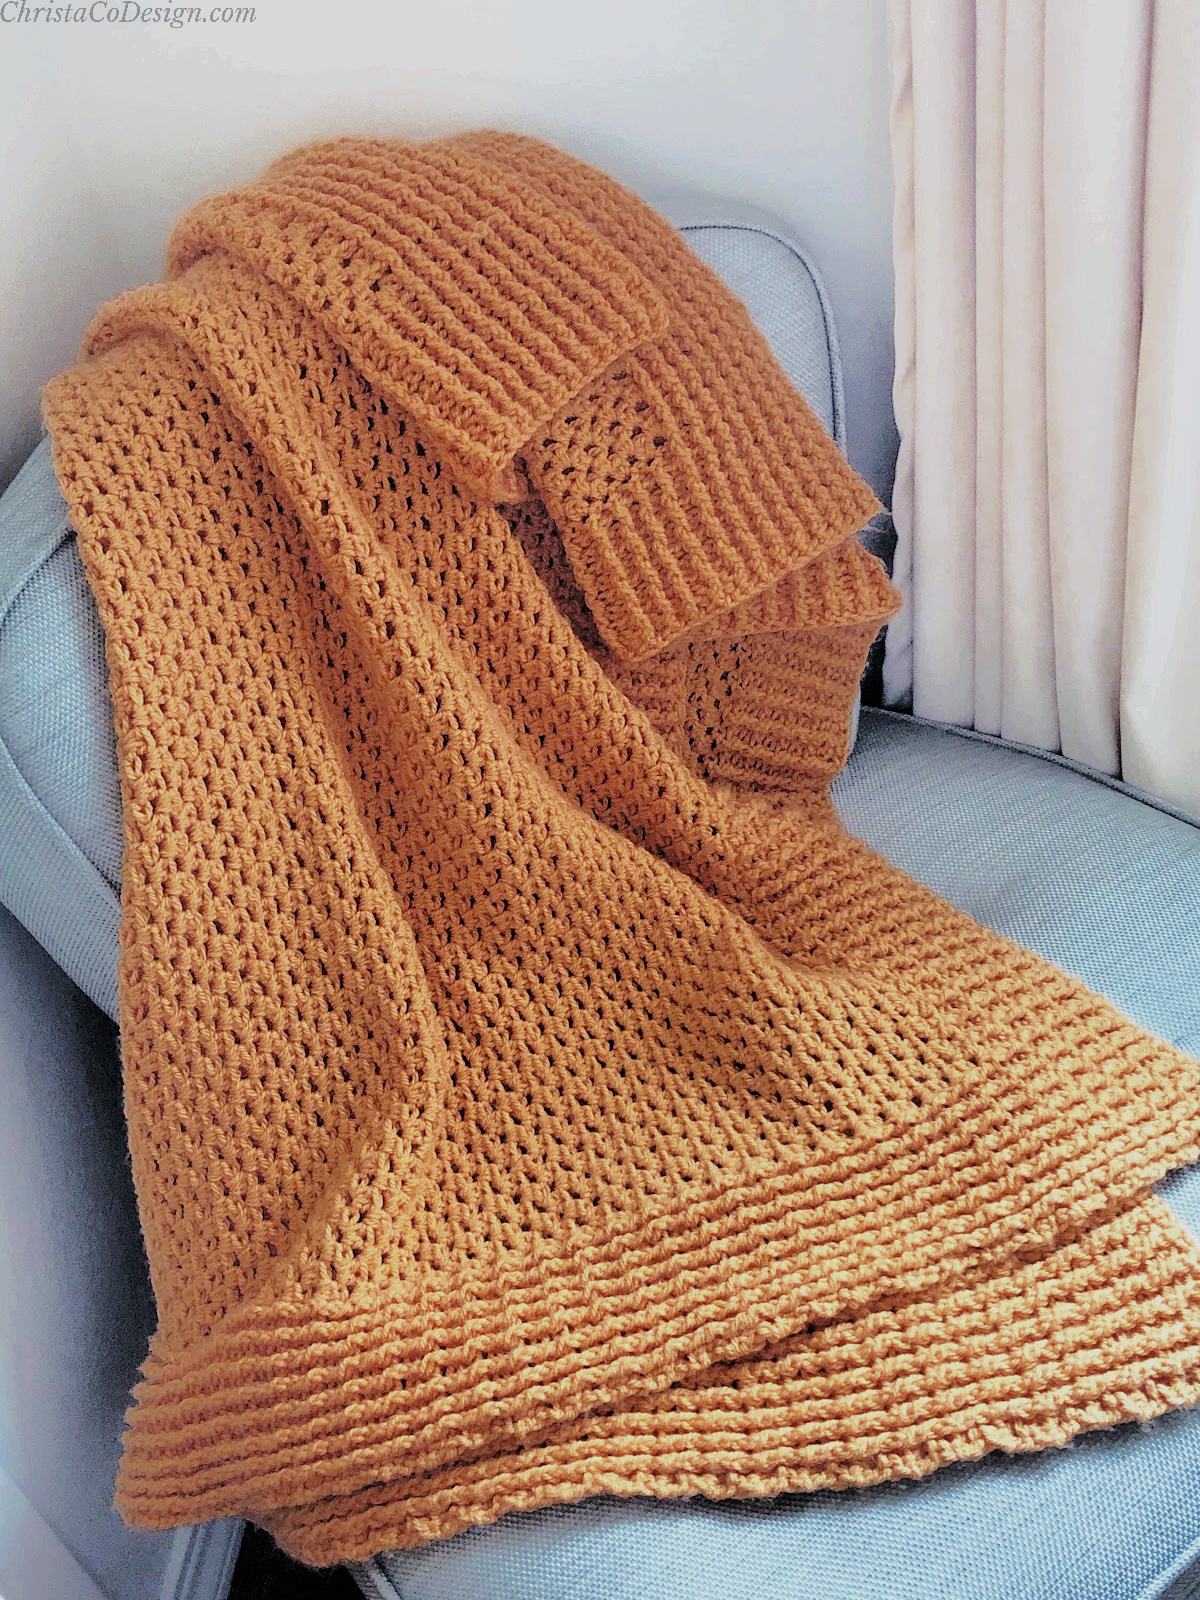
The border of this blanket is worked as you go. This means the first 10 rows will be the bottom bordered edge. Then it’s time to start the center section, which will begin and end with the bordered edges. Once the desired length is reached, the final 10 rows will be the opposite bordered edge.
You might also enjoy these other crochet throw blanket patterns
Chunky Chevron Blanket is simply made with single crochets, but makes a statement in jumbo yarn, chevron and stripes.
Modern Crochet Striped Blanket I designed this blanket in blue and white stripes, perfect for baby boys. The wide stripes get this textured blanket a modern feel.
The Eileen Crochet Cotton Blanket may be my favorite blanket. The subtle colors pair so well in this cotton blend yarn. The sample I made made a perfect baby girl blanket.
The Piemonte Puff Stitch Blanket pairs the powerful puff stitch with simple and sleek double crochets. This blanket is crocheted from the center out, so it’s easy to customize.
Pin It Now & Make It Later
Don’t forget to pin this for later!
Materials
- 10 balls of Paintbox Yarns Simply Aran* in Melon Sorbet, or 2000 yds of worsted/aran yarn.
- 6mm hook* or size needed to meet gauge.
- Yarn needle, Measuring tape, Scissors
Notes
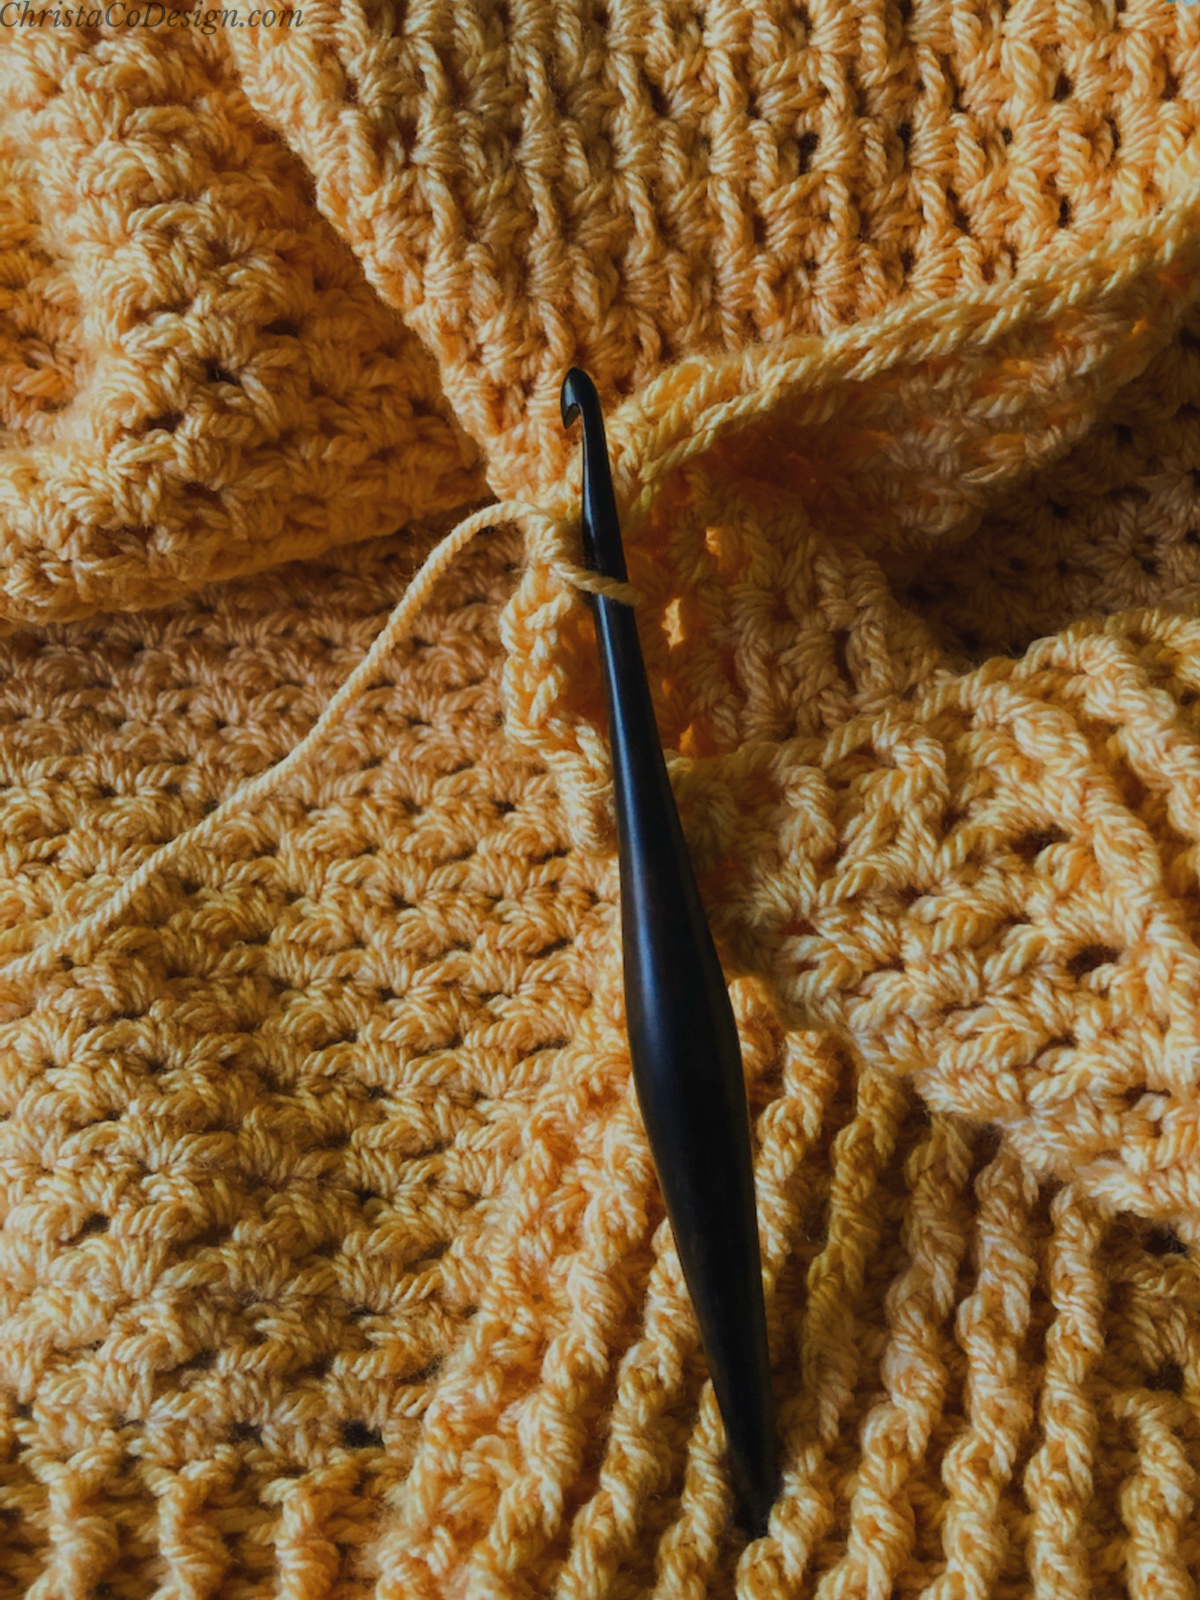
- Ch 3 counts as a stitch, I highly recommend using a ch 3 alternative, here’s my favorite.
- The border is worked as you go.
- Stitch multiple is 2 + 2 for the foundation chain.
Stitches/Abbreviations
ch(s) – chain(s)
dc – double crochet
hdc – half double crochet
rep – repeat
sk – skip the indicated stitch
sl st – slip stitch
st(s) – stitch(es)
Special Stitches
Fdc – foundation double crochet
FPdc – Front Post Double Crochet
BPdc – Back Post Double Crochet
Skill Level
Intermediate
Finished Dimensions:
48” long x 44” wide (122 x 112 cm)
Adjustments
Wider
The stitch multiple for the center section is 2, so any even number, and the edges need an odd number on each side.
As written the border has 17 sts on either side, so 34 sts total for both edges. To change them, keep it odd 13, 15, 17, 19… etc. Now these are on both edges, so remember to double this number so for a larger border of 19 sts on either side, 13 x 2 = 26… or 19 x 2 = 38 sts.
Here are some common blanket widths. This chart assumes you will keep the border edge stitch count the same as the pattern. See above note if you’re modifying edges.
Blanket Sizes
| Width | Start with # sts |
|---|---|
| 36″ | 108 |
| 44″ | 126 |
| 52″ | 156 |
| 60″ | 180 |
Longer
Likewise, to lengthen or shorten your blanket add or subtract rows. For every 9 rows you add or subtract you will gain or lose 4″ in length. Remember any changes will effect the amount of yarn needed, so plan accordingly.
Gauge
12 sts x 9 rows (after blocking) to 4” (10 cm) measured in hdc.
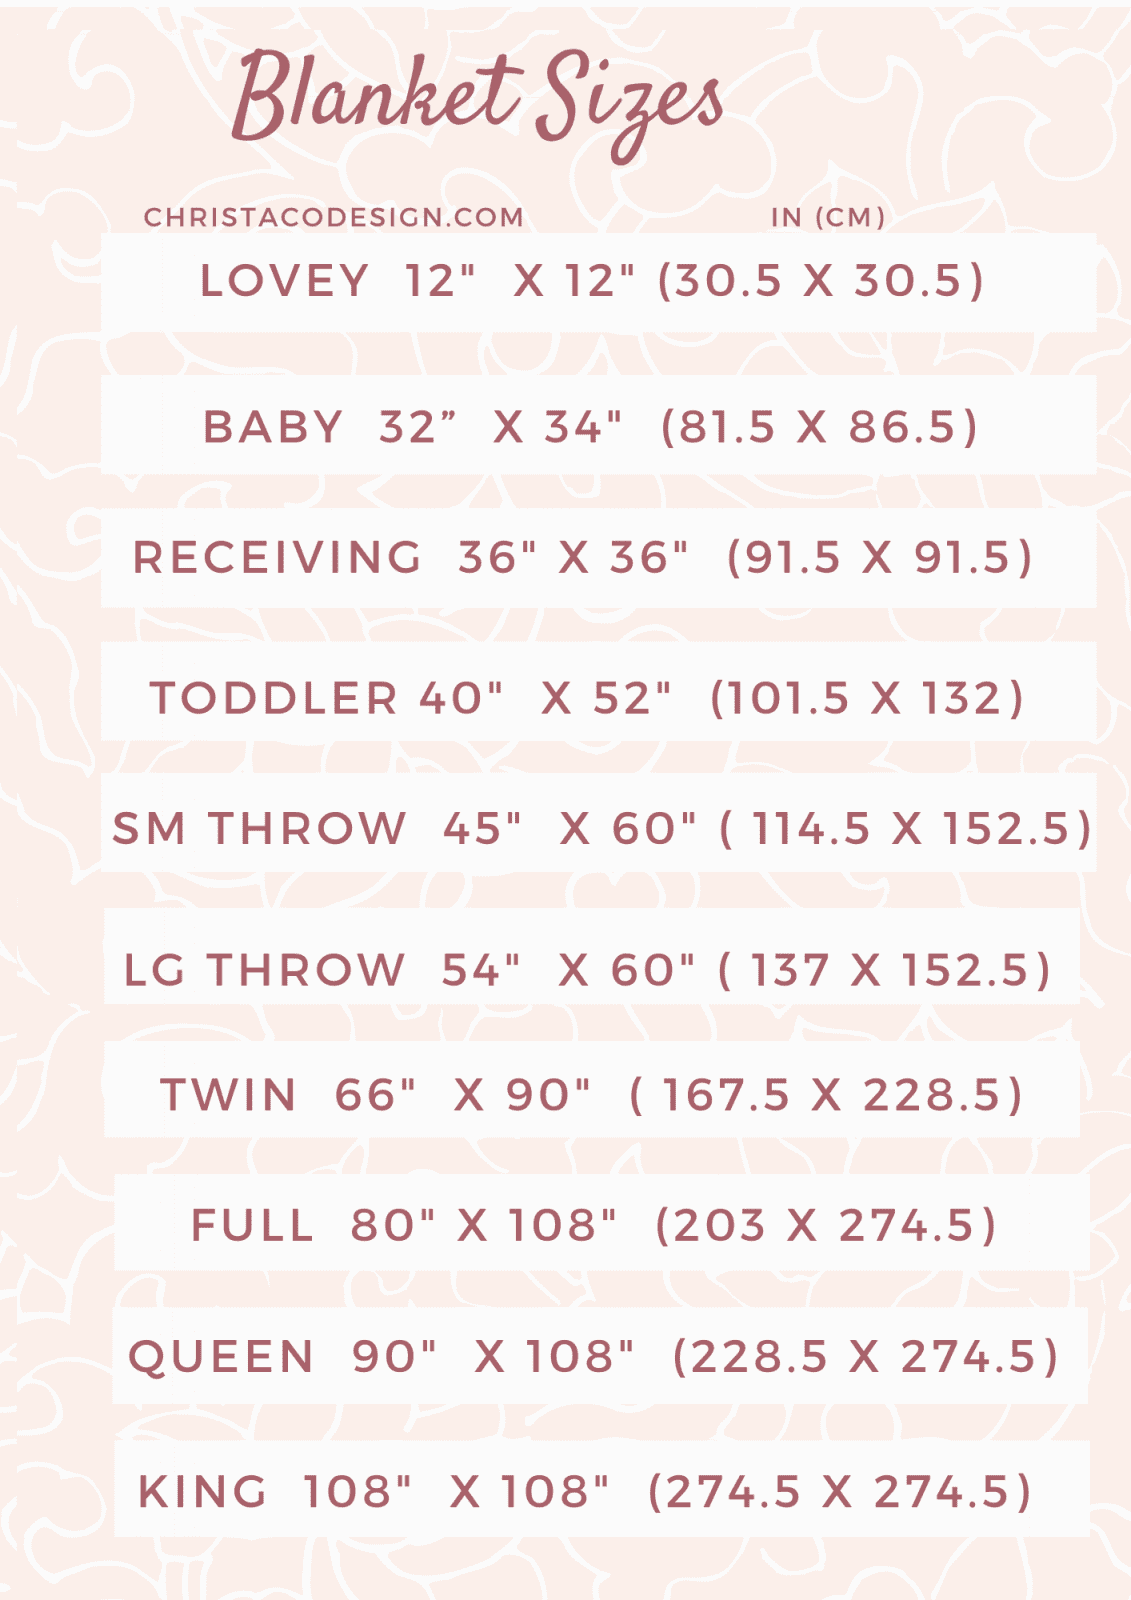
Downloadable Blanket Sizes Chart
Pattern
Row 1. Fdc 126 or chain 128, dc in the 4th ch from your hook and in each ch across, turn.
Row 2. Ch 3, *FPdc in next st, BPdc in next st; rep from * across to one st left, dc in last st, turn. [126 sts]
Rows 3 – 9. Rep row 2 for 4″ (10 cm).
Pictured below: Rows 1 – 9 and the first part of 10.
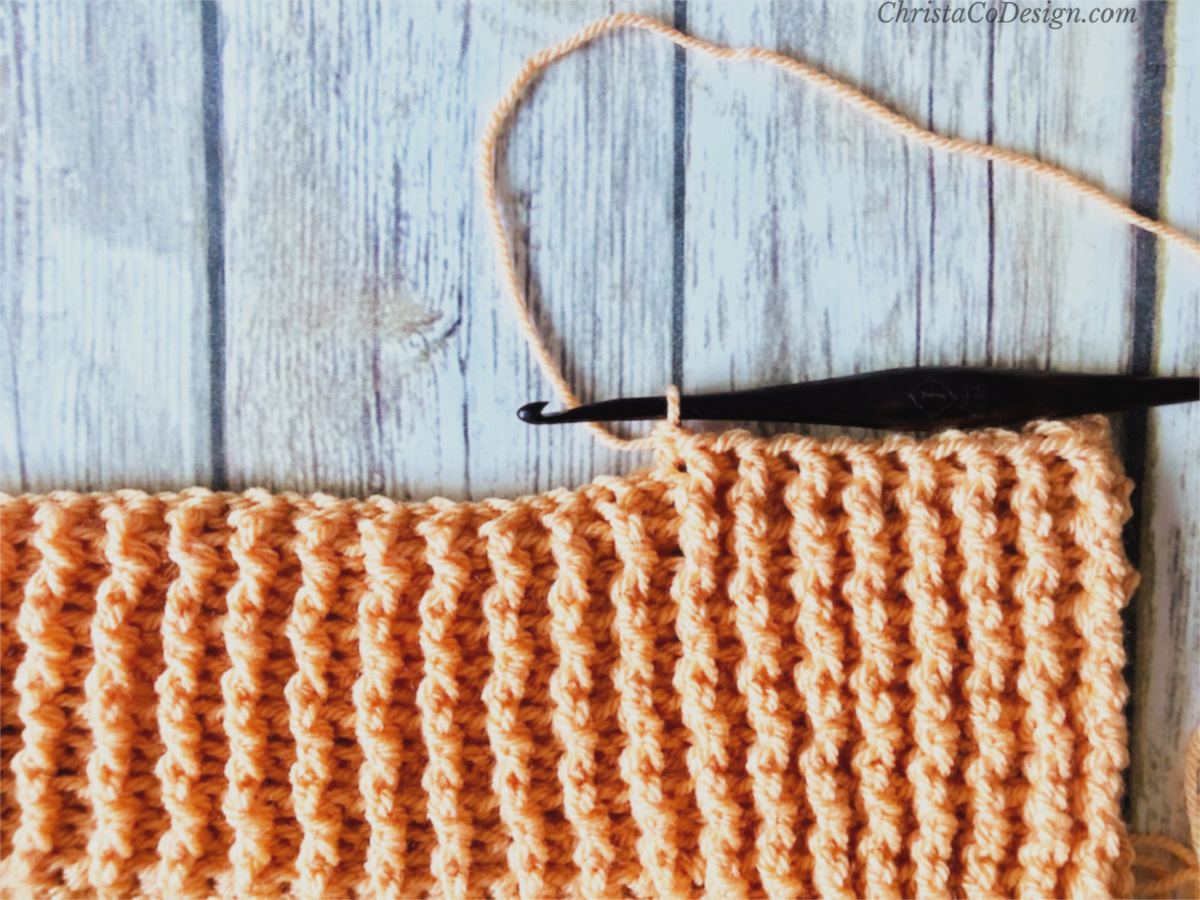
Row 10. Ch 3, *FPdc in next st, BPdc in next st; rep from * 7 more times (=17 sts on edge), *sk next FPdc, 2 hdc in next BPdc; rep from *across to last 17 sts, *FPdc in next st, BPdc in next st; rep from * until 1 st left, dc in last st (=17 sts on edge), turn. [126 sts=17 sts each edge + 92 hdc in center]
Pictured below: Row 10 beginning the center section of hdc
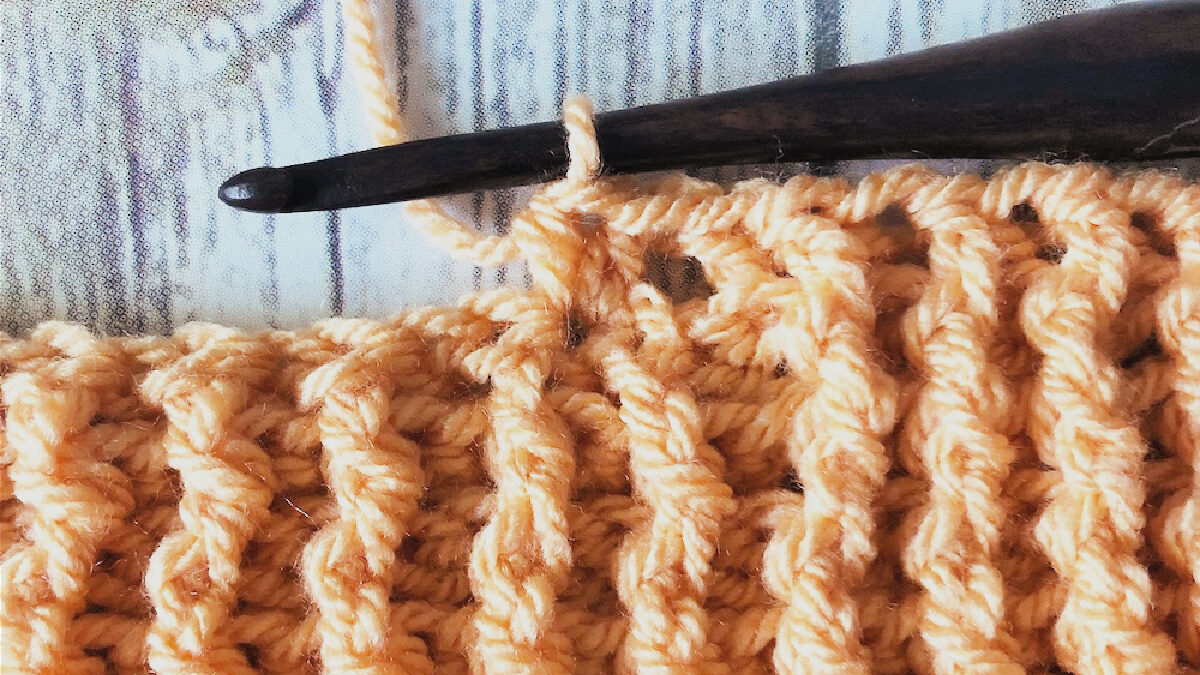
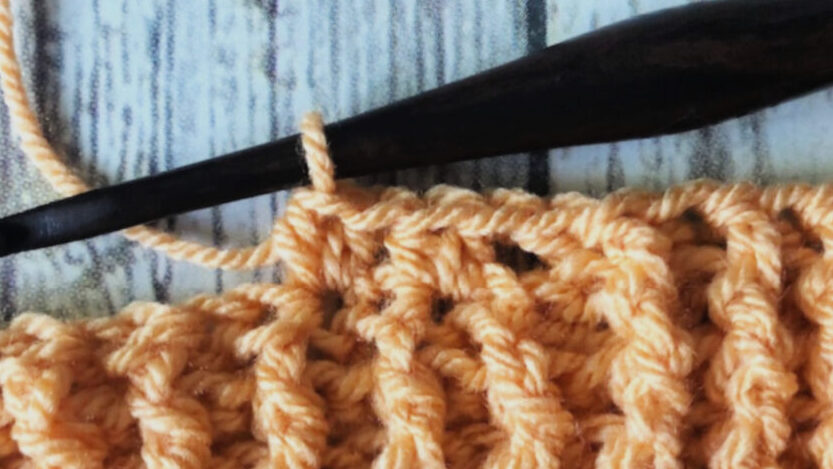
Pictured Below: Ending Row 10 with FPdc/BPdc
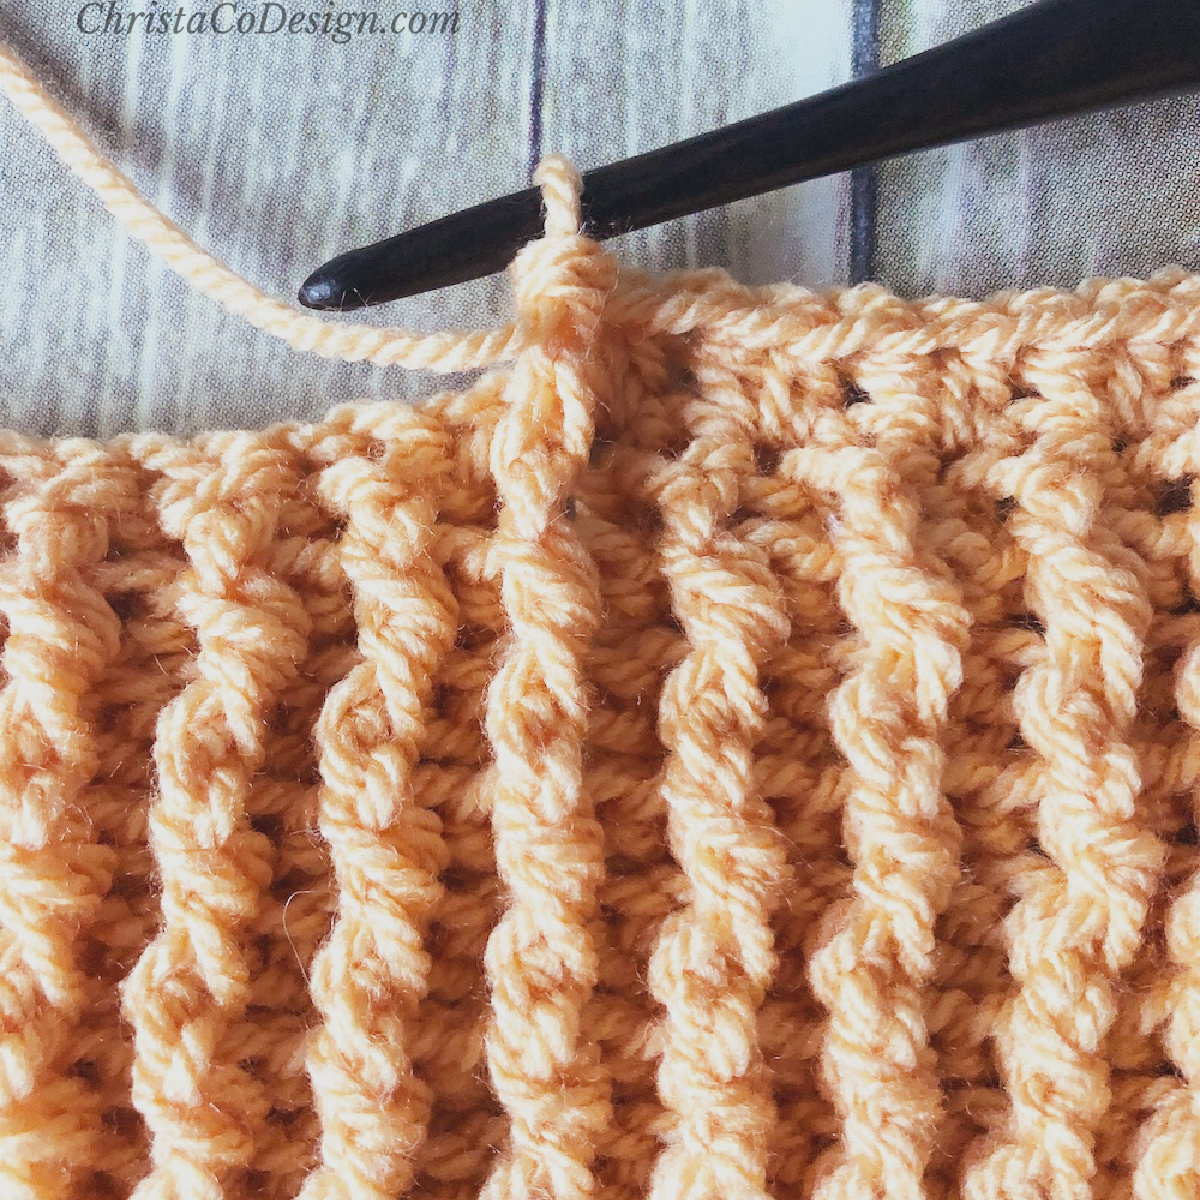
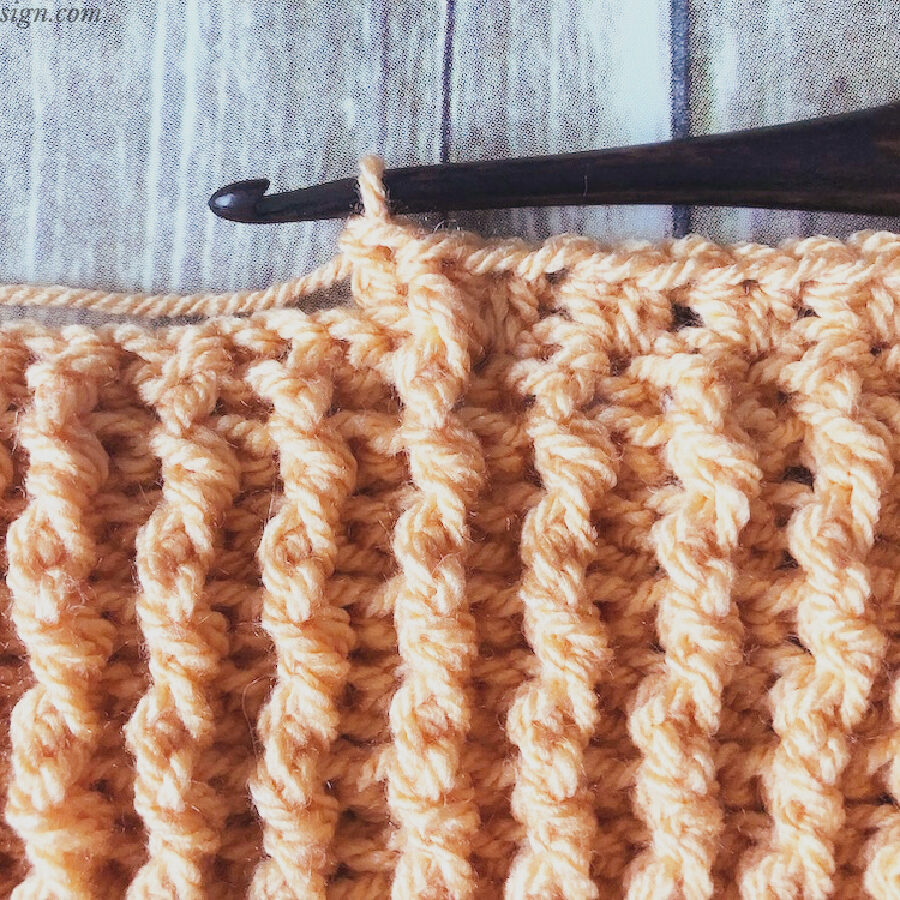
Row 11. Ch 3, *FPdc in next st, BPdc in next st; rep from * 7 more times (=17 sts on edge), *sk next 2 hdc and work 2 hdc into the space between sets of hdc sts; rep from * across to last 17 sts, *FPdc in next st, BPdc in next st; rep from * 7 more times, (=17 sts on edge), dc in last st, turn. [126 sts=17 sts each edge + 92 hdc in center]
Pictured below: Row 11 starting with FPdc/Bpdc and starting hdc center section.
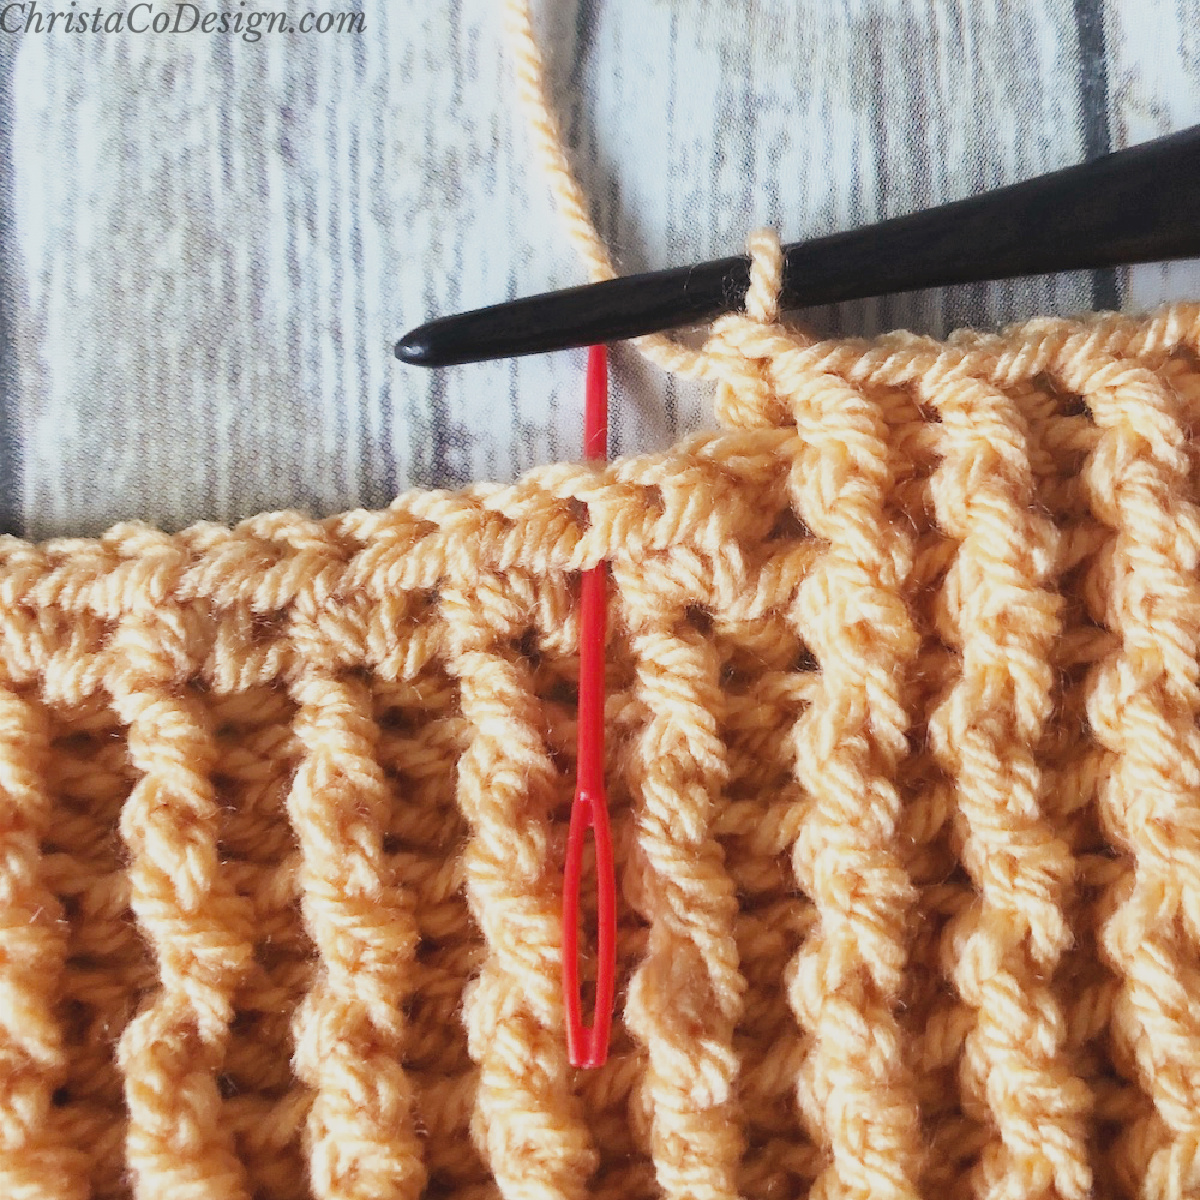
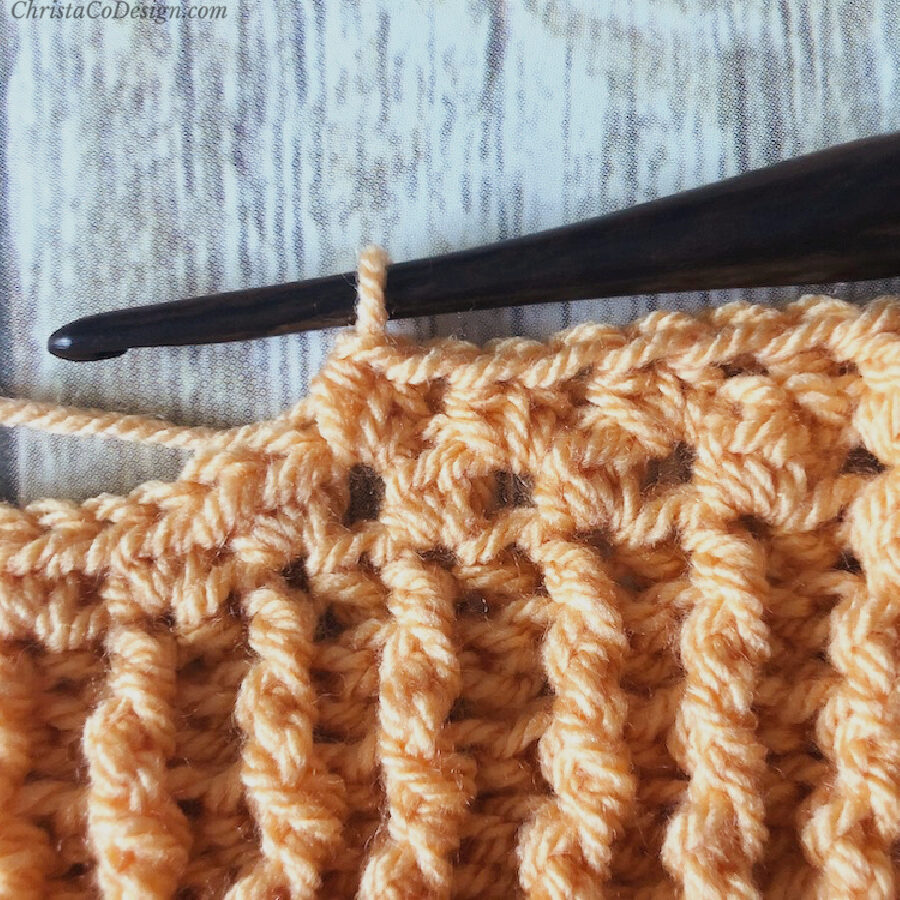
Pictured: Row 11 ending with FPdc/BPdc.
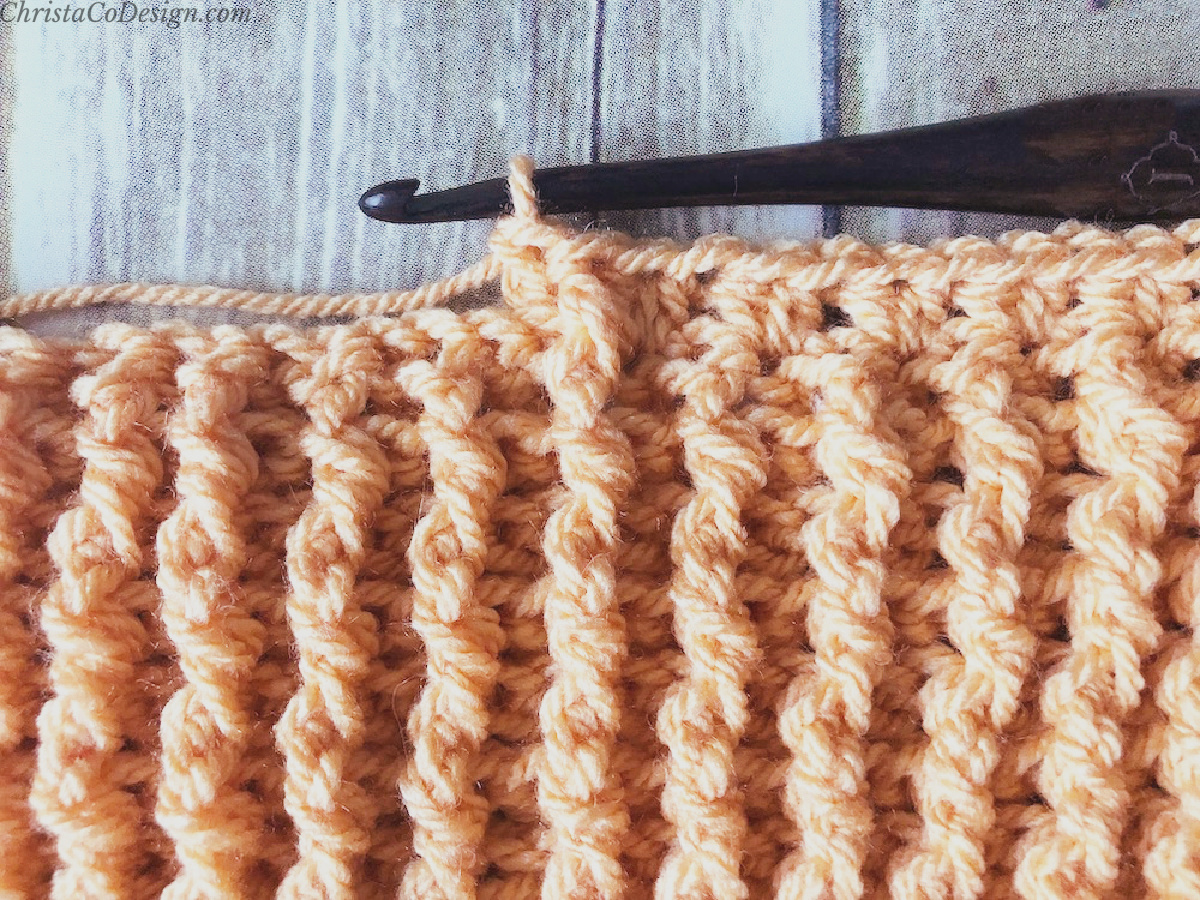
Rows 12 – 103. Rep row 11 until center section measures about 38,” or to your desired length.
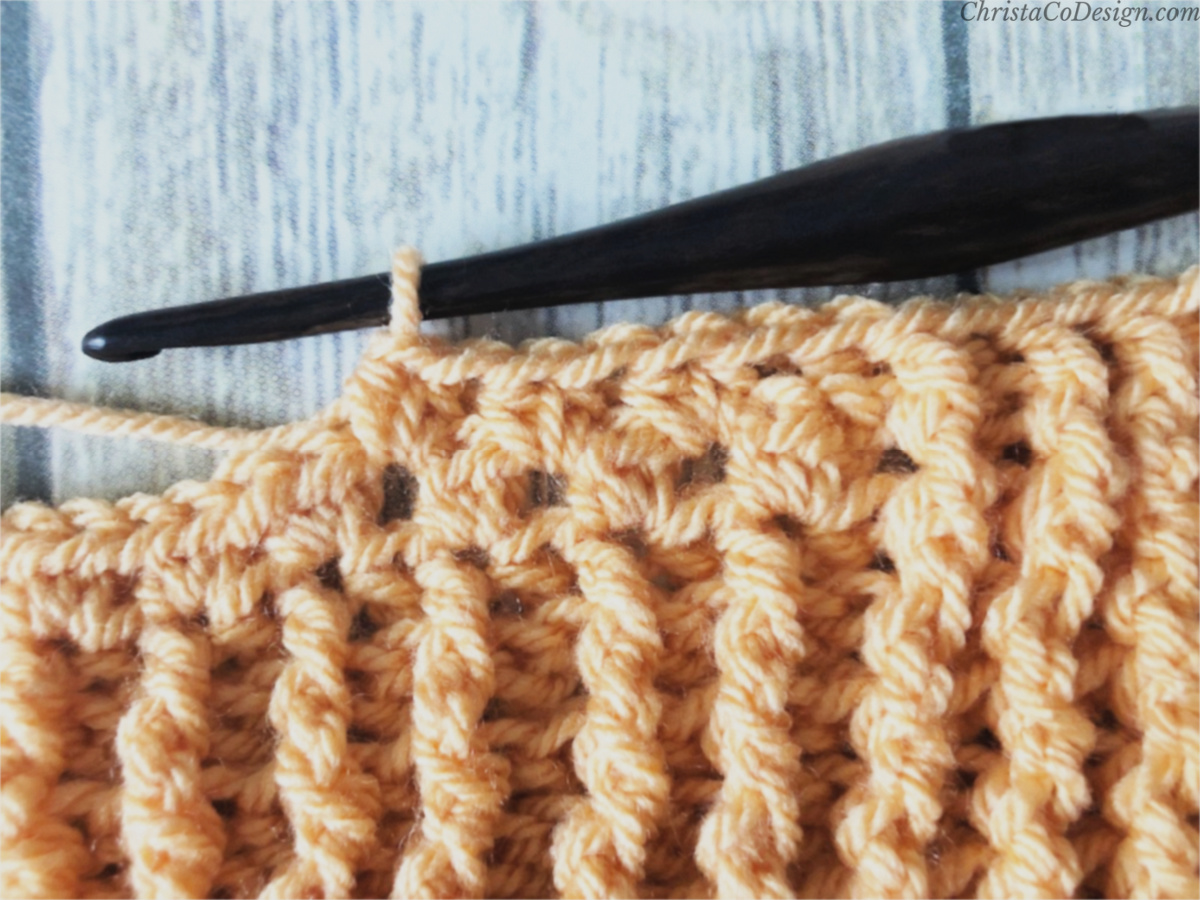
Row 104. Ch 3, *FPdc in next st, BPdc in next st; rep from * across to one st left, dc in last, turn. [126 sts]
Pictured below: Beginning of Row 104
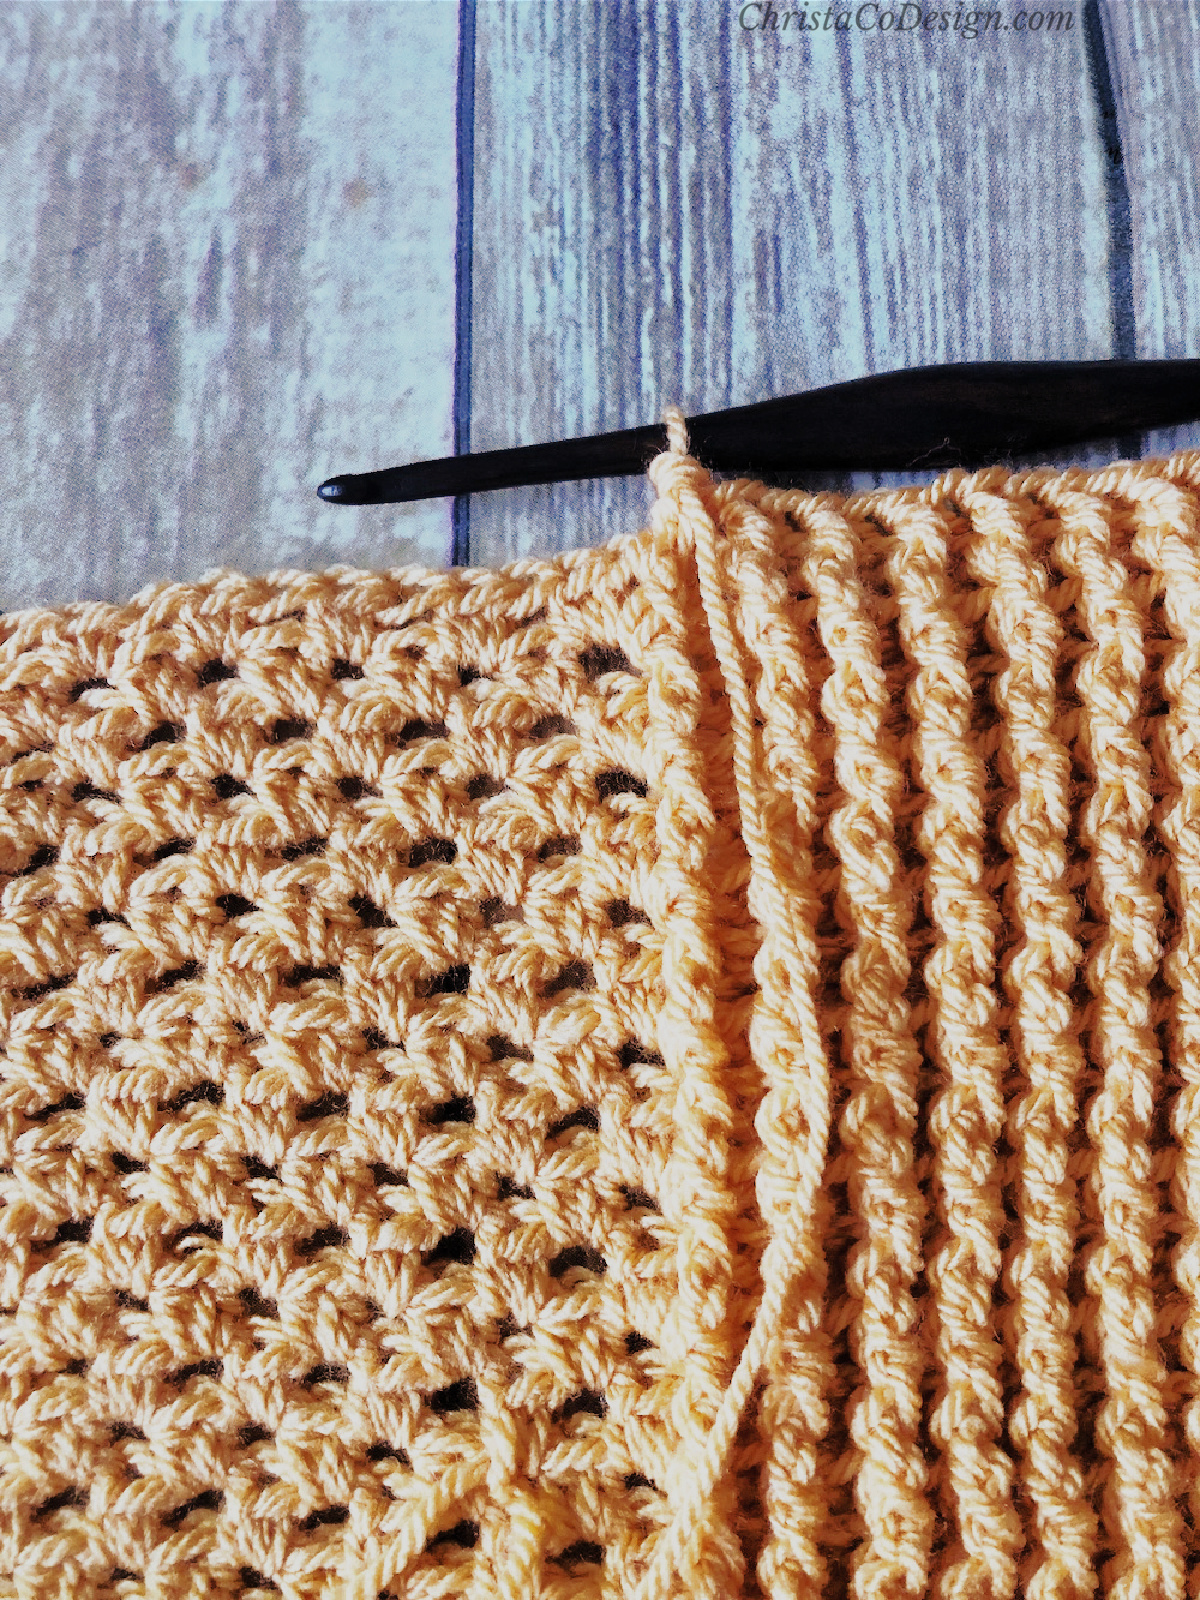
Post stitches all the way across to start the last 4″ of border.
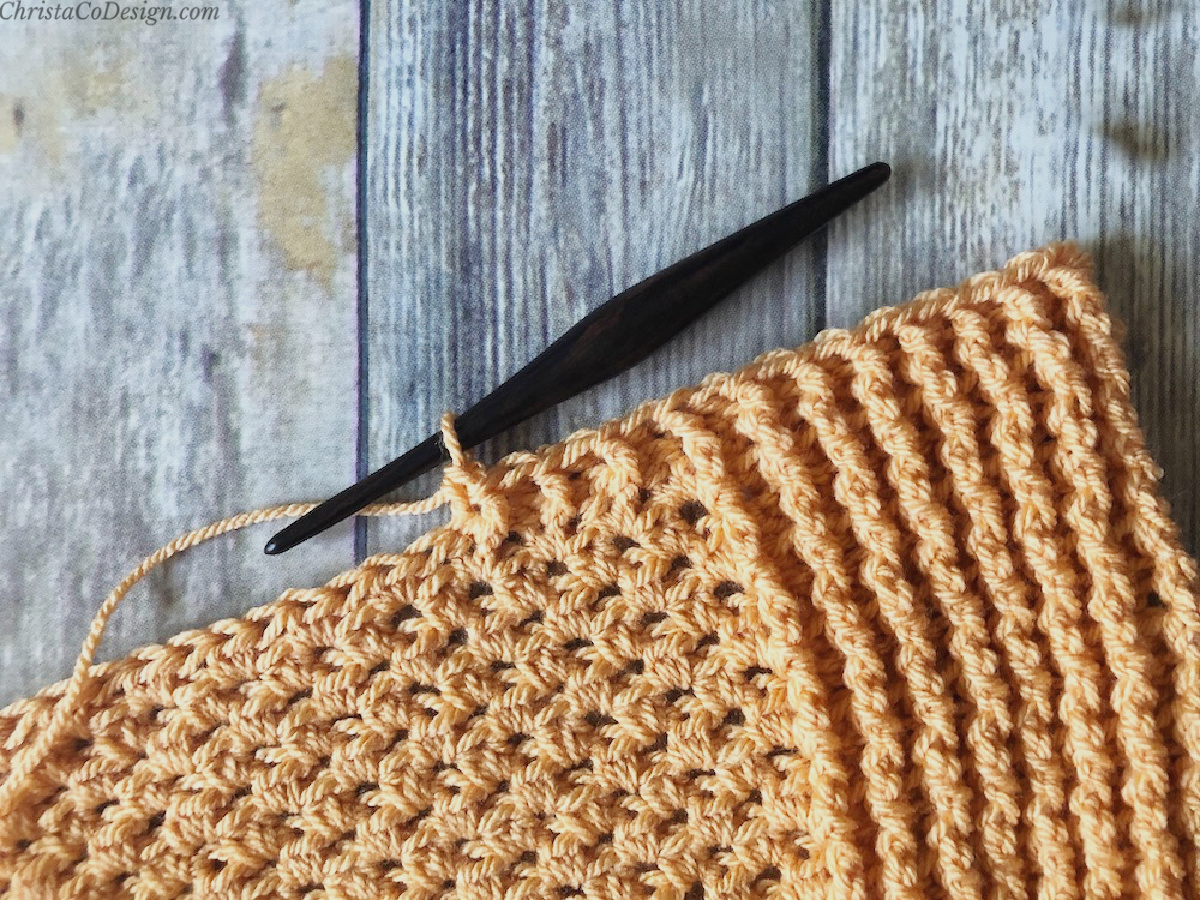
Rows 105 – 112. Rep row 104 for 4.”
Finishing
Cut yarn and weave in ends.
Block your blanket.
I choose to do a wet block on this one.
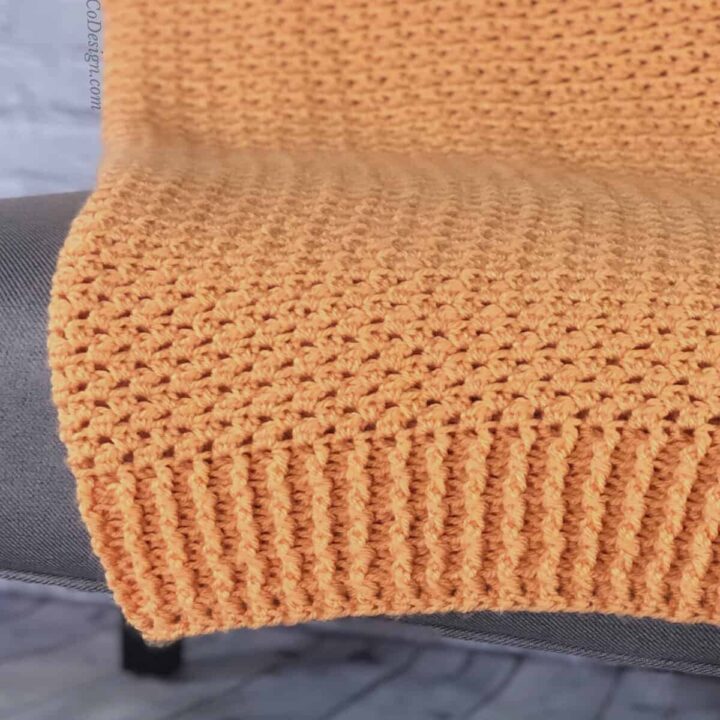
How To Crochet Blanket With Border
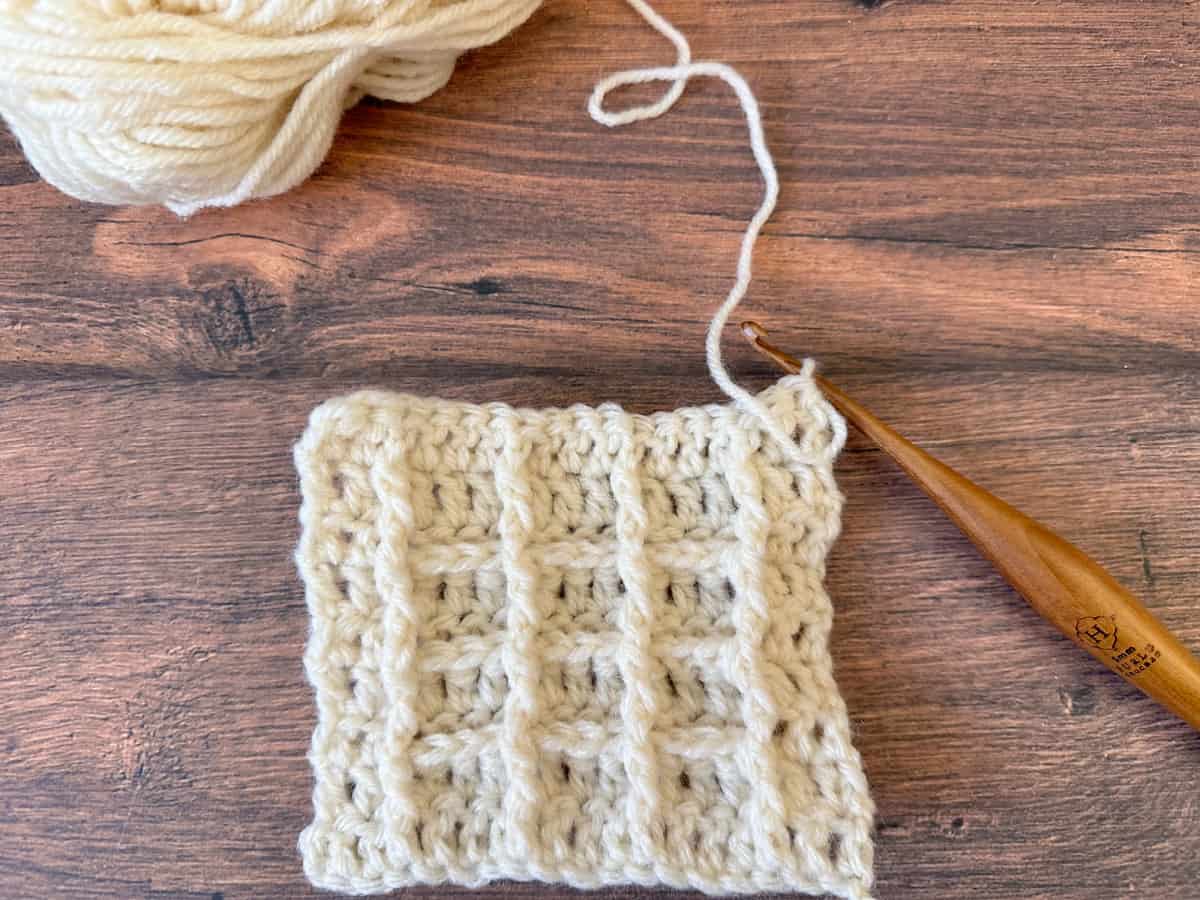
Throw blanket featuring ribbed crochet border.
Materials
- 1800-2400 yd worsted weight yarn
Tools
- 6 mm hook, tapestry needle, measuring tape, scissors
Instructions
Row 1. Fdc 126 or chain 128, dc in the 4th ch from your hook and in each ch across, turn.
Row 2. Ch 3, *FPdc in next st, BPdc in next st; rep from * across to one st left, dc in last st, turn. [126 sts]
Rows 3 – 9. Rep row 2 for 4″ (10 cm).
Row 10. Ch 3, *FPdc in next st, BPdc in next st; rep from * 7 more times (=17 sts on edge), *sk next FPdc, 2 hdc in next BPdc; rep from *across to last 17 sts, *FPdc in next st, BPdc in next st; rep from * until 1 st left, dc in last st (=17 sts on edge), turn. [126 sts=17 sts each edge + 92 hdc in center]
Row 11. Ch 3, *FPdc in next st, BPdc in next st; rep from * 7 more times (=17 sts on edge), *sk next 2 hdc and work 2 hdc into the space between sets of hdc sts; rep from * across to last 17 sts, *FPdc in next st, BPdc in next st; rep from * 7 more times, (=17 sts on edge), dc in last st, turn. [126 sts=17 sts each edge + 92 hdc in center]
Rows 12 – 103. Rep row 11 until center section measures about 38,” or to your desired length.
Row 104. Ch 3, *FPdc in next st, BPdc in next st; rep from * across to one st left, dc in last, turn. [126 sts]
Rows 105 – 112. Rep row 104 for 4.”
Finishing
Cut yarn and weave in ends.
Recommended Products
As an Amazon Associate and member of other affiliate programs, I earn from qualifying purchases.




Love this!
Thank you!
Crystal, I’m having an issue with the center of the blanket “waving” any idea what m doing wrong? Have restarted 2 times now ☹️
Thank you for your advise!!
Hi Donna,
I’m sorry you’re having trouble. Thanks for reaching out. Usually waving means it’s the tensions too loose. I would first recommend going down a hook size only on the center stitches to see if that helps tighten them up enough.
Let me know if that helps,
Crystal