
Crochet T-Shirt Pattern: Kids Racing Stripes Shirt
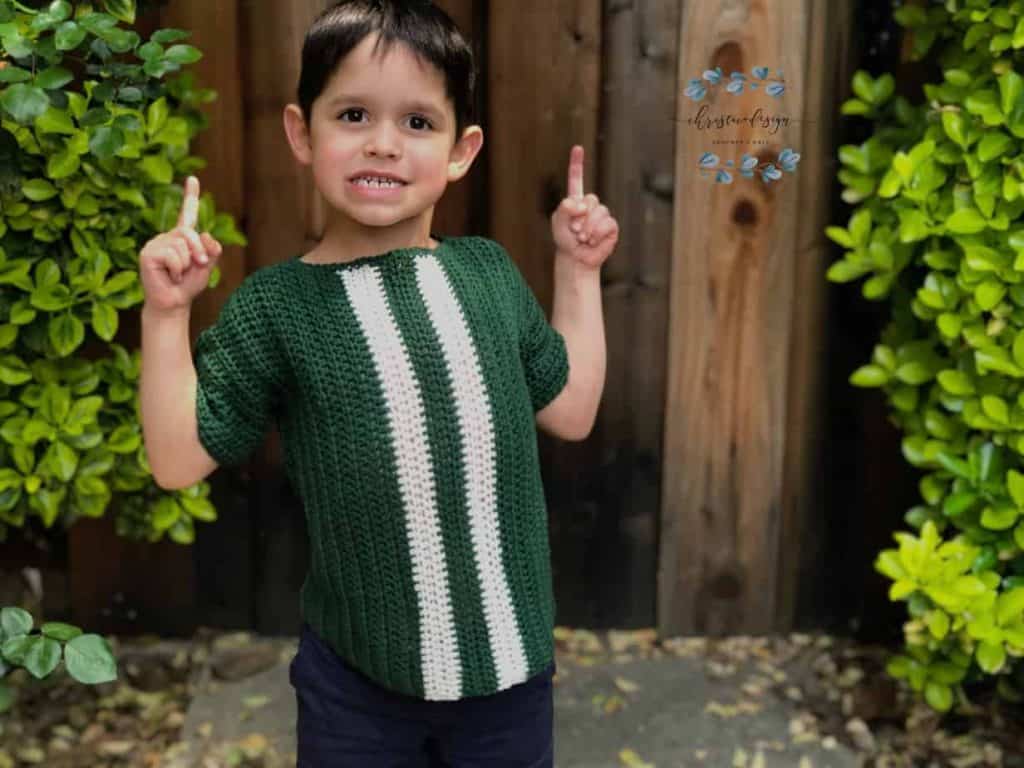
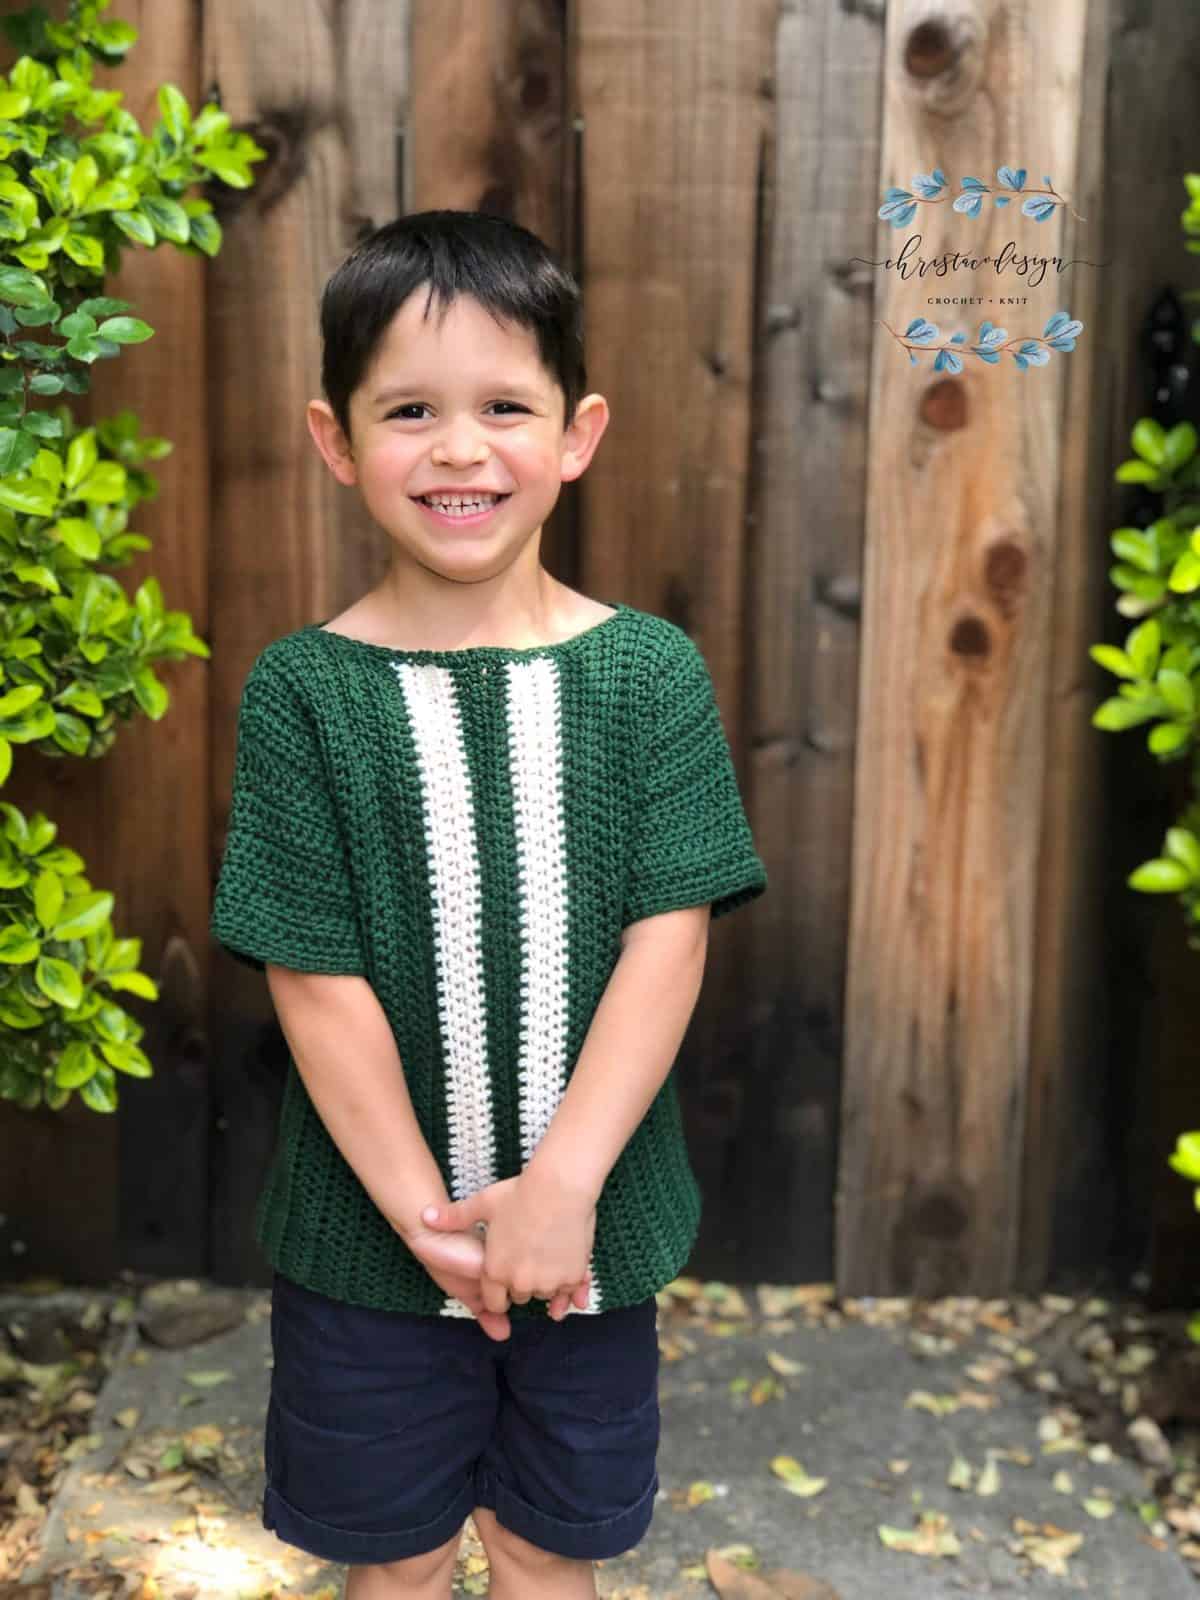
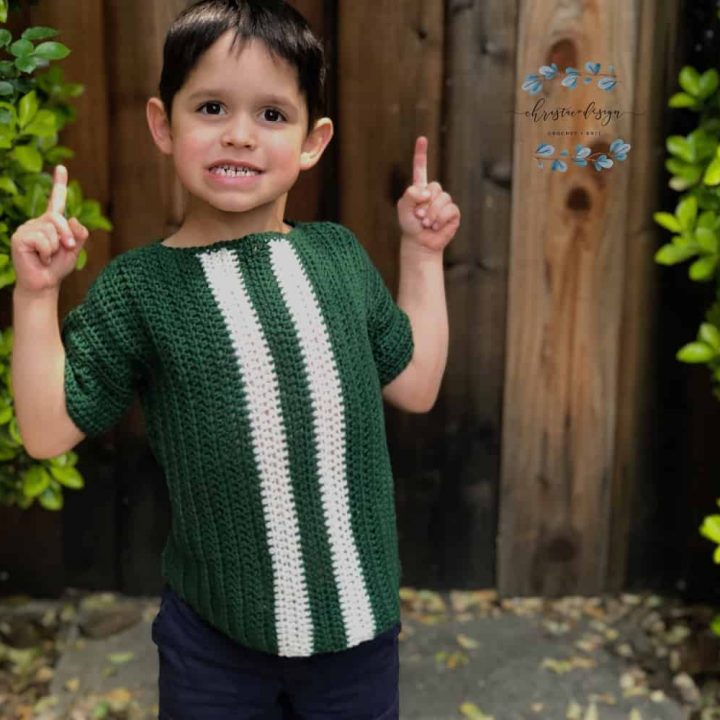
Racing fans little and big alike will adore this easy to make crochet t-shirt. It’s an easy to wear crochet kids racing t-shirt.

This post contains affiliate links, I may earn a fee. Read more disclosure policy.
Join the ChristaCoDesign Newsletter
Never miss a pattern!
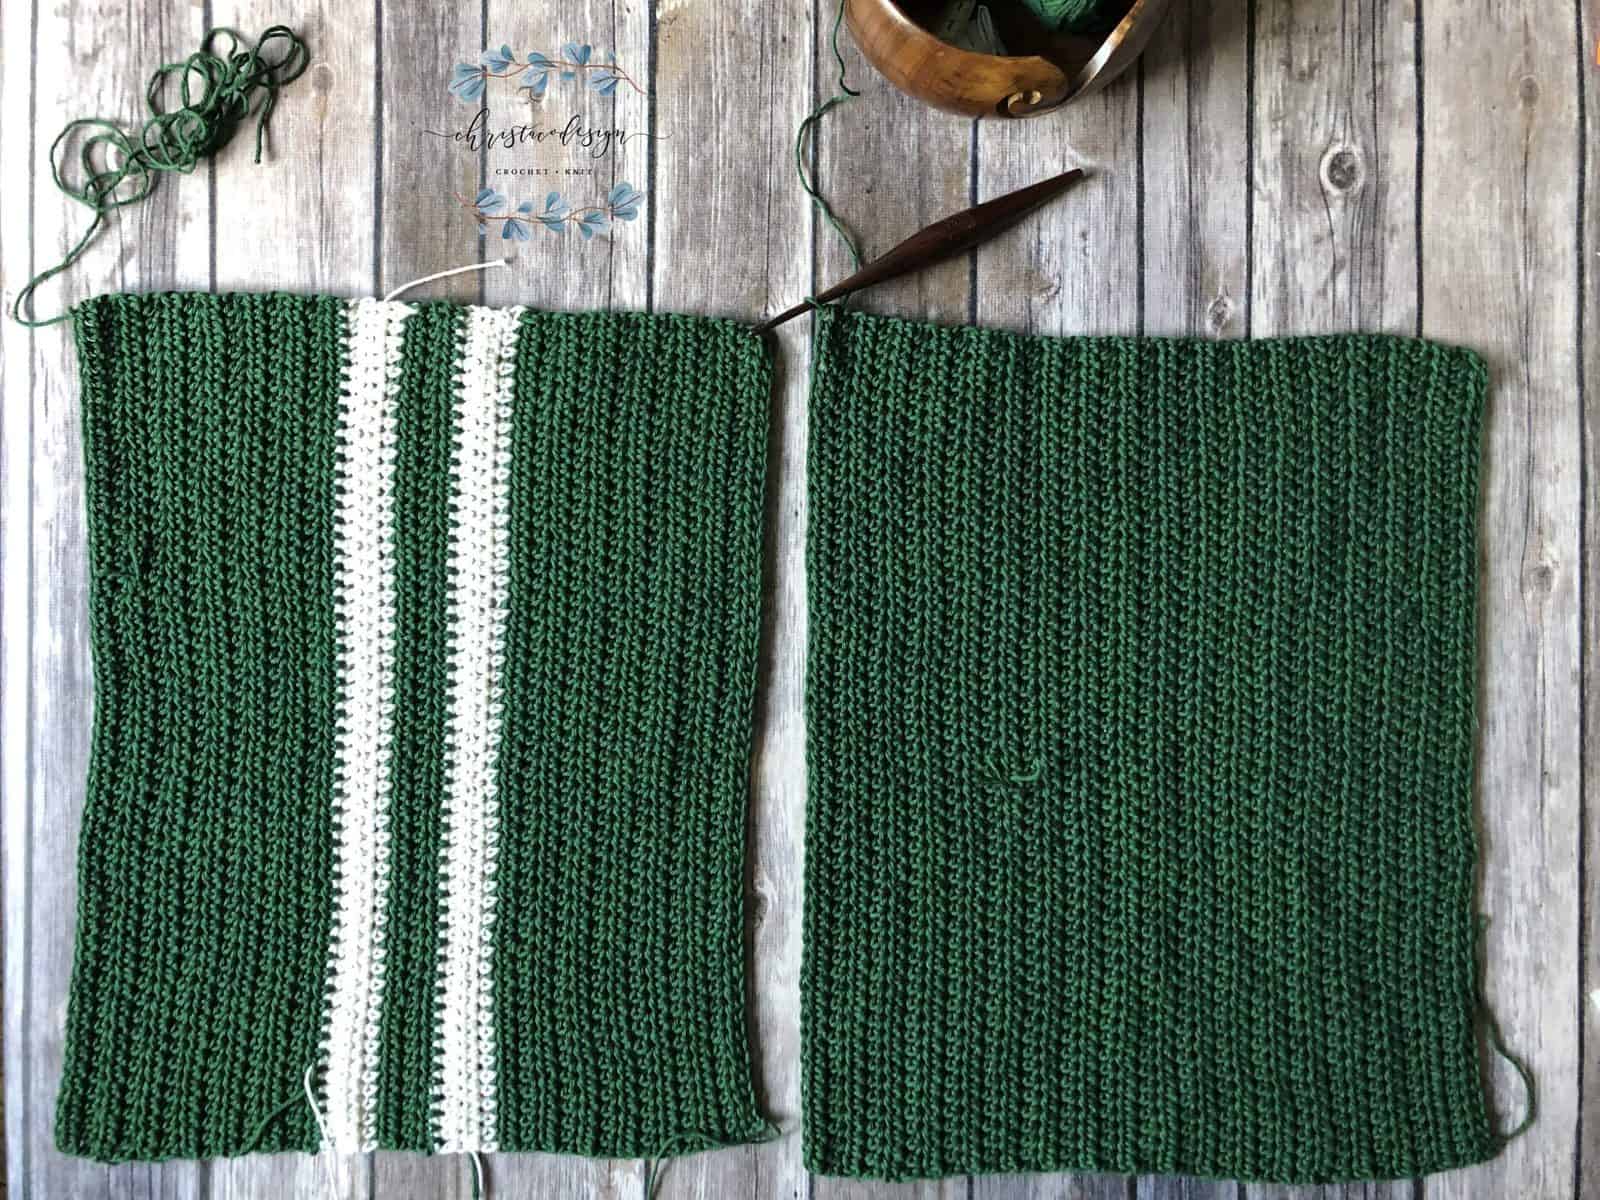
To keep the color changes easy, this free crochet shirt pattern is crocheted sideways. This makes it simple to create those vertical stripes which are so reminiscent of racing stripes.
If you can crochet a rectangle and know your basic stitches, then you can make this t-shirt! Read on for all the details about this free crochet pattern.
Purchase the ad-free, well formatted printable PDF Pattern from my shop. Scroll down for the free pattern!
The Yarn
Boys and girls will enjoy the lightweight dk yarn. If I crochet it for my kids, then it has to be machine washable. Paintbox Yarns has so many different colors in an array of yarns.
The Construction
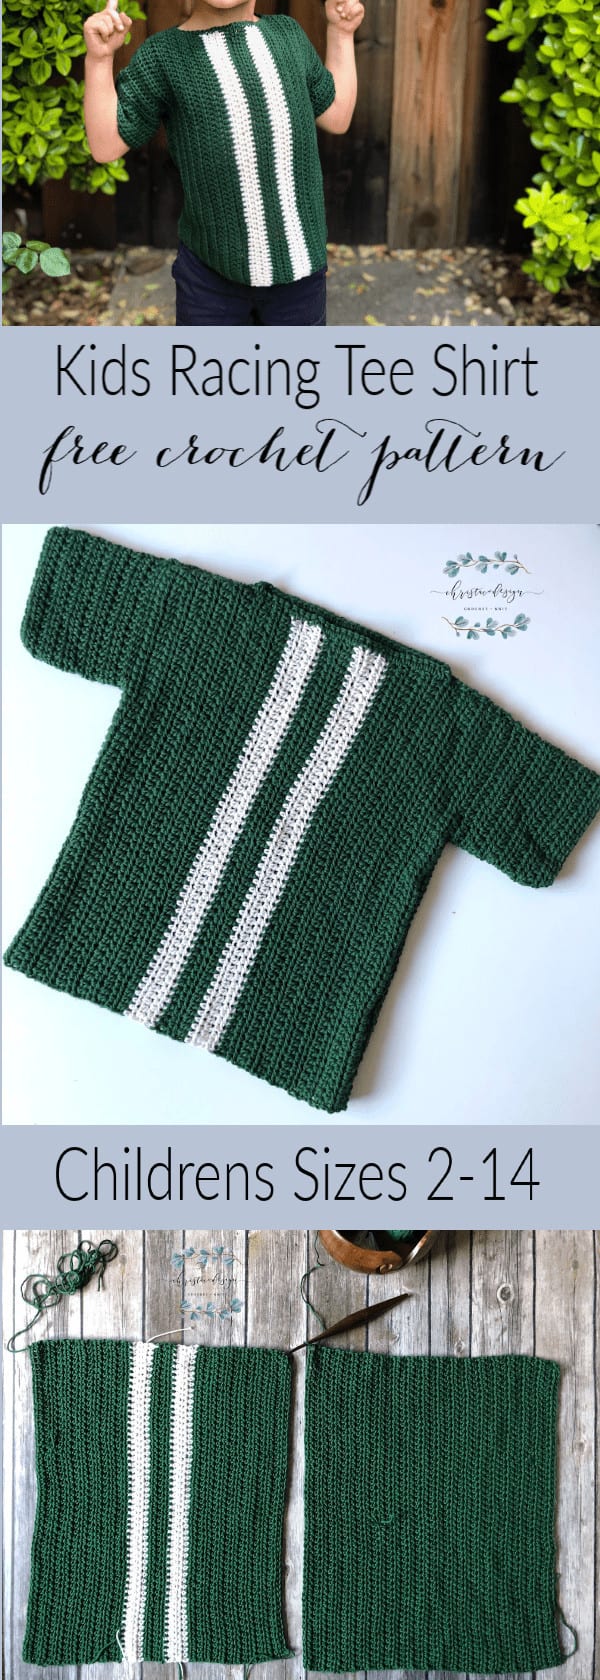
This beginner friendly crochet pattern is worked from two rectangles and seamed together. Next in the top pattern is the sleeves. They are added and worked in the round, which makes them easy to adjust.
This summer top is great for boys, but works for girls too! The pattern includes kids sizes 2 – 14.
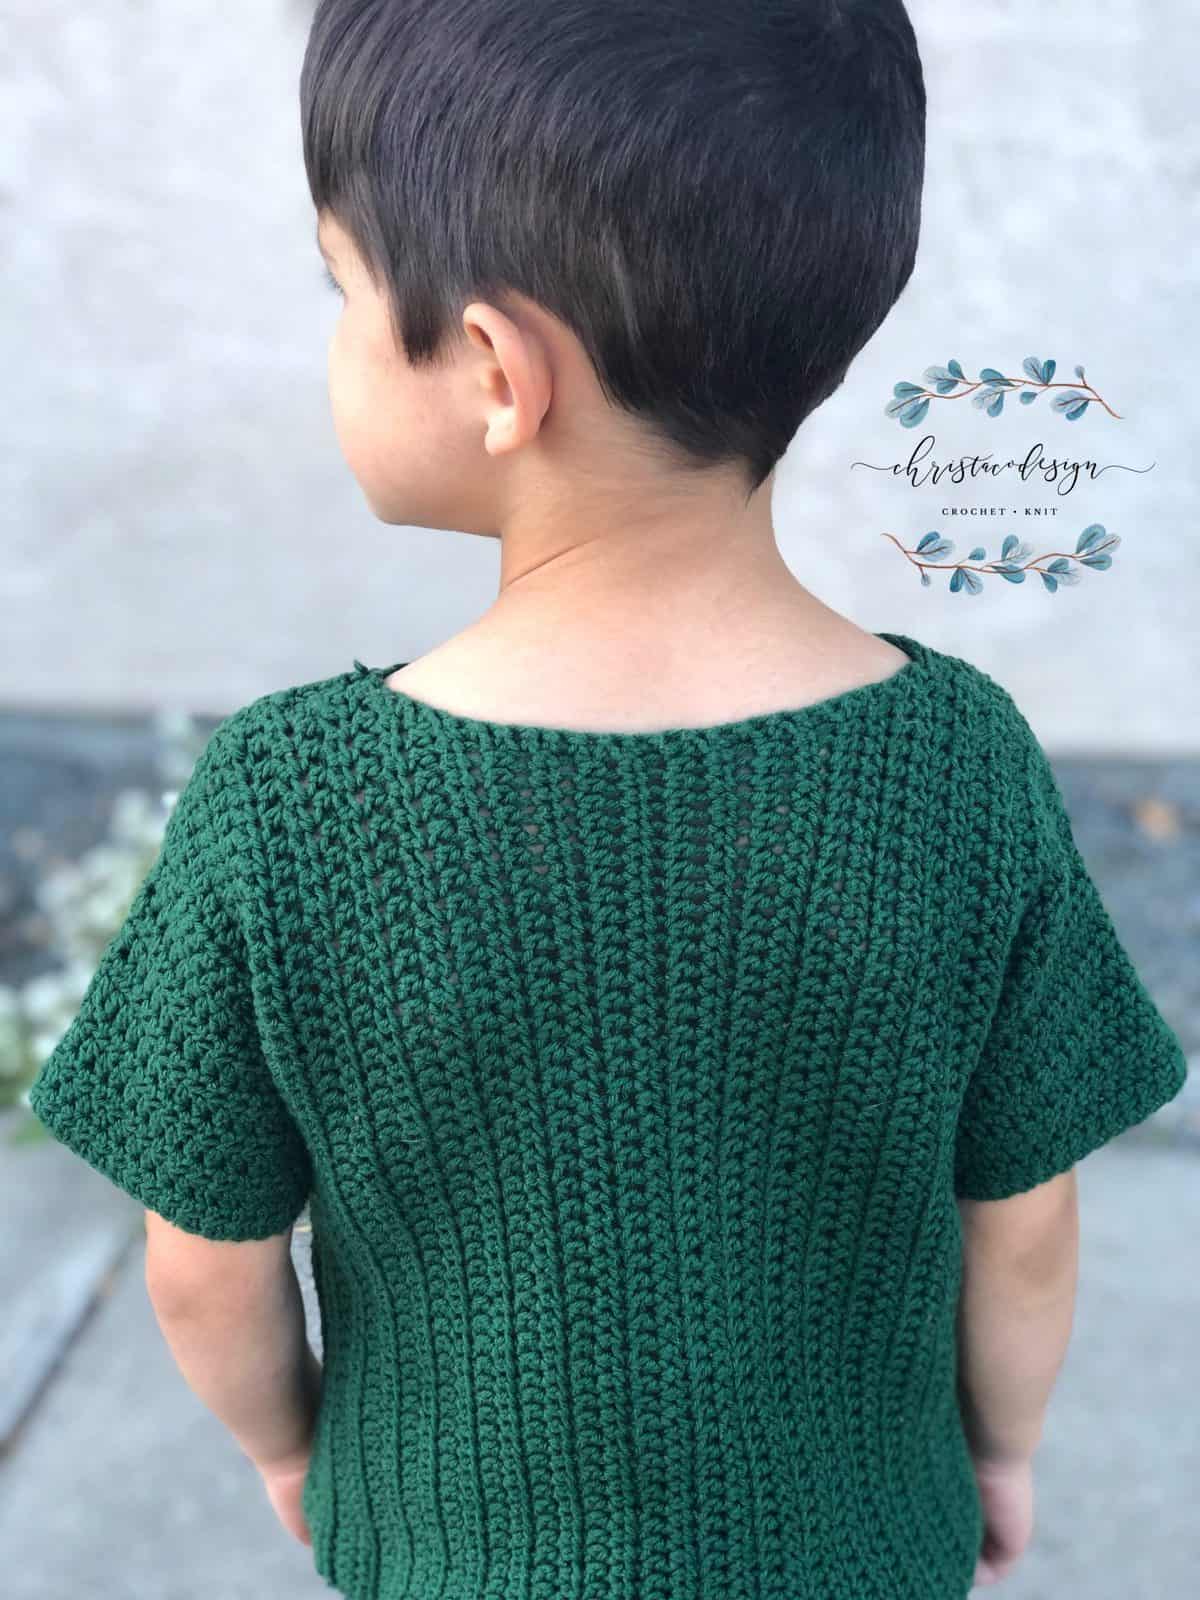
The simple half double crochet makes such a great stitch pattern. It’s may favorite of the basic stitches.
The Inspiration
I crocheted this kids racing t-shirt especially for my car lover. It wasn’t until my third son that we finally had a boy obsessed with cars and all things that go.
He also loves green, so I’m happy to say this is his current favorite shirt. Which replaced last year’s gift the Short Sleeve V-Neck.
The lightweight yarn has been both comfortable for and durable. As he wears it several times a week, it needs constant washing.
The colors have not faded and there’s minimal wear on the yarn. I’m so glad he’ll be wearing it until he outgrows it!
Save your favs!
Add this pattern to your Ravelry queue.
You might also enjoy these crochet kids patterns:
Bobble Cocoon Shrug-an open mesh design worked in worsted weight yarn with pops of bobble stitch!
Merletto Crochet Lace Poncho-this lacy design is great for open airy tops to layer over swimsuits or tanks.
Bryce Canyon Striped Cardigan-if you love the hdc, then this kids cardigan is great.
Short Sleeve V-Neck this is another of my easy crochet tops. There are video for the v-neck shaping to help too.
Pin it
Scroll down for the free pattern!
Materials
- Paintbox Yarns Simply DK* a #3 lightweight yarn (100% Acrylic, 302 yd (276 m) per 100 g skein) in 2 shades: (Color A) racing green 2 [2, 3, 3, 3, 3] skeins, and shade (Color B) champagne white 1 [1, 1, 1, 1, 1] skeins
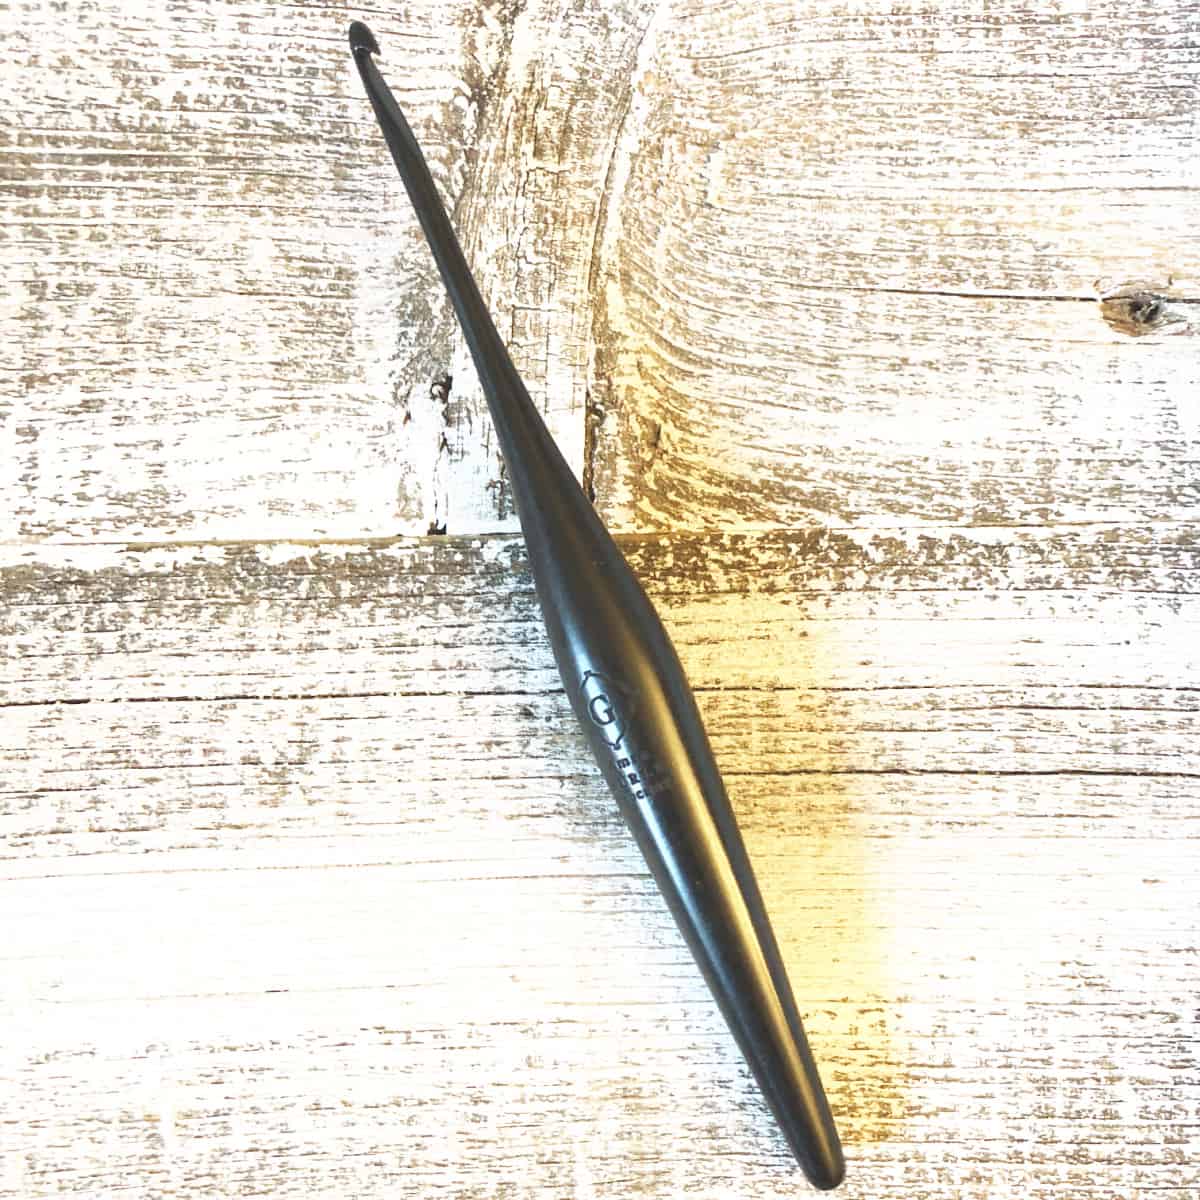
- 4 mm US size G–6 crochet hook,* or size needed to meet gauge.
- Yarn needle, measuring tape, scissors, stitch marker(s).
Yarn By Size
2 – 411 yd Color A, 25 yd Color B
4 – 548 yd Color A, 40 yd Color B
6 – 596 yd Color A, 45 yd Color B
8 – 685 yd Color A, 60 yd Color B
10/12 – 617 yd Color A, 75 Color B
14 – 822 yd Color A, 100 Color B
Notes
- Worked as two rectangles sideways. What is normally considered the width of your work is the length of the shirt. Then seamed at the shoulders and sides. See chart.
- The sleeves are joined at the armhole and worked in the round, but turned as rows.
- Pattern is written with smallest size first, followed by the rest of the sizes in parenthesis: 2 [4, 6, 8, 10/12, 14].
- Ch 1 does not count as a st.
- Please check gauge before beginning.
Stitches/Abbreviations
US Terms
Below are the stitches I use in this pattern. They are linked to the photo + video tutorial if you need it.
ch (s) – chain(s)
hdc(s) – half double crochet(s)
hdc2tog – half double crochet two together
rep – repeat
rnd – round
RS – right side
sk – skip the indicated stitch
sl st – slip stitch
st (s) – stitch (es)

Fit
The Kids Racing Tee is a comfortable top with a classic fit. The pattern adds 2” – 4″ of positive ease to the chest measurements. For a more relaxed fit, go up a size. For a more fitted top, go down a size.
For the perfect fit, check gauge and be sure to measure the chest circumference and choose the matching size below.
It’s intended to be a hip length shirt. See more details under adjustments.
Adjustments
If you would like to adjust the length of the shirt, remember to do so by adding half double crochet stitches to your first row, as the panels are worked sideways. The best part here is there is no stitch multiple so you can add/subtract stitches to lengthen easily.
To increase the width of the shirt add more rows. Generally, it’s easiest to go up a size. Measurements and stitch counts are given in the chart below.
Gauge
14 sts x 12 rows (after blocking) to 4” (10 cm) measured in hdc. Please swatch carefully, as incorrect gauge will cause the top to come out the wrong size.
Sizing
To fit chest circumference:
Size 2 = 21″
Size 4 = 23″
Size 6 = 25″
Size 8 = 26.5″
Size 10 / 12 = 30″
Size 14 = 31.5″
Length of Shirt
Size 2 = 51 sts (14.5″ long)
Size 4 = 54 sts (15.5″ long)
Size 6 = 58 sts (16.5″ long)
Size 8 = 62 sts (17.75″ long)
Size 10 / 12 = 69 sts (19.75″ long)
Size 14 = 72 sts (20.5″ long)
Width of Shirt
Size 2 = 34 rows (11.5″ wide)
Size 4 = 37 rows (12.5″ wide)
Size 6 = 43 rows (14.5″ wide)
Size 8 = 45 rows (15″ wide)
Size 10 / 12 = 49 rows (16.5″ wide)
Size 14 = 51 rows (17″ wide)
Love my Furls Streamline Hooks!* If you’re looking for an ergonomic hook that’s also affordable I highly recommend Furls’ Streamlines.
Purchase the ad-free, well formatted printable PDF Pattern from my shop. Scroll down for the free pattern!
Scroll down for the free kids crochet t-shirt pattern!
Pattern Instructions
Kids Crochet T-Shirt Pattern Free
Free crochet pattern for a kids tee shirt!
Materials
- #3 lightweight yarn, I used Paintbox Dk
Tools
- 4mm (G) crochet hook
- Yarn needle
- Measuring tape
- Scissors
- Stitch marker (optional)
Instructions
Back Panel
Row 1. (RS) Fhdc 51 [54, 58, 62, 69, 72] Or Ch 53 [56, 60, 64, 71, 74], hdc in 3rd ch from hook and in each ch across, turn. 51[54, 58, 62, 69, 72 sts]
Row 2. Ch 1, hdc in same st and in each st across, turn.
Rows 3 – 34 [37, 43, 45, 49, 51] Rep row 2, or until work measures 11.5” [12.5, 14.5, 15, 16.5, 17].” Cut yarn, leave a long tail for seaming.
Front Panel
Rep Back Panel, but change colors as shown:
Size 2
Rows 1 – 13. (or 4.25”) Color A
Rows 14 – 16. (or 1”) Color B
Rows 17 – 19. (or 1”) Color A
Rows 20 – 22. (or 1”) Color B
Rows 23 – 34. (or 4.25”)
Size 4
Rows 1 – 14. (or 4.75”) Color A
Rows 15 – 17. (or 1”) Color B
Rows 18 – 20. (or 1”) Color A
Rows 21 – 23. (or 1”) Color B
Rows 24 – 37. (or 4.75”) Color A
Size 6
Rows 1 – 17. (or 5.75”) Color A
Rows 18 – 20. (or 1”) Color B
Rows 21 – 23. (or 1”) Color A
Rows 24 – 26. (or 1”) Color B
Rows 27 – 43. (or 5.75”) Color A
Size 8
Rows 1 – 18. (or 6”) Color A
Rows 19 – 21. (or 1”) Color B
Rows 22 – 24. (or 1”) Color A
Rows 25 – 27. (or 1”) Color B
Rows 28 – 45. (or 6”) Color A
Size 10/12
Rows 1 – 20. (or 6.75”) Color A
Rows 21 – 23. (or 1”) Color B
Rows 24 – 26. (or 1”) Color A
Rows 27 – 29. (or 1”) Color B
Rows 30 – 49. (or 6.75”) Color A
Size 14
Rows 1 – 21. (or 7”) Color A
Rows 22 – 24. (or 1”) Color B
Rows 25 – 27. (or 1”) Color A
Rows 28 – 30. (or 1”) Color B
Rows 31 – 51. (or 7”) Color A
Seaming
Sew when indicated using a length of yarn and the whip stitch/mattress stitch.
Shoulder Seams
Match up panels with right sides together, remember they’re sideways. The stripes run vertical in the center of the front panel. At the top edge, sew first shoulder together for 2.75 [3.25, 4, 4.25, 4.75, 5]” leave a 6 [6, 6.5, 6.5, 7, 7]” opening for the neck, then sew the second shoulder together for 2.75 [3.25, 4, 4.25, 4.75, 5].” Cut yarn.
Starting at the bottom, sew sides together, but leave 4.25 [4.75, 5, 5.5, 6.5, 7]” open for the armhole. Cut yarn.
Neck
It’s best to try it on now and make any adjustments.
Attach yarn with sl st to any st on neck opening. Ch 1, sc in same st and evenly around, join to first st with sl st. Cut yarn.
Sleeves
At bottom of armhole, attach yarn with a sl st.
Rnd 1. Ch 1, starting in the same st hdc evenly around for 30 [34, 36, 38, 46, 50] sts, sl st to first st to join, turn. 30 [34, 36, 38, 46, 50 sts]
Rnd 2. Ch 1, hdc in same st and in each st around, sl st to first st to join, turn.
Rnd 3. Rep last row for a total of 8 [10, 12, 14, 15, 16] rows.
Decrease Sleeve
Rnd 1. Ch 1, hdc in same st, hdc2tog, hdc in each st around, sl st to first st to join, turn.
29 [33, 35, 37, 45, 49 sts]
Rnd 2. Rep last row. 28 [32, 34, 36, 44, 48 sts]
Sleeve measures 3.5 [4, 4.5, 5, 5.5, 6]” long.
Repeat for other sleeve.
Weave in ends.
Recommended Products
As an Amazon Associate and member of other affiliate programs, I earn from qualifying purchases.


I’m going to try this pattern for my great grandson who leaves in Japan.
Aw, what a lucky guy. I hope you enjoy it!