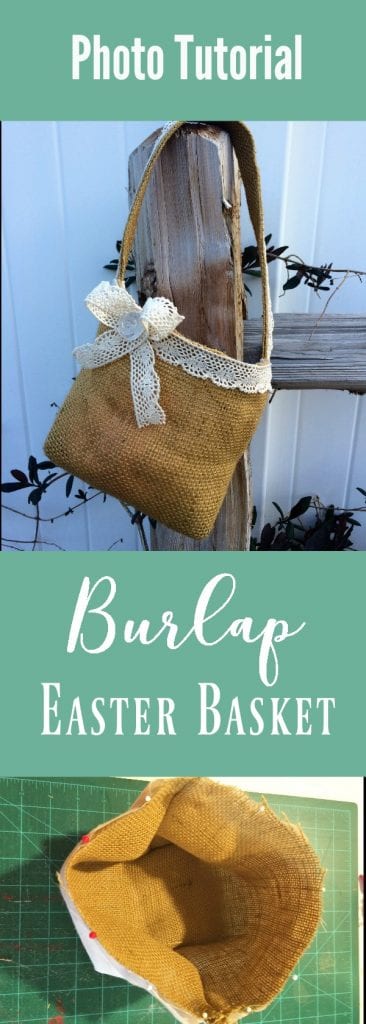
Burlap Easter Basket Photo Tutorial
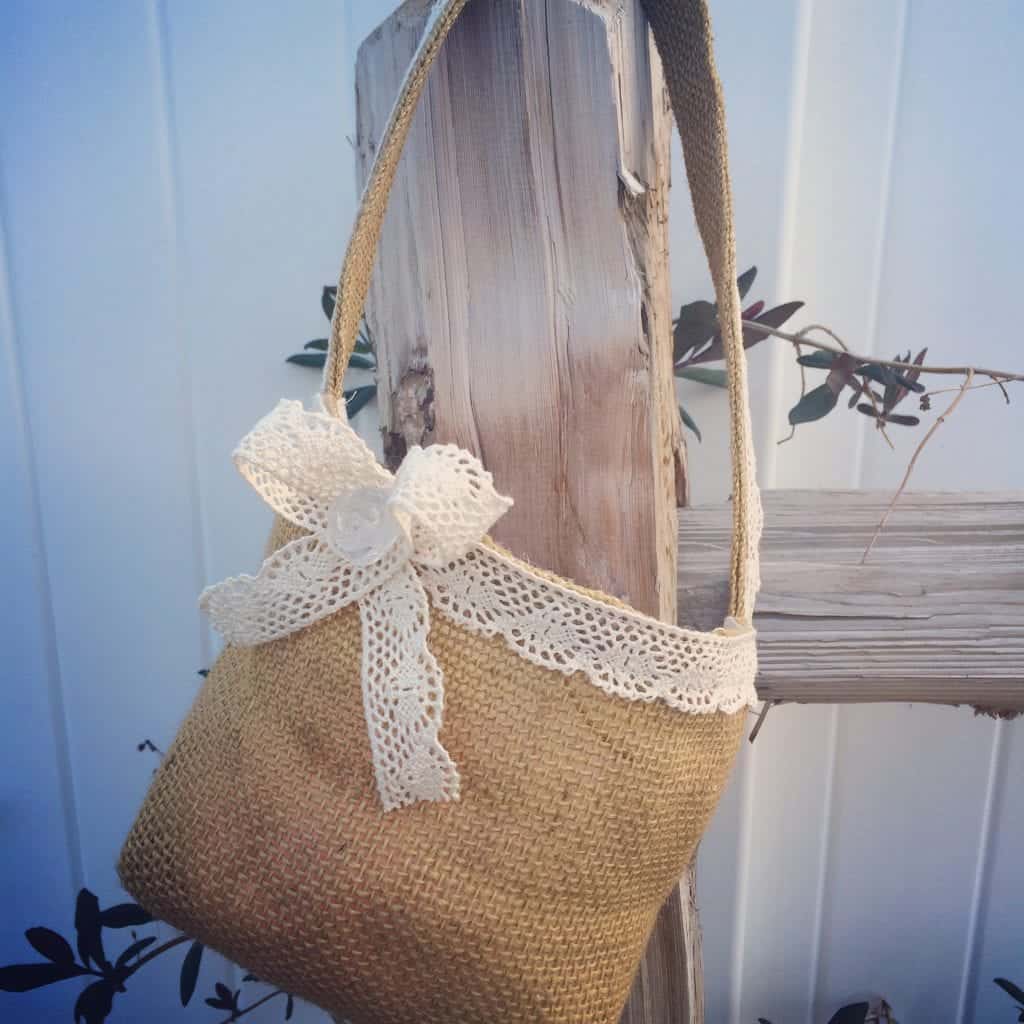
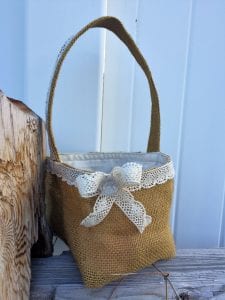
Learn how to sew a simple Burlap Easter basket in this step by step photo tutorial.
I’m so excited to share this beautiful burlap Easter basket with you today! Burlap is the perfect material to create a basket with, as it has a bit of structure.
Adding lace or ribbon gives each basket a custom look for your little one. I’ve designed mine for my little girl, but having three boys I’m always on the lookout for patterns that can be adapted for them as well.
This burlap Easter basket would be perfect for a little boy with an easy substitution on the ribbon-brown, cream, blue, etc. Easter is just around the corner so let’s get started!
This post contains affiliate links, I may earn a fee. Read more disclosure policy.
Materials:
1/2 yd burlap, I used Idaho Potato
1/2 yd cotton for lining, I used unbleached muslin
lace, ribbon, buttons, etc. for accent decor
sewing machine, thread, scissors, hot glue gun, washable marker, iron
Steps:
Cut:
Cut a 16″ by 11″ rectangle from your burlap
*tips for working with burlap-be sure it is laying flat and square. Check that the fibers are lined up vertically and horizontally-not angled, which means your fabric is crooked.
Cut a 16″ by 11″ rectangle from your cotton lining fabric
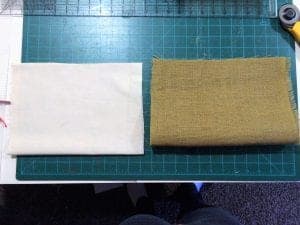
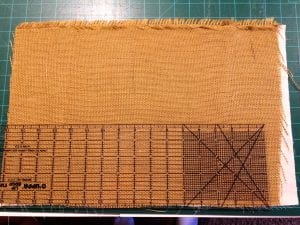
Lay them on top of each other and trim to fit perfectly-this is important when lining anything.
Sew:
Fold your burlap in half.
Pin the sides and sew them together. Repeat with your lining fabric. Iron open your seams.
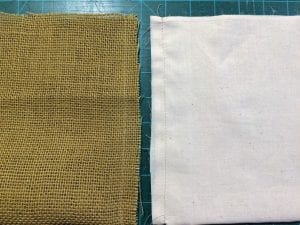
Stand your ‘pocket’ up right and pinch the sewn edges. Bring them together (right sides), see below.
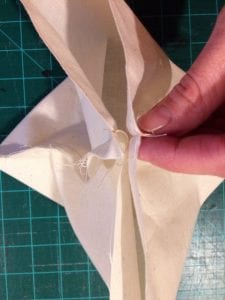
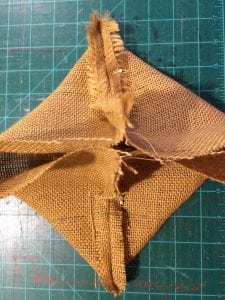
This creates triangles from your bottom corners.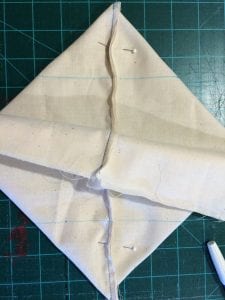
Using your grid ruler or regular ruler, measure a 2.5″ triangle on each corner of your ‘pocket’ and mark off.
Do this for both your burlap ‘pocket’ and the lining fabric one.
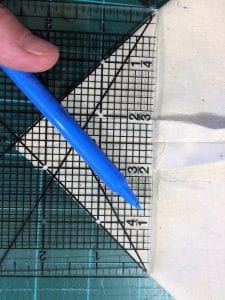
Pin to keep in place. Sew along your mark on each corner.
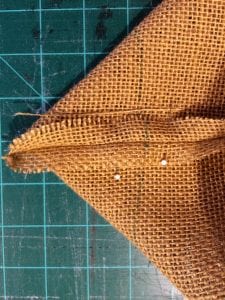
Trim off your excess. Iron open your seams.
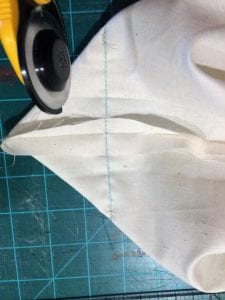
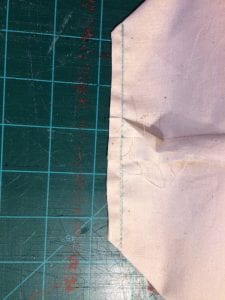
Repeat for both and set aside.
For the handle:
Measure and cut a 16″ by 5″ rectangle from your burlap.
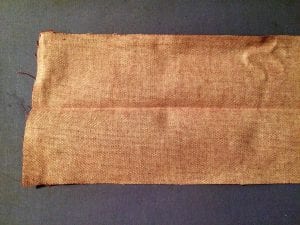
Fold the rectangle in half and iron to crease.
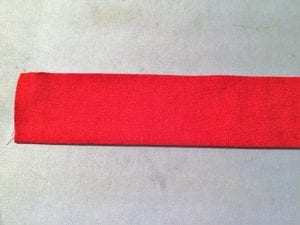
Now open it back up.

Fold one edge to the center and iron to crease.
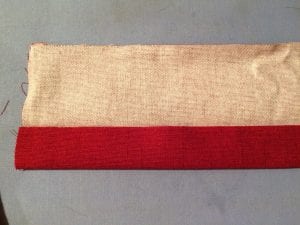
Fold the other edge to the center and iron to crease.
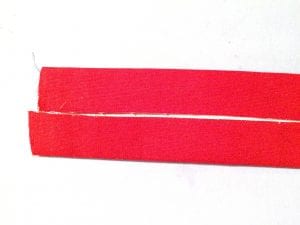
To finish your basket handle, fold it over so that the two raw edges stay in the center.
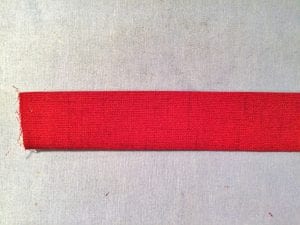
Iron down to crease and topstitch the open long edge closed.
Now to layer our basket for sewing together.
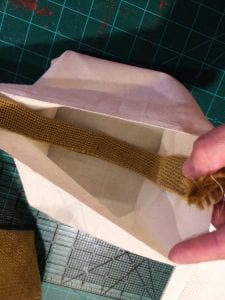
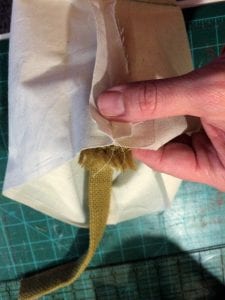
Start with your lining piece, turned inside out.
Put the basket handle inside it, with the ends lined up at the seams of the lining pocket and the handle curved down and into the basket.
Pin handle ends to lining at the seams.
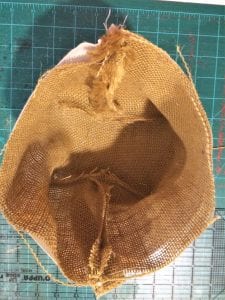
Now put the burlap pocket inside the lining (on top of the strap). So you should have a ‘sandwich’ of lining pocket, handle, and burlap pocket. *Right sides together of the lining and burlap pieces.
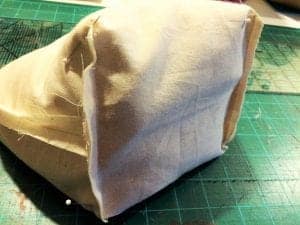
Use your finger to poke the bottom corners down and match up the two layers; then pin to keep secure.
Pin & Sew:
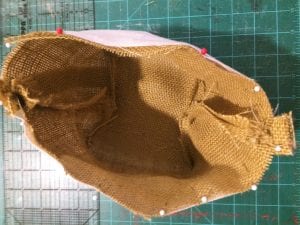
Pin around the open top edge, be sure to pin your handle to both other layers.
I pin with red at my start and stopping points. Leave a 3″ opening between the two red pins for turning your basket right side out.
Sew together. Be sure the handle stays down and out of the way except for at the two points where you want to stitch it (at the seams you’ll sew through all three layers).
*Tip for sewing over thick areas (like the handle)-lengthen your stitch to 3-3.5 and slow way down over those areas. Be sure to catch all three layers. You can see my handle sticks up some so I don’t miss it.
Remove all pins (including those on your bottom corners).
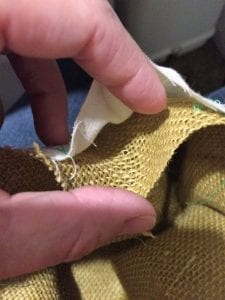
Pull your basket through your opening to right side.
Iron your seam flat. Straighten up your basket & make sure it’s sewn together completely around.
Topstitch around your basket.
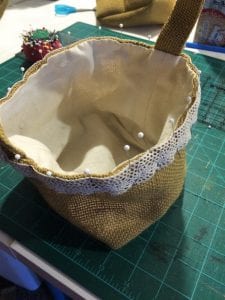
Embellish:
Pin on & sew your embellishments.
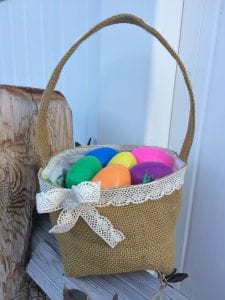
I added a lace ribbon around the basket and the handle.
I hot glued on a bow and button.
Get creative here for a custom look!

Pin it here:


How cute!!!!! I love Burlap, especially burlap crafts. This is such an adorable Easter Idea.
Your basket turned out so cute!! I love the burlap look. <3
ok – this is crazy cute!
I might try making mini ones as favour bags!
Thanks!
That’s a great idea!
Thanks so much! I was pretty please with it!
I want to sew so bad! I get a machine this week and this is my first project! You make it sew easy!
Thank you! I hope you enjoy it!