How to Make Bias Tape Tutorial
Creating your own bias tape to use in your sewing projects allows you to match the fabric exactly, unlike pre-made bias tape.
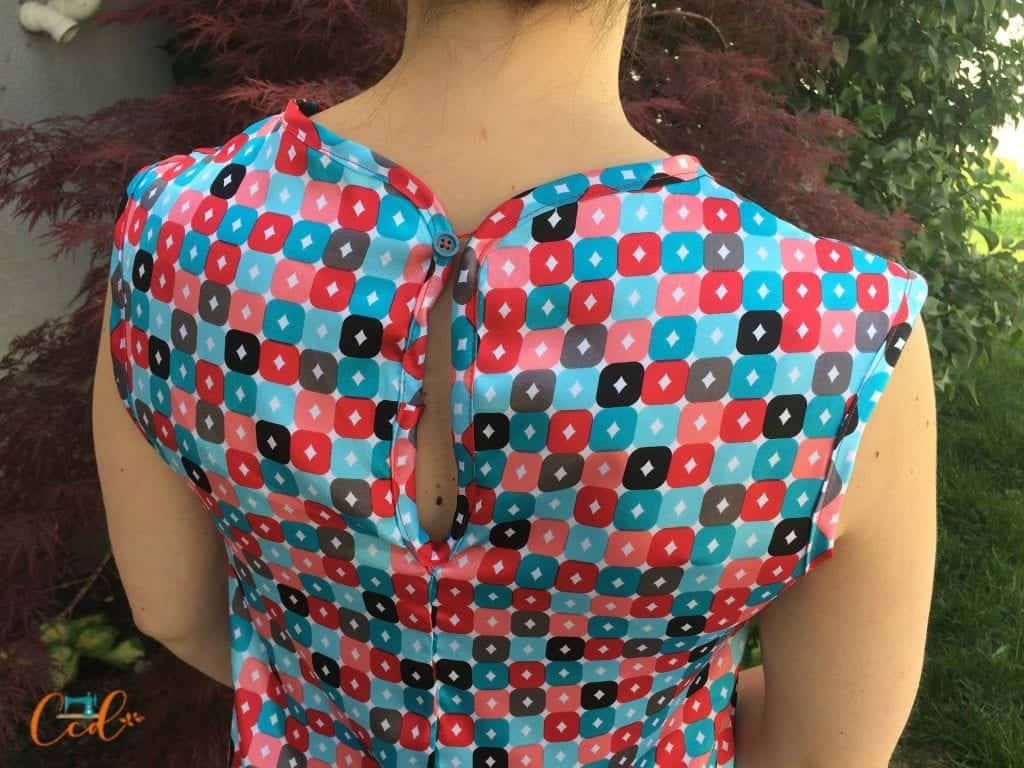
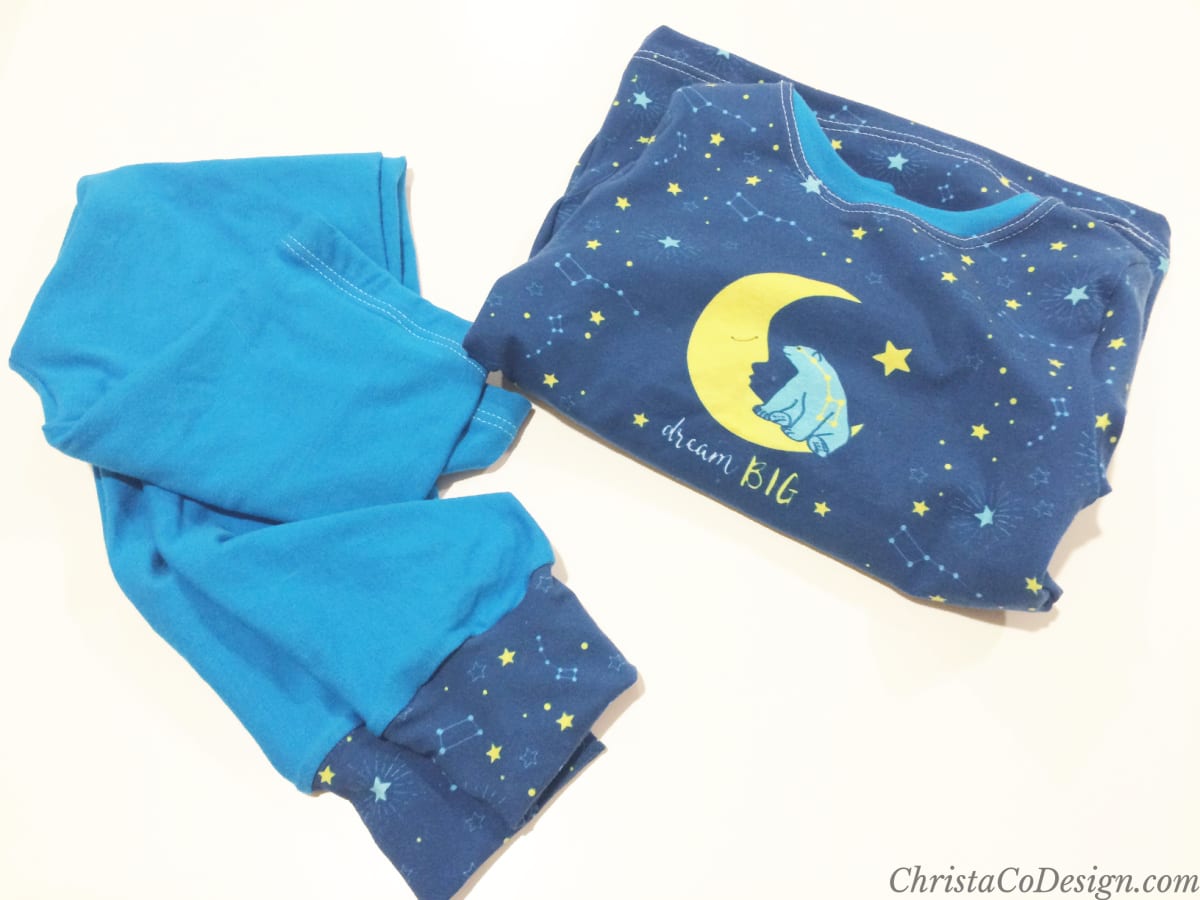
This sewing technique is also a great way to use up scraps of fabric for a fun pattern. Bias tape is useful on shirts, like the one I made from my favorite shirt.
This post contains affiliate links, I may earn a fee. Read more disclosure policy.
It can be used on necklines, arm holes, hems. It’s not limited to clothing, and can be used on tote bags, baby bibs, and many more of your sewing projects. In sewing, it’s all in the details and bias tape is an easy way to customize all your projects.
Materials:
fabric
scissors/rotary cutter*
sewing machine & coordinating thread
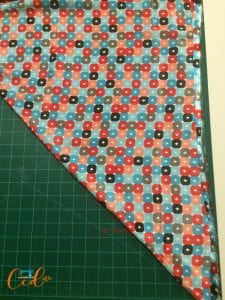
To create bias tape from a large piece of fabric, fold the fabric diagonally (or on the bias) as above. The selvage (factory edge) is on the right in this picture.
If you’re making bias tape from small scrap pieces (which is great!) just fold them similarly. If you’re making many strips, cut them all at once. Stack them together likewise-all facing the same way for faster sewing.
You can also cut straight strips (not on the bias) but they will not have the same stretch. One of the benefits of sewing with bias tape is how easy it is to finish curved edges with it.
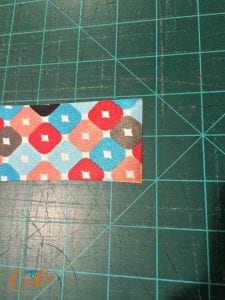
Cut diagonal strips, these are 2″ wide, from one edge of the fabric, along the diagonal, to the other edge.
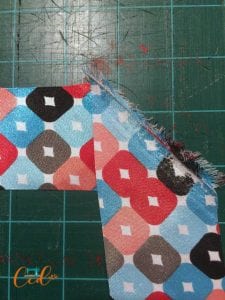
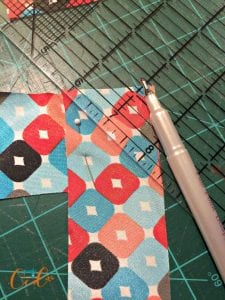
To join your strips, overlap them perpendicularly, right sides together, as above. Use your grid ruler to mark your sewing line, from the corner of the two strips on top, to the bottom corner. Exactly where the edge of the ruler is in this picture is where you’ll mark and sew.
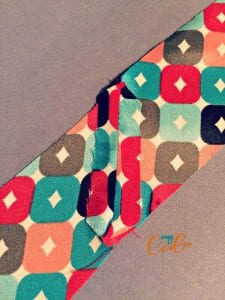
Sew along your diagonal line. Sew all your pieces together, just adding on to your lengthening tape as you go. Trim, and press open with an iron. Fold your in half and press with an iron.
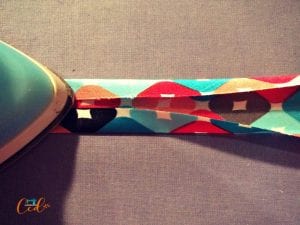
Open your bias tape back up and fold both edges to the middle crease you just made. Press with the iron to crease in place.
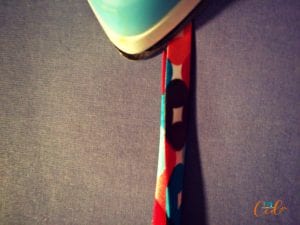
Fold the tape in half again and press with the iron one last time. They make these cool little bias tape tools that help with all the folding if you find yourself making lots of it!
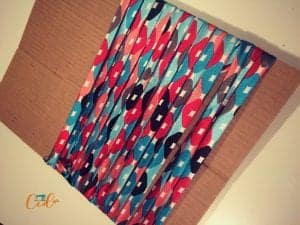
Find a handy piece of recycling to wrap your bias tape around for storing.
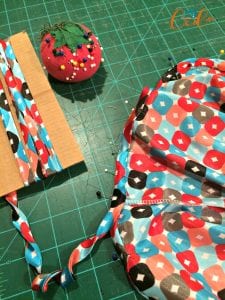
Or better yet enclose the raw edges of a shirt for sewing! Now you can make bias tape any time and for any project!



One Comment