Easy DIY Weighted Lap Pad Sewing Tutorial
Learn how to make a DIY weighted lap pad. This easy sewing tutorial takes you through the simple process step by step.
When my son’s occupational therapist recommended a weighted lap pad for him I jumped on the chance to make it myself.
Especially after I looked around online-they’re expensive. However, it’s relatively simple to DIY it with a few materials from your local craft shop.
This post contains affiliate links, I may earn a fee. Read more disclosure policy.
So I did some research and talked with his occupational therapist. She told me it should be 10% of his body weight and to keep it relatively plain.
She suggested using beans and an old pillowcase. I found that 20″ X 30″ was a common size for weighted lap pads. Since my guy is little though, I felt the 18″ X 22″ fat quarter size was adequate. If using a pillow case, you’ll want to trim one end to your desired length.
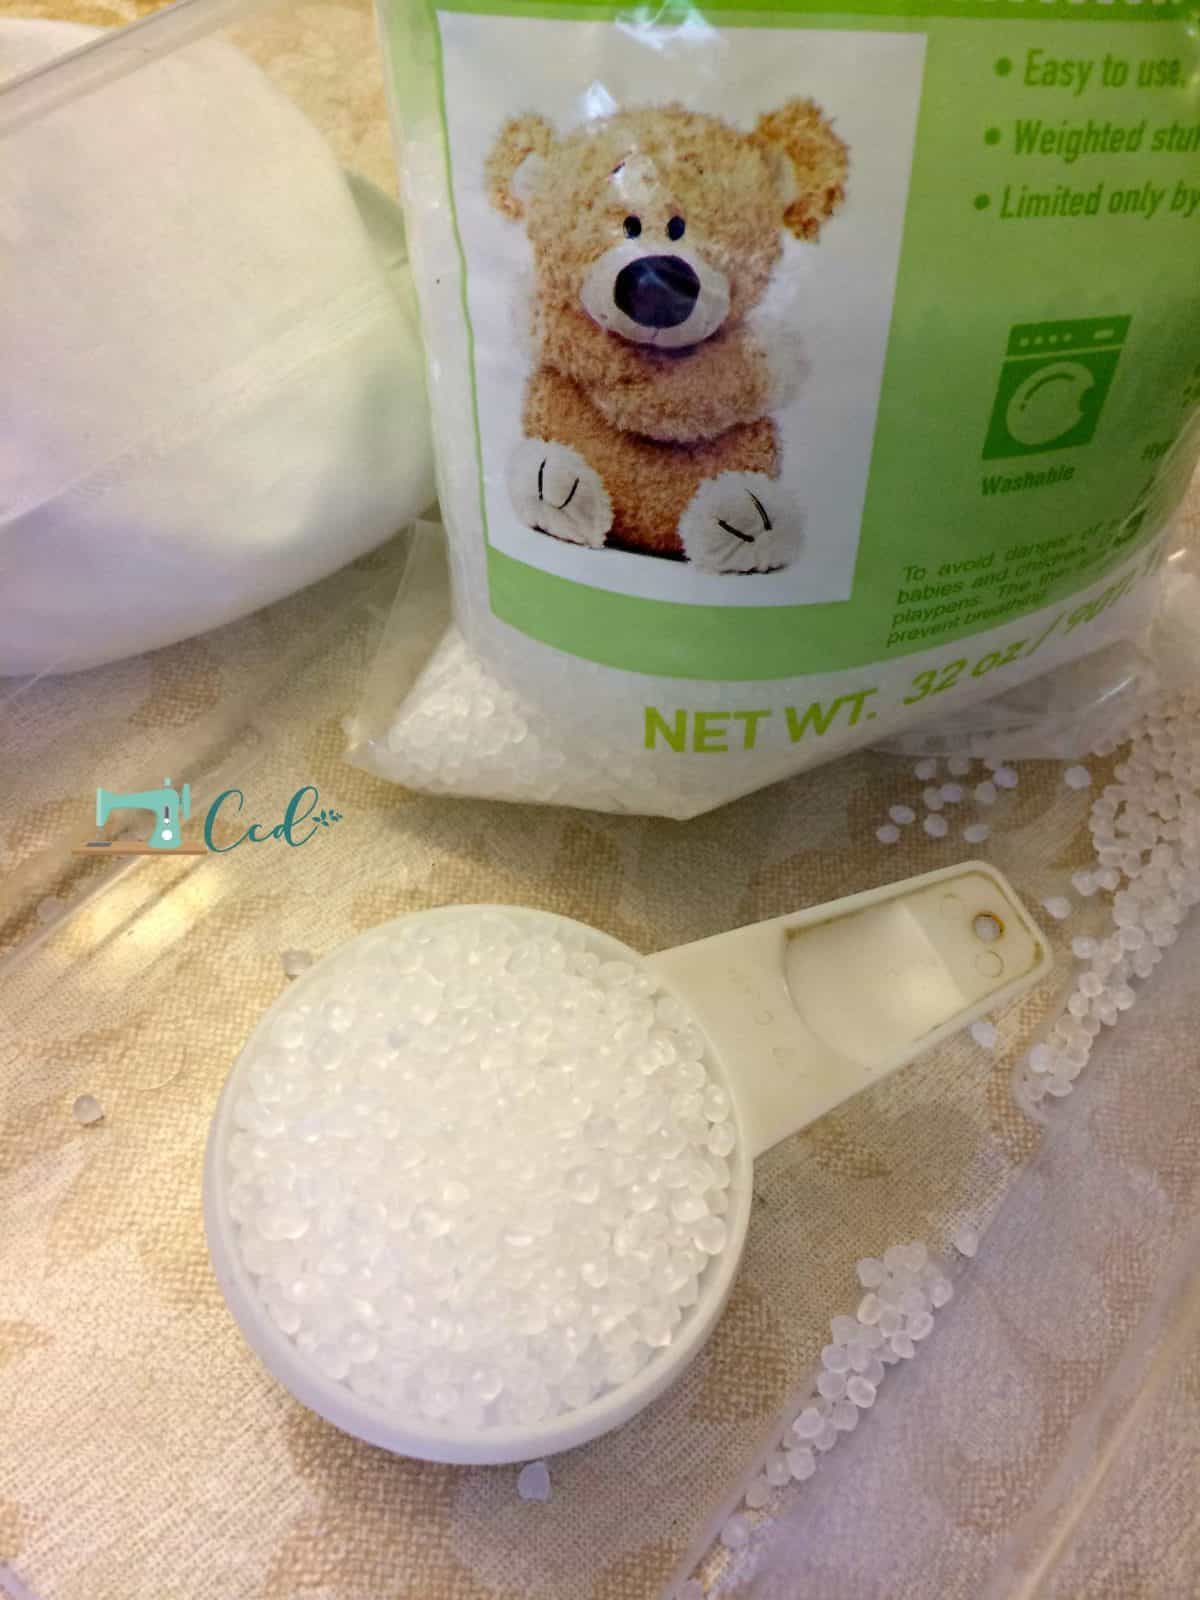
If you’d prefer to make one using new materials I found pellets at Michael’s Craft Stores for $9.99/2 lb bag. I needed about 4lbs of filling so I purchased two bags of pellets. Fabric fat quarters were $1.49 each and I purchased two.
So full price materials will set you back almost $25. However, Michael’s always offers coupons and you can often find discounted fabric too. I used 40% off coupons to purchase the pellets and saved a few dollars that way.
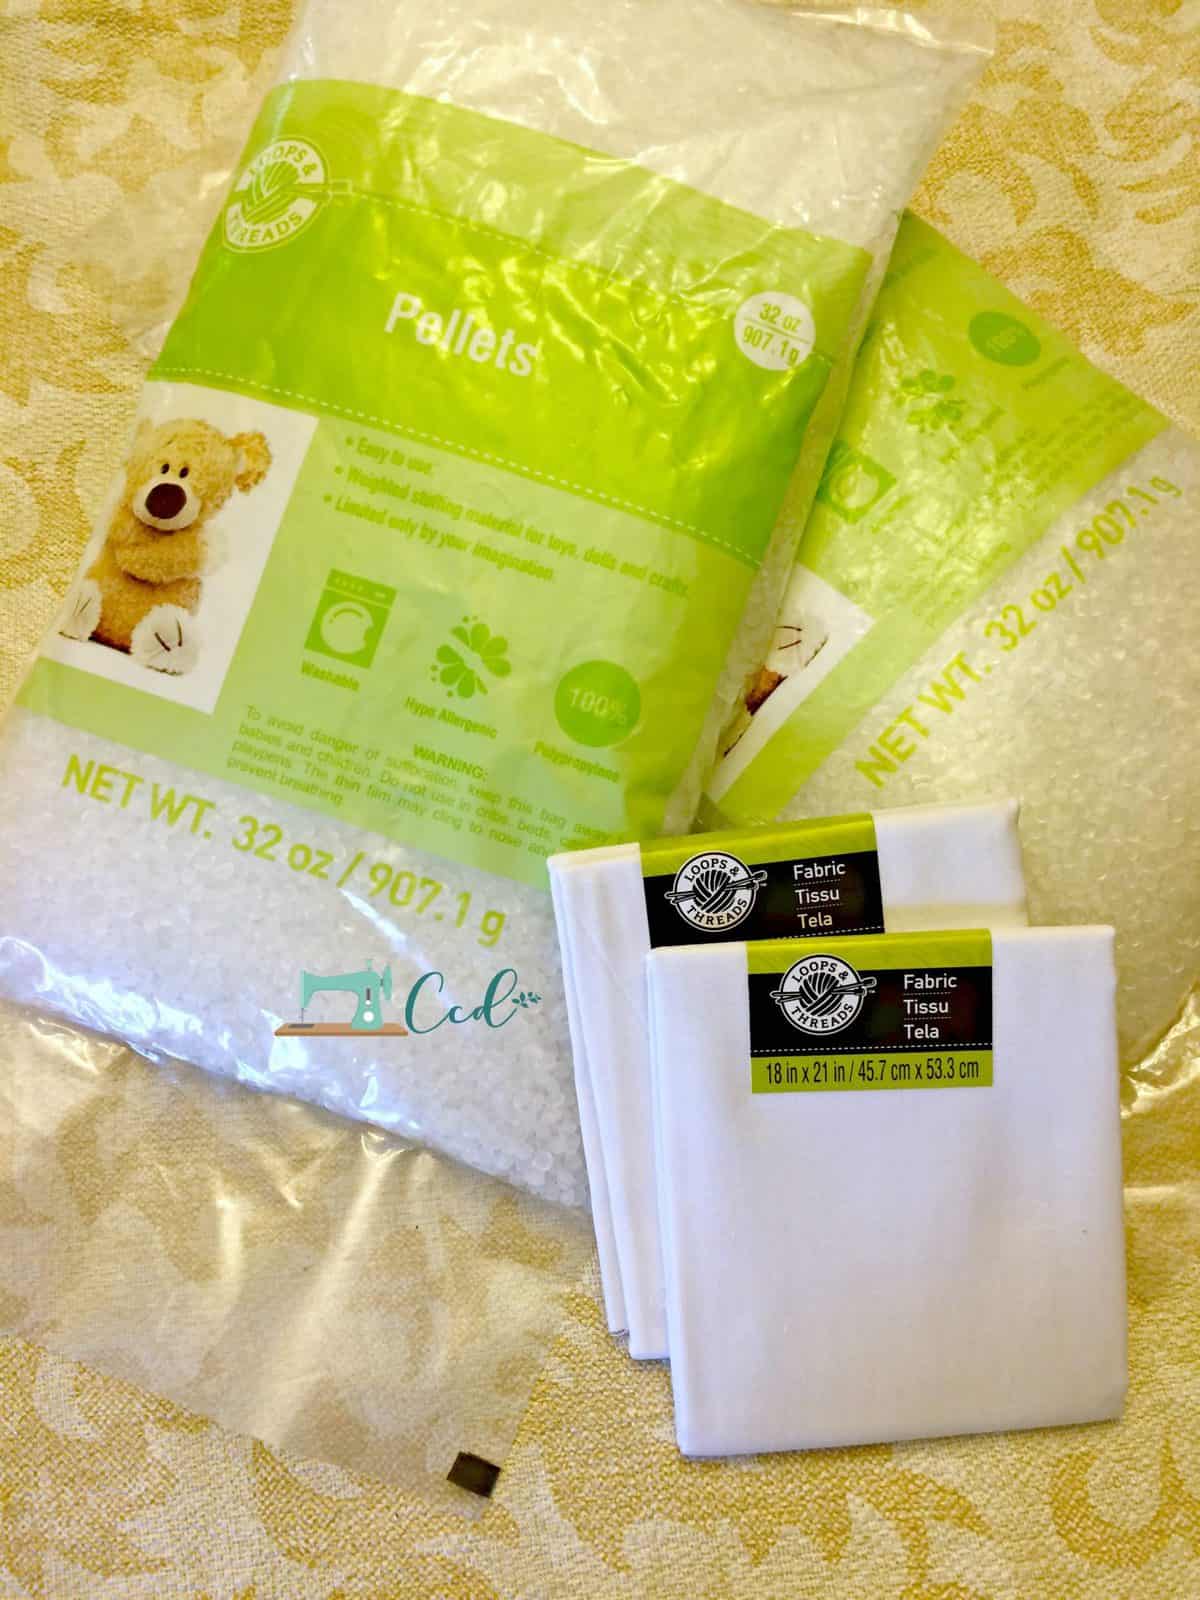
Materials
- Pellets,* beans or rice will work too.
- Fabric, I used two fat quarters* but you could also use a pillowcase if you have one laying around.
- Sewing machine, this is the one I have* and it’s been a good one.
- Matching thread
- Scissors
- Iron & ironing board
Pin it:
Scroll Down for the Lap Pad Sewing Tutorial:
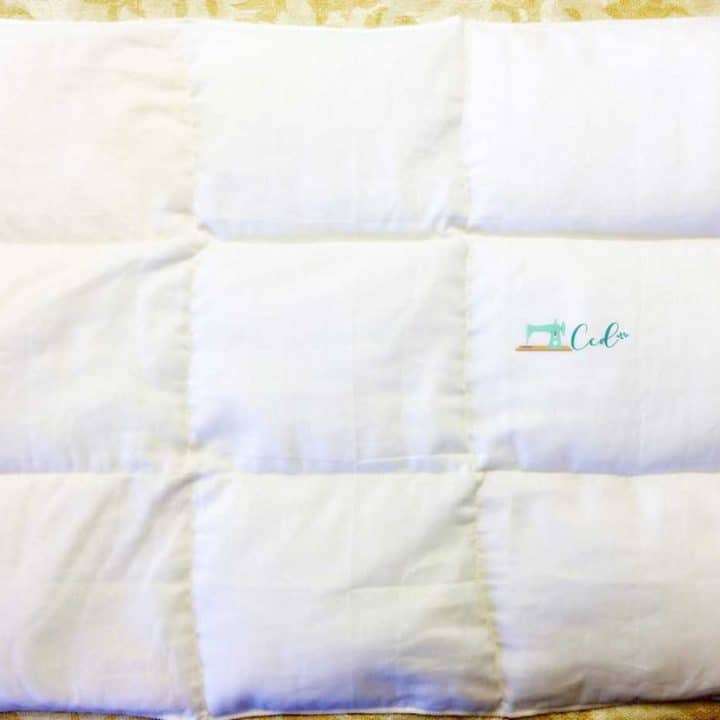
DIY Weighted Lap Pad Sewing Tutorial
Make a simple DIY lap pad with this simple sewing tutorial.
Materials
- Pellets, beans or rice will work too.
- Fabric, I used two fat quarters but you could also use a pillowcase if you have one laying around.
Tools
- Sewing machine
- thread, scissors
- iron & ironing board
Instructions
- First wash, dry and iron your fabric. I had hoped to cheat and use the creases already in the fat quarters ? but they were too small and uneven for my tastes.

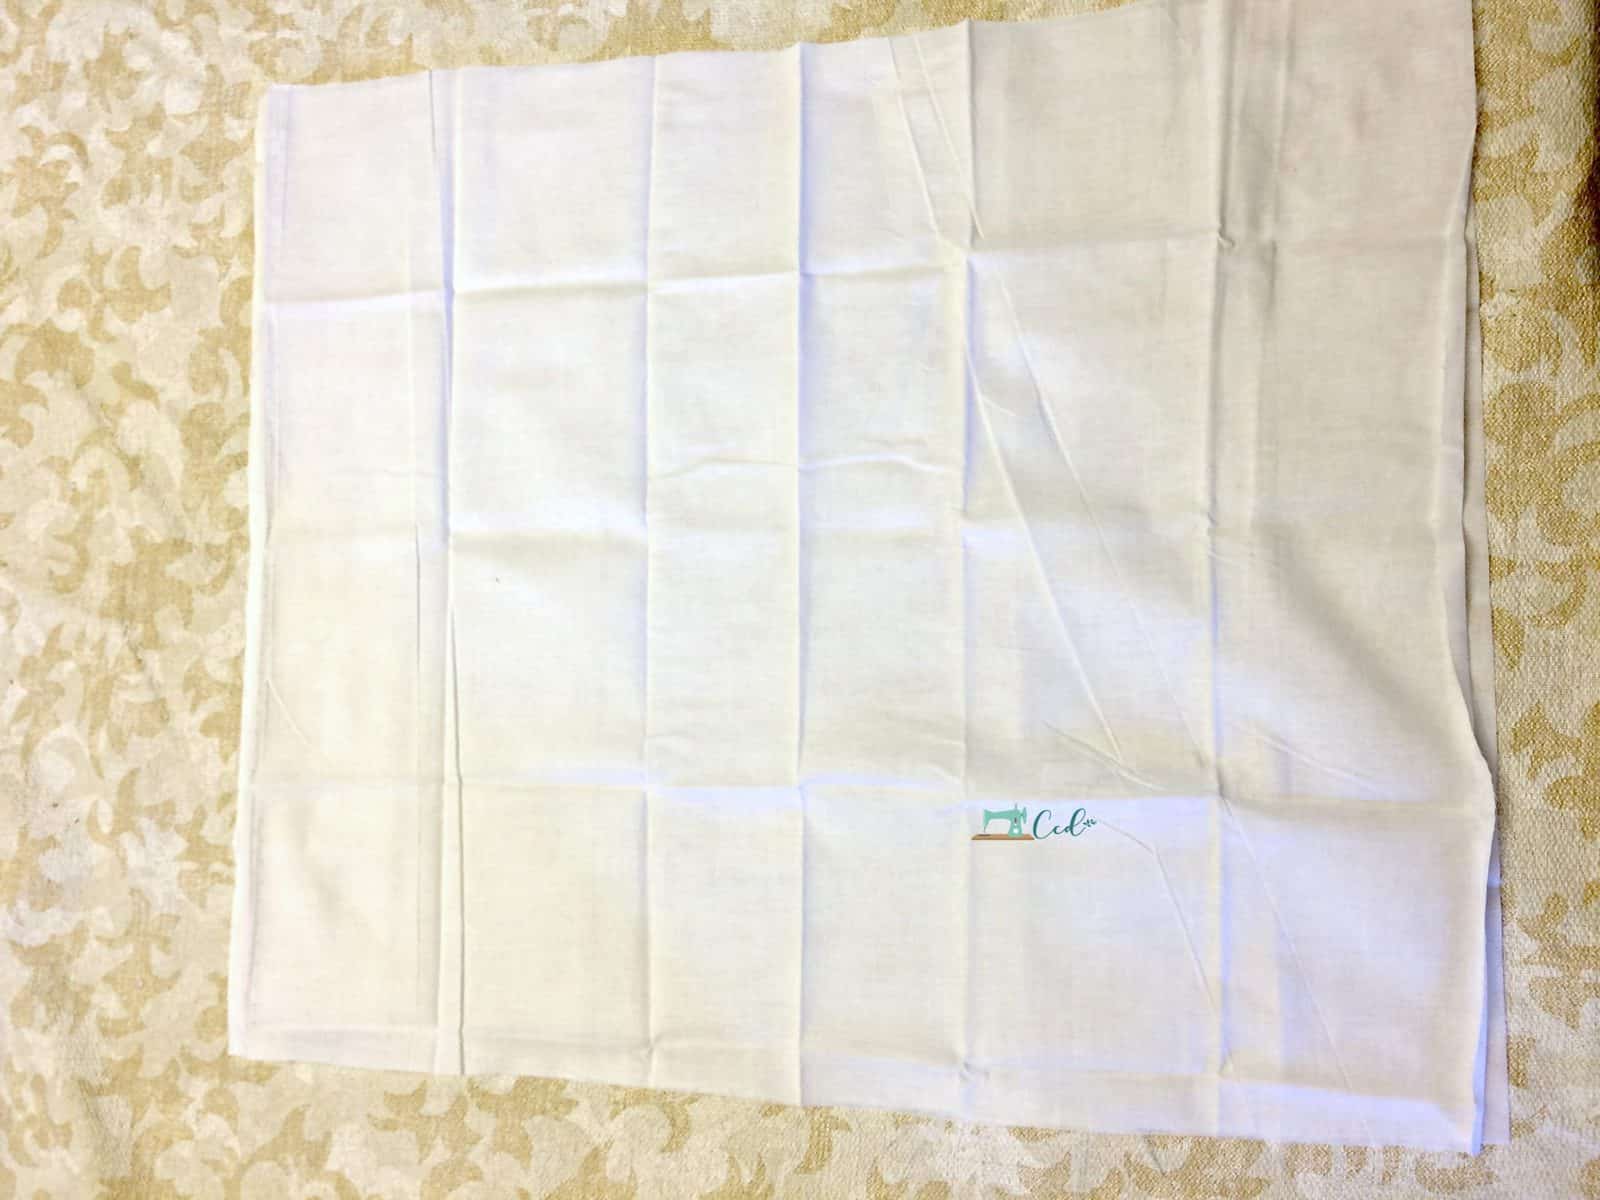
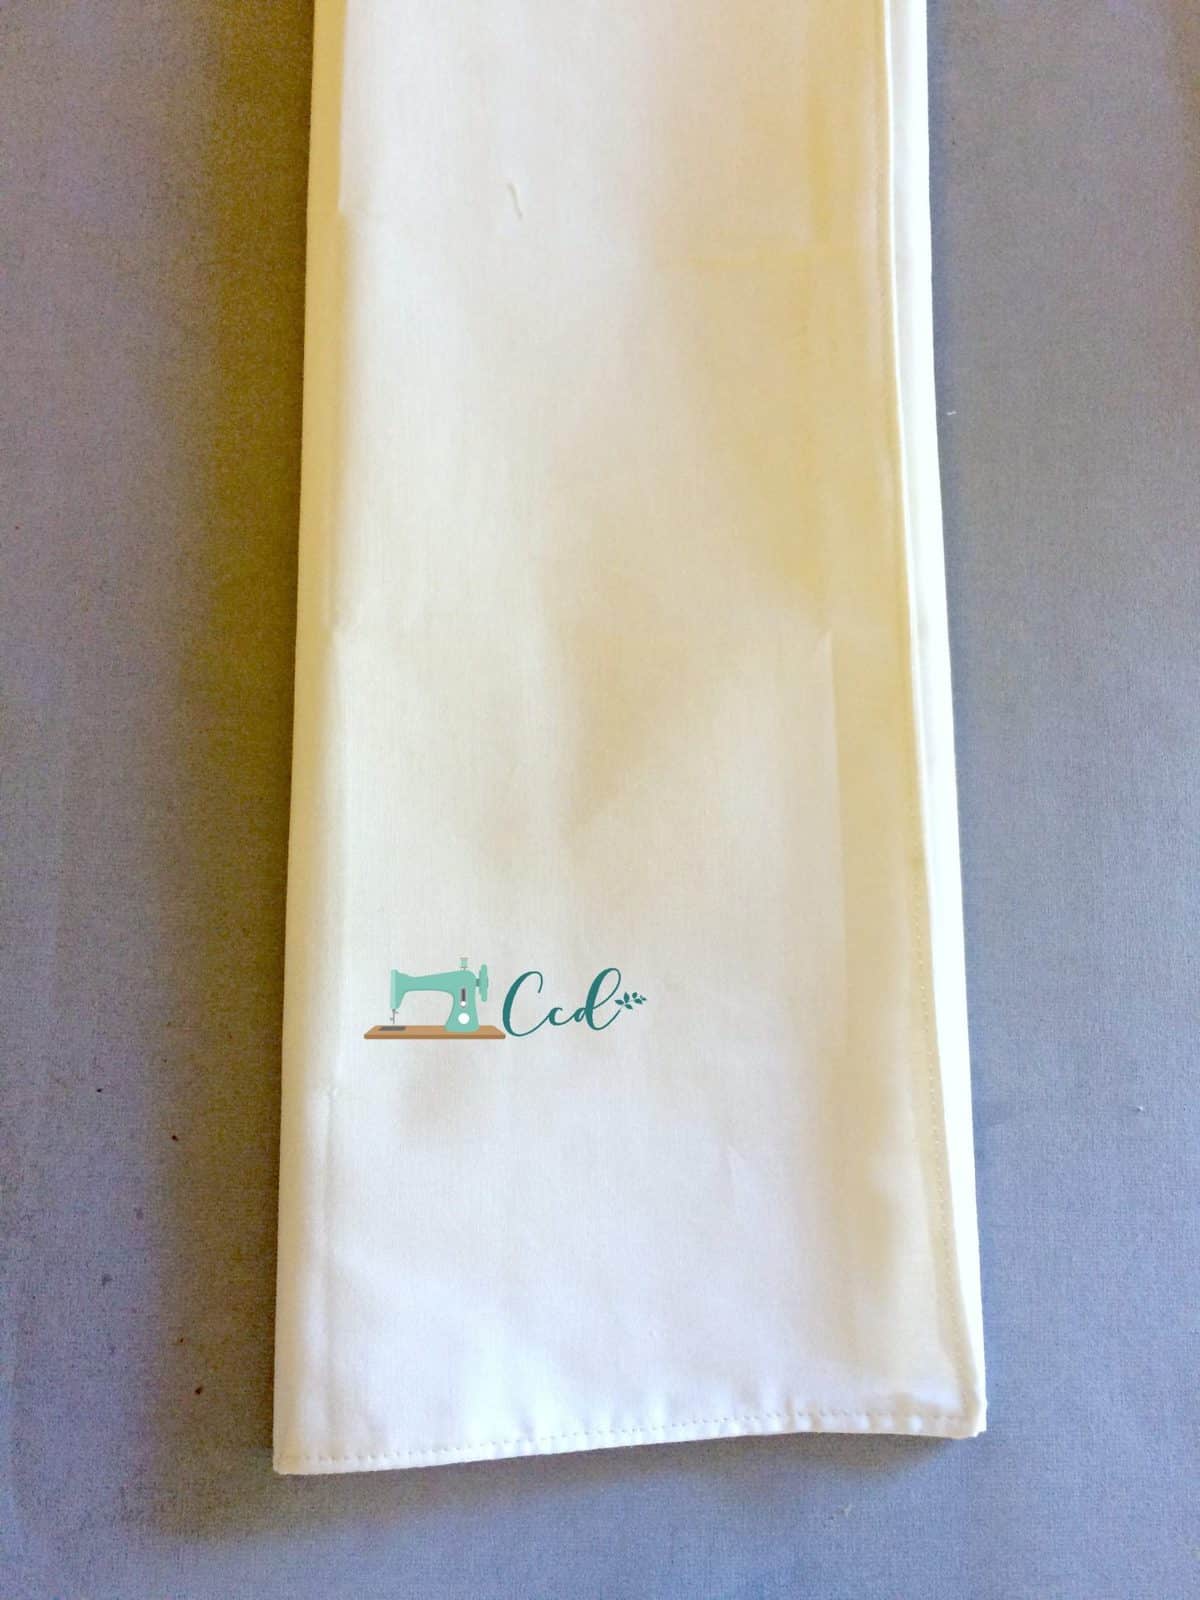
- Lay your two pieces of fabric right sides together. Fold in thirds lengthwise and iron to crease.

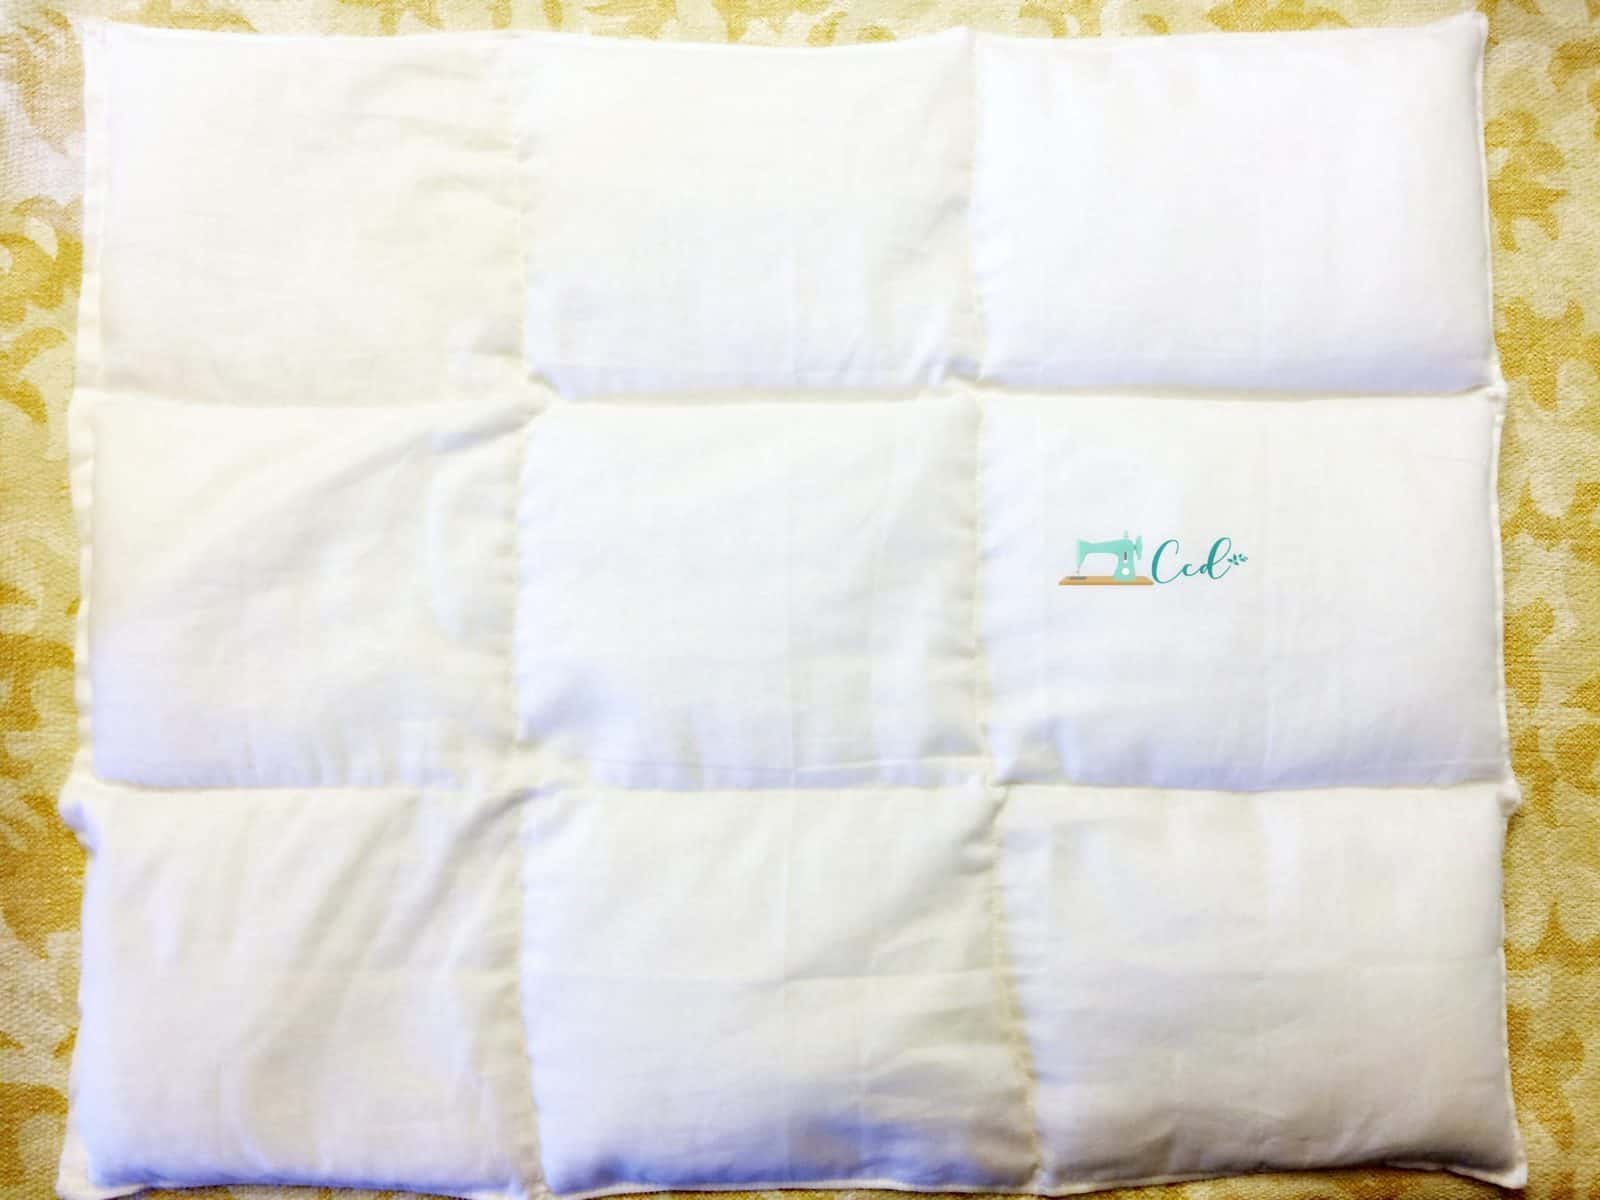
- Fold in thirds down the short end and crease. This should give you about 9 even-ish rectangles.
- Once your sections are distinctly marked, line up your edges and corner (with right sides of fabric together) and pin the two pieces together.

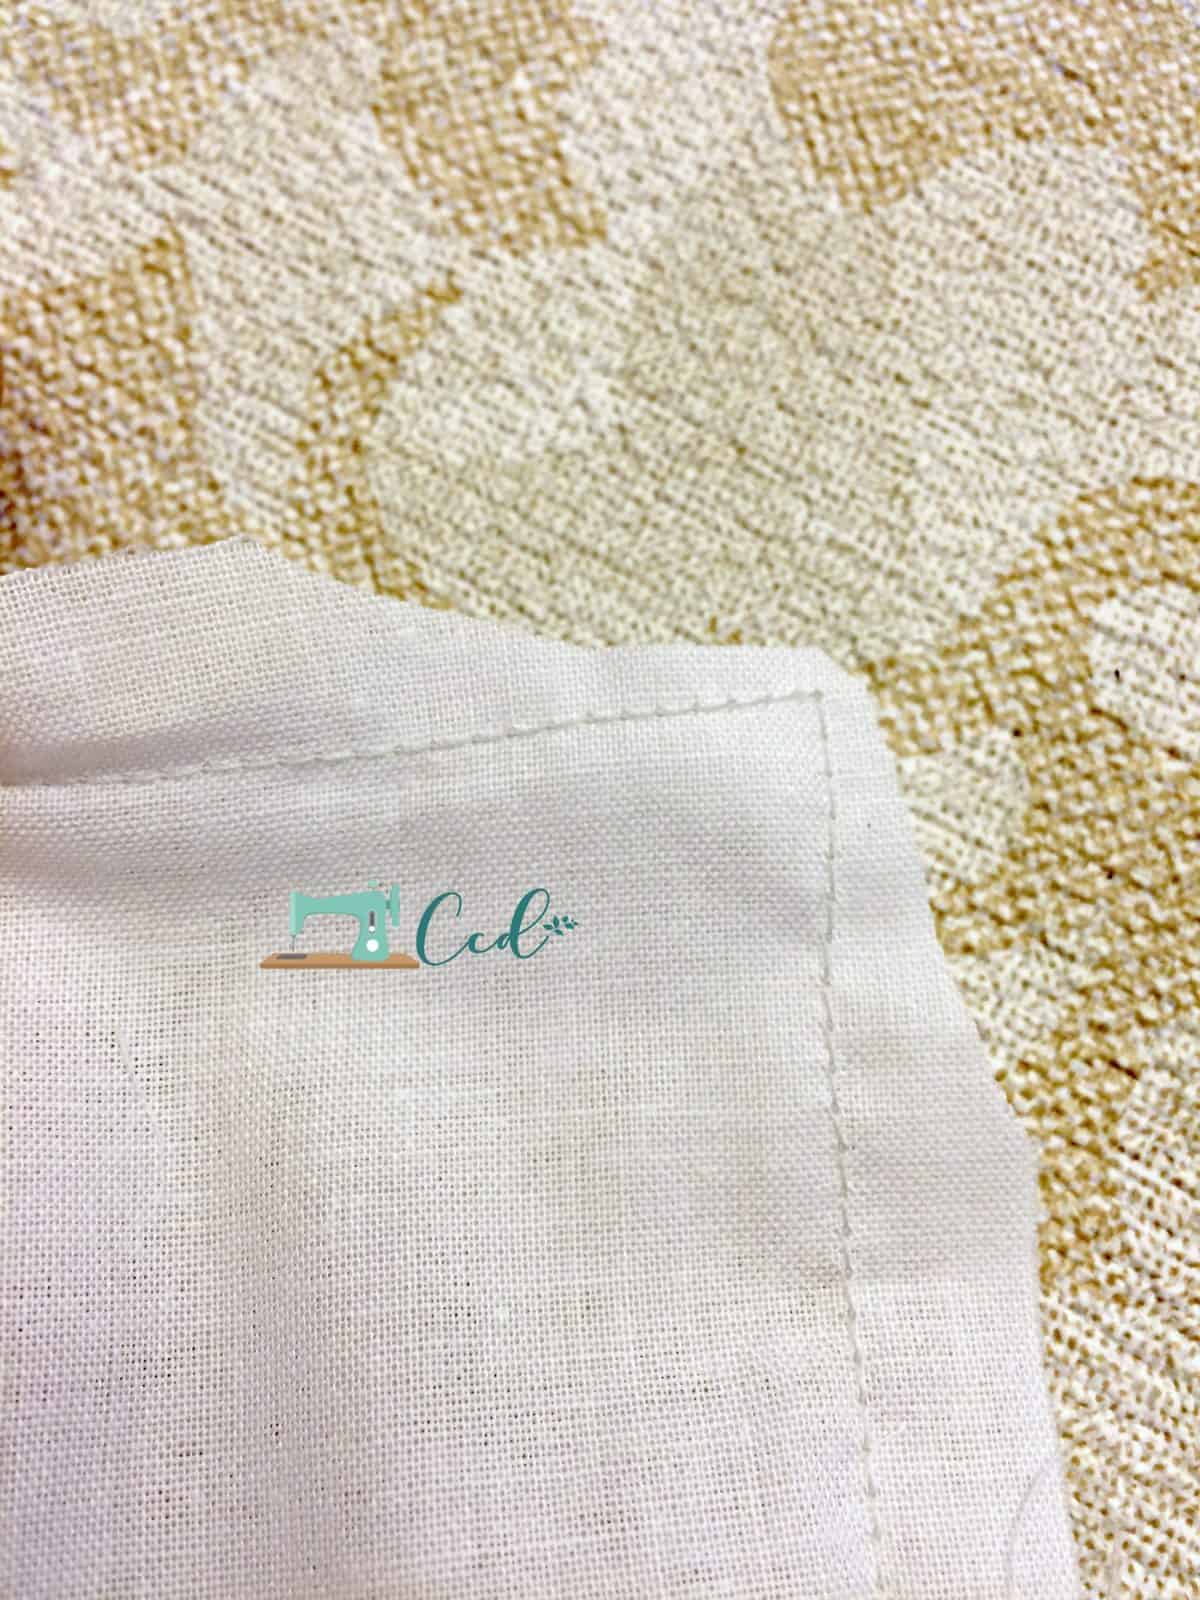
- Using a 1/2″ seam allowance sew around three sides, leaving one open for now
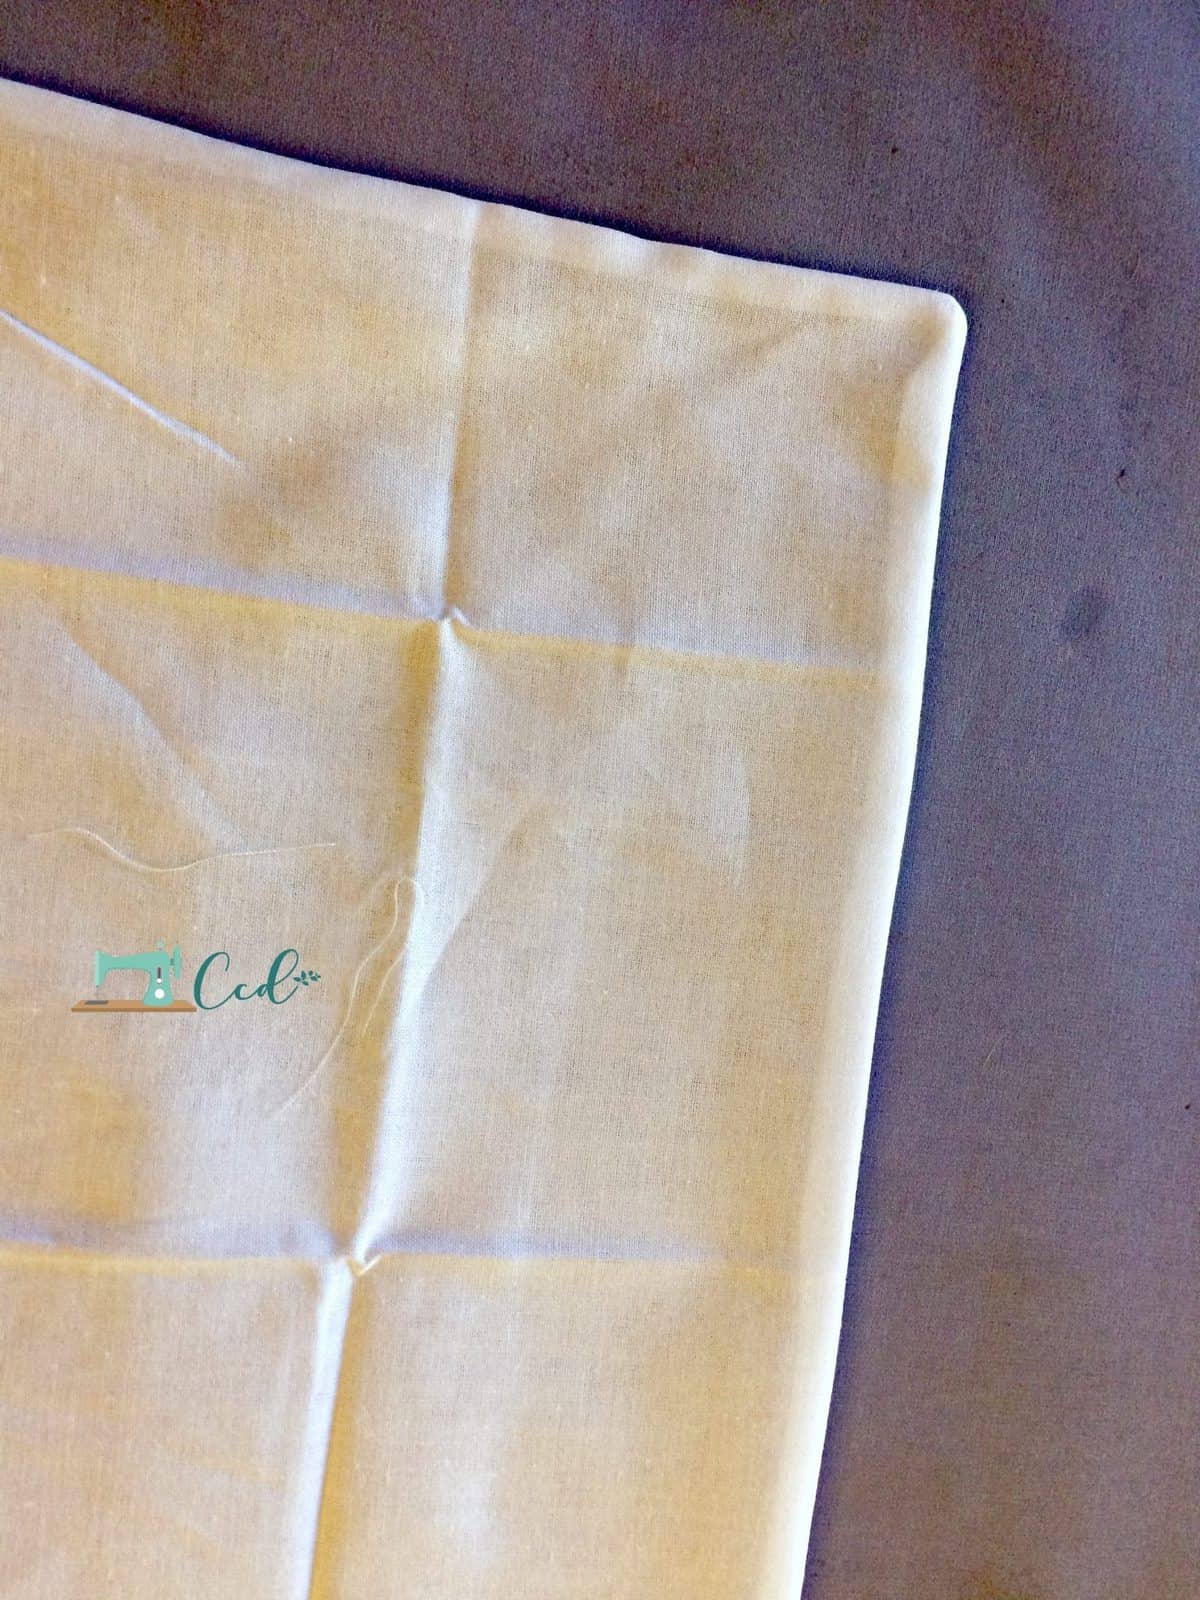
- Flip your “pillowcase” inside out and iron open all your seams.

- Clip the corners and trim the seam allowance down to 1/4″ around.

- Flip it back to right side and iron all the seams.

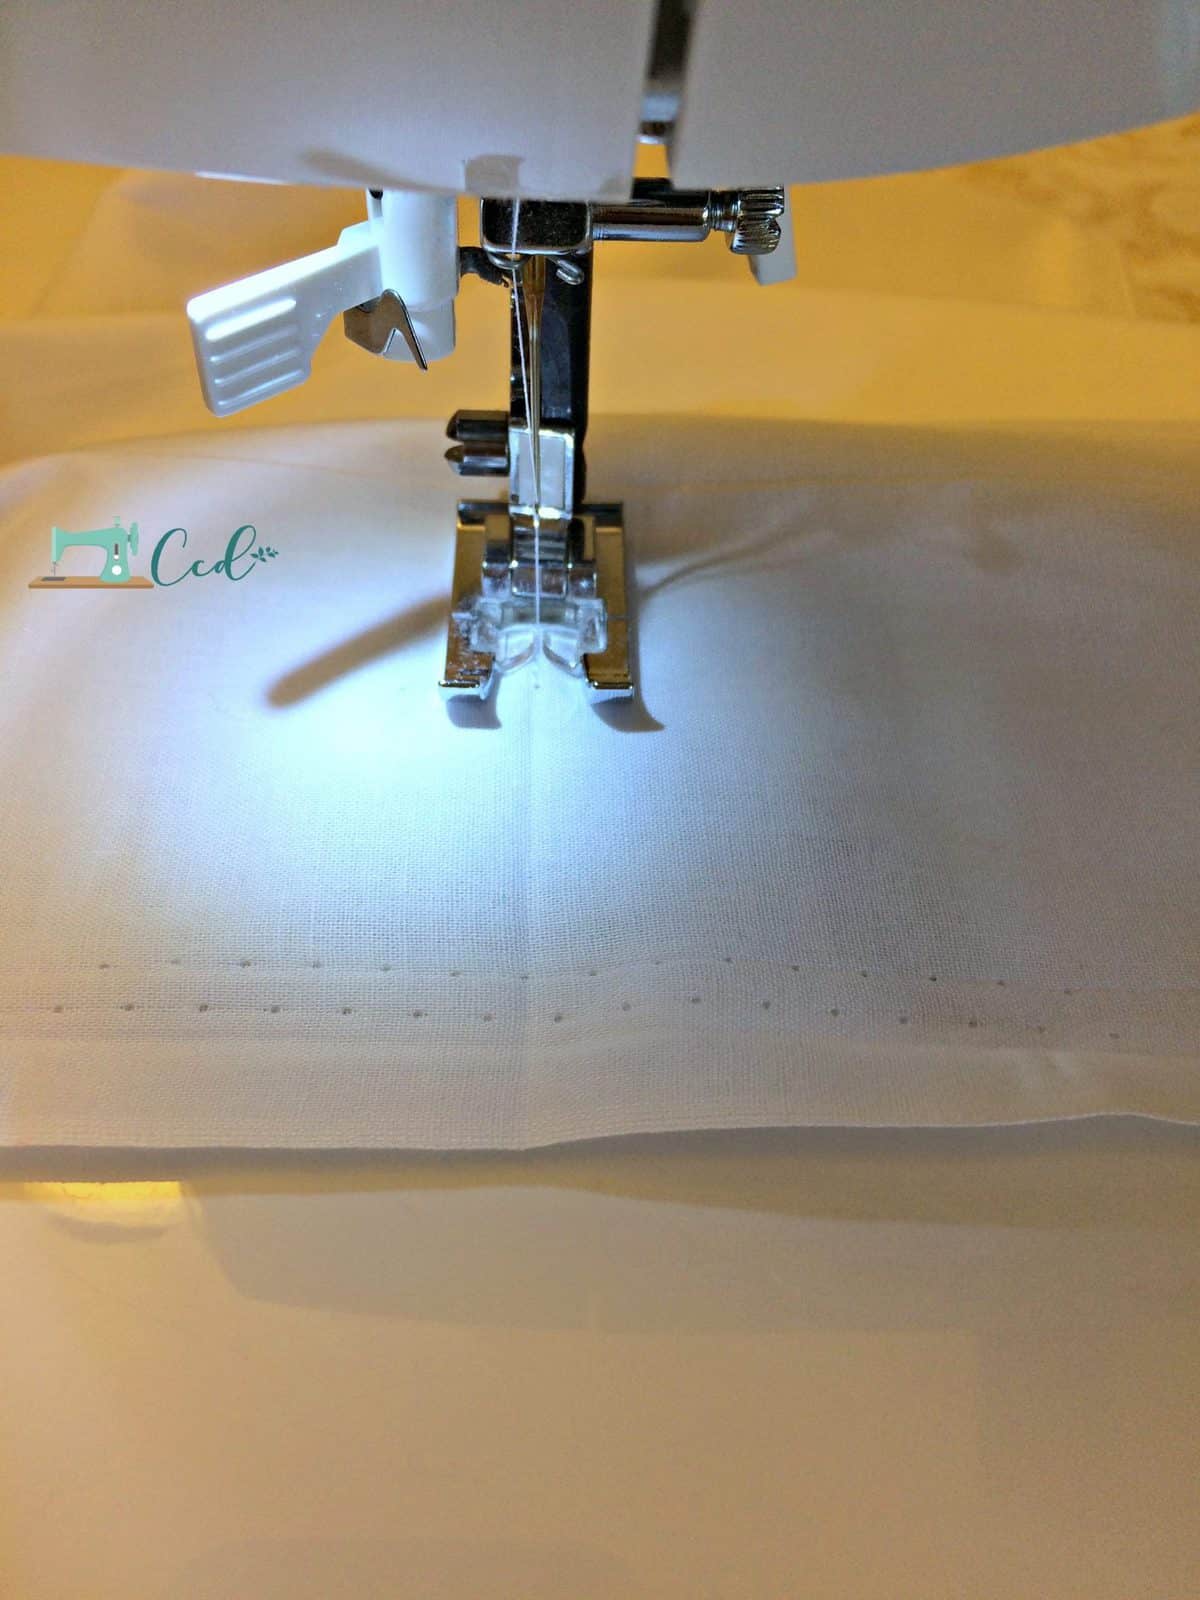
- Sew your three long channels, along the lengthwise fold lines, leaving about 2 inches unsewn at the open end (so we can fold over and sew it closed after filling).

- Then fill the three channels with even amounts of pellets.

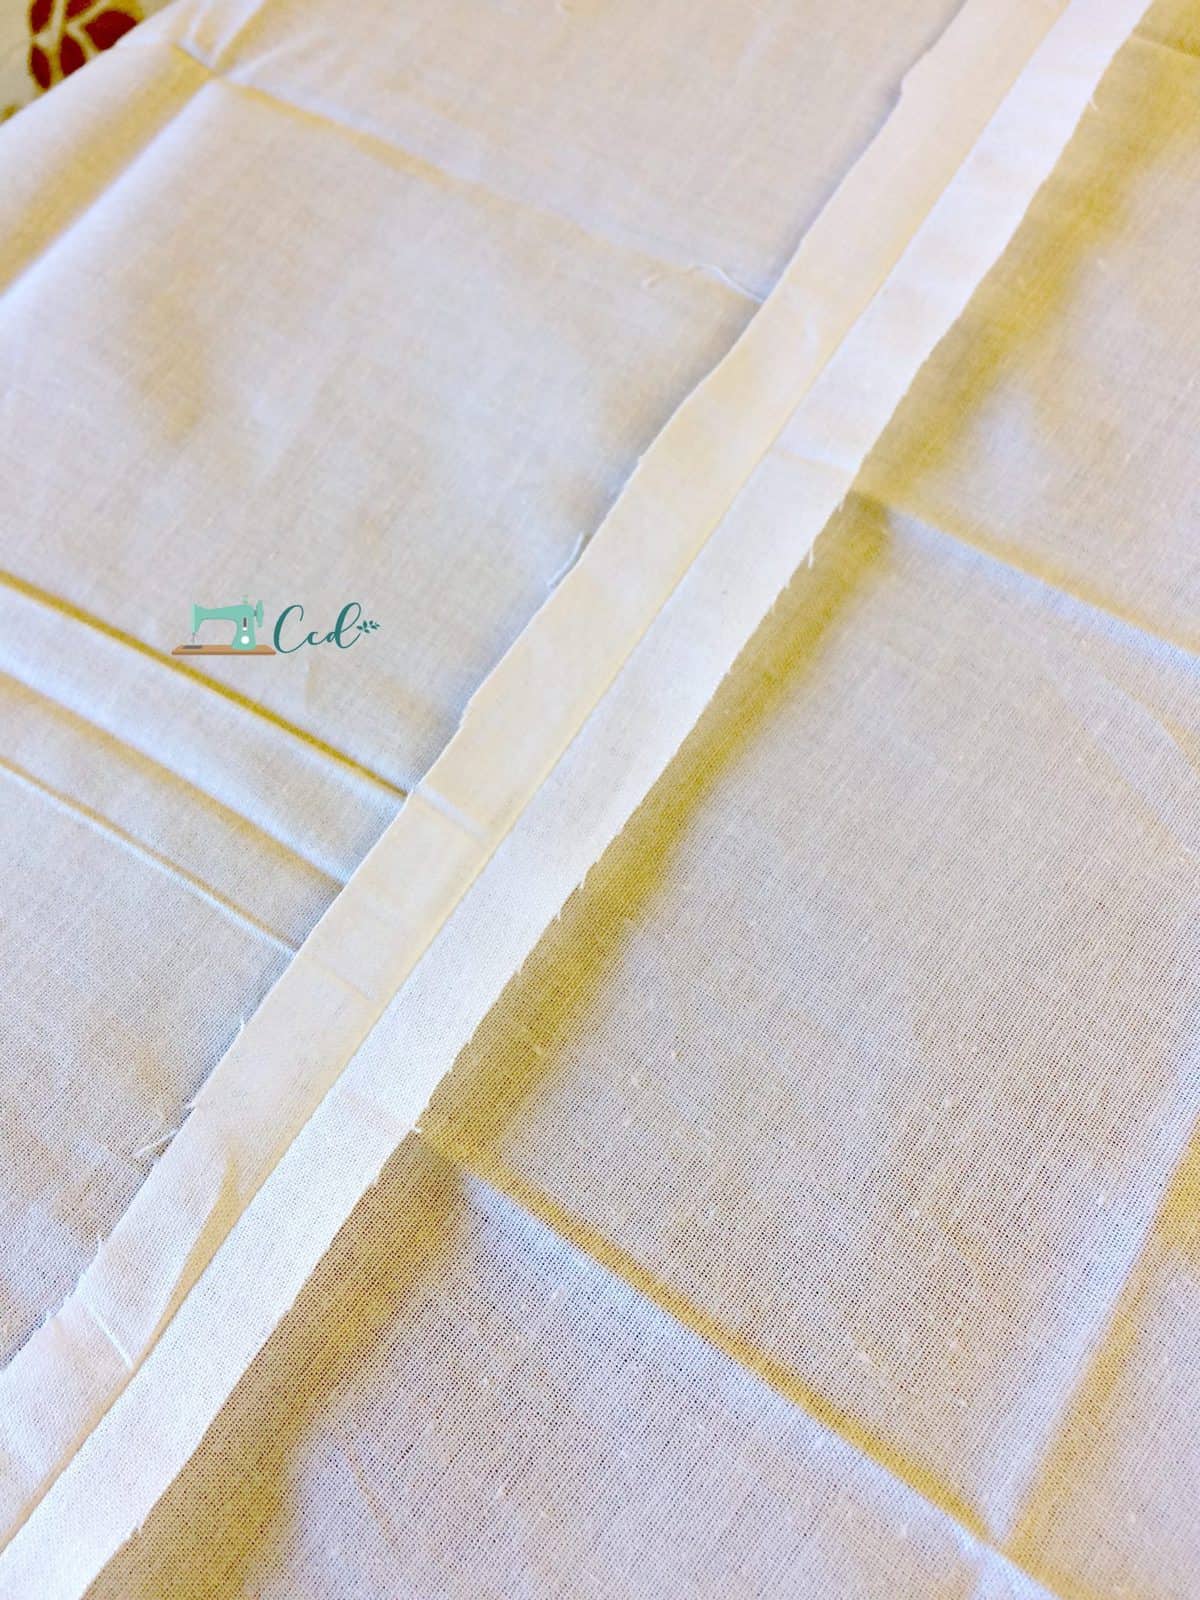
- Next fold over the open edge 1/2″ to the inside and iron down.
- Sew this closed. All four edges are sewn closed now, but you may like to topstitch around the whole thing for added security. You don't want these spilling out, especially if you have little ones under 3 or children who may put things in their mouths.
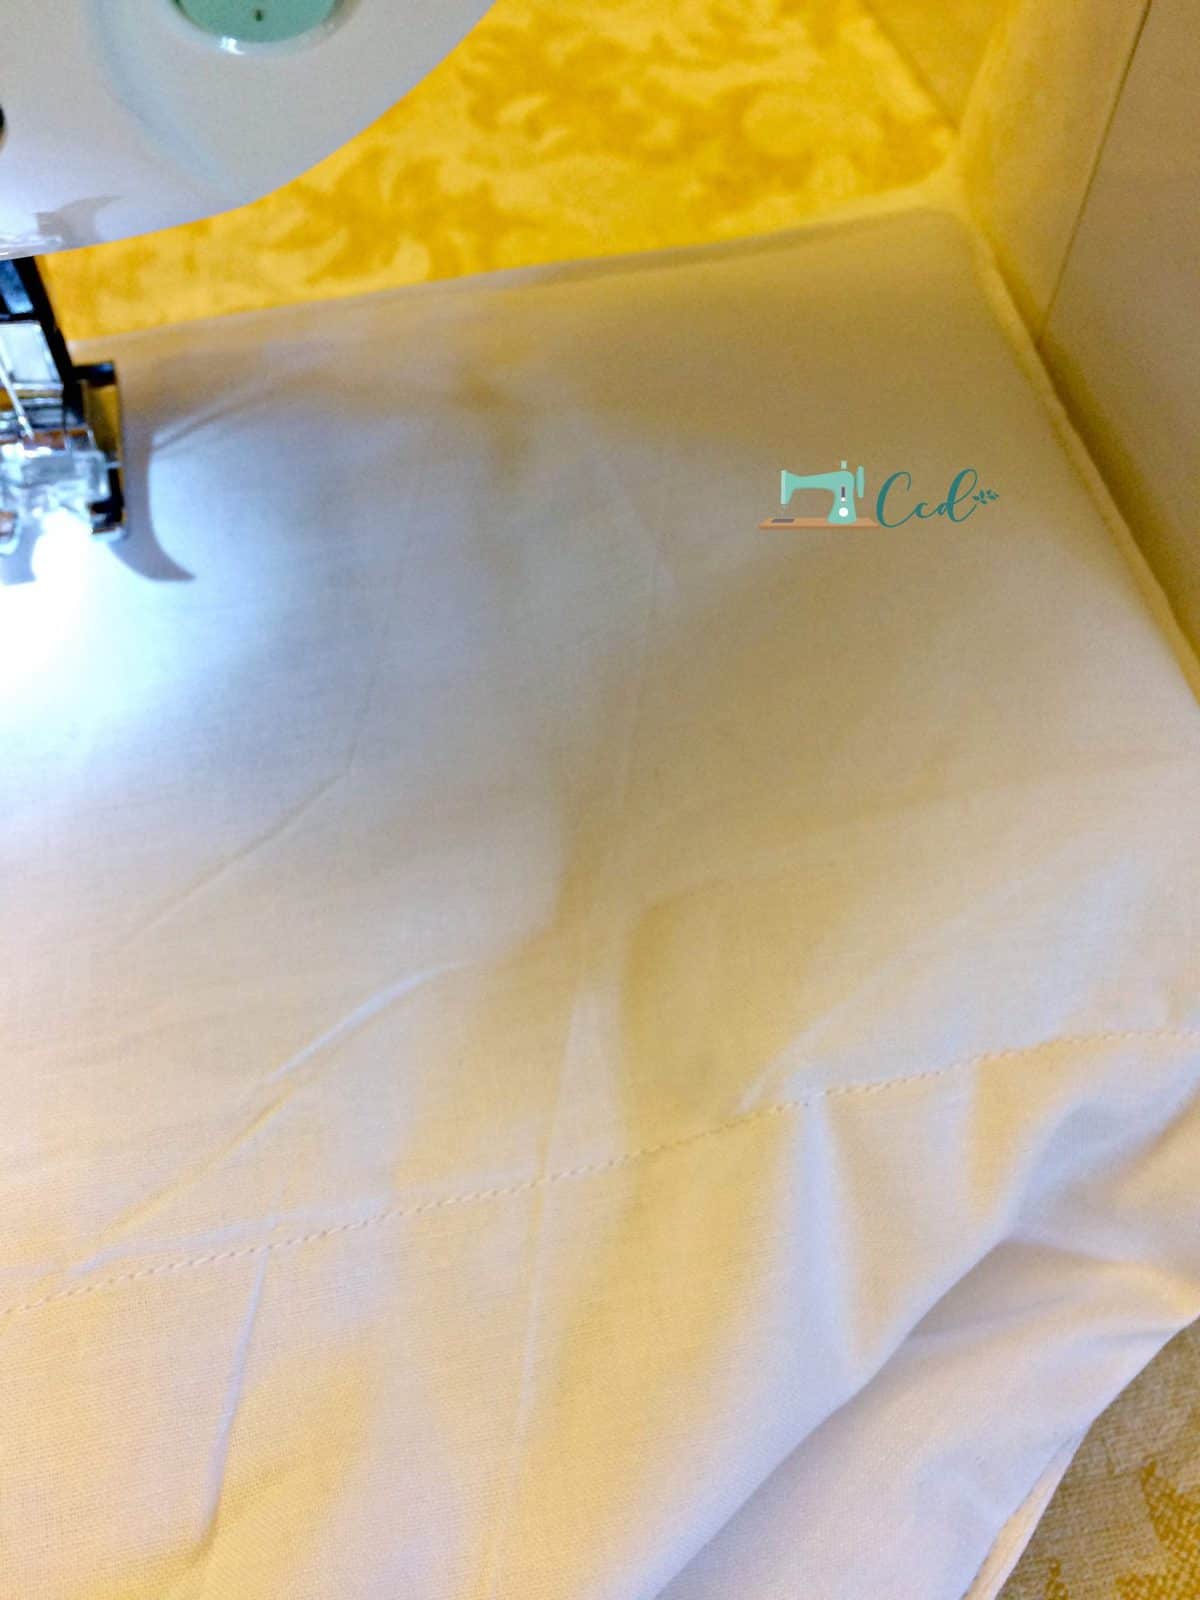
- Lay your lap pad flat and disperse the pellets evenly with your hands. To sew the first row of rectangles closed push the designated pellets as far away to the closed end as possible so your sewing machine foot can fit.

- Sew down the short line to close in your first row of rectangles.
- Continue smoothing the desired amount of pellets into the designated rectangles and sewing them closed as you go.

- And you’re done. Working with the pellets is pretty fussy, but I still felt it was worth not spending $50 on a pre-made one.
- I also made a cover for ours so that I could wash the exterior when needed, but he doesn’t like it so I’m glad I used the pellets.
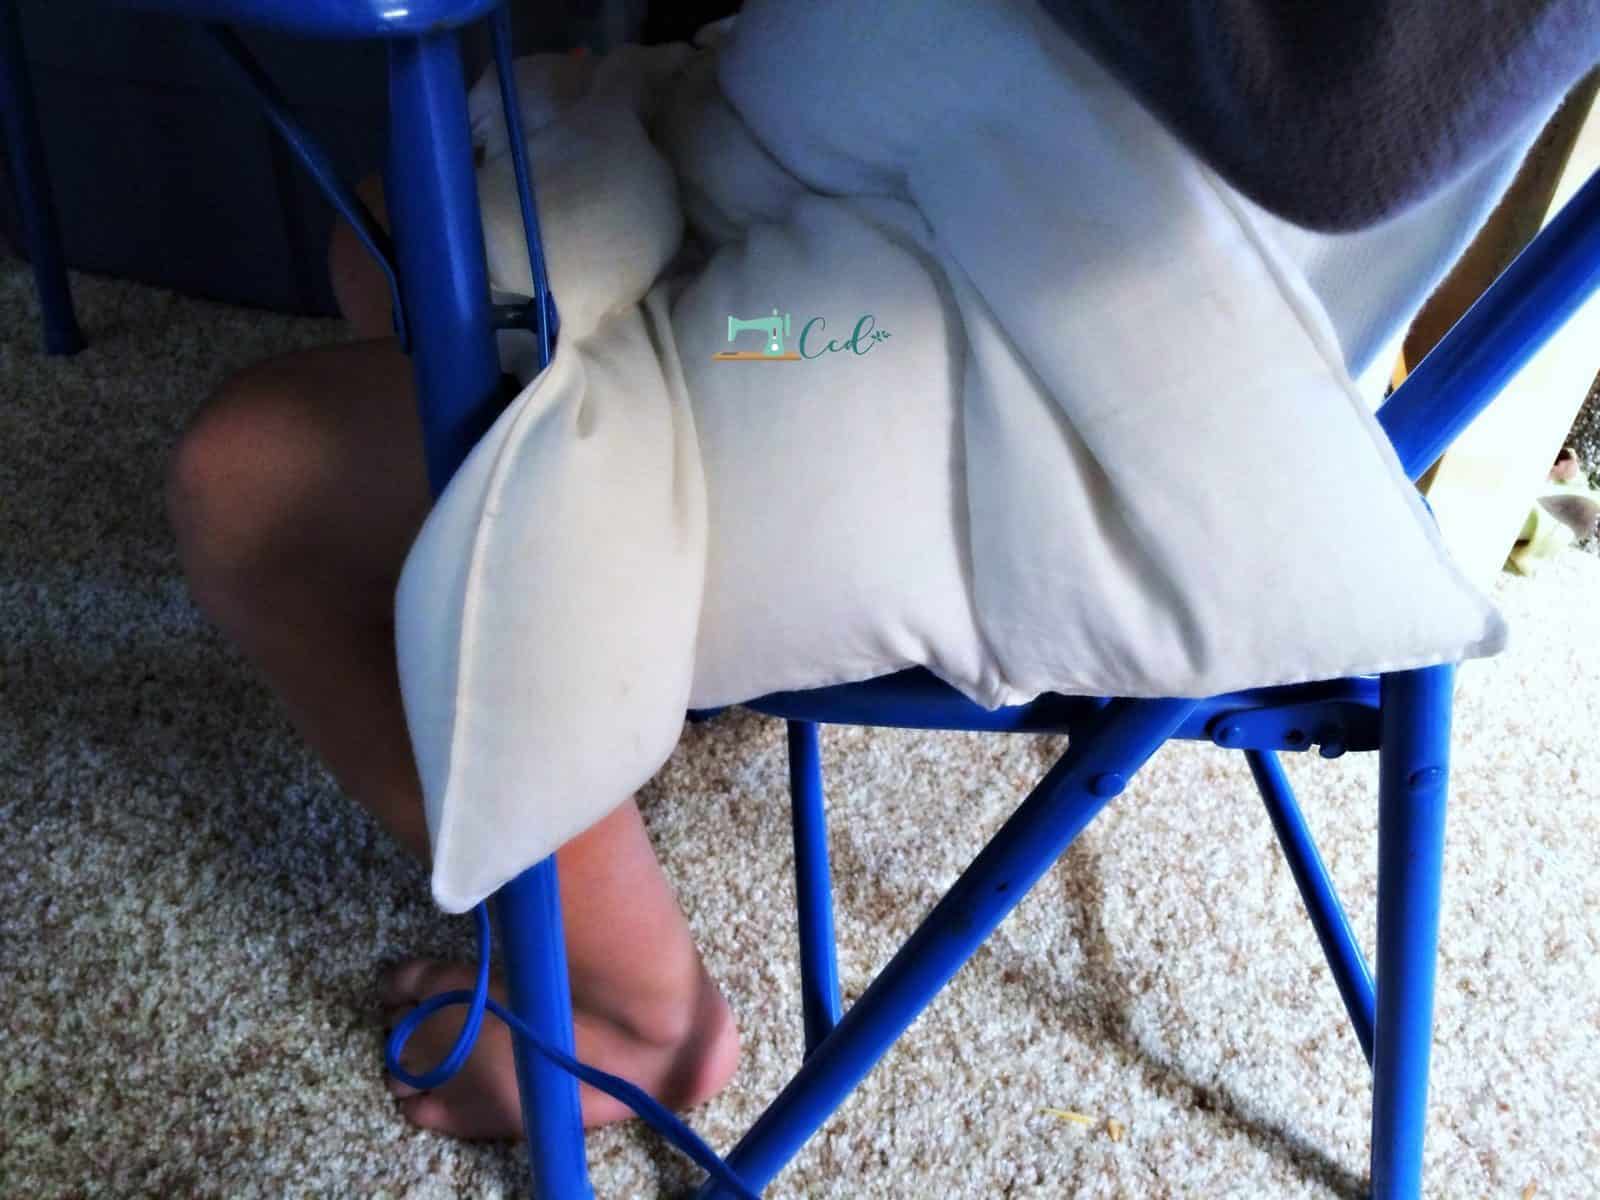
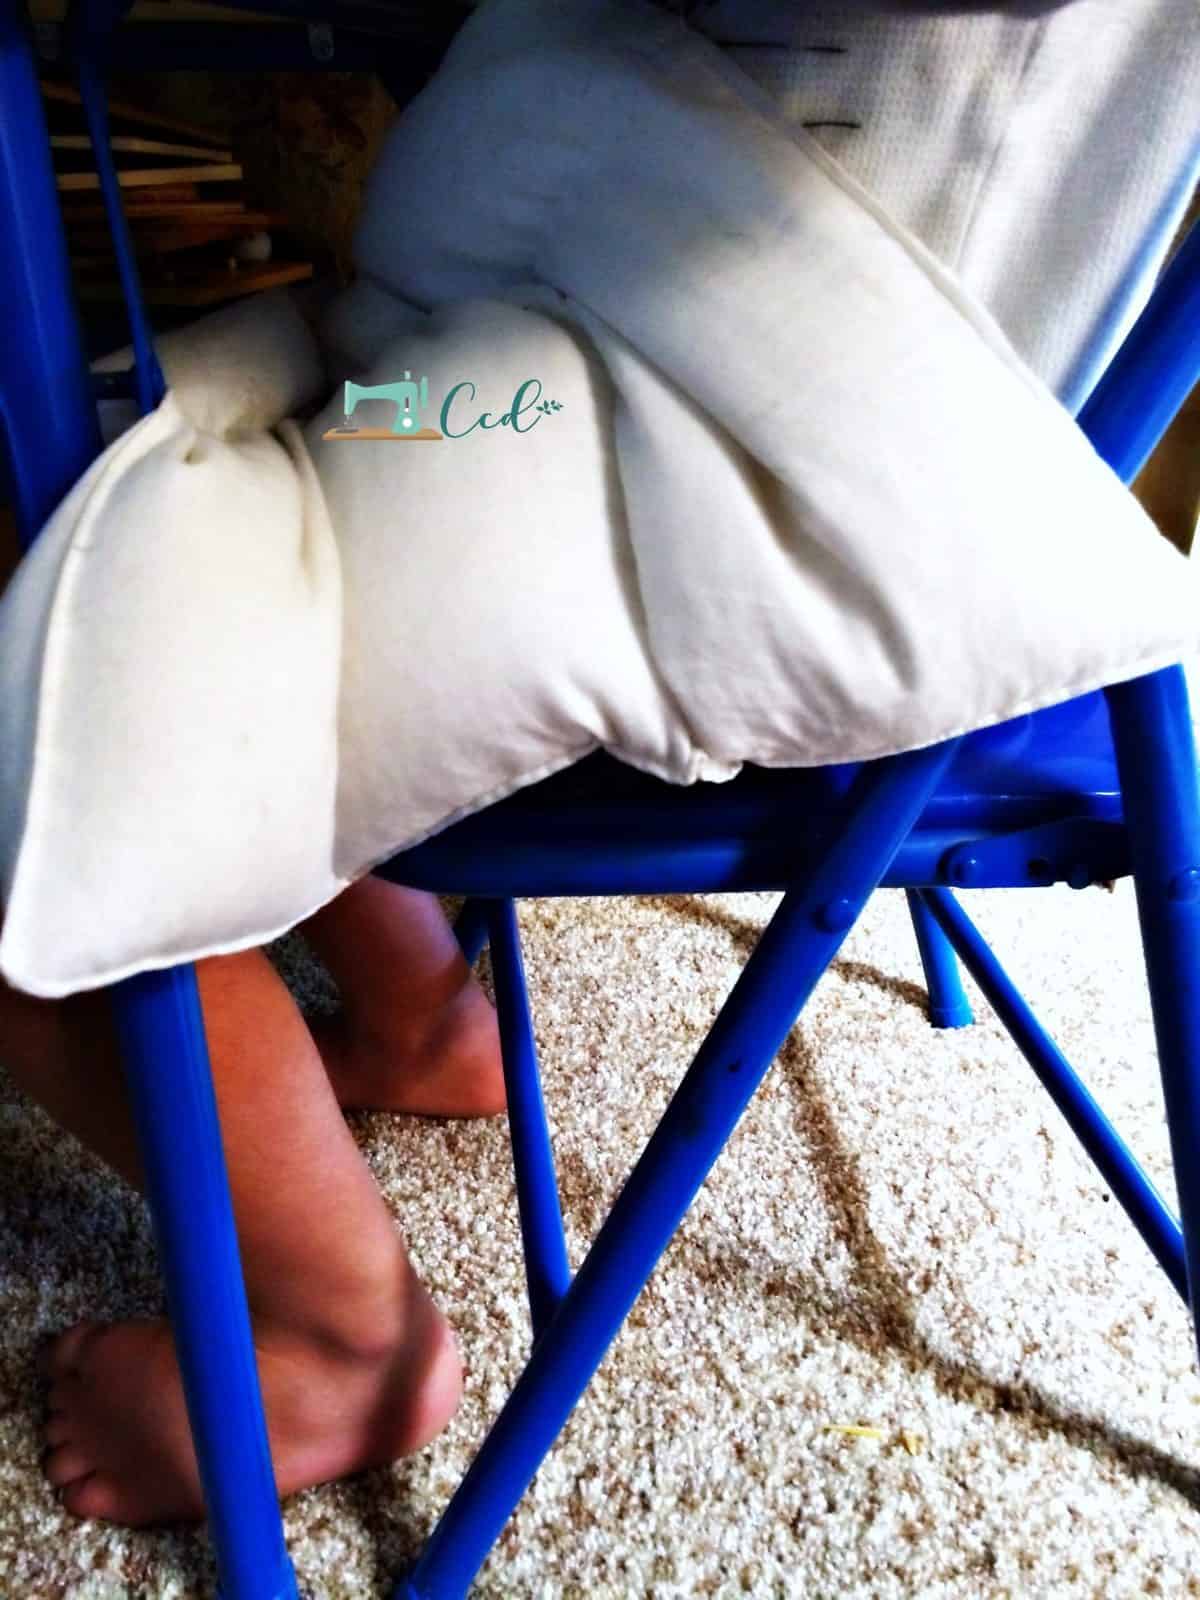
- We use it when doing homework and he really loves it. He takes responsibility for getting it out and putting it away himself.

*Remember to always supervise children when using a weighted lap pad. Always inspect the pad for holes or tears before using. Not intended for children under 3 years of age or those who might put small parts in their mouths.
Recommended Products
As an Amazon Associate and member of other affiliate programs, I earn from qualifying purchases.

