
Christmas Tree Coasters Crochet Pattern
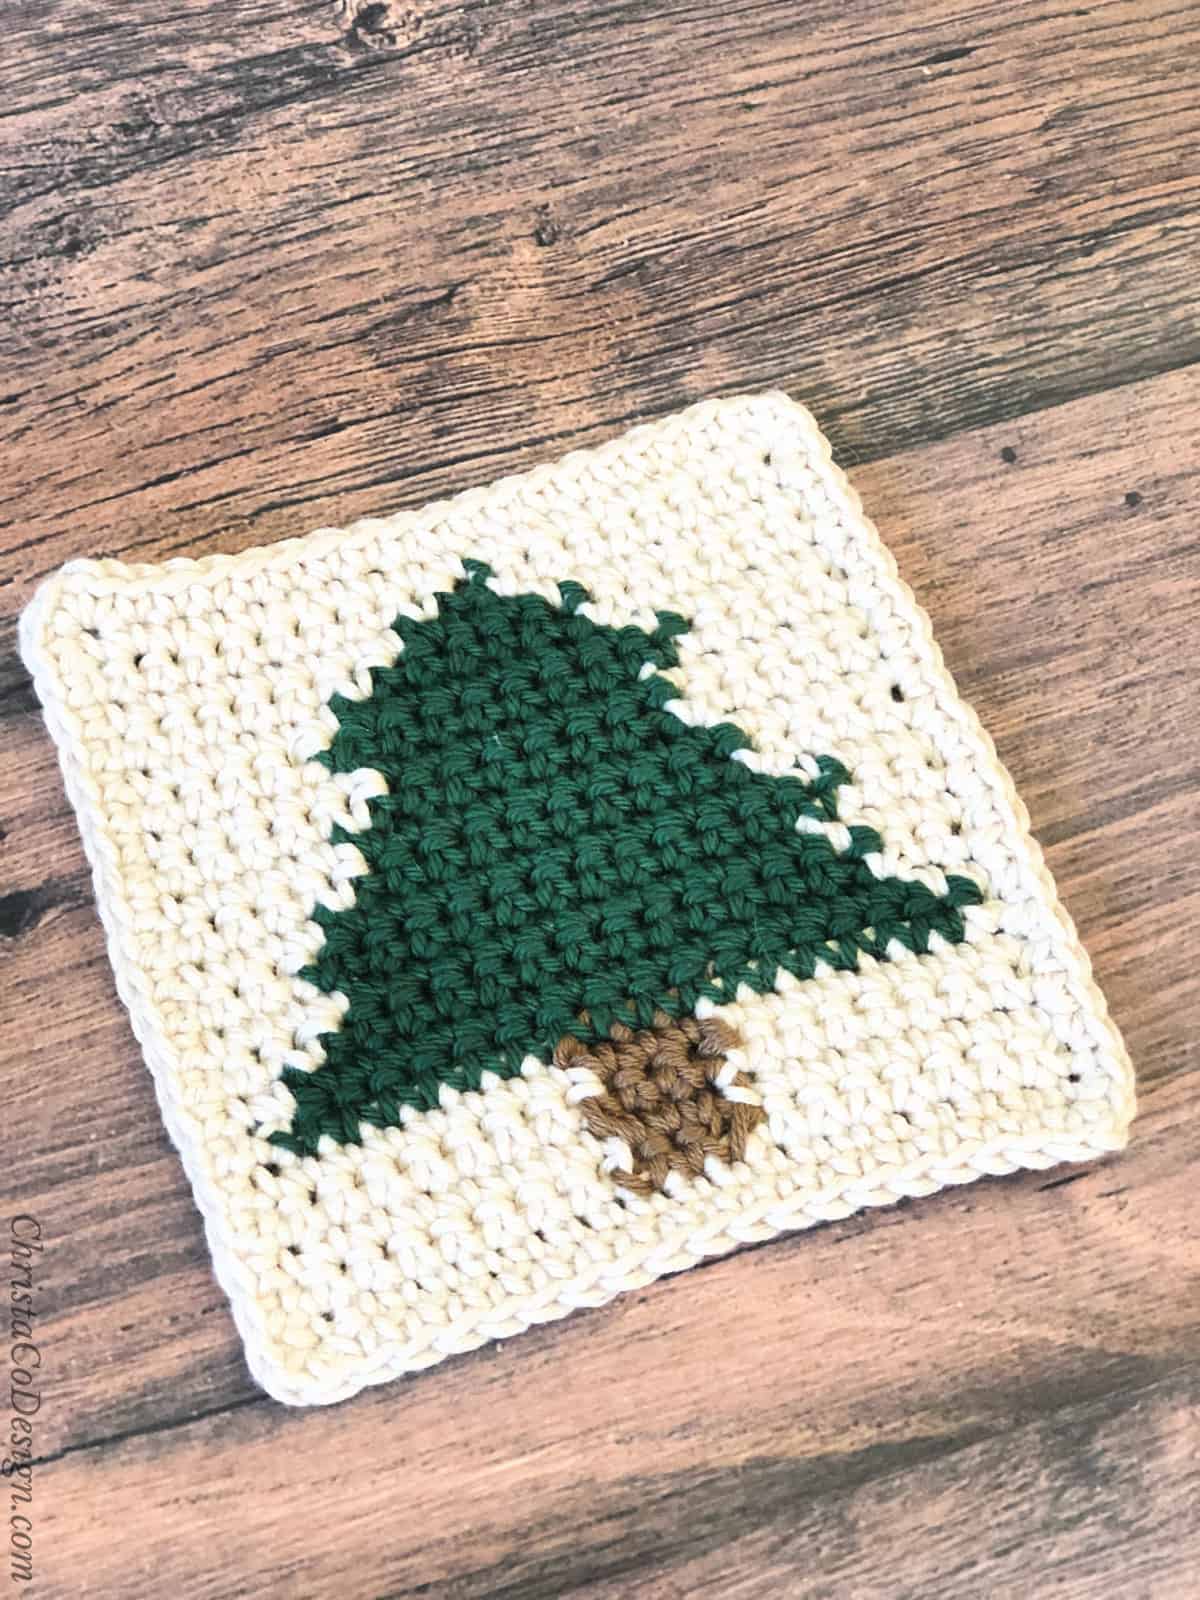
These rustic and woodsy Christmas Tree Coasters crochet pattern give your holiday table setting a warm and comforting feel.

This post contains affiliate links, I may earn a fee. Read more disclosure policy.
Join the ChristaCoDesign Newsletter
Never miss a pattern!
The free crochet pattern for these coasters includes options for two yarn weights. You can crochet these coasters with either #3 lightweight yarn or #4 worsted weight yarn.
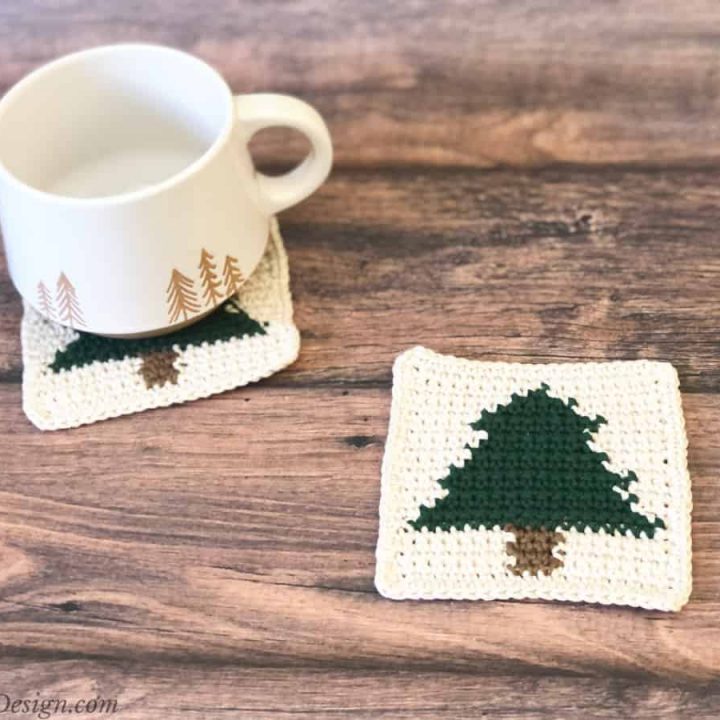
These quick coasters make great gifts. Since the simple tree is unadorned they can be used before, during and after Christmastime!

Purchase the ad-free, well formatted printable PDF Pattern from my shop. Scroll down for the free pattern!
Of course, if you would like to add little decorations to these coasters, a star and a few ornaments would be too cute!
Purchase My Ad-Free PDF Patterns In Your Favorite Shop Here:
To make these crochet Christmas coasters easy to gift, print the coaster label to wrap them up in!
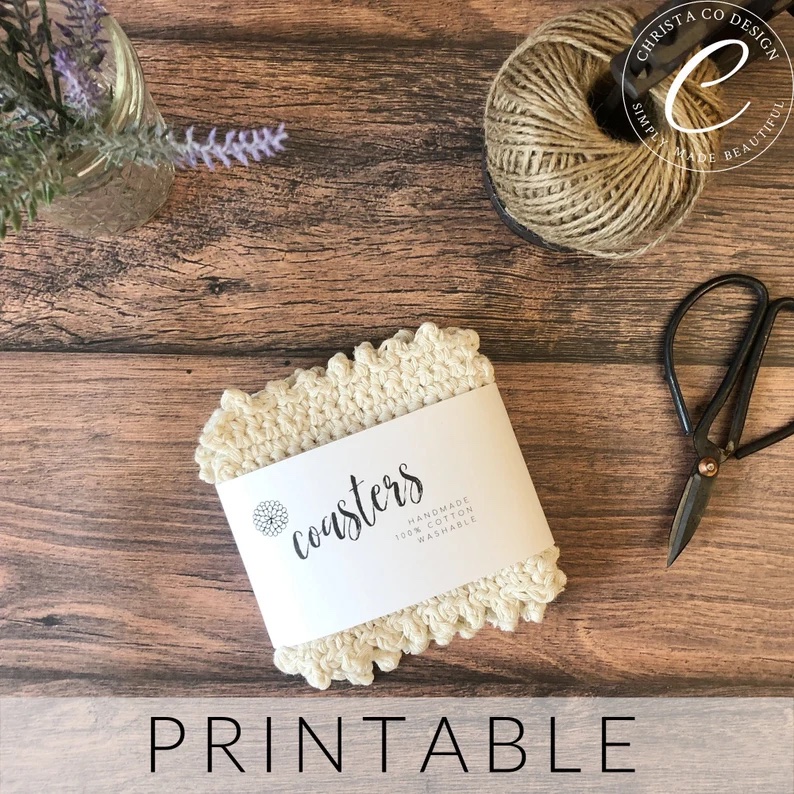
Download the Printable Coaster Label Gift Tag
You can purchase the coaster labels in my Etsy shop, or sign up below to download it free now!
Materials
Yarn amounts given are per coaster.
- #3 dk/lightweight yarn; pictured in Paintbox Yarn Cotton Dk* (100% cotton, 137yd/125m, 1.7oz/50g); color: racing green (12yd/11m each), vanilla cream (16yd/15m each) and soft fudge (5yd/4.5m each).
- OR
- #4 medium worsted weight yarn; green (13yd/12m each), cream (25yd/23m each) and brown (5yd/4.5m each).
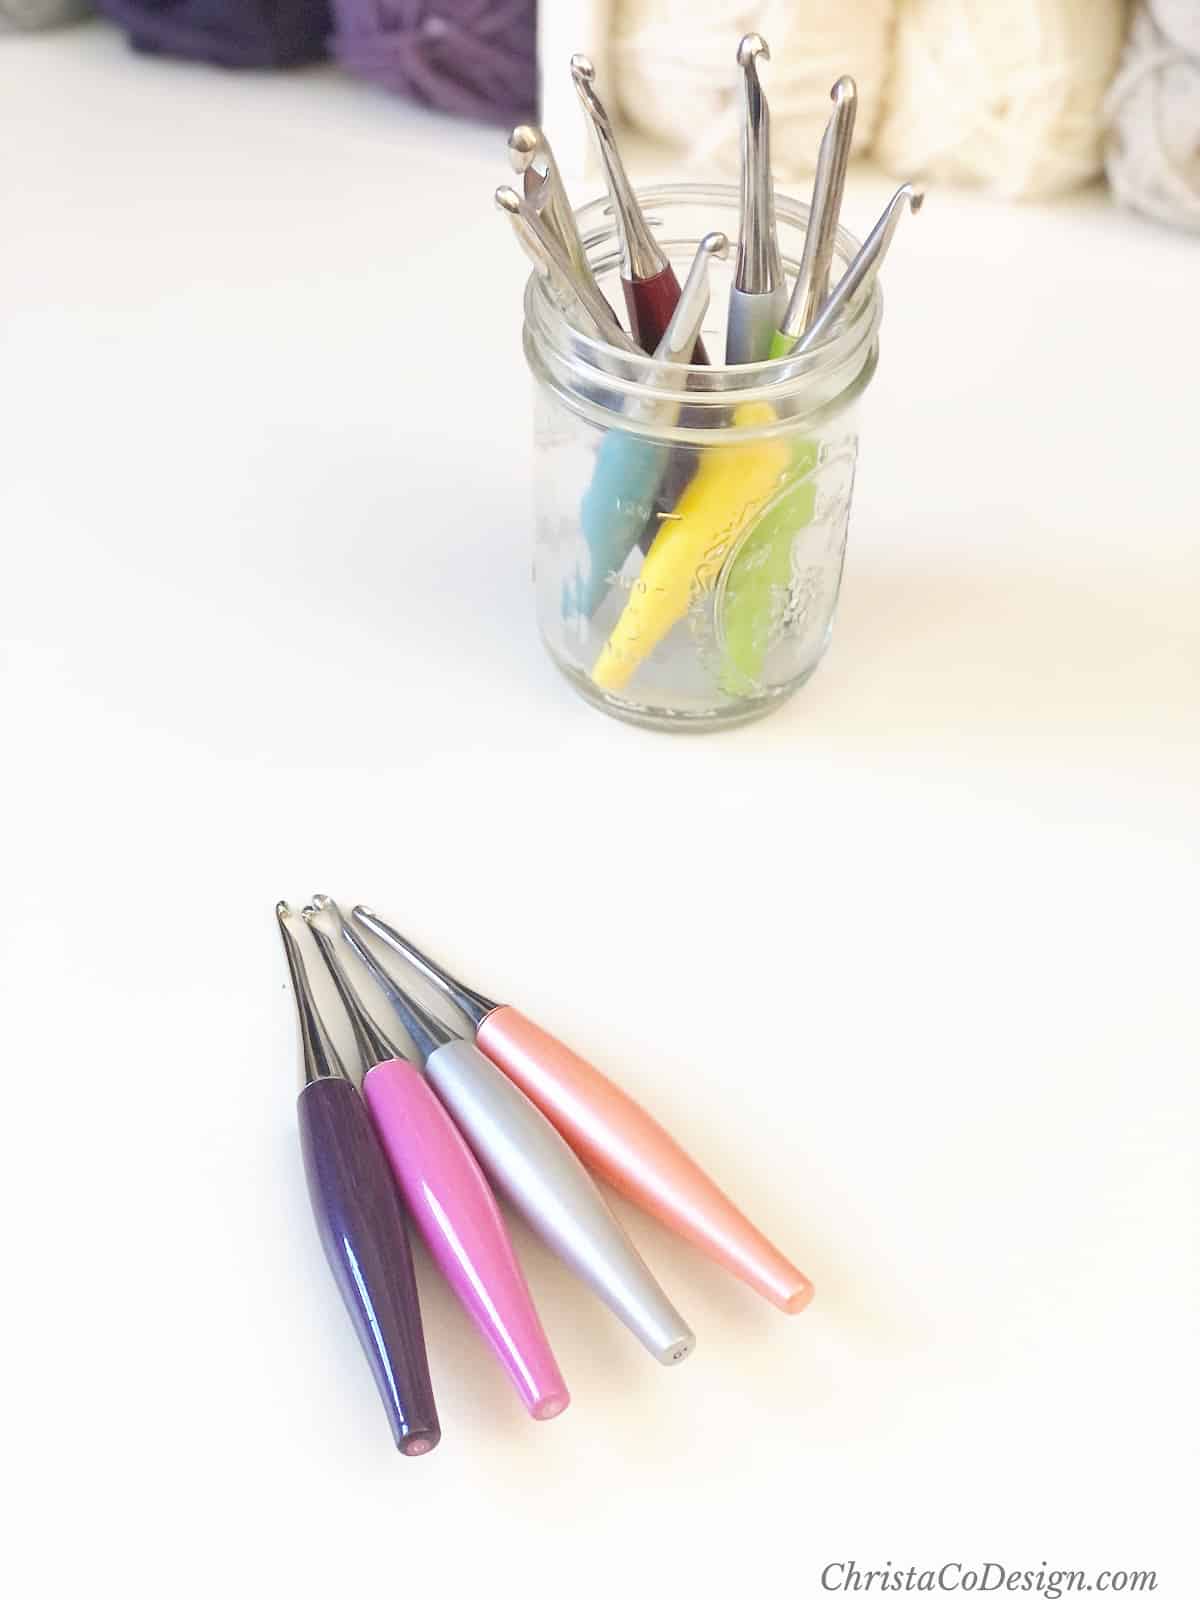
- 4mm US Size G-4 crochet hook*, yarn needle, measuring tape, scissors
Notes
- Entire coaster is worked in single crochet.
- Ch 1 does not count as a stitch.
- For best result check gauge before beginning.
- Color changing tip: before the last yarn over of the stitch before the color change, drop the first color and pick up the second color, yarn over and finish the stitch in the new color.
- For this pattern I recommend the using bobbins of each color, so you will have 2 cream, 1 brown, and 1 green attached to your project as you work. This way you can carry your yarn up from row to row, and have less ends to weave in.
Stitches/Abbreviations
ch(s)-chain(s)
rep-repeat
sk-skip the indicated stitch
sl st-slip stitch
rep-repeat
RS-right side
st(s)-stitch(es)
Color Abbreviations
c = cream
b = brown
g = green
Level
Easy
Gauge
#3 yarn: 2”/5cm x 2”/5cm = 9 sc x 11 rows of sc
#4 yarn: 2”/5cm x 2”/5cm = 8 sc x 8 rows of sc
Finished Dimensions
4”/10cm square
Save your favs!
Add this pattern to your Ravelry queue.
PIN IT
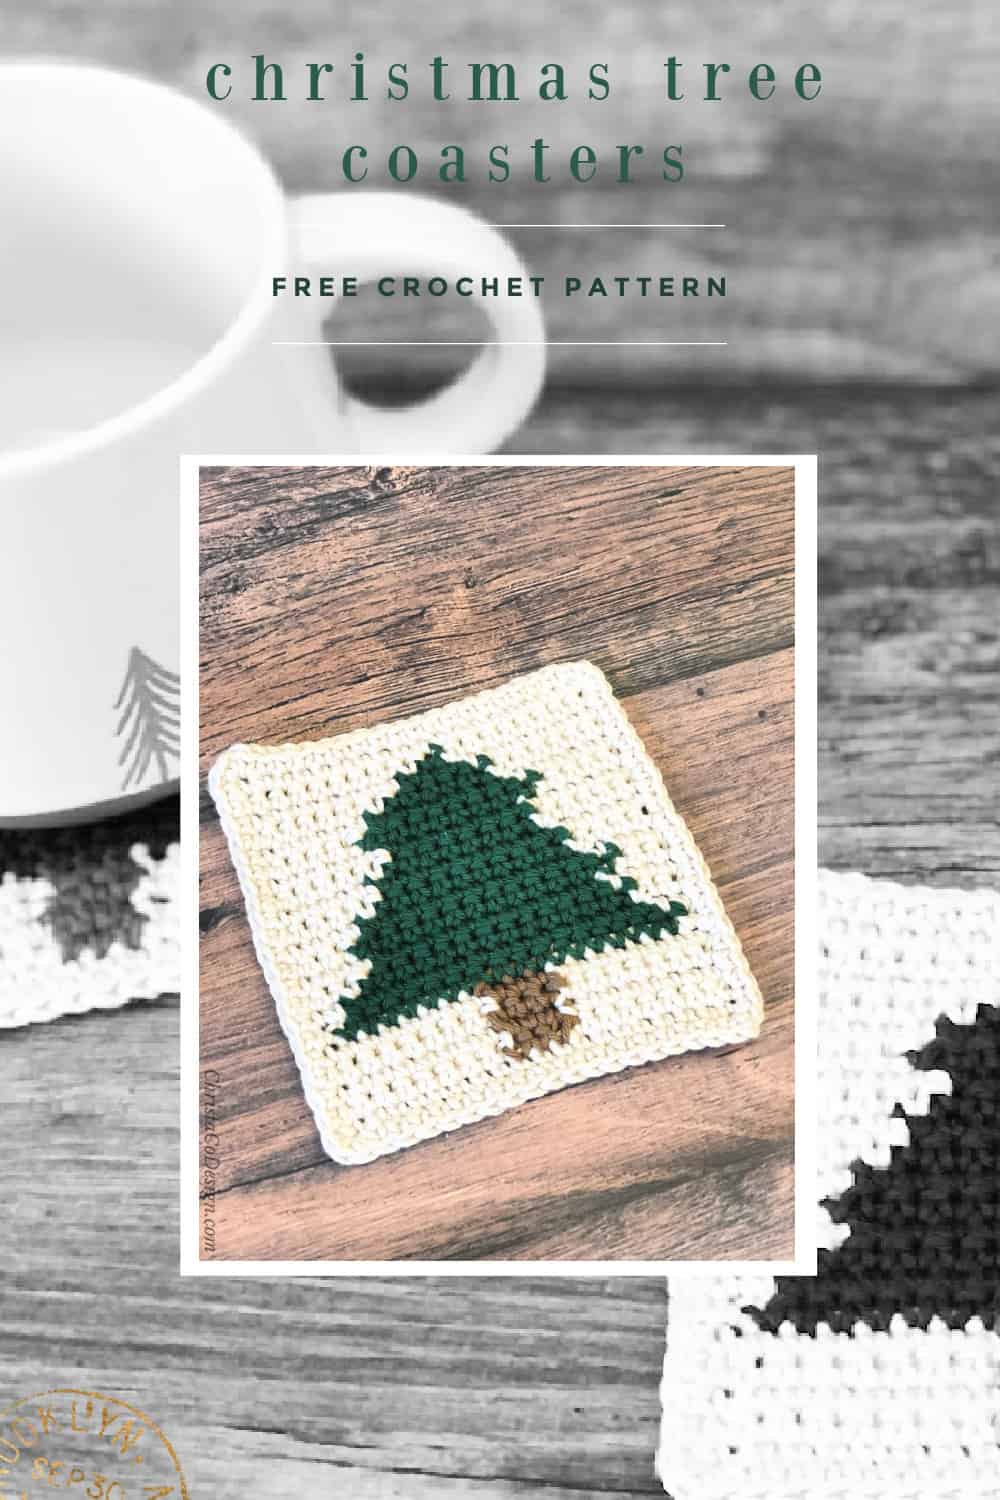
Scroll down for the free crochet Christmas Tree coasters pattern!
Pattern Instructions
Christmas Tree Coasters Crochet Pattern
These rustic and woodsy Christmas Tree Coasters crochet pattern give your holiday table setting a warm and comforting feel.
Materials
- Yarn amounts given are per coaster.
- #3 dk/lightweight yarn; pictured in Paintbox Yarn Cotton Dk (100% cotton, 137yd/125m, 1.7oz/50g); color: racing green (12yd/11m each), vanilla cream (16yd/15m each) and soft fudge (5yd/4.5m each).
- OR
- #4 medium worsted weight yarn; green (13yd/12m each), cream (17yd/16m each)
- and brown (5yd/4.5m each).
Tools
- 4mm US Size G-4 crochet hook
- yarn needle, measuring tape, scissors
Instructions
- In #3 DK/Lightweight yarn
- Ch 20, sc in 2nd ch from your hook and in each ch across, turn. (19 sts)
- For each row: Ch 1, sc in same st and in each st across, turn. (19 sts)
- Change colors as follows:
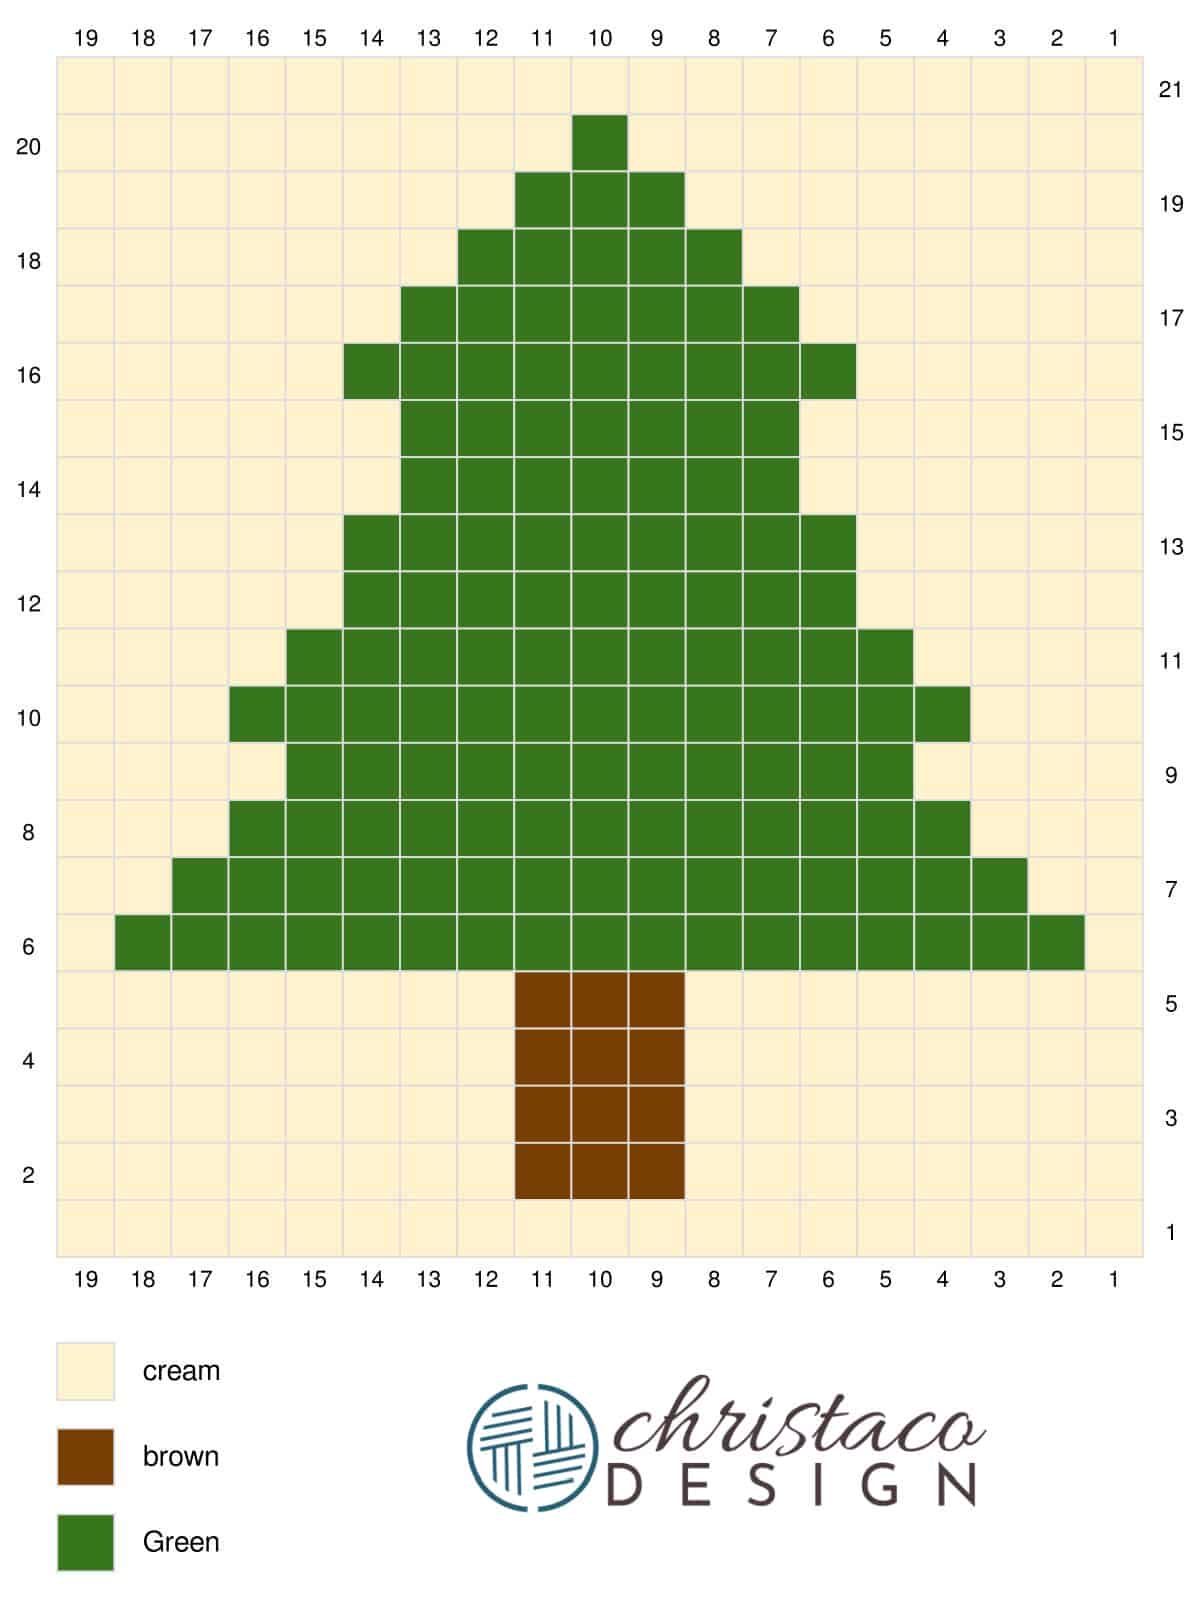
#3 Tree
← Row 1 [RS]: (c) x 19
→ Row 2 [WS]: (c) x 8, (b) x 3, (c) x 8
← Row 3 [RS]: (c) x 8, (b) x 3, (c) x 8
→ Row 4 [WS]: (c) x 8, (b) x 3, (c) x 8
← Row 5 [RS]: (c) x 8, (b) x 3, (c) x 8
→ Row 6 [WS]: (c) x 1, (g) x 17, (c) x 1
← Row 7 [RS]: (c) x 2, (g) x 15, (c) x 2
→ Row 8 [WS]: (c) x 3, (g) x 13, (c) x 3
← Row 9 [RS]: (c) x 4, (g) x 11, (c) x 4
→ Row 10 [WS]: (c) x 3, (g) x 13, (c) x 3
← Row 11 [RS]: (c) x 4, (g) x 11, (c) x 4
→ Row 12 [WS]: (c) x 5, (g) x 9, (c) x 5
← Row 13 [RS]: (c) x 5, (g) x 9, (c) x 5
→ Row 14 [WS]: (c) x 6, (g) x 7, (c) x 6
← Row 15 [RS]: (c) x 6, (g) x 7, (c) x 6
→ Row 16 [WS]: (c) x 5, (g) x 9, (c) x 5
← Row 17 [RS]: (c) x 6, (g) x 7, (c) x 6
→ Row 18 [WS]: (c) x 7, (g) x 5, (c) x 7
← Row 19 [RS]: (c) x 8, (g) x 3, (c) x 8
→ Row 20 [WS]: (c) x 9, (g) x 1, (c) x 9
← Row 21 [RS]: (c) x 19 - #3 yarn color chart:
- In #4 medium worsted weight yarn
- Ch 18, sc in the 2nd ch from your hook and in each ch across, turn. (17 sts)
- For each row: Ch 1, sc in same st and in each st across, turn. (17 sts)
- Change colors as follows:
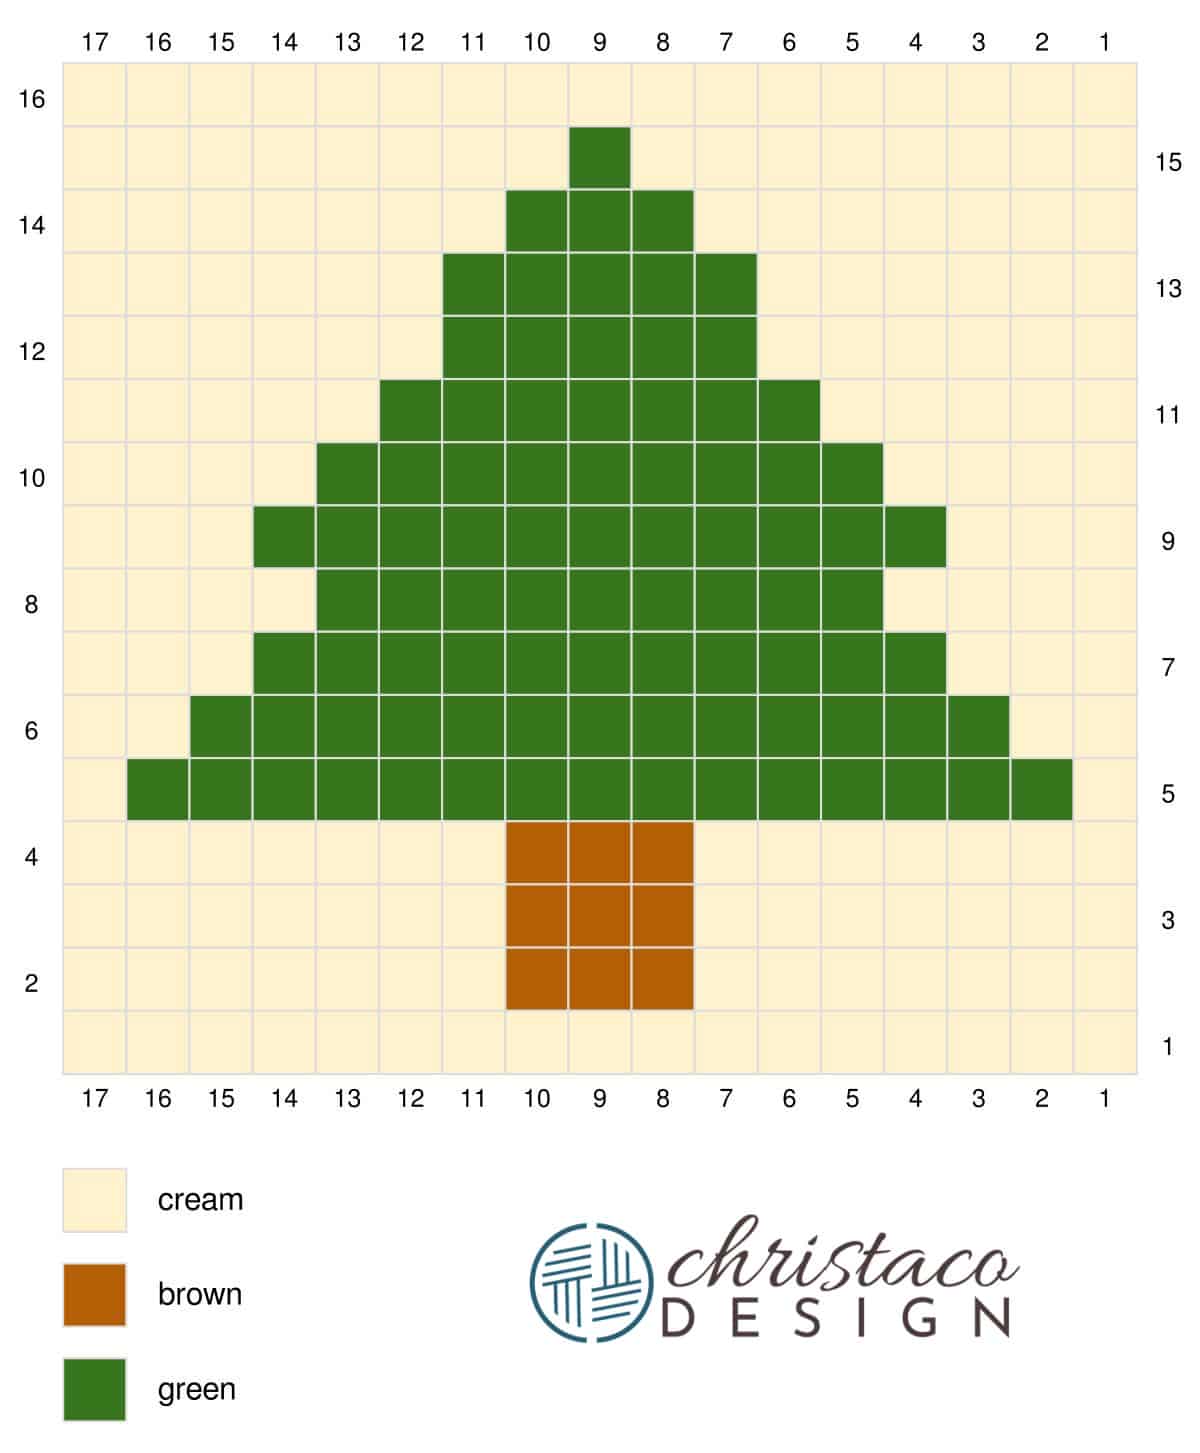
#4 Tree
← Row 1 [RS]: (c) x 17
→ Row 2 [WS]: (c) x 7, (b) x 3, (c) x 7
← Row 3 [RS]: (c) x 7, (b) x 3, (c) x 7
→ Row 4 [WS]: (c) x 7, (b) x 3, (c) x 7
← Row 5 [RS]: (c) x 1, (g) x 15, (c) x 1
→ Row 6 [WS]: (c) x 2, (g) x 13, (c) x 2
← Row 7 [RS]: (c) x 3, (g) x 11, (c) x 3
→ Row 8 [WS]: (c) x 4, (g) x 9, (c) x 4
← Row 9 [RS]: (c) x 3, (g) x 11, (c) x 3
→ Row 10 [WS]: (c) x 4, (g) x 9, (c) x 4
← Row 11 [RS]: (c) x 5, (g) x 7, (c) x 5
→ Row 12 [WS]: (c) x 6, (g) x 5, (c) x 6
← Row 13 [RS]: (c) x 6, (g) x 5, (c) x 6
→ Row 14 [WS]: (c) x 7, (g) x 3, (c) x 7
← Row 15 [RS]: (c) x 8, (g) x 1, (c) x 8
→ Row 16 [WS]: (c) x 17, turn. - #4 yarn color chart:
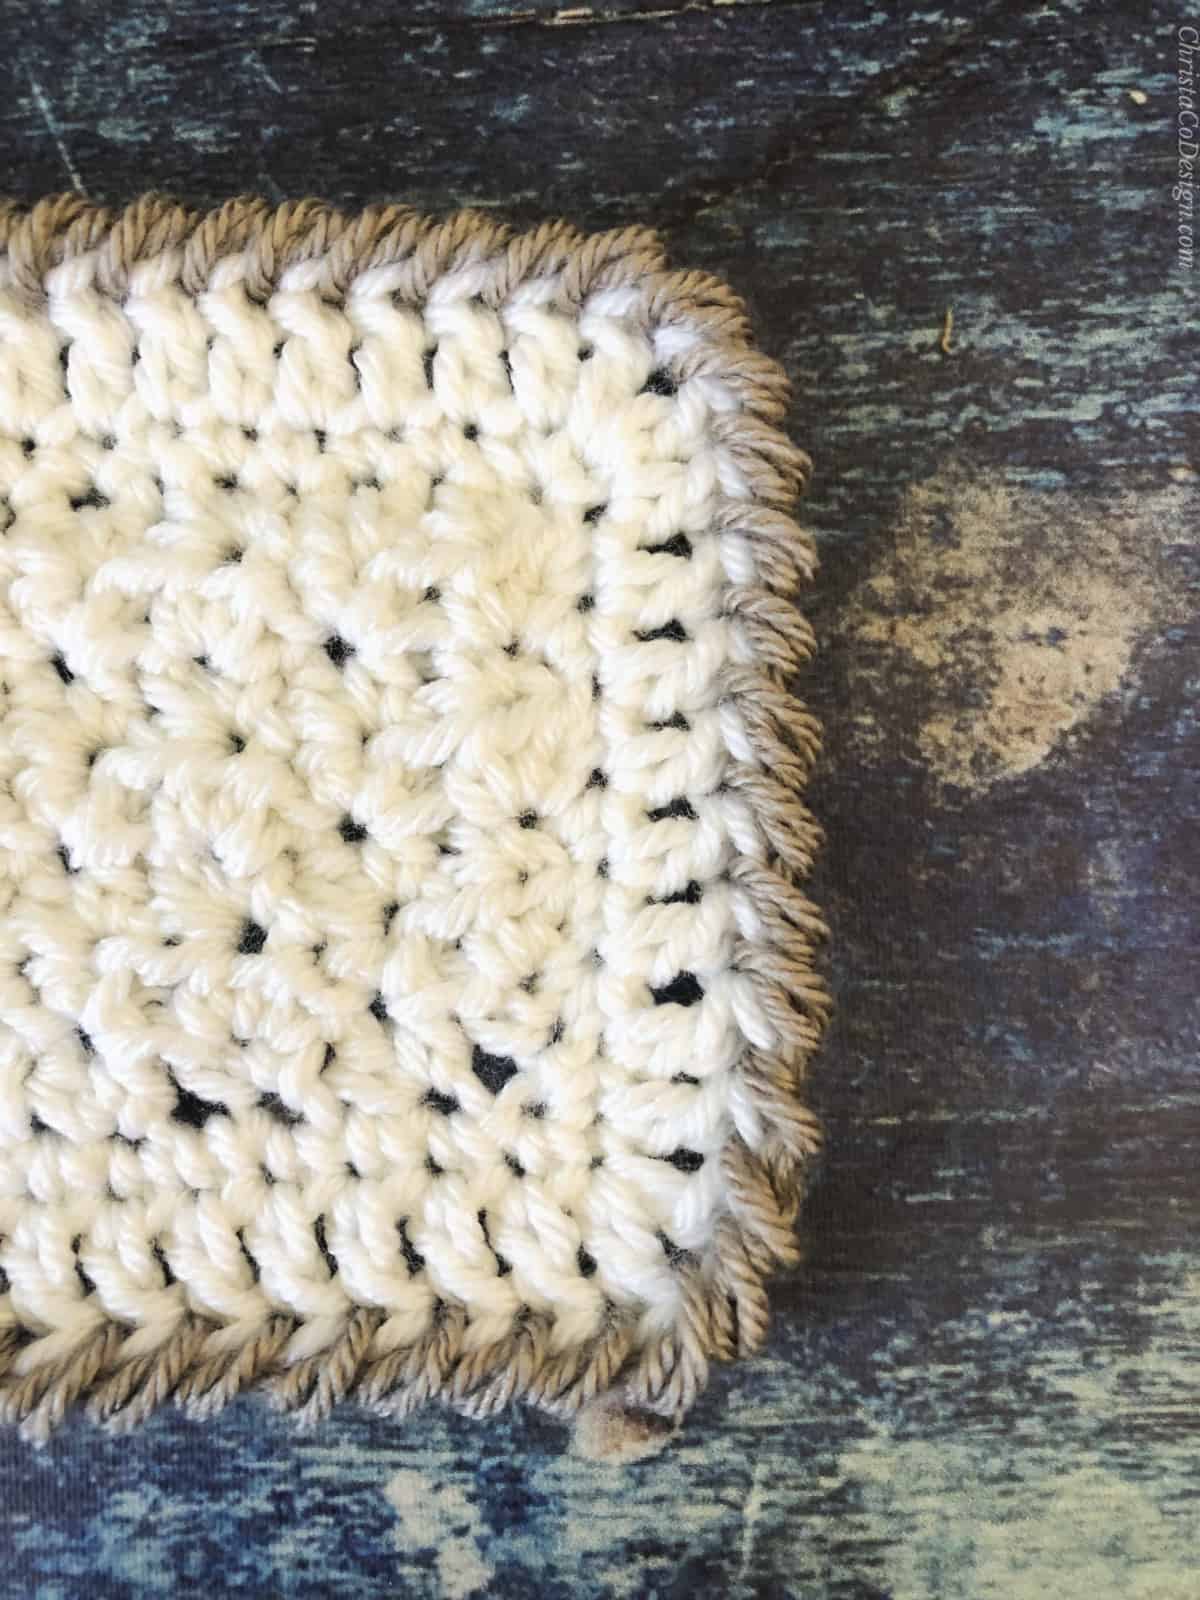
- Border
- Continue in cream on RS.
- Ch 1, sc evenly around the coaster, placing a sc, ch 1, sc in each corner as you come to it.
- Finish off with an inv join.
- Cut yarn and weave in ends.
Recommended Products
As an Amazon Associate and member of other affiliate programs, I earn from qualifying purchases.


Adorable, thank you for sharing.
Thank you, I’m glad you like it!