
Bunny Ring Teether Tutorial
Learn how to sew up a simple bunny ring teether. These are so fun to make!
They’re quick and easy and a great baby shower gift. You can pair it with a coordinating bib for that handmade wow factor!

This post contains affiliate links, I may earn a fee. Read more disclosure policy.
Get your supplies first (if you don’t already have these things in your stash!)
First I found 2″ maple wood rings on Amazon, and ordered those here.* I ordered a lot of 20, so I can make a few other teethers. There are smaller ordering options of course, like this 5-pack here.*
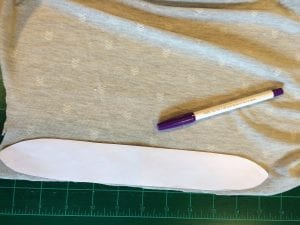
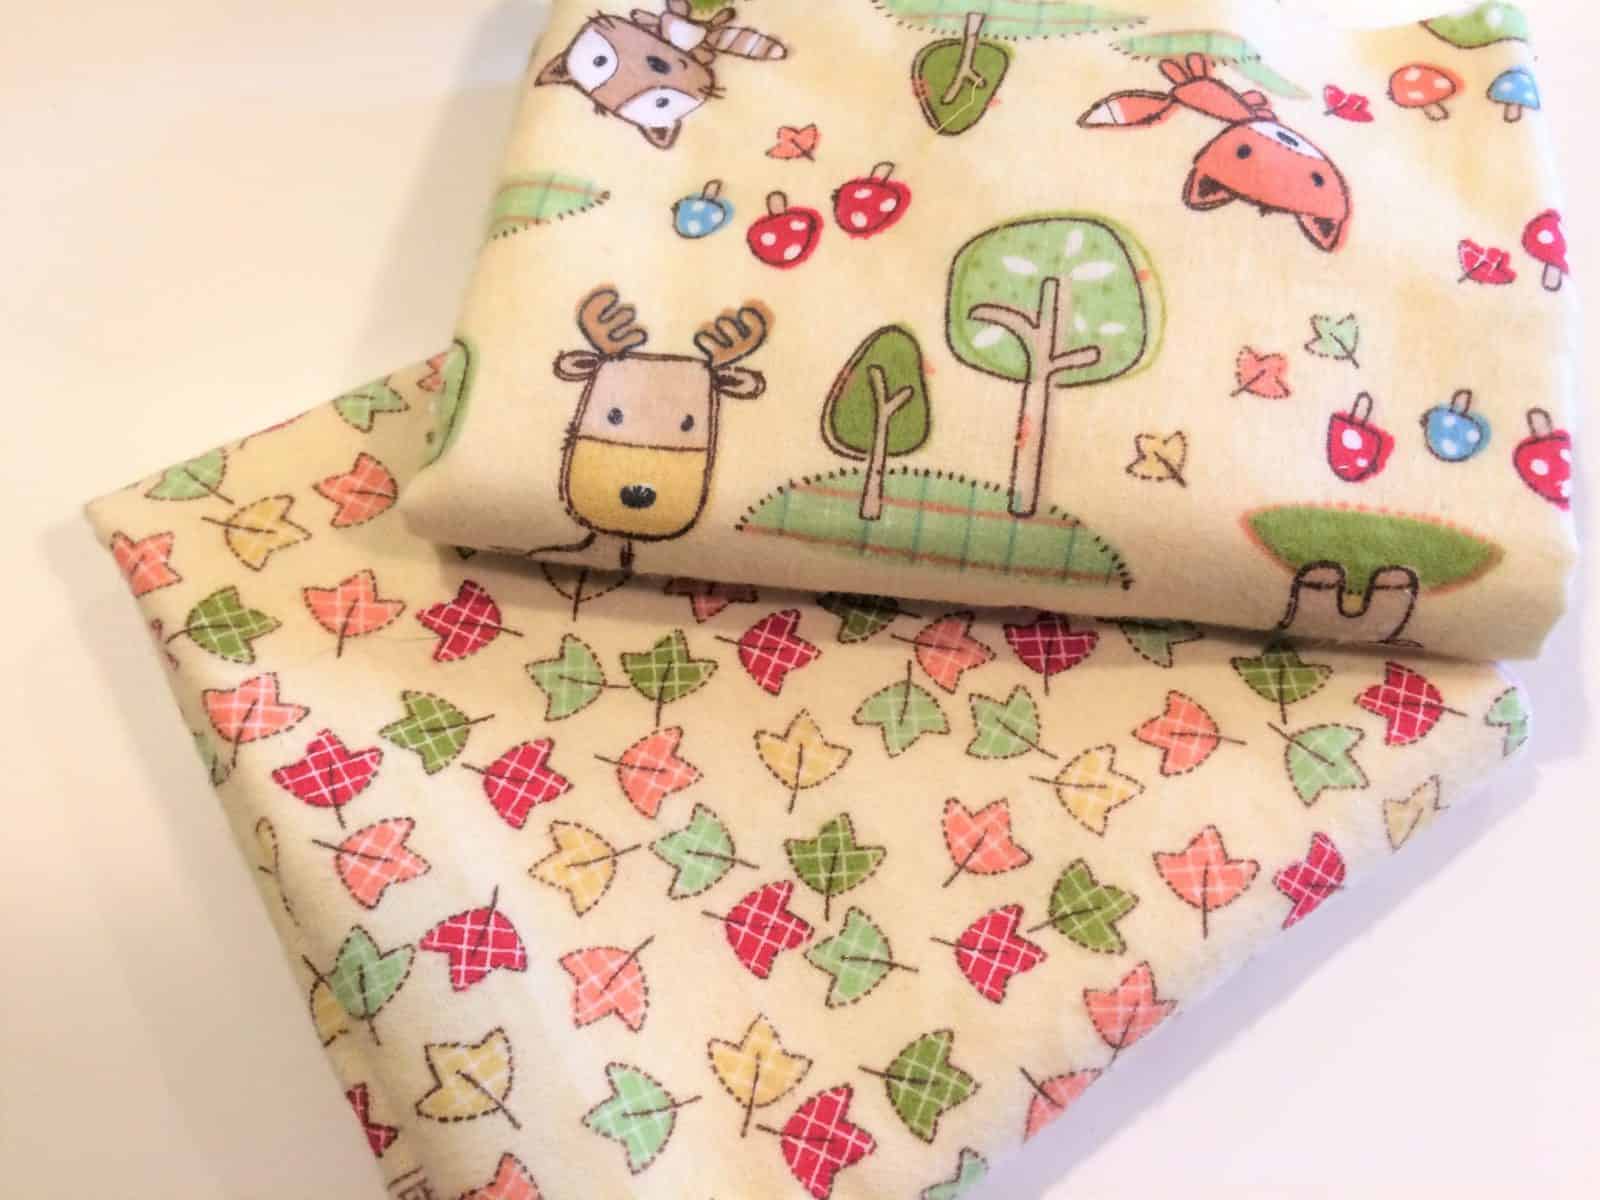
Next I dug around in my fabric stash to find something appropriate. I chose a grey knit with chevron detail, here’s the exact one I used from Hobby Lobby Gray Chevron
And white cuddly minky fabric White Minky. You only need scraps, but if you’re buying fabric brand new, then get at least a 1/4 yd of each.

Pin It Now & Make It Later
Don’t forget to pin this for later!

I’ve included my hand drawn template for the bunny ears here BunnyTeetherTemp print this off and cut it out to start.
Materials
1/8 yard each of two coordinating or contrasting fabrics.
2″ wooden ring
Sewing machine, vanishing ink fabric marker,* hand needle, pins, coordinating thread, scissors, BunnyTeetherTemp
Steps
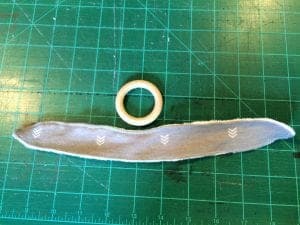
Print the template and cut it out. Lay it on your fabric and trace with vanishing ink fabric marker.
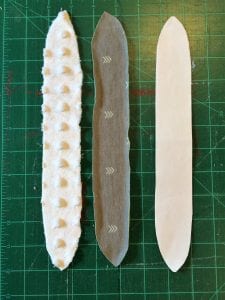
Trace and cut one piece from both your fabrics. Or two pieces if only using one fabric.
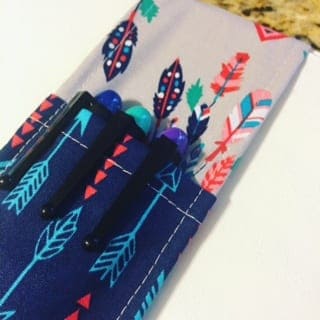
Pin
Lay your fabric pieces on top of one another, with the right sides of the fabric together.
Pin all the way around. I chose two very stretchy fabrics so the more pins you use, the better they will stay in place.
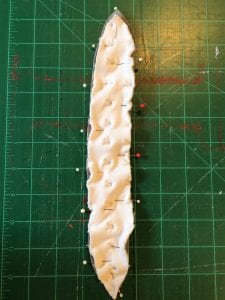
I used red pins to indicate my starting and stopping point, as I need an opening for turning the piece right side out.
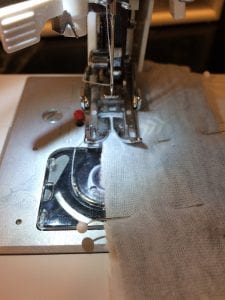
Sew
Starting just at the red pin closest to you, back stitch to lock your stitches and sew around using a 1/4″ seam allowance.
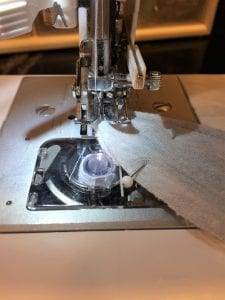
When you get to the tip of your ears, you’re going to lift the presser foot and turn your work (lower the presser foot) and continue sewing all the way around.
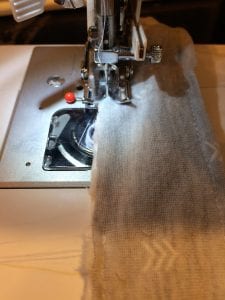
Stop sewing at the second red pin. Back stitch again. Remove from your machine.
Trim around to 1/8″ and clip corners.
Turn it right side out using the opening you left.
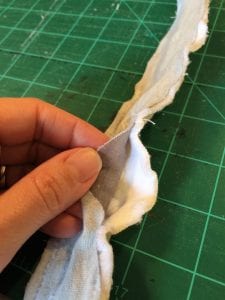
Use a yarn needle, crochet hook, pencil (eraser end) or other suitable object to push out your corners from the inside.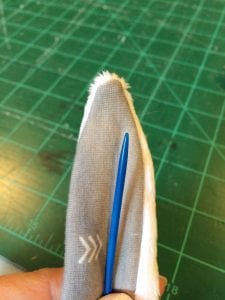
Fold the edges of your opening in and pin it closed.
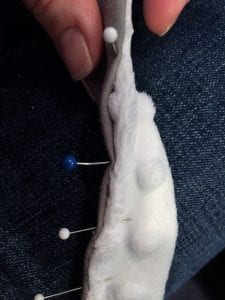
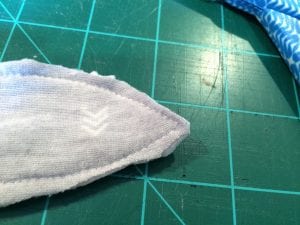
Now topstich around using 1/8″ seam allowance. I usually bump my stitch length up to 3.5-4 since minky is thick.
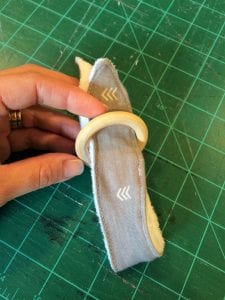
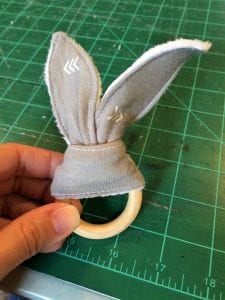
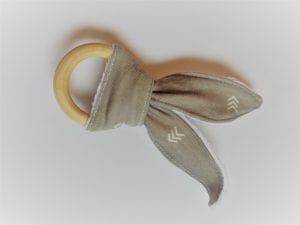
Fold your piece in half and feed through the ring.
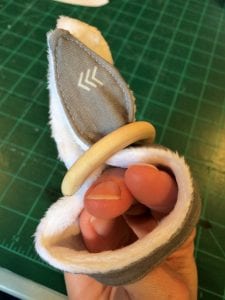
Push your fingers through the loop of fabric.
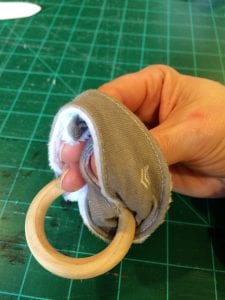
Grab the tips of the ears and pull through the fabric loop, securing it to the ring.
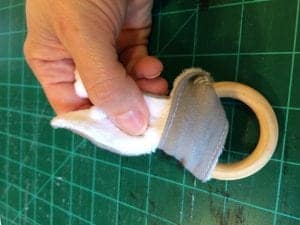
Straighten up the ears to make them look just right. Almost done!
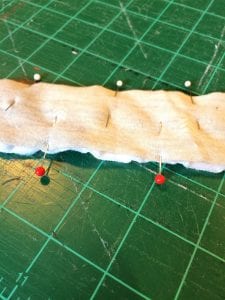
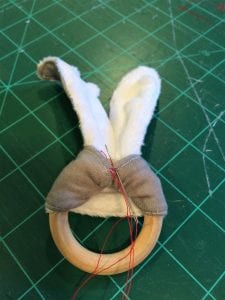
Flip it over and hand sew a couple of stitches to keep it together. I used red here to show you where the stitches go.
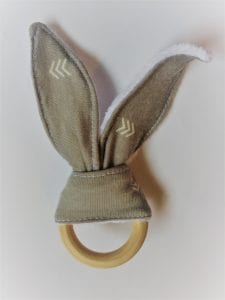
And you’re all set! Present your bunny ring teether to your little drooler for testing!
Remember to never leave children unattended with any toy, teether, pacifier, etc. Always inspect for damage before use, discard if torn or nicked.

One Comment