
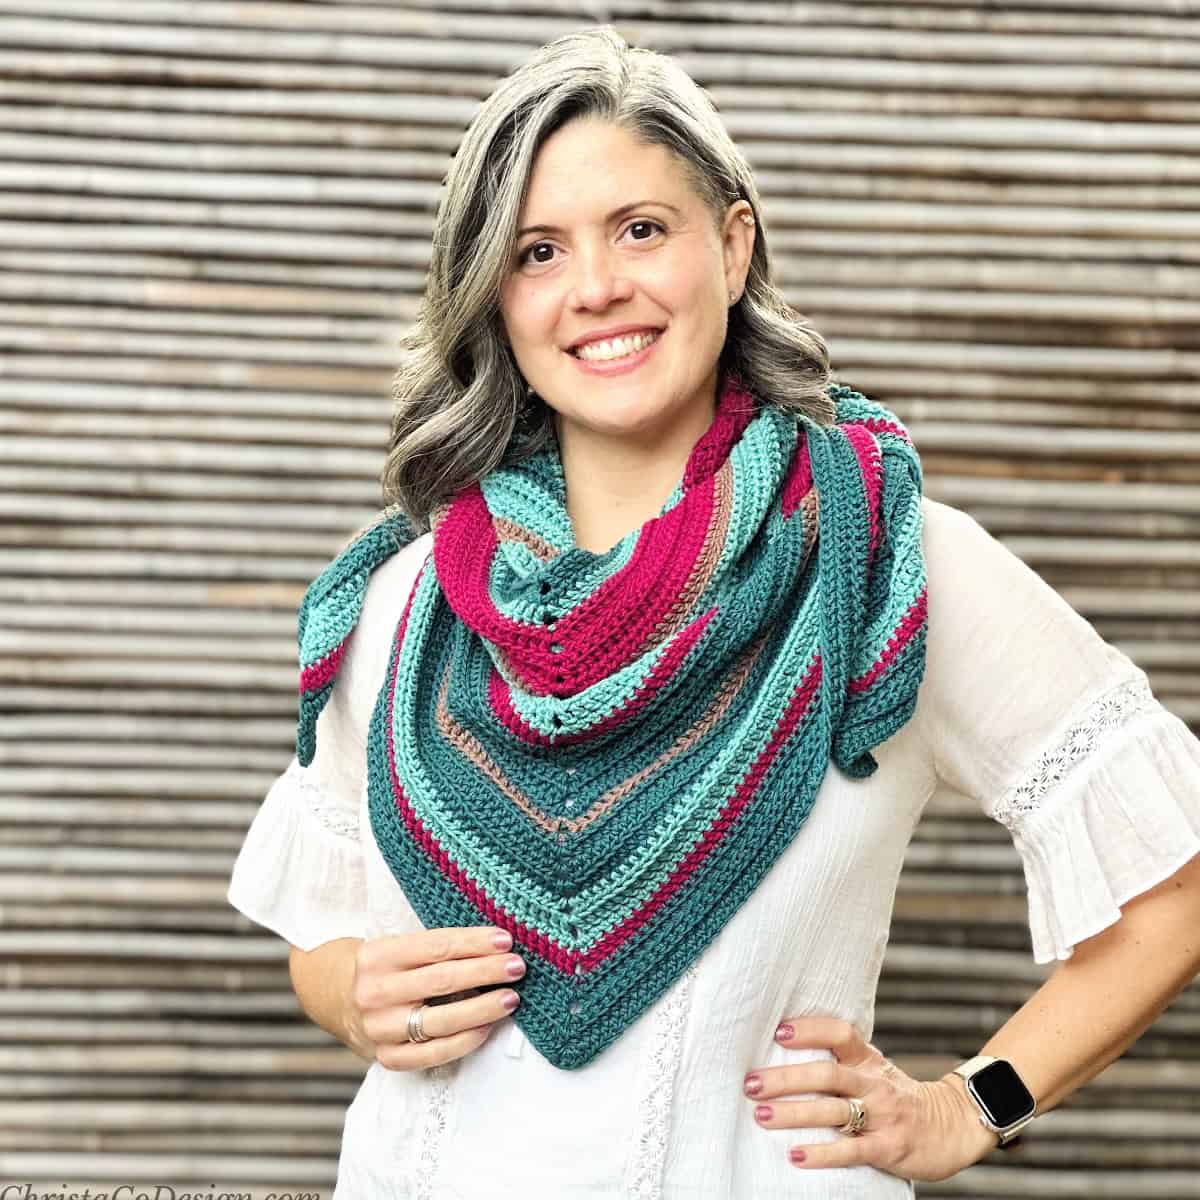
Strisce Easy Crochet Ruffle Edge Wrap Pattern
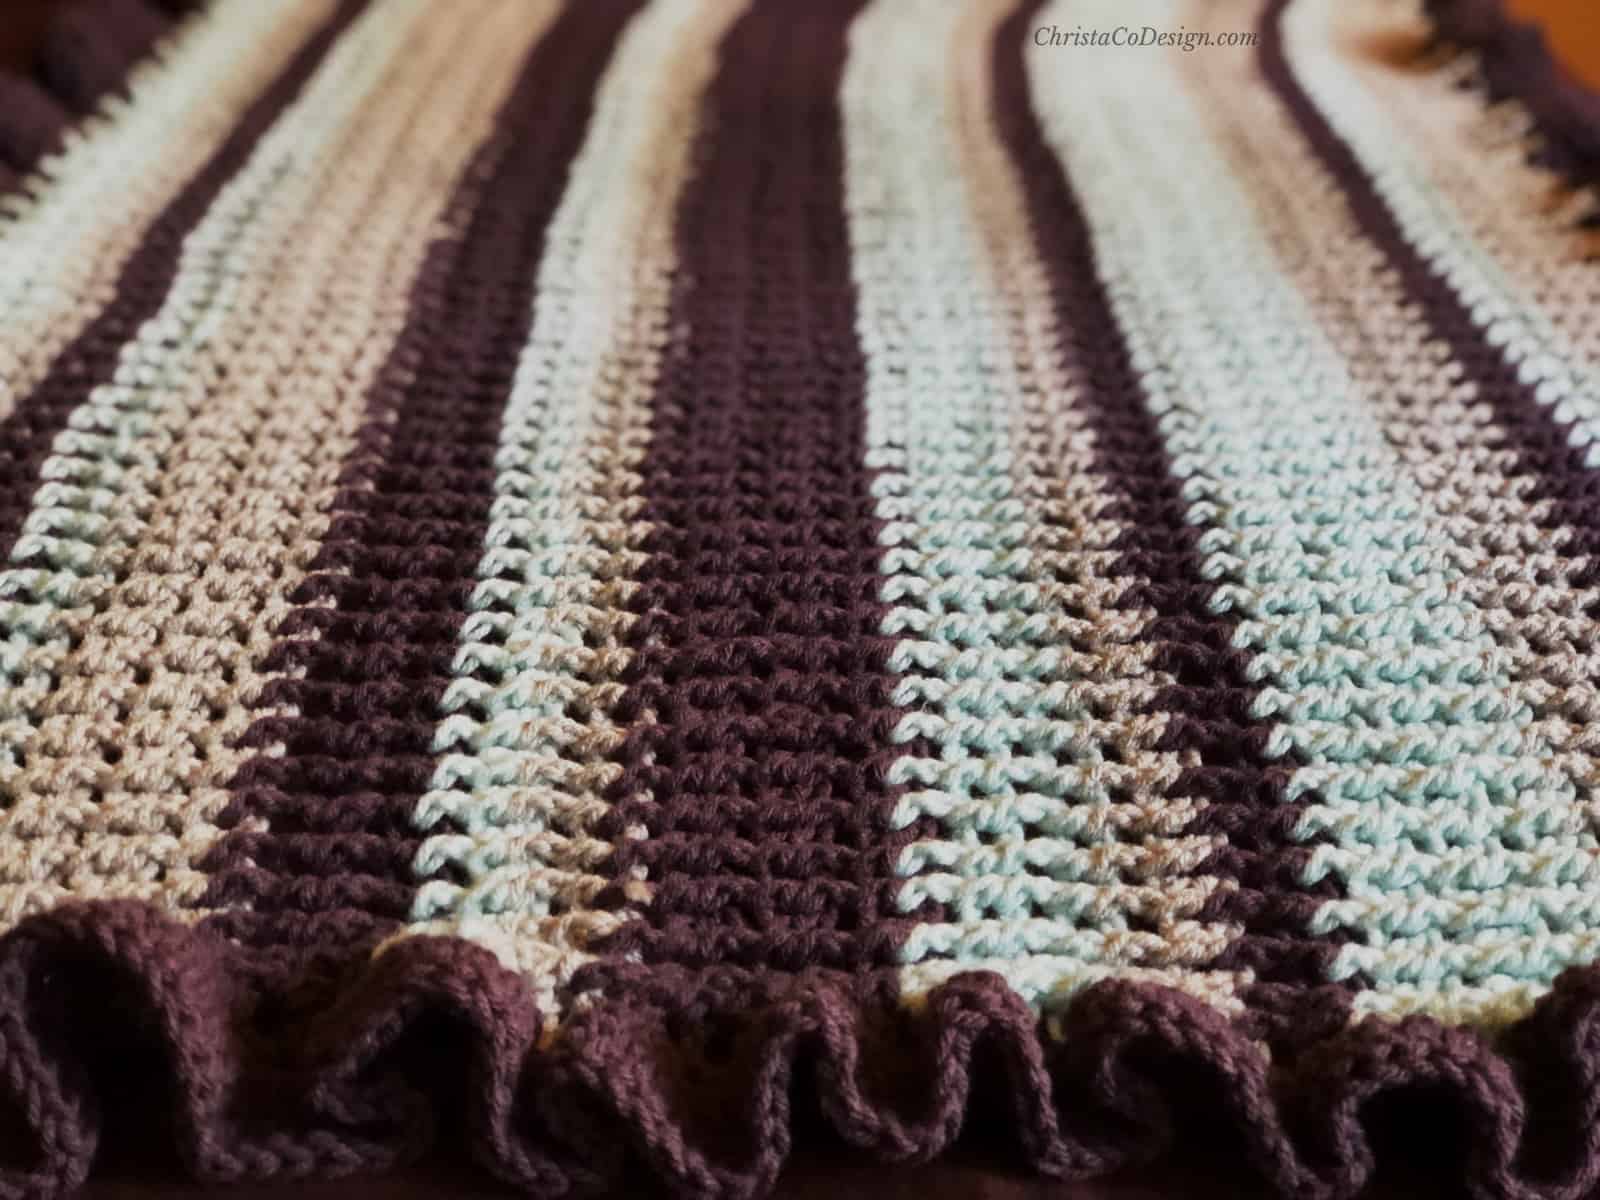
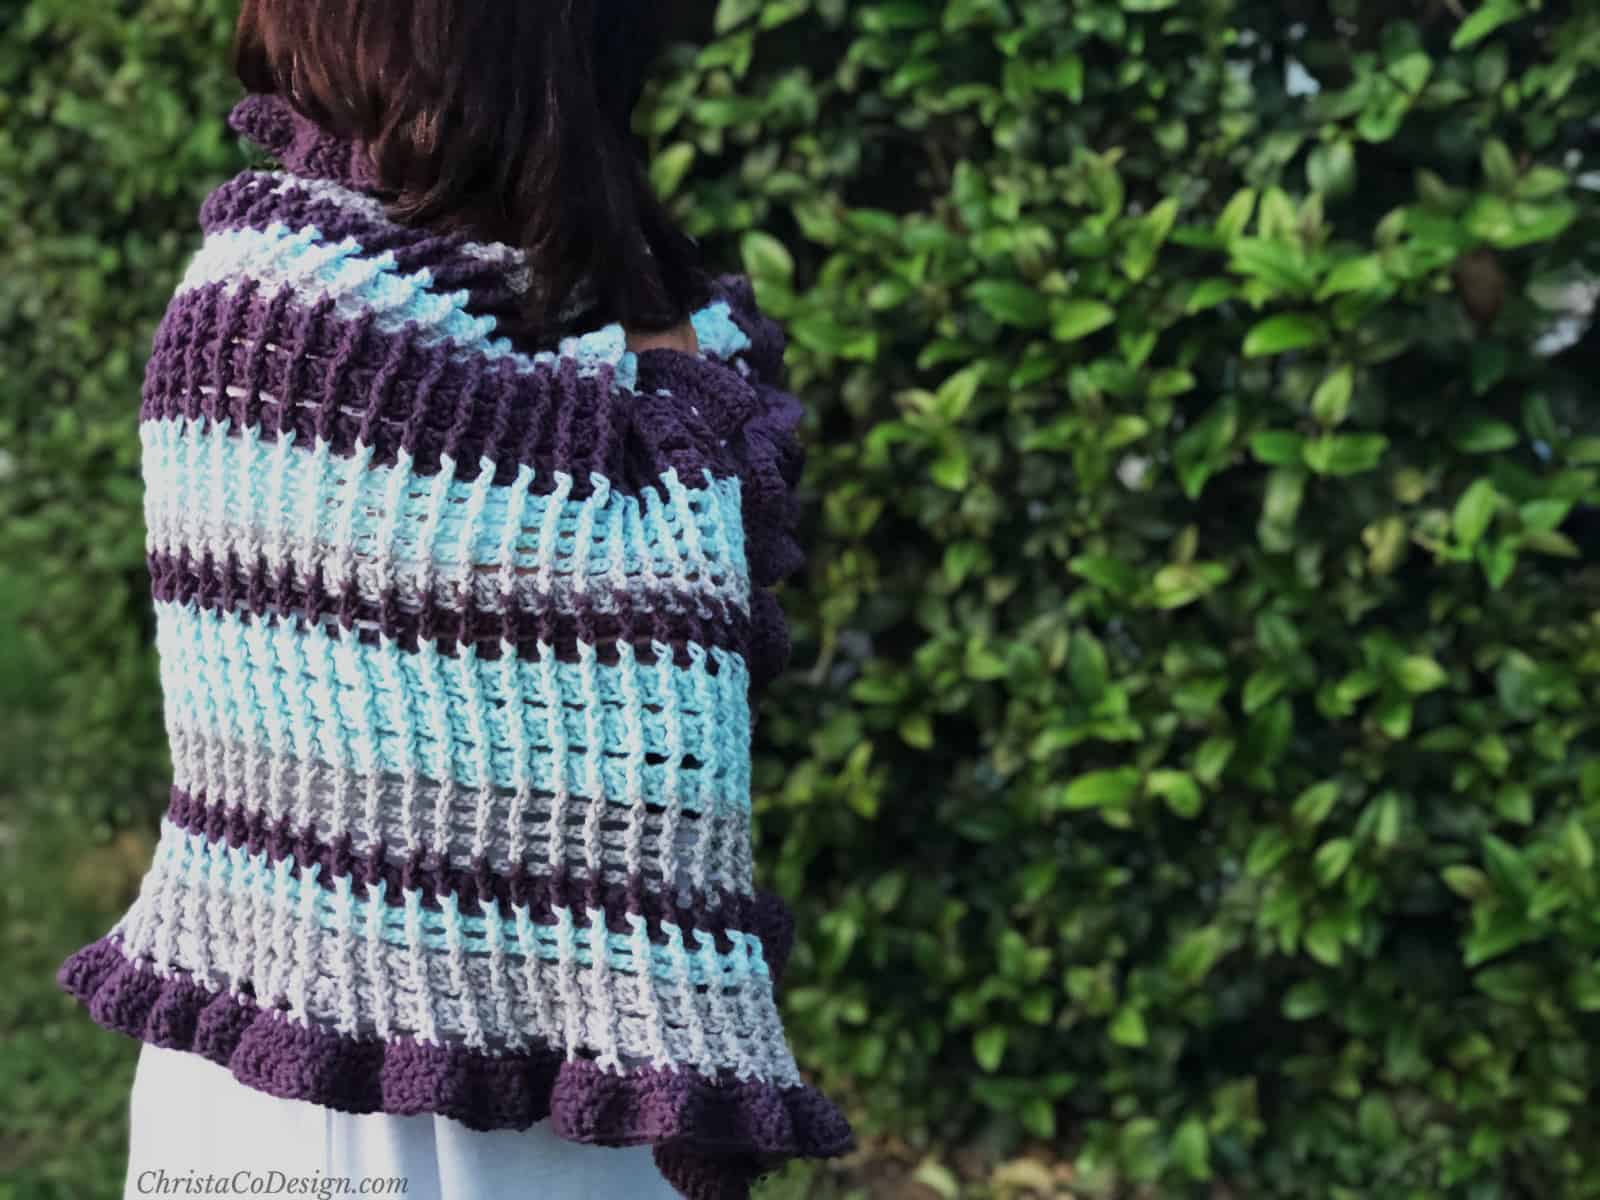
The Strisce (stree-shay) Wrap is a stunning combination of texture with post stitches, ruffles and stripes. The easy crochet ruffle edge on this wrap really makes a statement.

This post contains affiliate links, I may earn a fee. Read more disclosure policy.
Join the ChristaCoDesign Newsletter
Never miss a pattern!
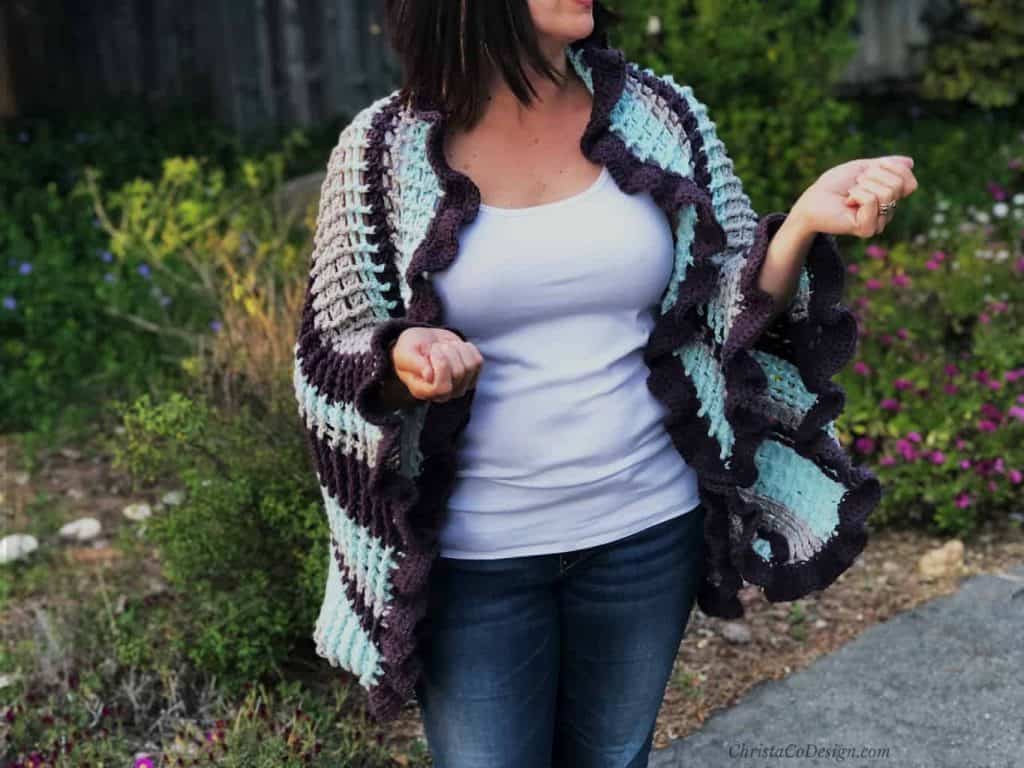
This crochet shawl can be styled as a shrug with large open arms, as see here. I love how this really showcases those ruffles.
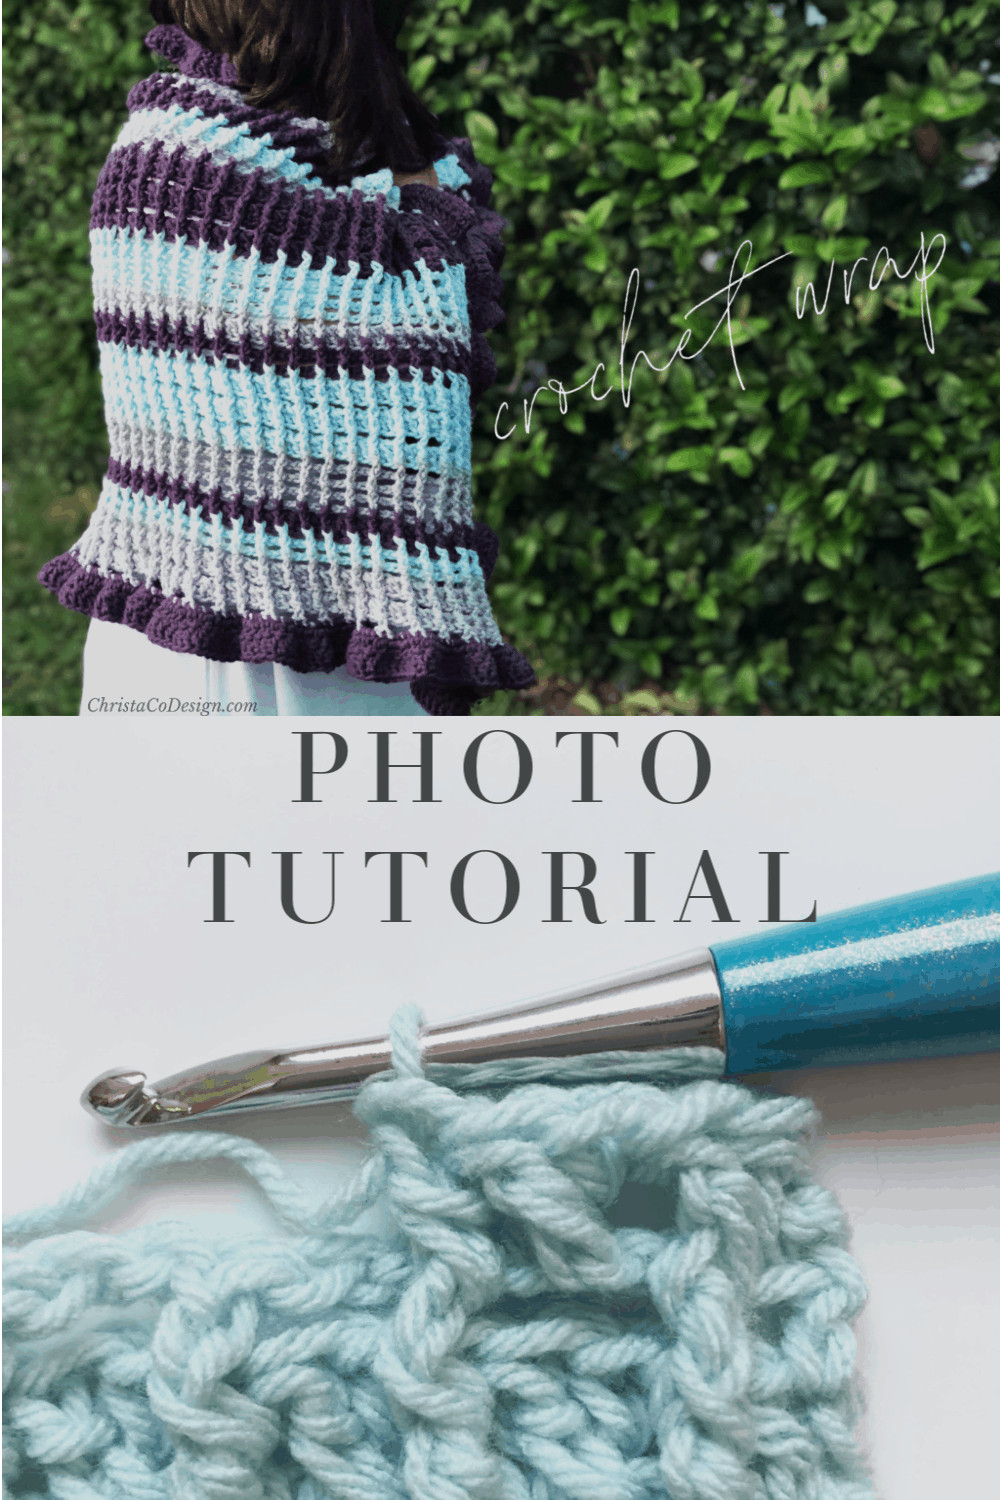
This rectangle wrap pattern includes a step by step photo tutorial. Plus, I link up stitch videos as well!
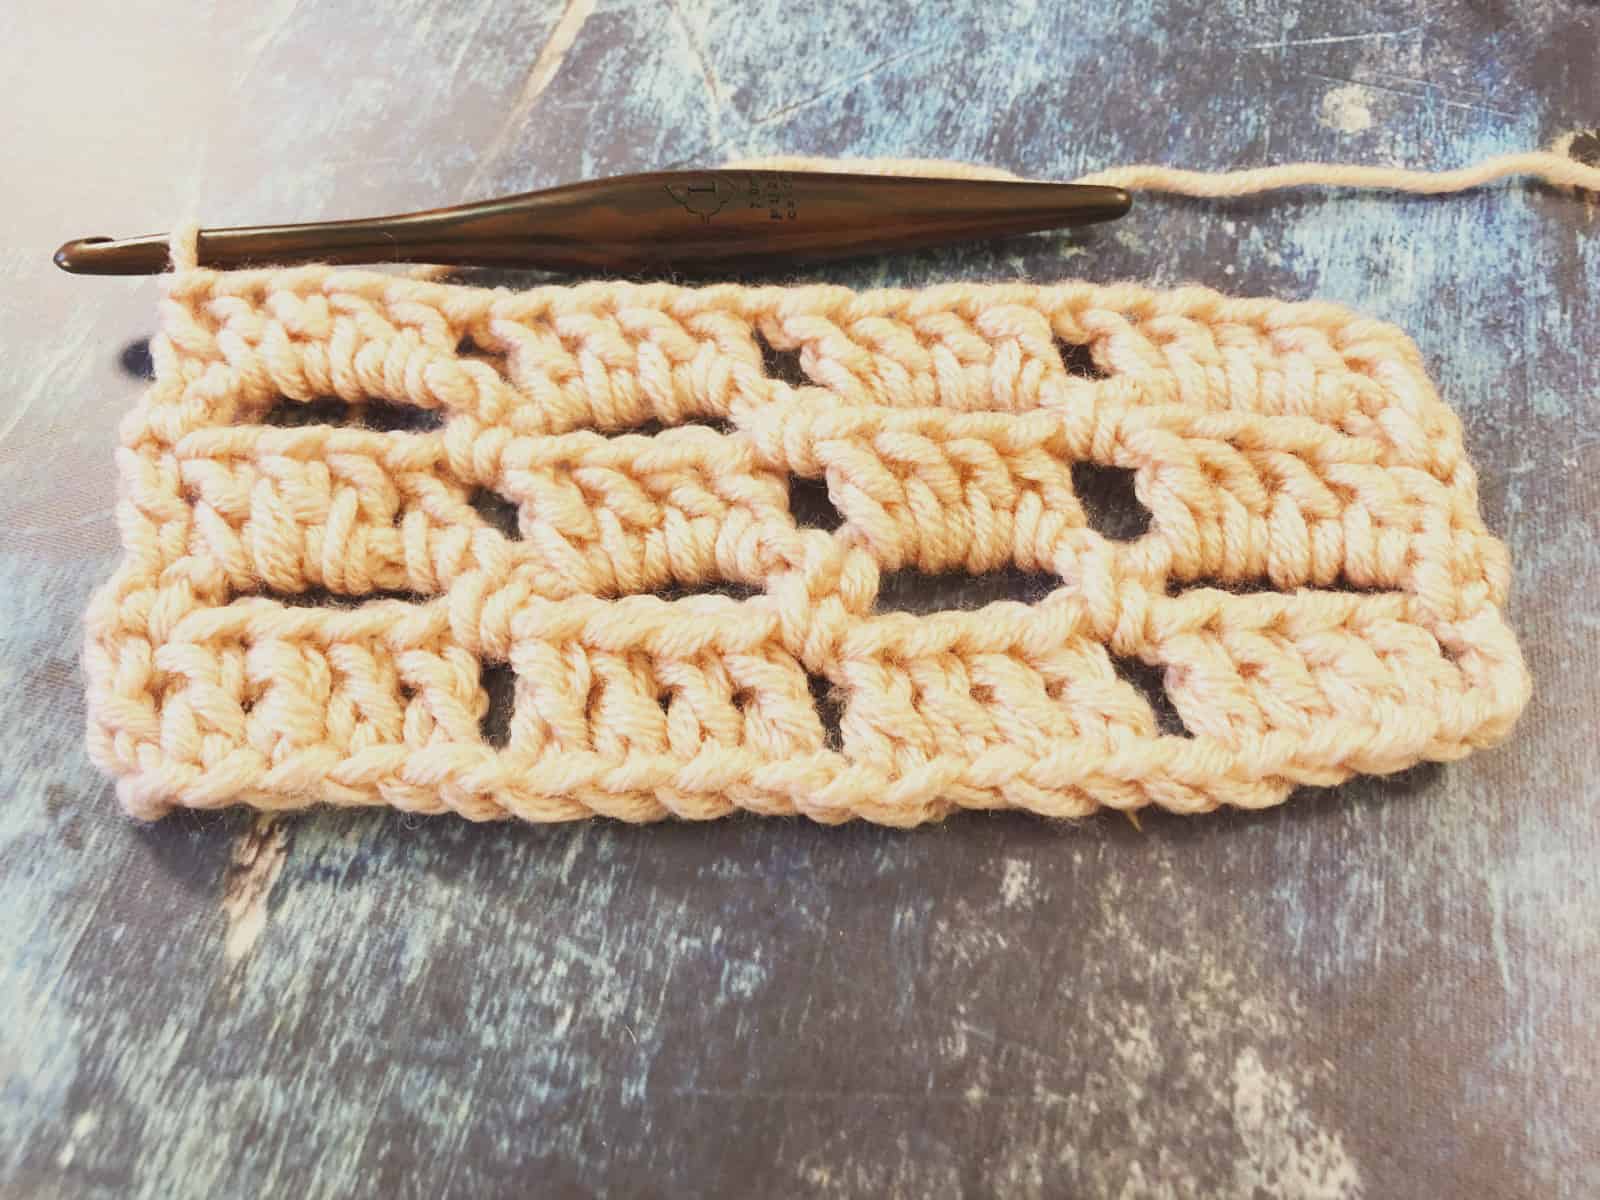
The Stitch
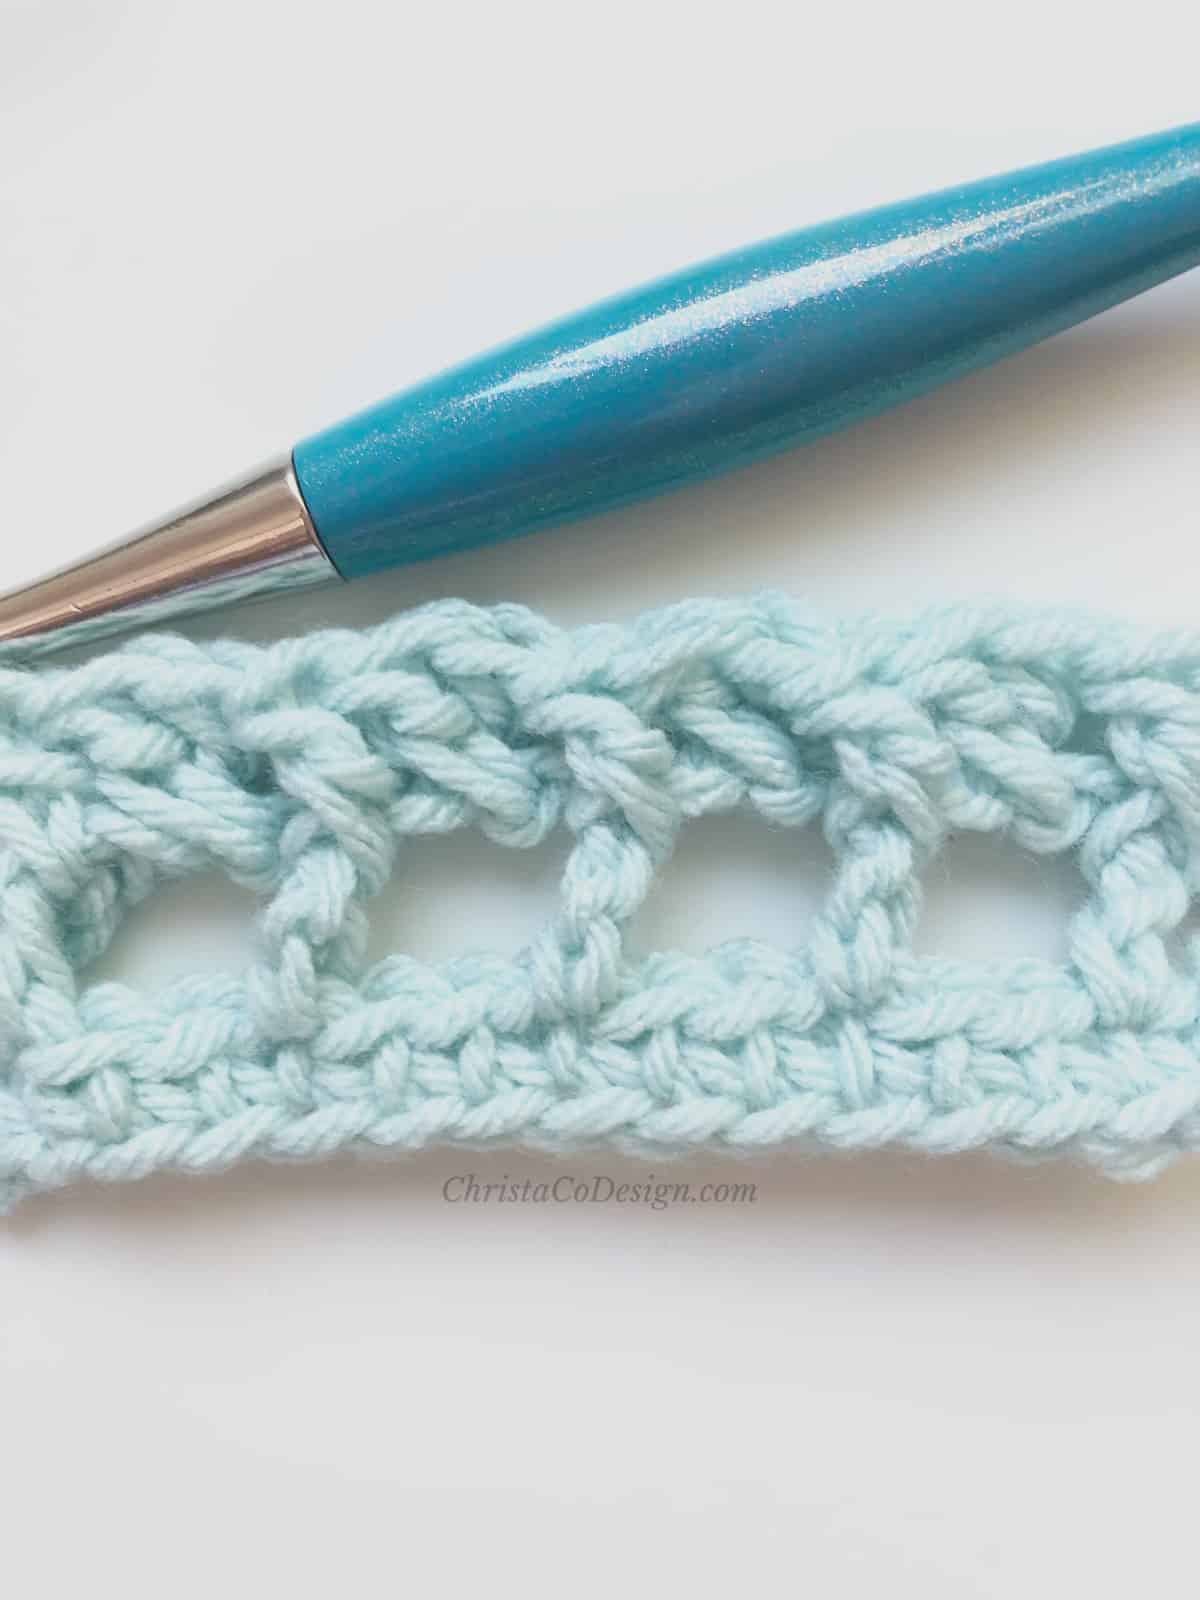
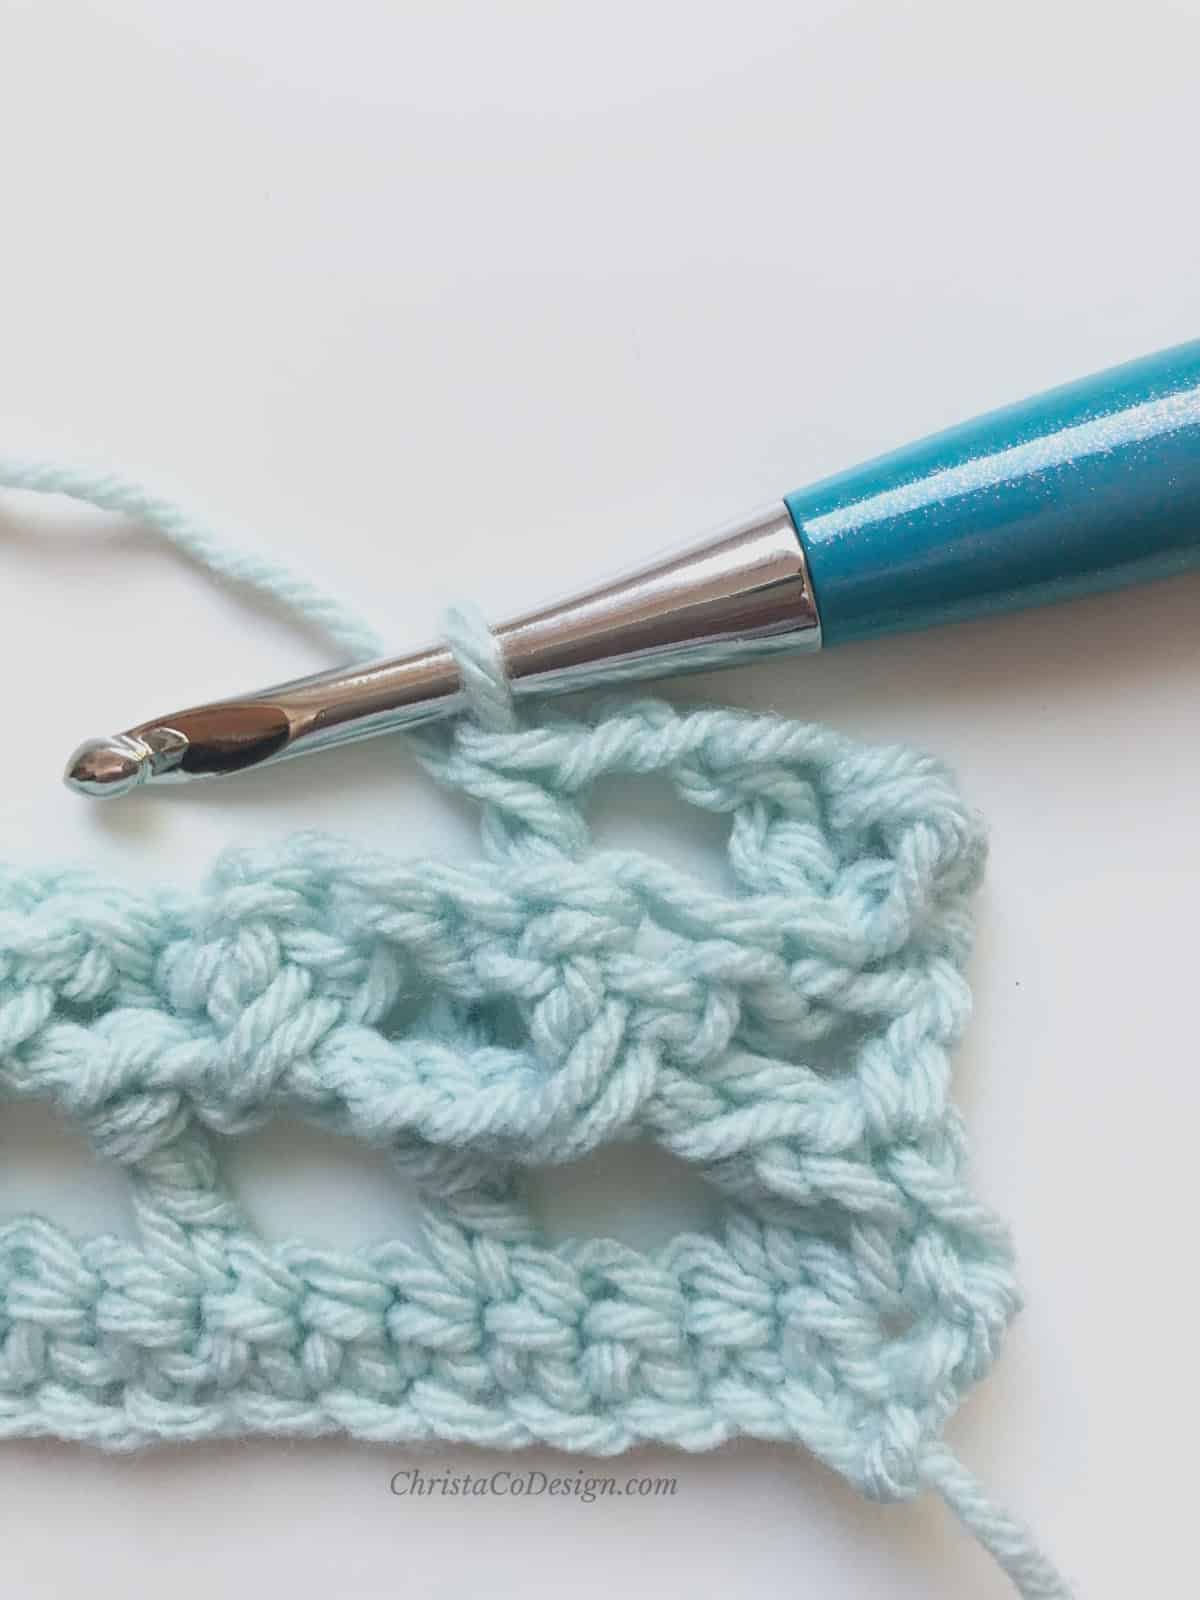
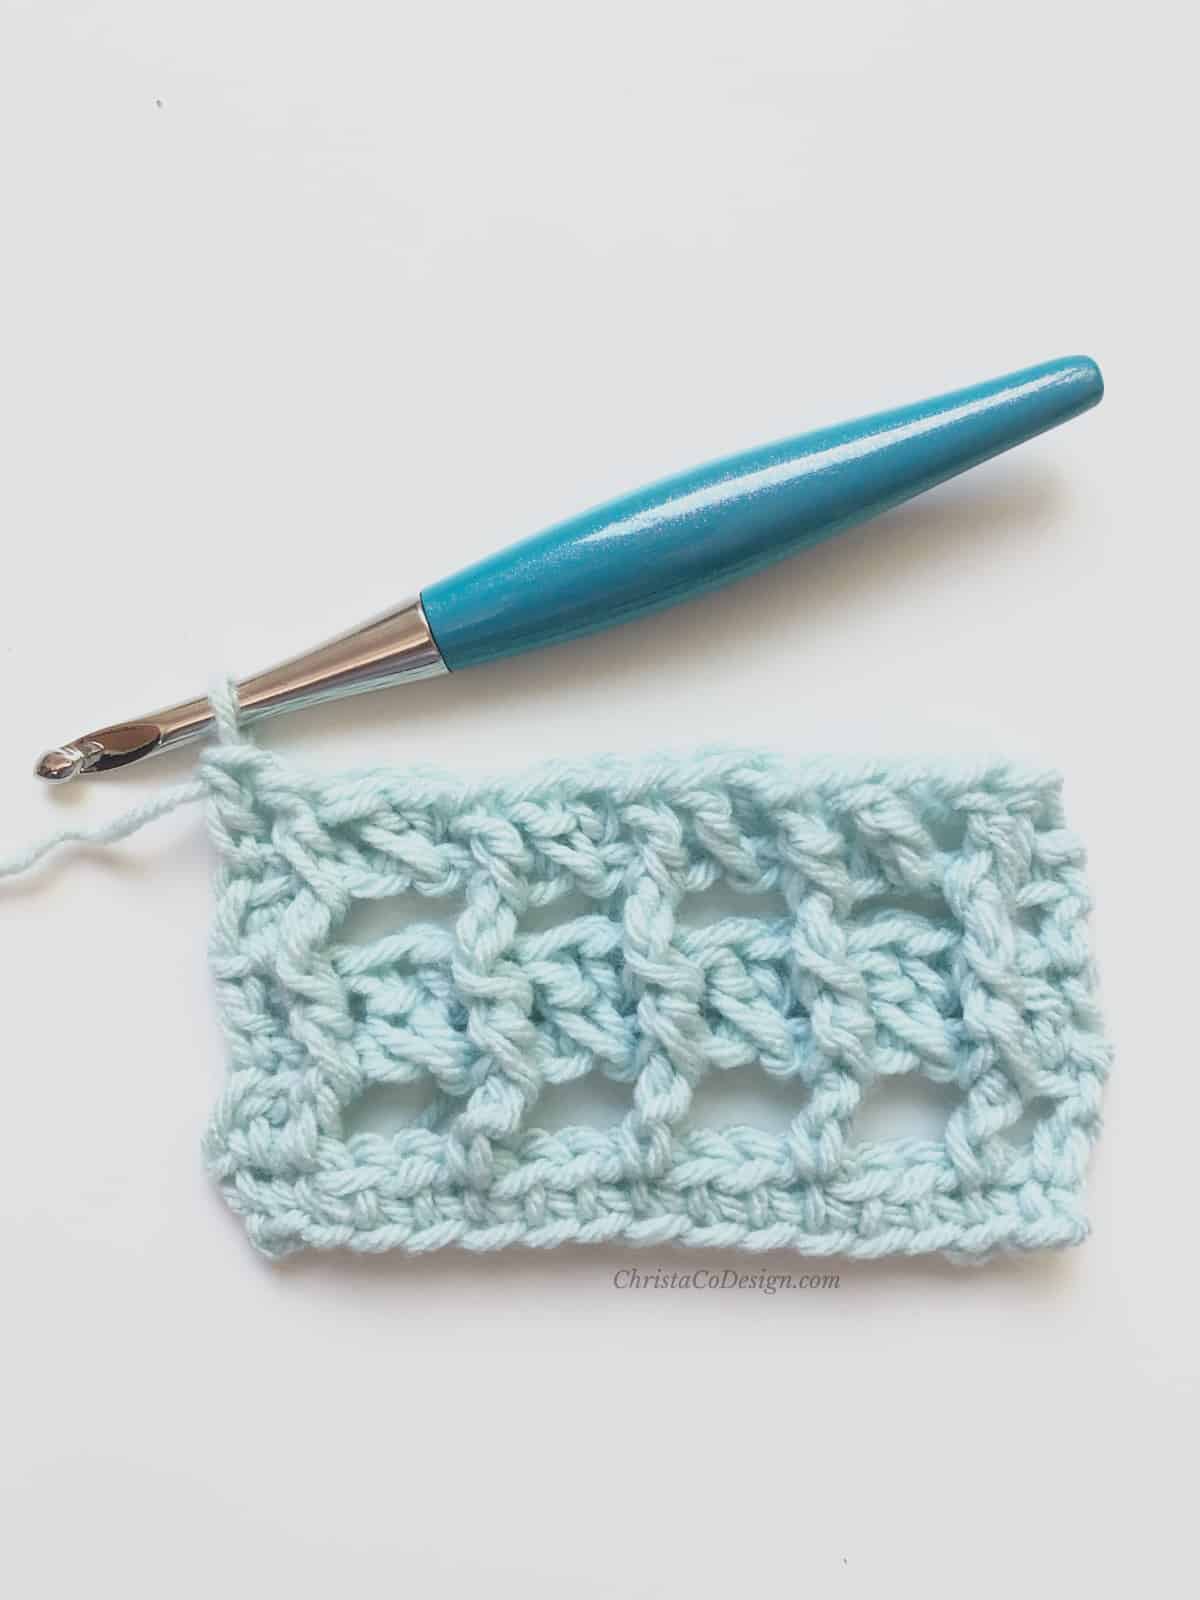
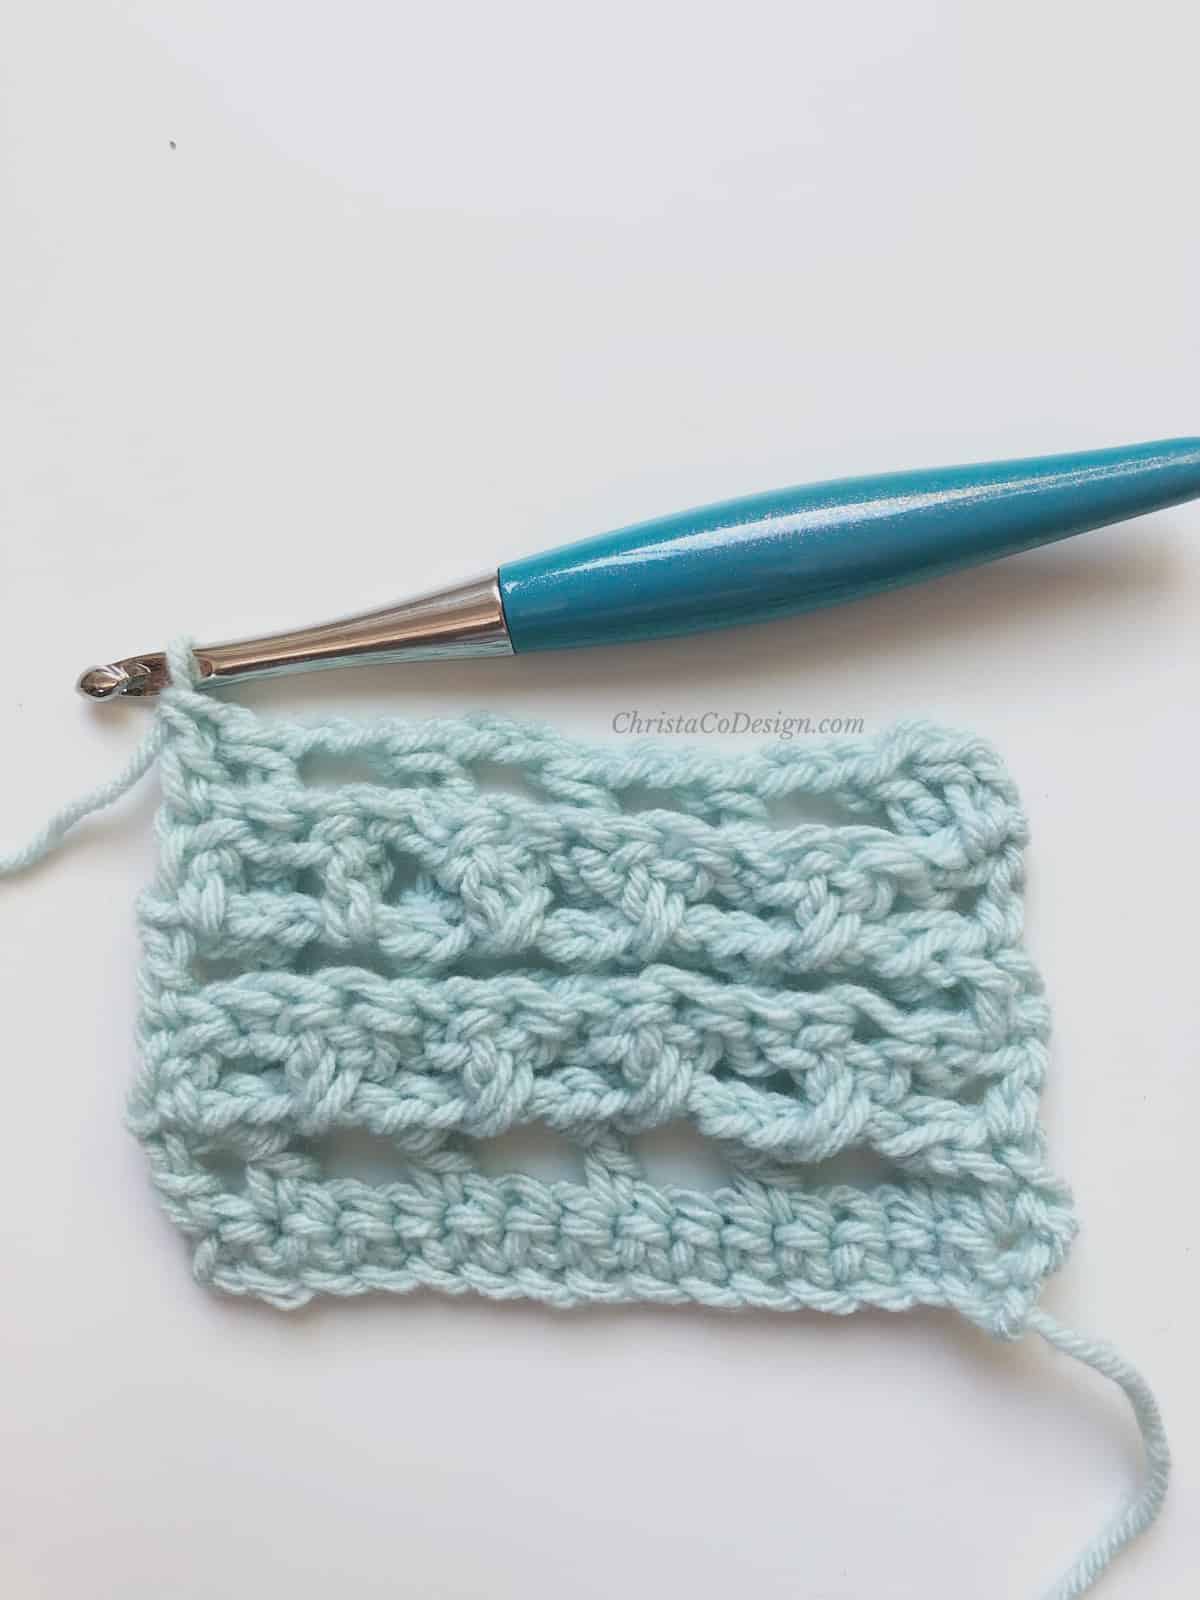
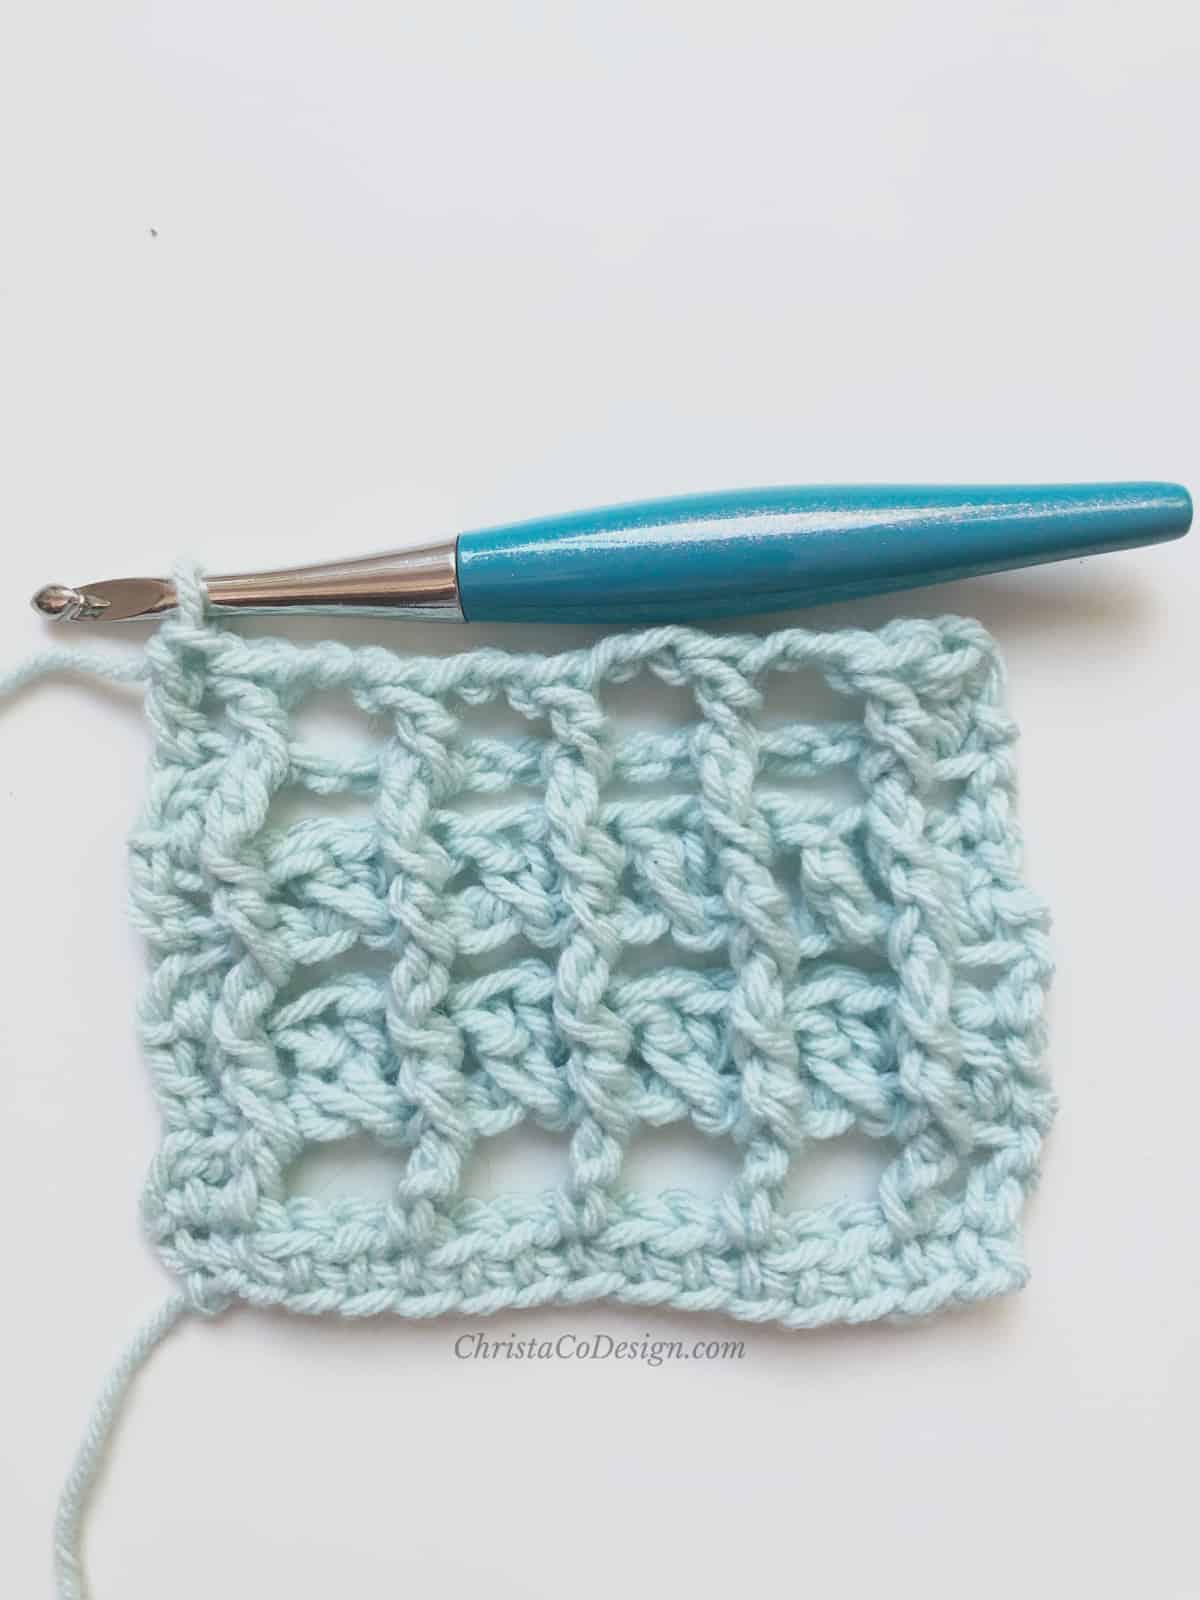
Have I mentioned how I love the front post stitch? It’s one of my favorites. The texture it creates is so visually appealing.
The front post double crochet is also a pretty stretchy stitch, so it worked perfectly in this wrap.
The Size
The open airy pattern is perfect for a spring or summer shawl. I made mine on the smaller size because I’m only 5′ 2″ on a good day. The pattern includes 4 different length options, so you can choose your perfect size.
The pattern repeat is quickly established and you’ll be able to watch tv or listen to your book while crocheting away.
These are my favorite projects as my crochet time is most often in the evening or while watching kids play. I don’t always have the wherewithal to pay close attention to stitch counts and the what not.
The Design
As with many of my designs, I buy the yarn in pretty colors first and mull over what they might become.
I knew I wanted to make a wrap and so I grabbed the purple and mint colors and started planning. After a few swatches I added the grey to help balance it out.
I really like the control I have over my colors by choosing this way, but some of my lovely testers used the most gorgeous self striping yarns-which is also so much easier!
With the ruffle edging though, there are few ends to weave in if you choose your own colors. I can’t wait to see your combinations!

I sewed the corners of my wrap together to form large, open “sleeves” and I love how the ruffles fall. There are more details on this and other ideas for how to style your wrap at the end of the pattern.

More Textured Crochet Patterns
Love this easy Cottage Crochet Blanket from BlueStarCrochet.
Matteo Textured Scarf + there’s a matching hat and gloves too.
Texture and lace shine in the Mila Color Block Shawl.
Dimensions
The wrap in these pictures has a finished size is 34″ wide by 47″ long with the ruffle. It stretches quite easily to 39″ wide by 60″ long. See chart below for recommended lengths.
Fit/Adjustments
For reference the 47″ wrap is pictured on a 5′ 2″ tall, size 36″ bust woman.
To make a longer wrap, choose one of the suggested lengths in the chart below. Or to customize the length, the stitch multiple is 3 plus 4 for the starting chain. For example 198, divides by 3 into 66, then + 4 = 202, so you would chain 202 for a wrap that is ~ 58″ long.
| To make a wrap that is | Chain | Suggested Yarn Yardage |
|---|---|---|
| 47 ” long | 160 | 826 |
| 60″ long | 214 | 1061 |
| 76″ long | 271 | 1344 |
| 85″ long | 301 | 1503 |
To adjust the width of your wrap, just add more rows of the repeat until you’ve reached the desired width. Please note the above suggested yarn yardage is for 34″ width only, you’ll need more yarn than recommended if adjusting width also.
Materials
- 900-1600 yds of worsted weight #4 yarn, pictured in Caron One Pound Yarn*, (100% acrylic, 454g / 16 oz, 742 meters / 812 yards); divided in 3 colors: Purple (Color A), Soft Mint (Color B) and Grey (Color C).
- 6.5mm hook*
- Yarn needle
- Measuring tape
- Scissors
You will need the most yarn for the color you choose for your ruffle edge, I used less than half the one pound skein for the other two colors.
Gauge
4″ x 4″ = 14 dc x 6 rows
Notes
- Ch 3 counts as a stitch, I highly recommend using a ch 3 alternative, here’s my favorite.
- Pattern is written with the smallest size first, followed by larger sizes in the parenthesis.
- All stitch counts are in parenthesis after the instructions, in the same order.
To change colors
- On the last stitch of the color begin the stitch normally, but pull up the last loop in the new color.
- No need to weave in the ends, as you will crochet over the edges when adding the ruffle.
Stitches/Abbreviations
bpdc – back post double crochet
Ch – Chain
Crossed DC-skip the indicated stitch, dc in the next stitch, cross back over the dc you just made and dc into the stitch you skipped.
DC – Double Crochet
fpdc – front post double crochet
rep – repeat
sk – skip
st(s) -stitch(es)
sl st – slip stitch
Pin It
You can purchase the ad-free, well formatted PDF Pattern in one of my shops. Scroll down for the free pattern!
Pattern
Color A
Ch 160 (214, 271, 301)
Row 1. Sc in 2nd ch from hook and in each ch across, turn. (159, 213, 270, 300)
Color B
Row 2. Ch 3, dc in next st, ch 2, sk next 2 sts, dc in next st,
*{ch 2, sk next 2 sts, dc in next st} rep from * to one st left,
dc in last st, turn. (159, 213, 270, 300) sts
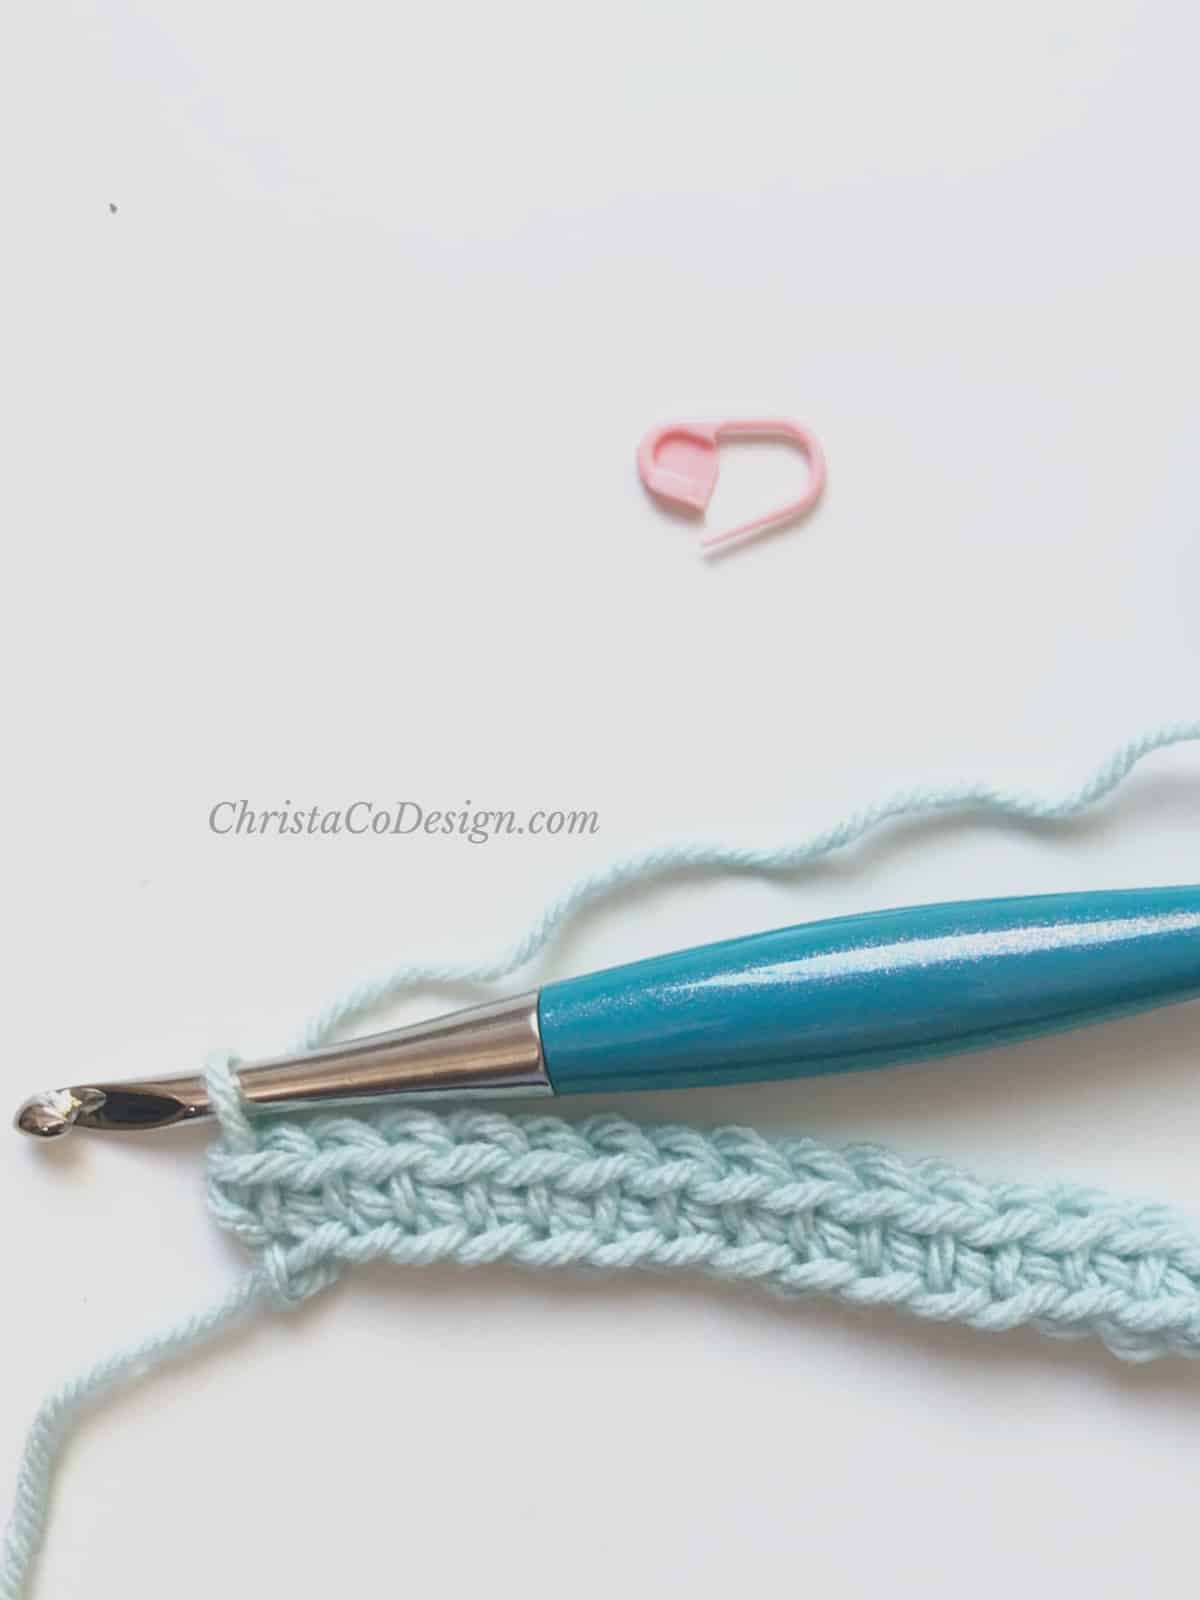
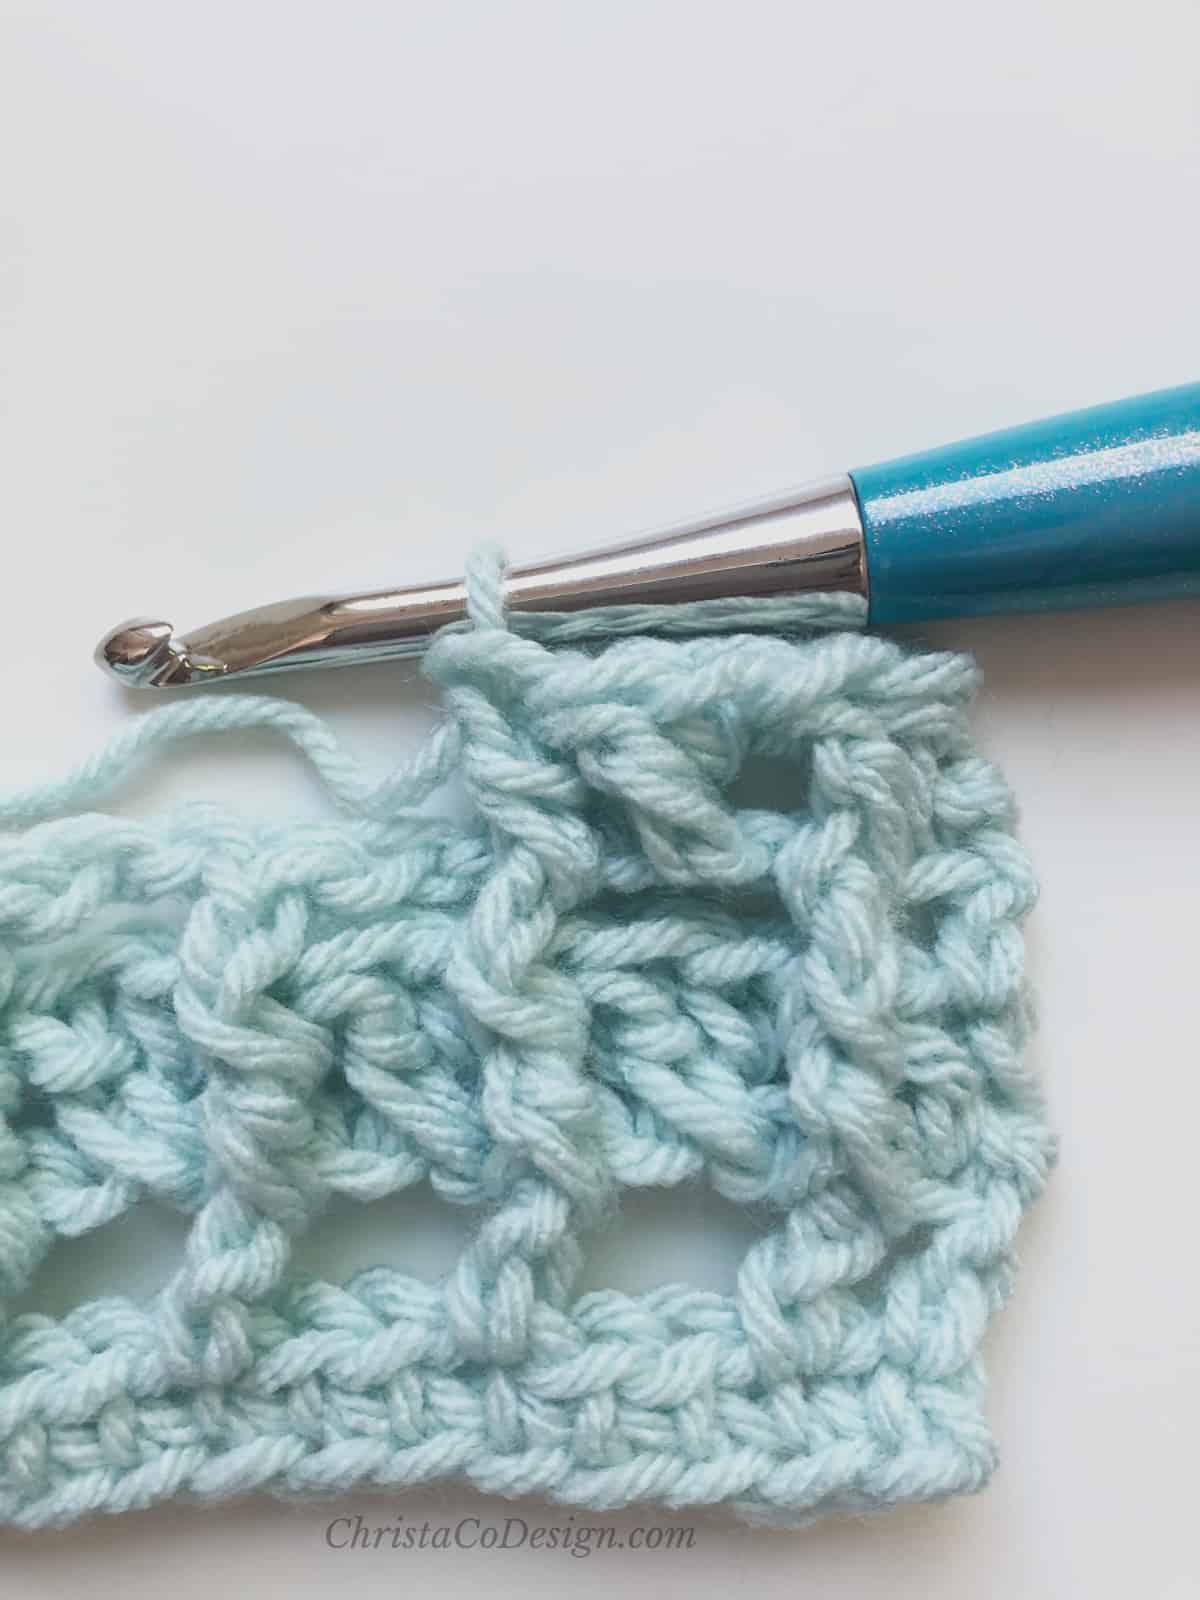
Row 3. Ch 3, fpdc in next st,
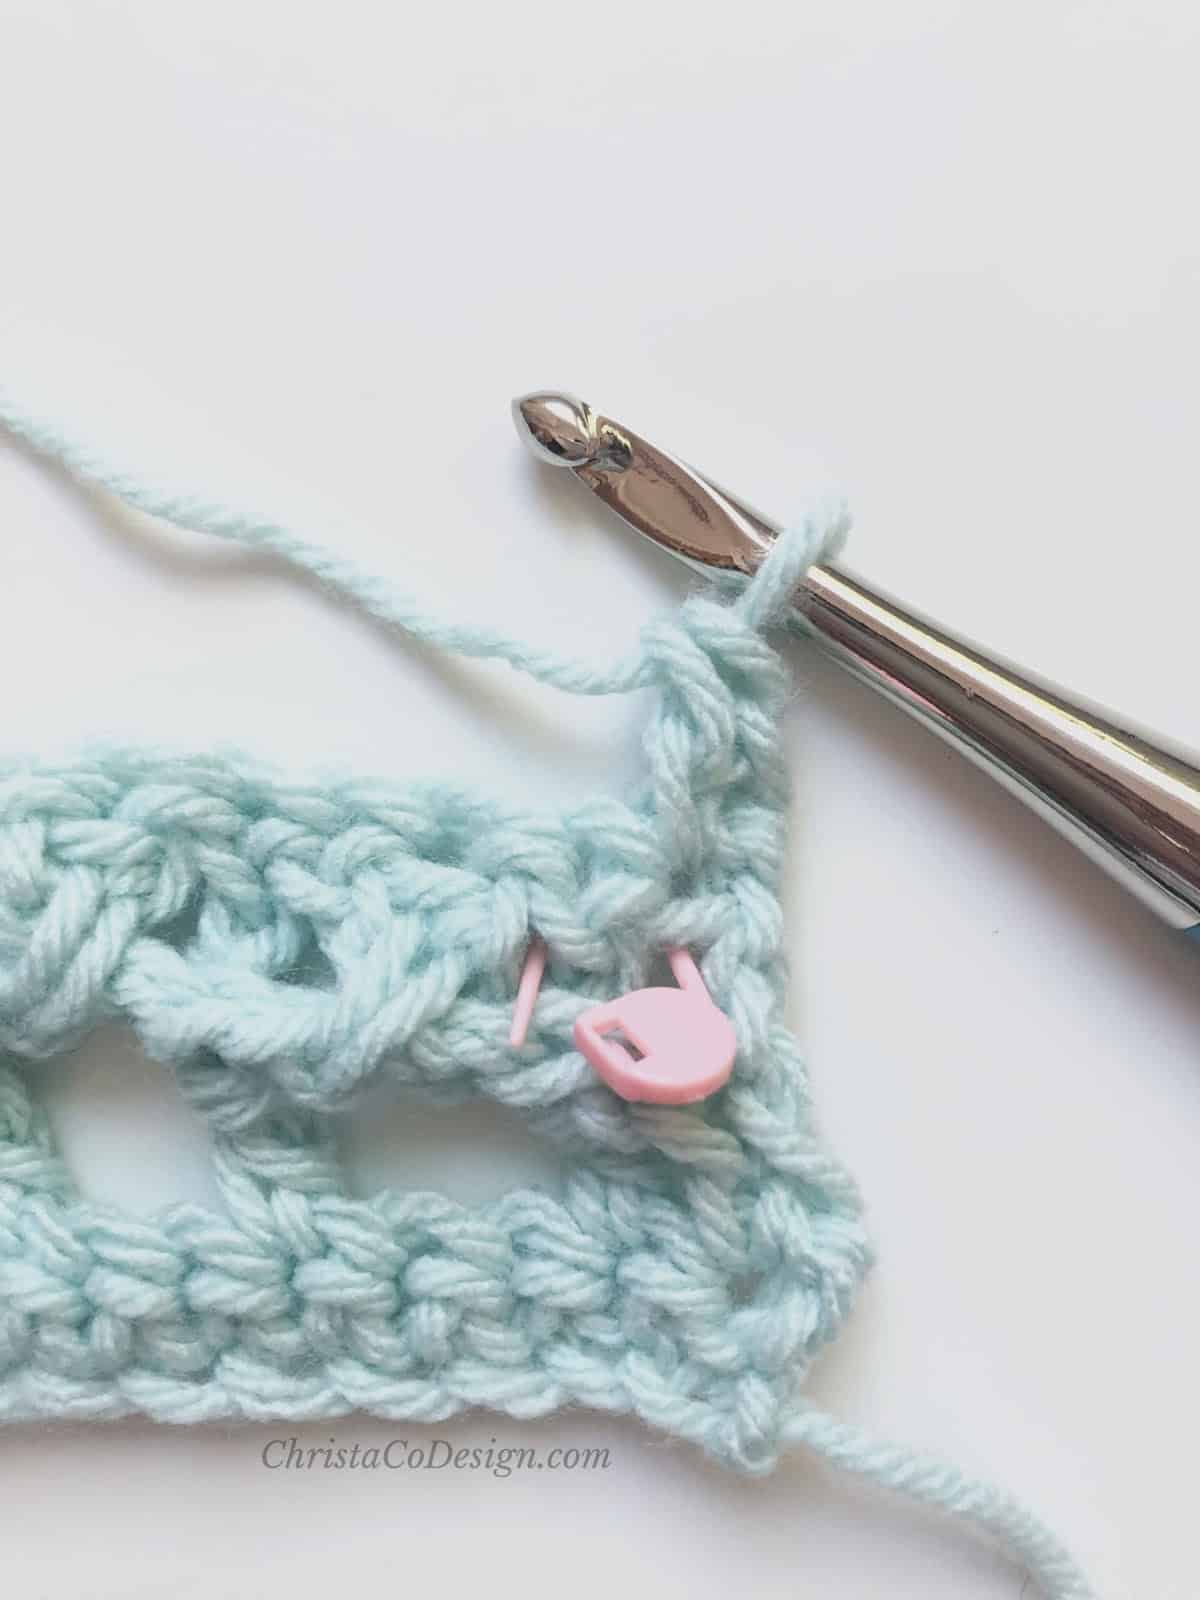
sk next ch, marked by pink stitch marker, dc in next ch,
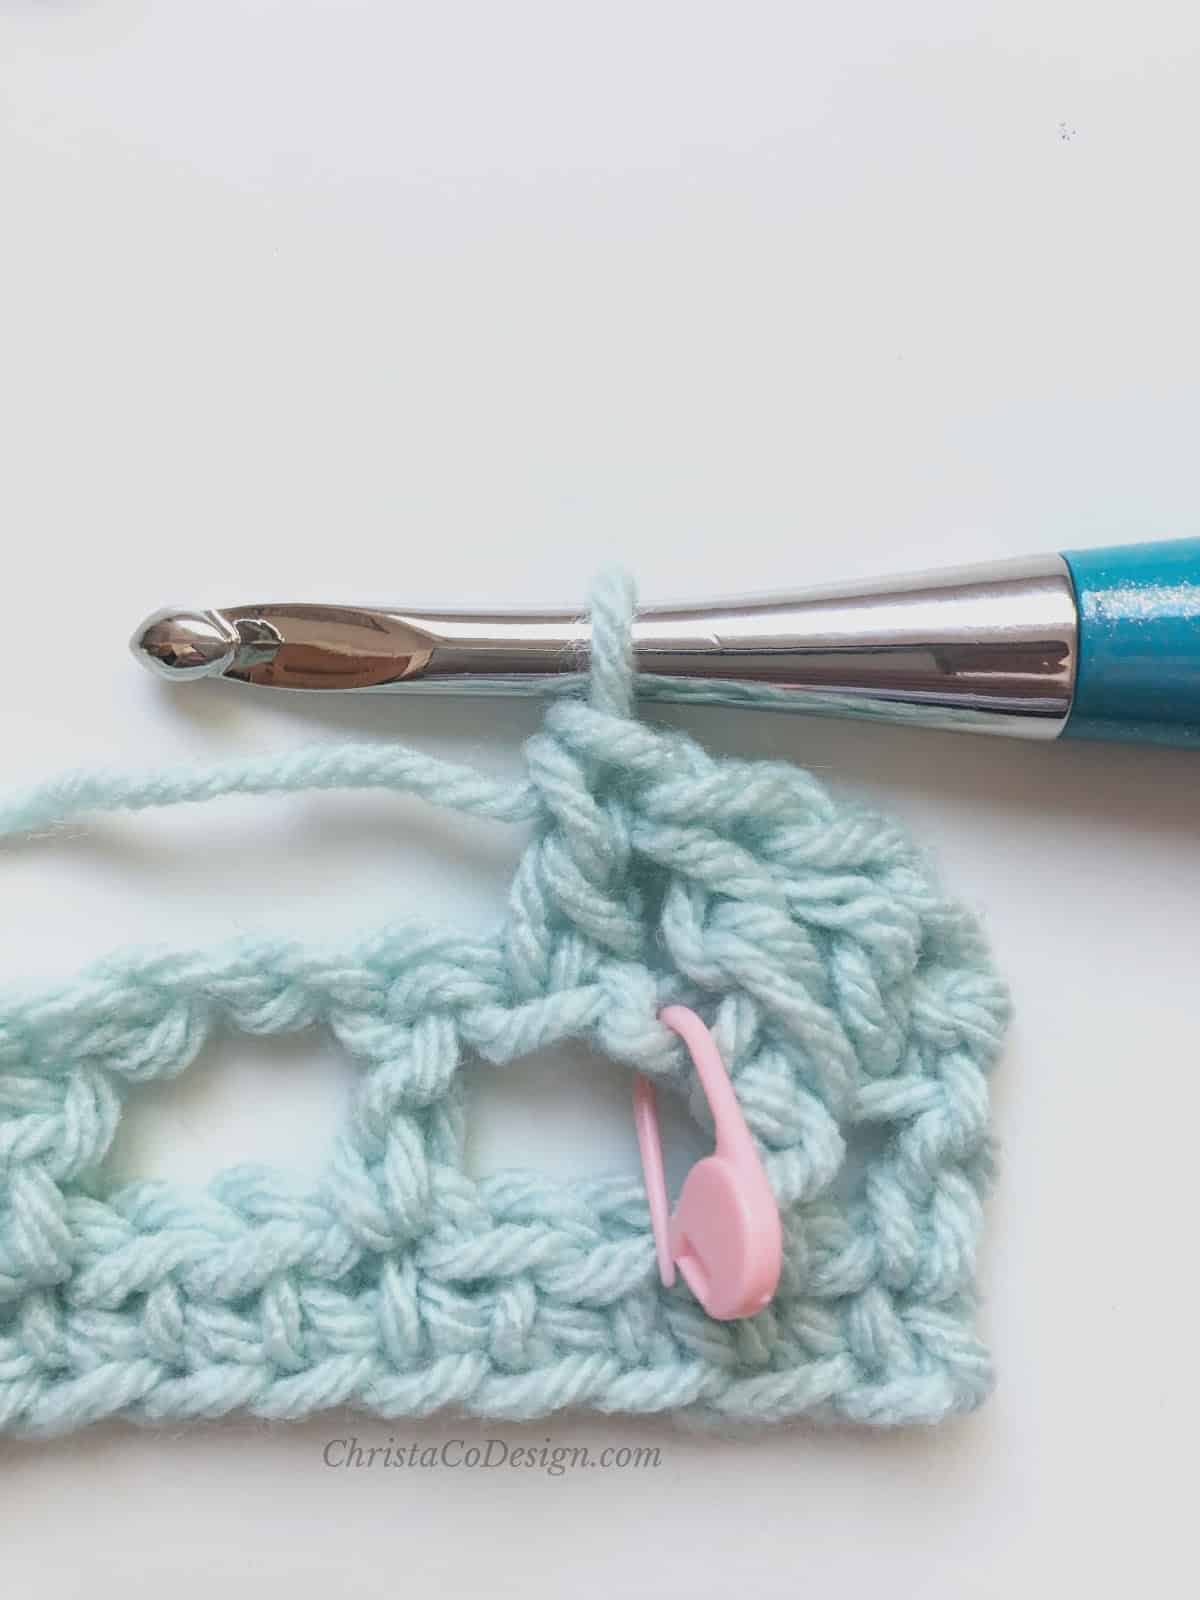
go back, crossing over the dc you just made, dc in skipped ch,
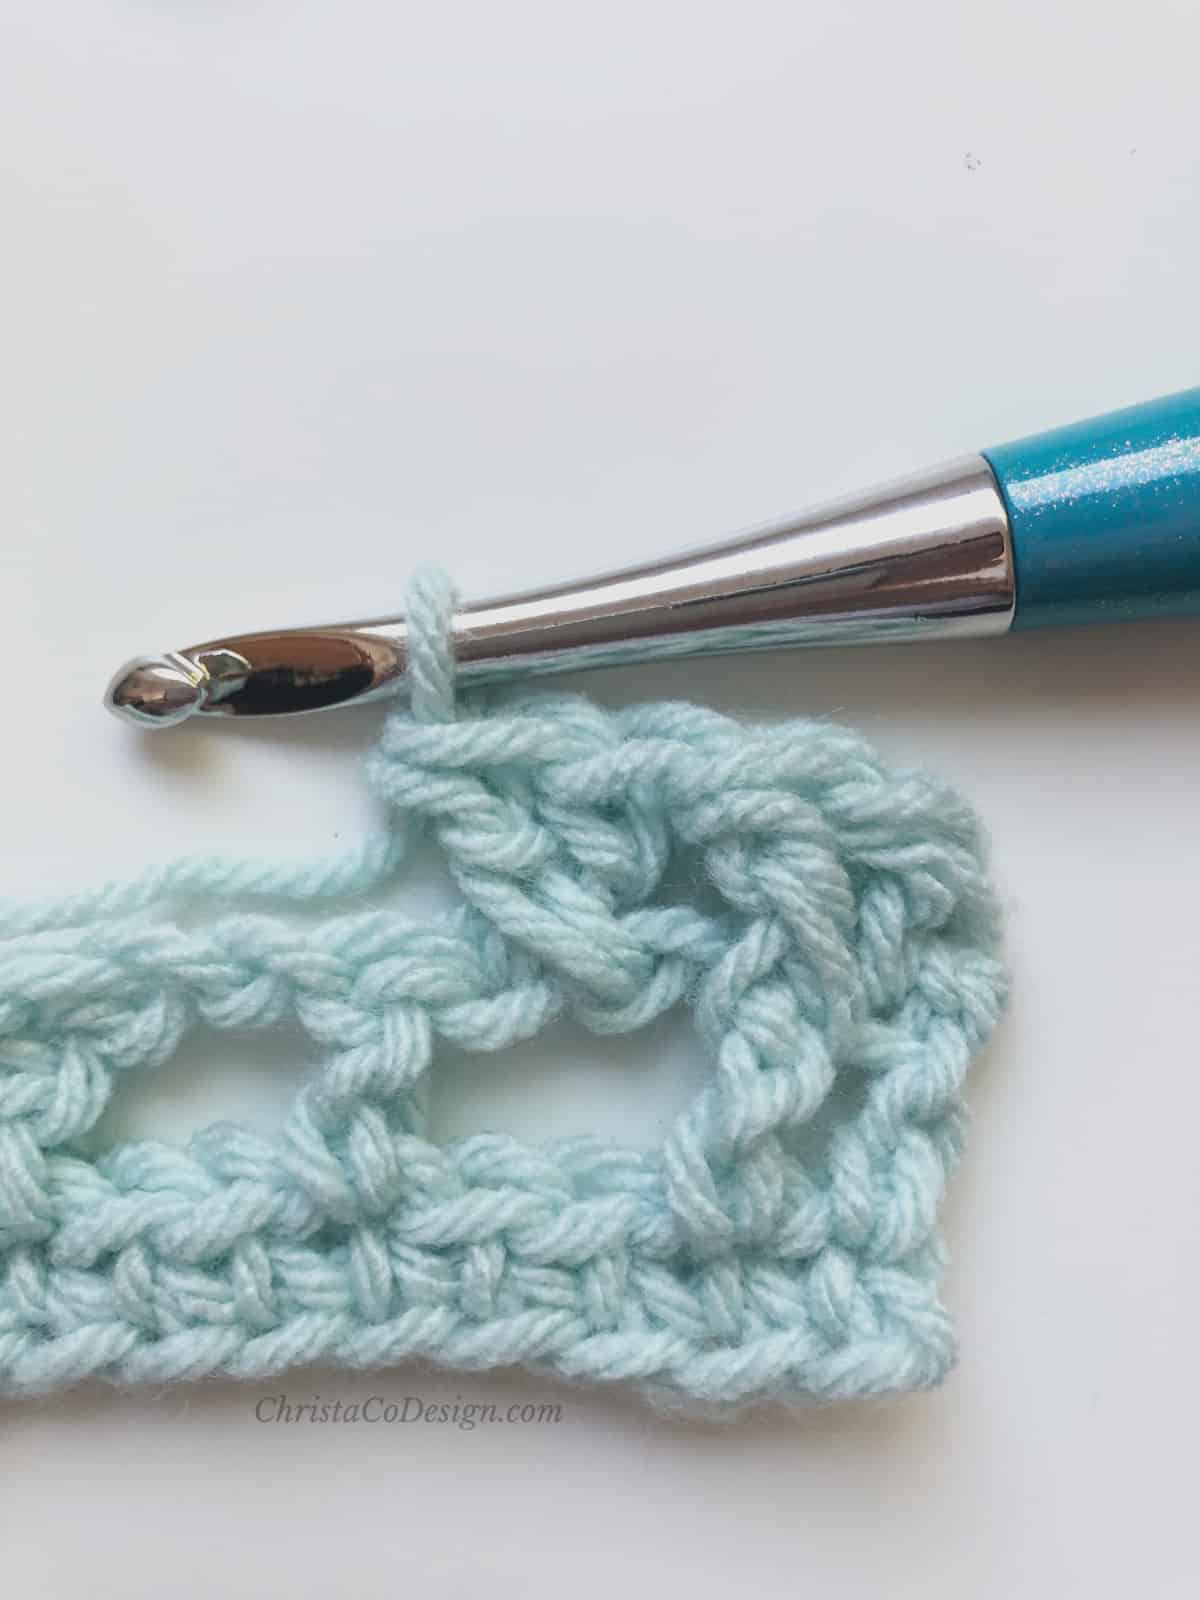
fpdc in next dc,
*{sk next ch, dc in next ch, go back, crossing over the dc you just made, dc in skipped ch, fpdc in next dc} rep from * to one st left, dc in last st, turn. (159, 213, 270, 300) sts
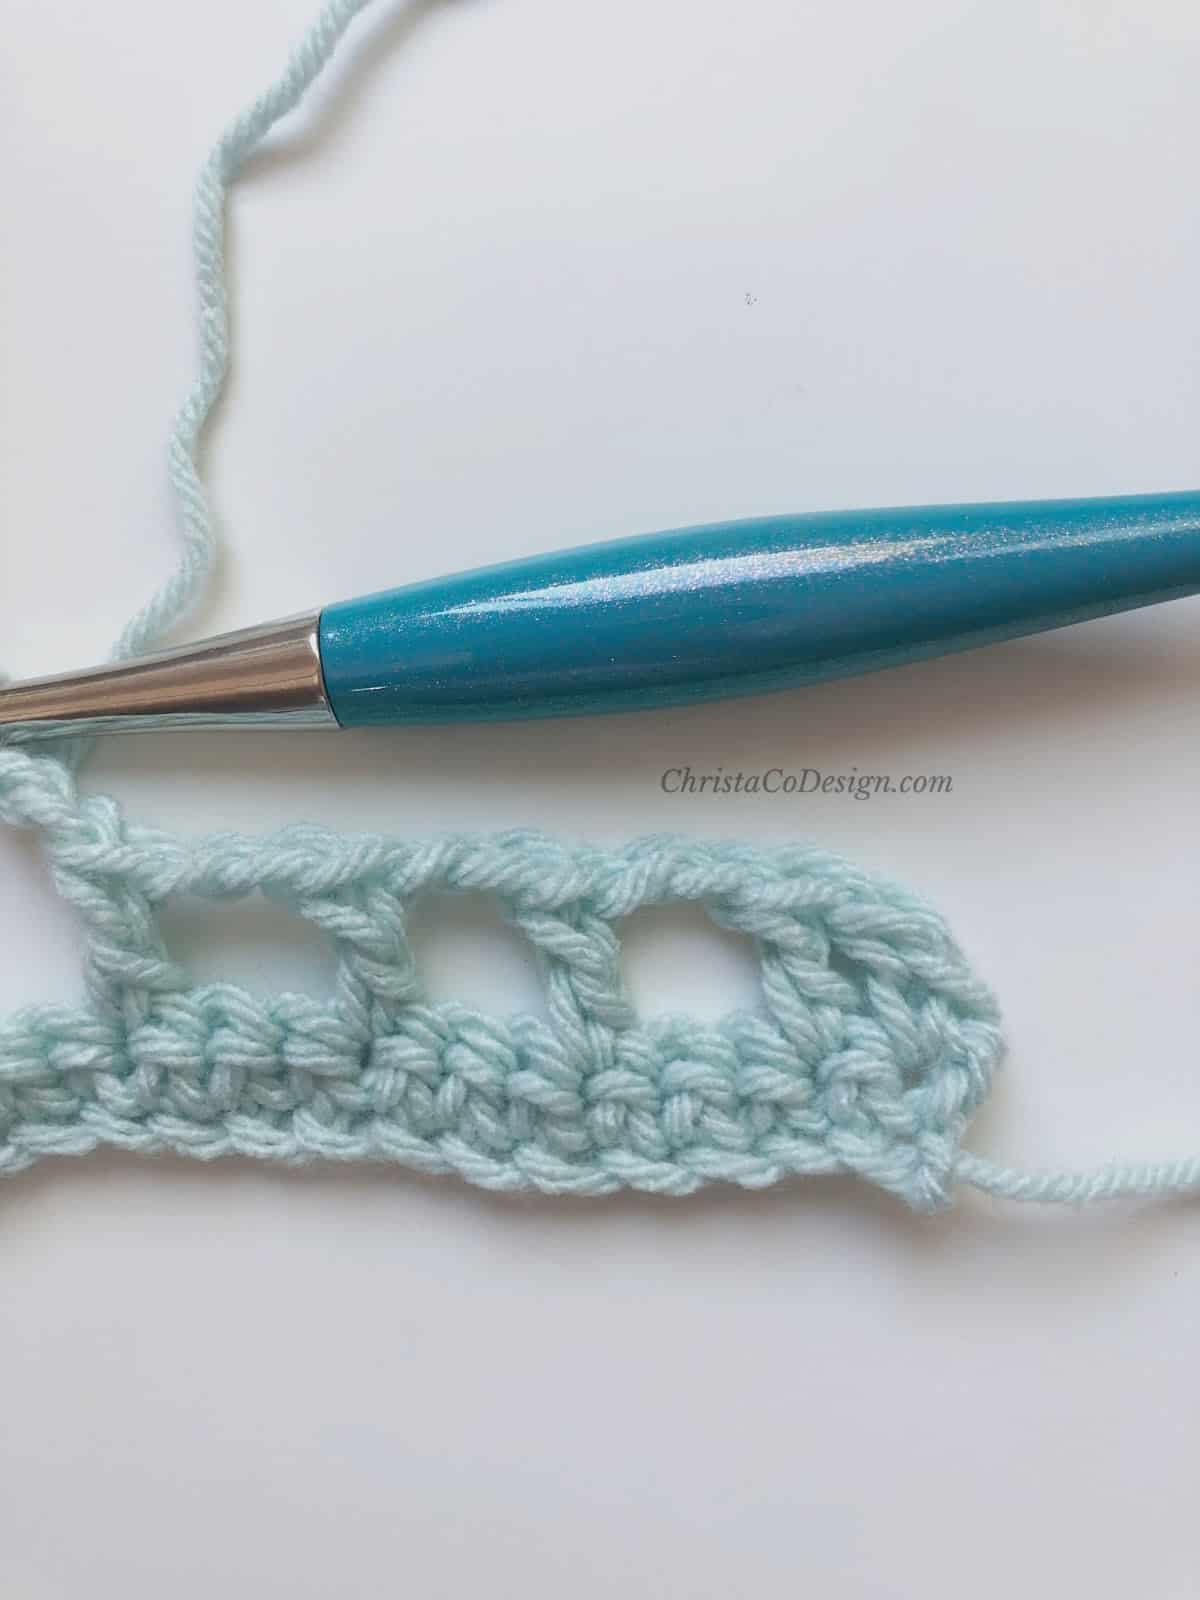
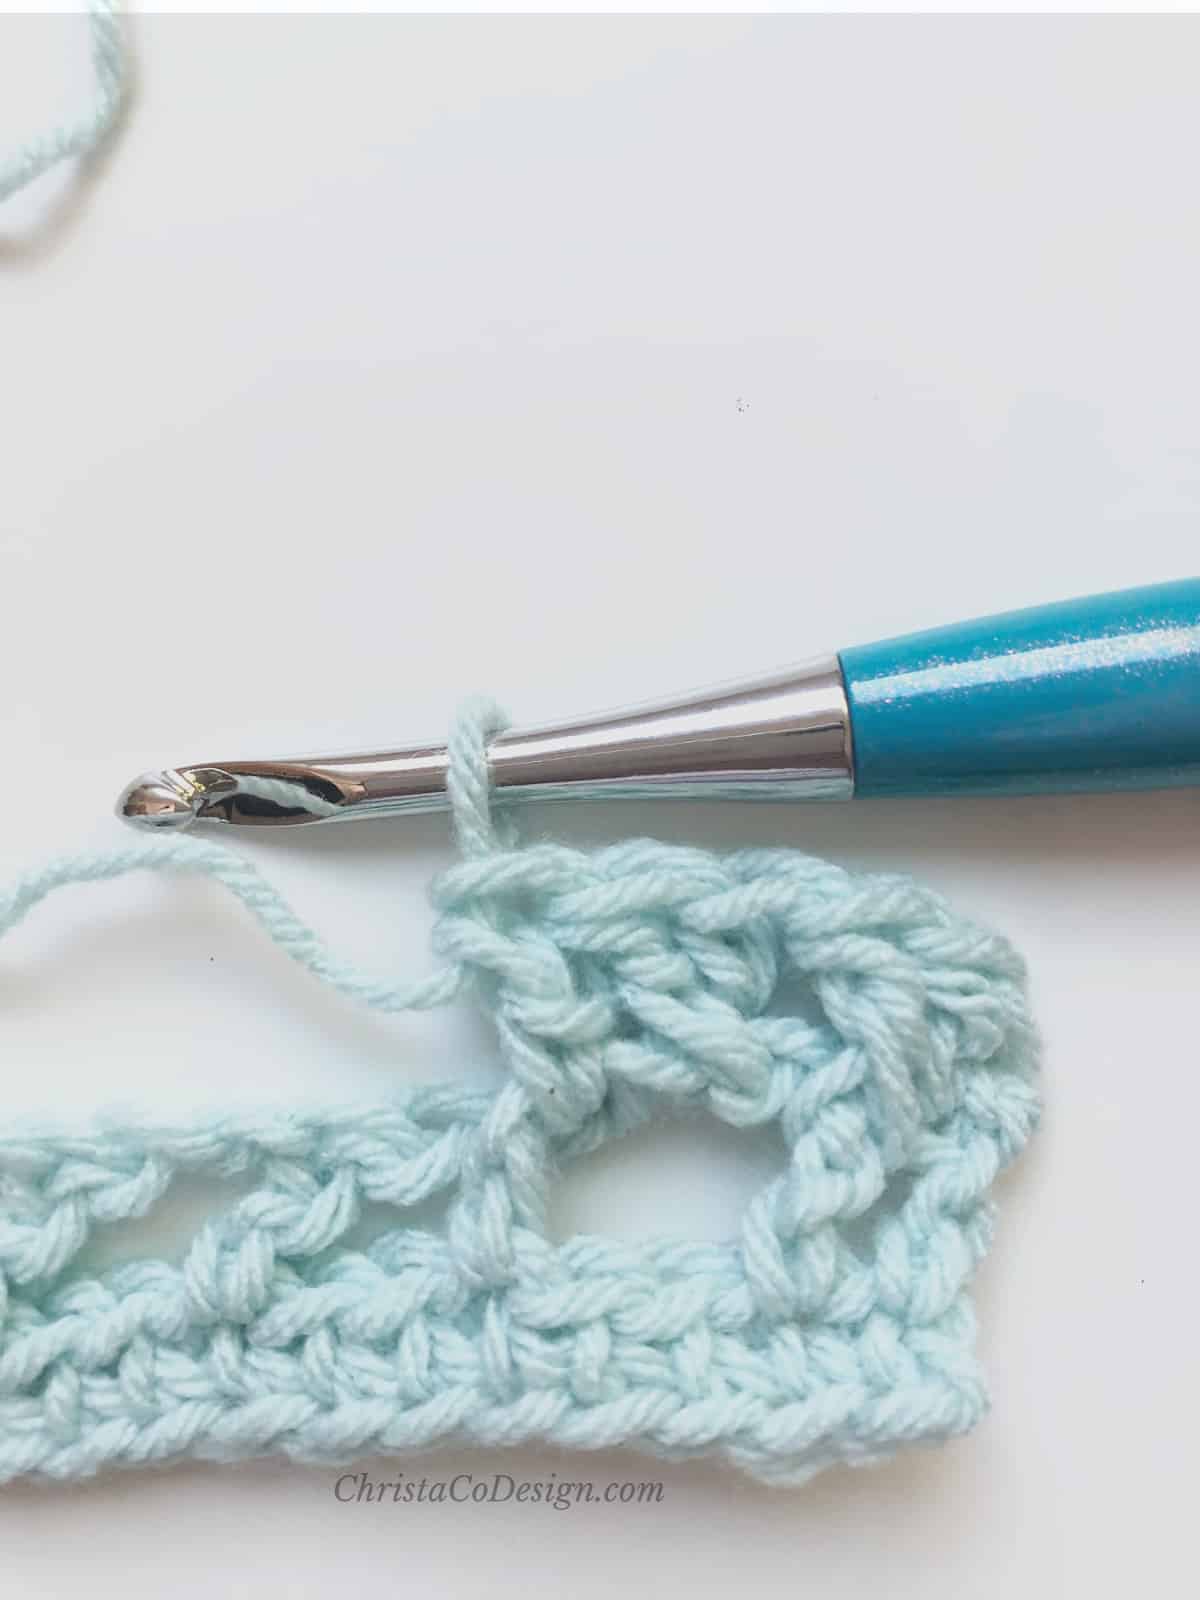
Row 4. Ch 3, bpdc in next st, marked by pink stitch marker below,
ch 2, sk the 2 crossed dcs, bpdc in next st,
*{ch 2, sk next 2 sts, bpdc in next st} rep from * to one st left, dc in top of 3rd ch, turn. (159, 213, 270, 300) sts
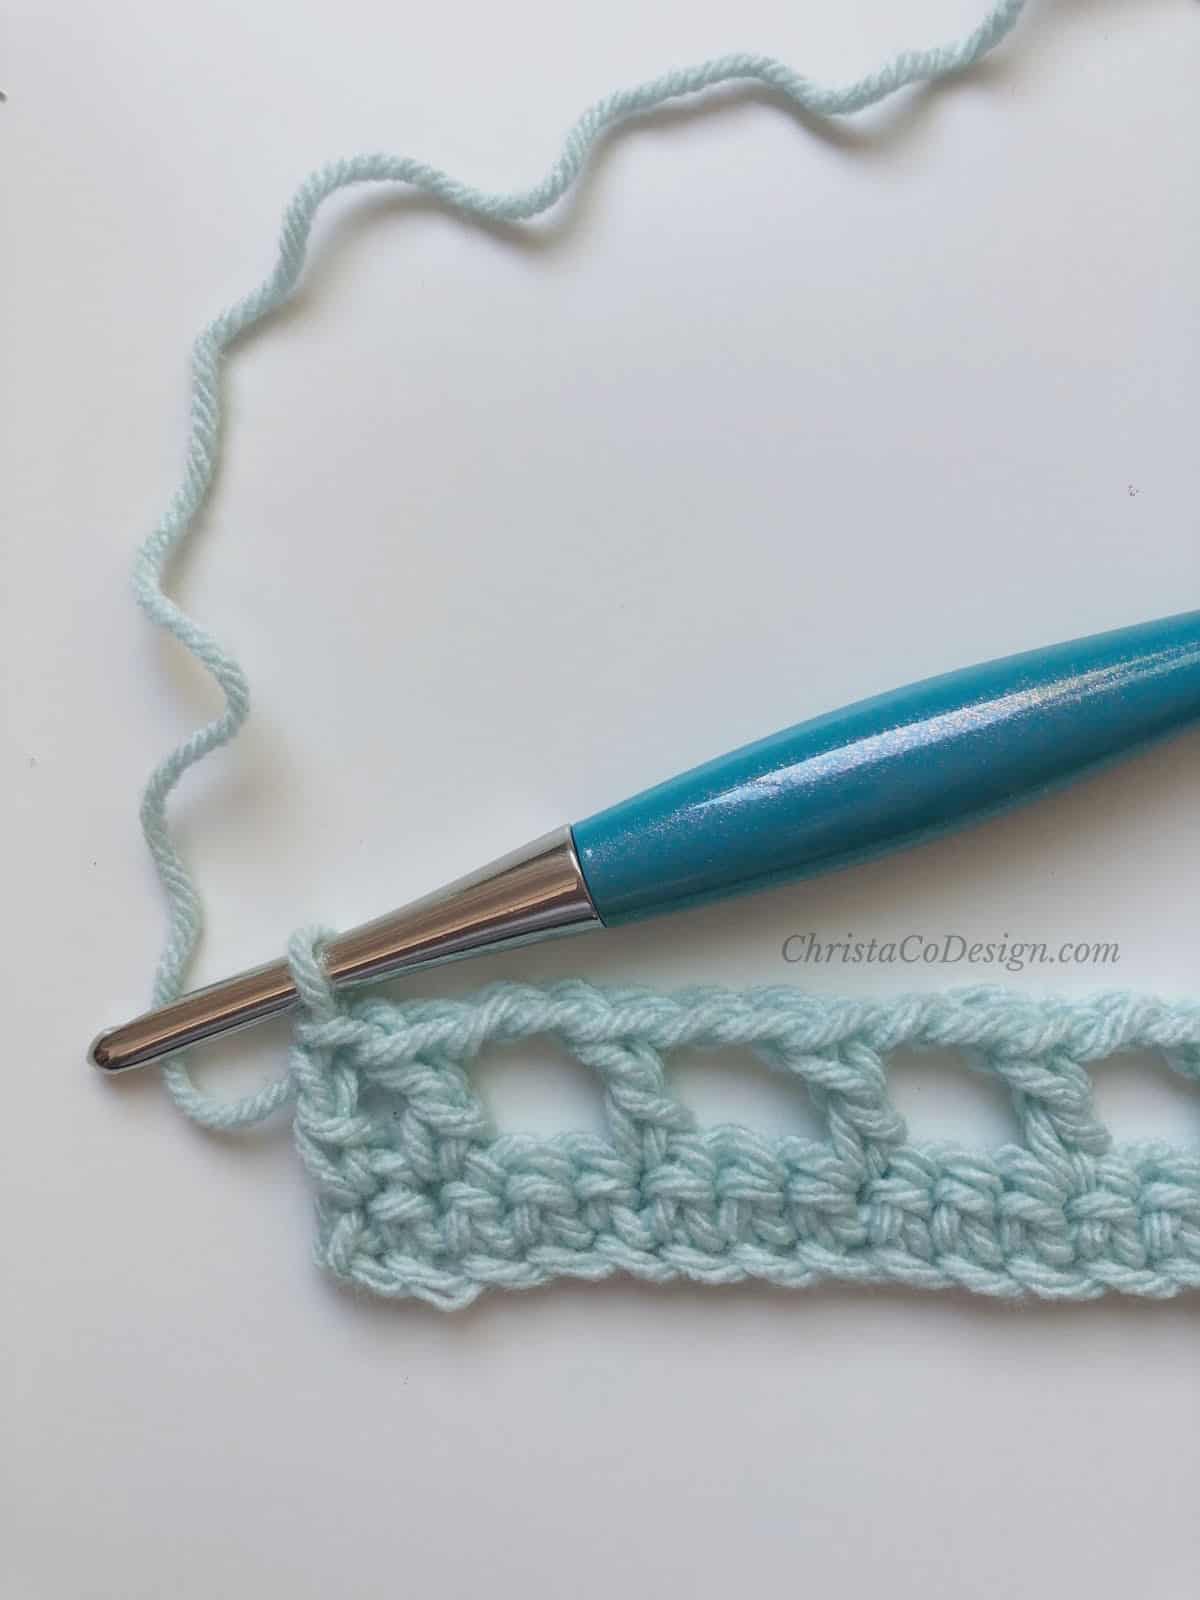
Row 5. Ch 3, fpdc in next st,
*{sk next ch, dc in next ch, cross back to dc in skipped ch, fpdc in next st} rep from * to one st left,
dc in top of ch 3, turn. (159, 213, 270, 300) sts
Color C
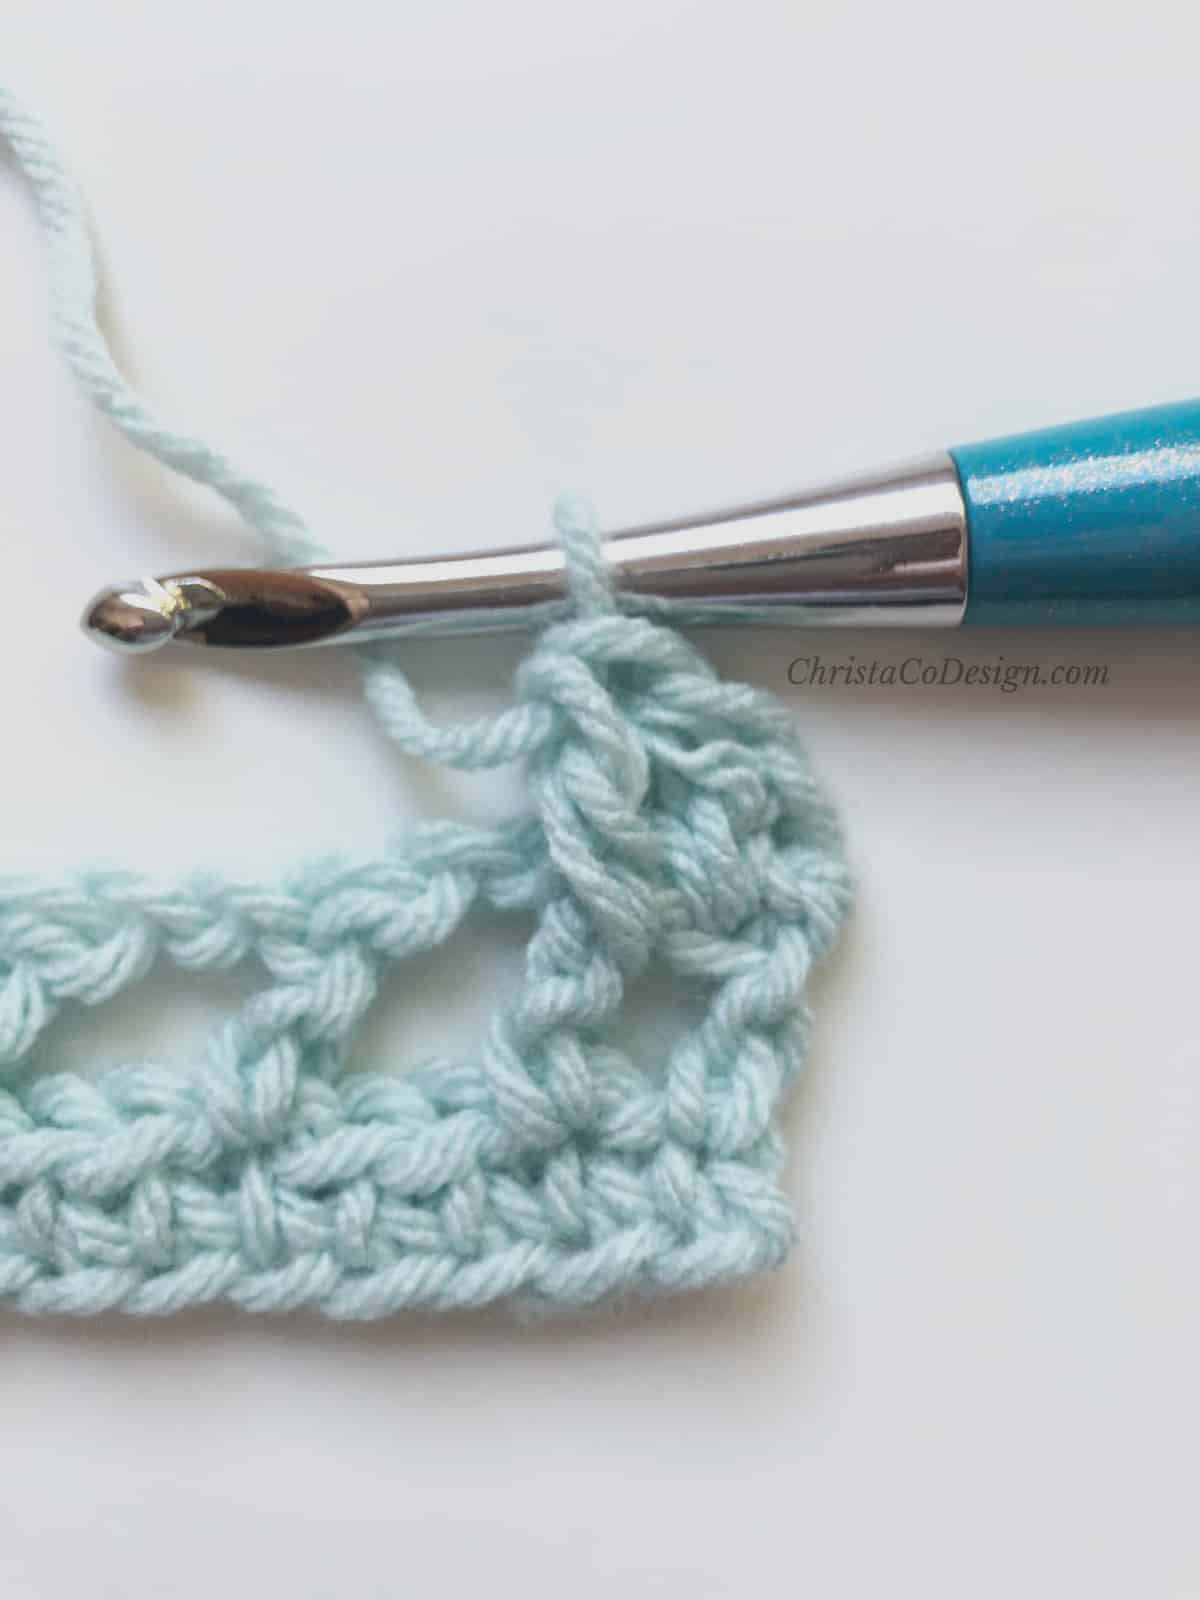
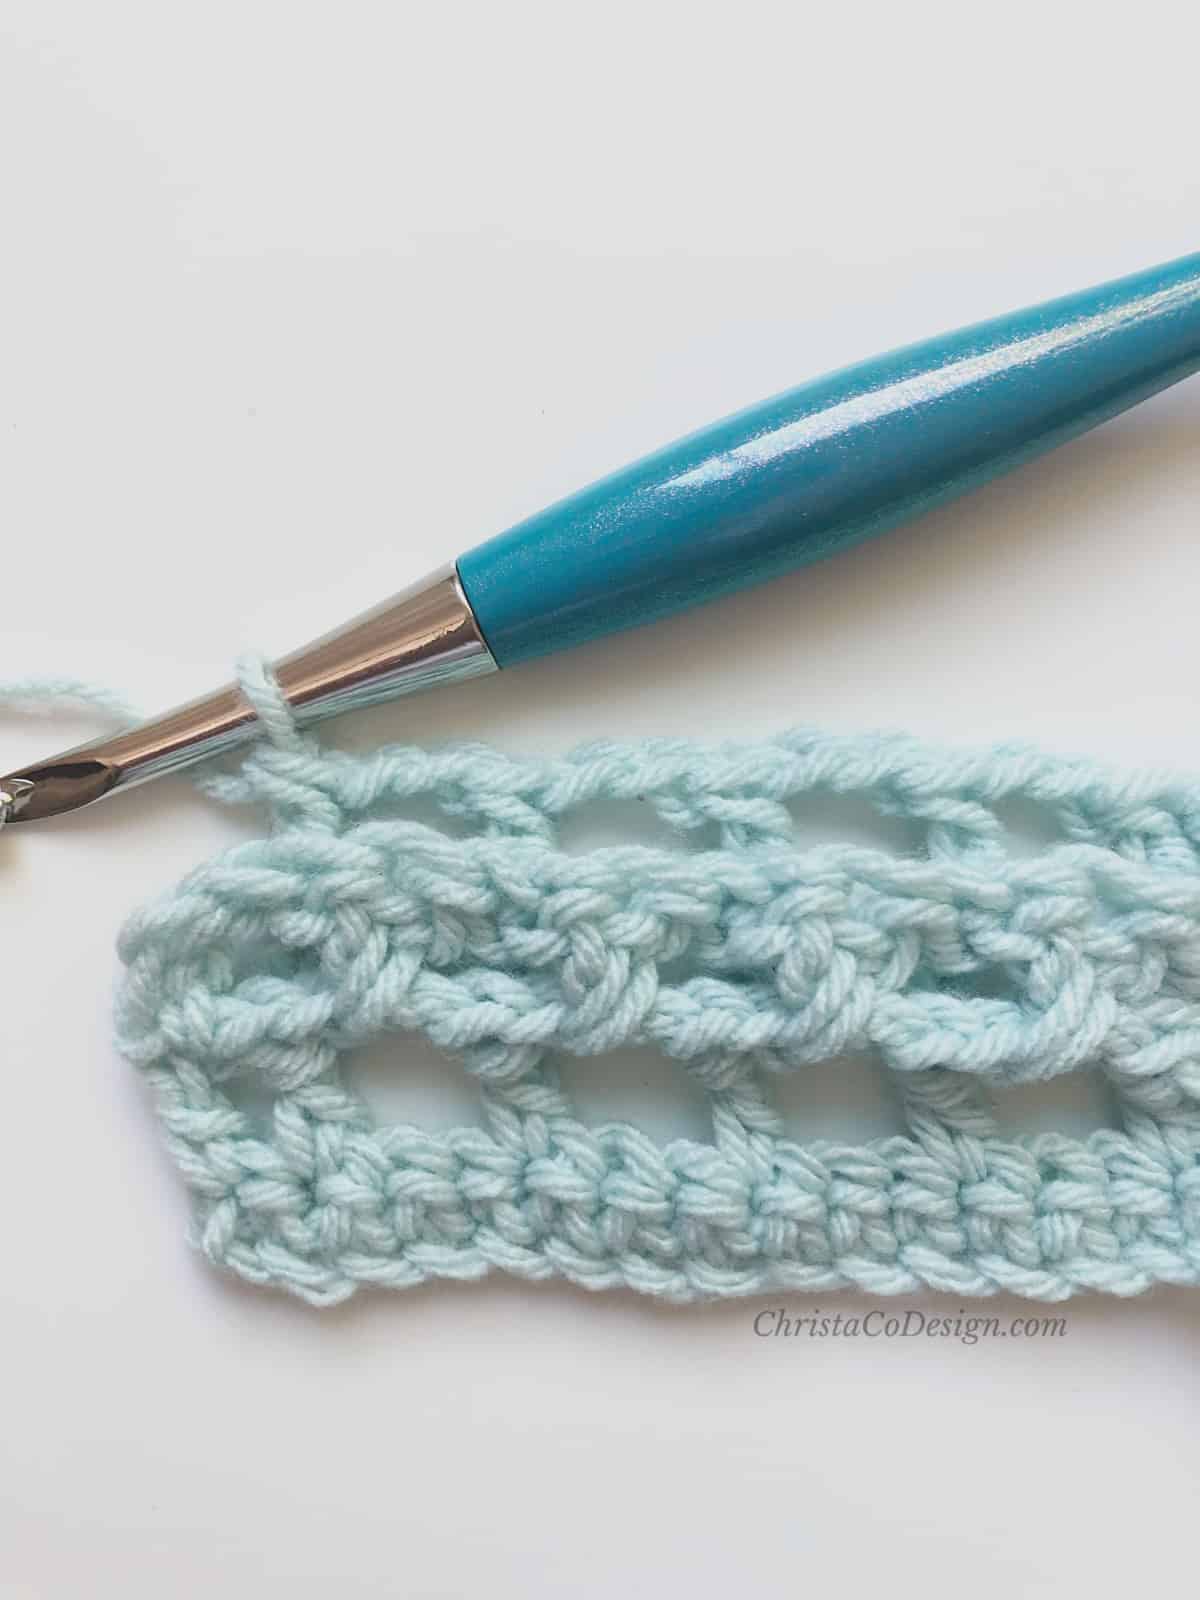
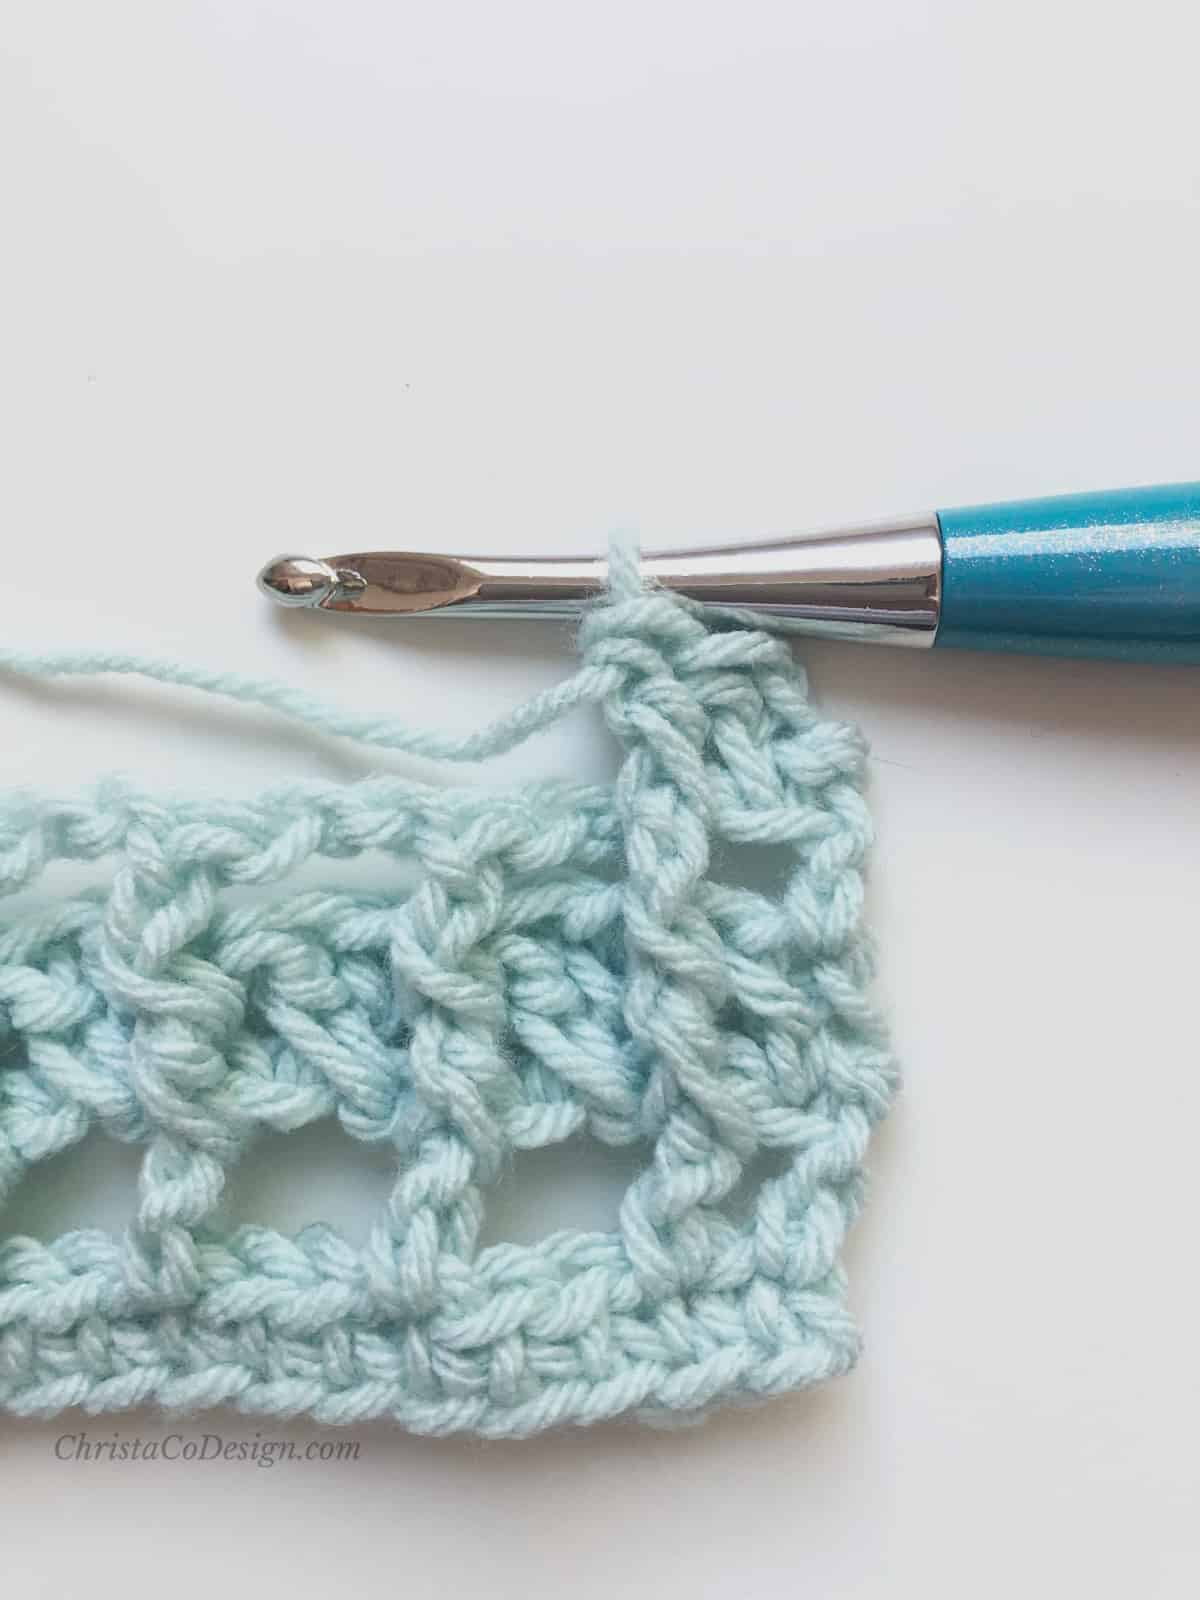
Row 6. Ch 3, bpdc in next st, *{ch 2, sk next two sts, bpdc in next st} rep from * to one st left, dc in top of 3rd ch, turn. (159, 213, 270, 300) sts
Row 7. Ch 3, fpdc in next st, *{ch 2, sk next 2 sts, fpdc in next st} rep from * dc in top of ch 3, turn. (159, 213, 270, 300) sts
Color A
Row 8. Ch 3, bpdc in next st, *{ch 2, sk next two sts, bpdc in next st} rep from * to one st left, dc in top of 3rd ch, turn. (159, 213, 270, 300) sts
Row 9. Ch 3, fpdc in next st, *{sk next ch, dc in next ch, cross back to dc in skipped ch, fpdc in next st} rep from * to one st left, dc in top of ch 3, turn. (159, 213, 270, 300) sts
Color B
Row 10. Rep Row 8.
Row 11. Rep Row 7.
Rows 12-17. Rep Rows 8-9. (You’ll rep these rows for 3 sets)
Color A
Row 18. Rep Row 8.
Row 19. Rep Row 7.
Rows 20-21. Rep Row 8 + Row 7 again.
Color B
Rows 22-23. Rep Rows 8-9.
Color C
Rows 24-25. Rep Row 8 + Row 7.
Color A
Rows 26-31. Rep Rows 8-9. (You’ll rep these rows for 3 sets)
Color B
Rows 32-35. Rep Row 8 + Row 7. (You’ll rep these rows for 2 sets)
Color C
Rows 36-37. Rep Rows 8-9.
Color A
Rows 38-39. Rep Row 8 + Row 7.
Color B
Rows 40-45. Rep Rows 8-9. (You’ll rep these rows for 3 sets)
Color C
Rows 46-49. Rep Rows 8 + Row 7. (You’ll rep these rows for 2 sets)
Color A
Rows 50-51. Rep Row 8-9.
Color B
Rows 52-53. Rep Row 8 + Row 7.
Color C
Rows 54-58. Rep Rows 8-9. (You’ll rep these rows for 3 sets)
Finish off.
Finishing Options
To make this into a cocoon sweater, sew armholes first, then add the ruffle edging. You can see the tutorial on how to sew armholes for a cocoon sweater in the Toddler Crochet Cocoon Shrug Pattern.
Ruffle Edging
Worked in the round.
- Join Color A with sl st to bottom left corner when the right side is facing you. SC evenly around the 3 edges (your foundation row will already be in sc). Place 2 sc per dc/ch 3. Place 3 sc in each corner. Join with a sl st to foundation sc row (color a) at opposite corner.
- Ch 3, dc in same st, dc in next st, *{2dc in next stitch, dc in next st} rep from * around, join with a sl st to top of ch 3.
- Ch 3, dc in same, dc in each of next two sts, *{2dc in next st, dc in the next st, dc in next st} repeat from * around, sl st to top of the ch 3.
Cut yarn and Weave in ends.
Styling
As is, your wrap can be used with a shawl pin or loose, as shown in the picture. Or you can add a button, if desired to close in the front.
It’s a suitable size for a small lap blanket, if you keep the pattern going you could make it more blanket size as well.
This is what I did with mine and I really like the way the ruffles fall-Fold wrap in half lengthwise, matching corners. With a yarn needle and length of matching yarn sew the corners together at the first round of the edging.
I hope you love your wrap as much as I love mine!
Please don’t hesitate to ask if you have any questions.


Ive been looking everywhere for a light and simple shawl pattern to use for my new Lion Brand mandala yarn and oh boy this is neat! I love the front post stitches, and the ruffle with the way you created a sleeve is super extra special as a Finishing Touch!
I also have Caron big cakes yarn and am buying a bunch of the Caron one pound tonight. I’m going to have a hard time choosing the lucky yarn that gets to become this gorgeous wrap.!
thank you so much!6
Thank you! All those sounds so lovely! Choosing is so hard! Good luck, I hope you enjoy the pattern! I’d love to see it if you feel up for sharing when you finish ?
This looks so cozy. I love it!
Thank you!