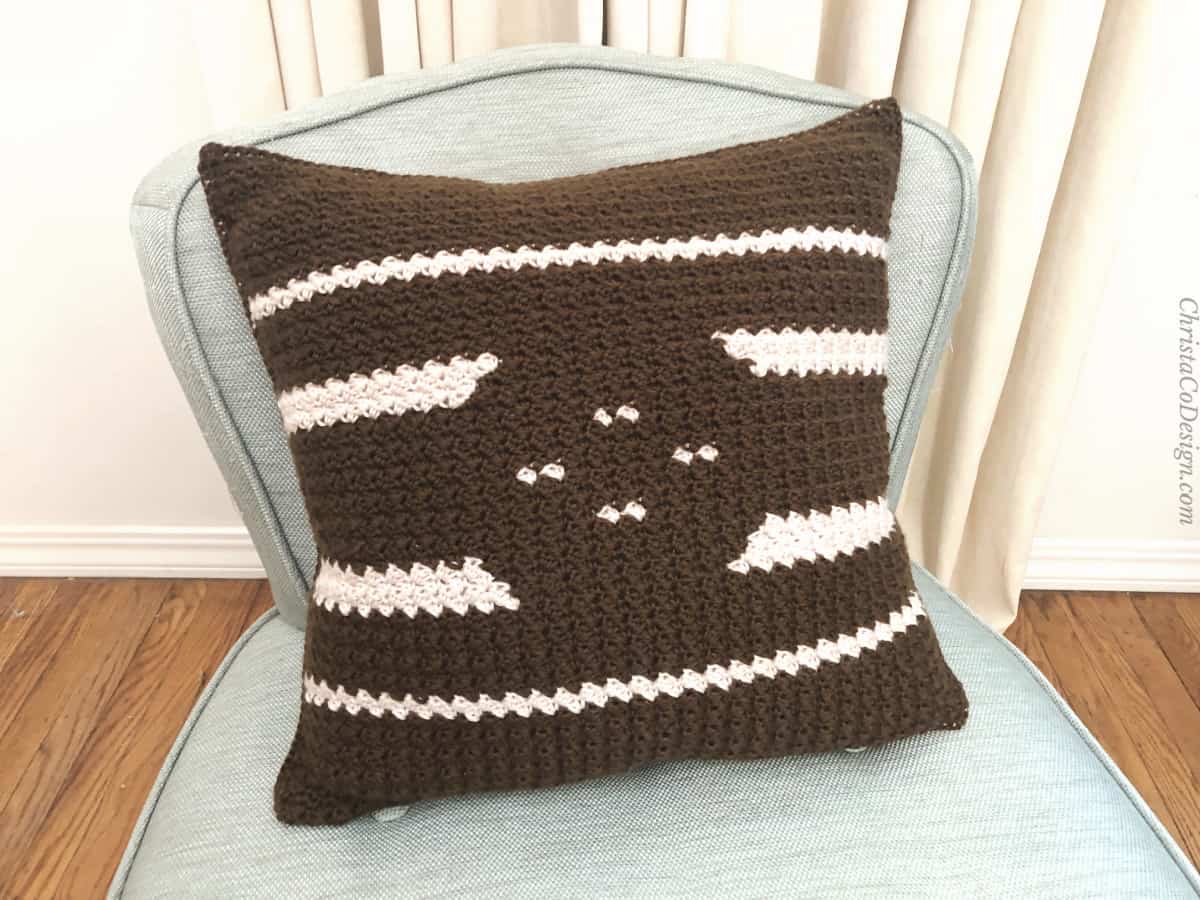
How to Crochet an Envelope Pillow Pattern the Piazza Pillow
Learn how to crochet a textured crochet envelope pillow cover. This easy crochet pillow case pattern is removable so you can wash it.
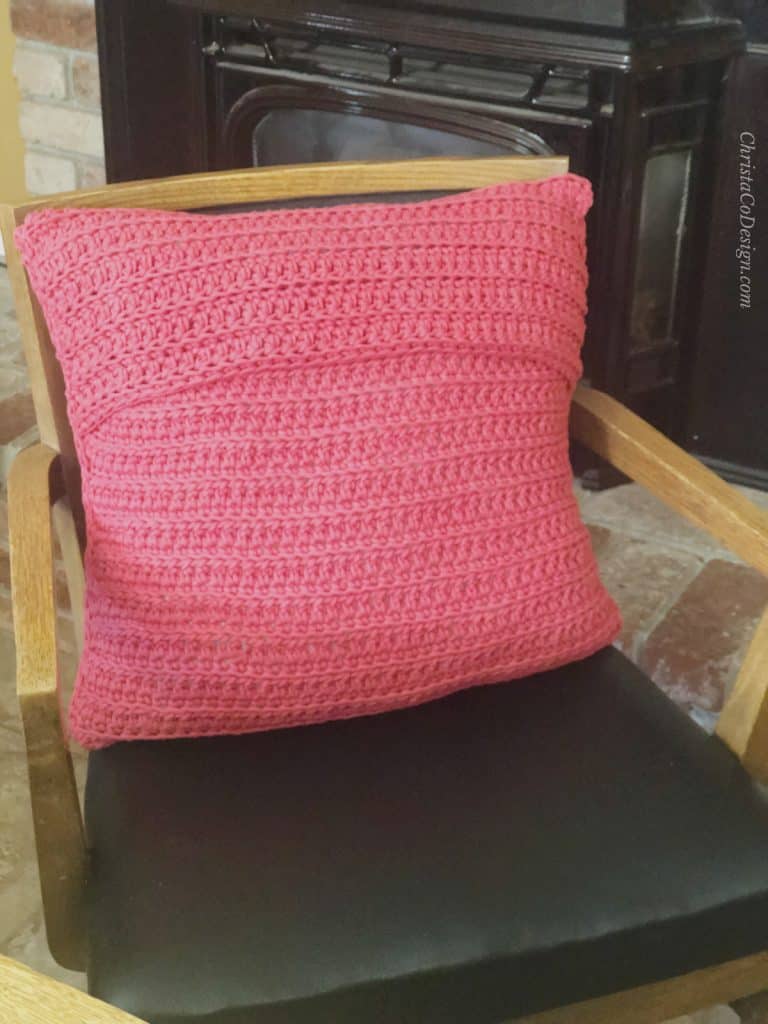
The Piazza Crochet Pillow pattern is designed to overlap so that you can pull it open and remove the pillow. This allows you to wash that crochet pillow cover. Which means you can actually use it around the house.
Customize your crochet pillow even more by adding buttons, fringe or tassels. I considered adding buttons to the envelope closure side to make both sides decorative. The possibilities are endless!
This post contains affiliate links, I may earn a fee. Read more disclosure policy.
Purchase the ad-free, well formatted printable PDF Pattern from my shop. Scroll down for the free pattern!
You Can Purchase My Ad-Free PDF Patterns Here:
The Inspiration For This Pillow
Adding a throw pillow to your dining room chair is a tough decision. Well, it was for me. I really needed a pillow because I’m short and our chairs are so deep.
You can purchase an affordable, ad-free downloadable pdf of this crochet pattern in my Etsy shop. Scroll down for the free pattern.
However, I’m also a mom, of four elementary age kids. So our dining room feels more like a school lunch table most of the time. Needless to say, I was a bit worried about the mess.
Especially if said mess ended up on my handmade crochet pillow. I didn’t really have to consider this problem when I designed the Lombardy Crochet Pillow. It was designed for my office chair, so no kids, no food and I could just seam it up.
But adding a crochet throw pillow to my dining chair is another matter. I decided on a removable crochet pillow cover. So I can simply wash it, as often as needed.

For the Piazza Crochet Pillow I chose a 20″ x 20″ cushion to cover. Included with this pattern are other common square pillow sizes. Plus a chart for lengths, so you can crochet a rectangle pillow if you want. Just refer to the charts for your widths and lengths.
The chart includes pillow cover lengths by size for the envelope closure. You can easily adjust this, as you only need to add or subtract rows.
01
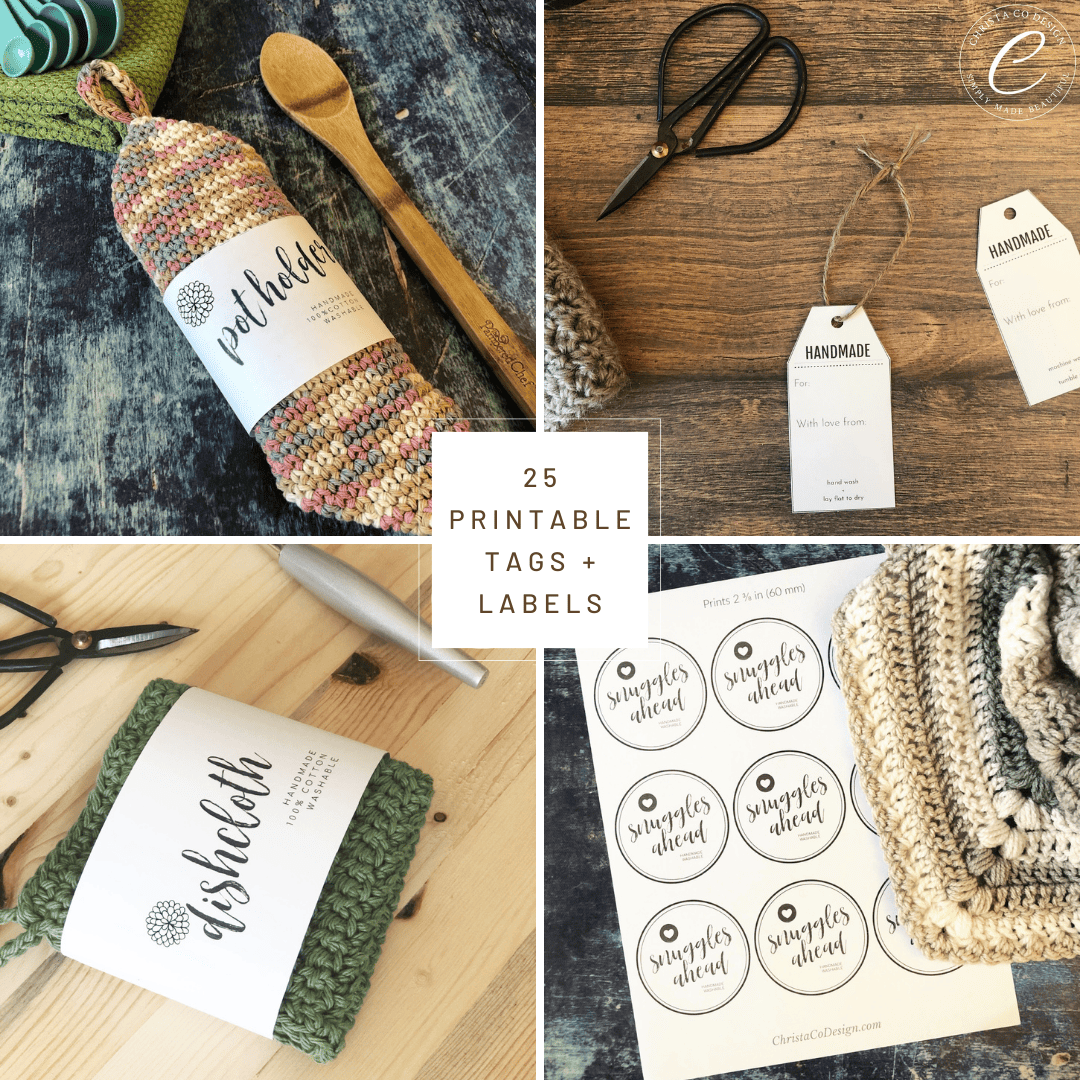
Get our free printable
With 25 of our best handmade gift tags
This ebook includes our top 25 reader favorite gift tags and labels that you are sure to enjoy as well! Enter your email below to download our beautiful handmade tags!
Yarn
I love crocheting with Bernat Maker Home Dec yarn for crochet throw pillows and home decor. The unique construction of the yarn makes it durable and anti-pilling. These are essential for throw pillows that you actually plan to use.
The Lombardy Crochet Pillow Pattern turned out so amazing with this yarn. I used one ball of Bernat Maker Home Dec yarn in Pebble Beach for a 12″ x 18″ lumbar pillow. The lemon peel stitch crocheted up great for the variegated yarn.
Can I substitute yarns?
Absolutely. You want to choose a yarn that will hold up to use, especially if you plan to use it on your couch or dining chair. Lion Brand makes a yarn called Sponge Cake that is similar in construction and also a #5 bulky yarn.

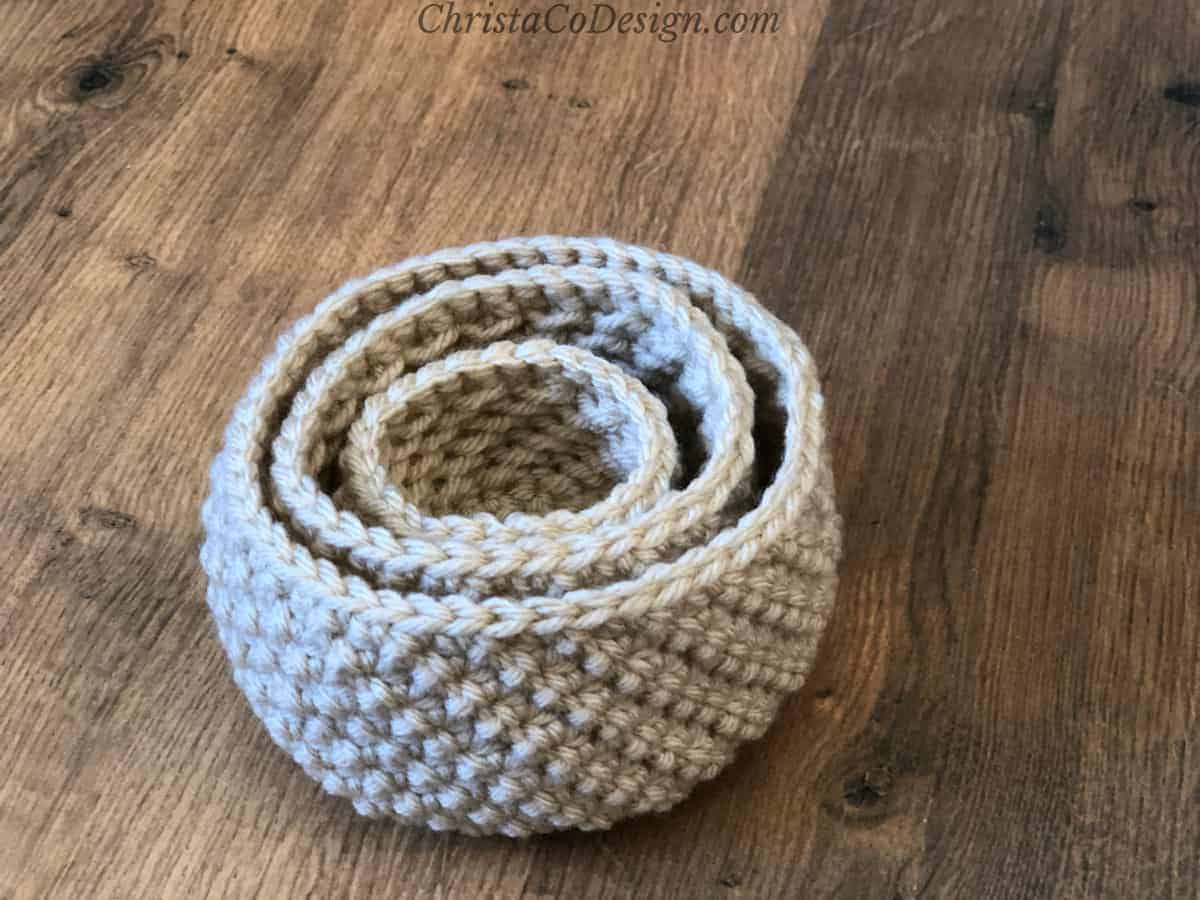
I love these round baskets Rebecca from Yarn + Chai designed with Bernat Maker Home Dec yarn. This yarn makes fantastic useful projects for home.
Add this pattern to your Ravelry queue.
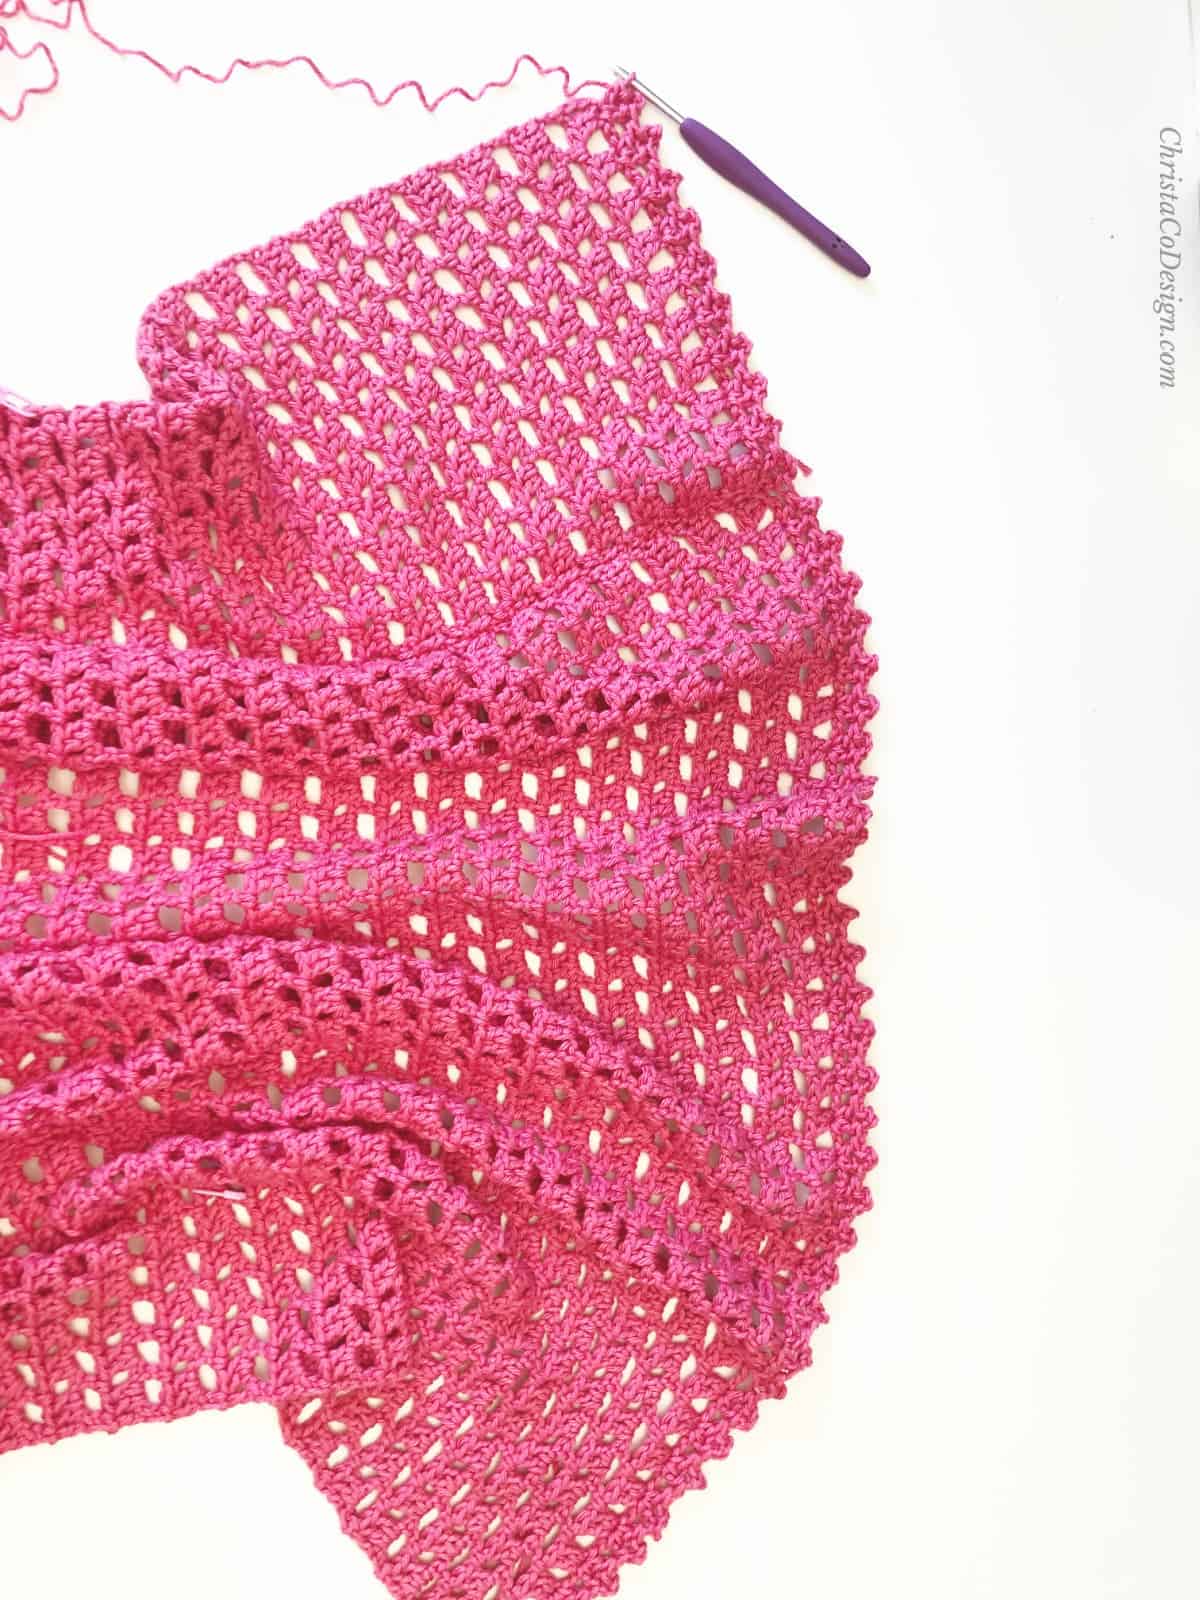
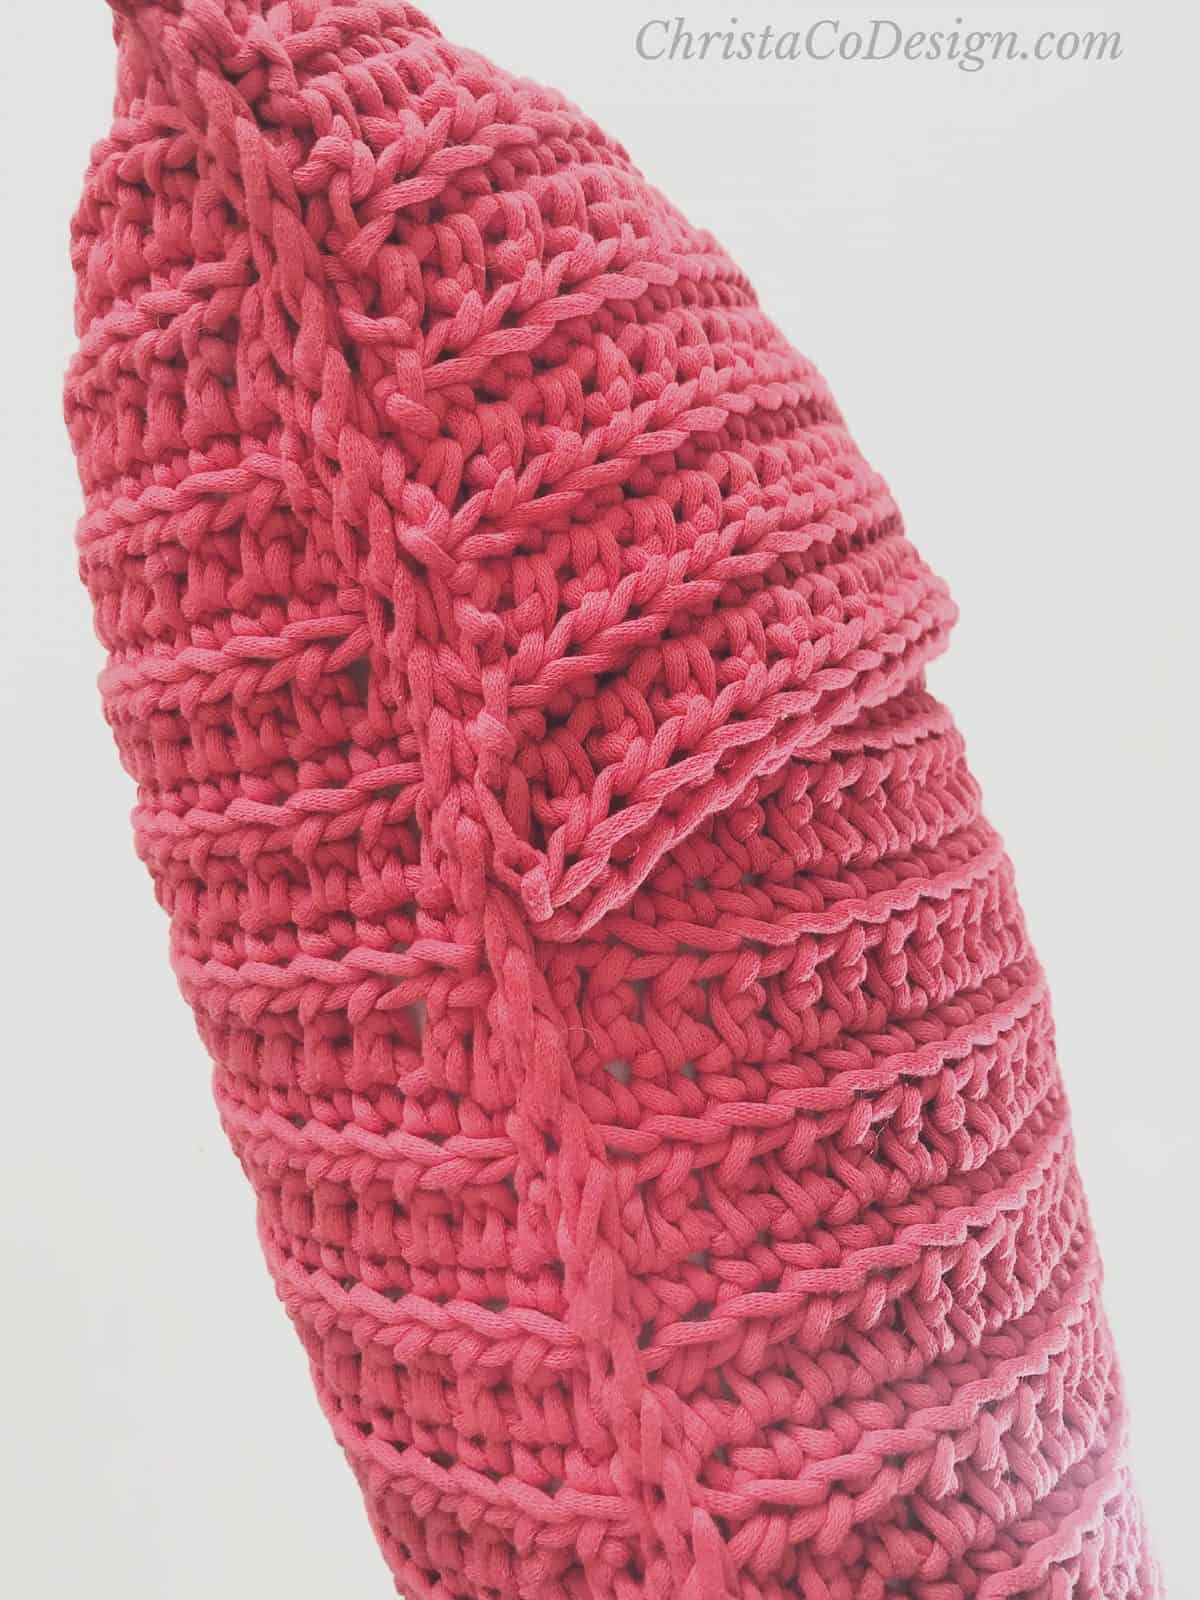
Stitch
For this crochet pillow pattern I used two stitches in a simple two row repeat. The half double crochets are worked into the blo-or back loop only. Normally you crochet under both loops, so this adds to the texture.
The other stitch is the extended half double crochet. This one is crocheted by making a chain 1 extension before the regular hdc. I have a post explaining exactly how to crochet extended half double crochet stitch if you’d like a detailed tutorial.
The texture created with these two stitches is perfect for an otherwise simple pillow design. I love the easy ribbed effect of these half double crochet stitches together.
You can purchase an affordable, ad-free downloadable pdf of this crochet pattern in my Etsy shop. Scroll down for the free pattern.
Notes
- Ch 1 and Ch 2 at the start of a row does not count as a stitch.
Stitches/Abbreviations (US Terms)
sk – skip the indicated stitch
ch(s) – chain(s)
st(s) – stitch(es)
rep – repeat
hdc – half double crochet
Fhdc – foundation half double crochet
blo – back loop only
exhdc – extended half double crochet
Skill Level
Easy
Gauge
4” x 4” = 9 hdc x 9 rows of hdc
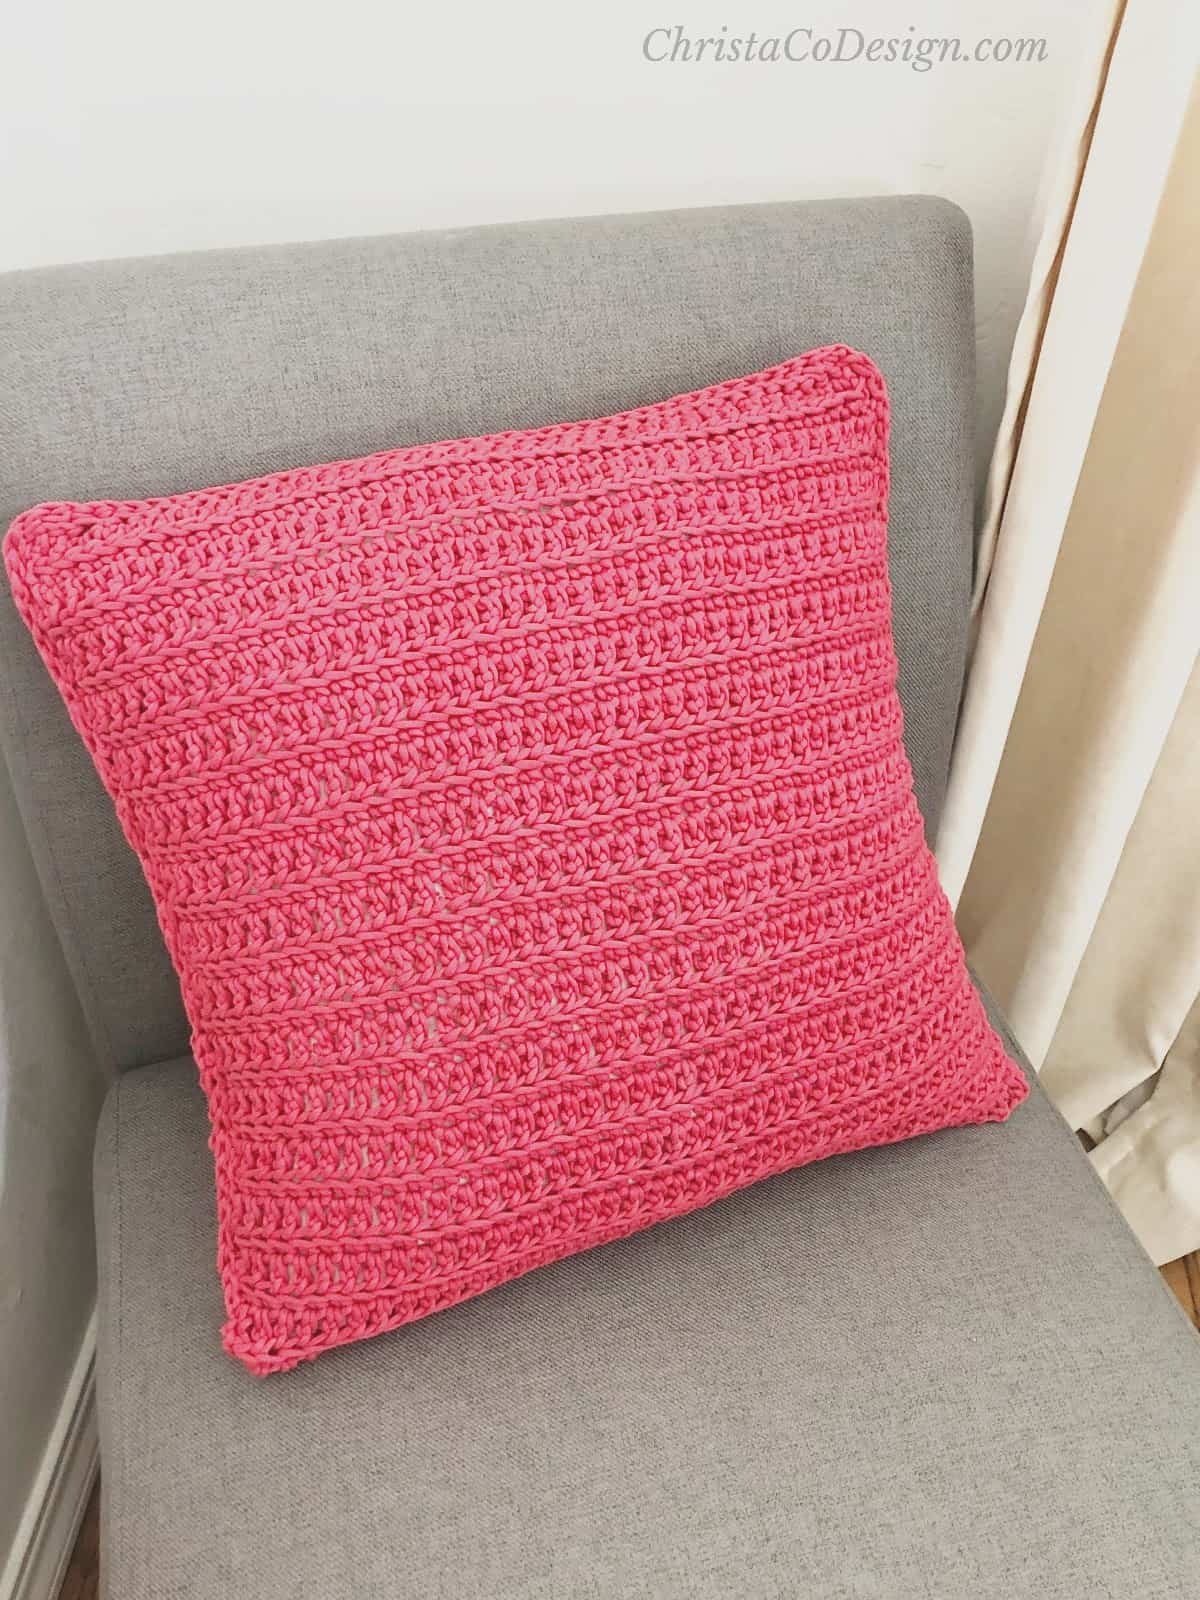
The Construction For This Crochet Envelope Pillow
This crochet pillow case is worked flat, in one long rectangle. The pillow cover is designed to overlap the pillow in an envelope fold. This makes the pillow removable and the crochet pillowcase washable.
Fit/Adjustment
| To Fit a Pillow Width | Start with a Chain of |
| 12” | 24 |
| 14” | 28 |
| 16” | 32 |
| 18” | 36 |
| 20” this pattern | 40 |
Lengths For Crochet Envelope Pillow Overlap by Size
| To Fit a Pillow Length of | Flap Overlap | Repeat Until Fabric Measures |
| 12” | 4″ | 28″ |
| 14” | 5″ | 33 |
| 16” | 5″ | 37 |
| 18” | 6″ | 42 |
| 20” this pattern | 7″ | 47 |
*Feel free to adjust the length of your overlap, as needed.
Purchase the ad-free, well formatted printable PDF Pattern from my shop. Scroll down for the free pattern!
20″ Crochet Pillow Pattern

How to Crochet an Envelope Pillow Pattern
Crochet a long rectangle and seam it for a removeable pillow cover.
Materials
- 634 yds #5 bulky weight yarn, pillow pictured is Bernat Maker Home Dec Yarn in Woodberry.
- Pillow form, pictured is 20” x 20” see chart for more
Tools
- 8mm hook
- Yarn needle
- Measuring tape
- Scissors
Instructions
- Fhdc 40 or chain 41, hdc in 2nd ch from hook and in each ch across, turn. (40 sts)

- Ch 2 (does not count here + throughout), in same st exhdc and in each st across, turn.
- Ch 1 (does not count here + throughout), in same st blo hdc in each st across, turn.
- Rep Rows 2-3 until your fabric is the length needed to cover your pillow.


Finishing
- Cut yarn. Wrap fabric around pillow. Fold excess down over pillow to form the envelope flap.
- Pin along edges to secure. Join yarn with a sl st to upper corner. Slip st down edge, be sure to go through all layers.
- I chose to create a visible seam by slip stitching on the outside. You can slip stitch all the way around the pillow for a "piping" look.


Notes
See Chart above for suggested lengths by pillow size.
Recommended Products
As an Amazon Associate and member of other affiliate programs, I earn from qualifying purchases.