
Toddler Bow Tie Pattern
Spruce up a special boy’s outfit with a snazzy bow tie. Follow this photo tutorial to create a boy’s bow tie that will leave him picture perfect!
Learn how to sew up a new bow tie for your toddler to wear for Easter, Christmas, or even a birthday. This step by step sewing tutorial includes written instructions and photos to help you sew your own bowtie.
These bow ties are so quick and easy! As a mom of three boys, I take any opportunity to smarten up an otherwise regular outfit, and birthdays definitely qualify.
This post contains affiliate links, I may earn a fee. Read more disclosure policy.

Materials:
- 1/8 yd cotton fabric
- 1/8 yd lightweight interfacing (fusible webbing)
- Sewing machine
- matching or contrasting thread
- scissors
- iron
- velcro
Scroll down for the toddler bow tie tutorial!
Toddler Bowtie Sewing Tutorial
Learn how to sew up a snazzy new bow tie for your toddler to wear for Easter, Christmas, or even a birthday.
Materials
- 1/8 yd cotton fabric
- 1/8 yd lightweight interfacing (fusible webbing)
- matching or contrasting thread
- velcro
Tools
- Sewing machine
- scissors
- iron
Instructions
- Measure:
If you have the shirt you’d like to pair with your bow tie I recommend measuring the neck of it to get your best fit. If not, you can use my measurements, which should work for ages 2-4. - Cut:
One 17″ X 2 1/4″ strip of your fabric for the neckband (Or length you measured X 2 1/4″)
One 9″ X 5″ rectangle of your fabric for the bow tie; this will fit ages 2-4, if I were making one for an older boy, I’d and 1/2″ to both measurements.
Next cut one 8 3/4″ X 4 3/4″ rectangle of your fusible webbing (just smaller than your fabric rectangle)
Cut one 3′ X 2″ rectangle of your fabric for the center of your bow tie
Once your pieces are cut, iron the webbing onto the wrong side of your fabric rectangle.
*Your webbing should come with directions. One side is bumpier than the other, this should be the side touching your fabric (it’ll turn to glue and stick to your fabric) so don’t iron directly on the bumpy side. Webbing bumpy side goes on the wrong side of your fabric. So on my ironing board I would lay down my webbing with the bumpy side up, lay the fabric face up on top of the webbing and then iron on top of the fabric which will adhere the webbing to the fabric. Here’s a pic of it flipped over (after ironing).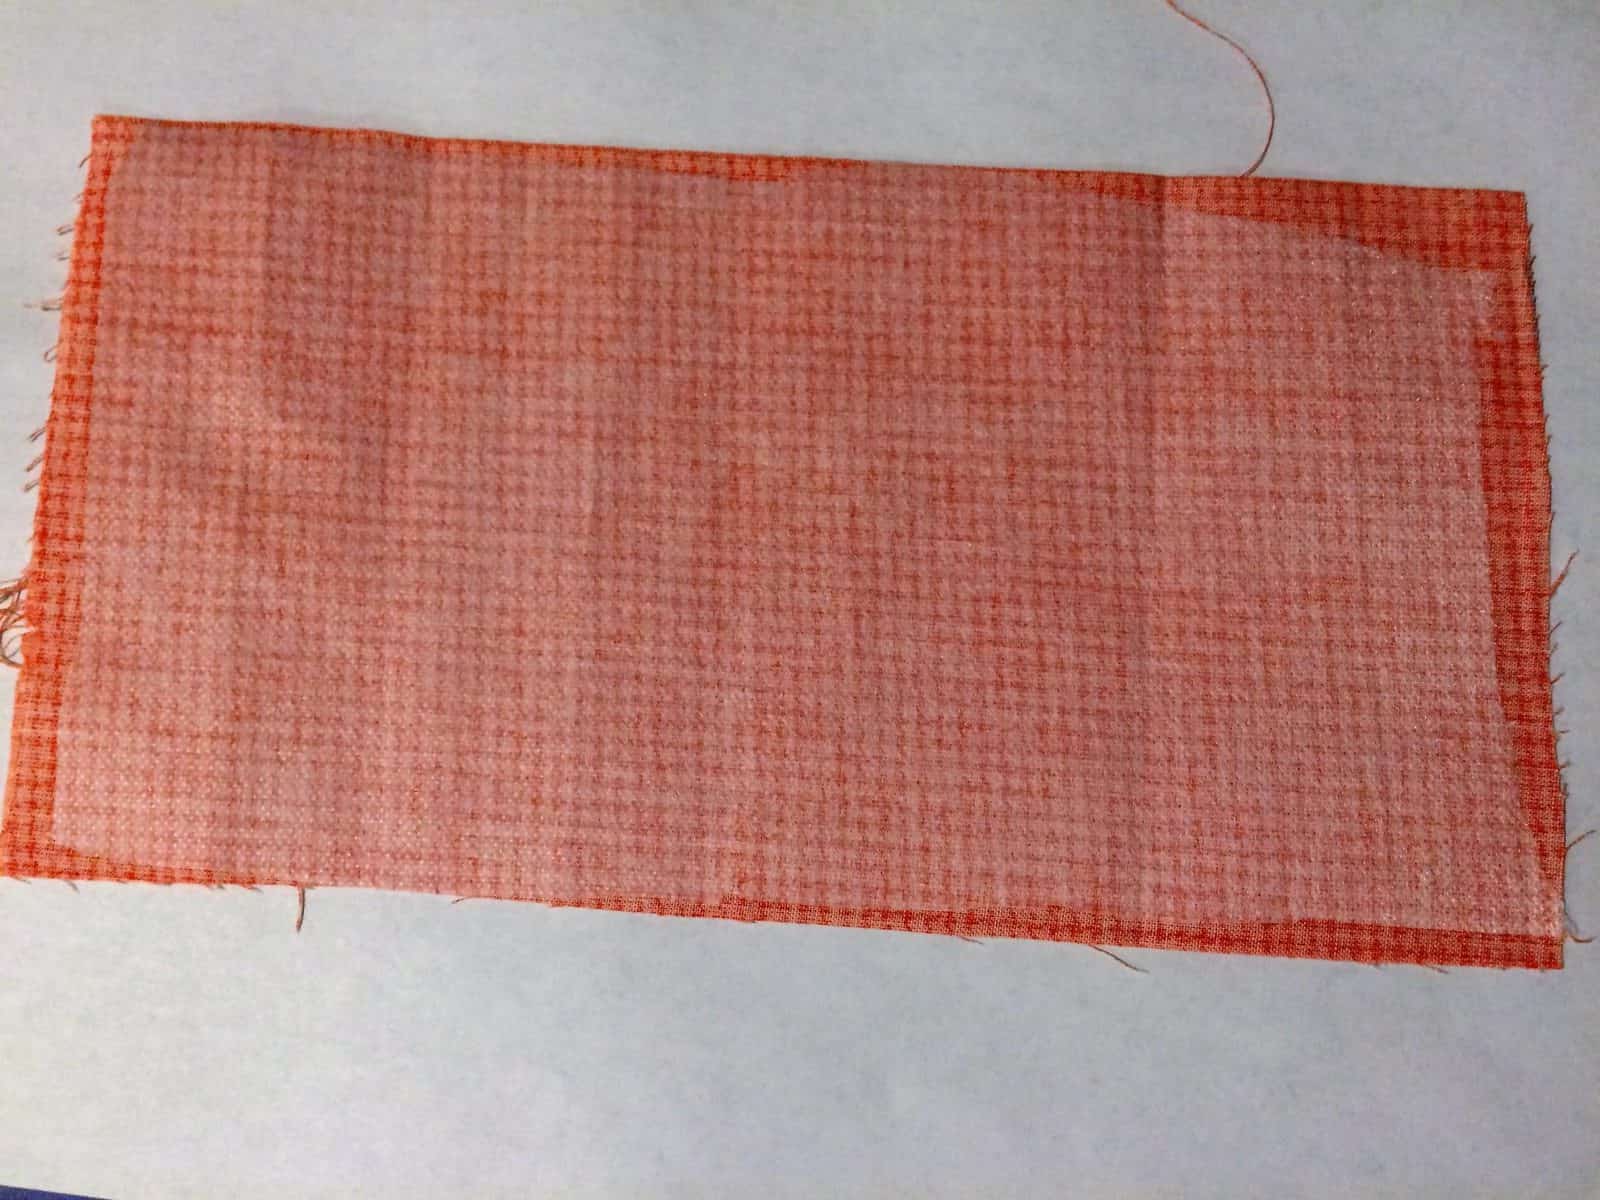
- Steps:
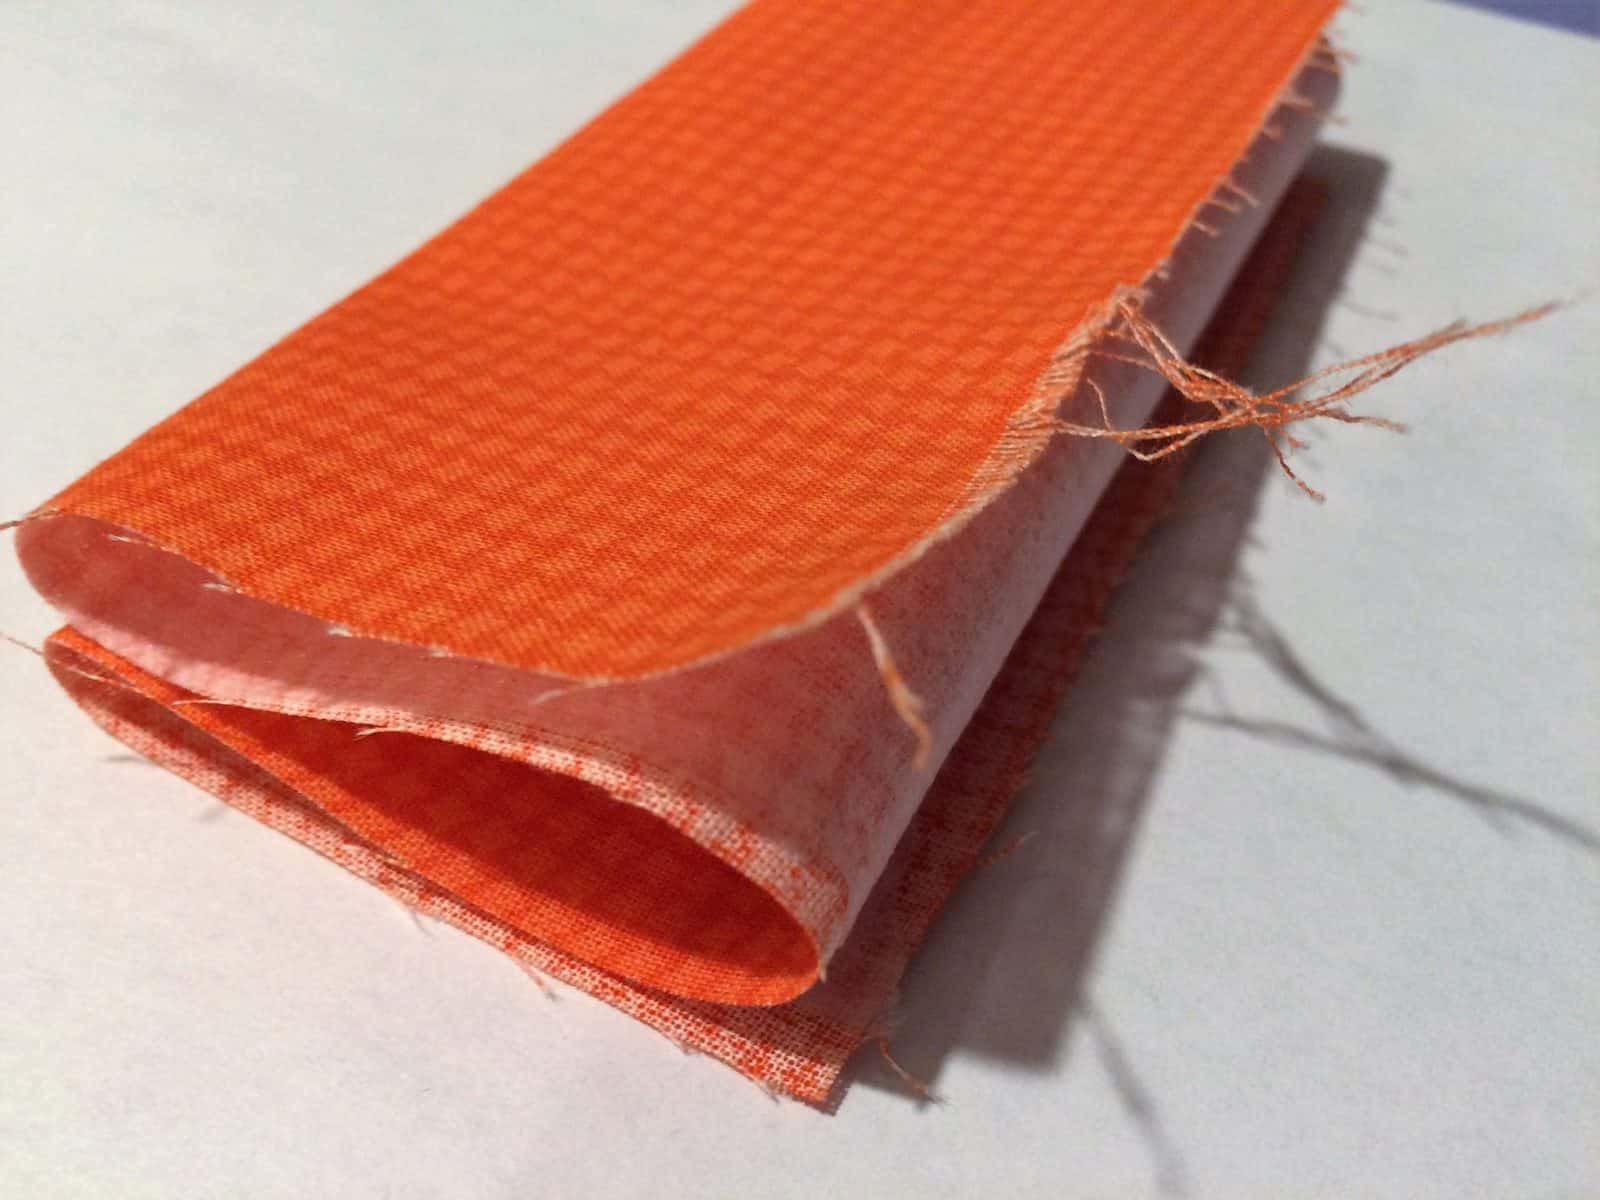
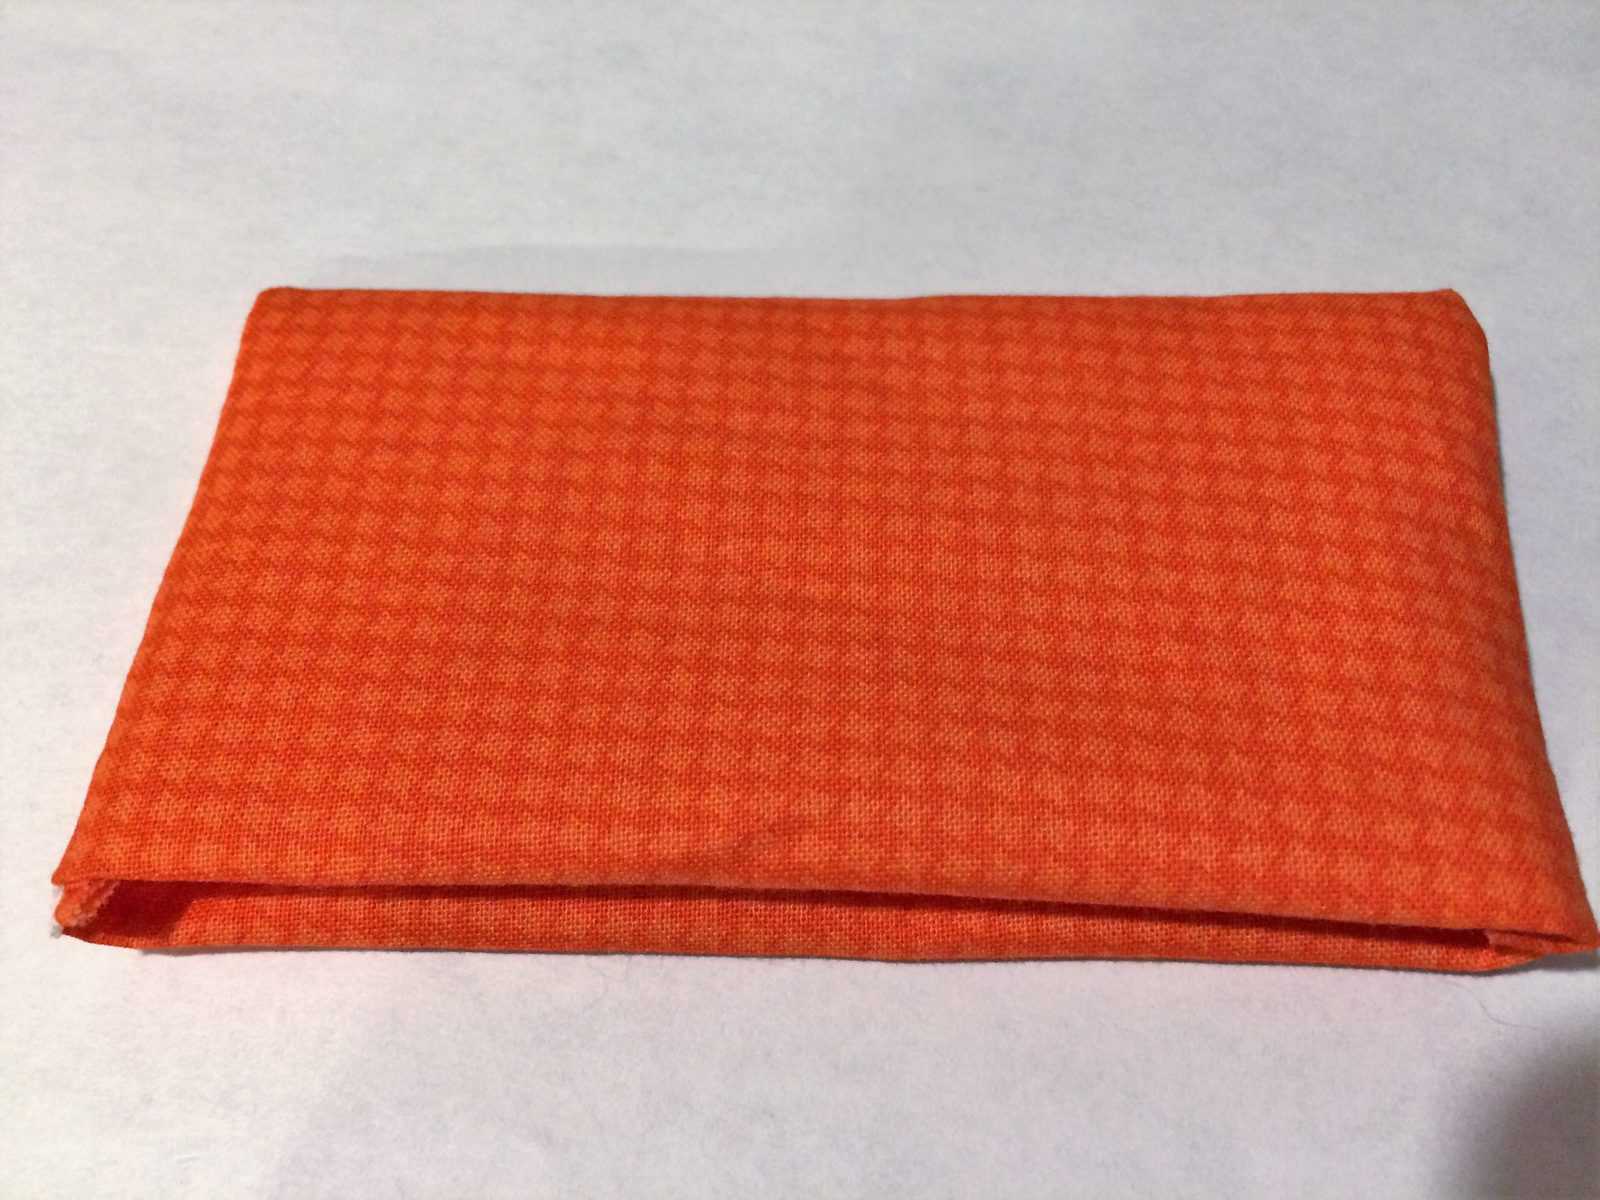
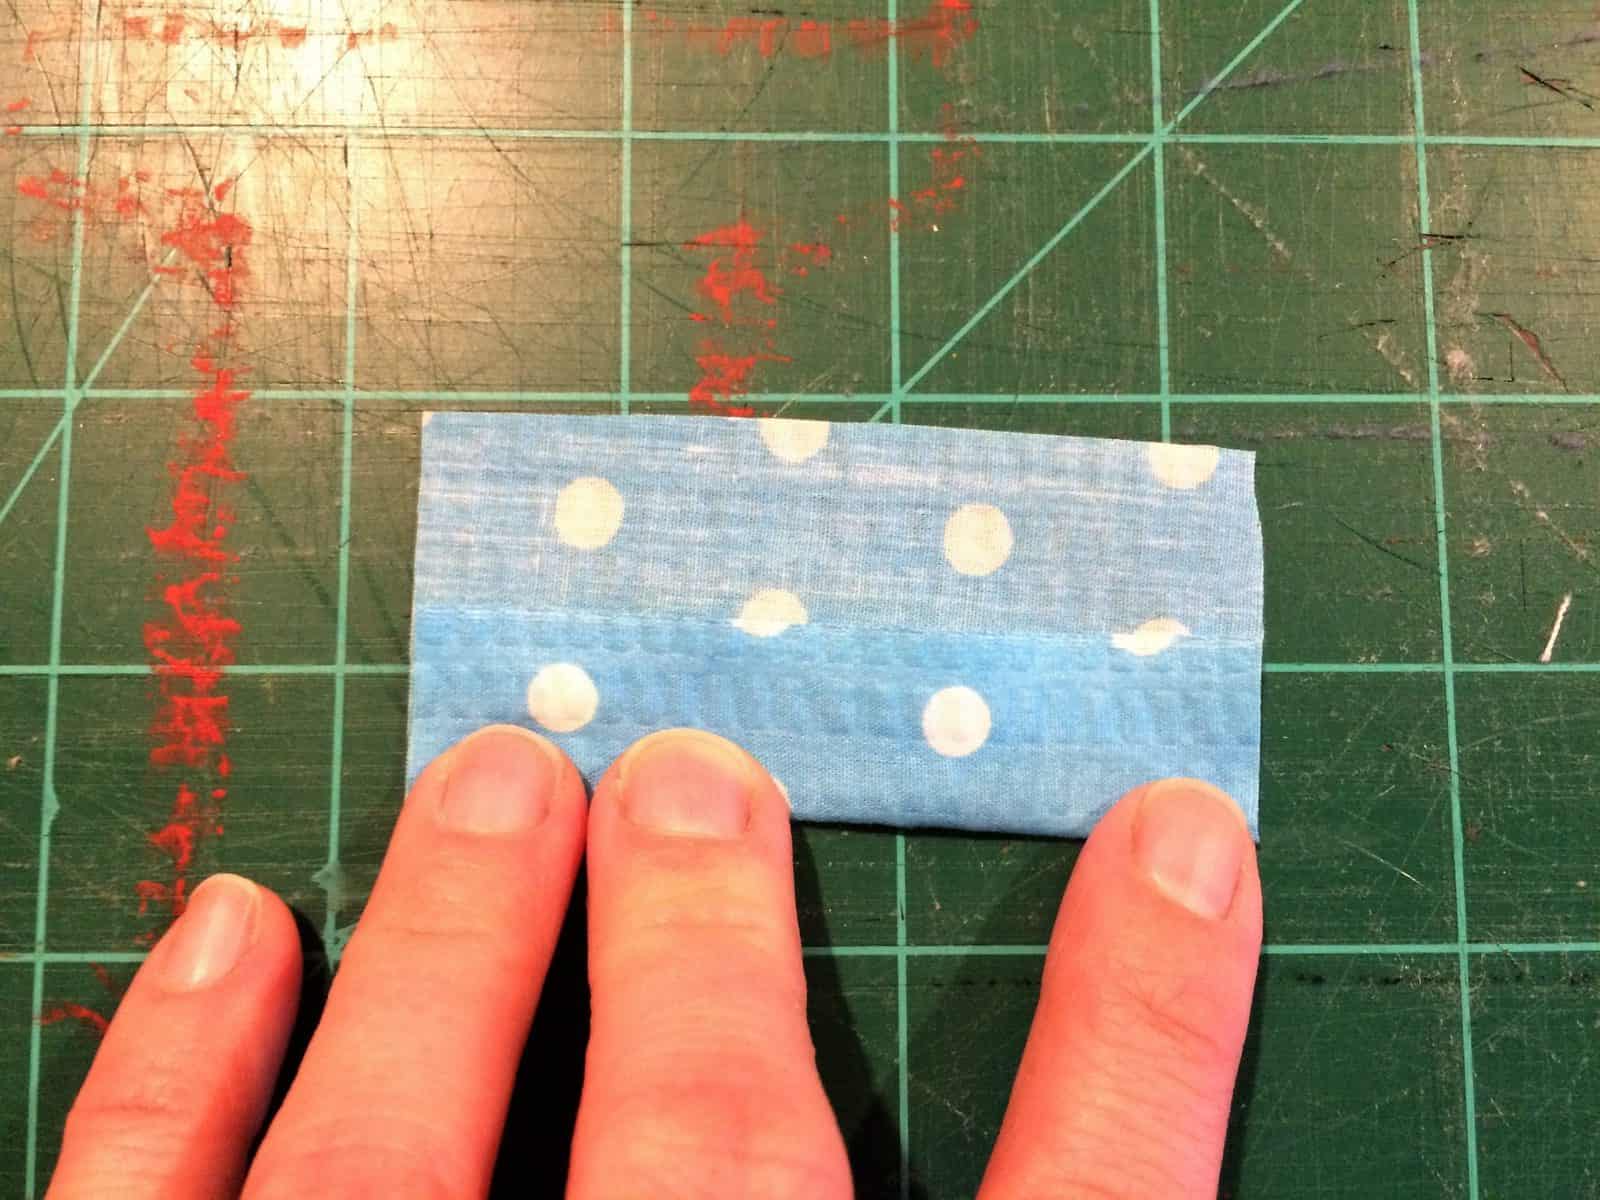
Now fold your short edges to the middle of your rectangle.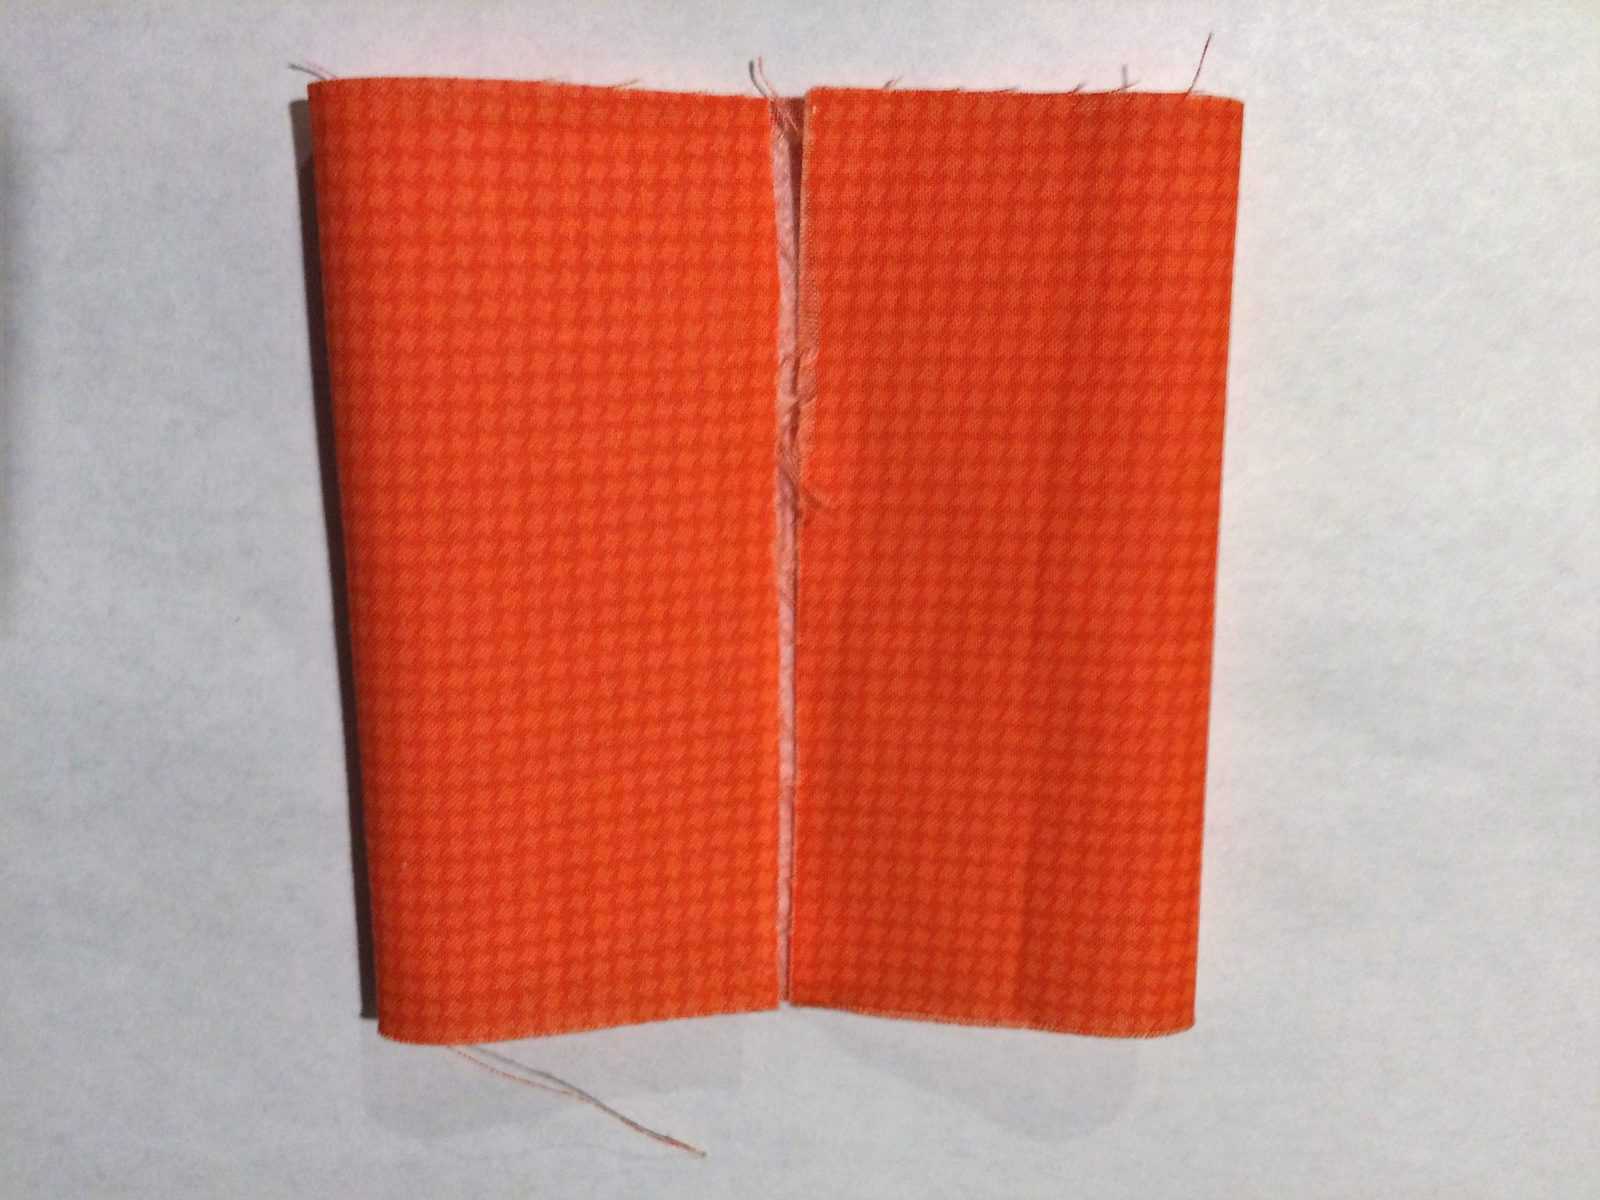
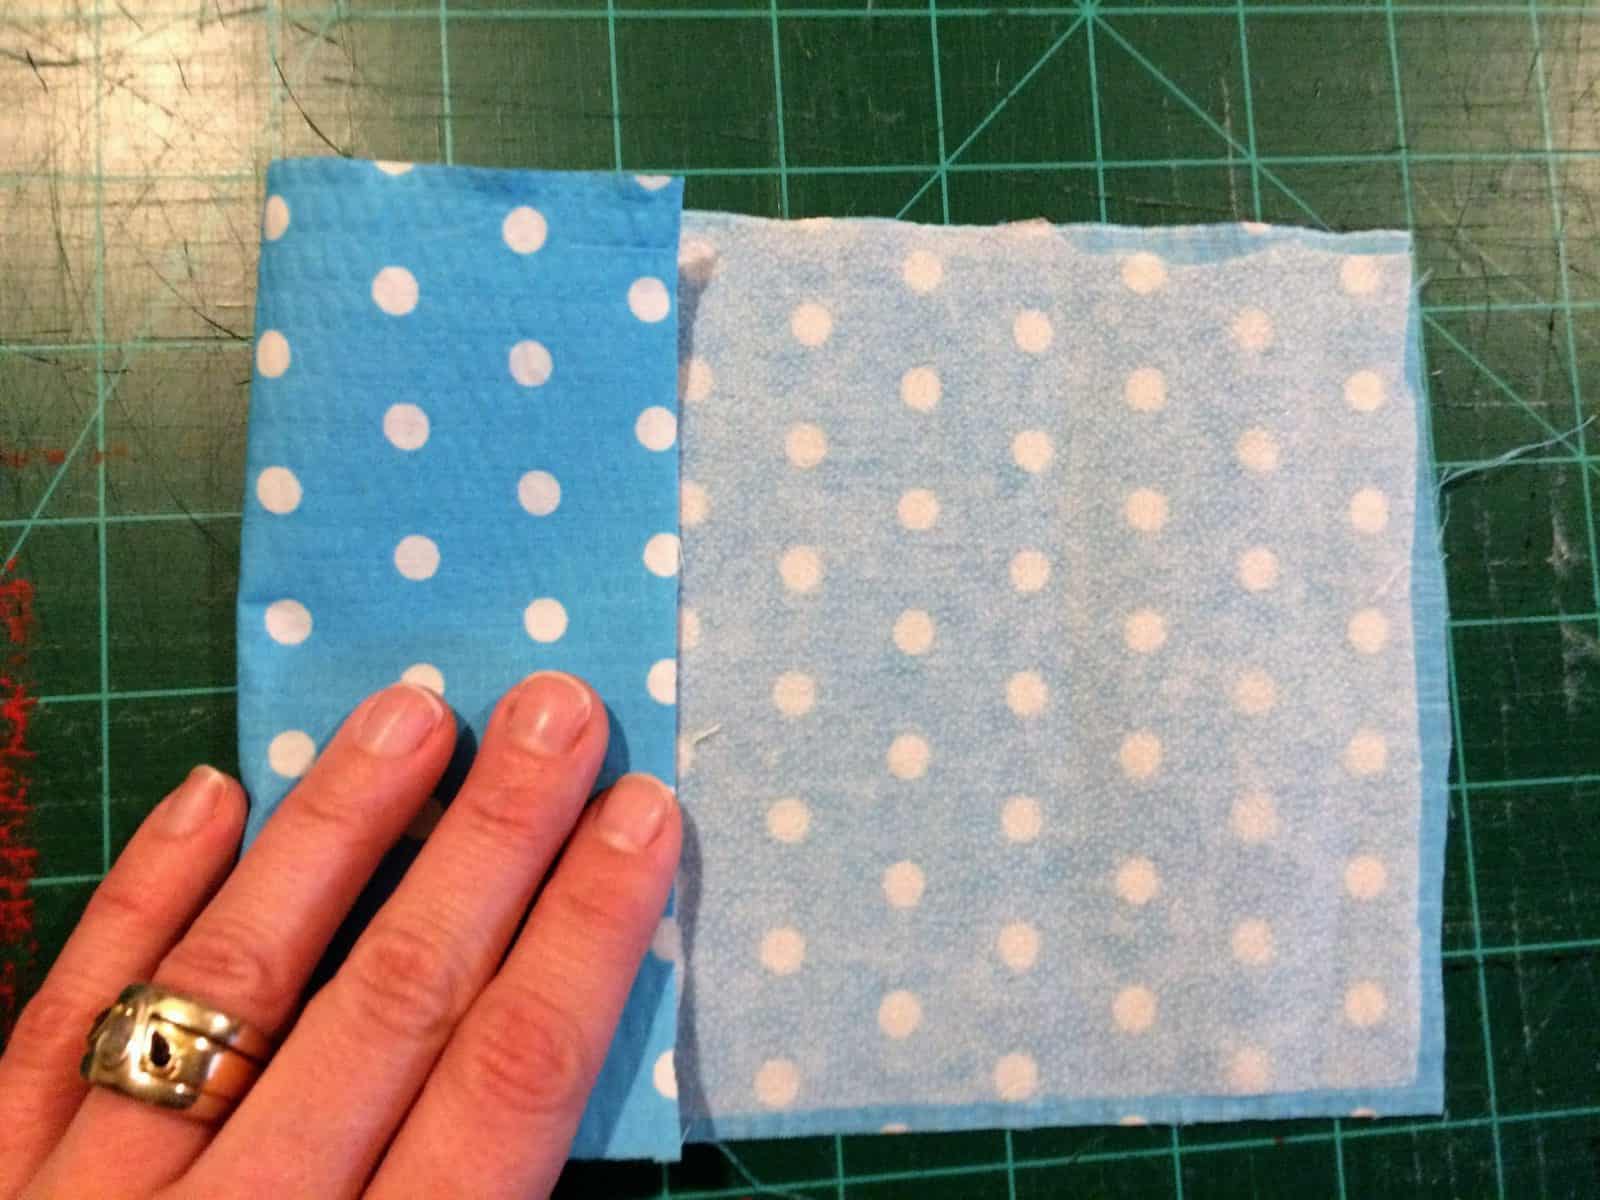
- Open up the right side flat, pick up the left side and accordion fold it (alternating back and forth) on top of the right flap. See pictures below.
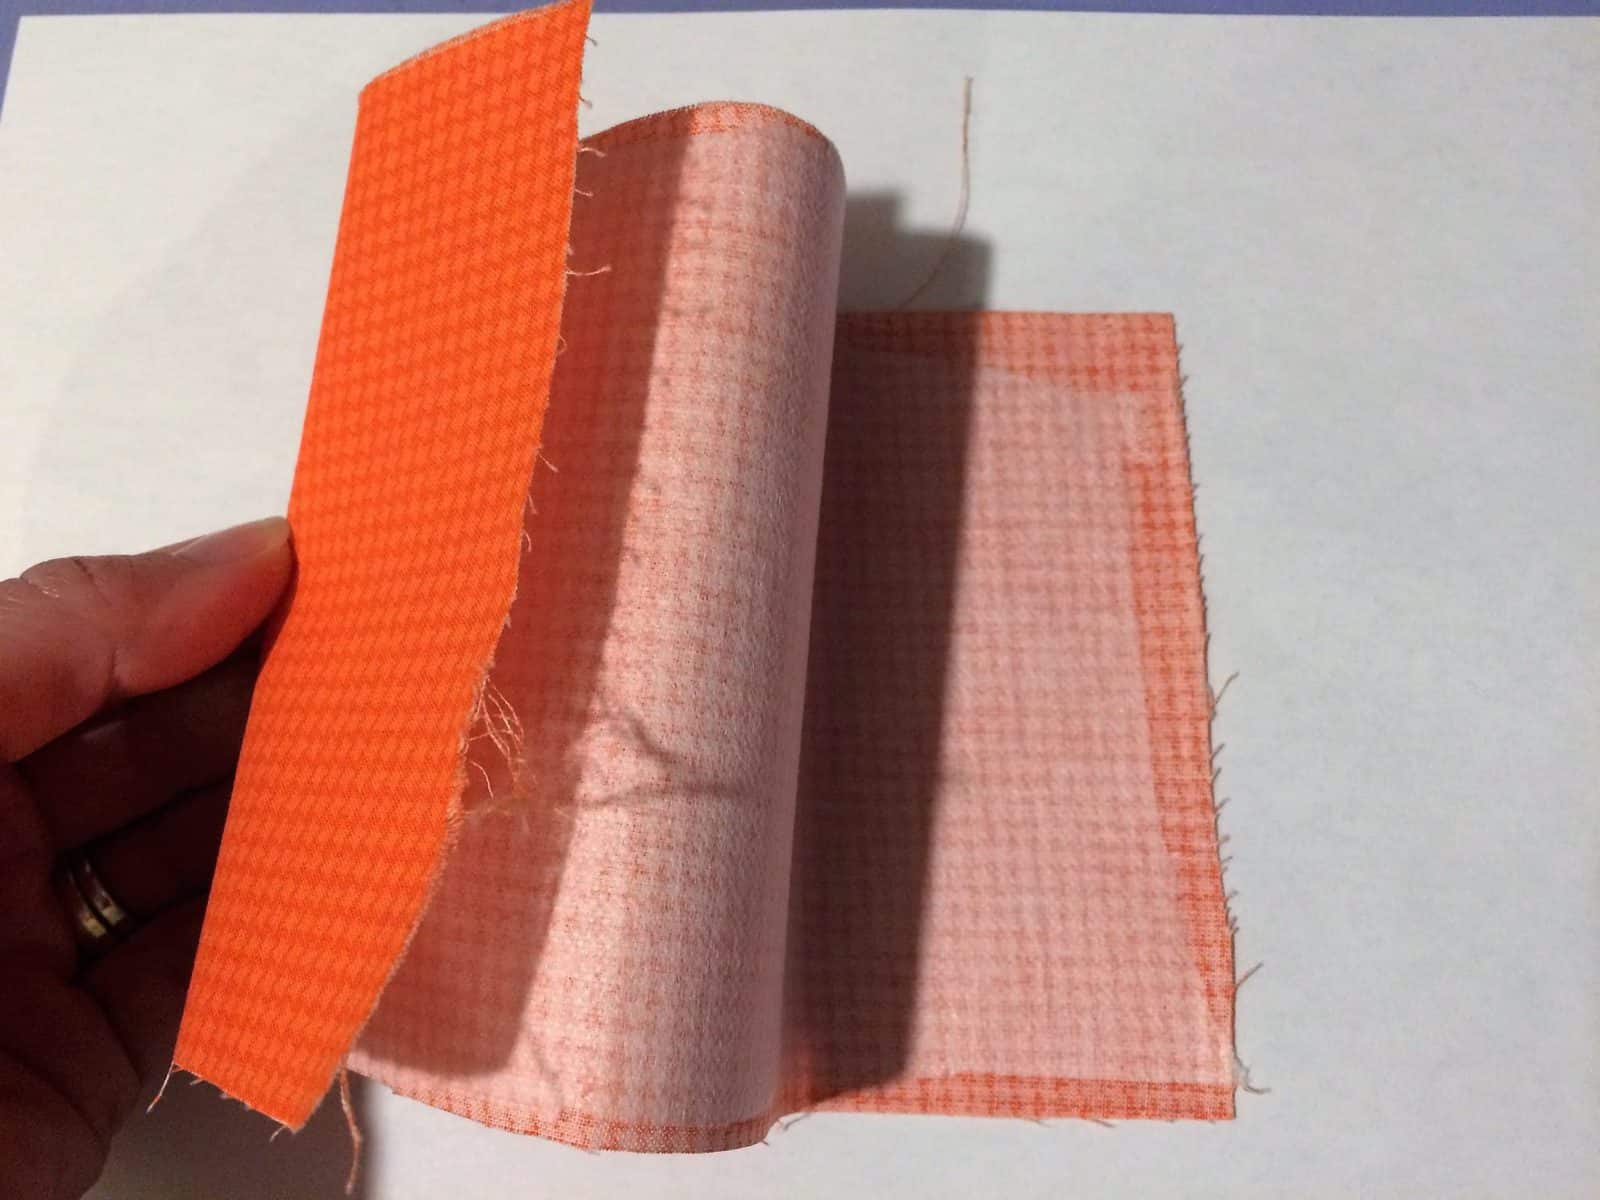
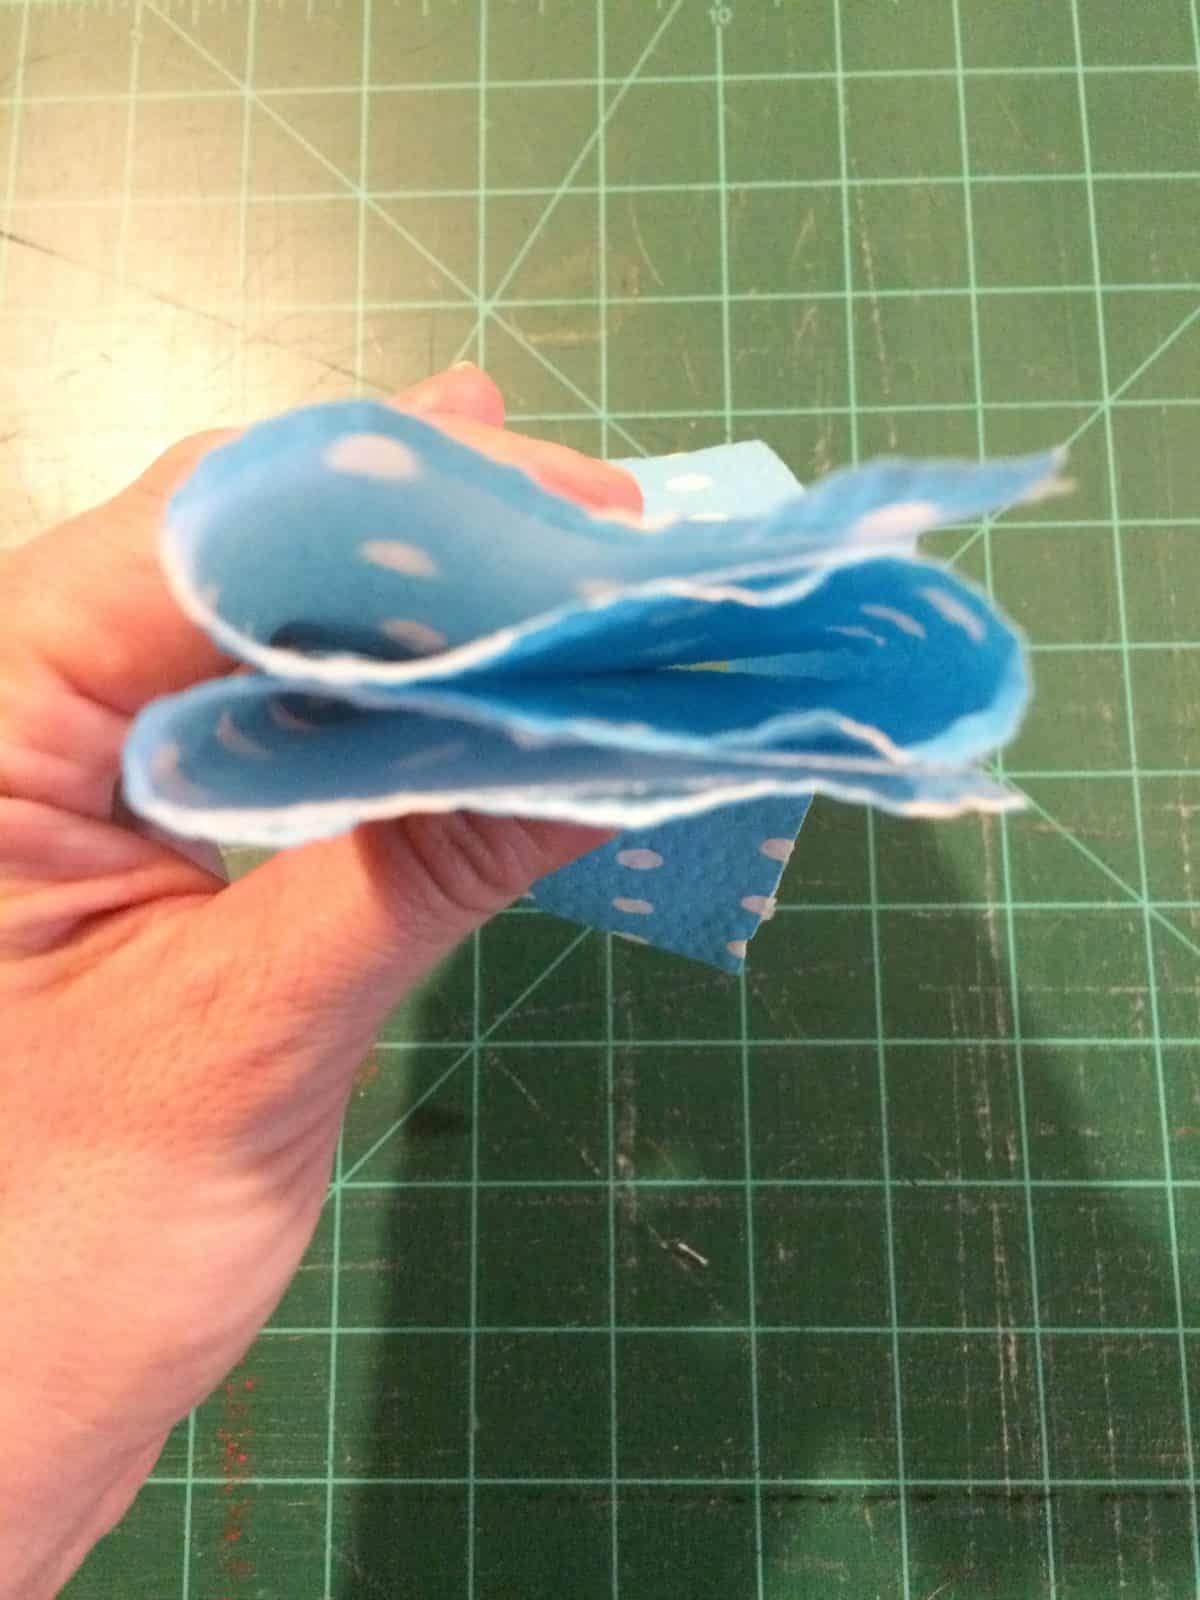
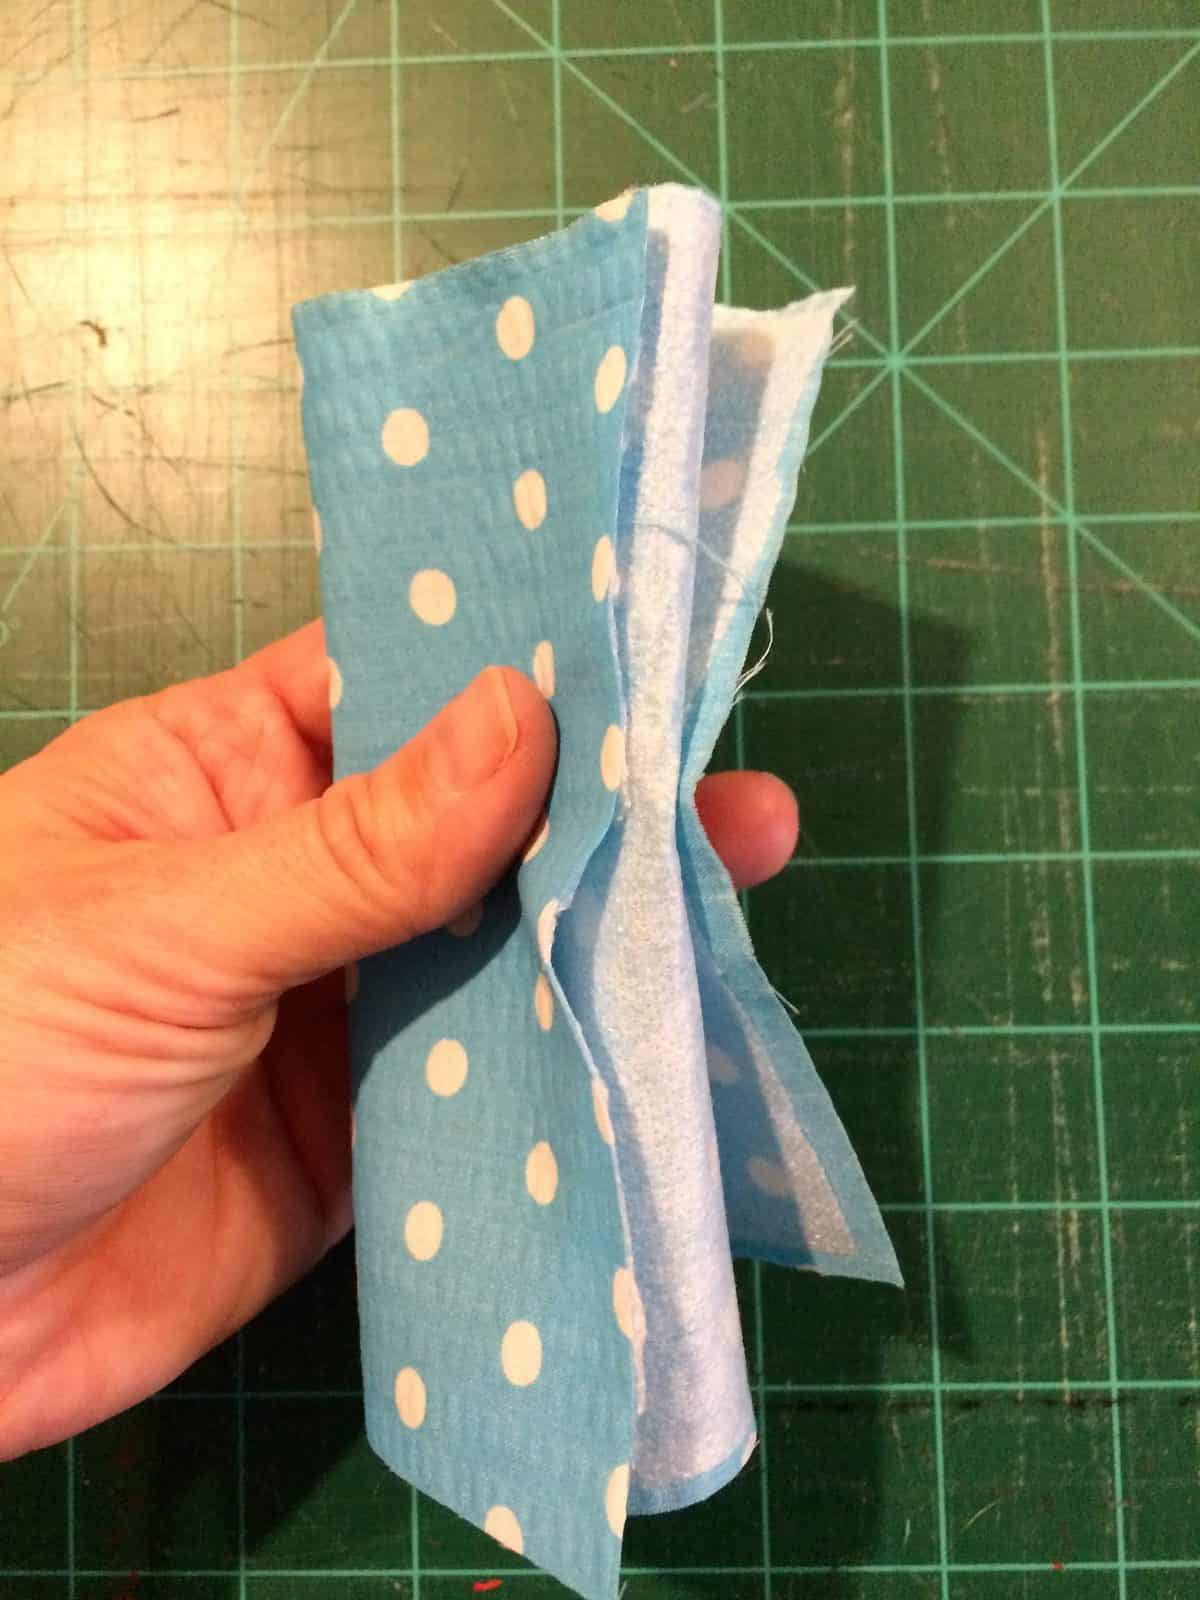
- Accordion fold (alternating which direction you fold)
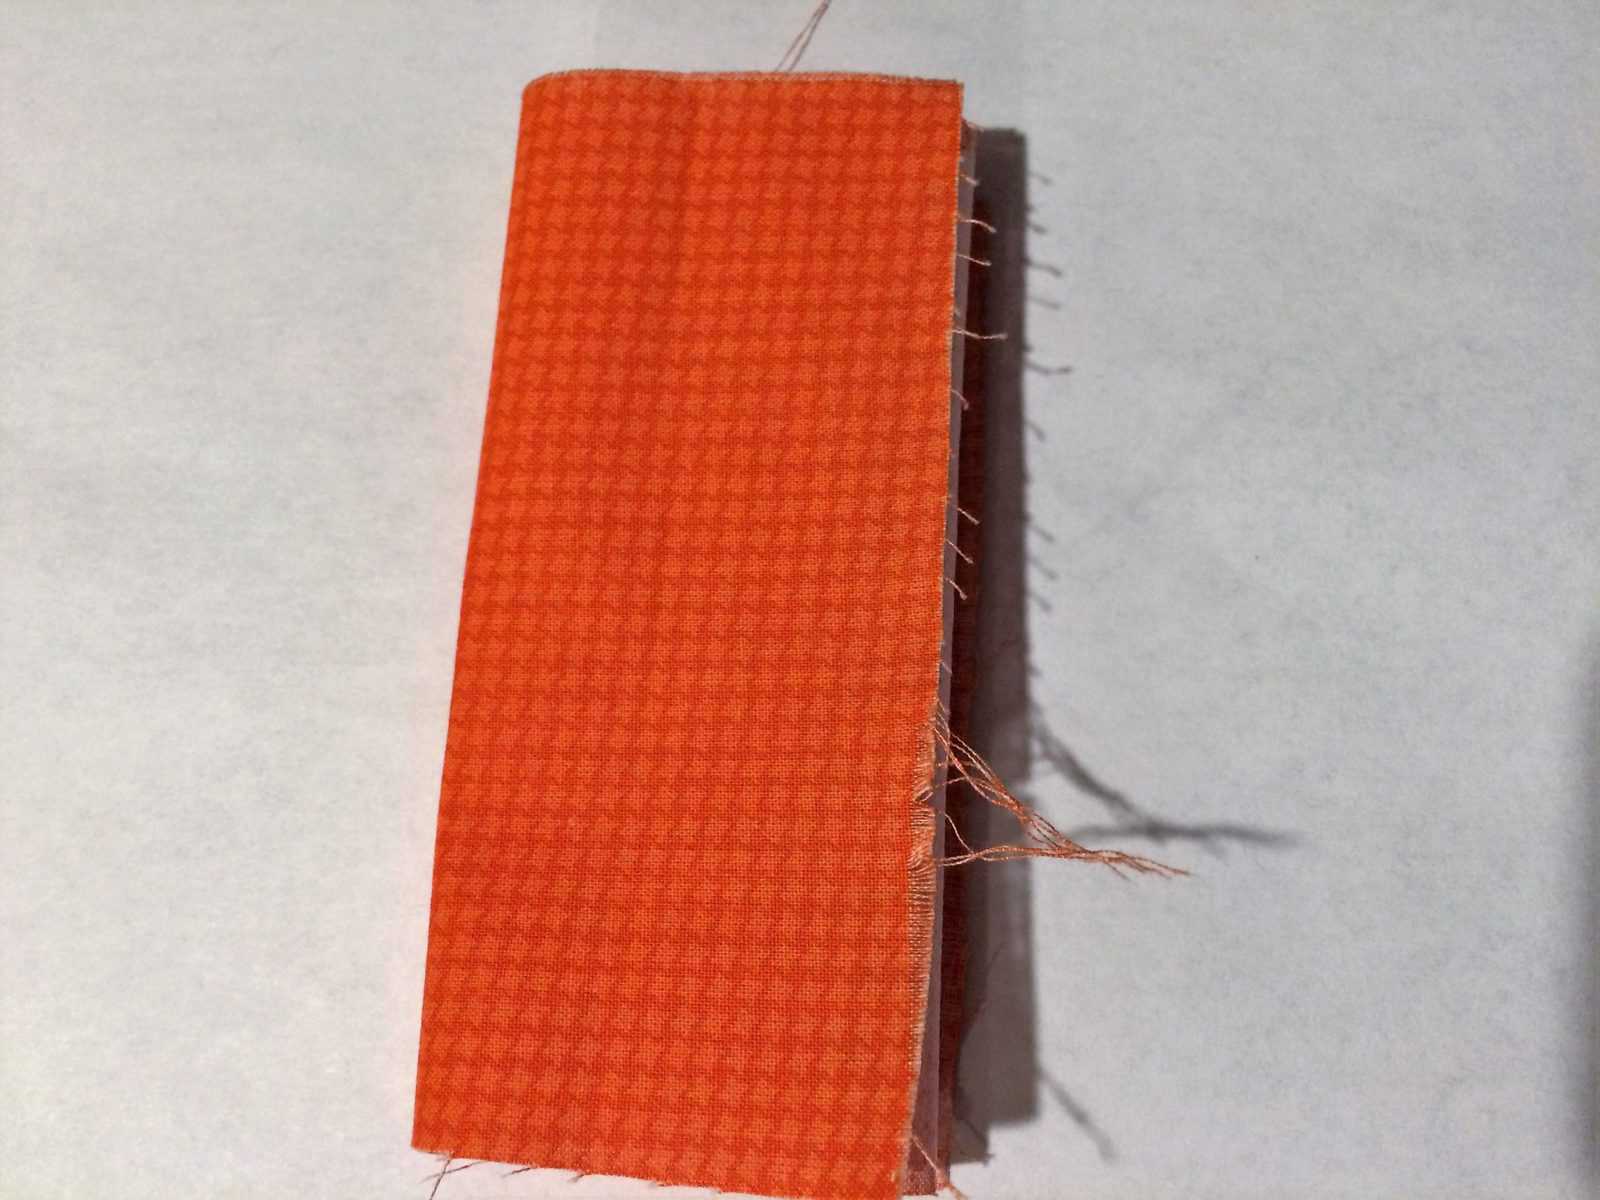
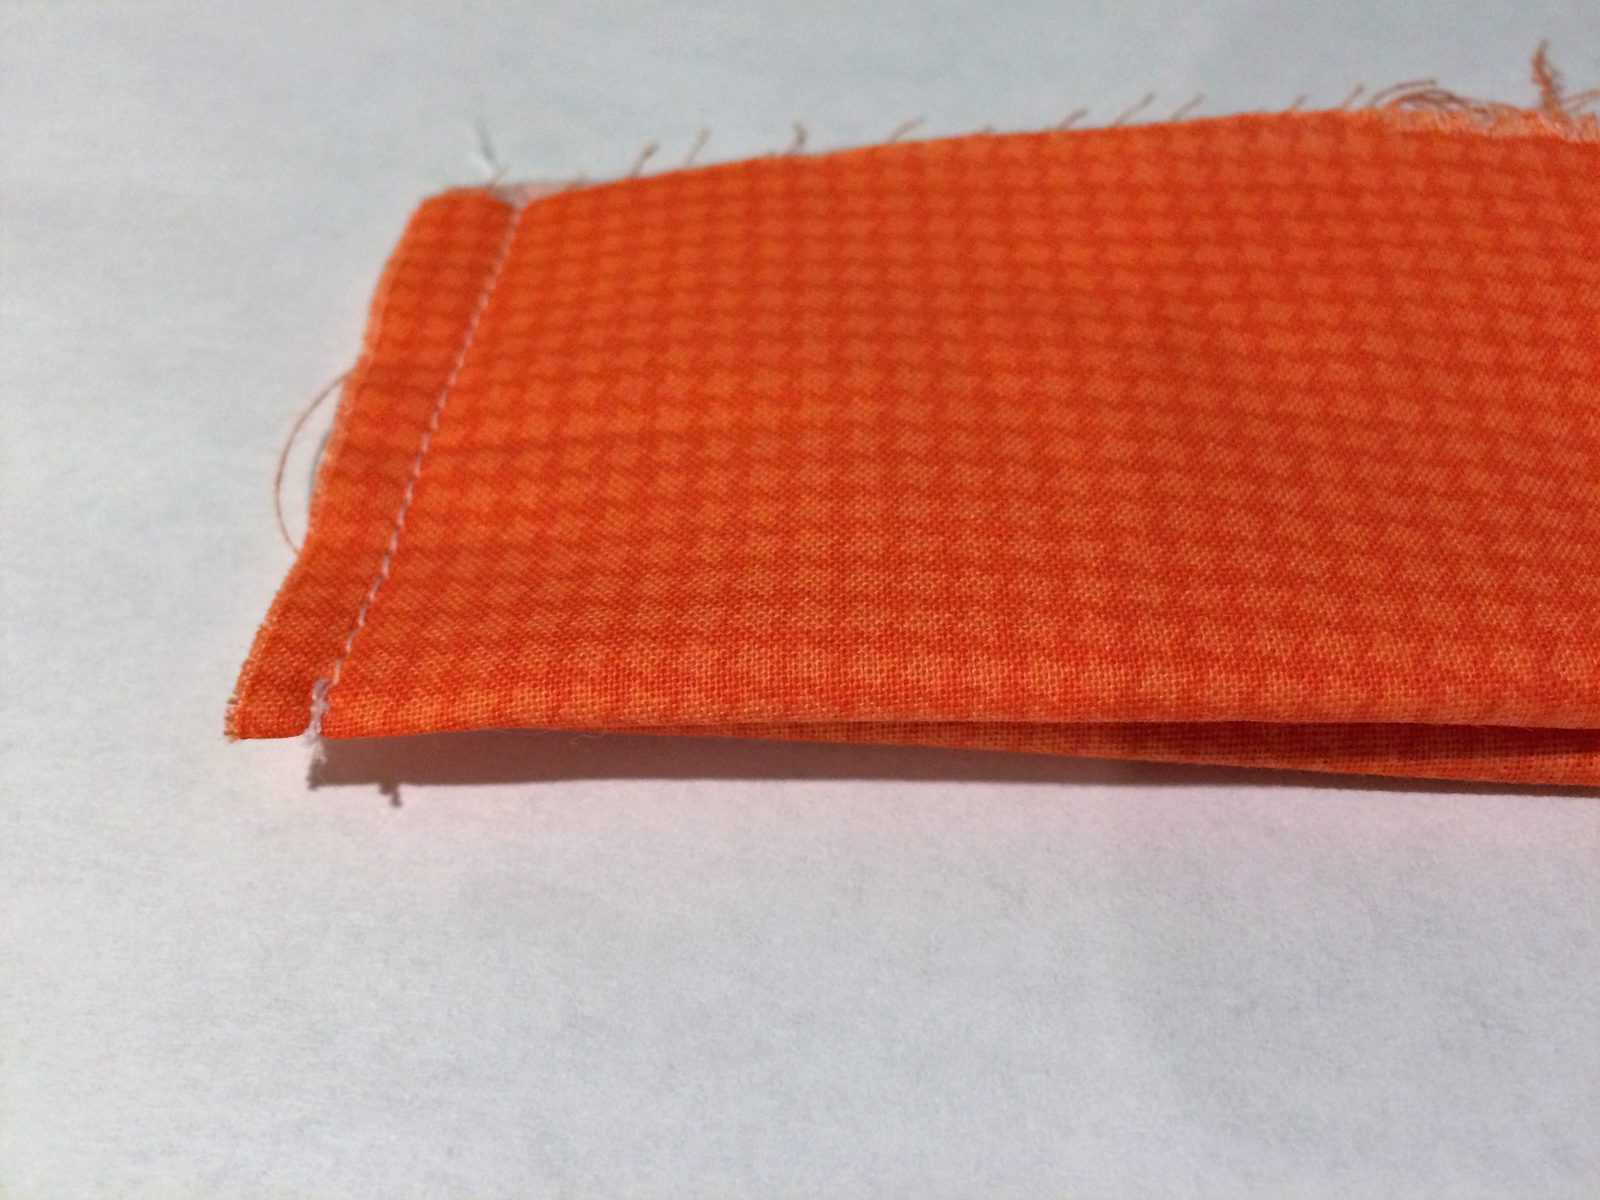
- Sew both the short ends together, using a 1/4″ seam allowance. Below is proof that I still cannot sew a straight line!
- Turn your rectangle inside out. Push out corners, and iron.
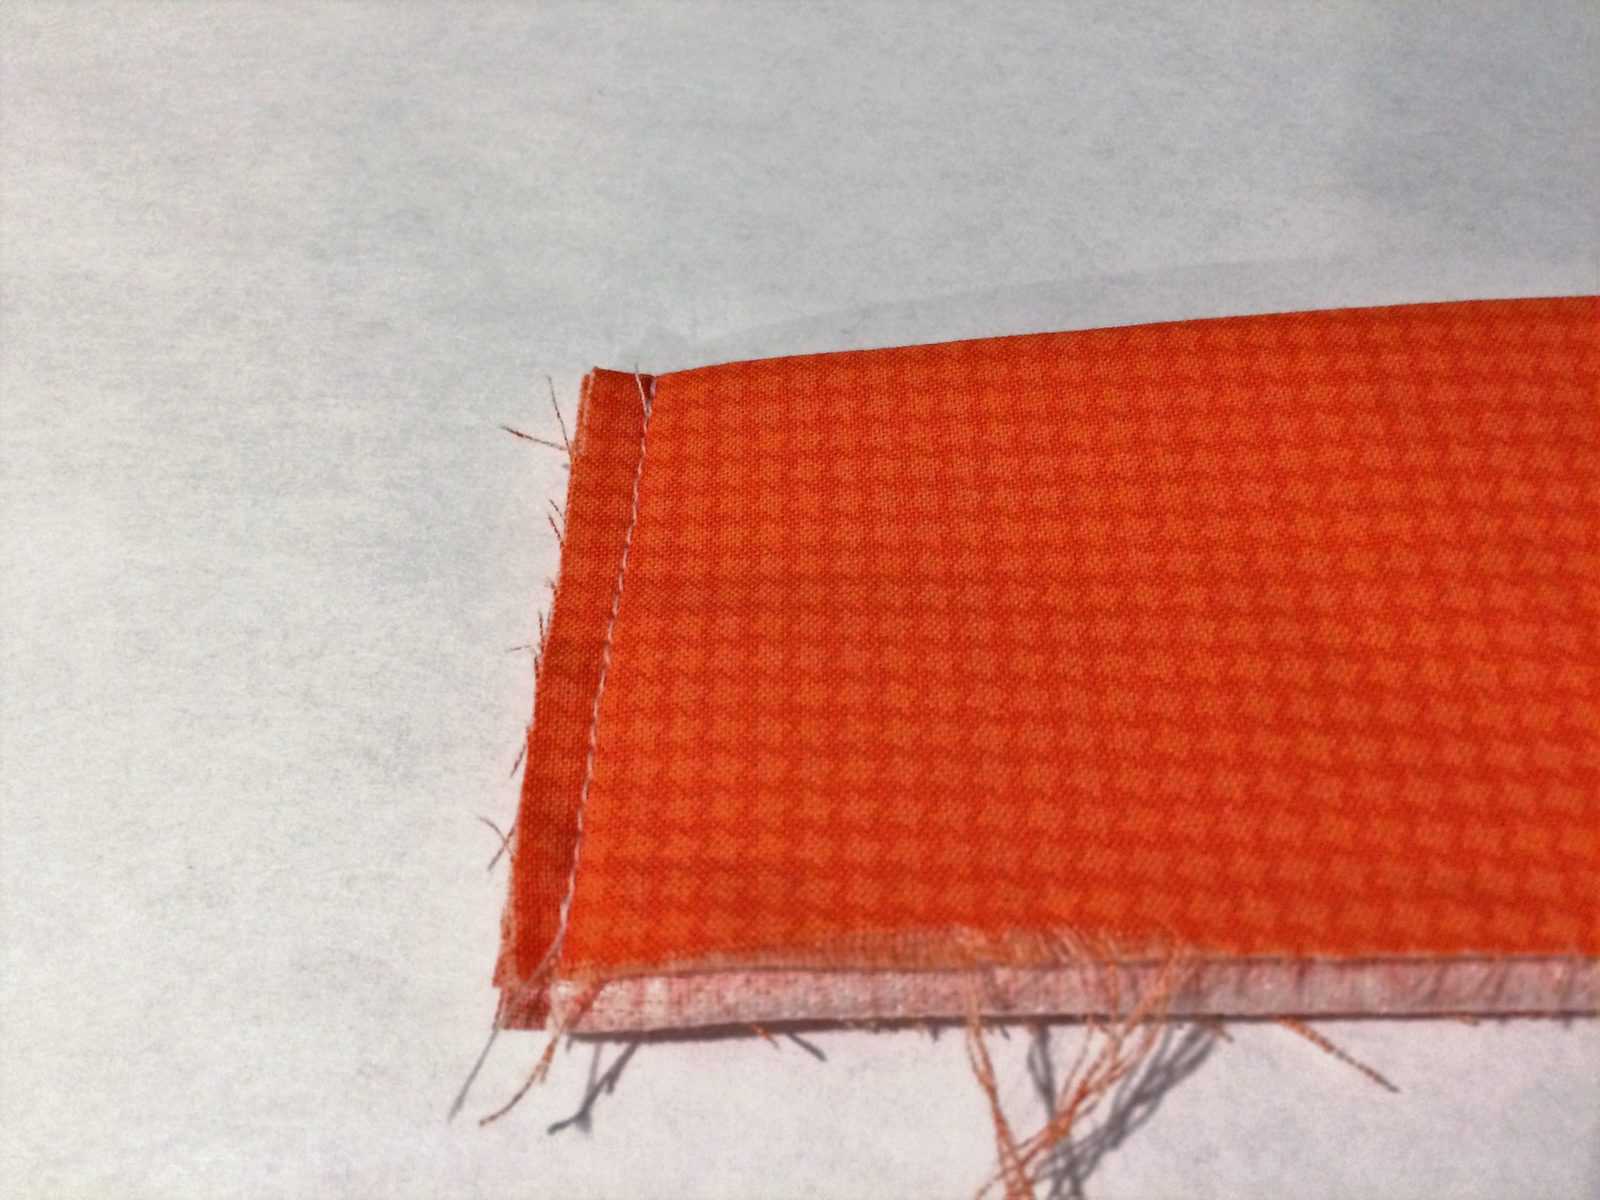
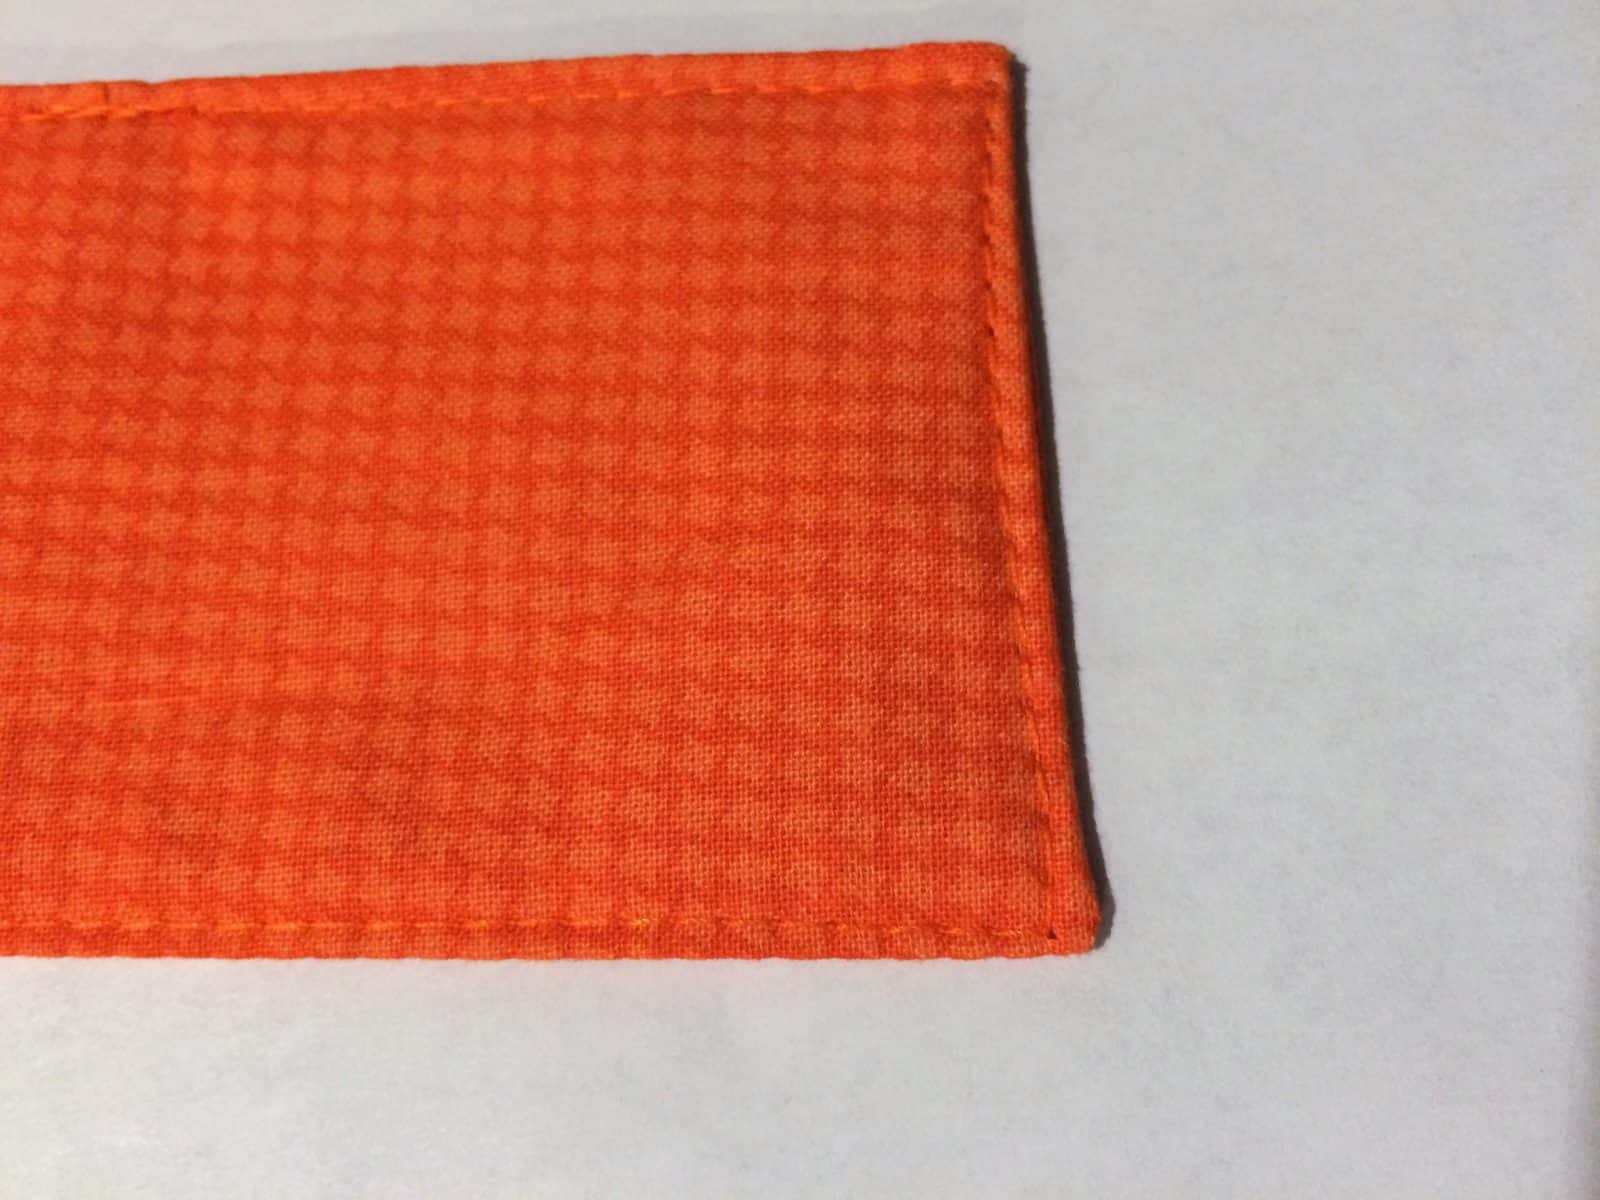
- Topstitch around the entire rectangle using a 1/8″ seam allowance.
This closes your open edge and gives a finished look to your work.
I chose coordinating thread; contrasting thread will really pop, if you like. 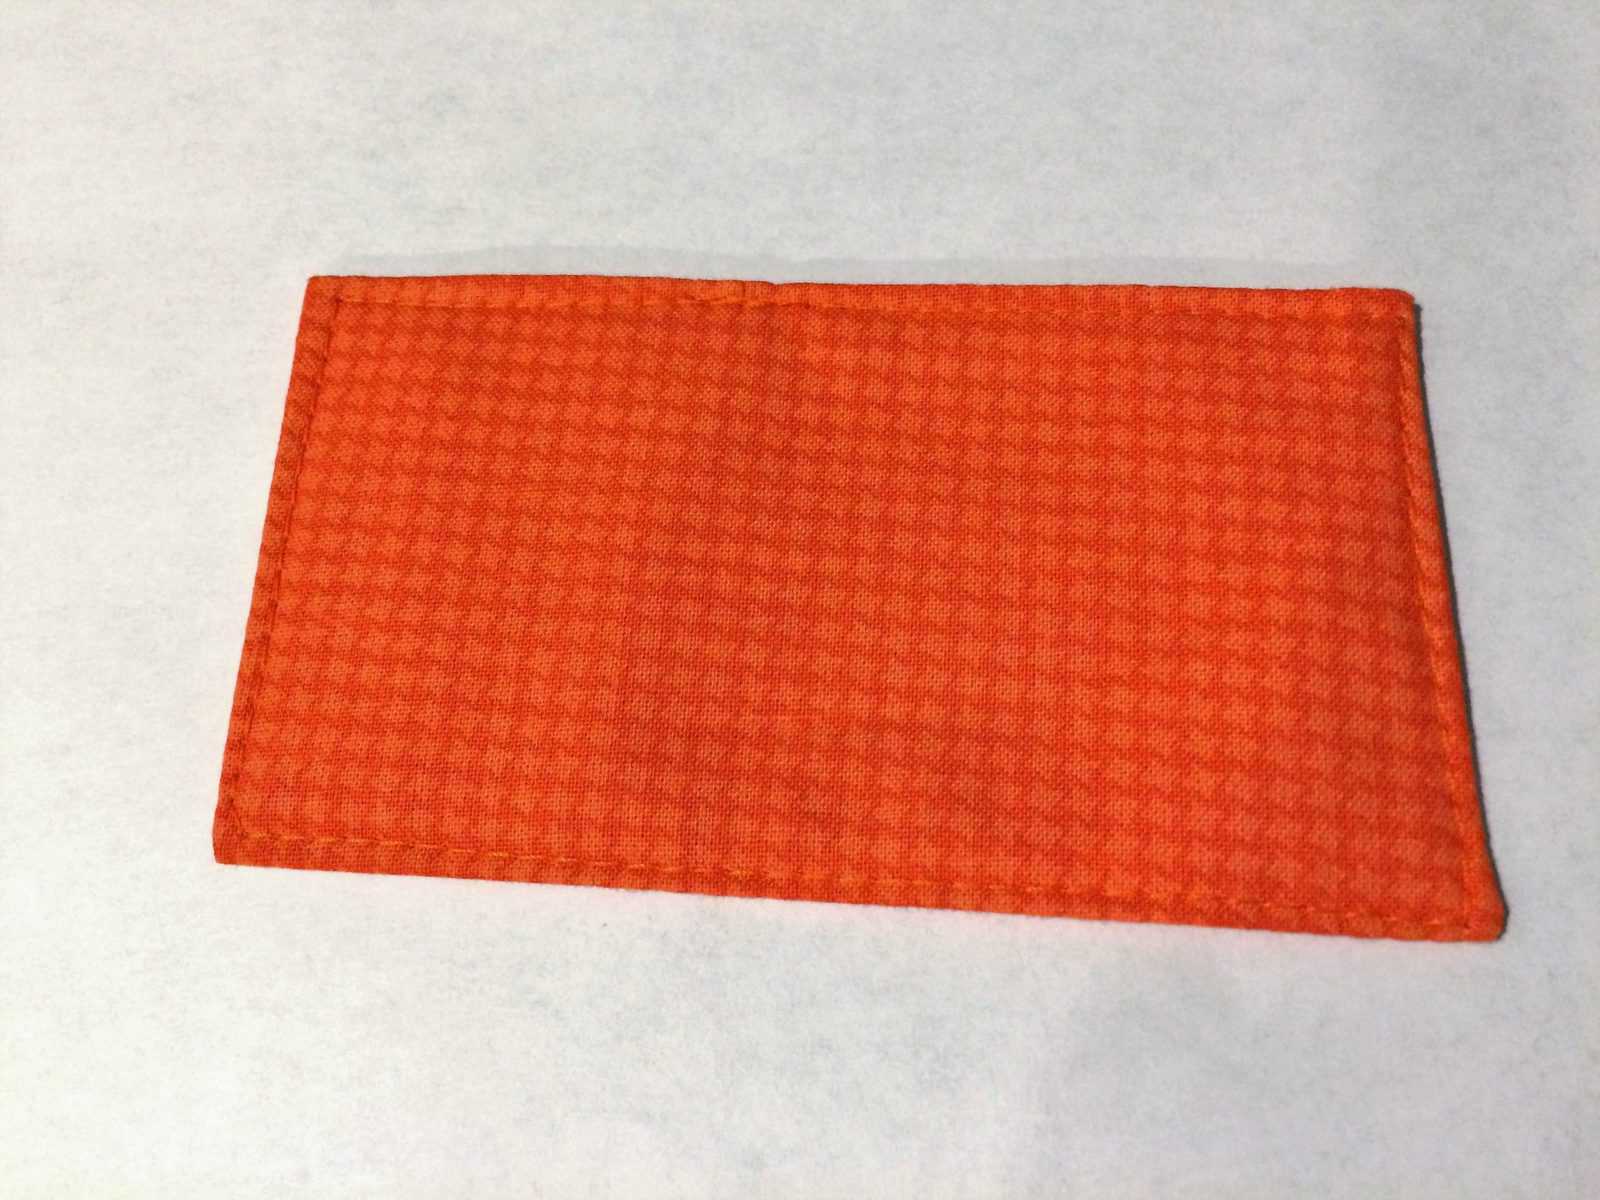
- For the neck band:
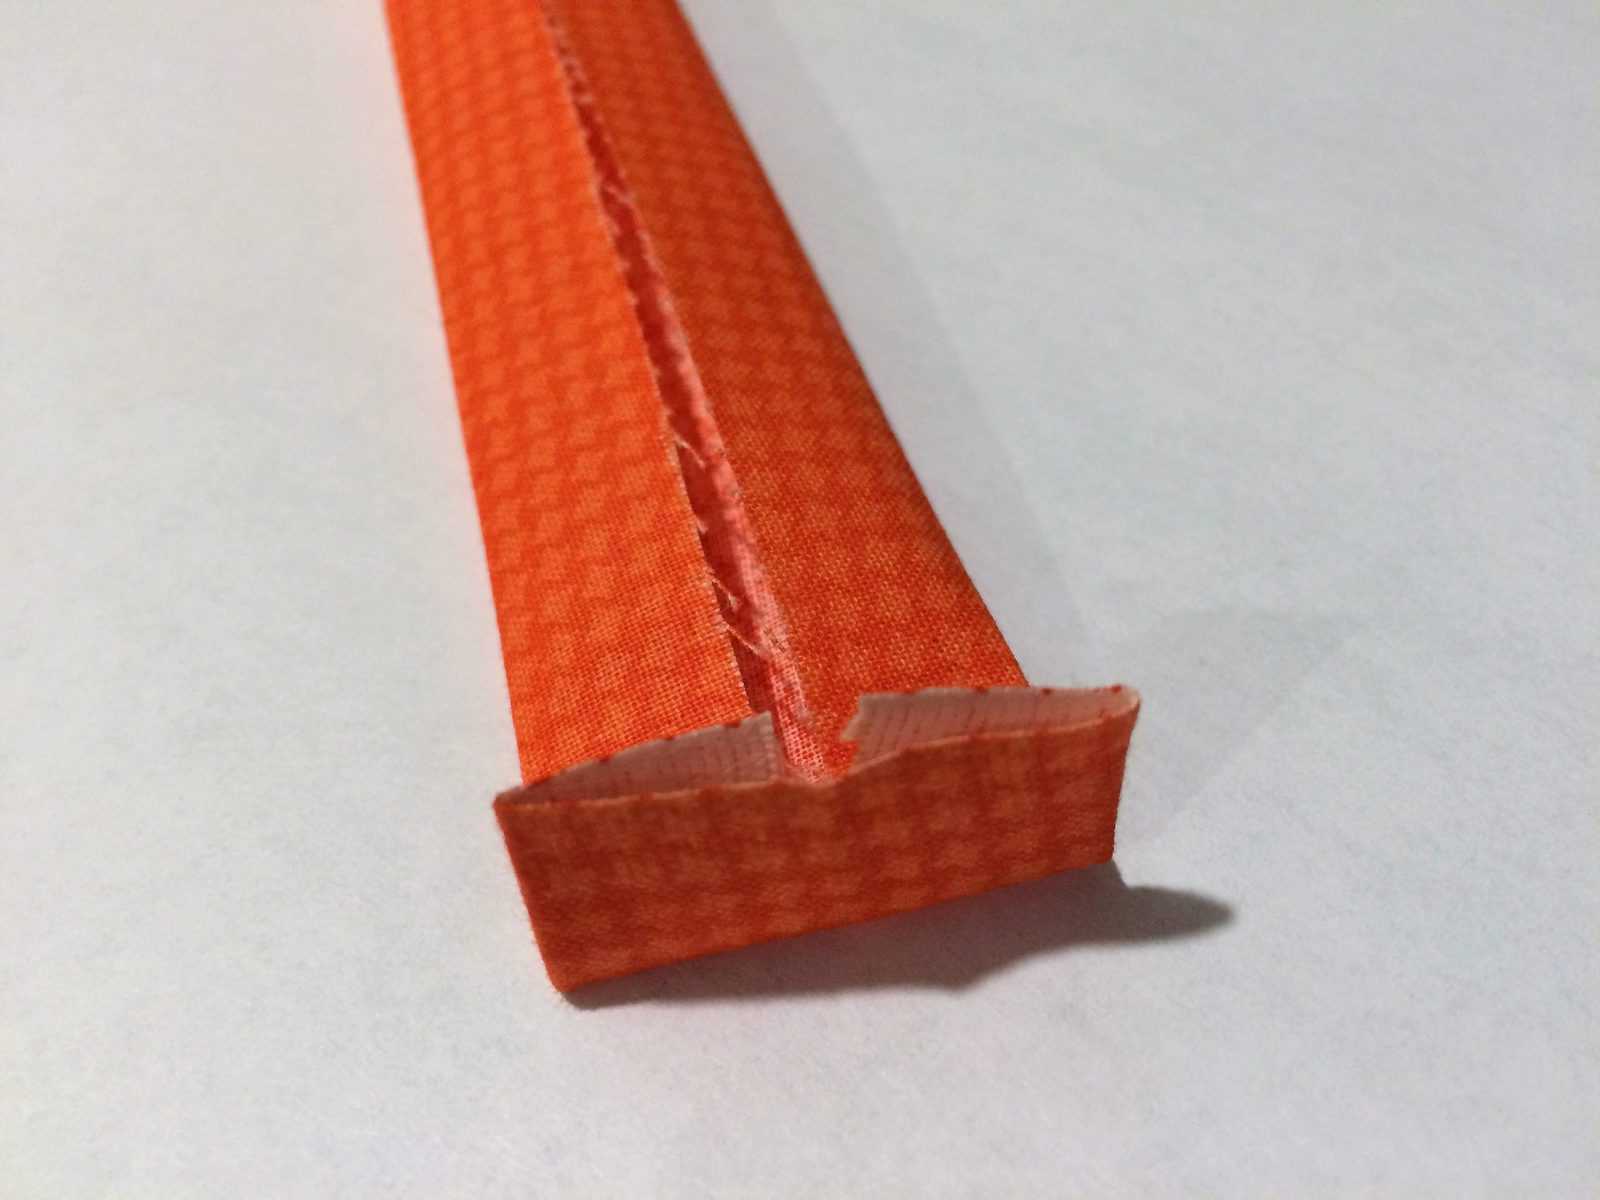
Iron your long 17″ fabric in half lengthwise.
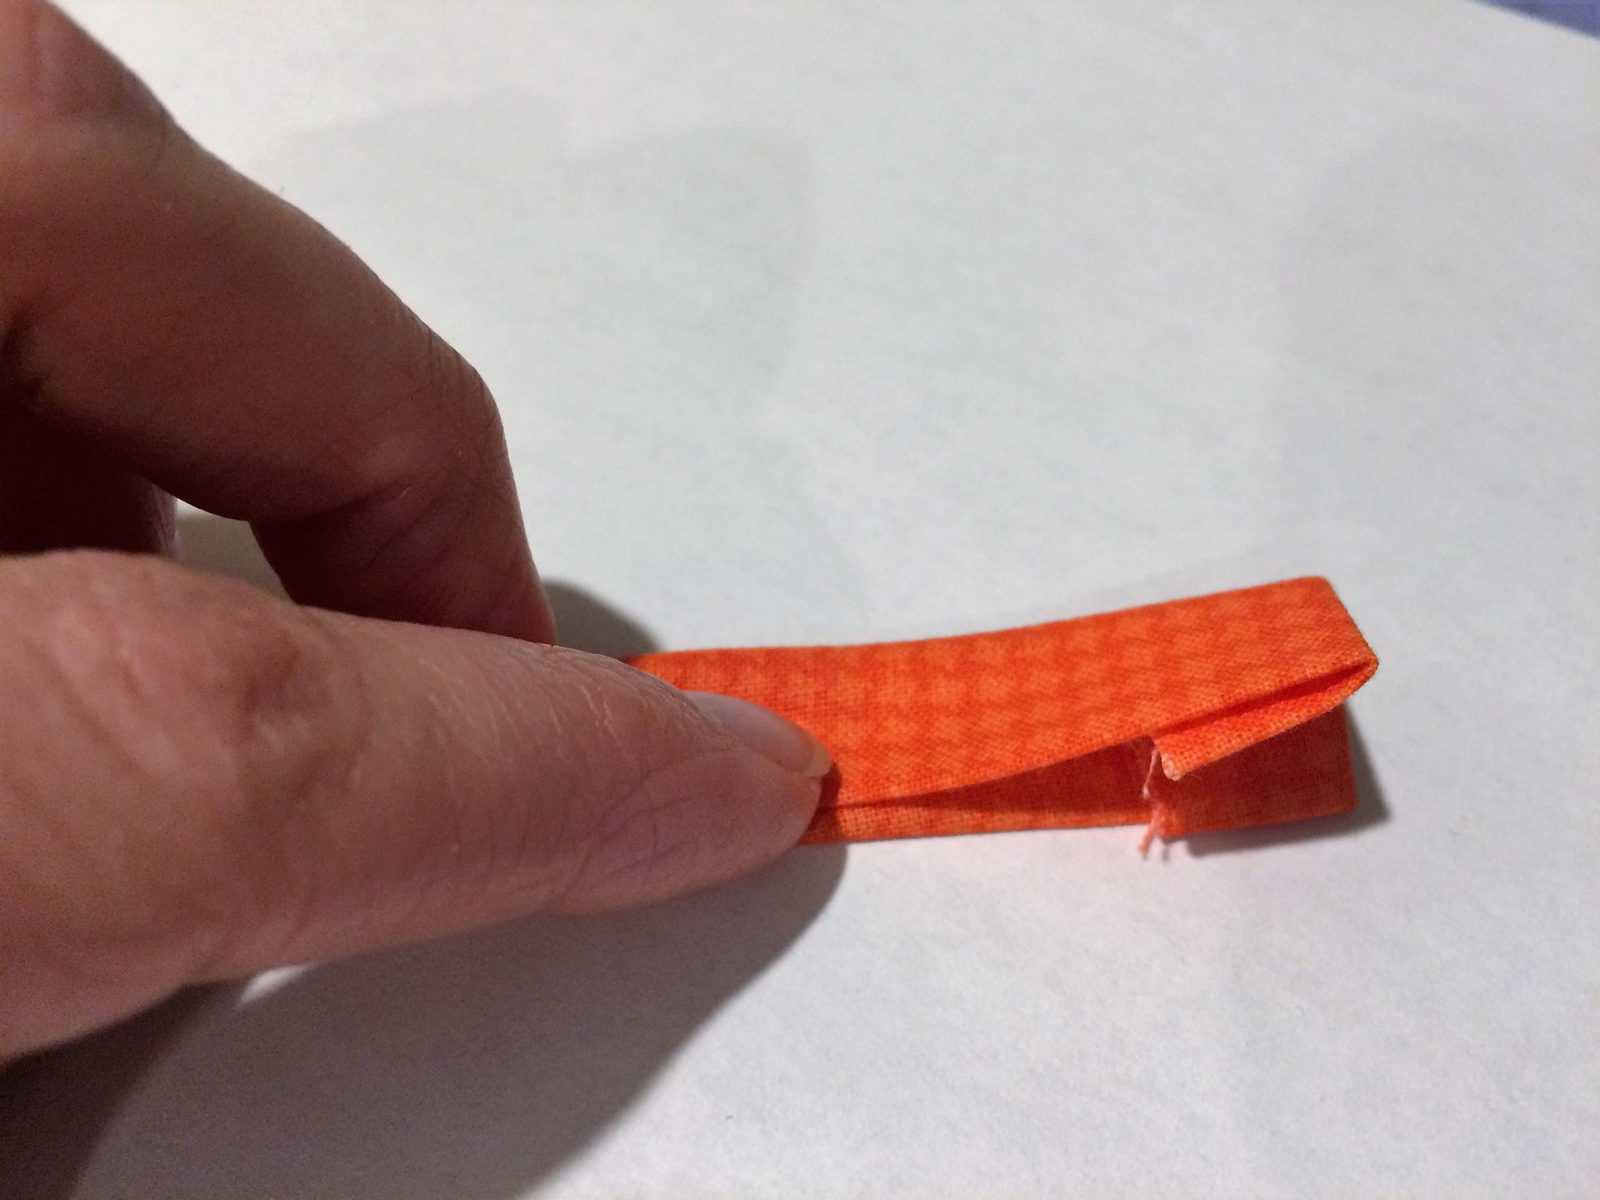
Then fold one long edge to the middle and iron in place. - Now fold the two short edges over 1/2″ and iron.
- Fold neck band back in half again and stitch along the three sides that are open, or all the way around.
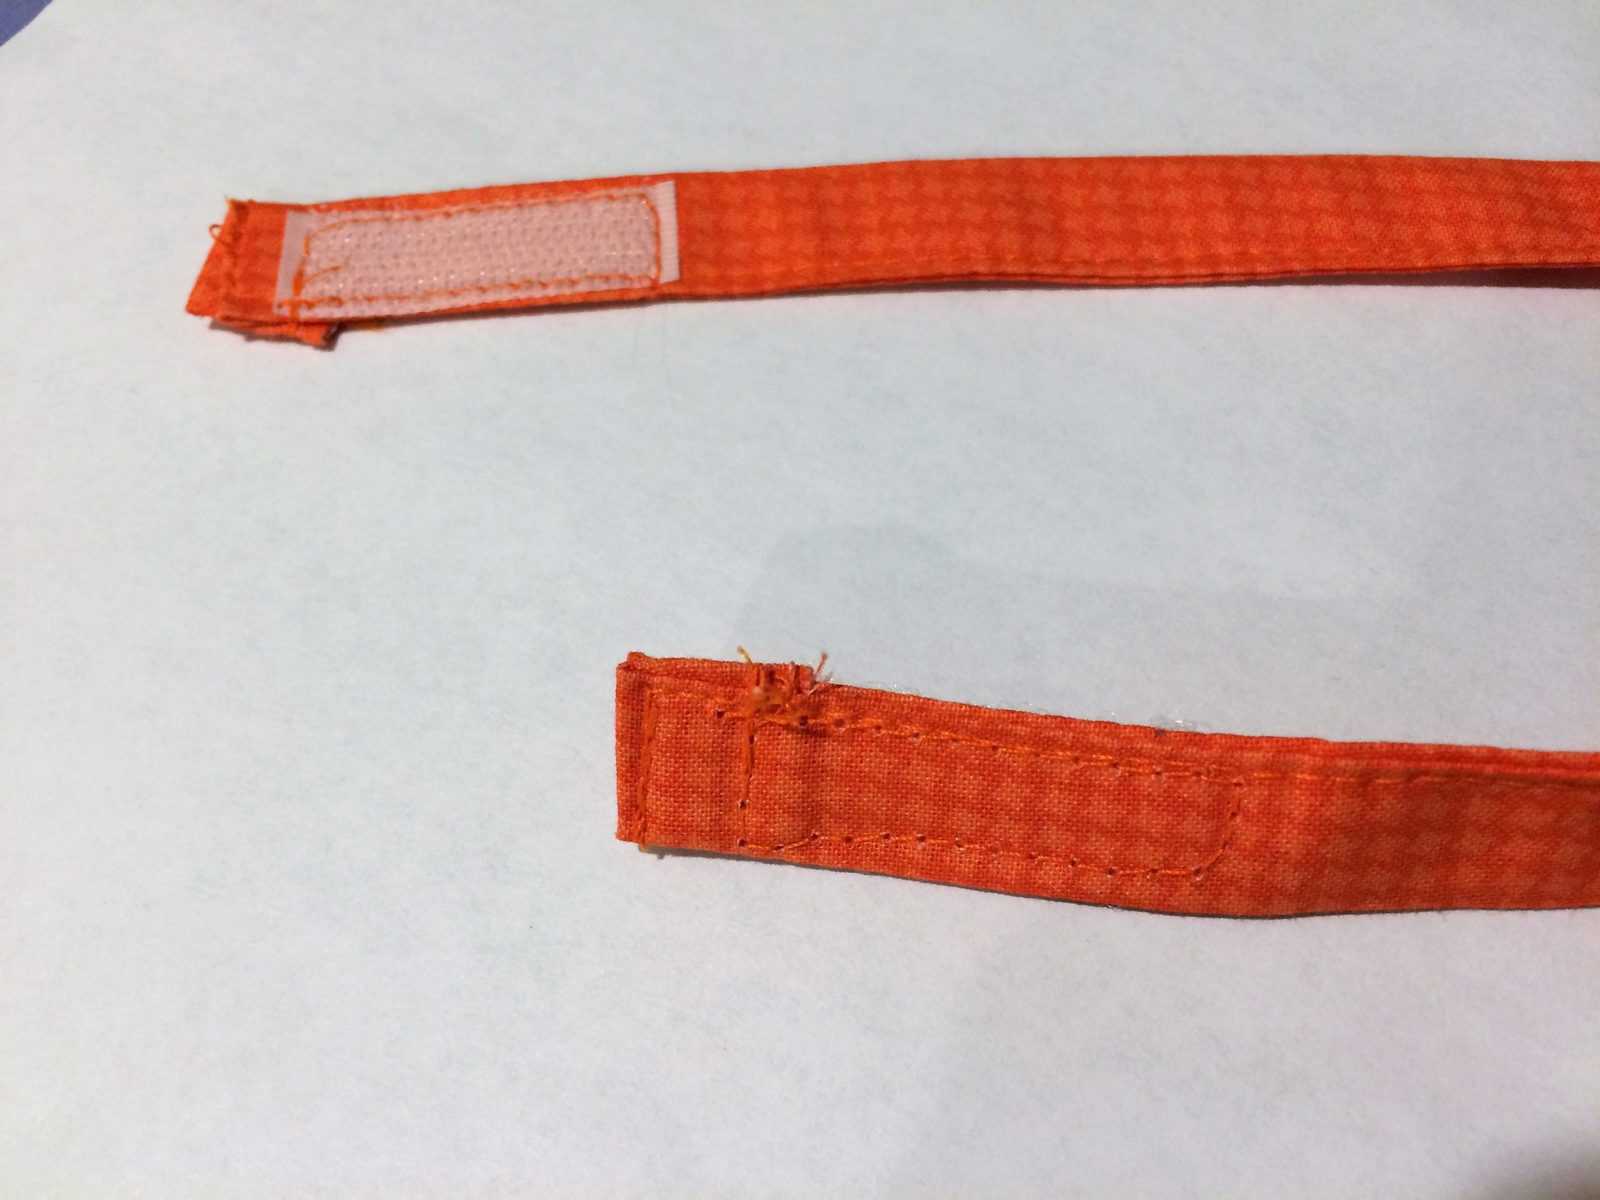
 Cut about a 2″ X 1/2″ length of velcro (it should fit on your neck band).
Sew rough velcro piece on one side, at the end of your neck band, and the soft velcro piece on the opposite end, and opposite side of the neck band.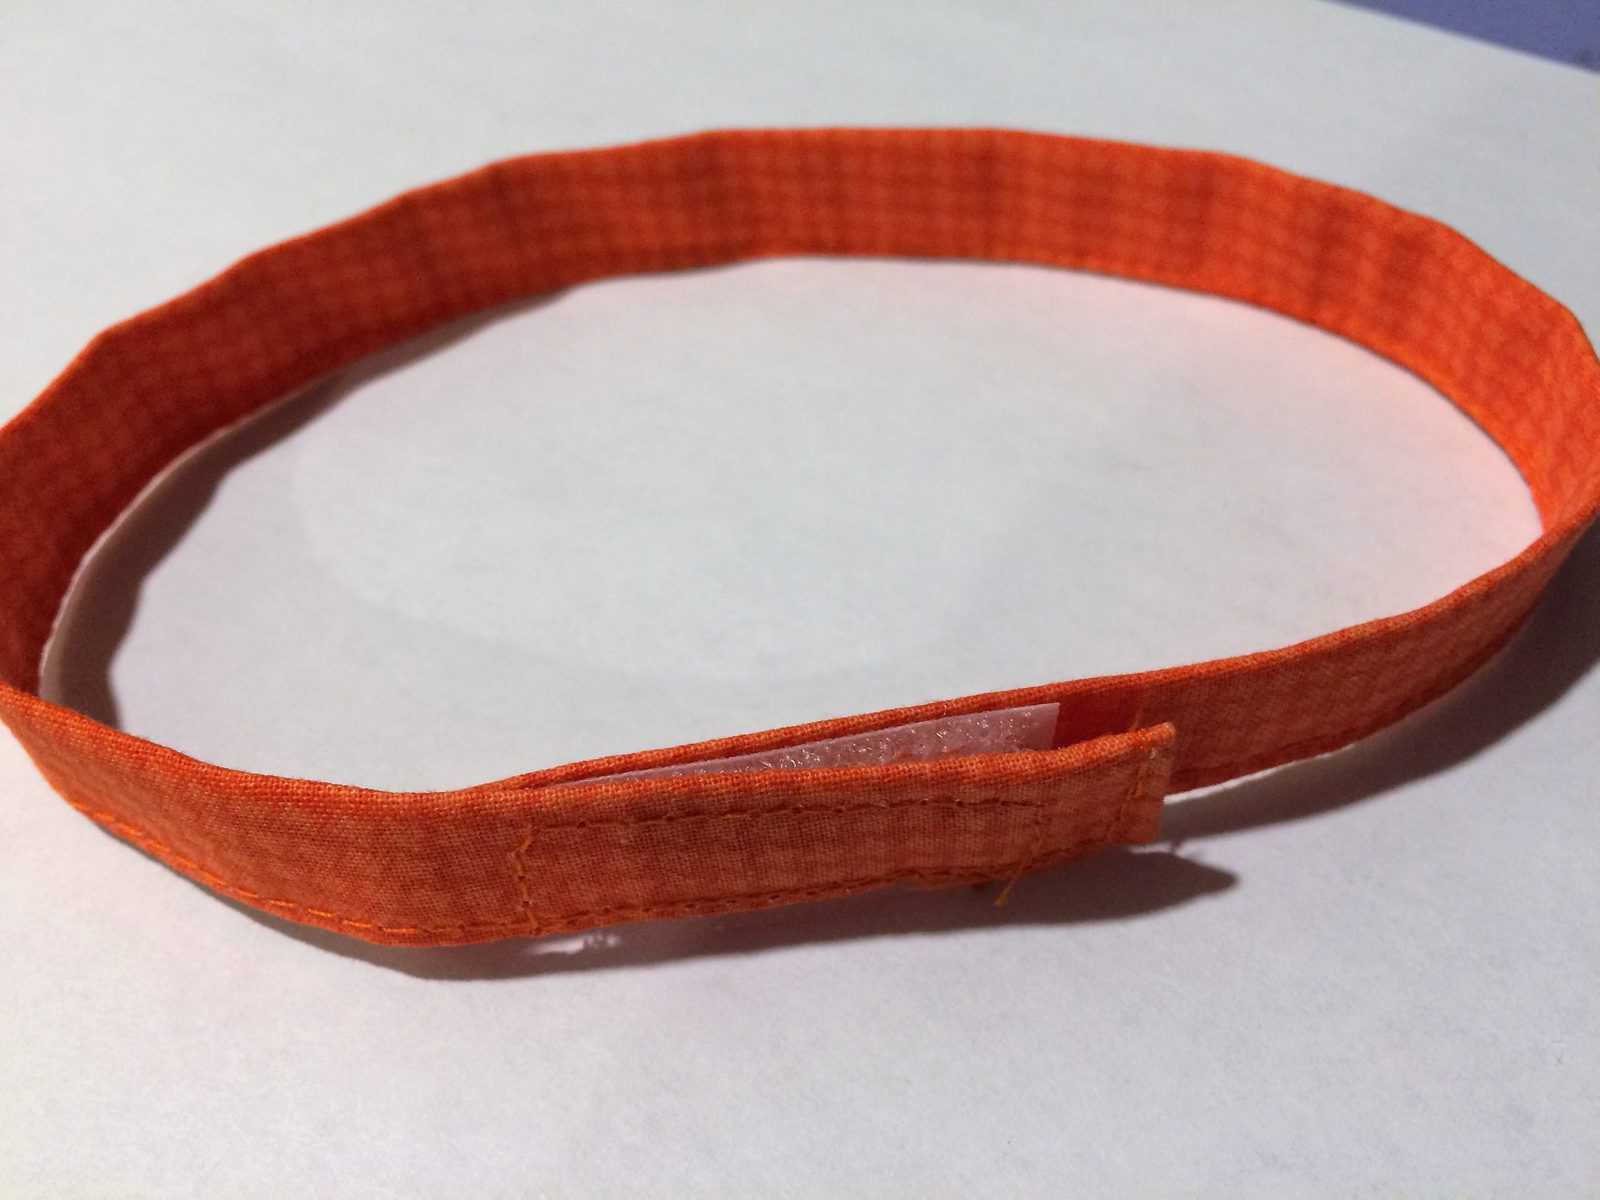
- Sew velcro on opposite side of the neckband so that they overlap to hook together.
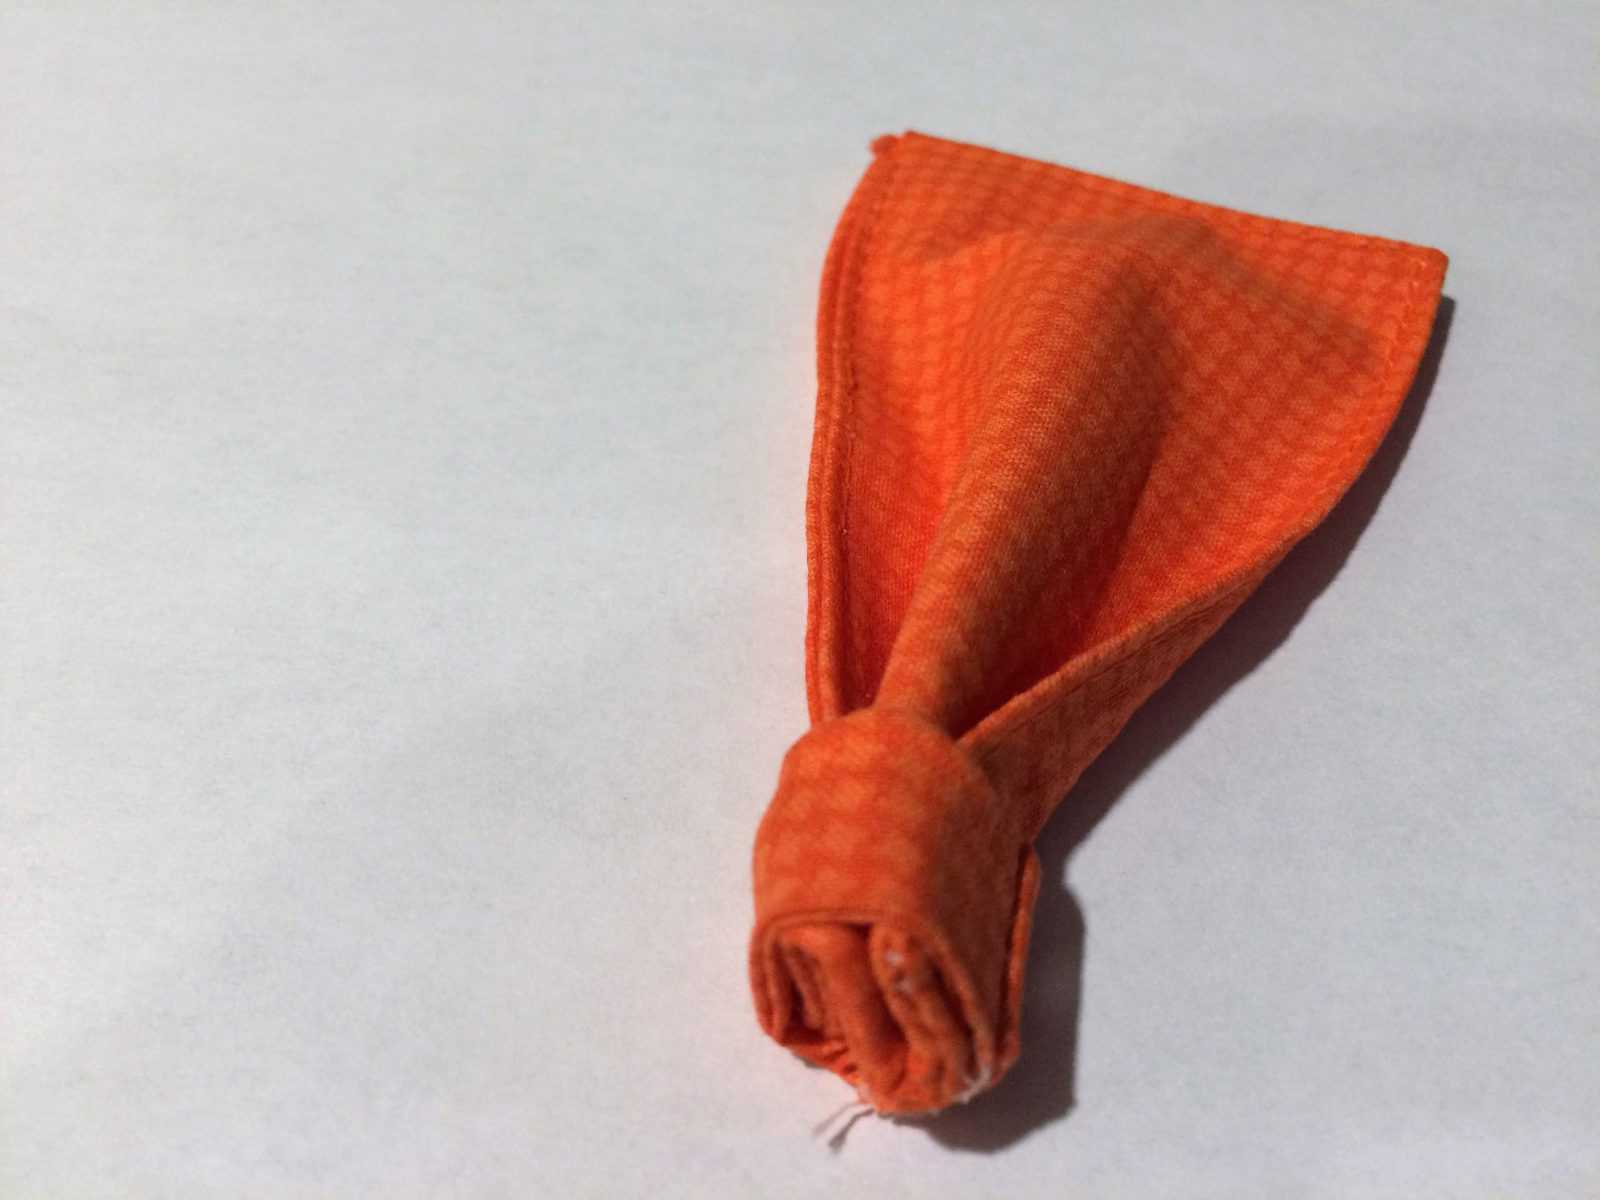
- On to the center of your bowtie:
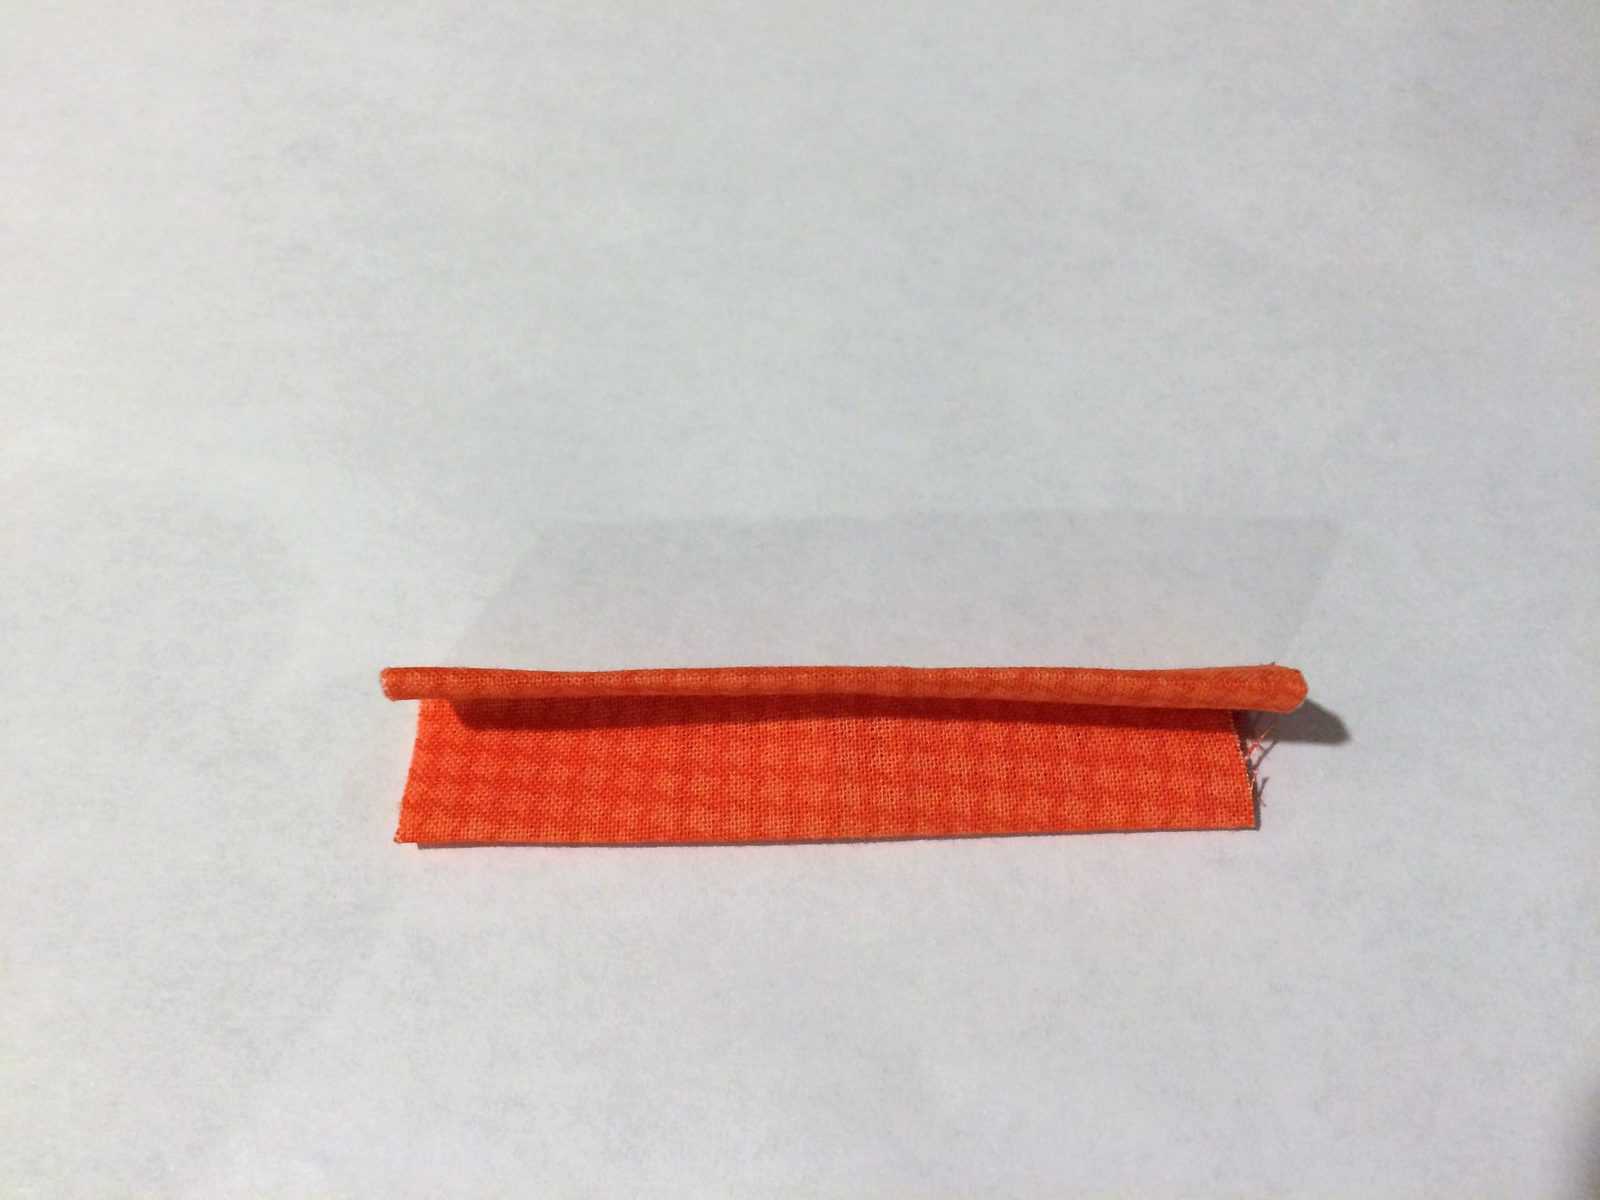
Take your small rectangle and iron in half long ways.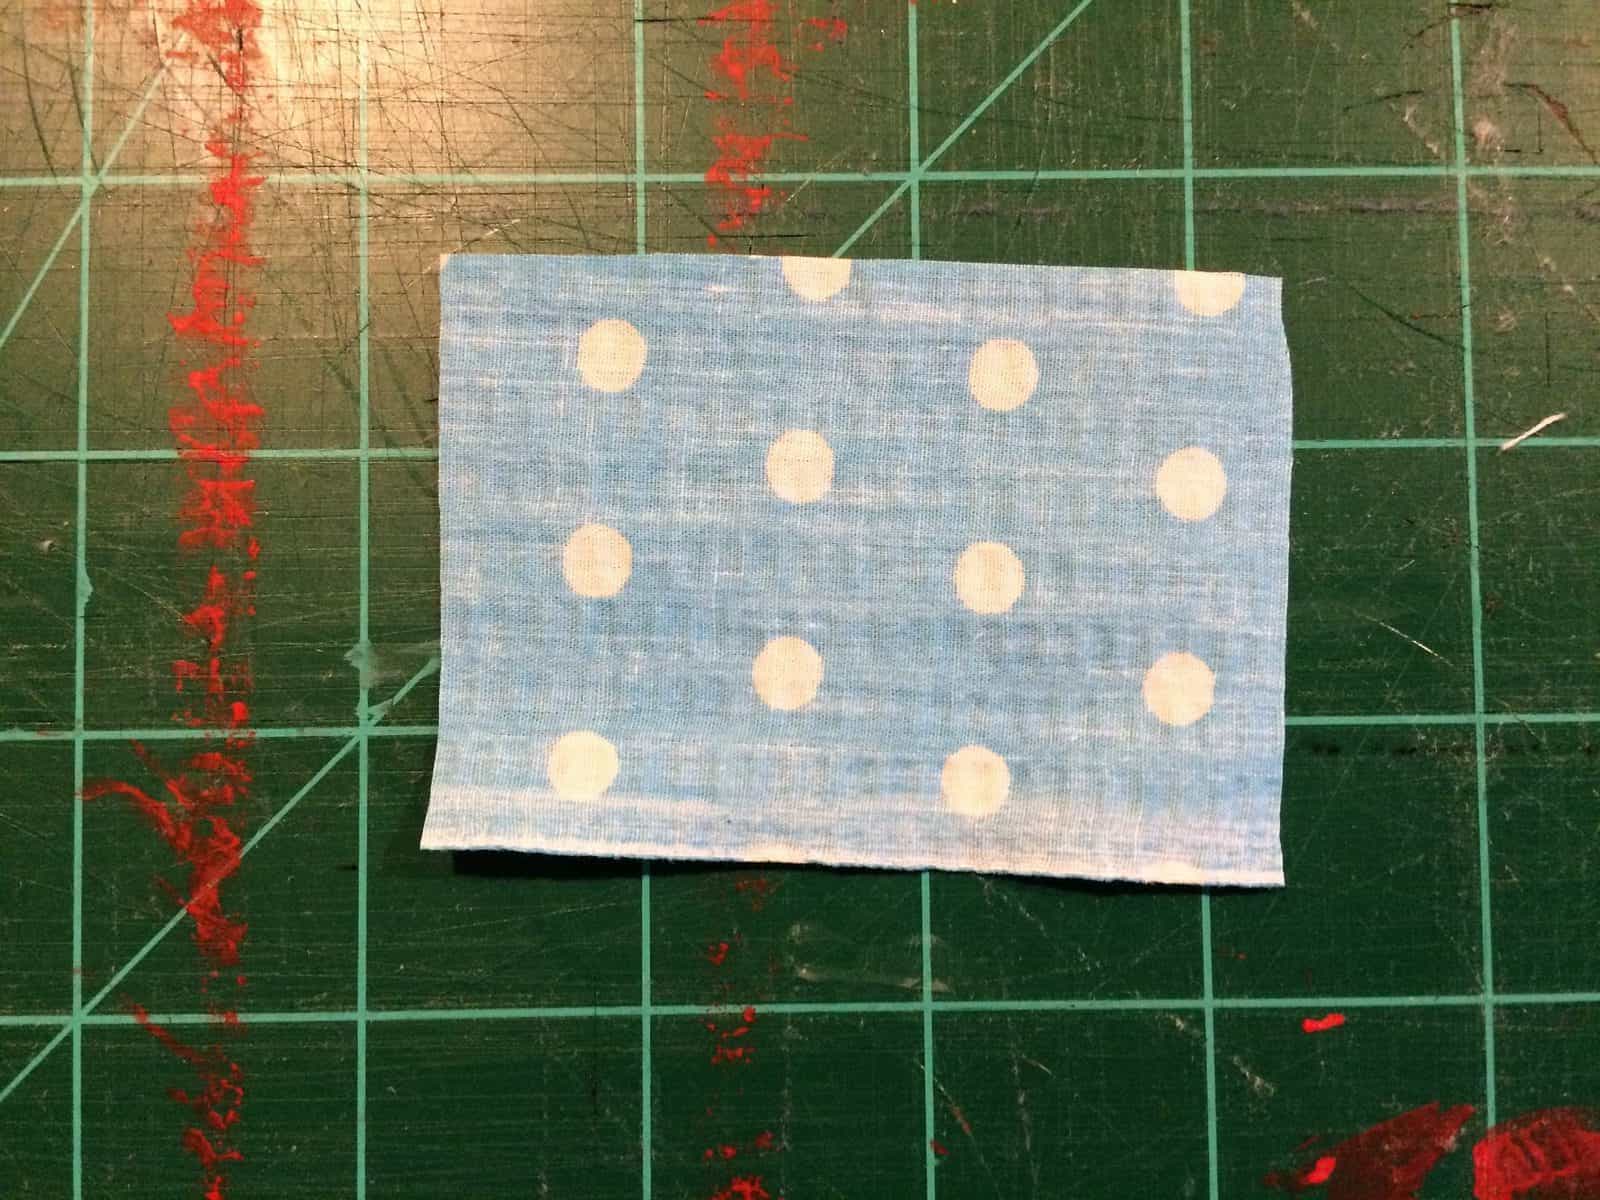
- Open it up, fold the left side to the middle and iron in place.
Fold the right side to the middle and iron in place.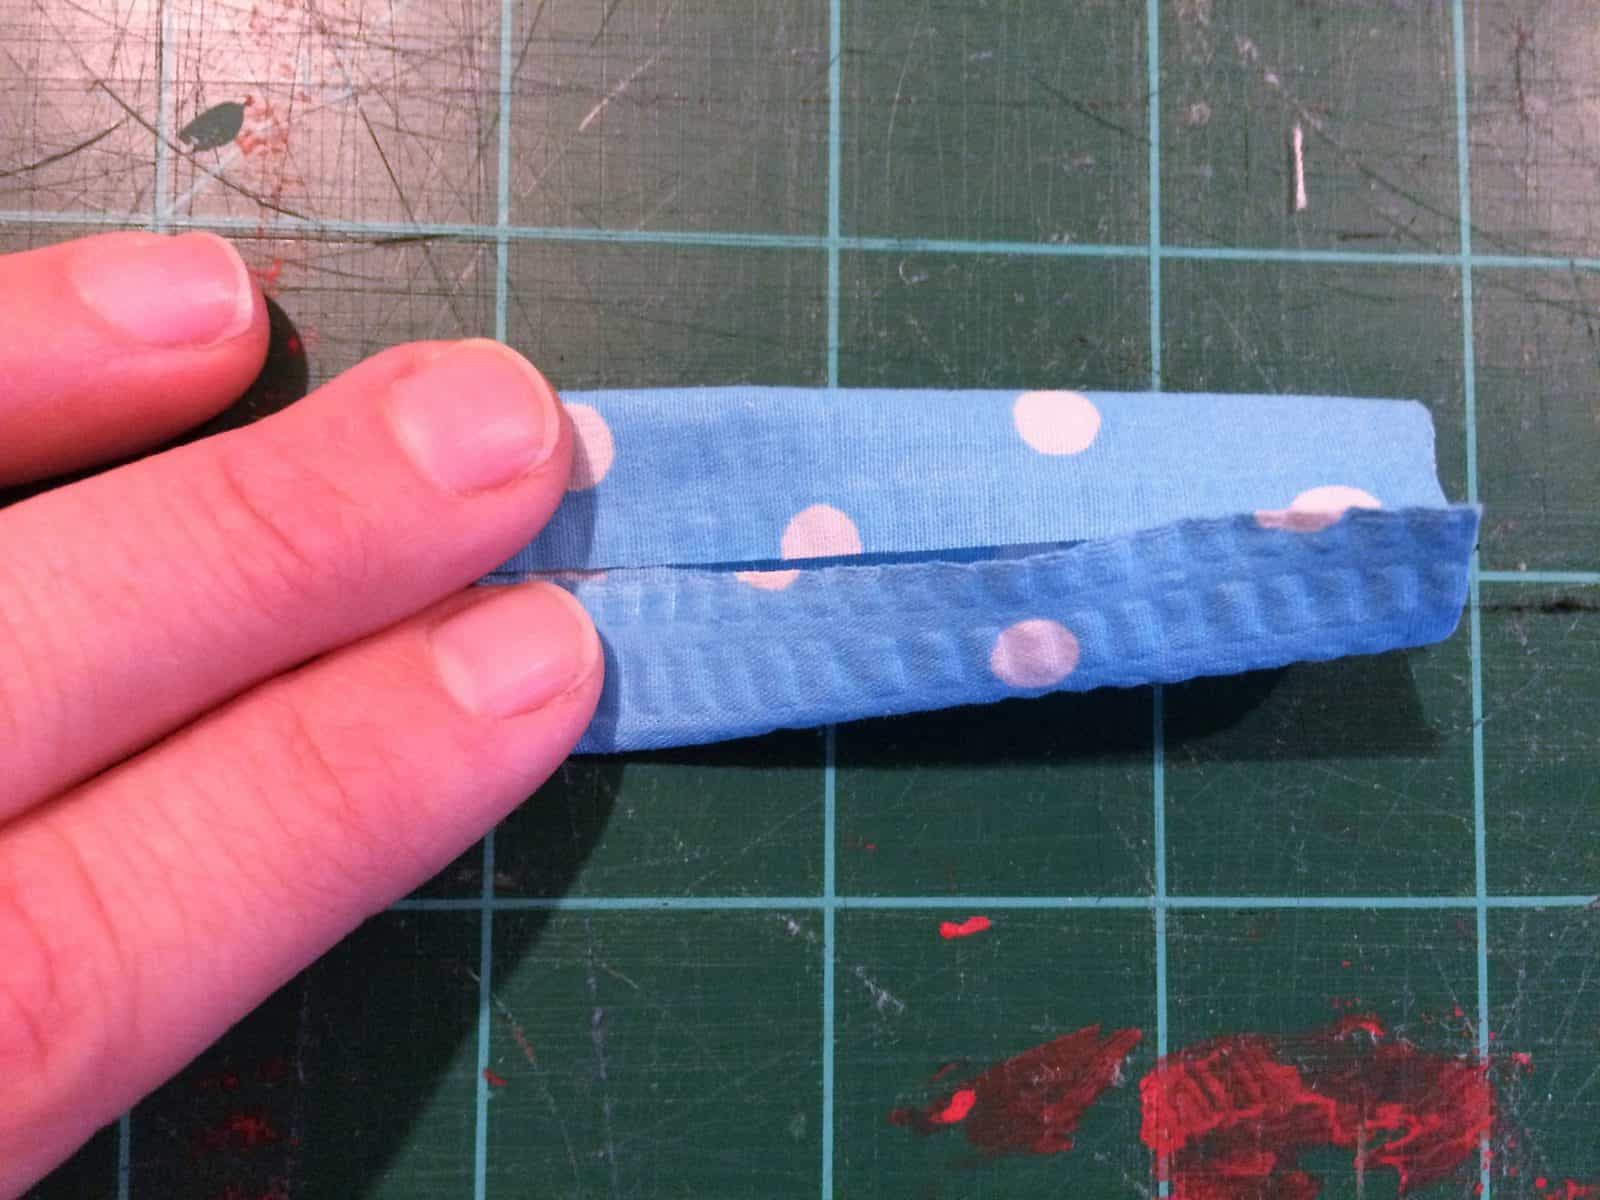
- Now fold it in half again so that the two unfinished edges are tucked inside.
- Bring the two short ends together to fold in half and pin.
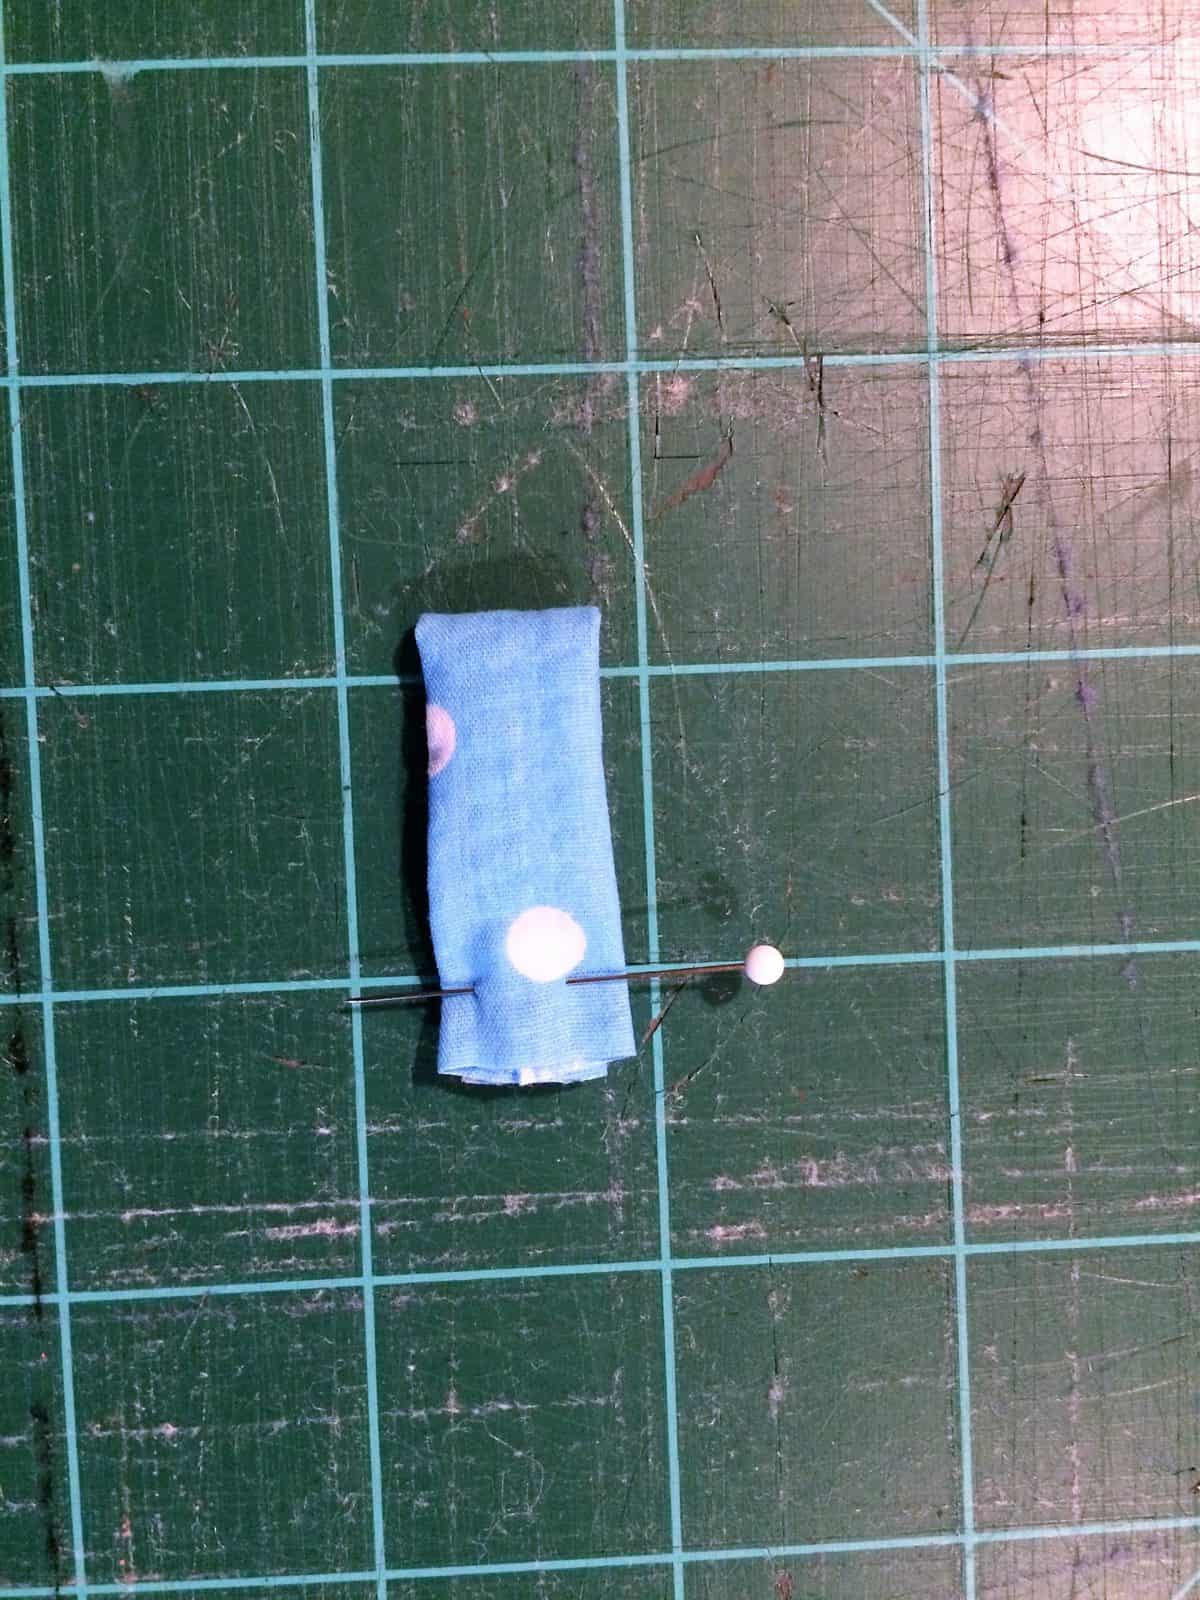
- Sew together using a 1/2” seam allowance.
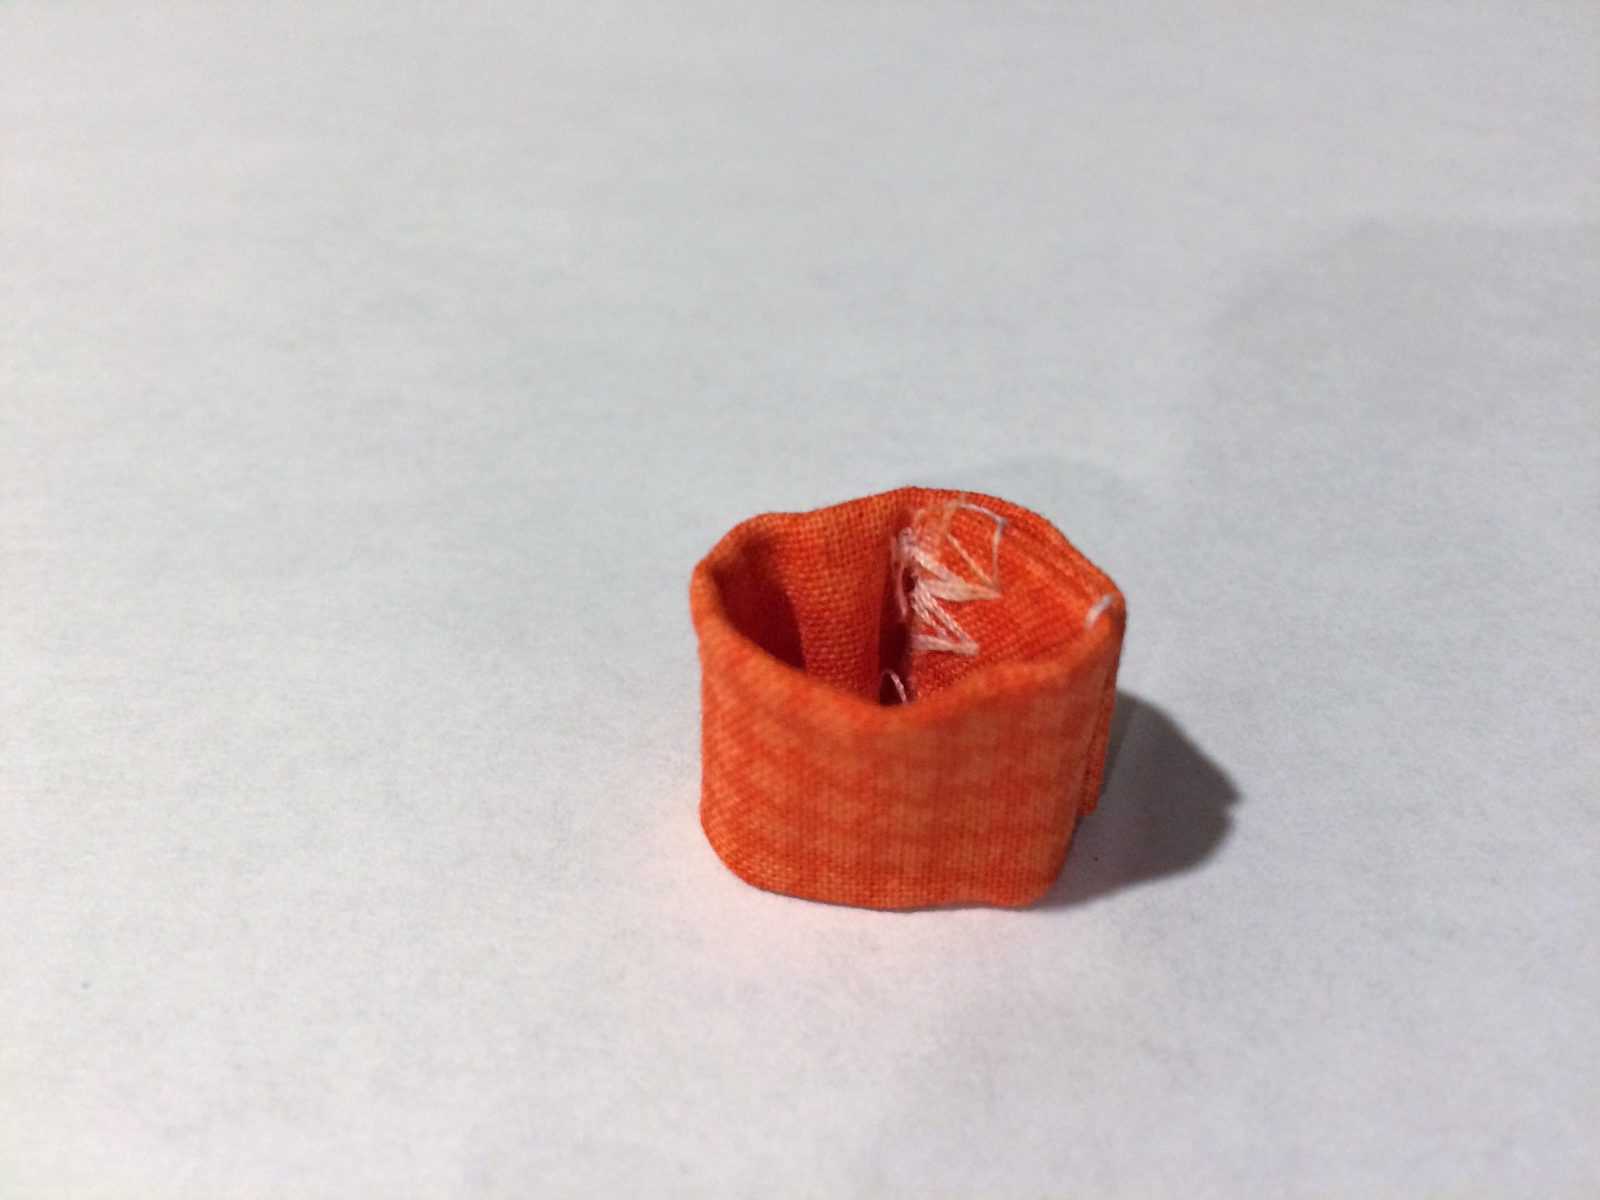
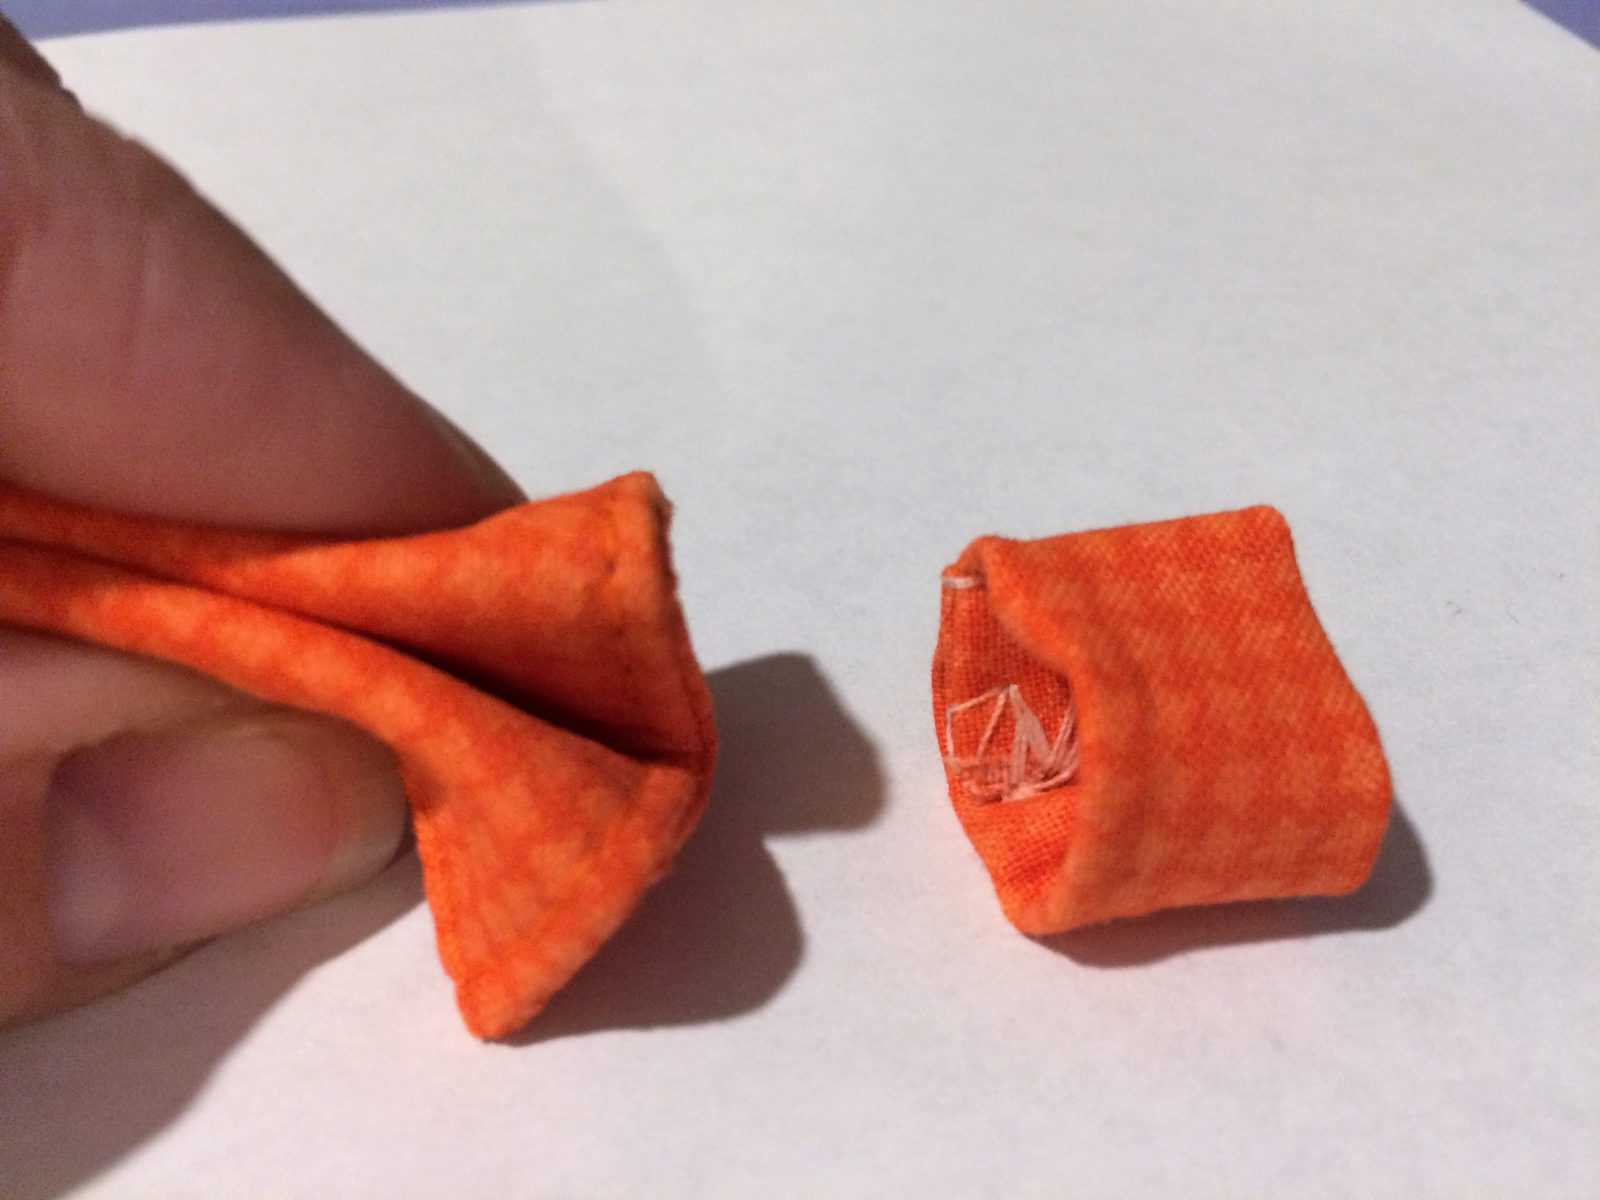
Then finish the edge with a zig zag stitch.
Flip your loop right side out.
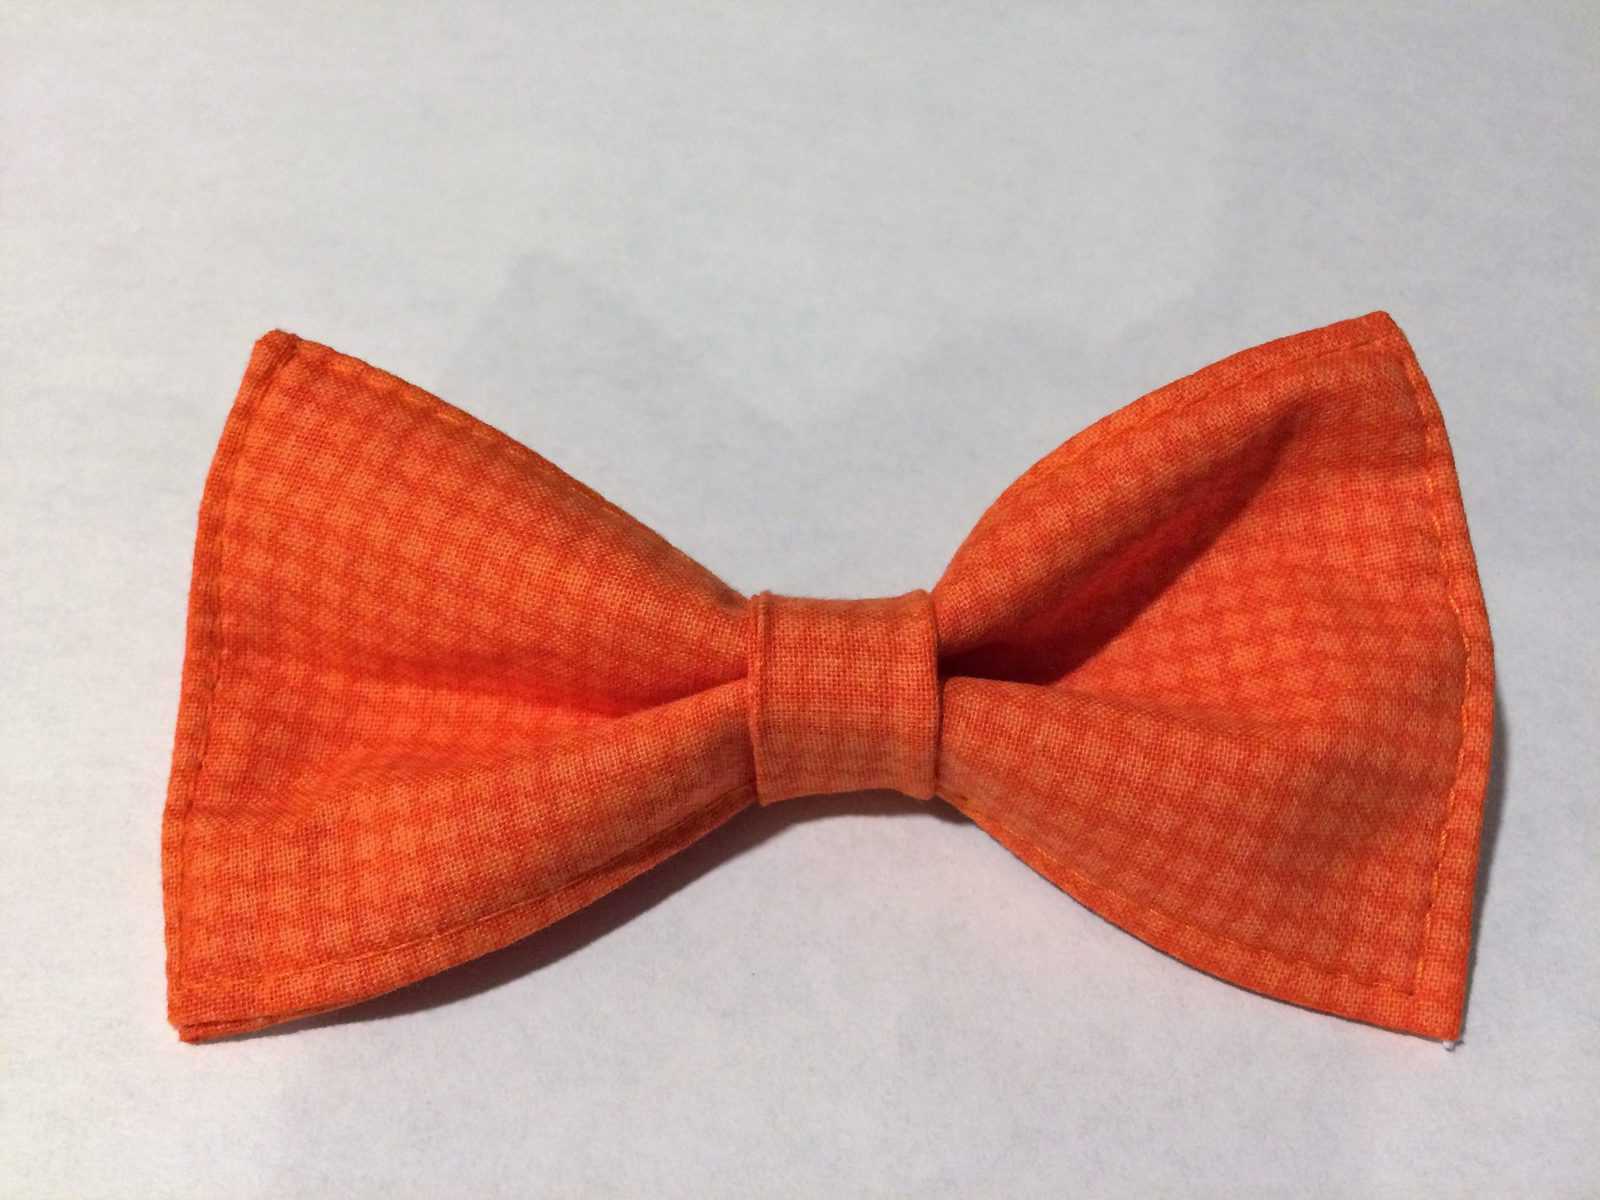
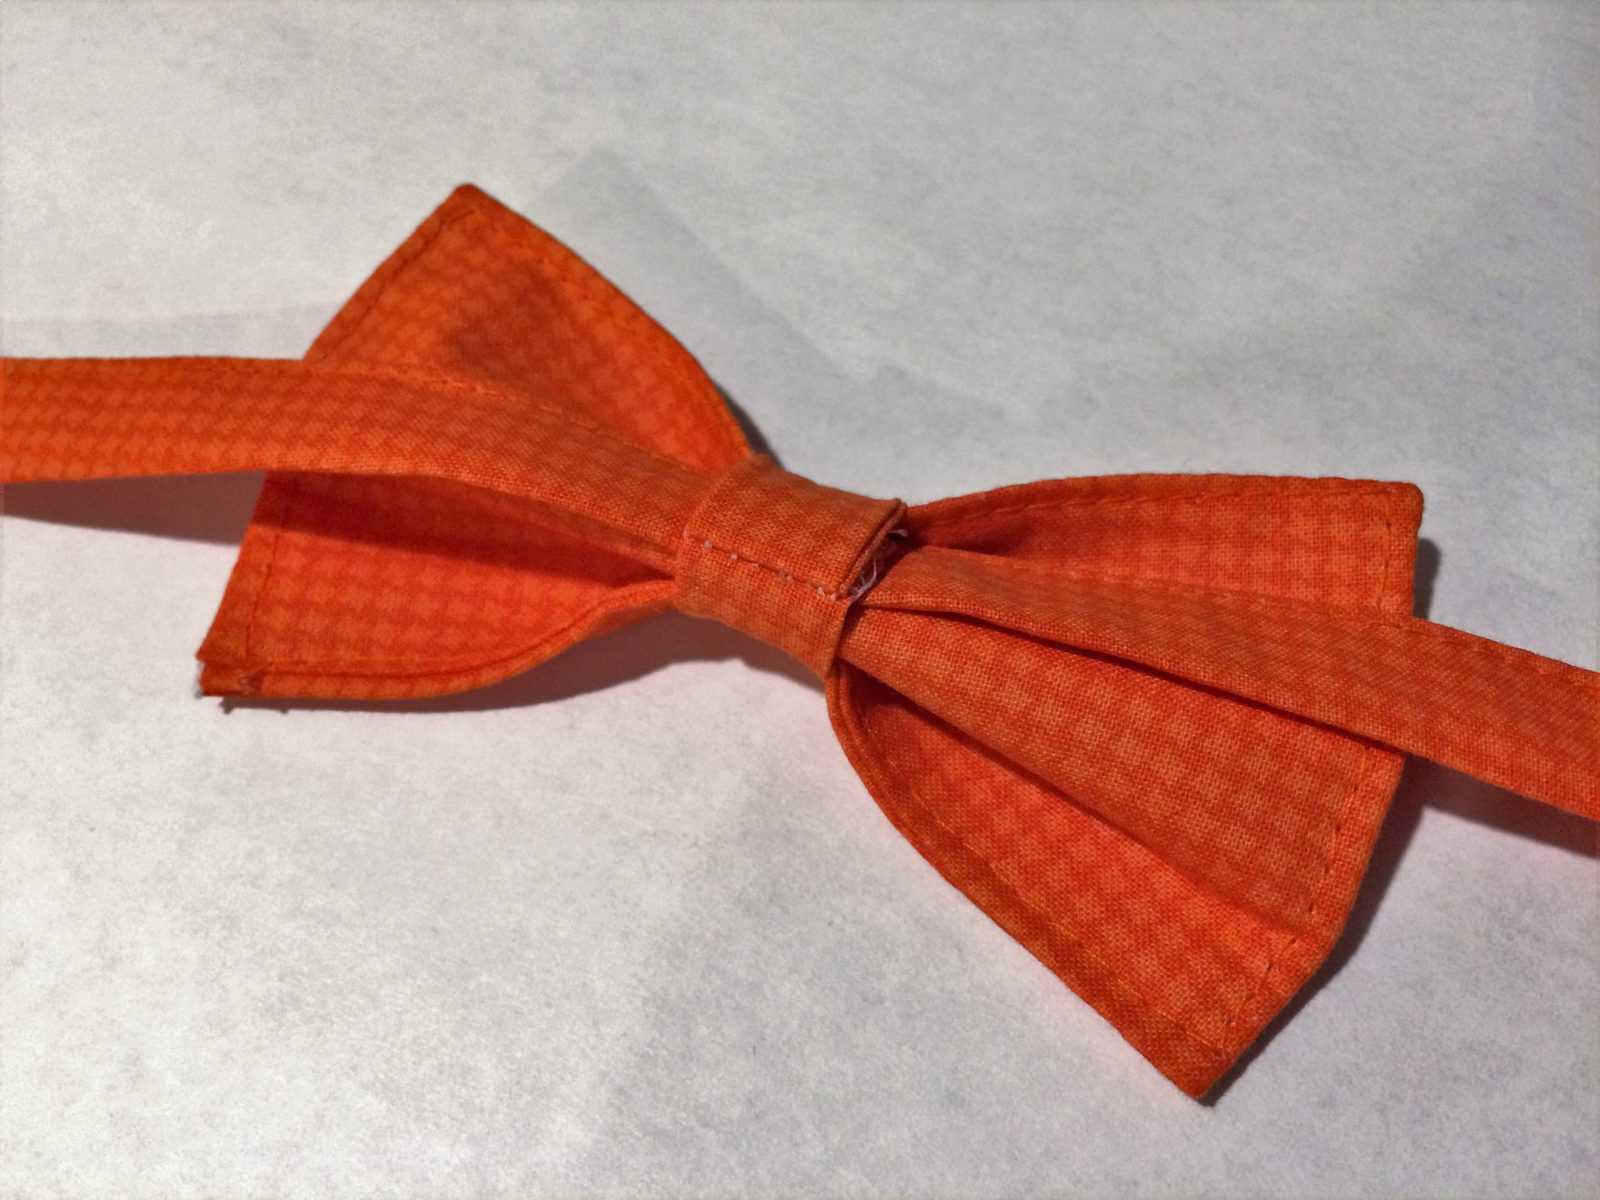
- Now feed your bow tie into the loop.
- Pinch the end of your finished rectangle and work it into the loop, pulling through until center.
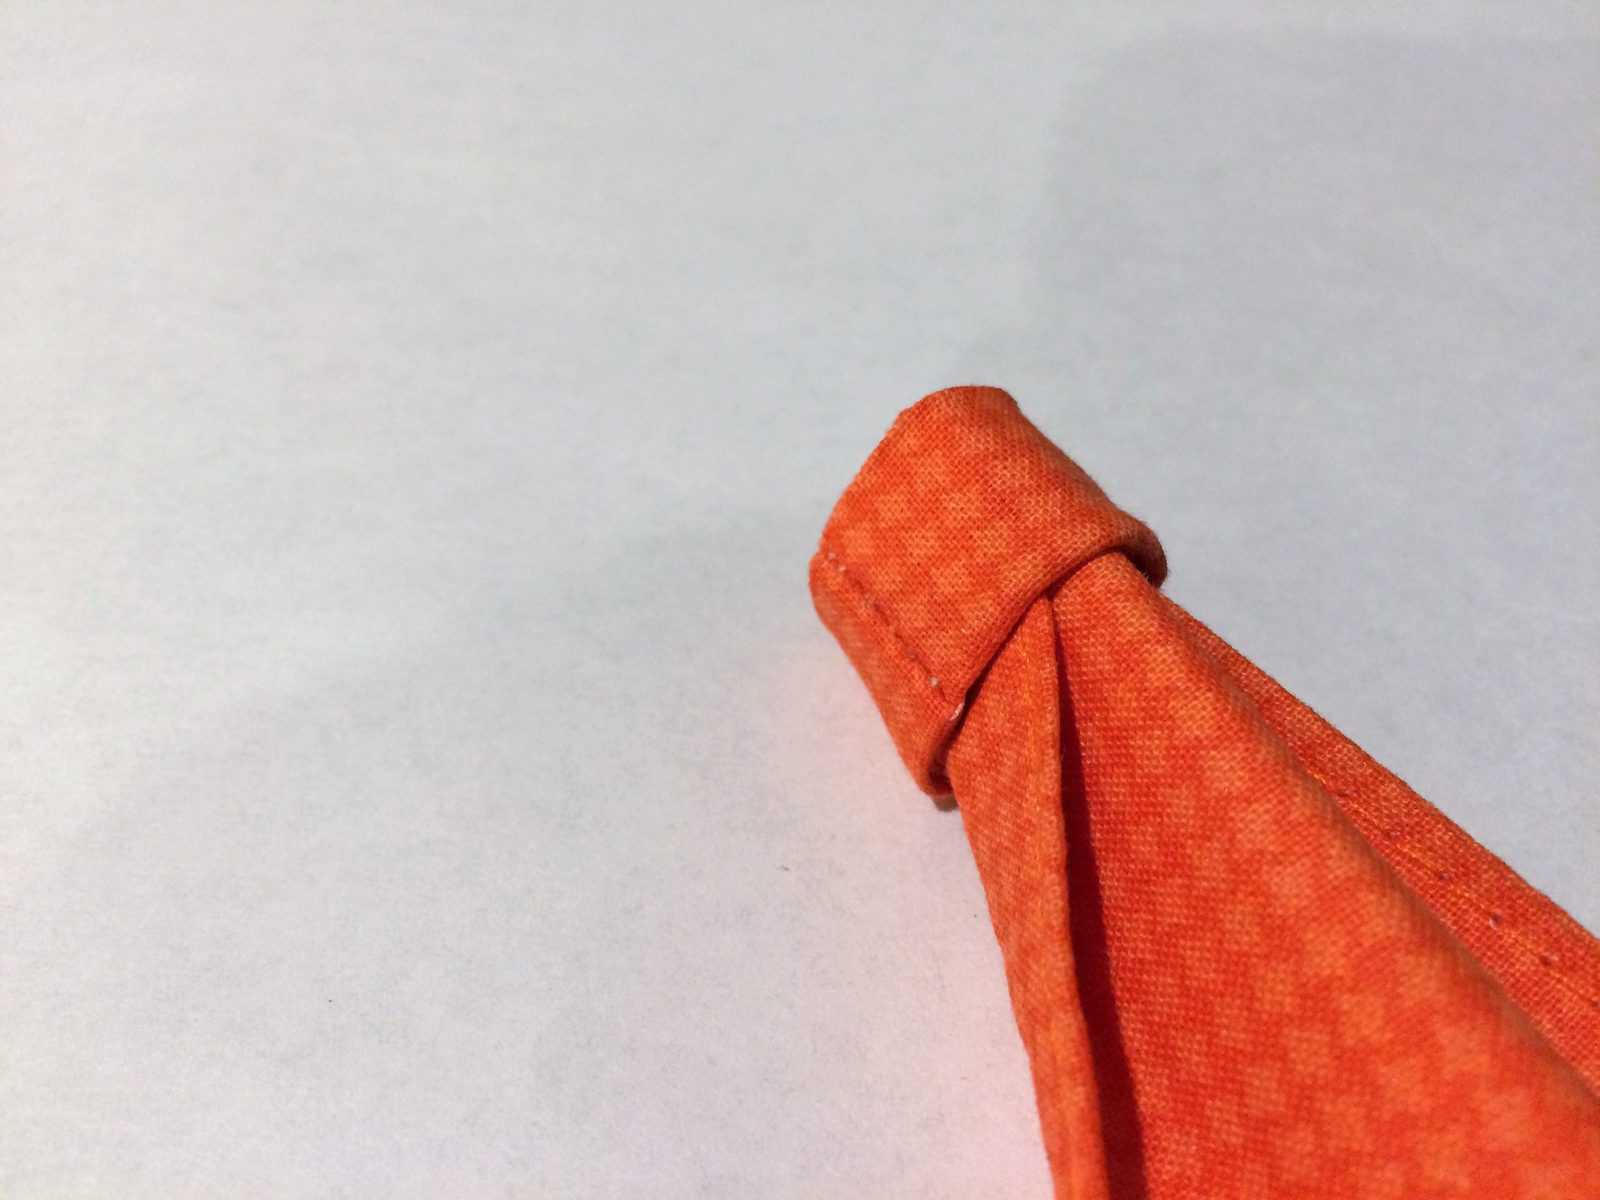
- This will form your bow tie.
- Last, feed your neckband through the back of the loop.
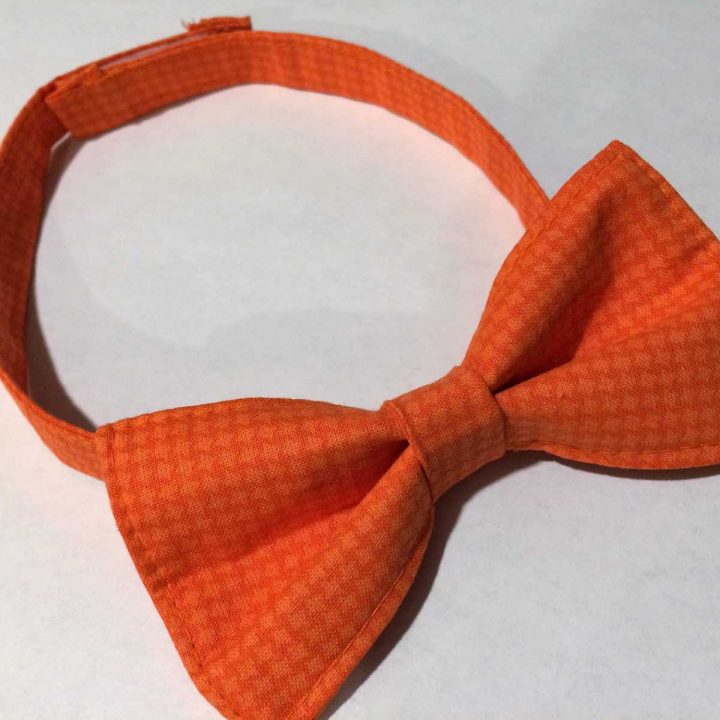
- And your bow tie is finished.
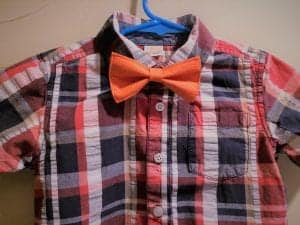
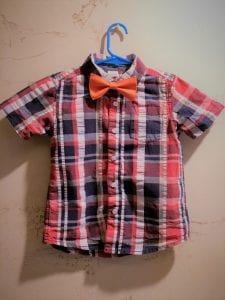
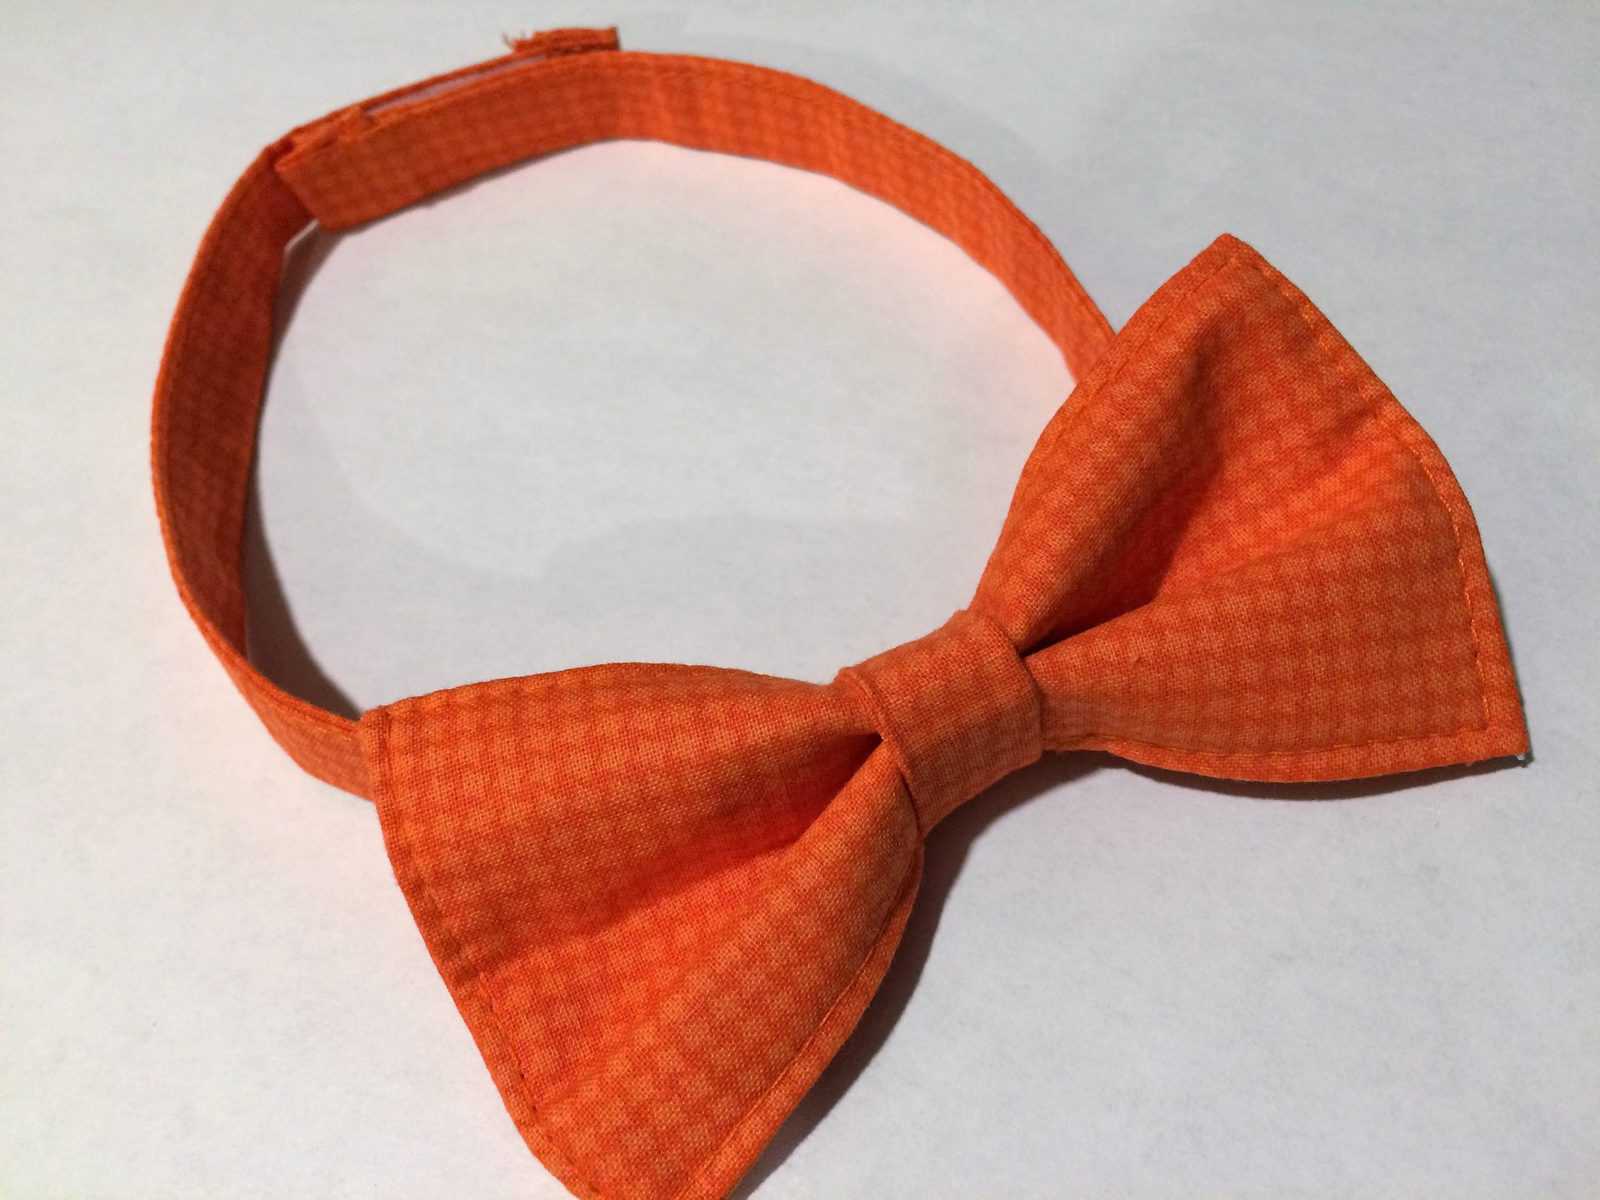 Find a handsome little guy to wear it!
Recommended Products
As an Amazon Associate and member of other affiliate programs, I earn from qualifying purchases.
-
 SINGER C5200 Computerized Sewing & Quilting Machine with Extension Table & Accessory Kit | 180 Stitch Applications, Touch Button Stitch Selection, LCD Screen, Full Metal Frame & 1-step Buttonhole
 -
 7Pcs 20" x 20" Cotton Fabric DIY Making Supplies Quilting Patchwork Fabric Fat Quarter Bundles DIY for Quilting Cotton Patchwork Cushions (Orange, 20" x 20")

Thank you so much my sharing. Your instructions were so easy to follow and my toddler bow tie turned out beautifully.