How to Finish Knitting a Hat
Learn how to finish knitting your first hat in this step by step tutorial. Learning to knit is fun, and sometimes it can be frustrating, as with all new things.
But it’s simple to learn how to finish off your freshly knit hats with this easy technique! This is a great way for new knitters to finish knitting a hat.
Once the rest of the hat is complete, you draw the yarn tail through the live stitches left on your needle to finish it.
This post contains affiliate links, I may earn a fee. Read more disclosure policy.
Live stitches are the stitches on your needle that haven’t been knitted or cast off yet.
Once you make sure that you have captured all the stitches then you can remove the needles. And last you weave in your end over the small hole in the top of your hat to completely close it.
What You Need To Finish Your Hat
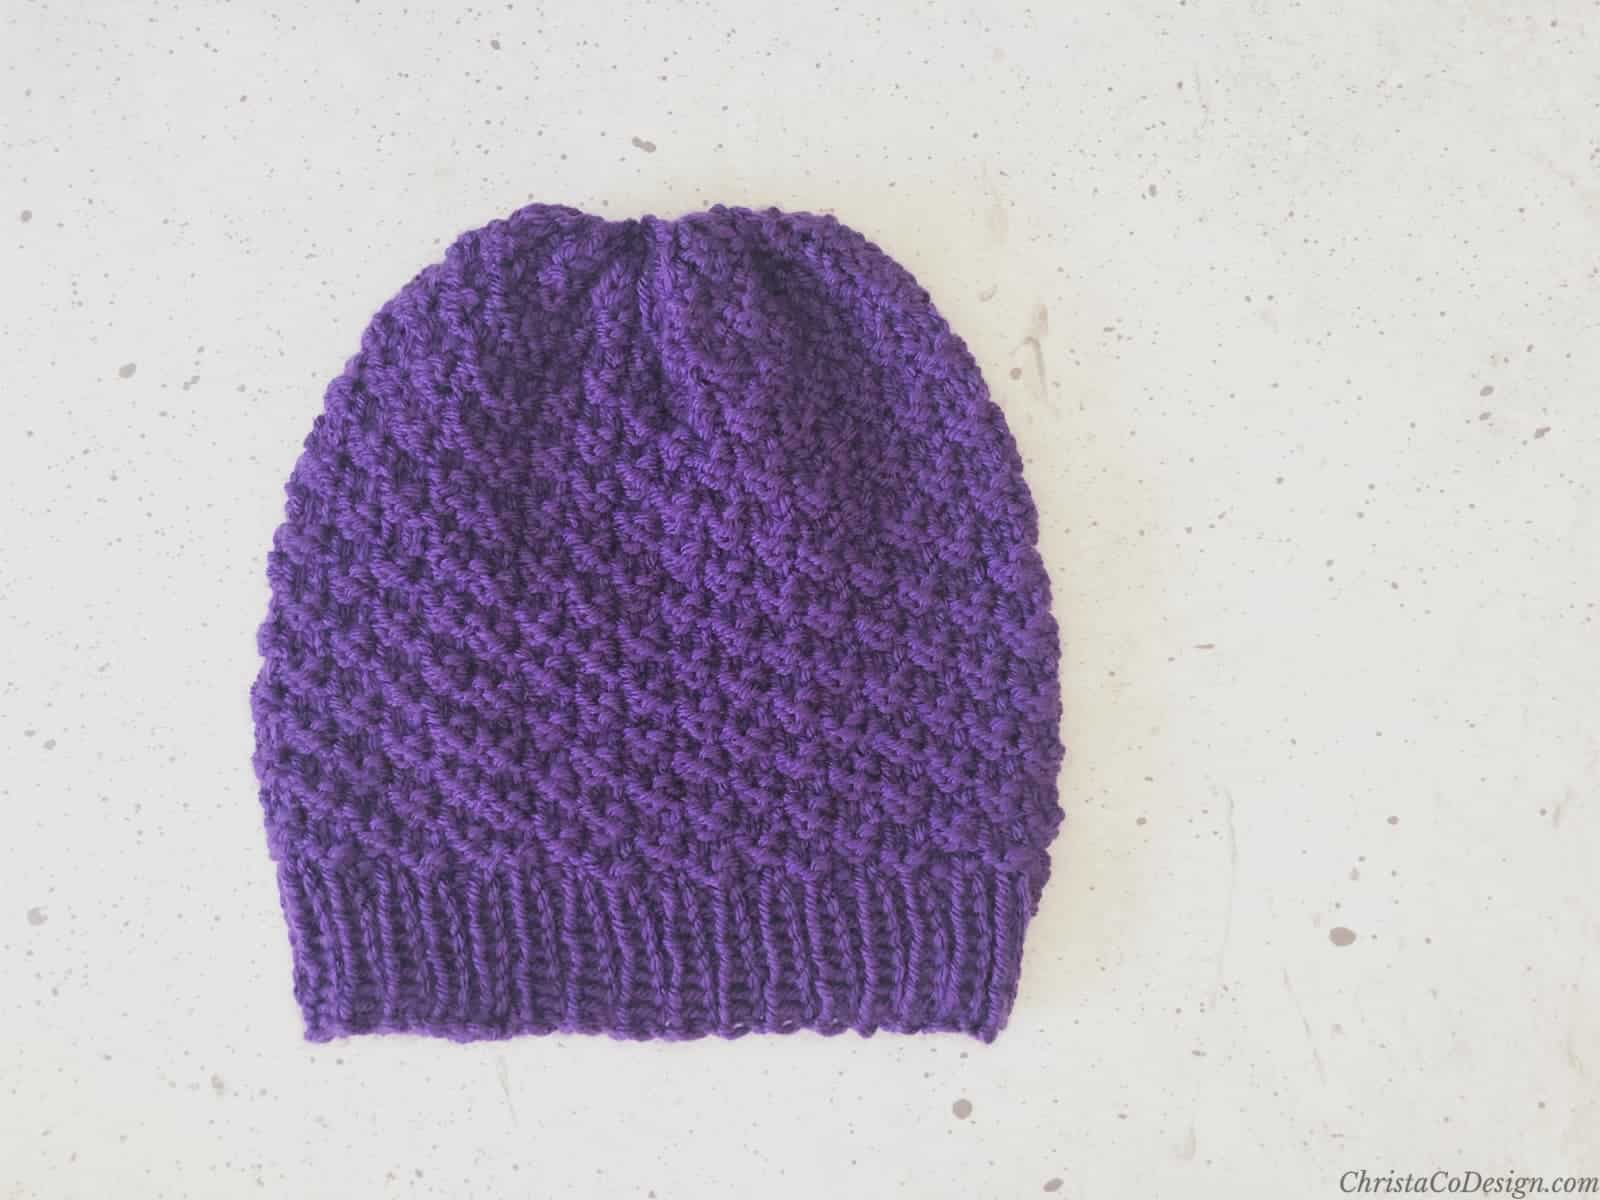
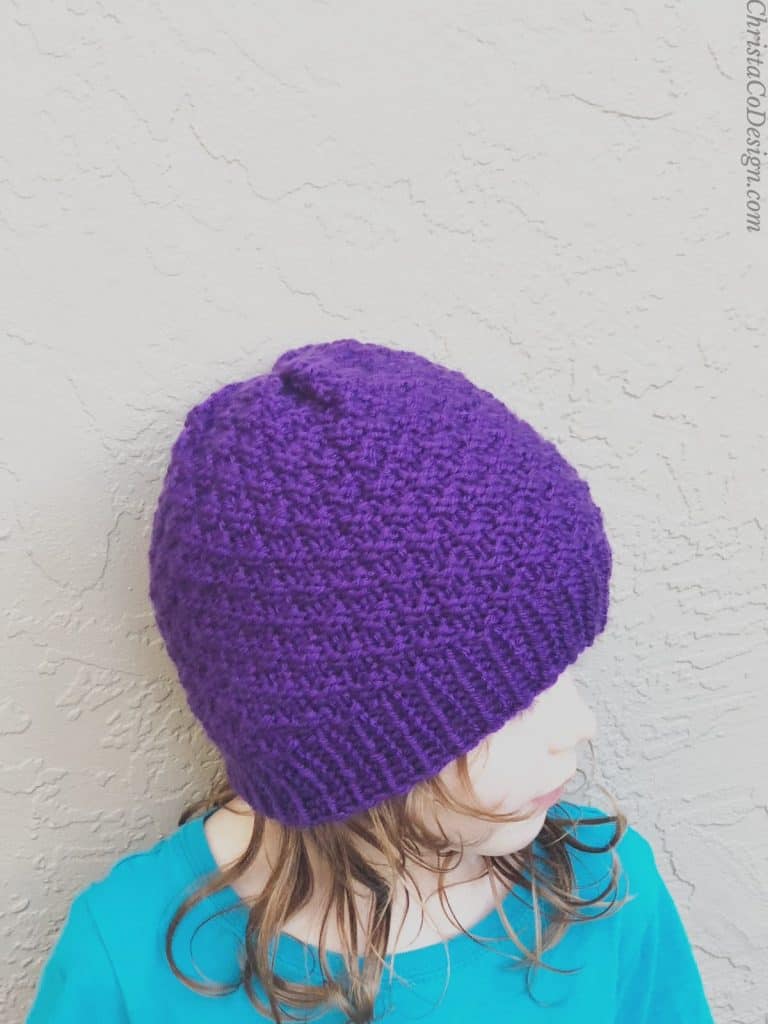
For this tutorial I’m using my Trento Hat which is an easy hat knitting pattern. This hat is knit in worsted weight yarn on circular needles. The needle size I use with this yarn weight is 4.5 mm US Size 7.
You can use any hat that you have knit up to the point when you need to finish it.
Decreases
Many hat patterns will use decreases to finish a hat. This helps to shape the crown, and lessens the number of stitches.
Before I close up the top of the hat I add a few decrease rounds in the Trento. Then I cut a long tail and thread my yarn needle. Next I weave the yarn needle through all the remaining stitches on my knitting needles.
This is the method I use here. You can use this tutorial to close up the top of any knit hat. At this point you should be finished knitting the body of your hat though.
Some patterns will include decrease sections, and these will vary by hat pattern. With the Trento Hat I add one section of decreases and then use the method here to cinch up the hat.
Free Knitting Patterns
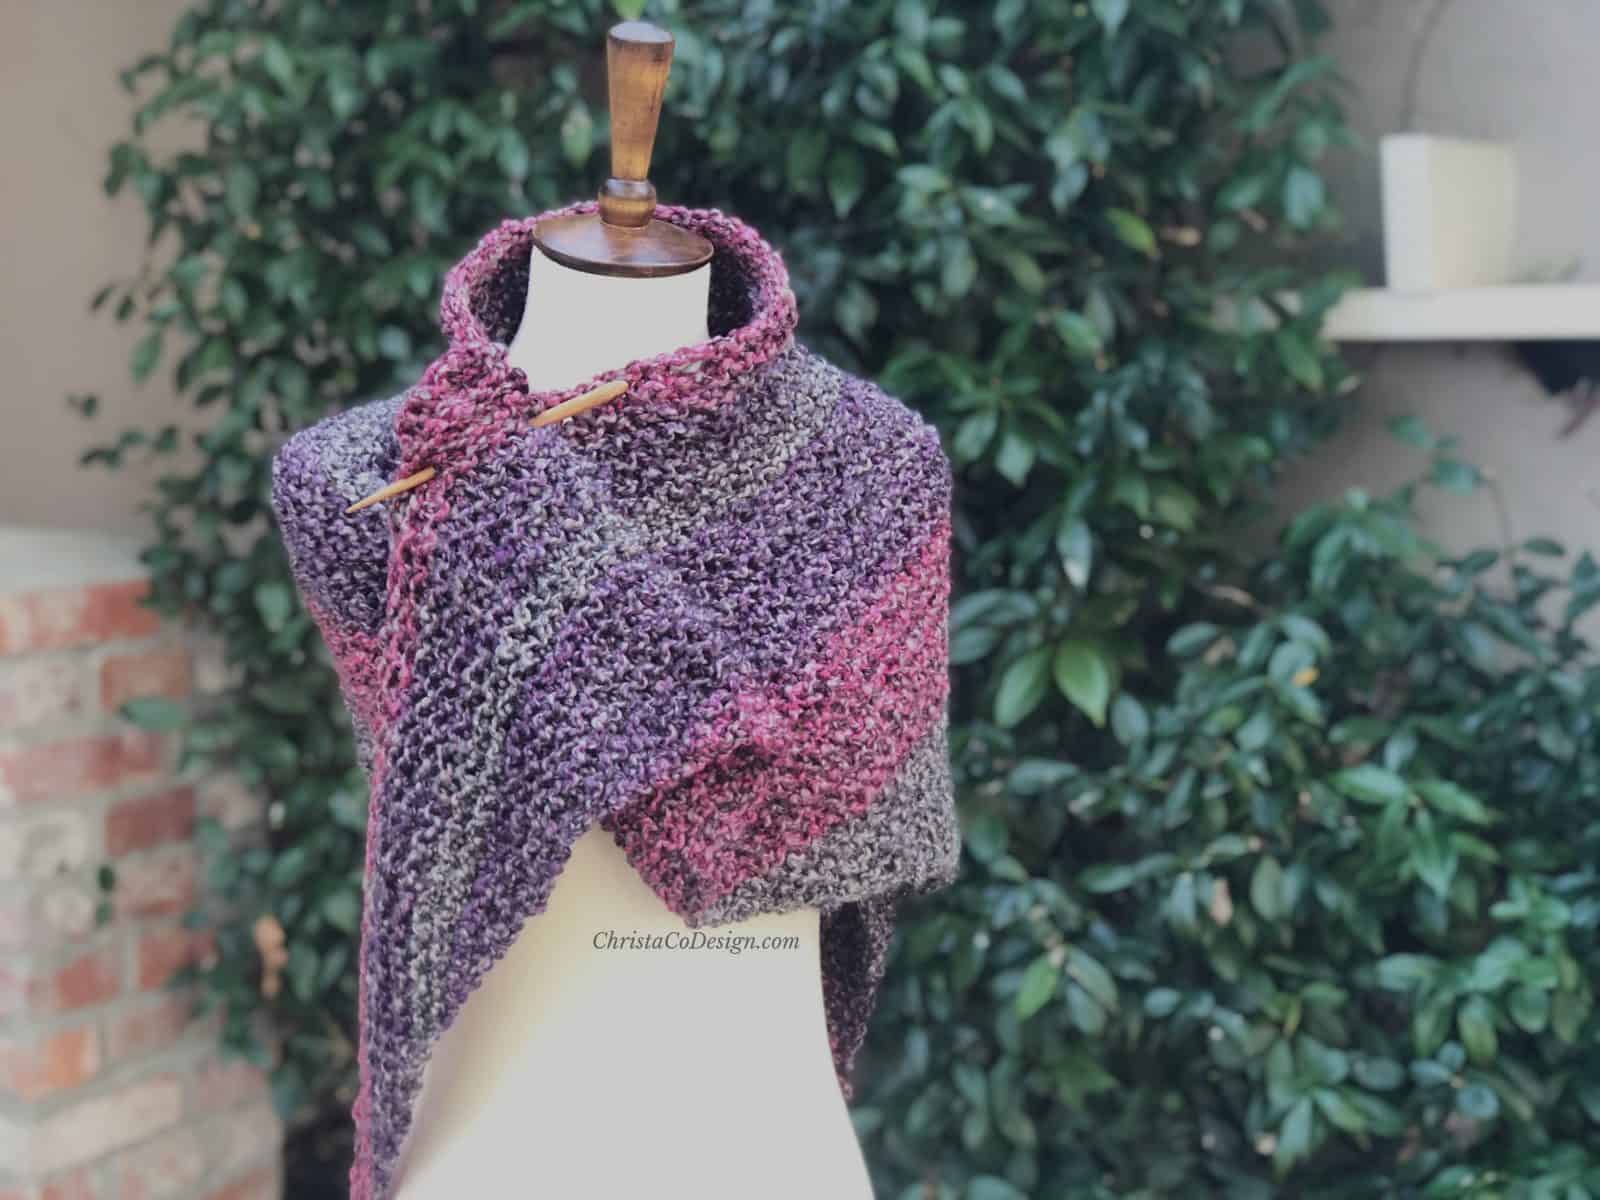
These simple hats are a great project for beginning knitters.
The Trento Hat starts with ribThe Trento Hat starts with ribbing for the brim of the hat. The main body of the this hat has an easy 4 row repeat. Then there are only two decrease rows for the crown shaping. And then you finish it off with this simple technique.
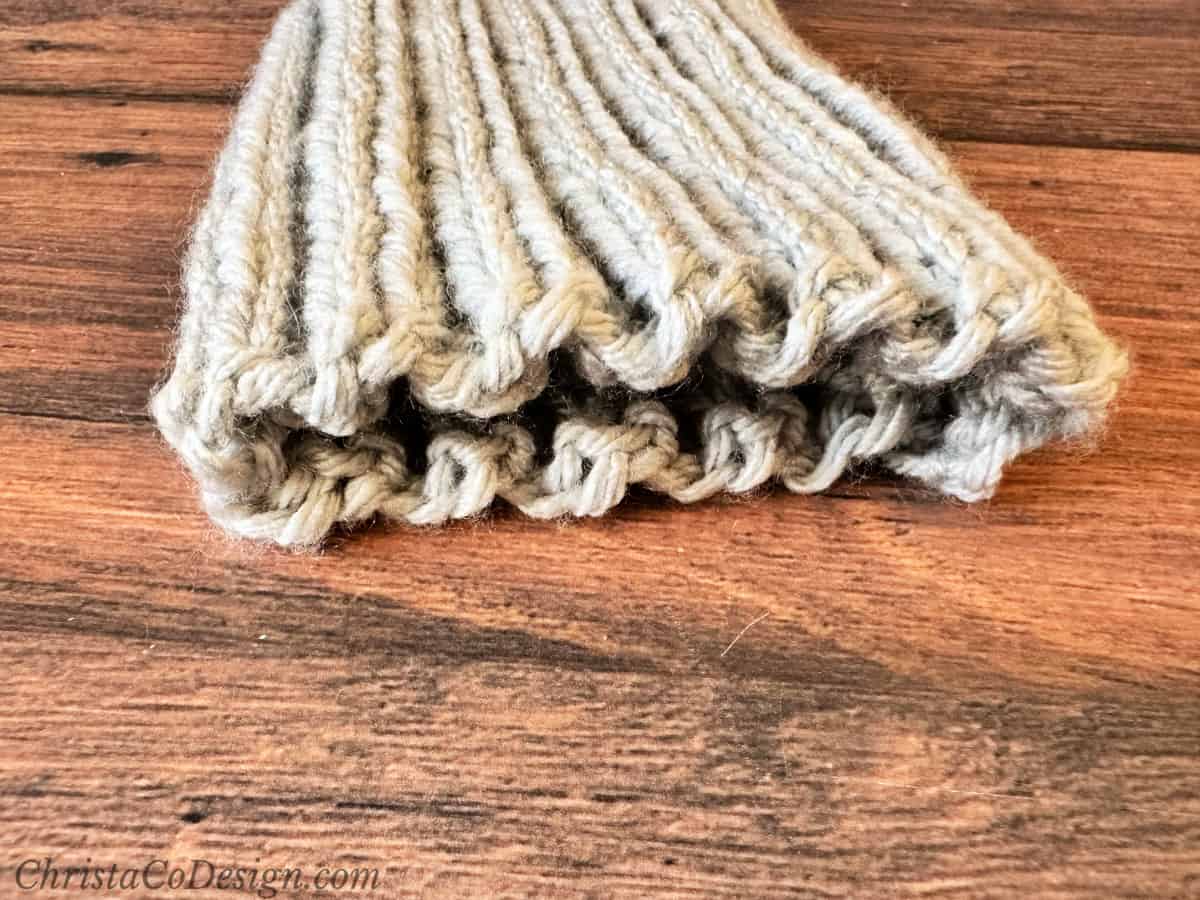
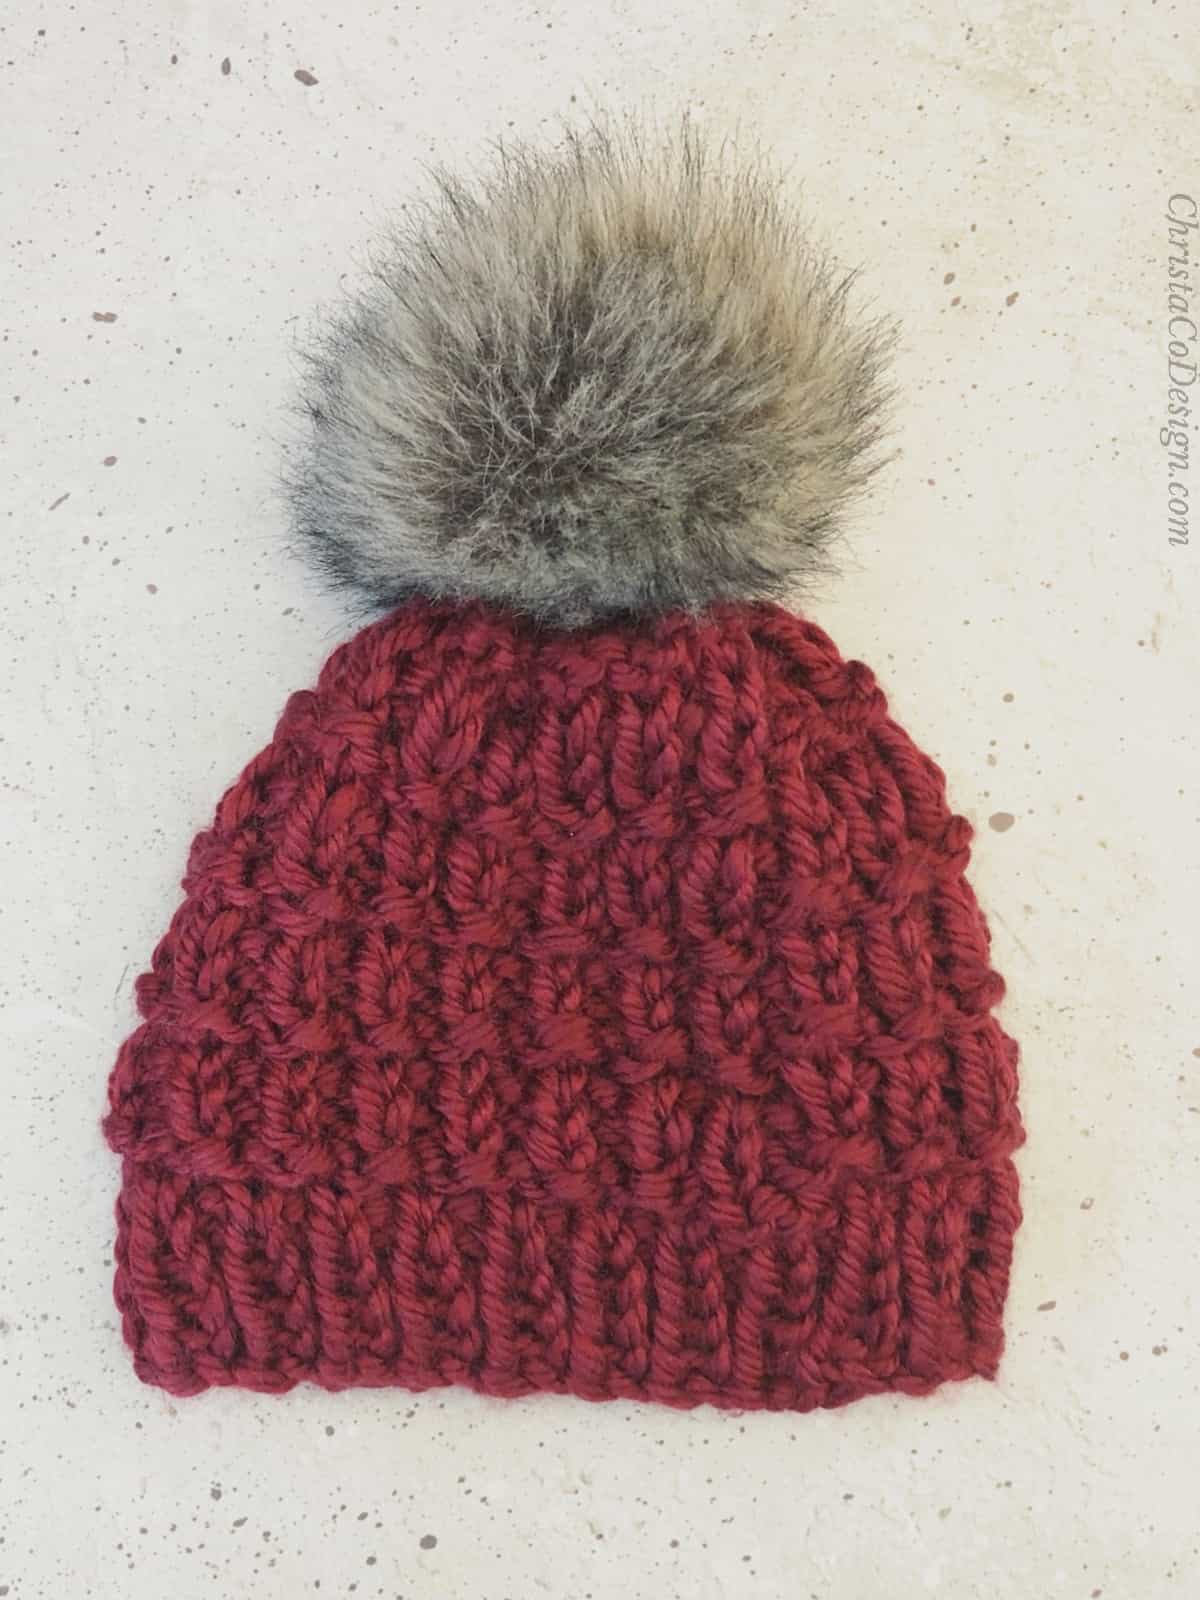
The Alba Hat is construction in a similar fashion, with rib stitch, body of the hat and finishing off. There are no crown decreases in this simple pattern. This hat is knit in super bulky yarn so it works up quickly and makes a cozy hat.
Either of these would be a great pattern to practice finishing your hat. Be sure to check out more beginner friendly knit patterns.
Video Tutorial
Watch the full video tutorial on how to finish this knit hat on my YouTube Channel.
Scroll down for the tutorial on how to finish knitting a hat!
How to Finish Knitting a Hat
Learn the easiest way to finish knitting a hat in this beginner friendly tutorial.
Materials
- Your hat project with the main part of the hat completed and ready to finish off.
Tools
- 4.5mm circular knitting needles with 16” cables (or longer 24”+ for magic loop method)
- yarn needle
- scissors
- measuring tape
Instructions
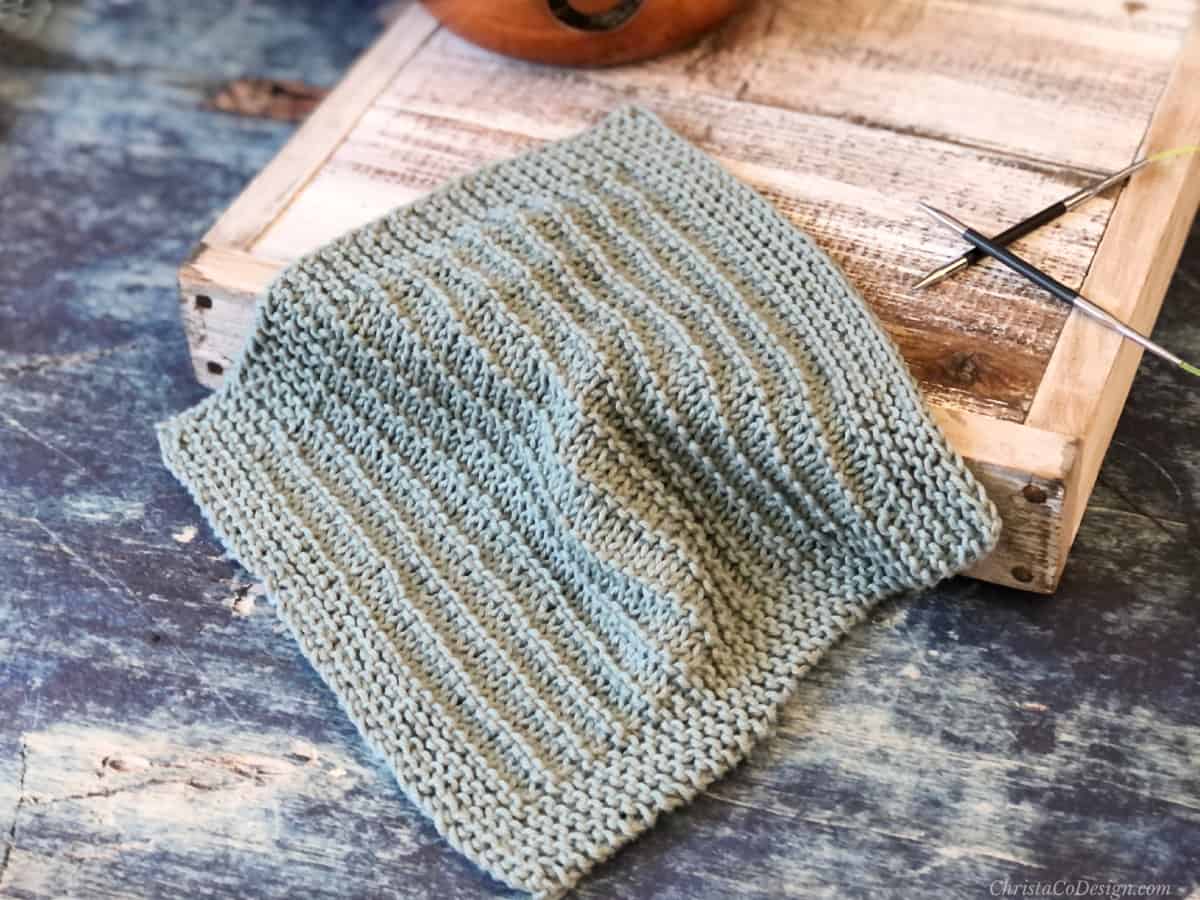
- You're ready to close up your hat when the body of the hat is complete. You should have done any decrease rounds that your pattern called for.
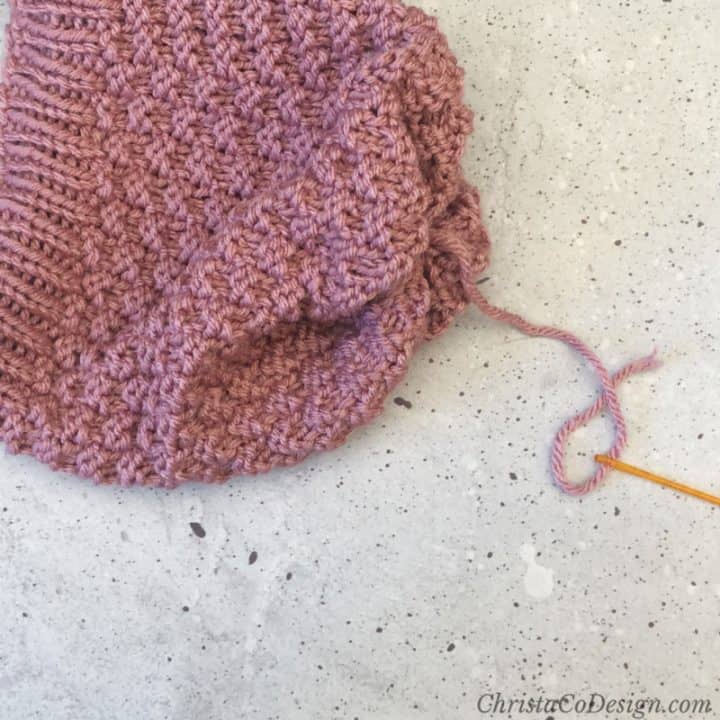
- With the working yarn coming from your right needle, cut a long tail. This tail is connected to your hat. I suggest cutting 18" of length so you have plenty to work with.
- Thread your tail through your yarn needle.

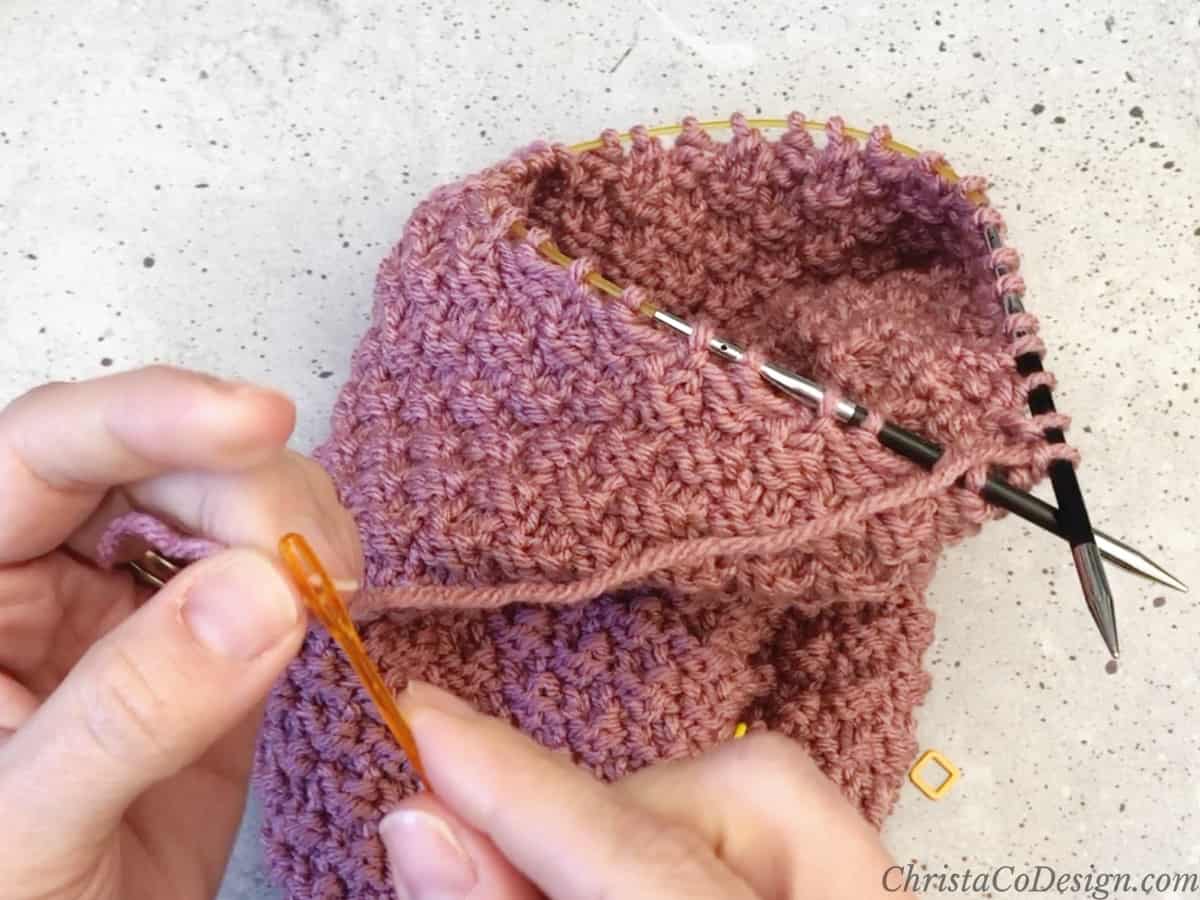
- Remove your beginning of round stitch marker if you have one and start with the first stitch on the left needle.
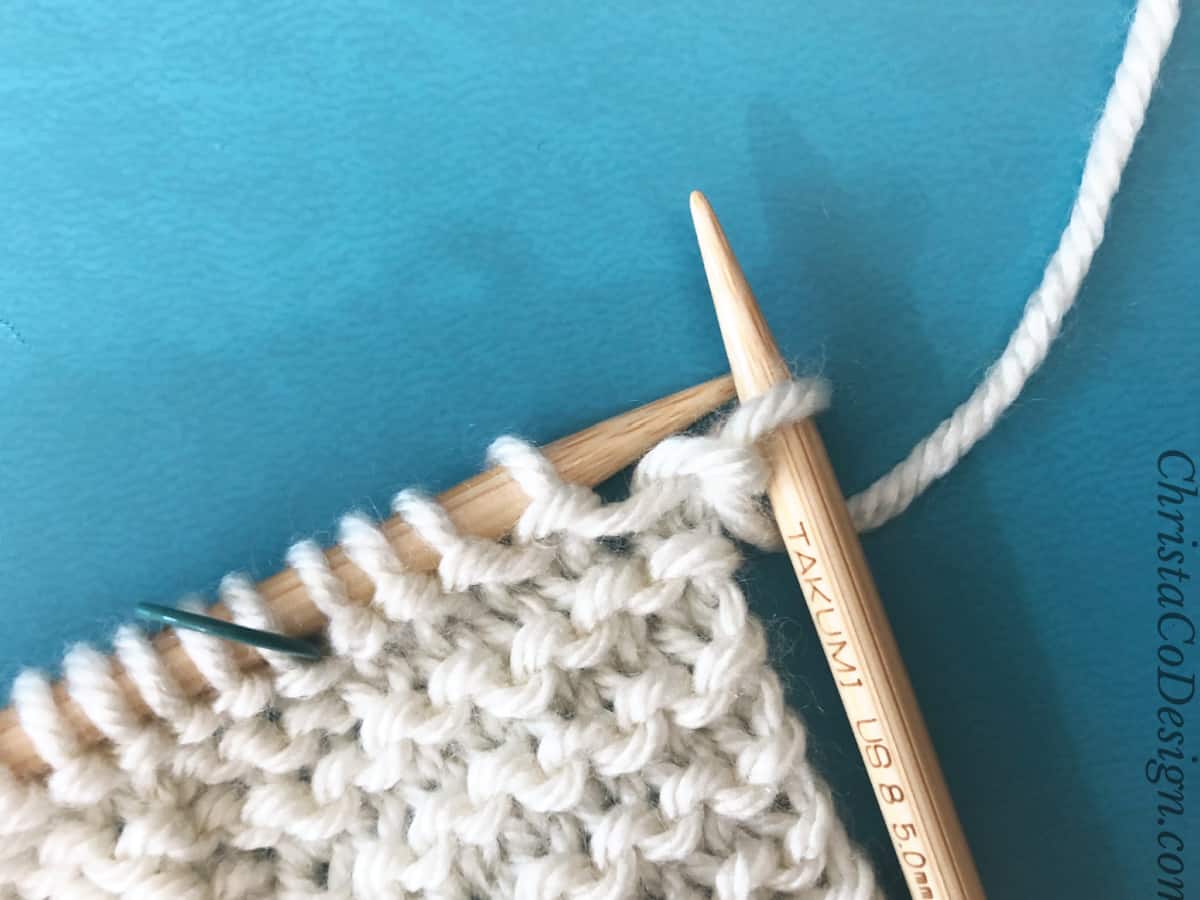
- Position yarn needle purl wise. This means that the yarn needle tip and the left knitting needle tip are both facing each other.

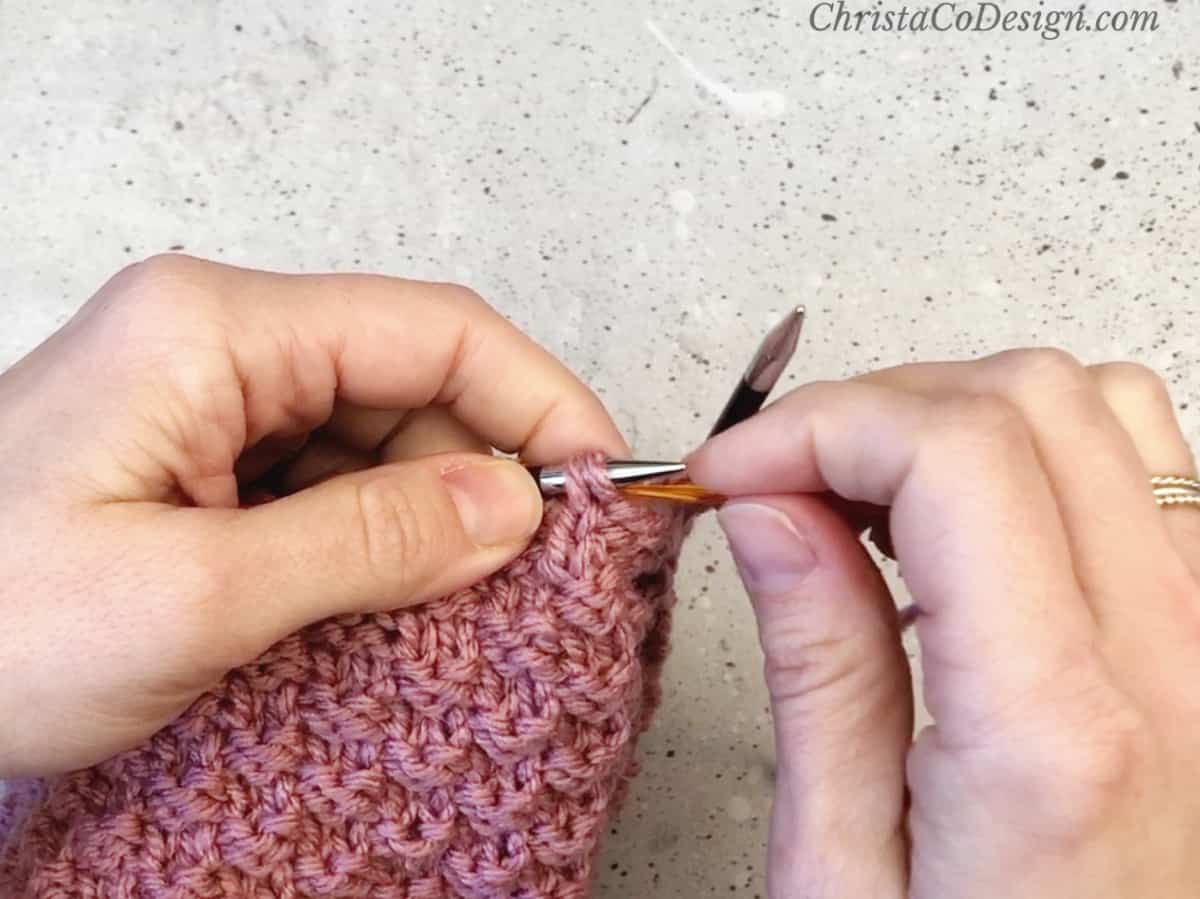
- Insert the yarn needle into the first stitch on the left hand needle.
- Scoop the stitch off the needle and on to the yarn needle and tail.

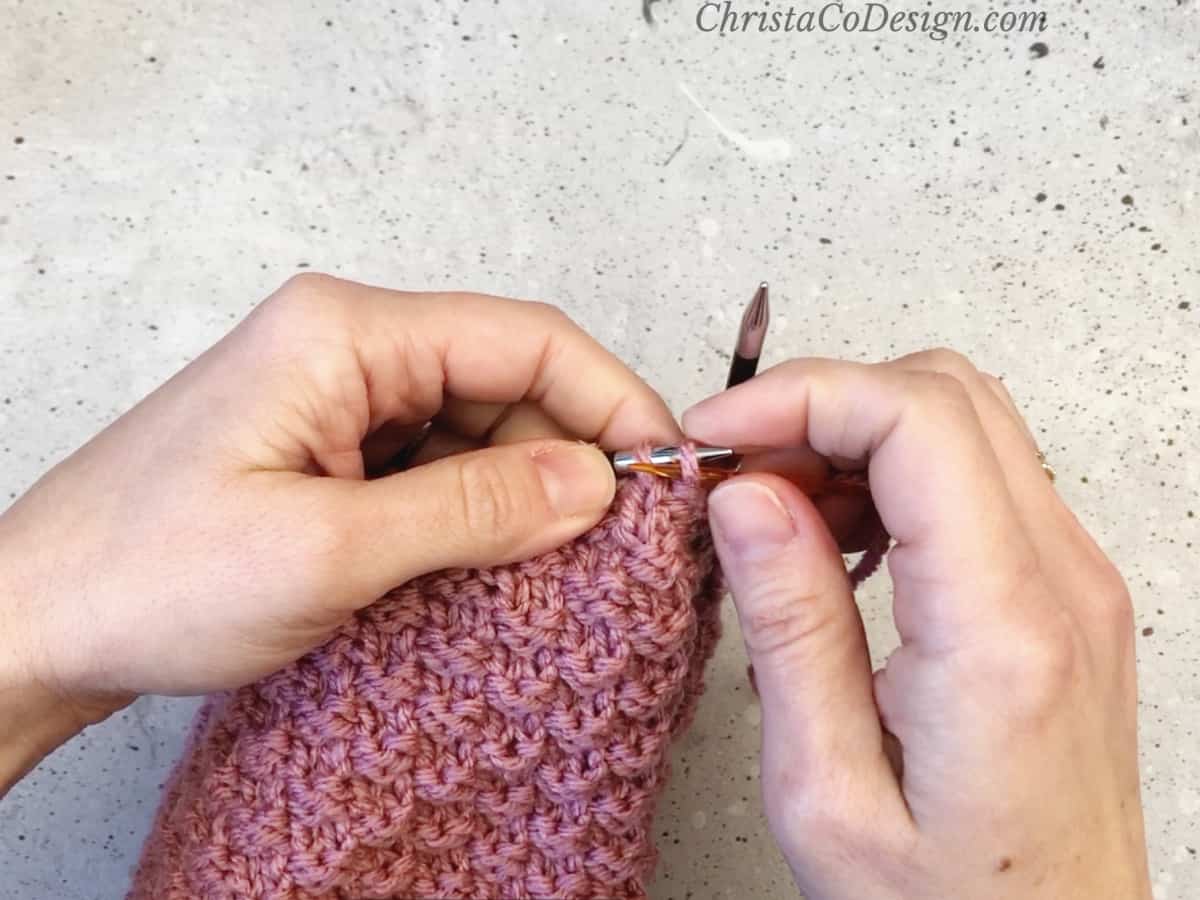
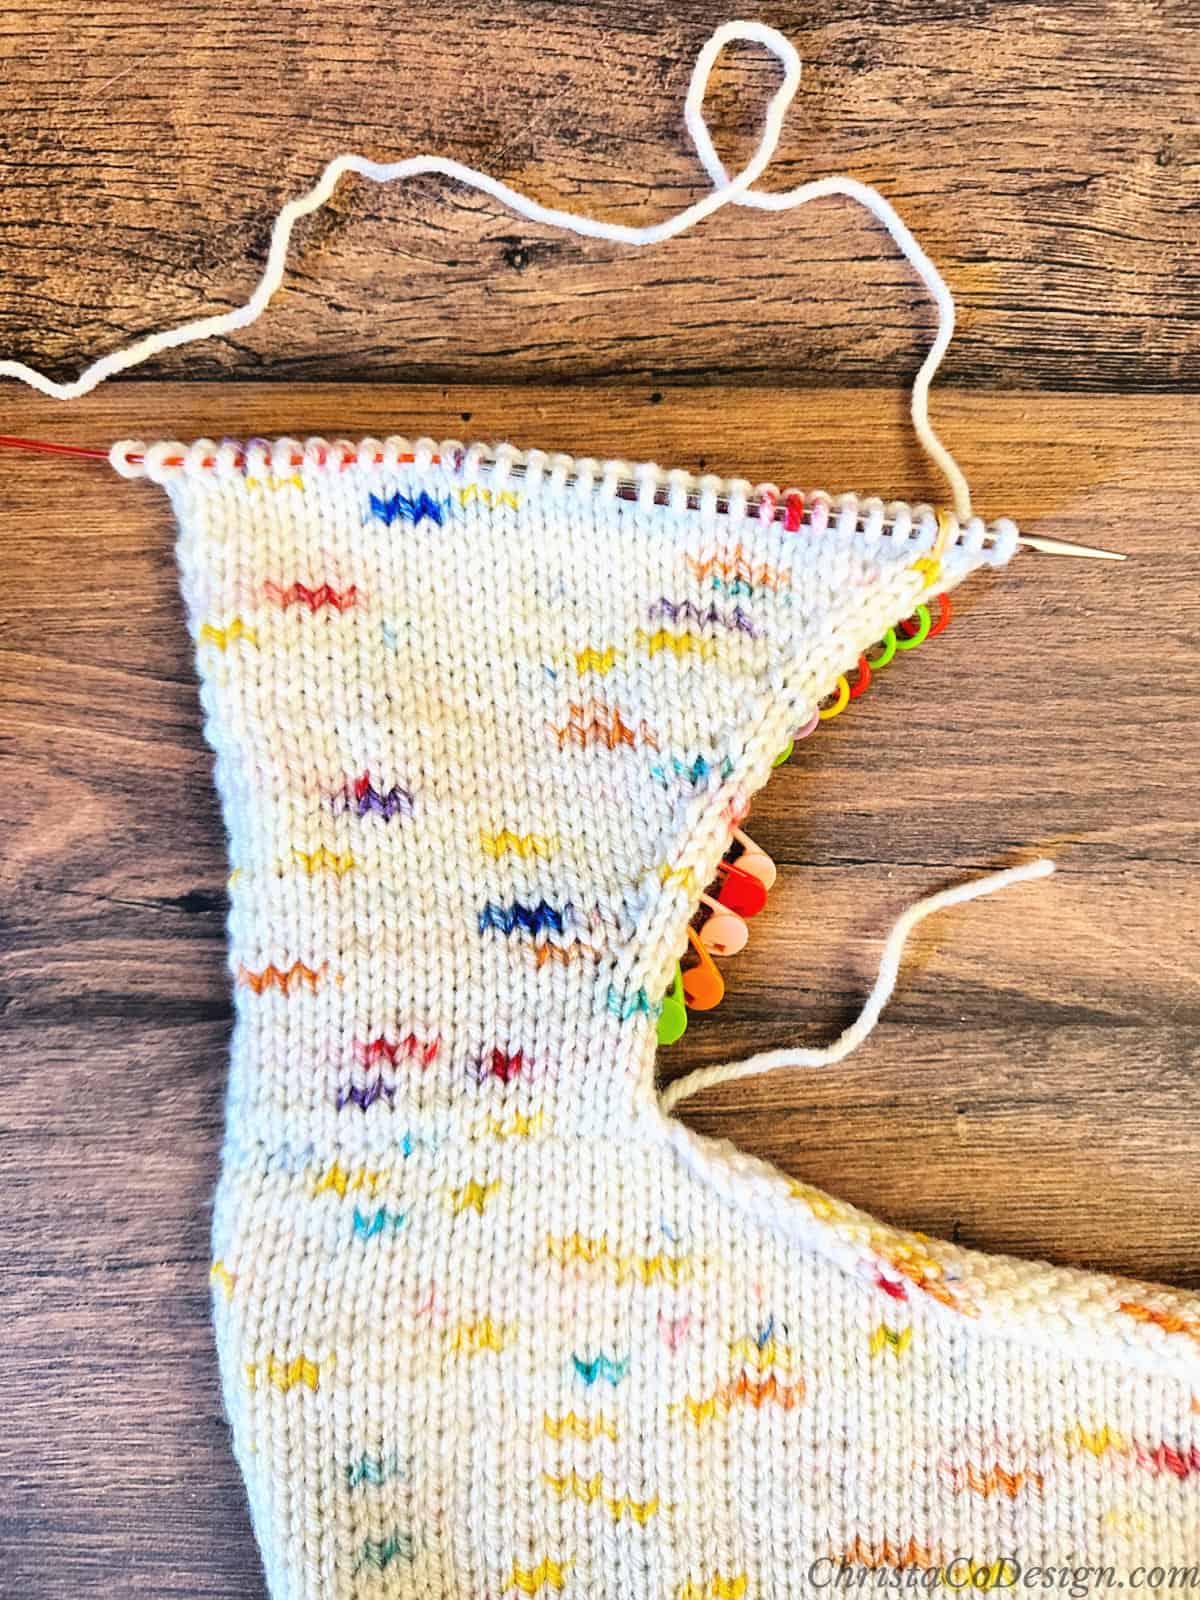
- Now insert the needle into the next stitch, and slide it off onto your yarn tail.
- Repeat step 8 for all the stitches in the round.
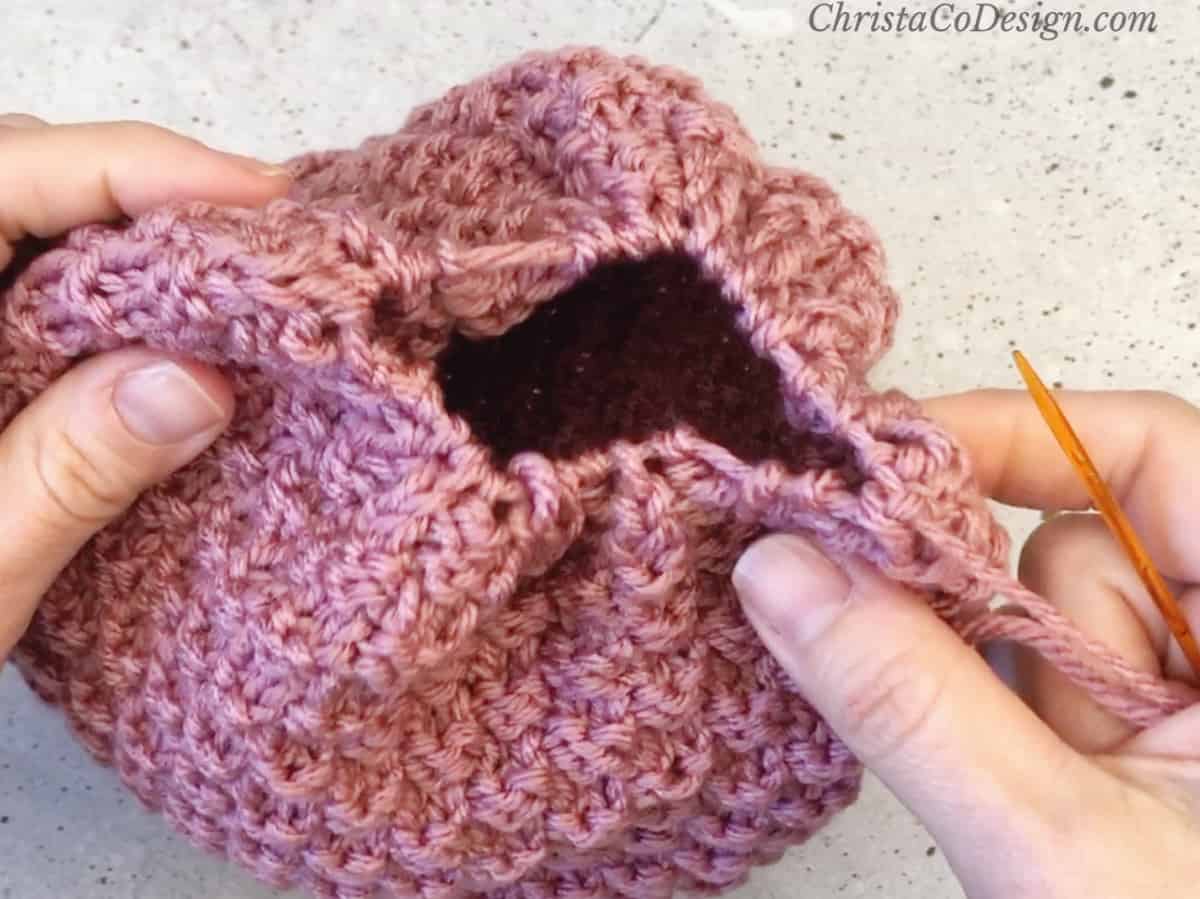
- Once you have all the live stitches on the yarn tail take a minute to double check for any you missed. Now you can remove the knitting needles, if you haven't already.
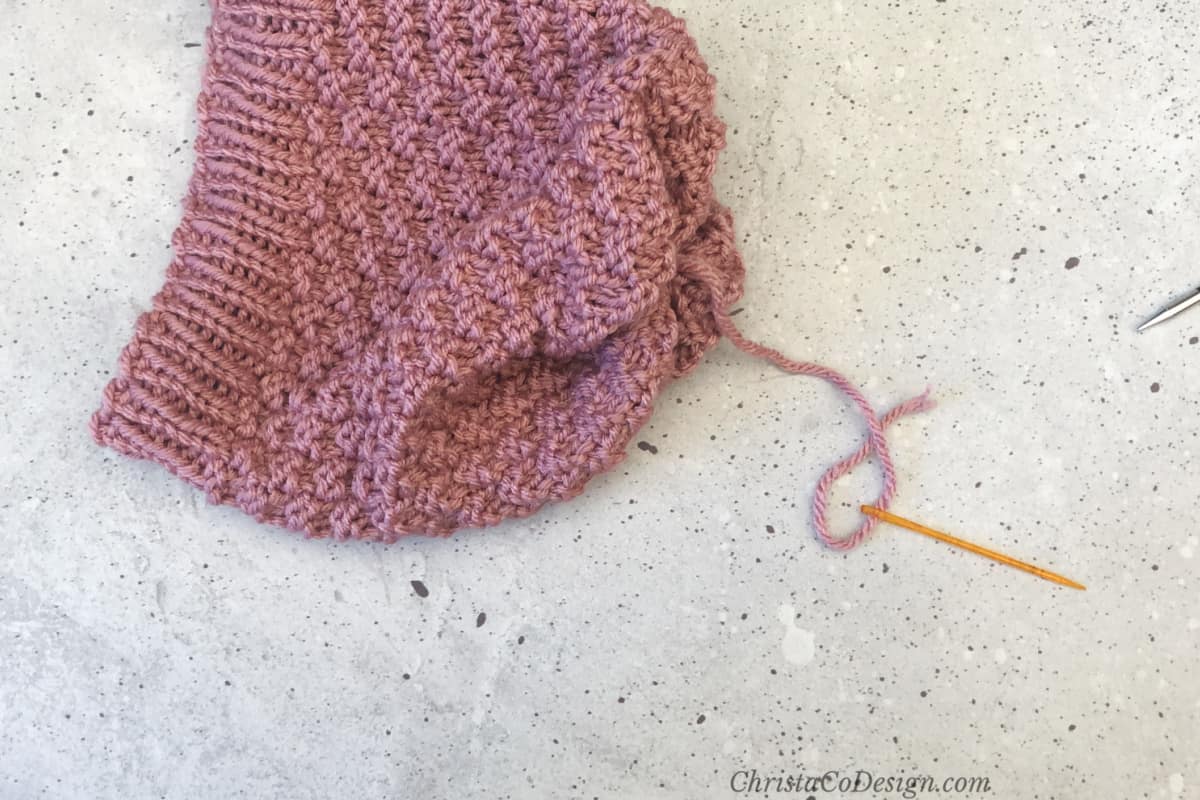
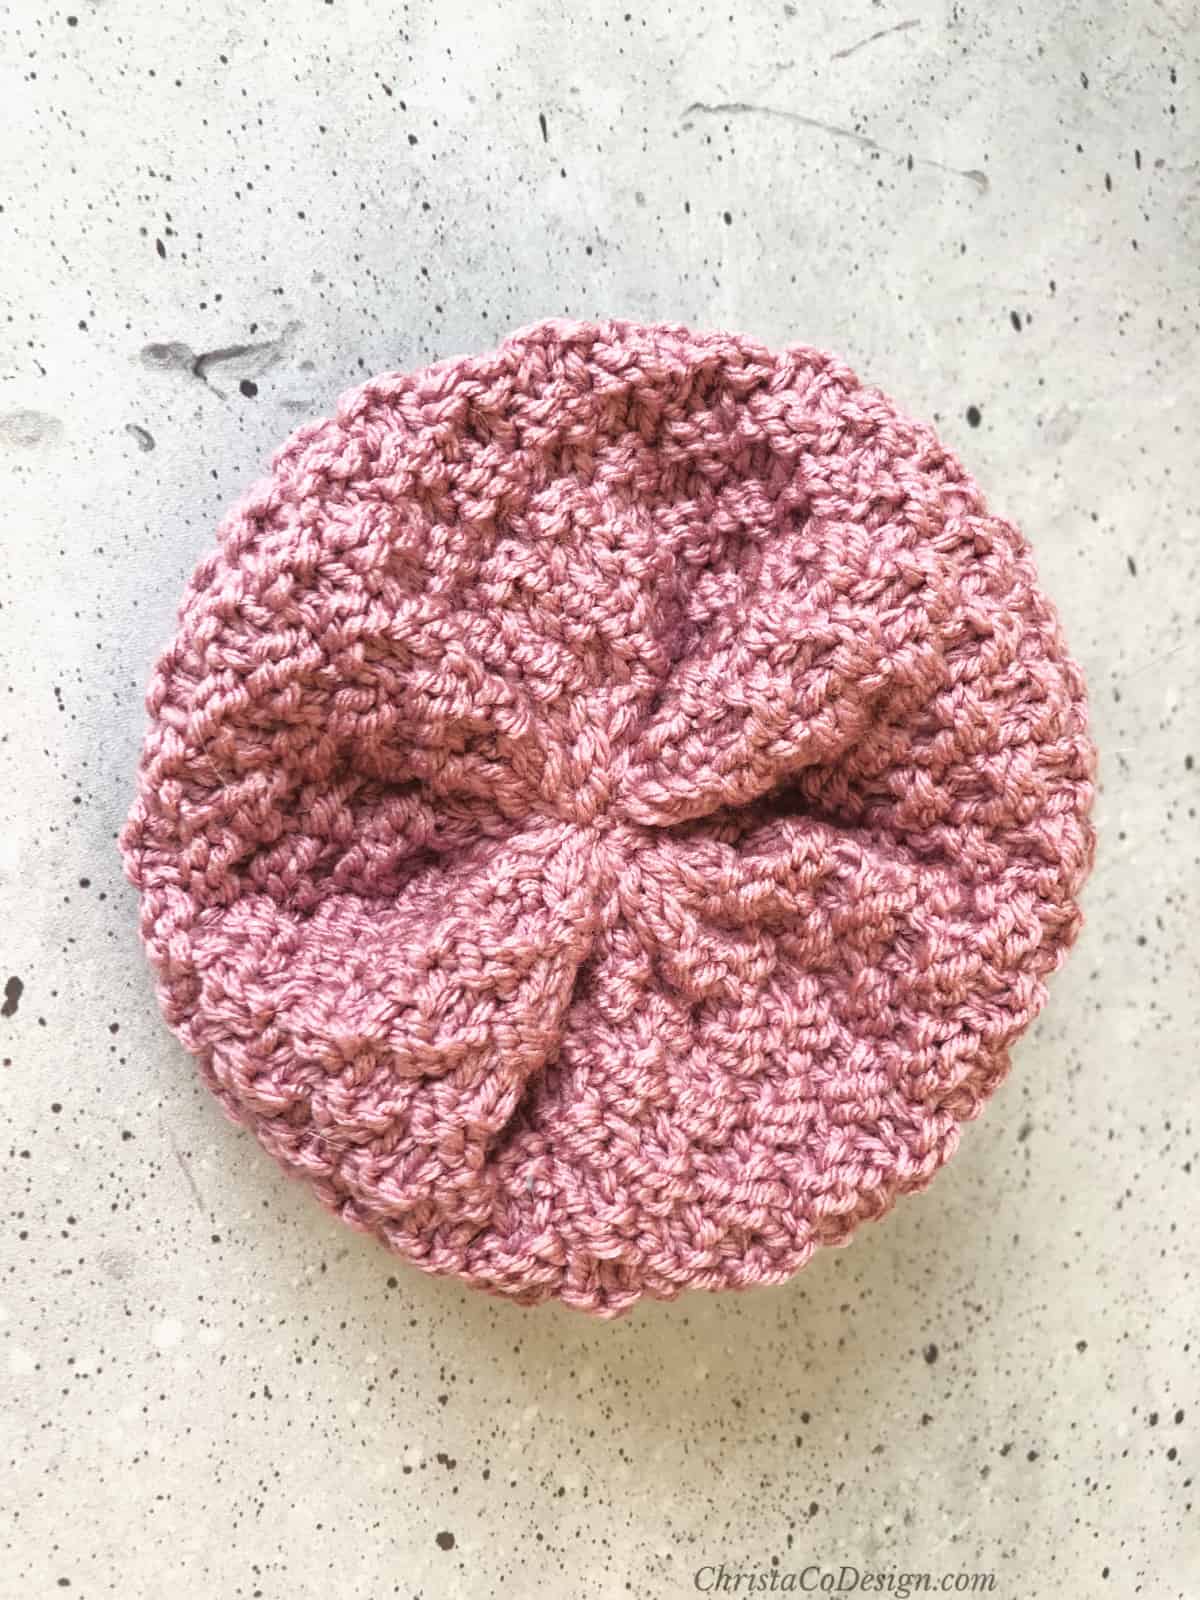
- Pull the tail so all the stitches cinch together, closing the top of the hat.

- Now use the tail to sew the hole closed.
 Weave in the end.
 - Be sure to knit the end in securely. Go around, up and down, back and forth so your hole does not come open. Many knitters like to leave a short 1" -2" yarn end on the inside of the hat.

- If you like a pom pom on the crown of a hat now is the time to add one!