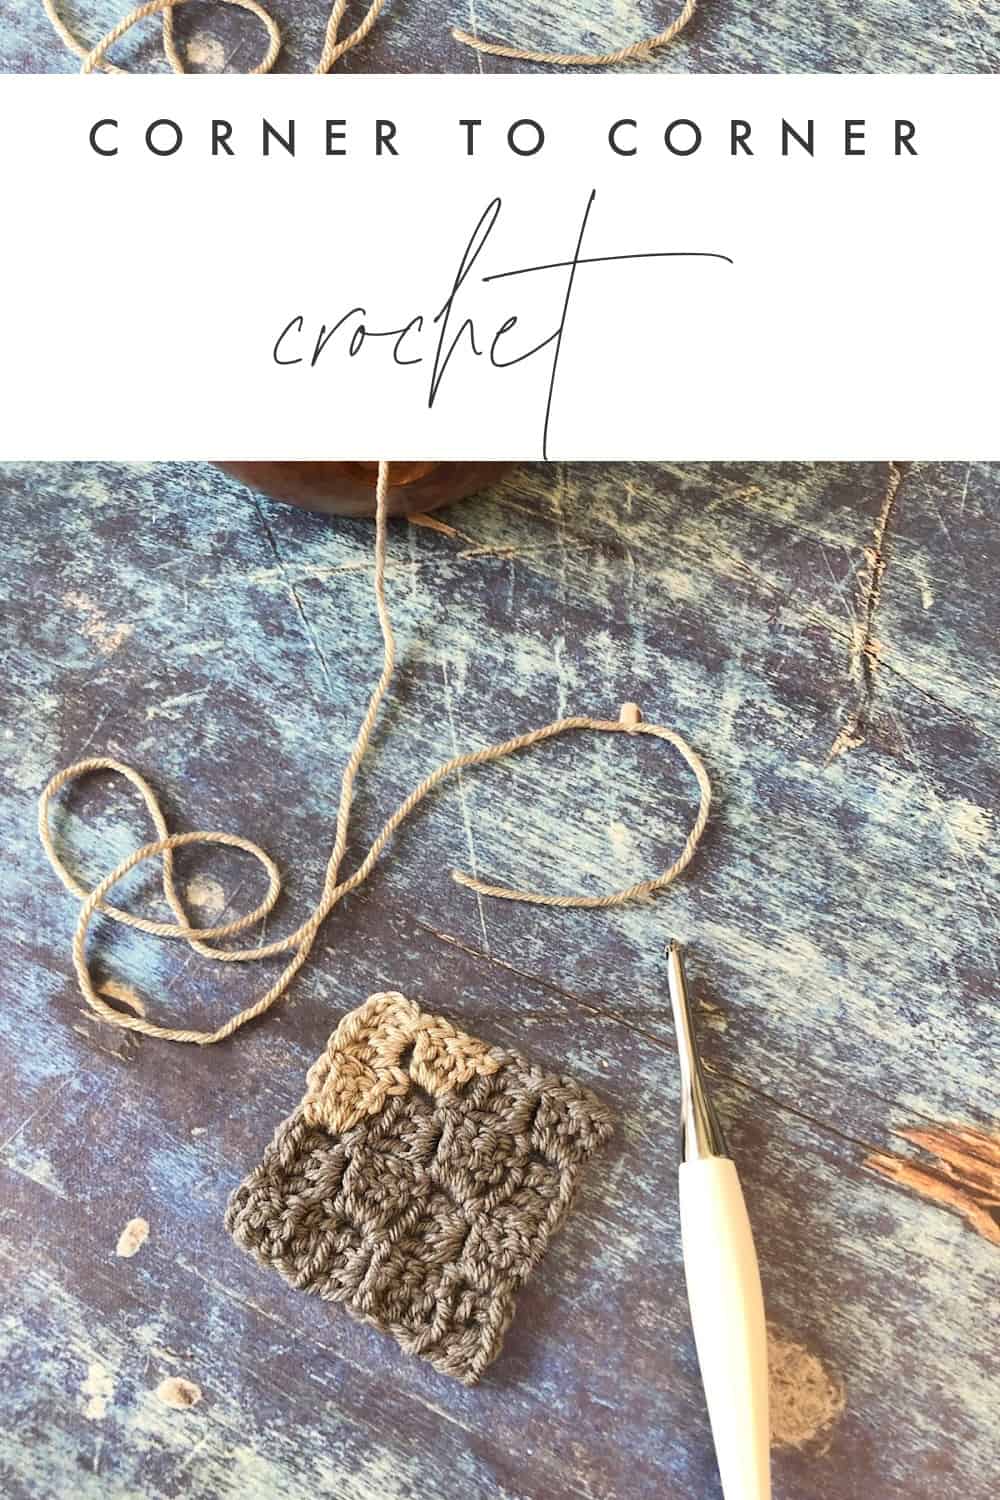
Corner to Corner {C2C} Crochet Tutorial
Corner to corner crochet, also C2C for short, is a crochet technique that uses little squares of stitches to increase and then decrease on the diagonal.
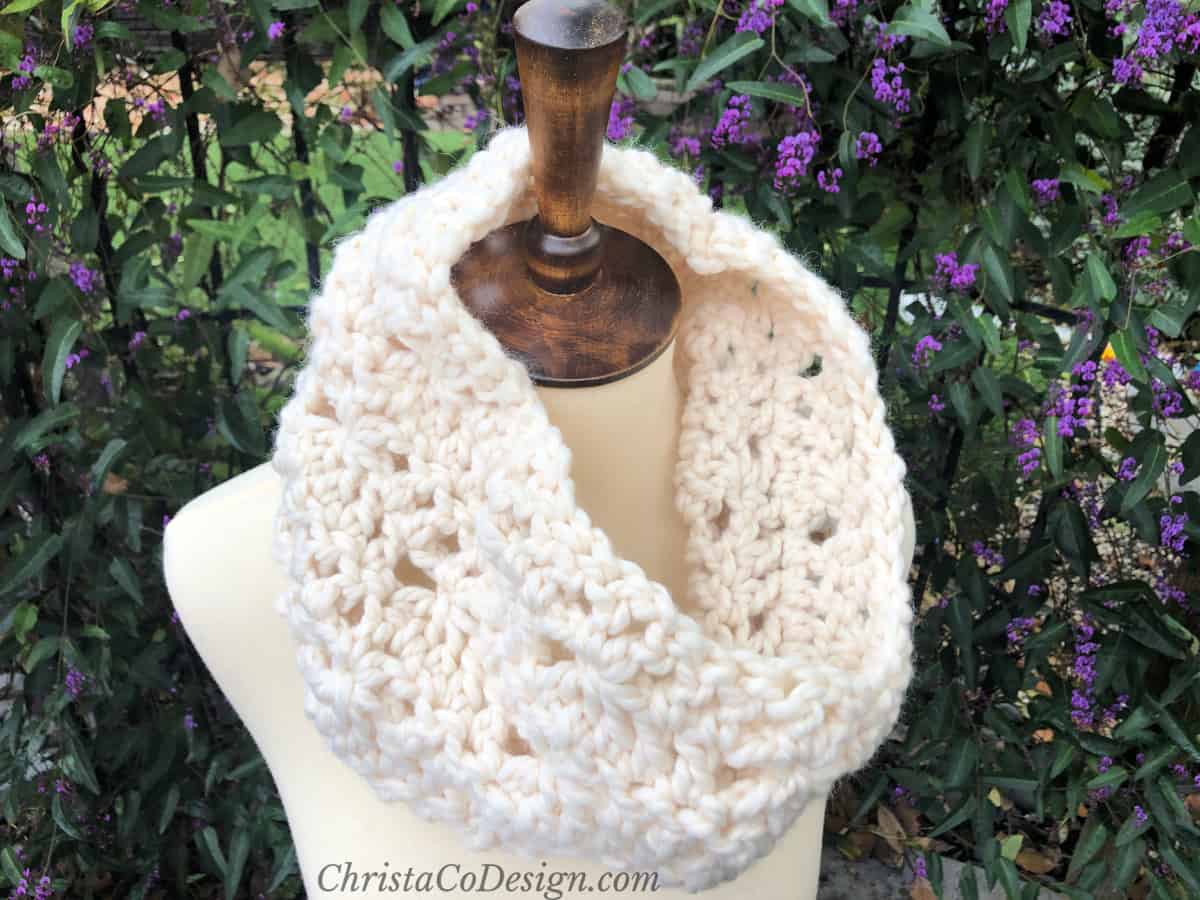
This popular crochet method is an easy way to create graphghans – afghans that you can crochet from a graph, or color chart that depicts a picture.
You can also crochet beautiful blankets that are simply stripes too. If you’re new to corner to corner crochet, be sure to start with something simple like this, or with only one or two color changes.
This post contains affiliate links, I may earn a fee. Read more disclosure policy.
In this post you’ll learn
- What C2C crochet is
- How to start in corner to corner crochet
- How to increase in corner to corner
- How to decrease in C2C
- How to change colors
I include the written instructions, and a full step by step photo tutorial below, showing the steps you need to learn the corner to corner crochet method.
Basic crochet skills you need for C2C
To work corner to corner crochet, you need to know how to:
- Chain, find my beginner’s tutorial here if you need it.
- Double Crochet {dc} get the tutorial here.
- To join blocks and decrease in corner to corner, we’ll use slip stitches – check out the tutorial here.
What is Corner to Corner Crochet?
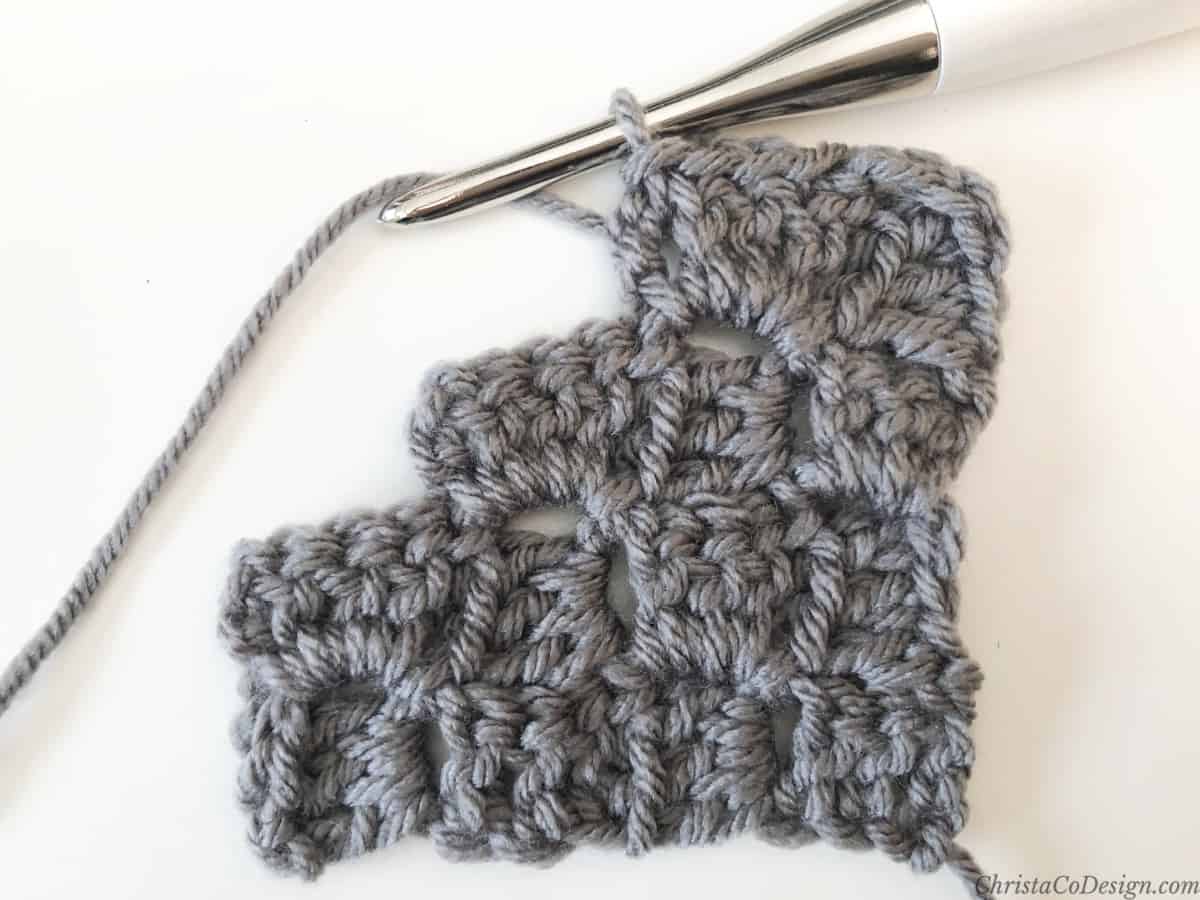
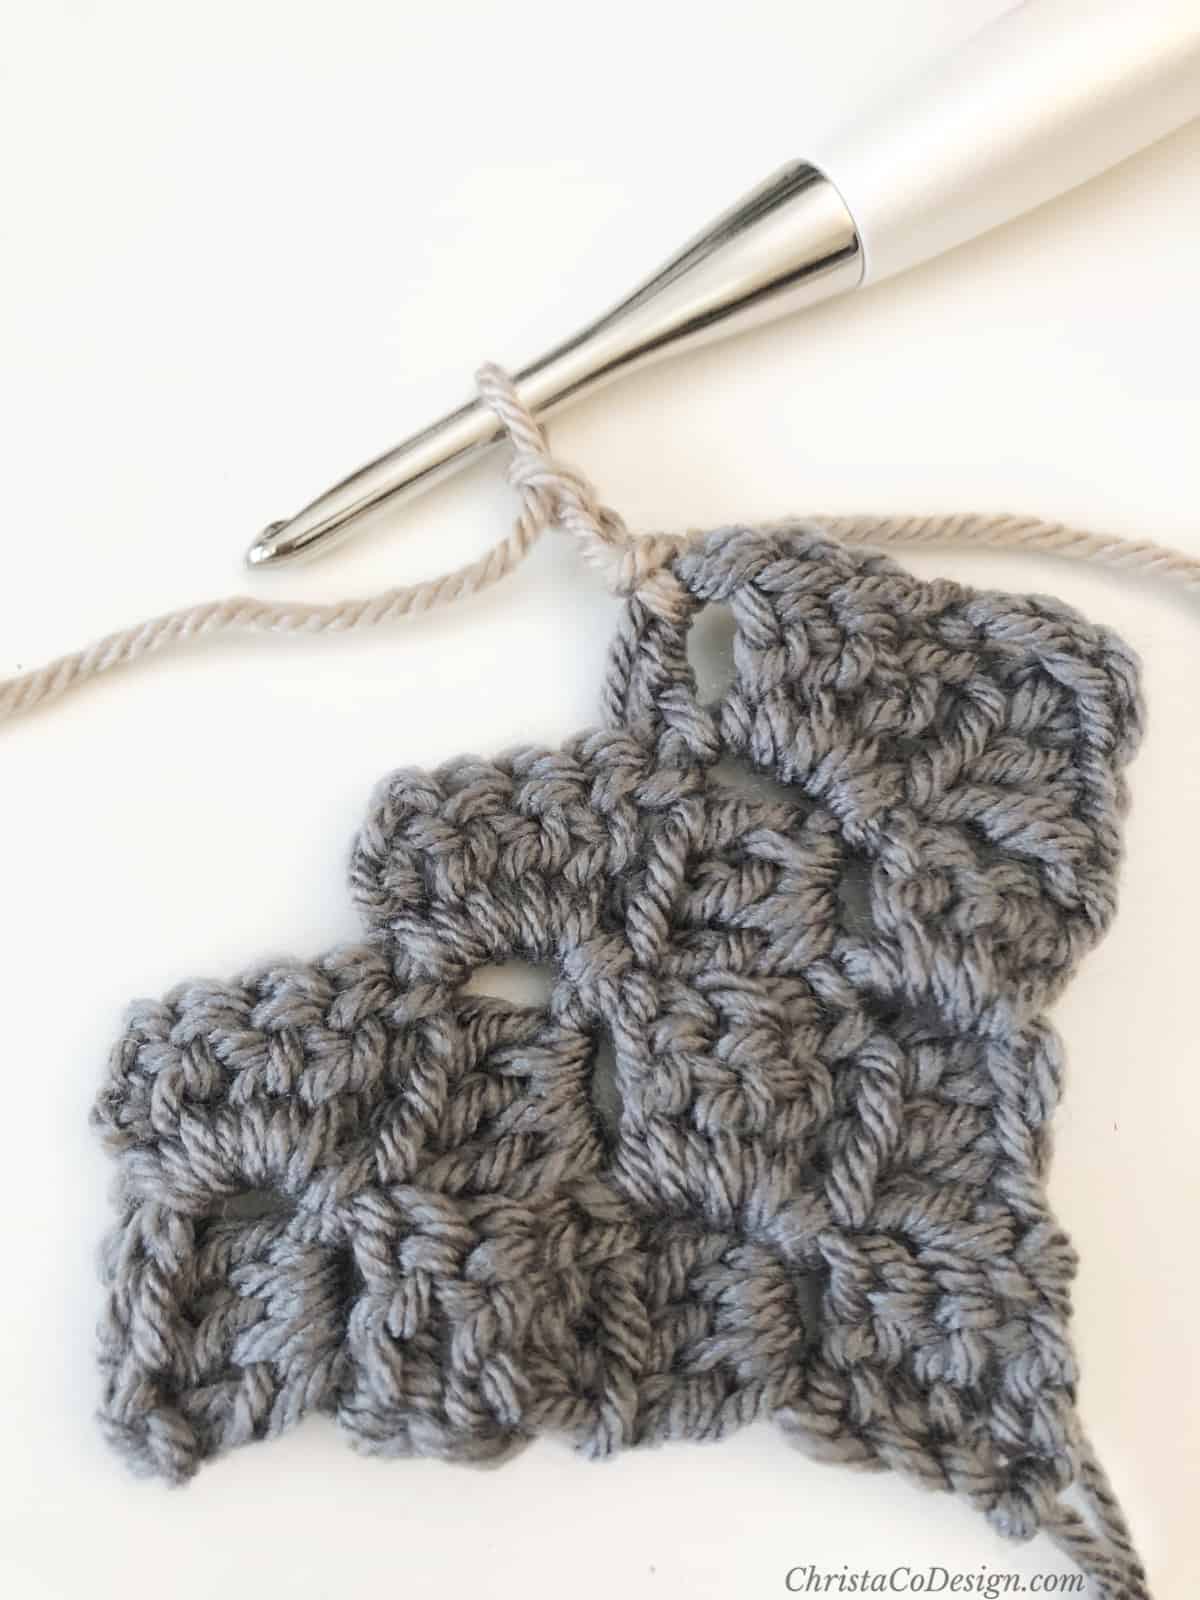
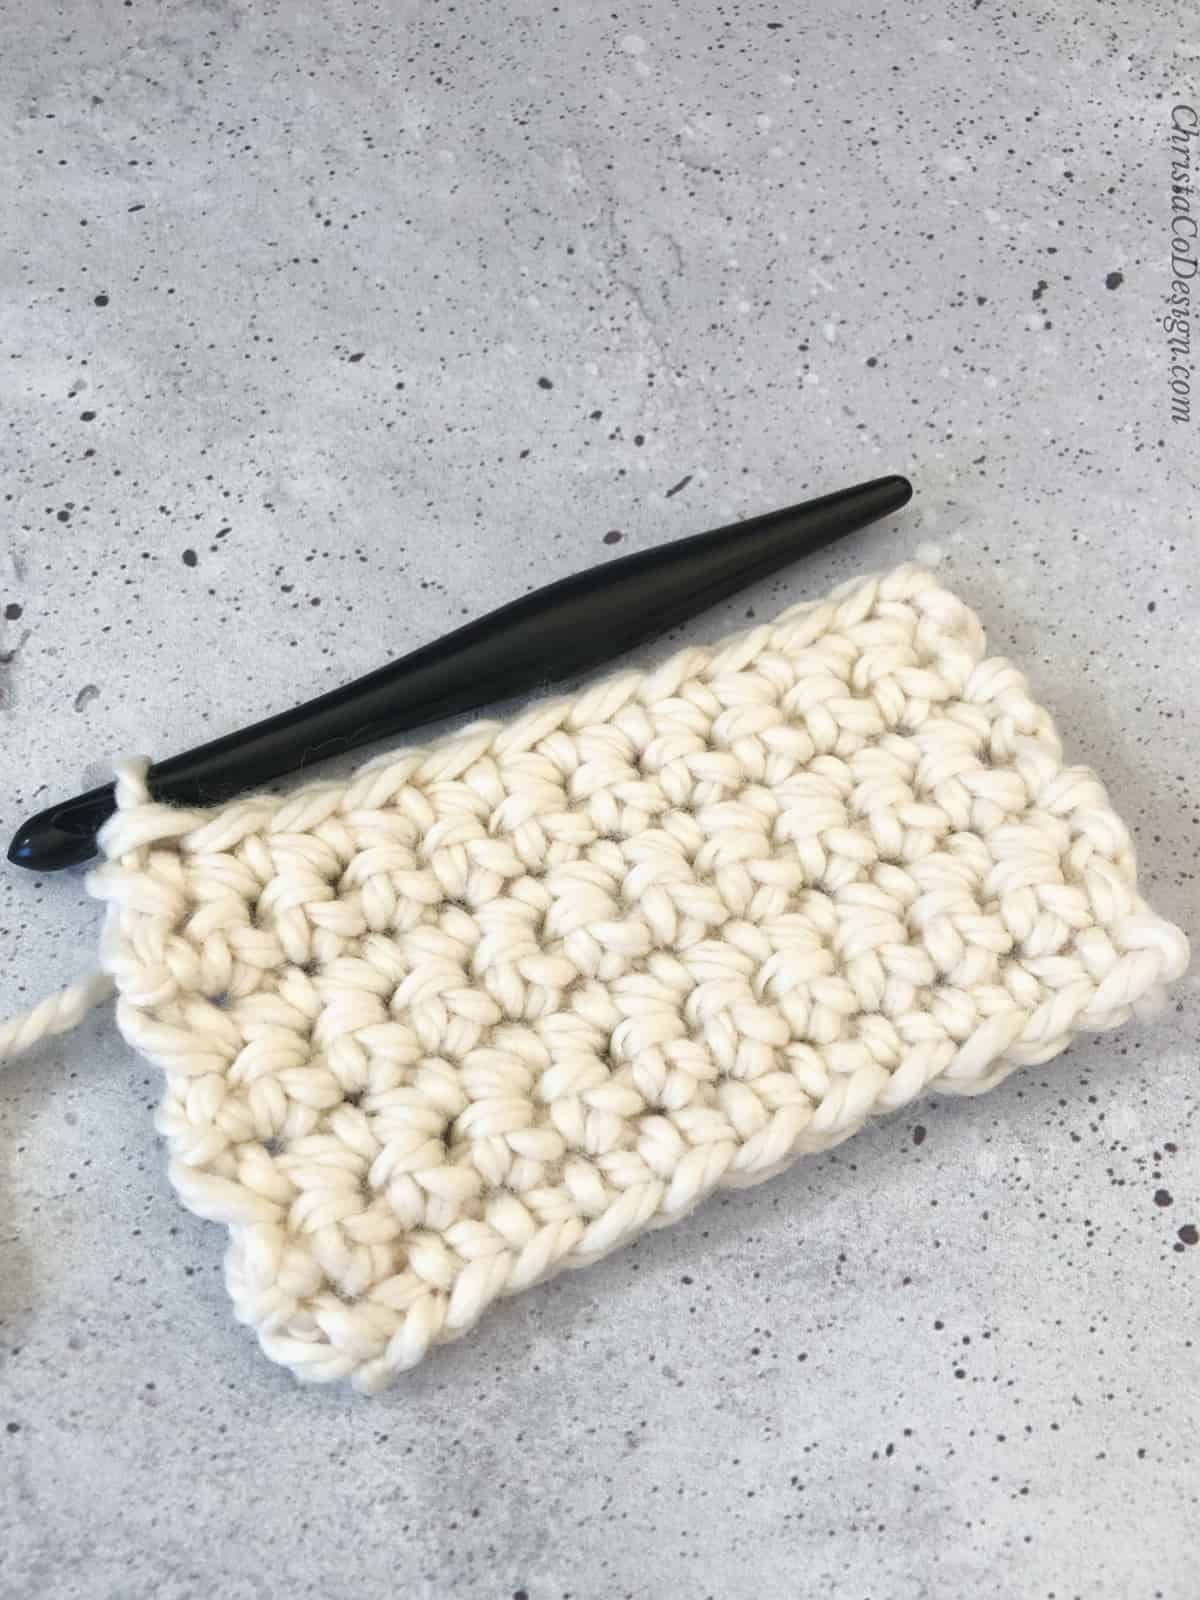
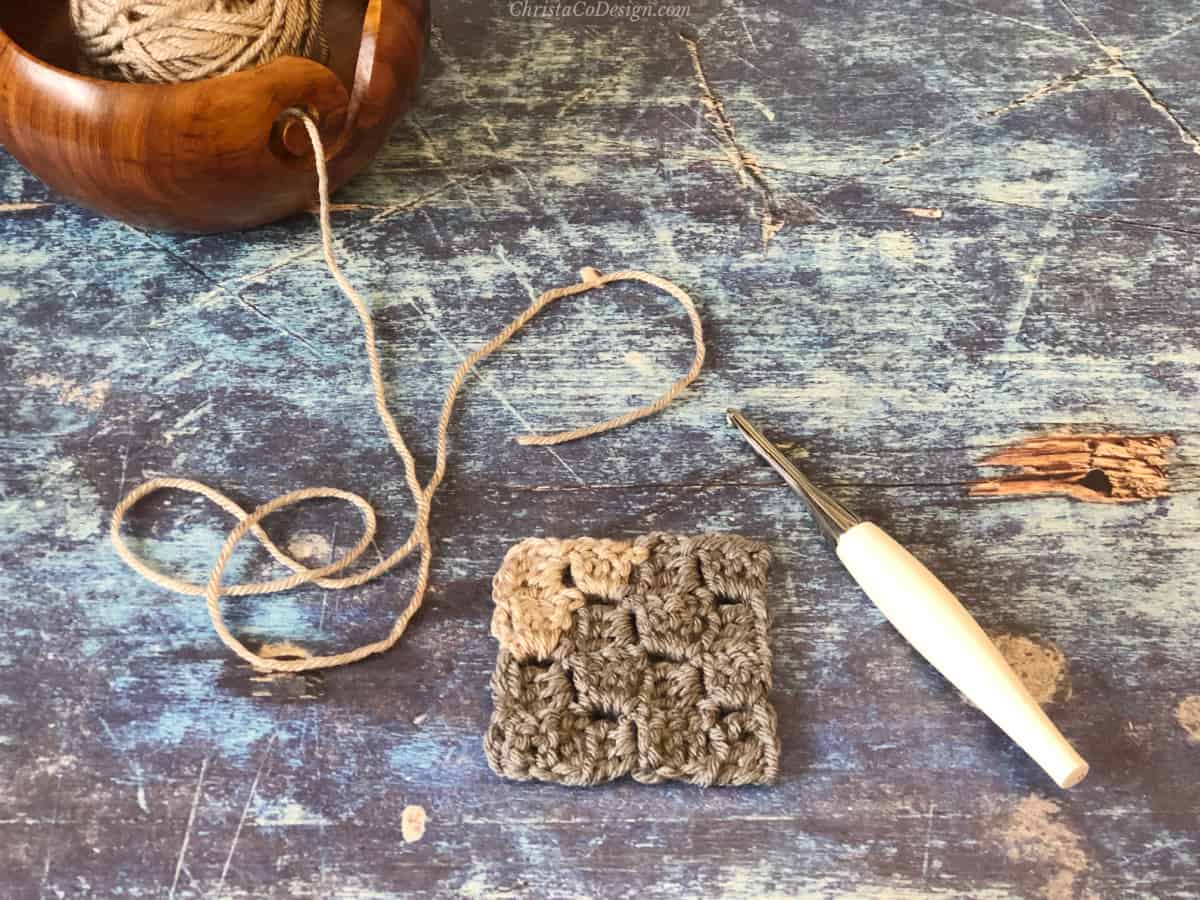
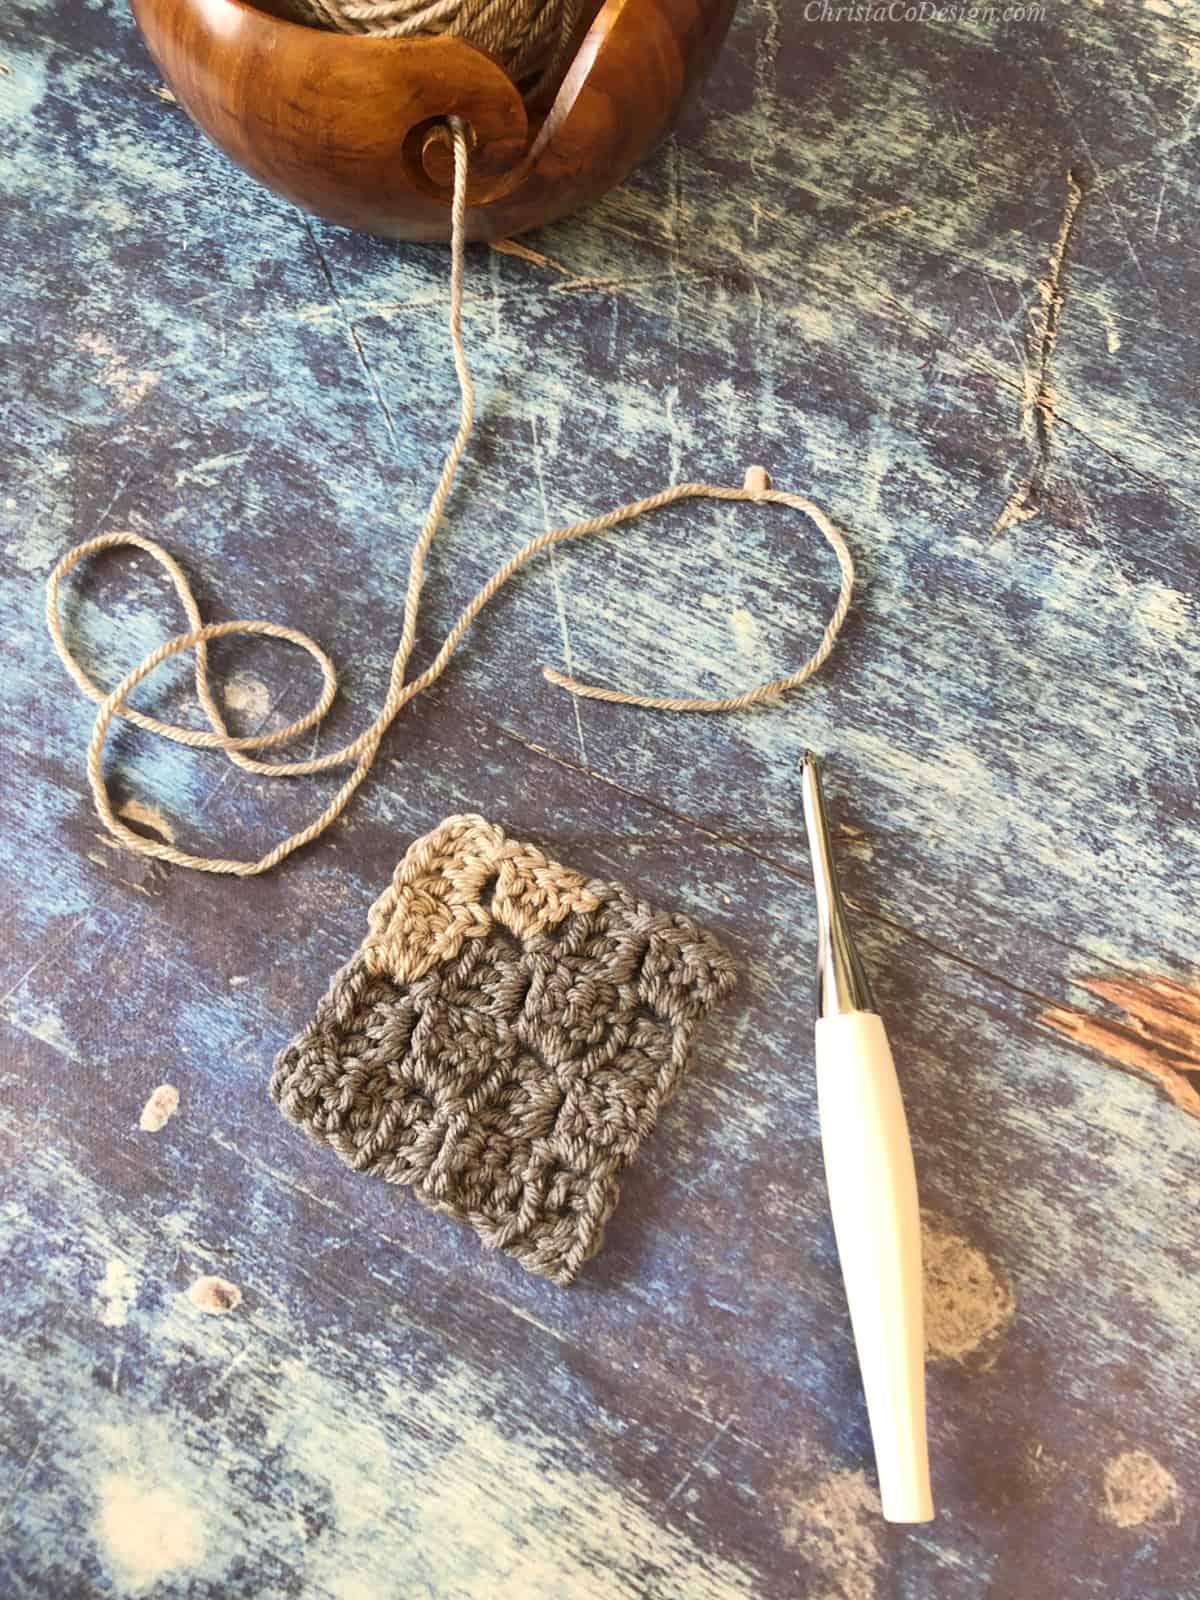
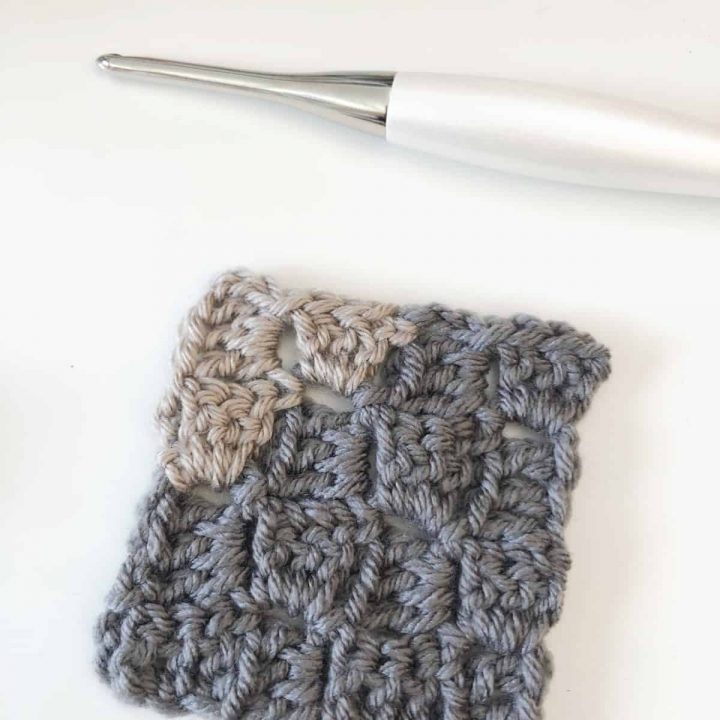
Corner to corner is worked in little blocks, usually of double crochet stitches, although you can use a variety of other stitches too. For this C2C tutorial I’ll use dc.
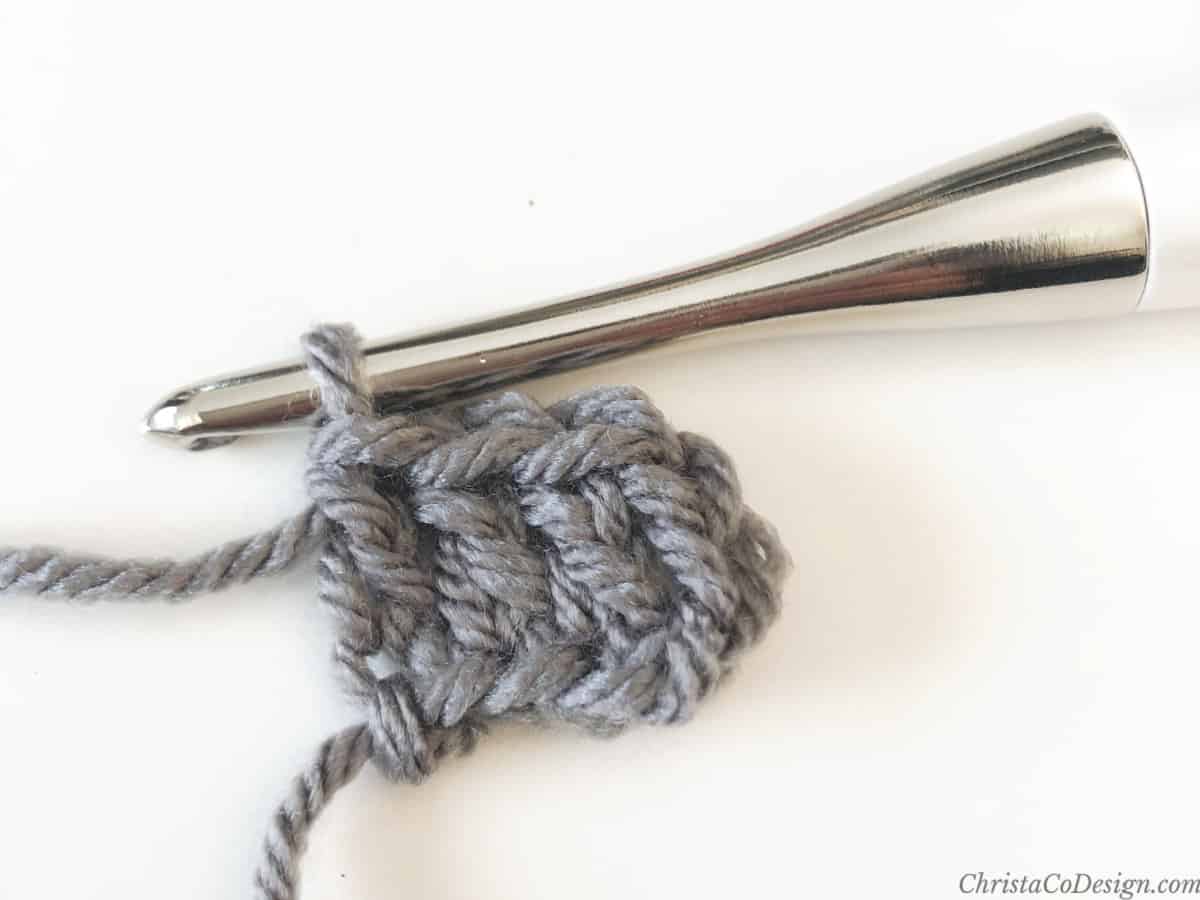
You start with one block of 3 dc (and a ch 3). On every new row you increase with one new block.
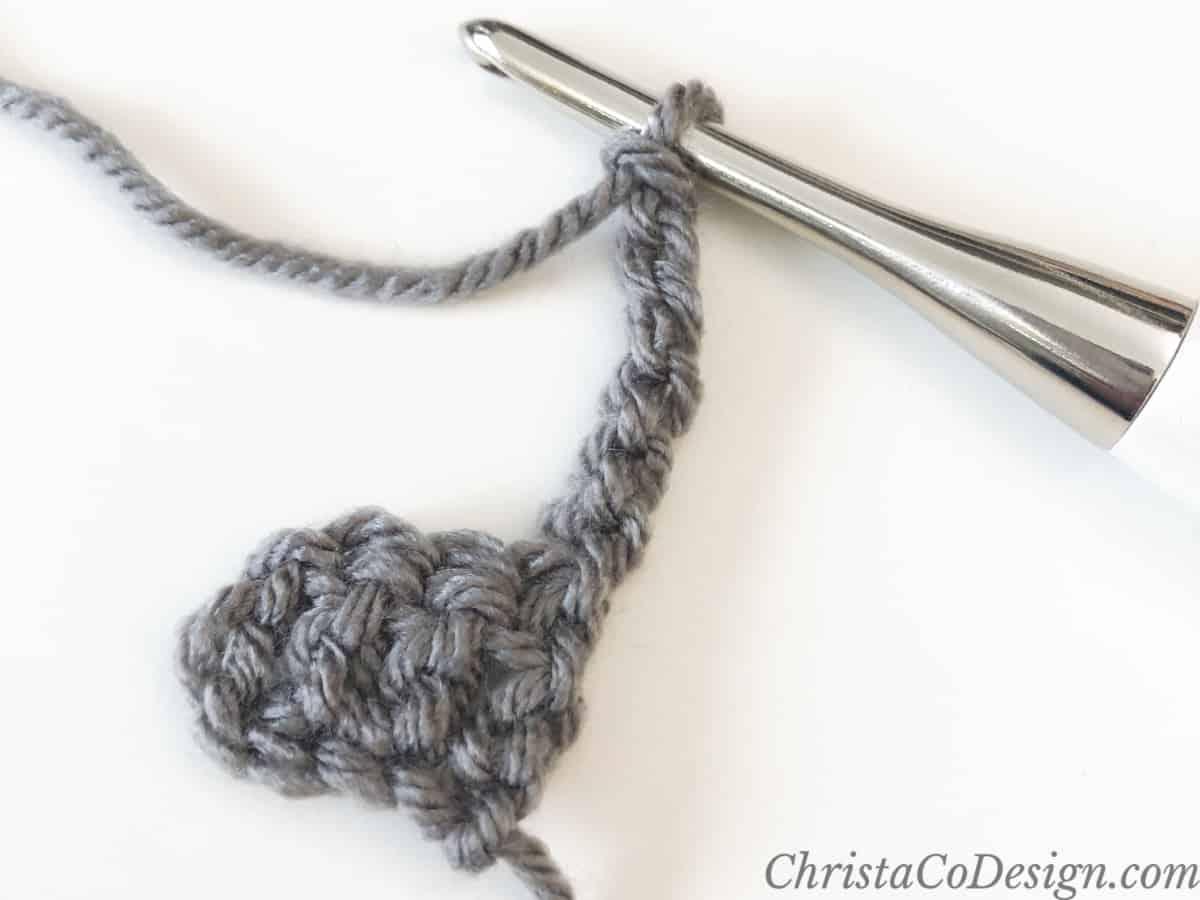
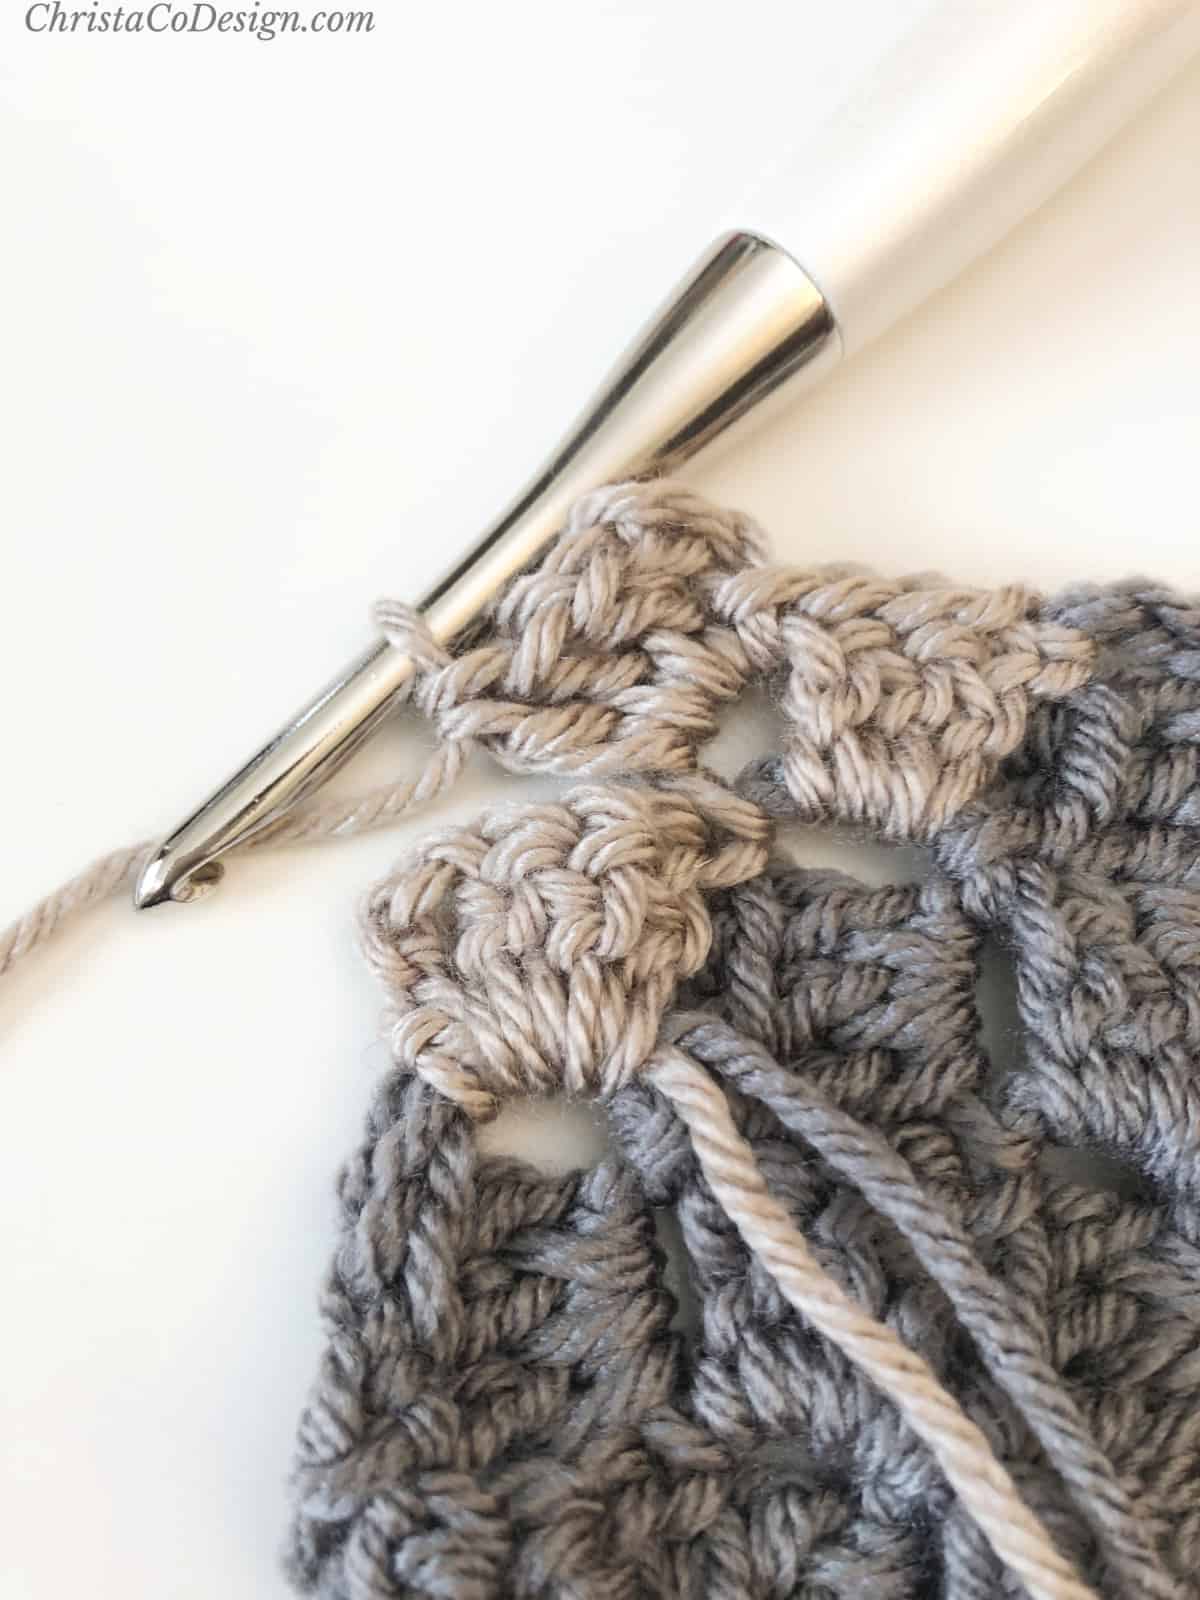
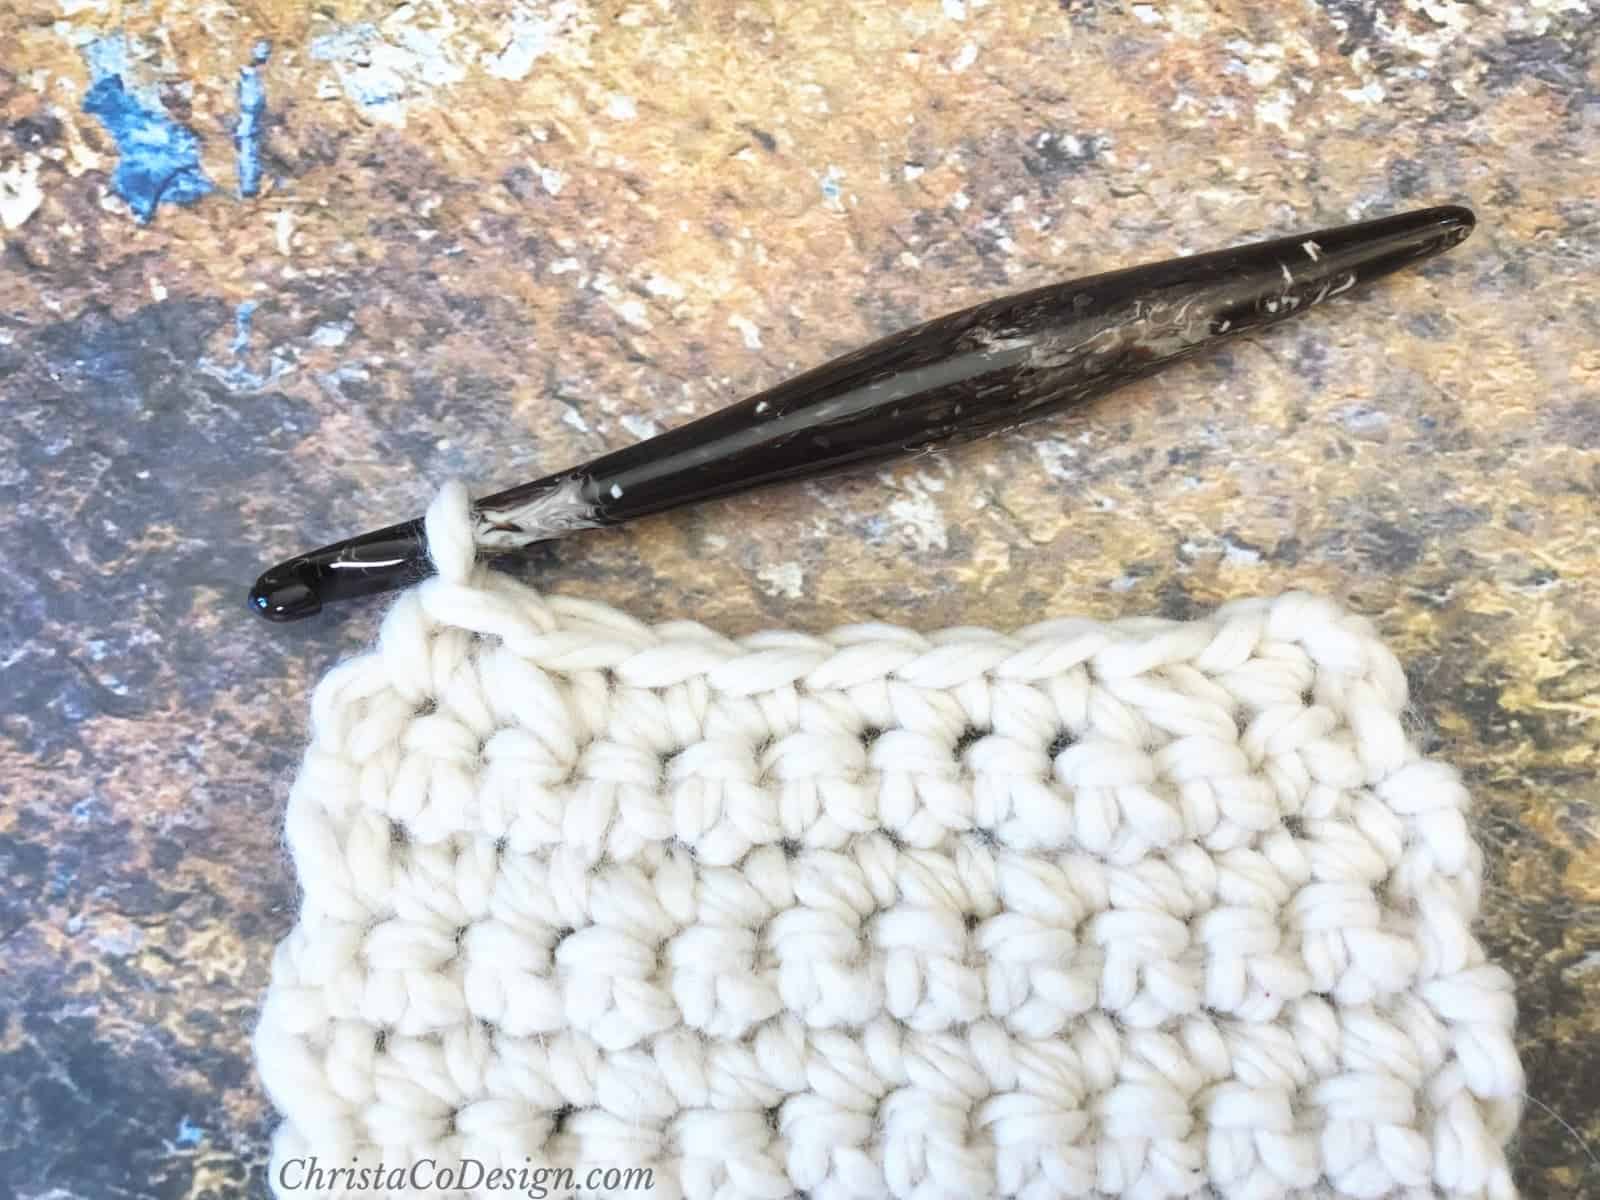
You’ll continue crocheting, adding new blocks until you reach your widest point. Then you’ll begin your corner to corner decreases.
To decrease, you will not start a new block on the next row, but slip stitch over instead. I detail how to do this in the tutorial below.
So you decrease back down to a one block corner, and finish off!
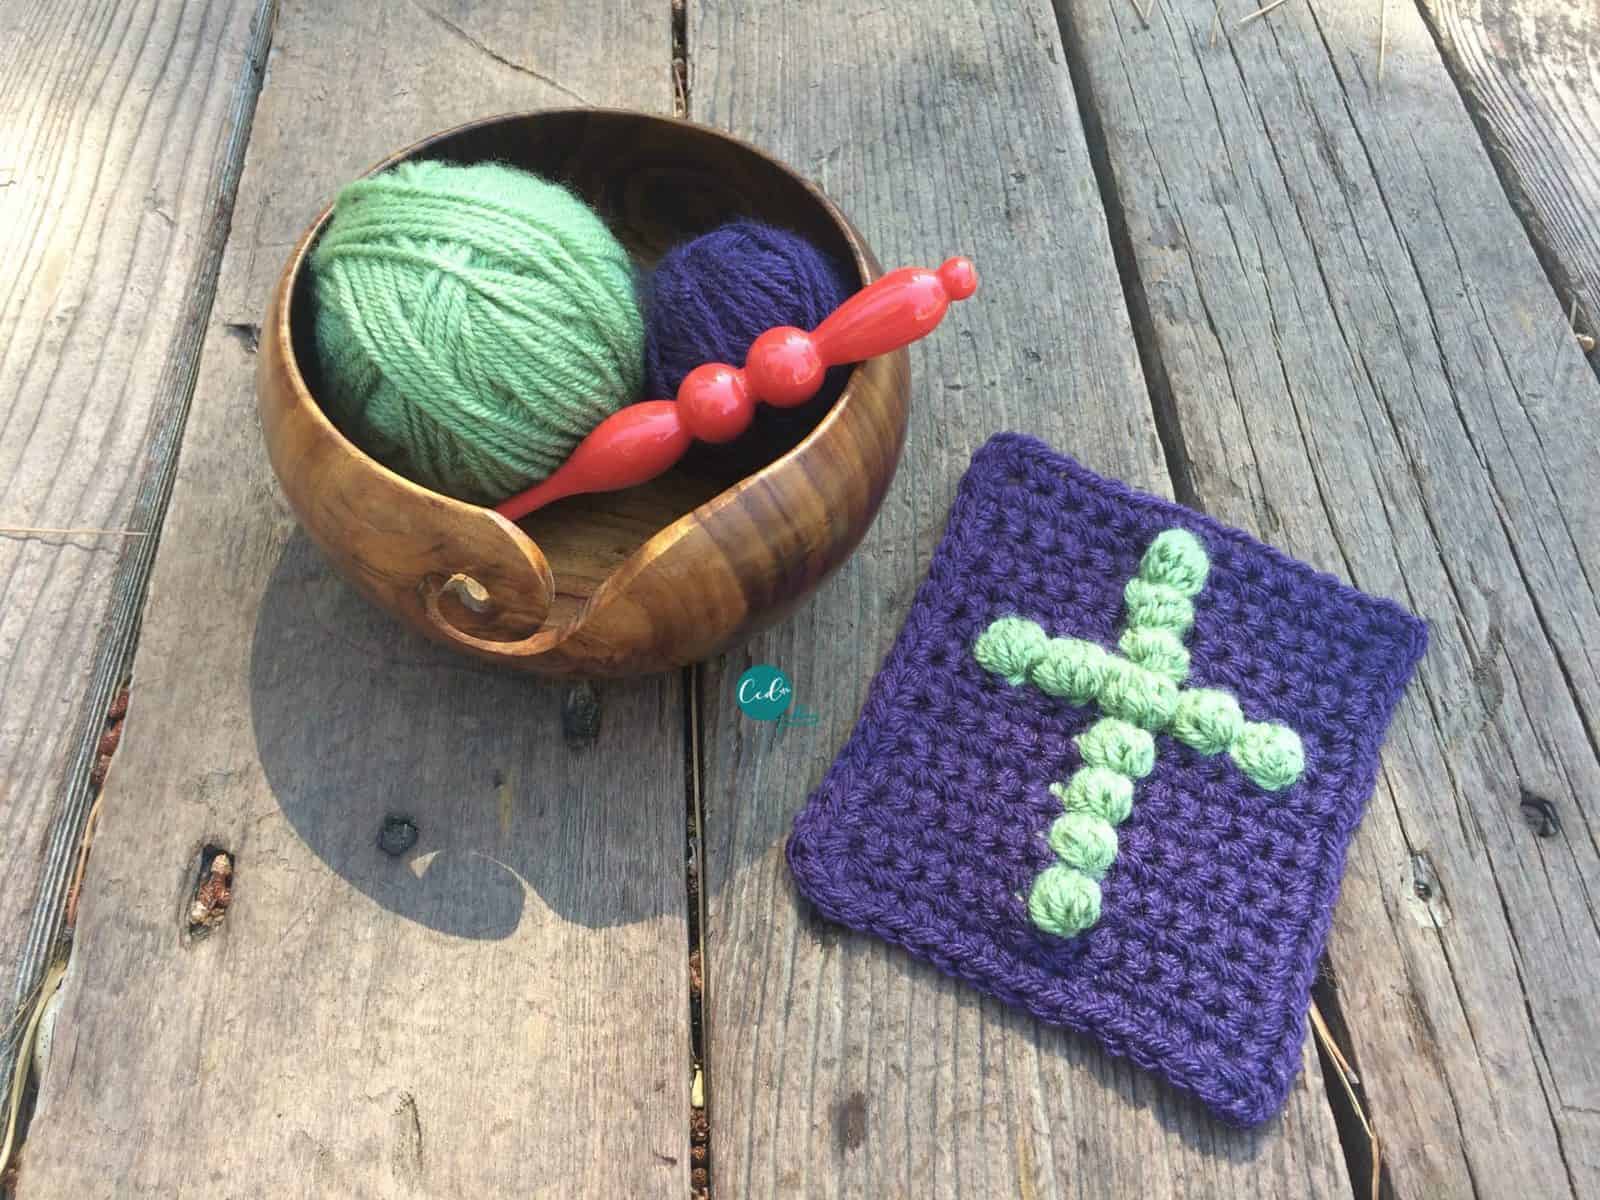
Free Crochet Patterns for C2C Crochet
The Snowflake Blanket is an easy corner to corner pattern with only two colors.
This simple bat over the moon crochet square is a great starting pattern.
A cute pumpkin square is also a great beginner c2c project.
When you are ready for a larger project I love this Monstera Leaf Blanket pattern.
Color Changing Tips for C2C
Be sure to check out my post that includes tips for keep your colors organized!
Pin It
Corner to Corner Crochet Video Tutorial
You can also watch the video on my YouTube Channel.
Scroll down for the free crochet C2C tutorial with step by step photos!
Corner to Corner Crochet {C2C} Tutorial
Learn how to crochet using the corner to corner method, also called c2c crochet. This technique makes crocheting graphghans or pixel crochet easy!
Materials
- Any yarn will work for corner to corner crochet. For this tutorial I'm using Premier Everyday Yarn Anti-Pilling, a #4 medium worsted weight yarn.
Tools
- A crochet hook to match your chose yarn. Here I use a 5mm US Size H-8 crochet hook, my white Furls Odyssey.
Instructions
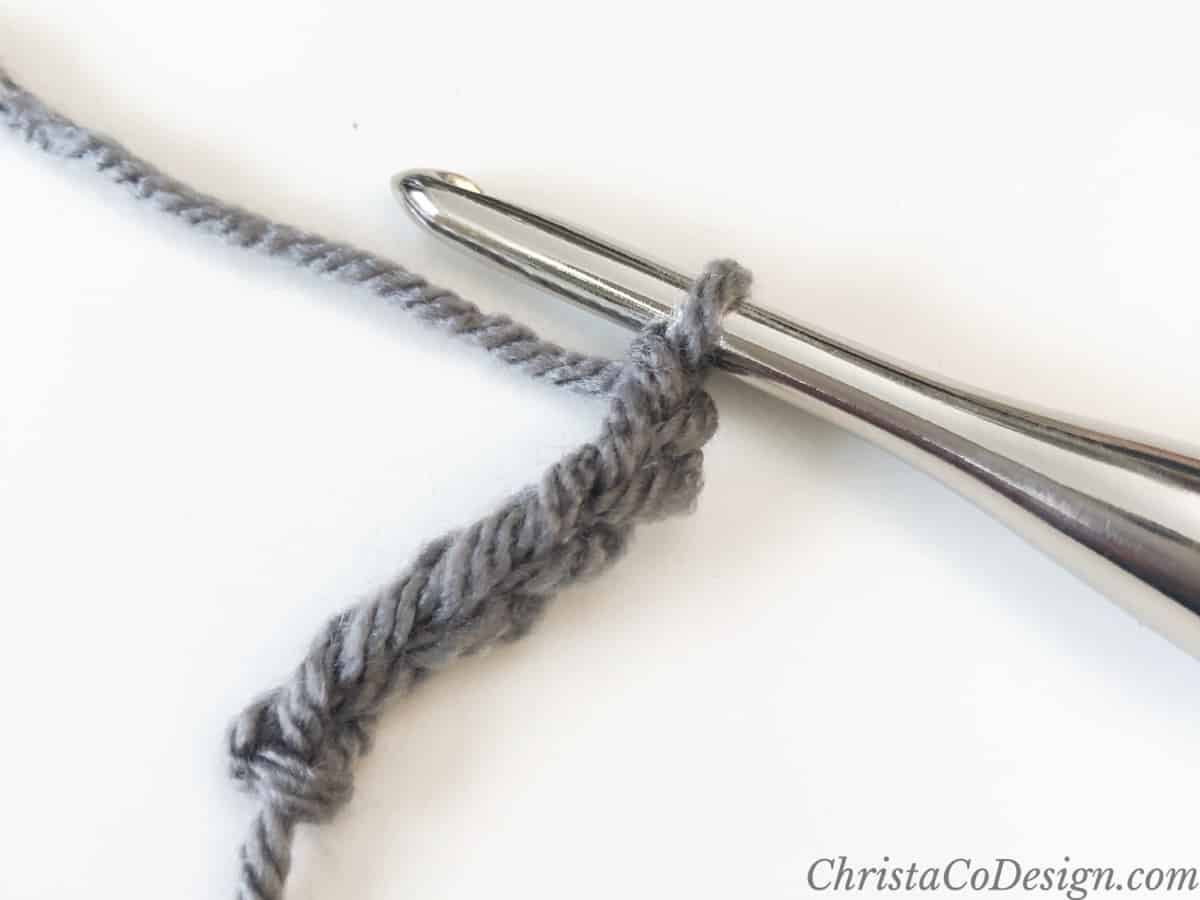
- Chain 6

- Dc in the 4th ch and in the last 2 chs. turn. I block created.
- Ch 6.
- Dc in the 4th ch and the last 2 chs.
- Sl st to ch 3 sp.
- Ch 3.
- Work 3 dc in ch 3 sp, turn.
- Ch 6.
- Dc in 4th ch and last 2 chs.

- Sl st to ch 3 sp.
- Ch 3, work 3 dc in ch 3 sp.
- Sl st to ch 3 sp, Ch 3, work 3 dc in ch 3 sp.
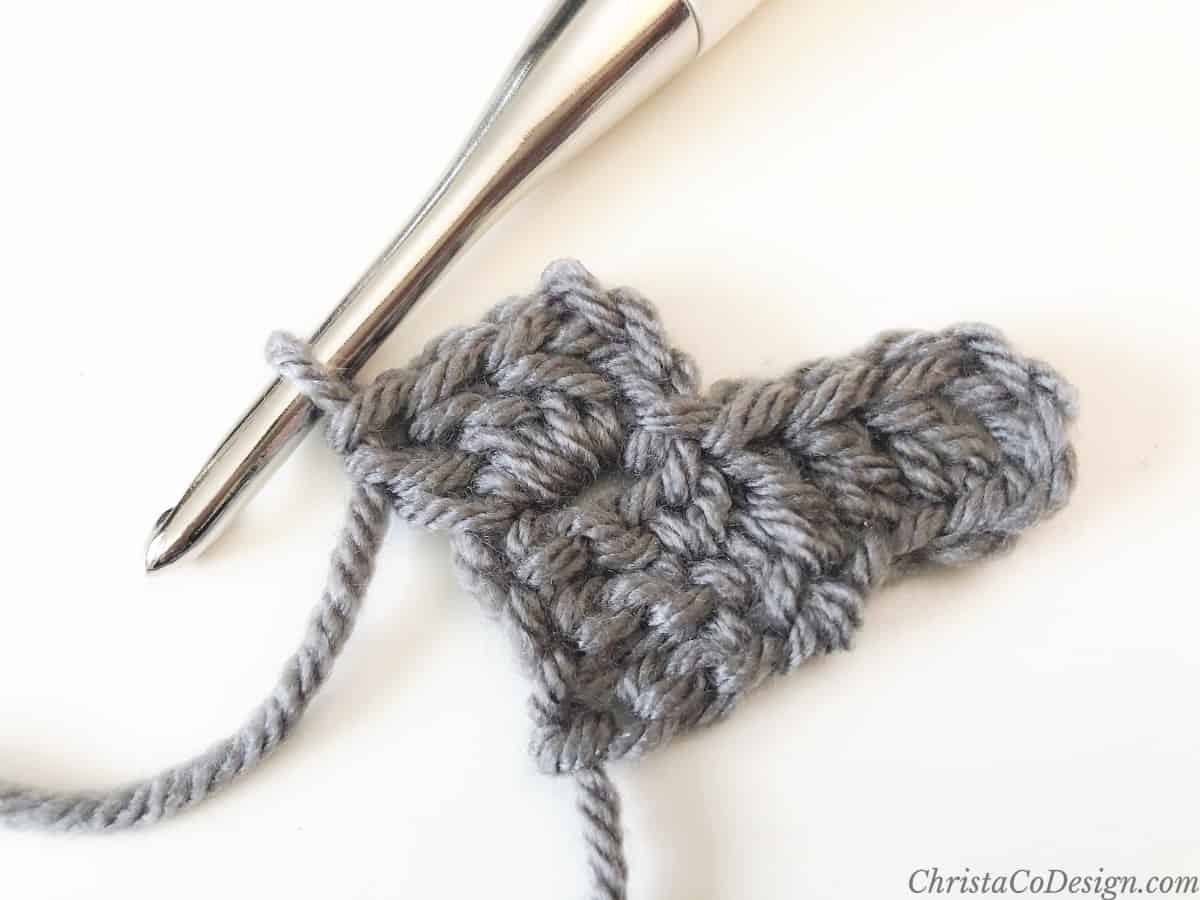
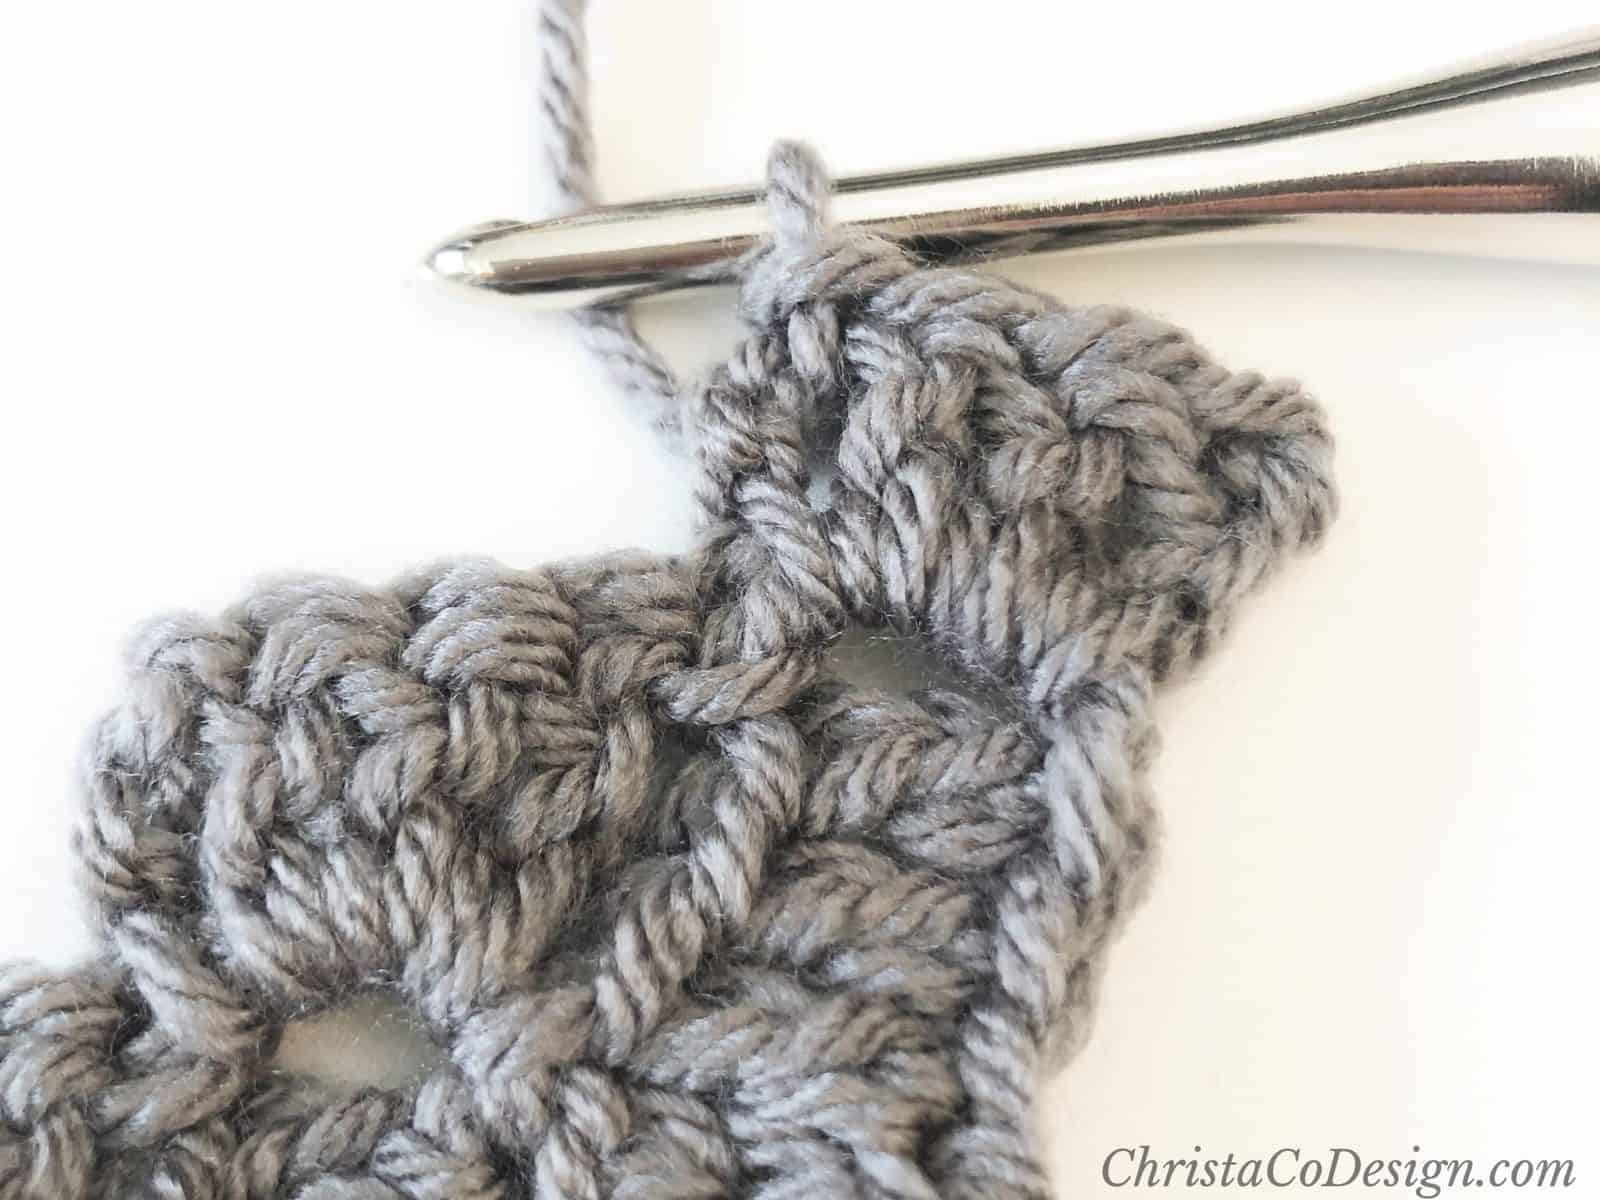
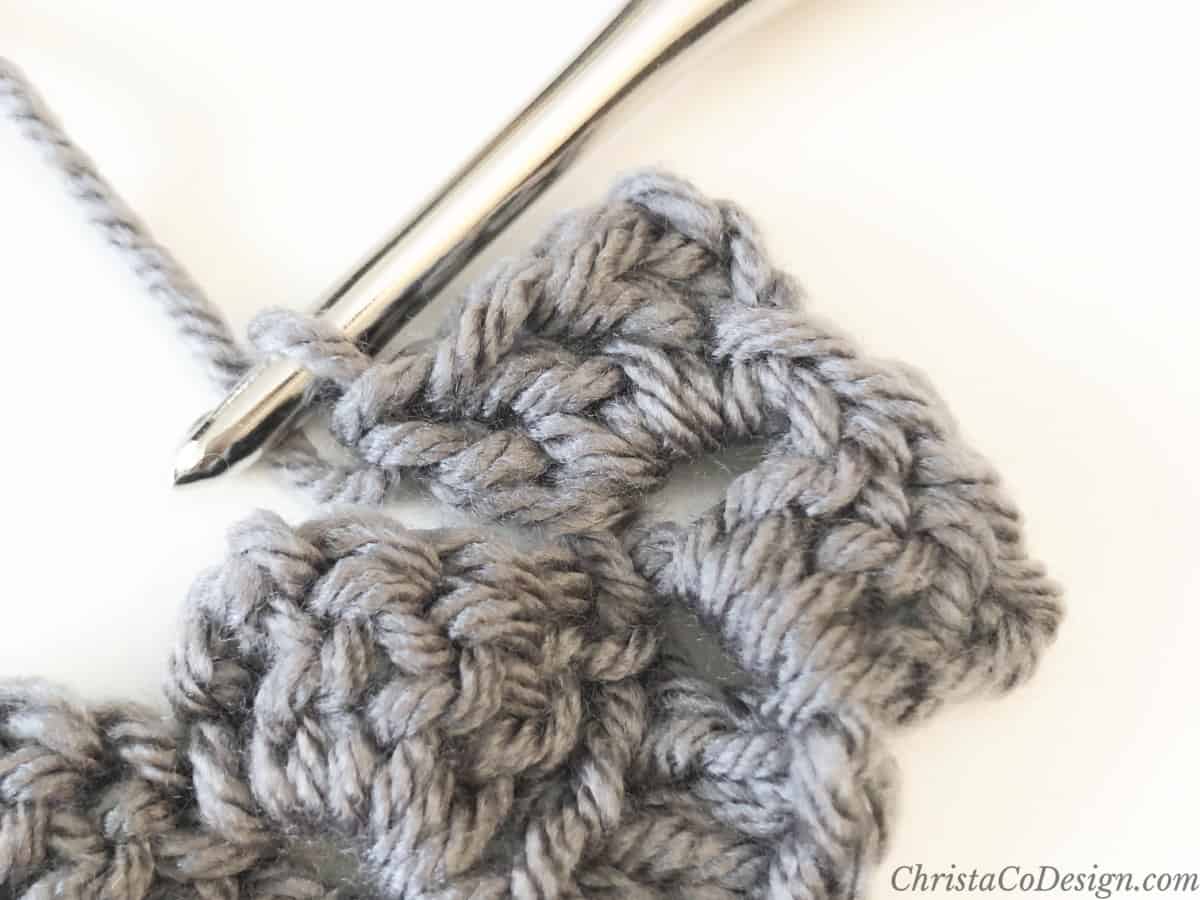
- Ch 6, dc in 4th ch and last two chs, sl st to next block.
- Ch 3, work 3 dc in ch 3 sp, sl st to next block. Repeat across and turn.
- Continue to repeat steps 13-14 until you have reached your desired width.
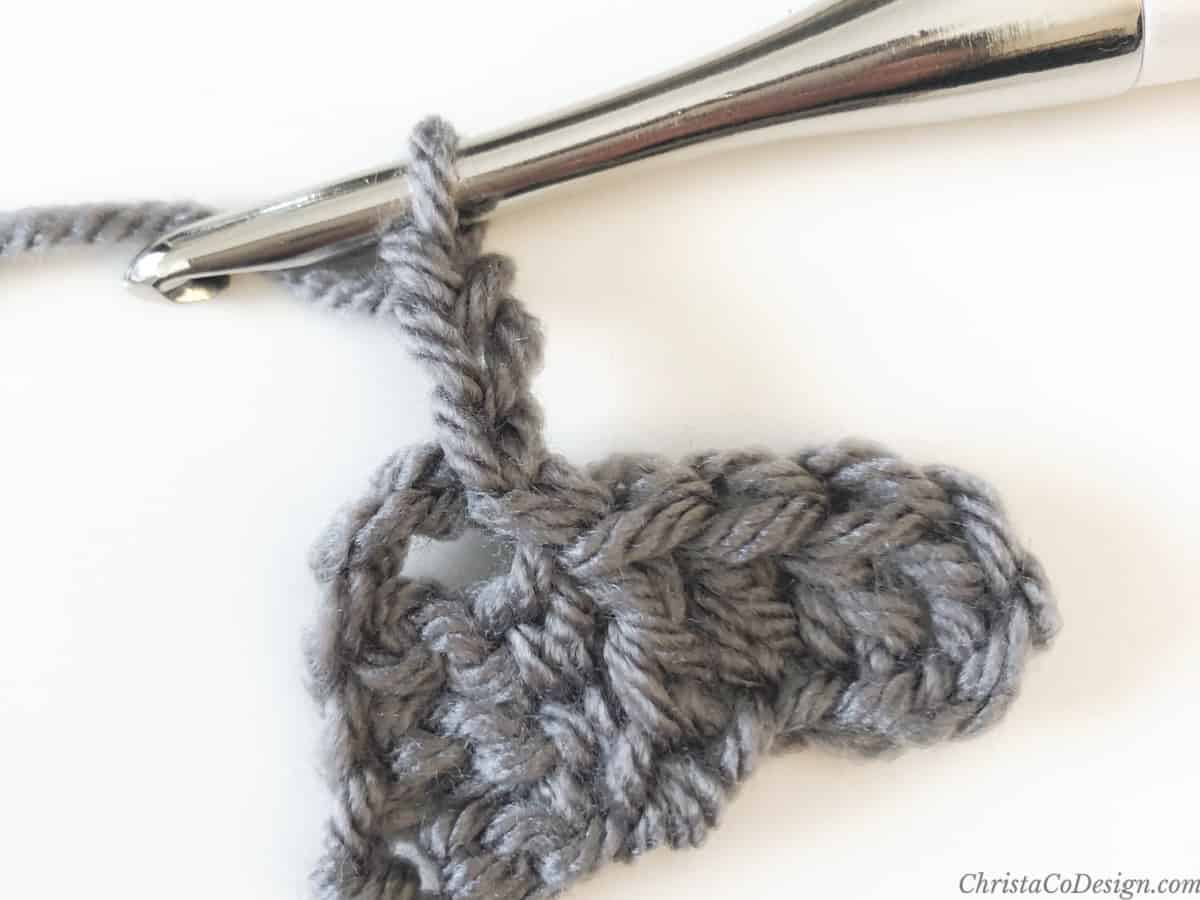
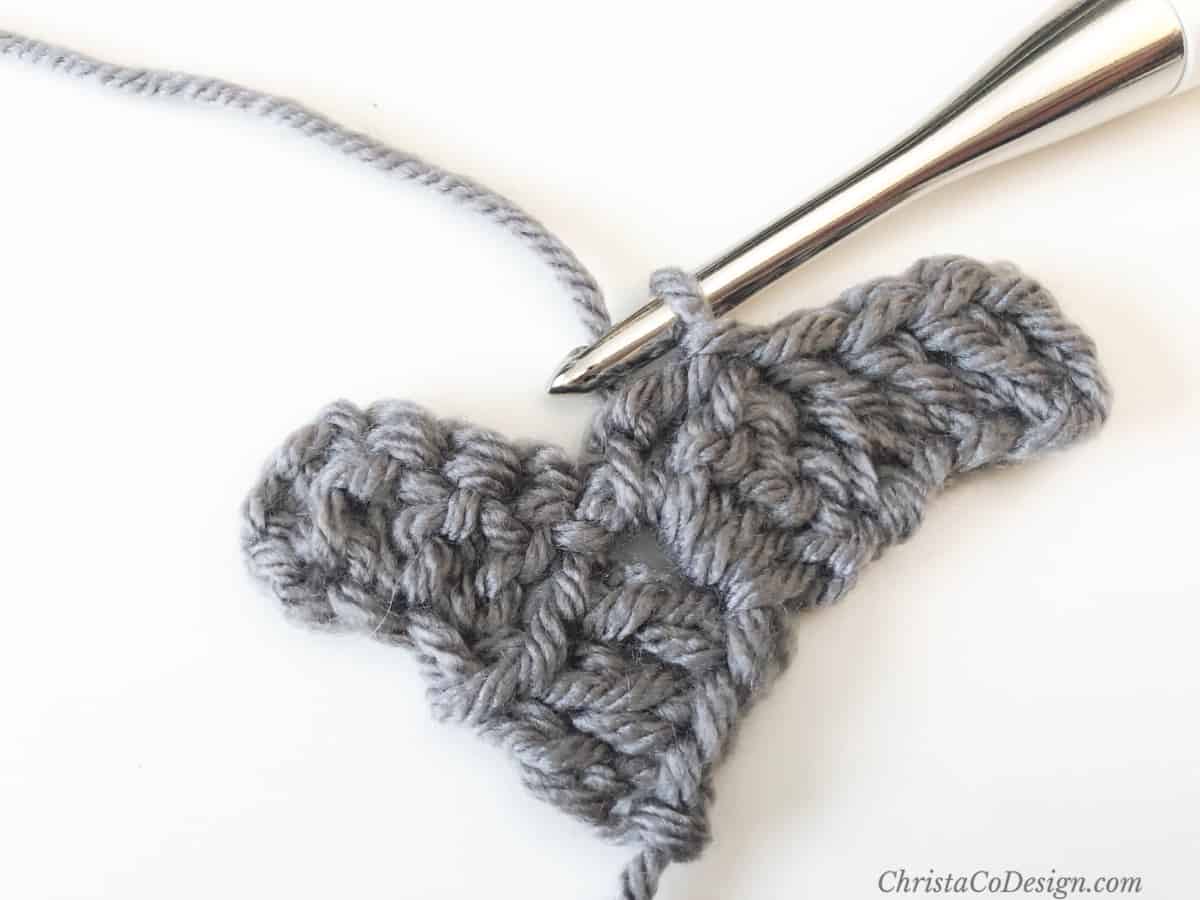
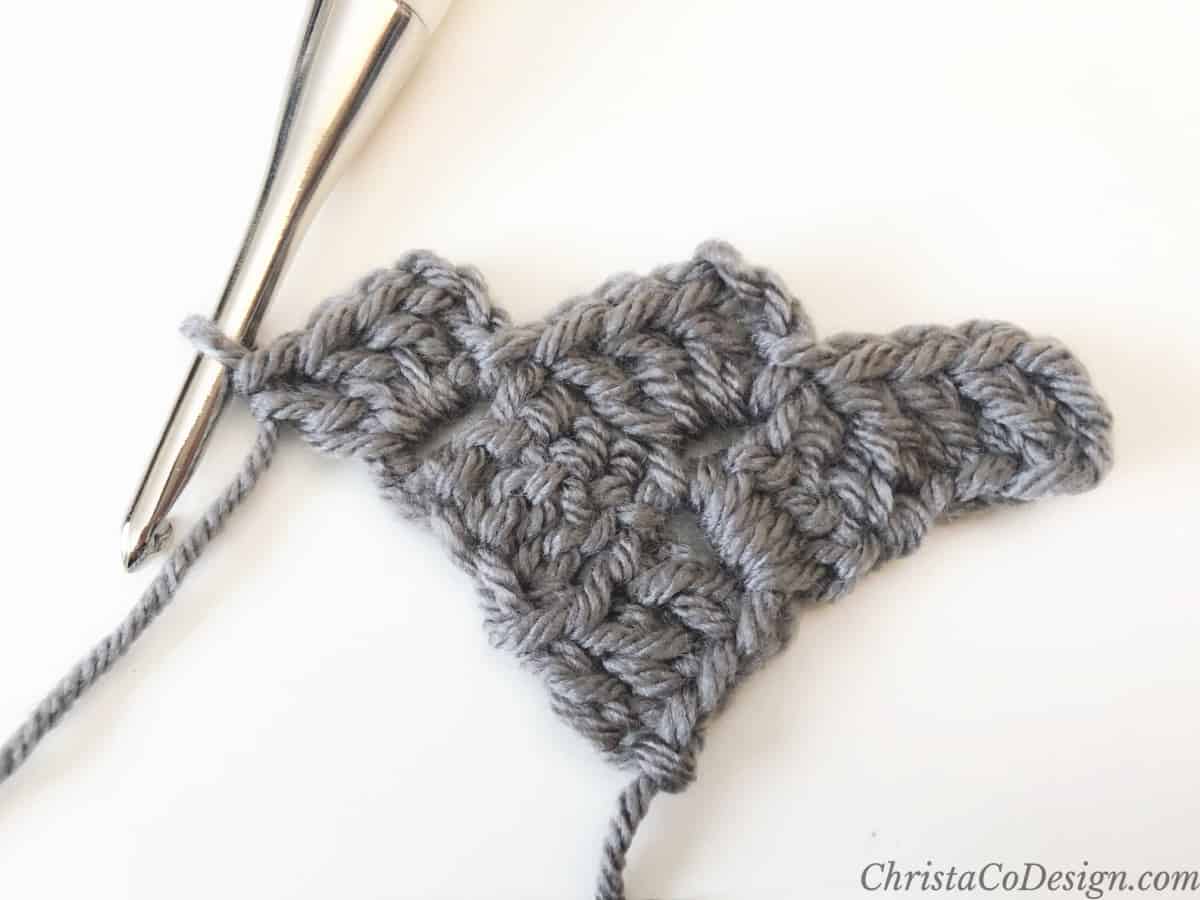
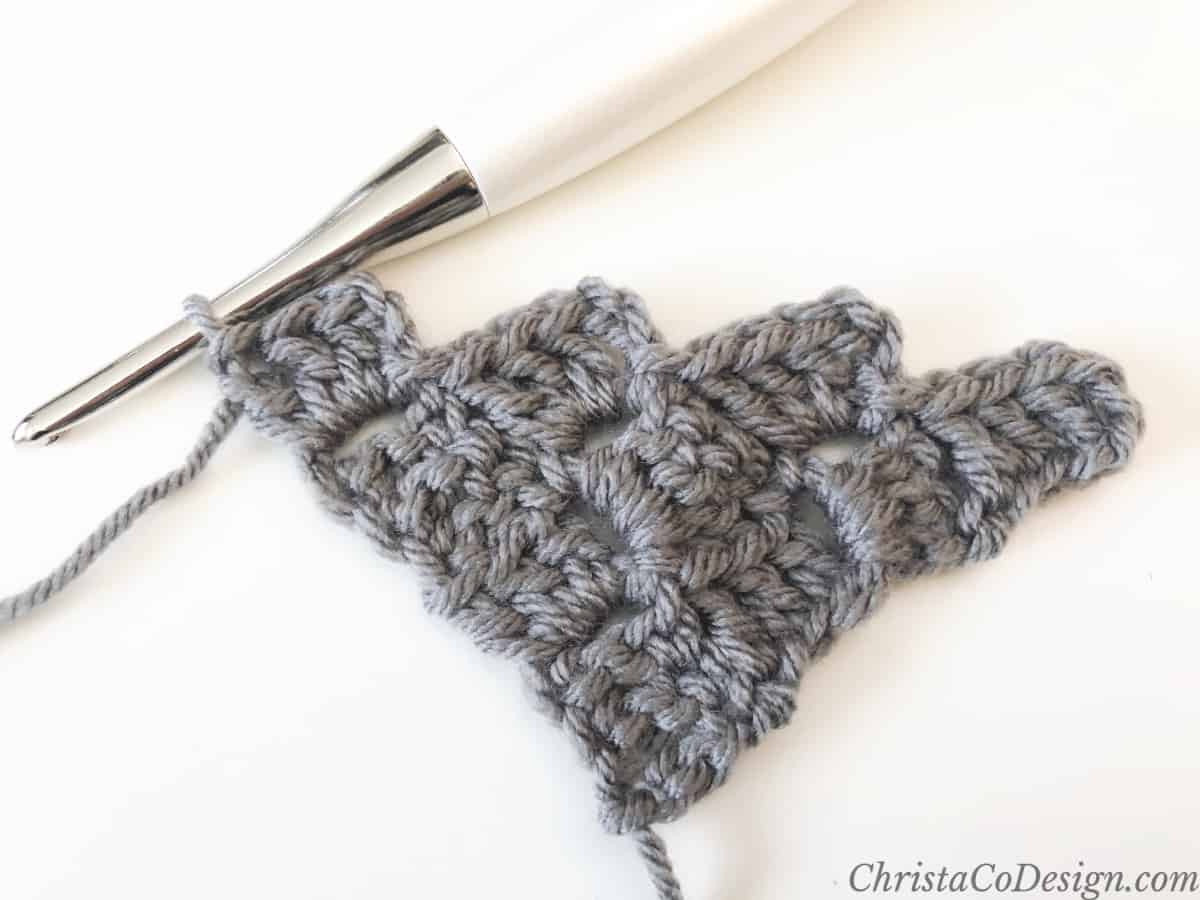
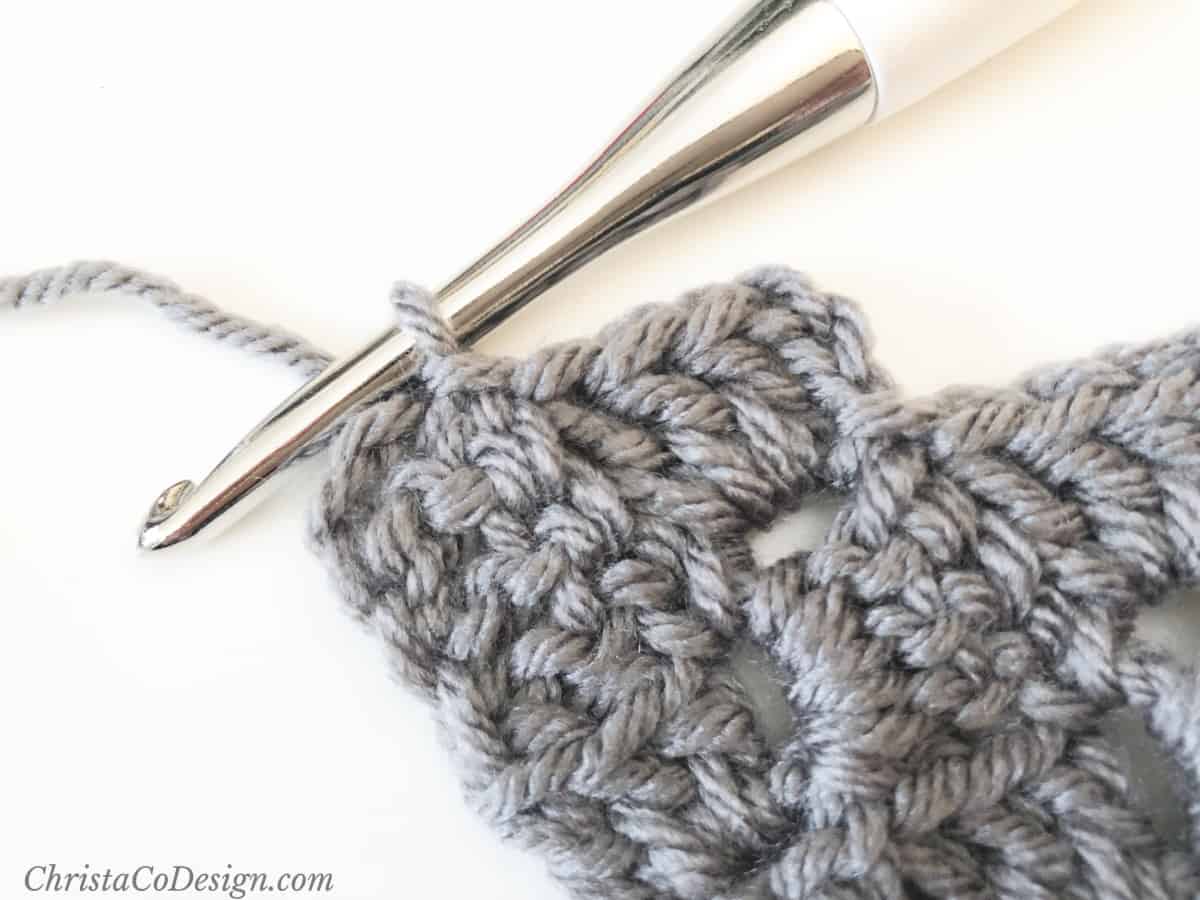
- To begin decreasing: Make sure you have turned, sl st over to the ch 3 sp.
- Ch 3, work 3 dc in ch 3 sp, sl st to next block. Rep across.
- Sl st to last block, turn.
- Rep steps 16-18 for every decrease row.
- To change colors. Cut yarn of first color and join second color with a sl st to ch 3 sp. Ch 3 and work 3 dc in keeping with the pattern.

- Continue working in pattern.
- Sl st last block to ch 3 sp.
- Cut yarn and weave in ends.