
How to Knit Ribbing For Hats Tutorial
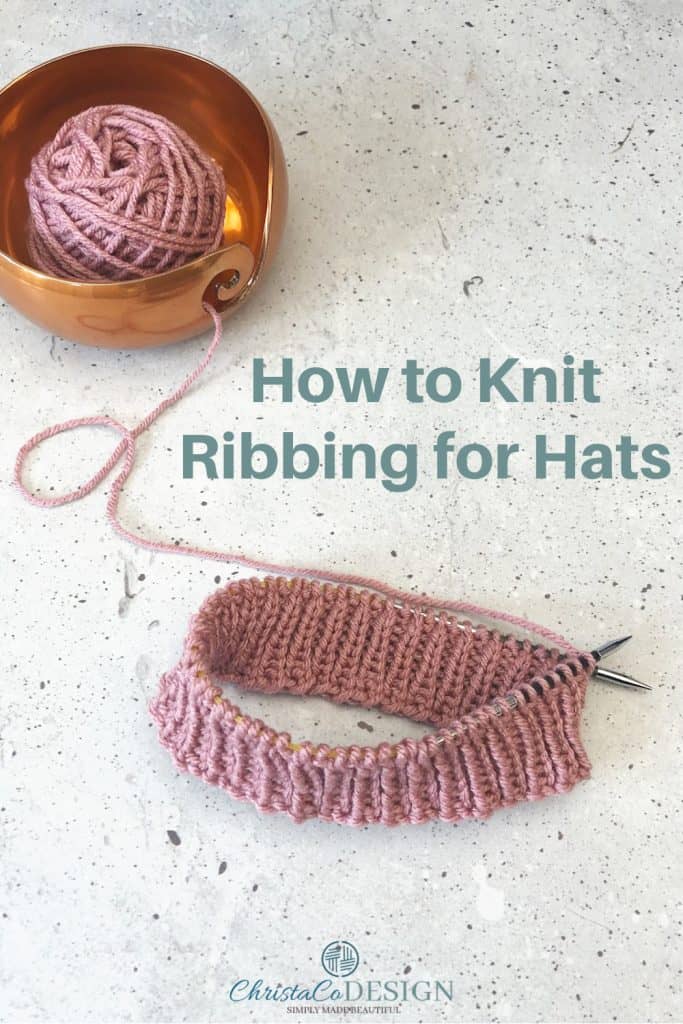
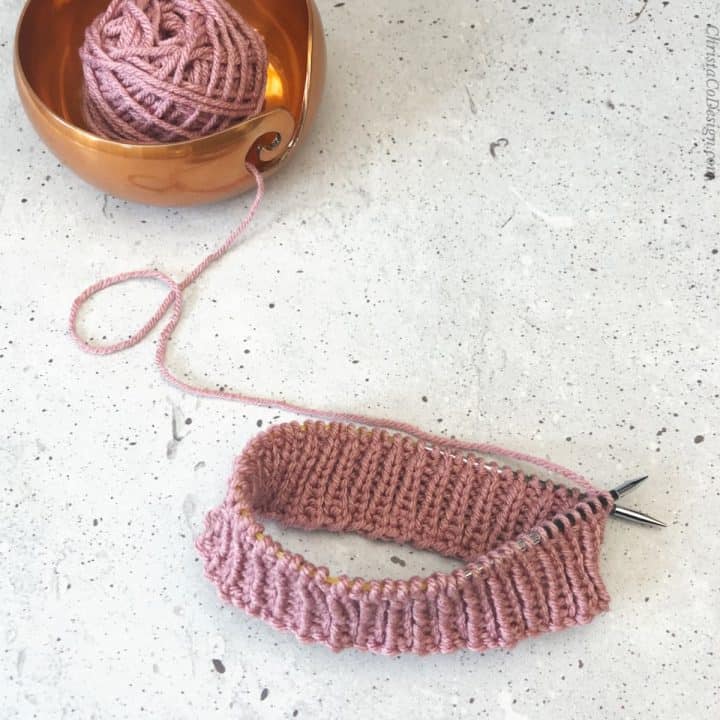
Learn how to knit 1×1 ribbing for hats. This 1 x 1 rib stitch knitting pattern gives is a great choice for the brim of a hat.
I think knitting a rib is one of the first things we learn as new knitters. It’s one of the best ways to get a great fit on hats and sweater sleeve cuffs.

This post contains affiliate links, I may earn a fee. Read more disclosure policy.
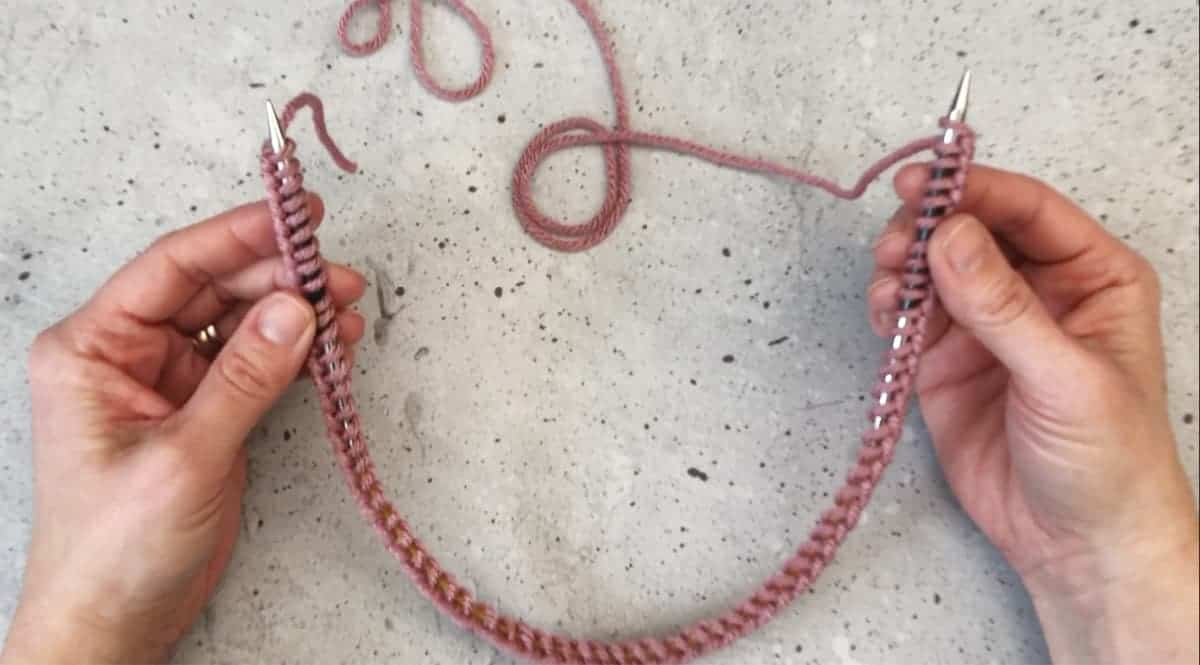
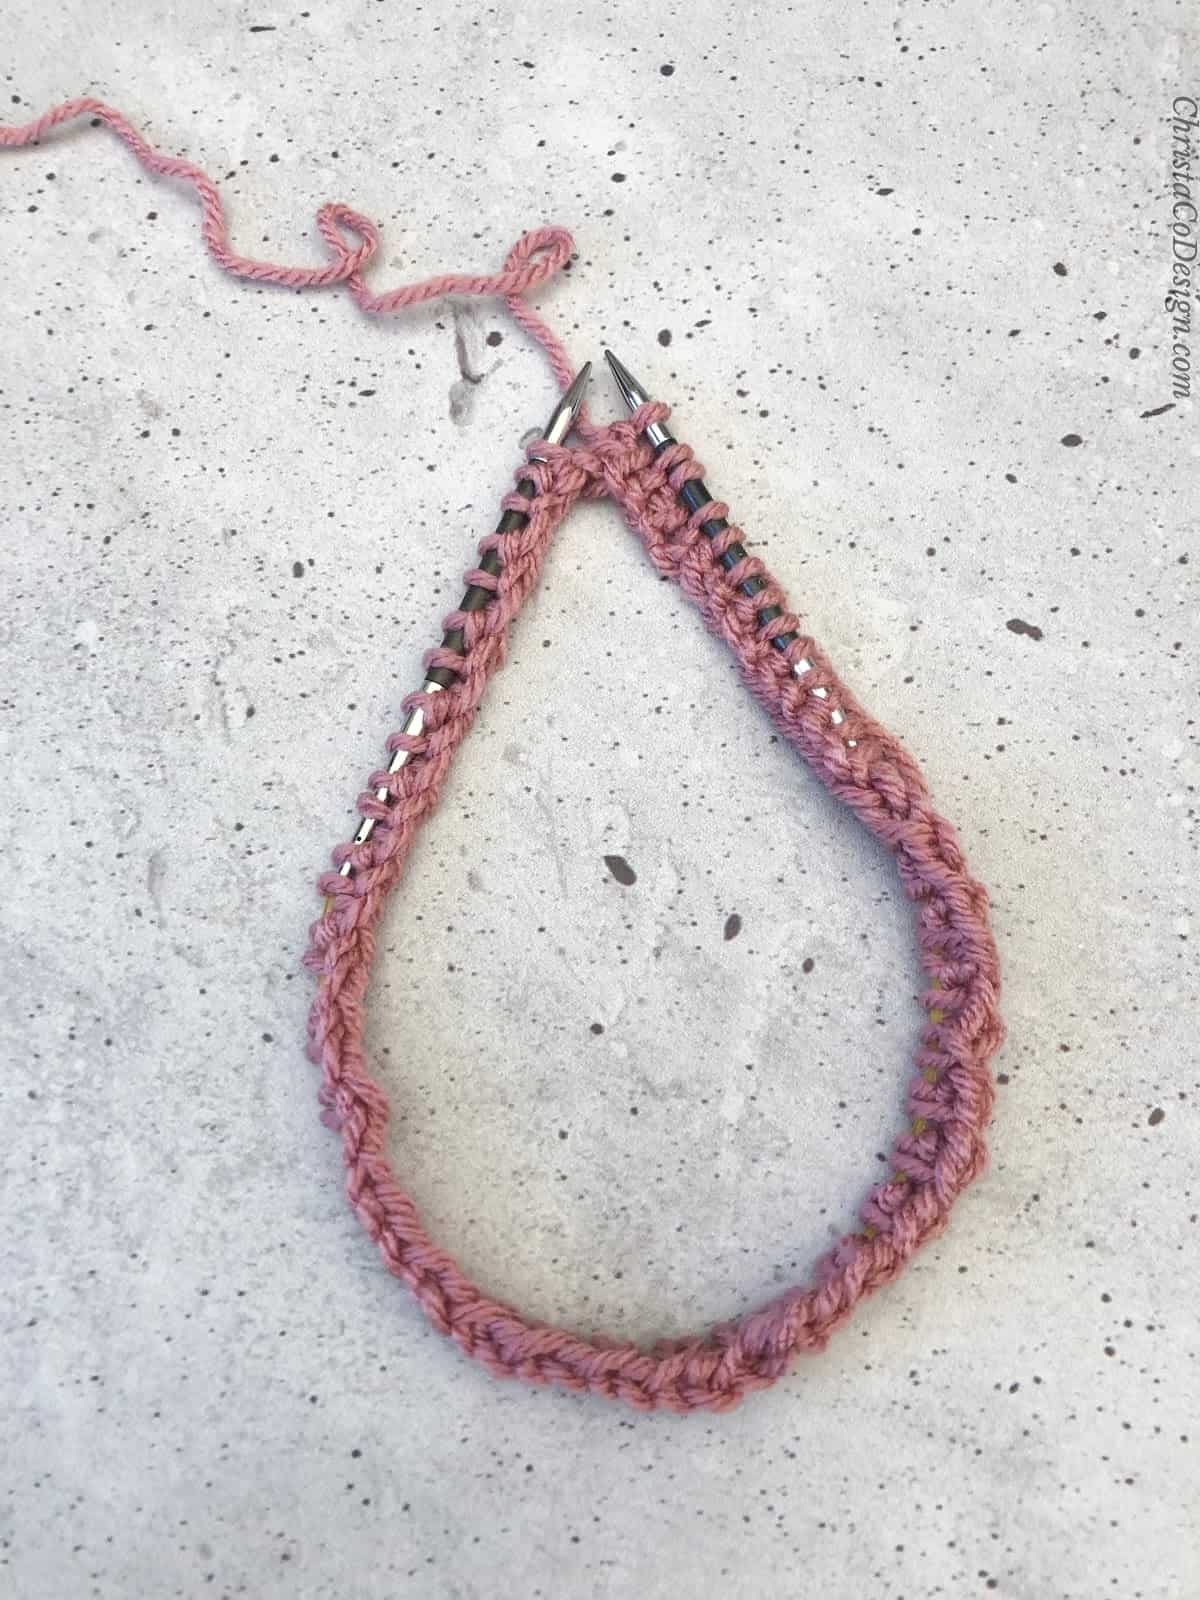
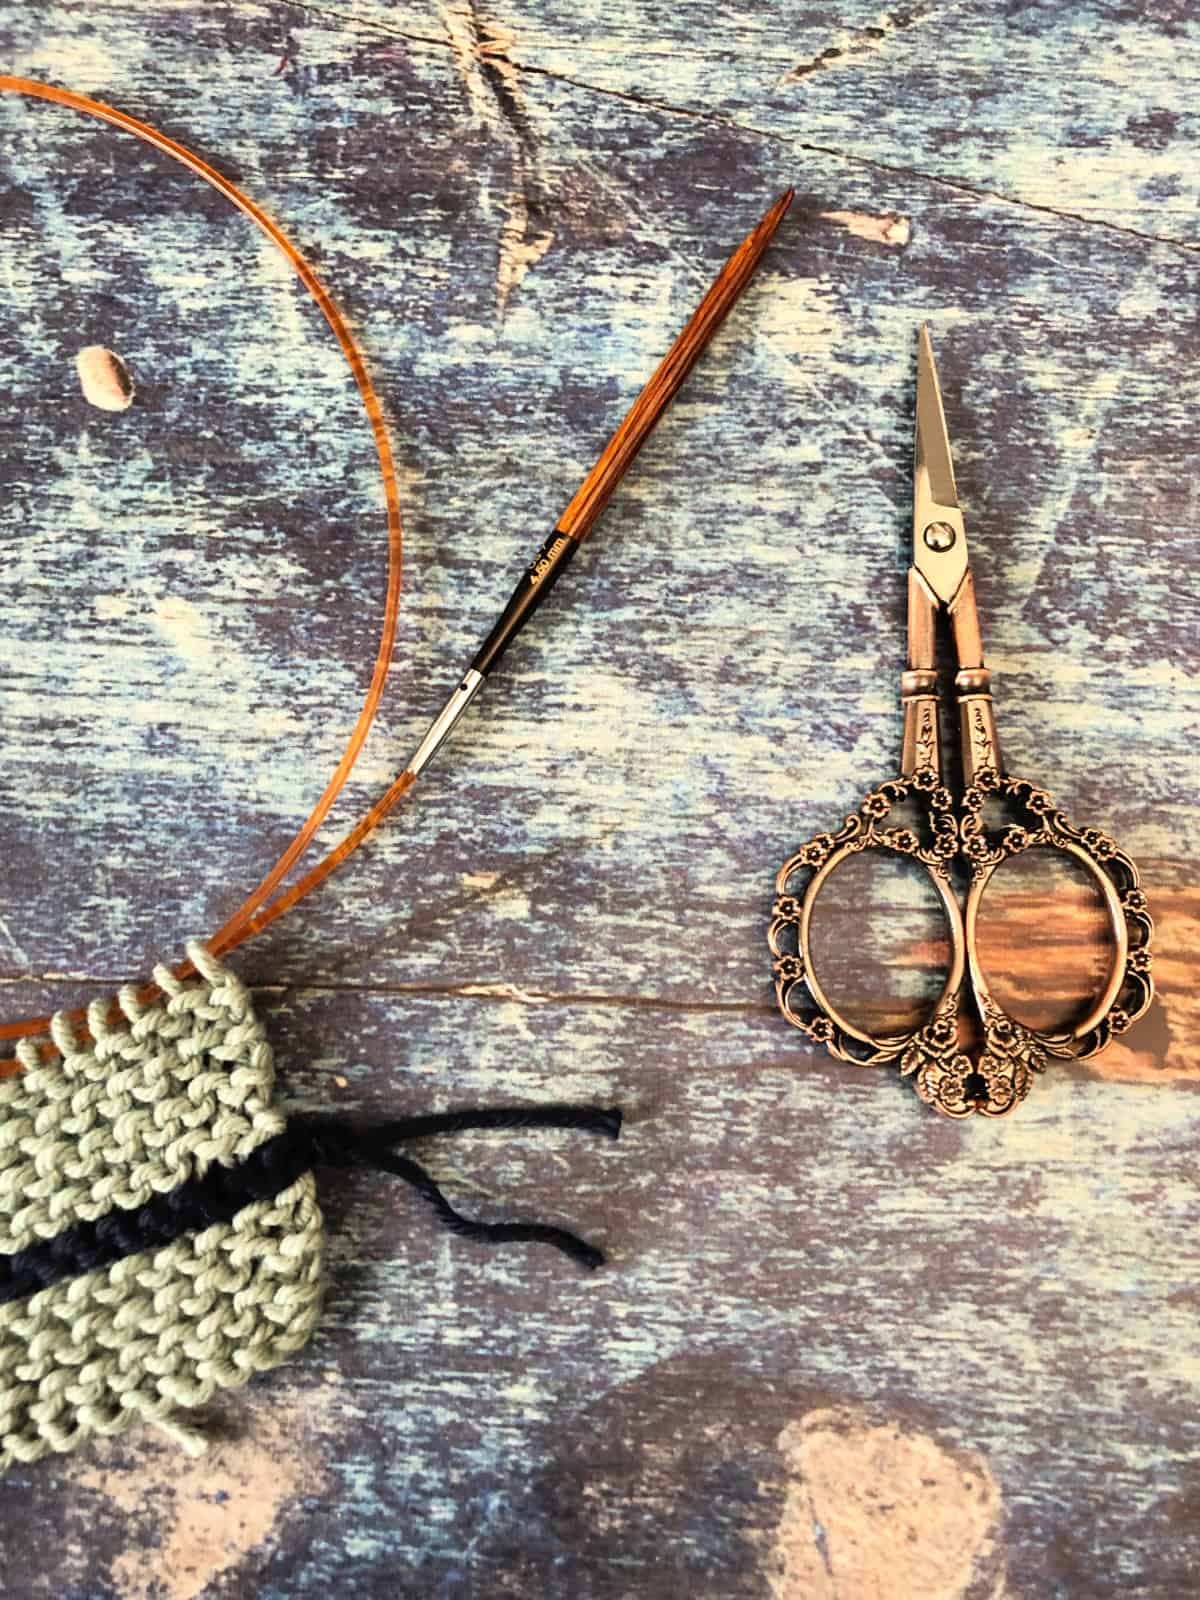
For this tutorial I’m knitting in the round with my cable needles. If you need to know how to join your knitting in the round start here.
I use this 1 x 1 ribbing in the Alba Knit Hat pattern, which is an easy superbulky hat pattern.
For some hat patterns the ribbing calls for smaller needles. Since the rib stitch pattern is so stretchy these can look too big when compared to a stockinette stitch in the same needle size. Often knitting patterns will have you switch to larger needles for the stockinette.
This rib is knit by alternating knit stitches and purl stitches. Then you continue knitting the knits and purling the purls.
Never Miss a Pattern
Be sure to join my newsletter for my weekly emails + access to my Resource Library.
Once you get knitting the right side and wrong side look virtually the same making this a reversible pattern. When you look at rib stitch patterns you see columns of knit stitches since it’s a stretchy fabric.
1 x 1 and 2 x 2 rib are the basic rib stitches. They’re used commonly for hats and garments. The Elena Sweater uses the 2 x 2 ribbing pattern on the hem and cuffs. My knit pumpkin pattern also uses the 2 x 2 rib.
This tutorial demonstrates how to knit this ribbing in the round. However, you can also knit it flat. I include written instructions for both 1 x 1 rib and 2 x 2 rib knit flat and knit in the round.
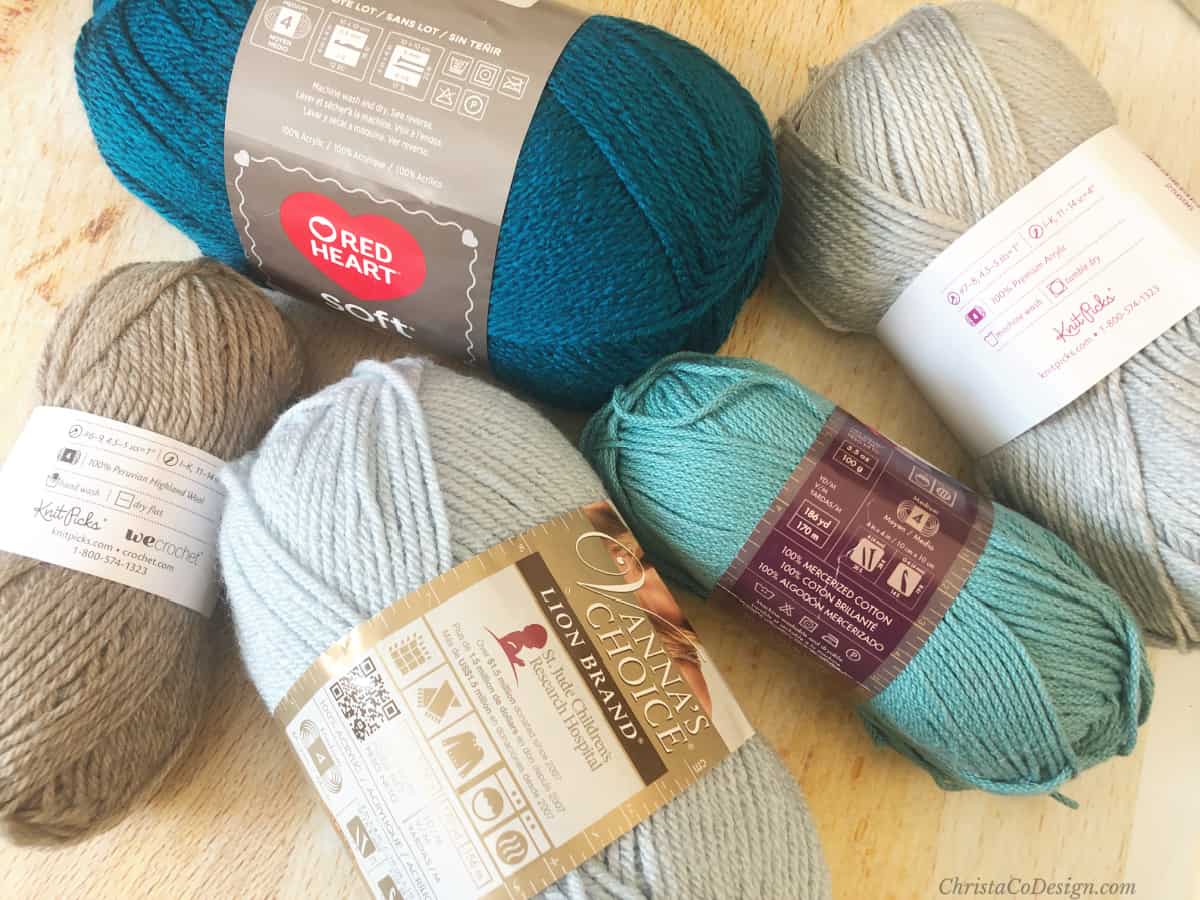
Yarn
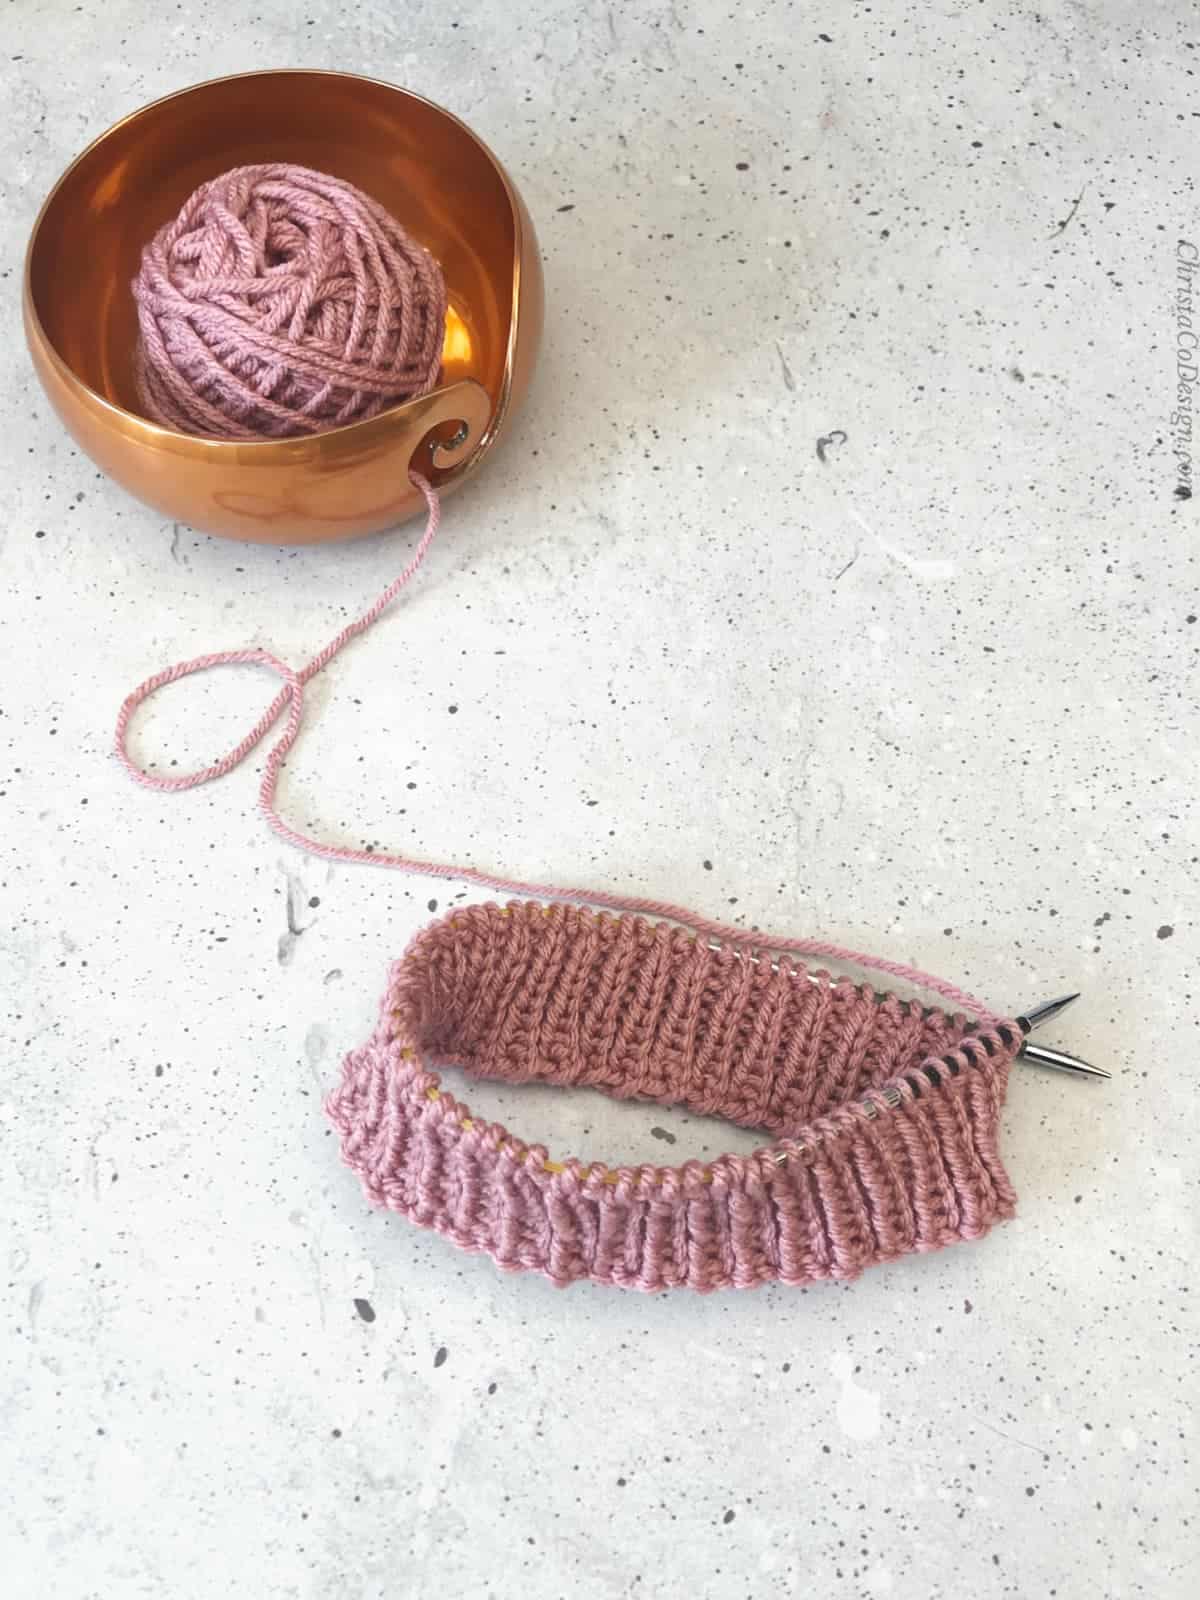
For this tutorial I’m knitting with Red Heart With Love* in the color Cameo. It’s such a pretty purply pink.
This is a nice soft #4 medium worsted weight yarn from Red Heart. You can use any yarn for this technique if you’re just practicing.
Needles
For this tutorial I’m knitting on my 4.5mm US 7 Knitter’s Pride Karbonz interchangeable needles.
I love having interchangeable needles. It makes switching from a large needle size to a smaller one, like in the Alba Hat, so easy.
Pin it
Knitting Patterns You Might Like
Giana Knit Pocket Shawl is a squishy garter stitch rectangle shawl.
The Nocca Knit Blanket knits up quickly in superbulky yarn and is a simple four row repeat.
The Bianca Bookmark is a quick knit that makes a sweet gift for a favorite reader.
Stitches/Abbreviations (US Terms)
BO – bind off
CO – Cast On You might like to cast on with a crochet hook or this short tail cast on.
K – knit stitch
P – purl stitch
rep – repeat
rnd- round
st (s) – stitch (es)
When you’re ready to level up your knitting, try the alternating cable cast on for ribbing stitches.
Video Tutorial
Watch the step by step video on my YouTube here.
How to Rib Knit Flat and in the Round Tutorial
How to Knit Rib Stitch 1 x 1 & 2 x 2 Ribbing
Learn the 1 x 1 and 2 x 2 rib stitch pattern flat and in the round. It's easy to knit and gives you a great stretchy ribbing.
Materials
- For this tutorial I’m knitting with Red Heart With Love* in the color Cameo. It’s a #4 medium worsted weight yarn. You can use any weight yarn for this technique if you’re just practicing.
Tools
- For this tutorial I’m knitting on my 4.5mm US 7 circular needle on 16" cables.
Instructions
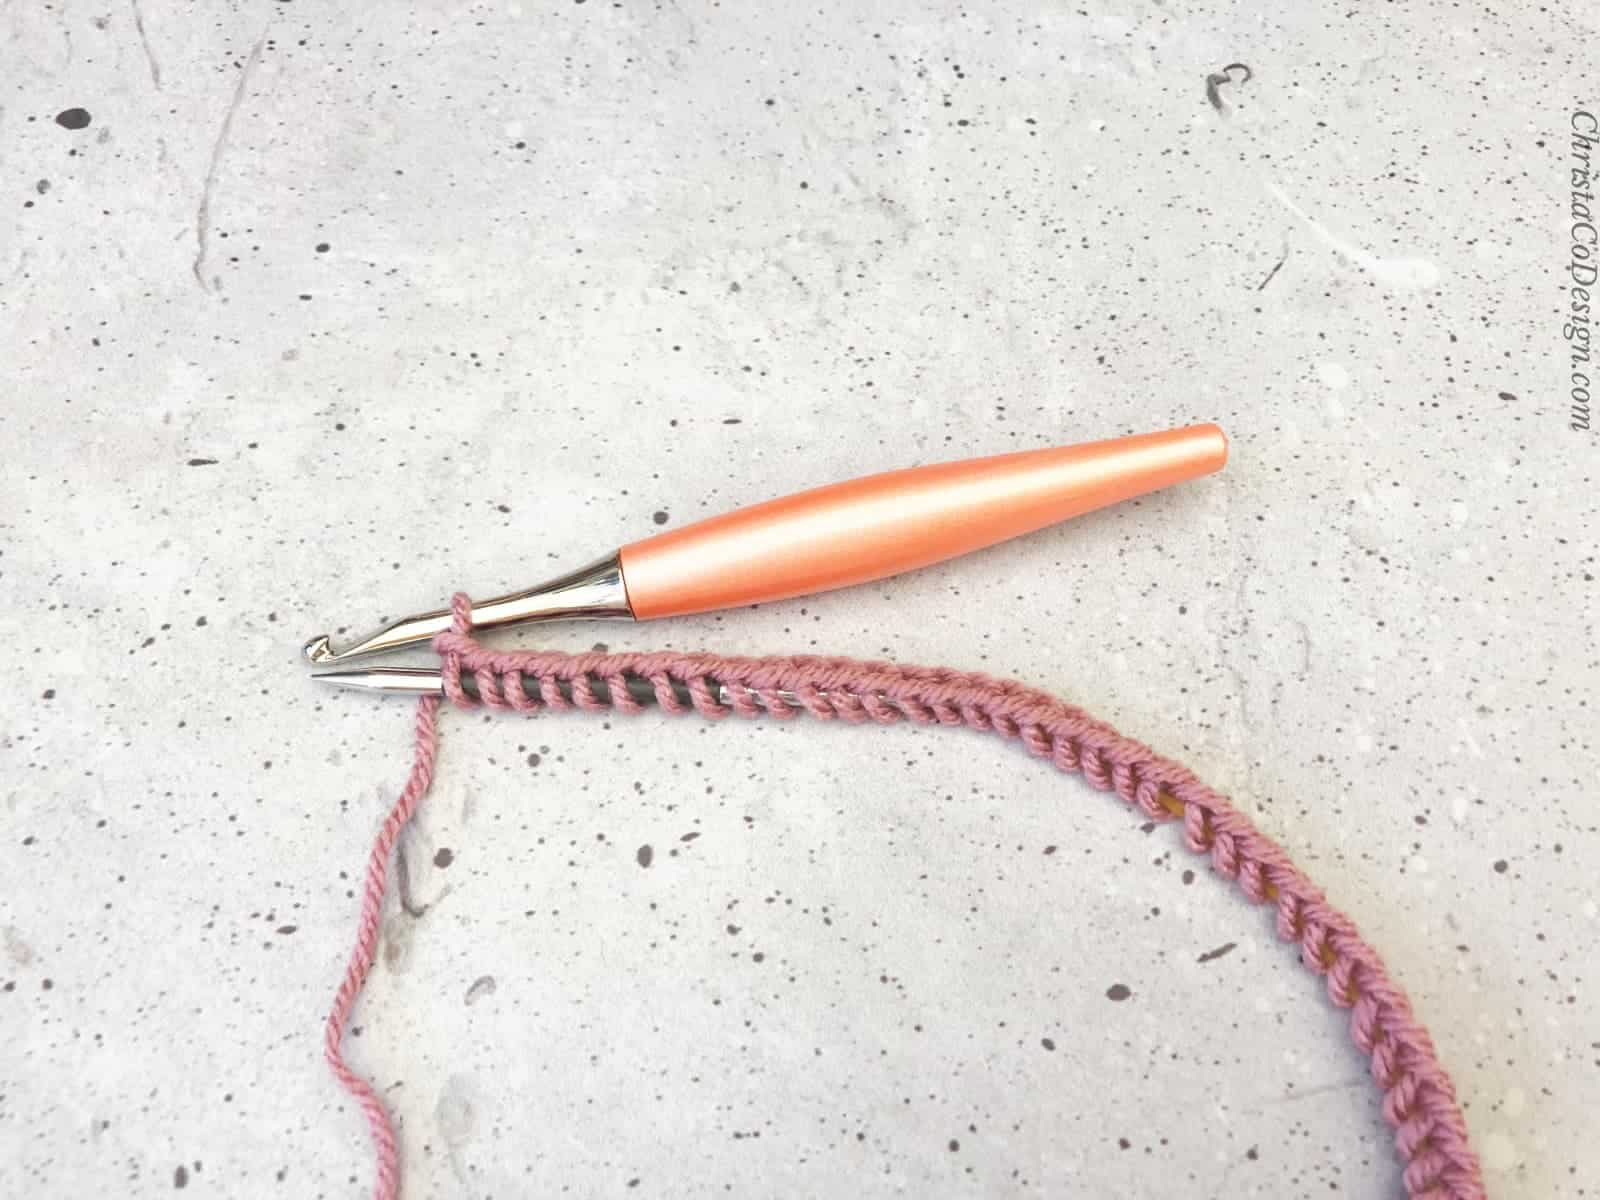
To Knit 1 x 1 Ribbing Flat
- Cast on an even number of stitches.
- Knit the first stitch, purl the next stitch, *(K1, P1) rep from * to end of the row.
- For the next row repeat the last row again. Remember to knit the knits and purl the purls.
- Continue the repeat row until your ribbing is as tall as needed.
If you have an odd number of stitches you can still knit ribbing in the same way. But you will start with one more stitch.
To knit ribbing with an odd number of stitches.
- P1 *(K1, P1) rep from * to end of the row.
- Rep the first row in the same way: P1, (*K1, P1) rep from * to end of the row.
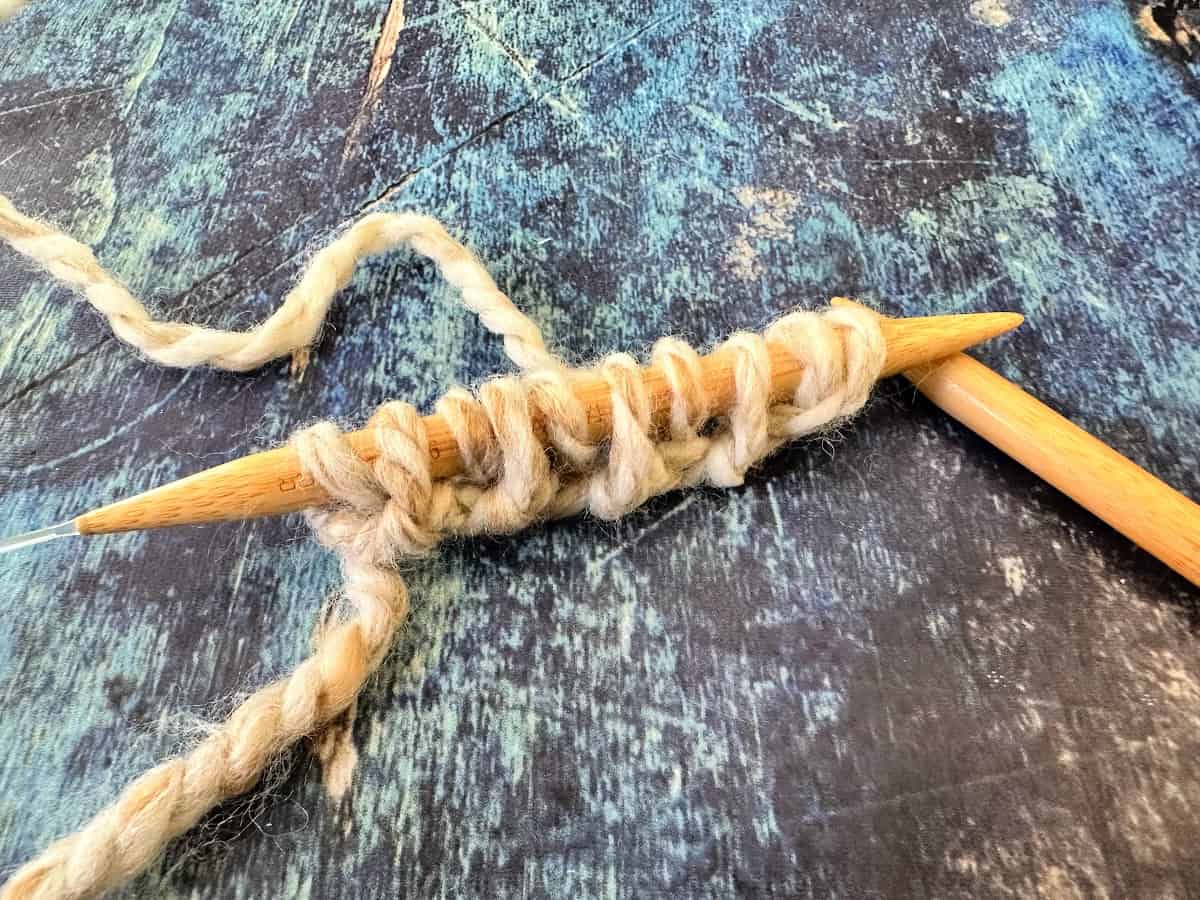
To Knit 1 x 1 Rib in the Round
- Cast on an even number of sts.

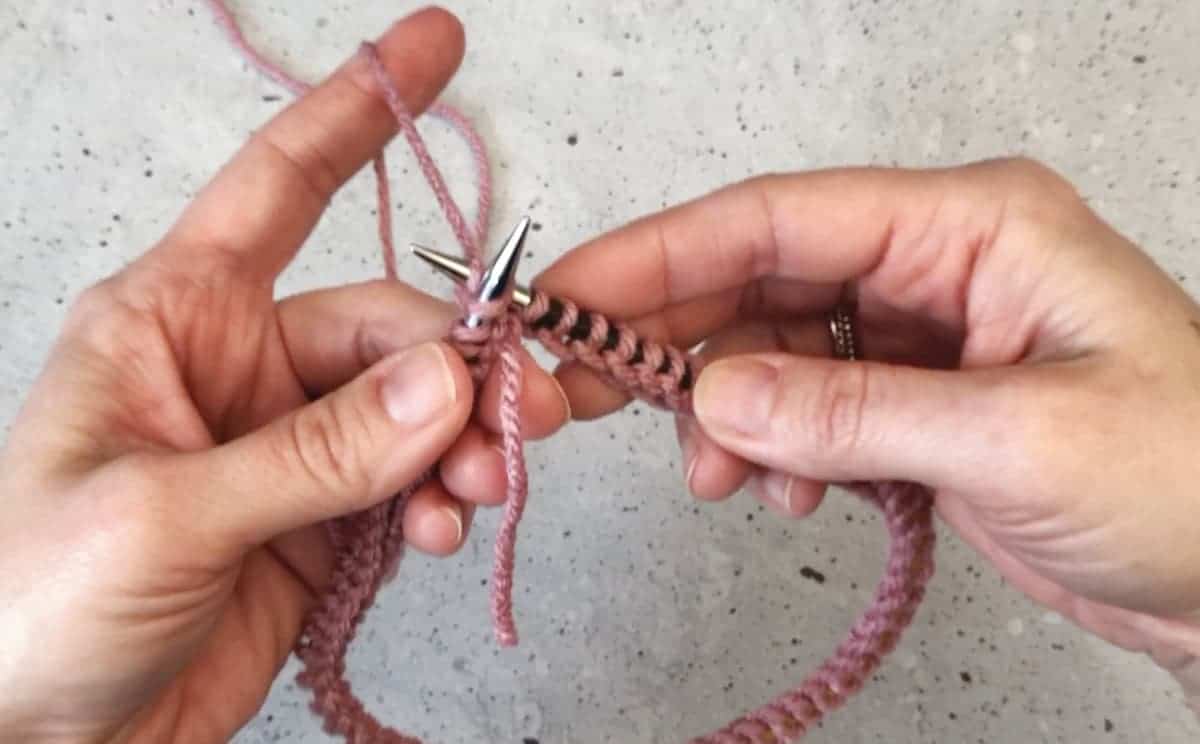
- Without twisting, join in the round by knitting the first stitch.

- *(K1, P1) rep from * to end of round. When you get to the first stitch, you can use a stitch marker to mark the beginning or the tail like I do here.
- Rep this round for length of work. Keep knitting the knits & purling the purls.

- Continue the 1 round repeat: k1, p1 until your ribbing is as tall as you like (1.5"-3").
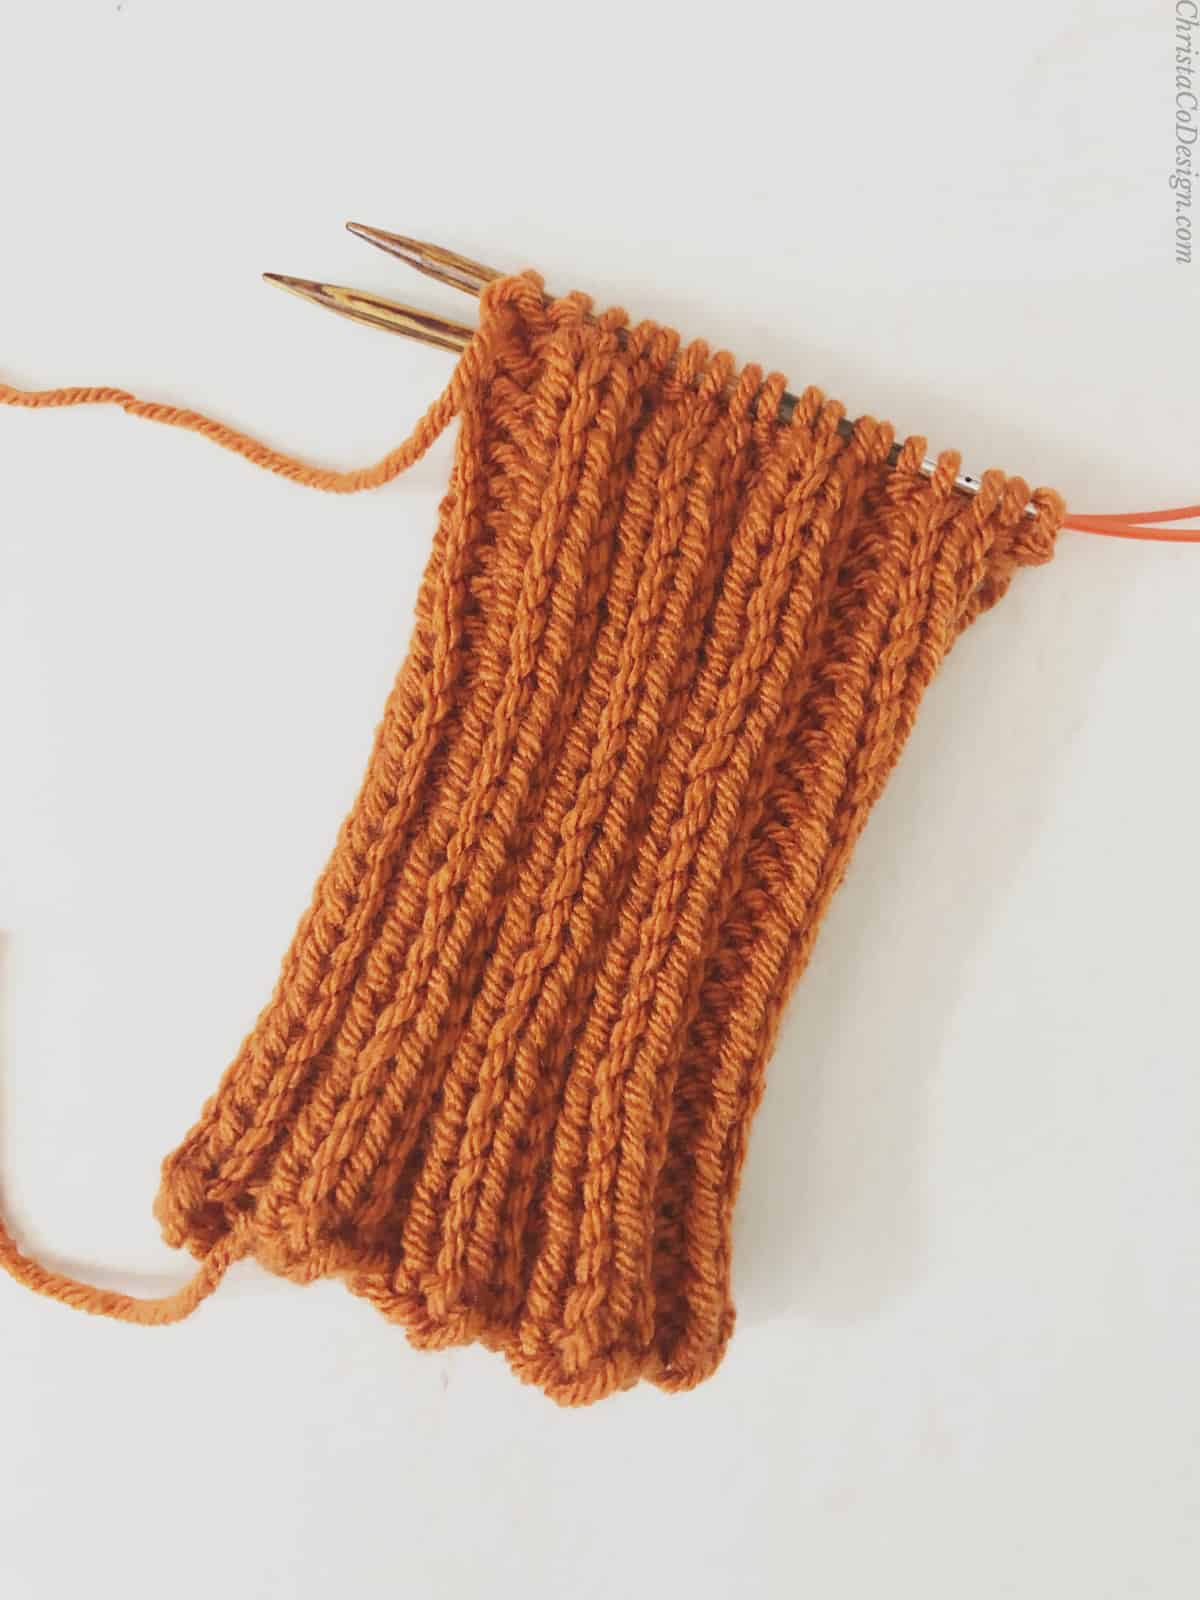
To Knit 2 x 2 Rib Flat
- Cast on a stitch multiple of 4. For example, 16, 24, etc.
- *(K2, P2) rep from * to end of round.
- Rep this row for desired height of ribbing.

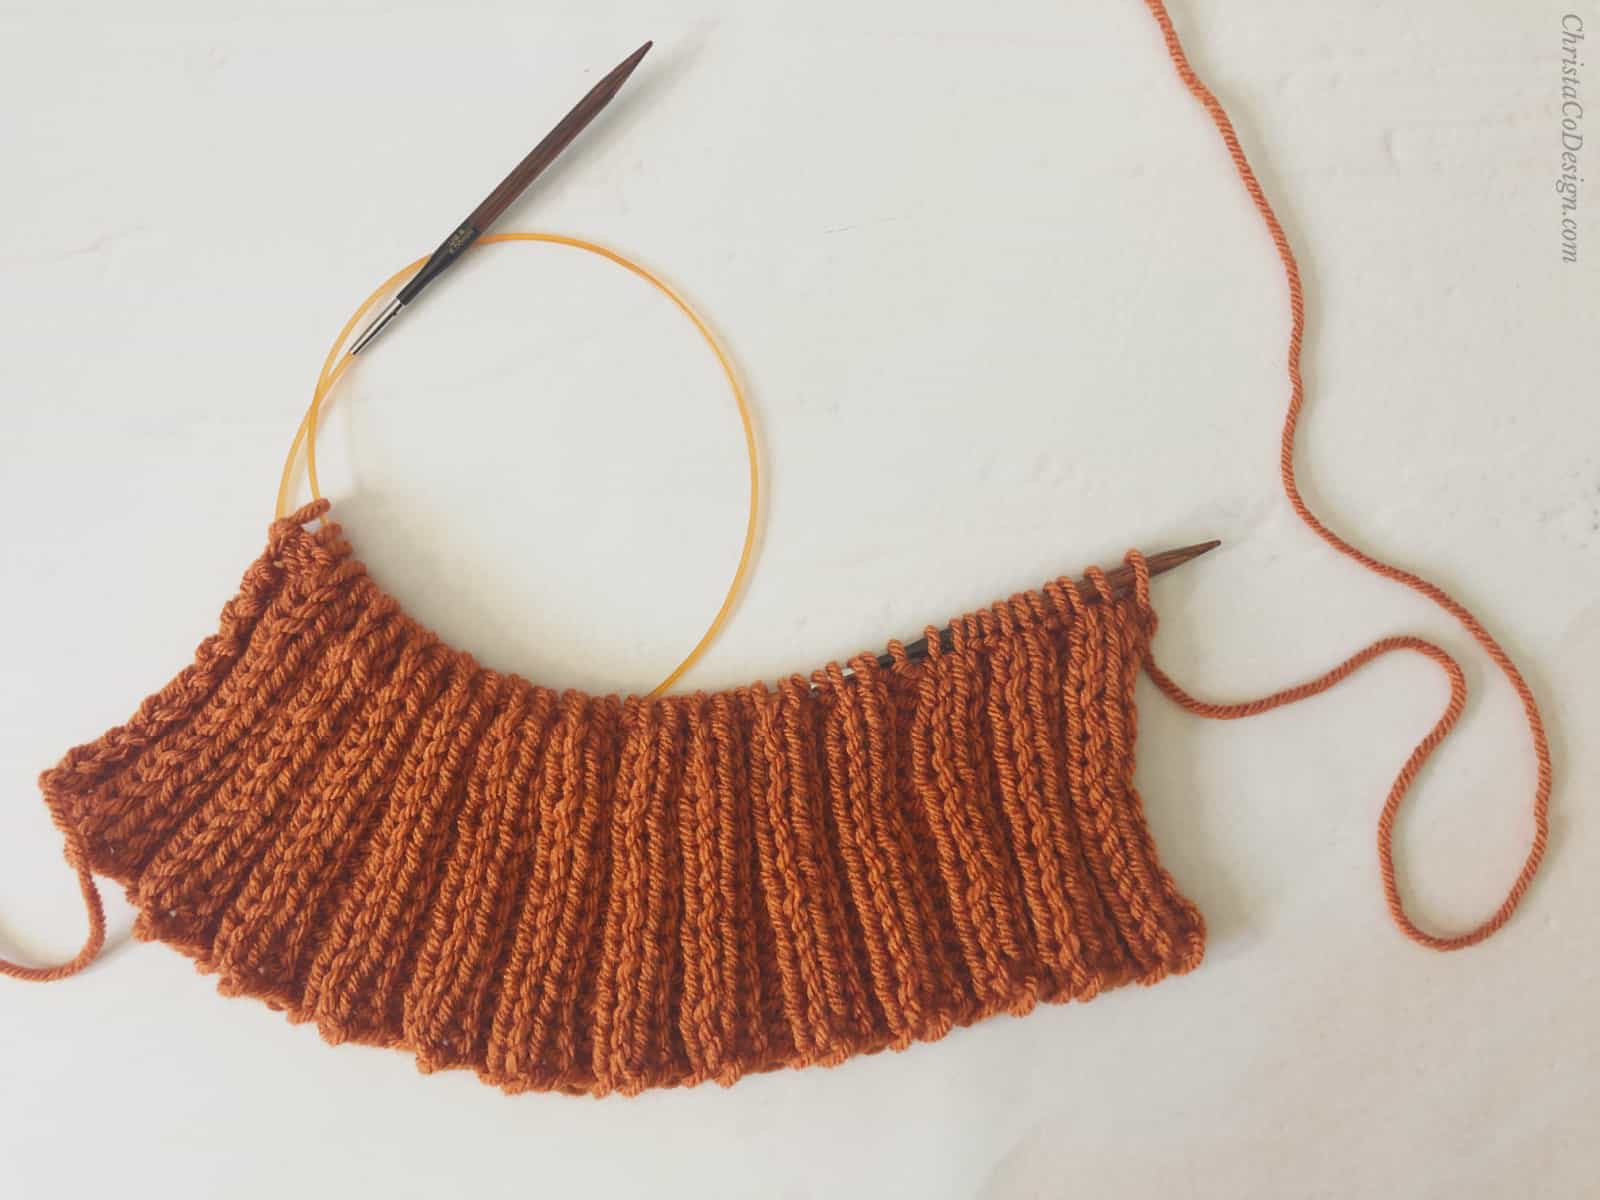
To Knit 2 x 2 Ribbing in the Round
- Cast on a stitch multiple of 4. For example, 16, 24, etc.
- *(K2, P2) rep from * to end of round.
- Rep this round for desired height of ribbing.
Recommended Products
As an Amazon Associate and member of other affiliate programs, I earn from qualifying purchases.


Hi,
I am knitting a beanie for my grandson using 1×1 rib pattern, and have cast on 112 stitches. Are you able to help me on how to cast off to leave a neat finish. I am knitting the beanni on straight needles and plan to sew it up. NB: Multiples of 4.
Your help in this area will be greatly appreciated.
Many thanks
MARY NORTHWOOD
Hi Mary,
What a nice gift for your grandson! If you need a bind off tutorial I have one here https://christacodesign.com/2021/05/17/how-to-bind-off-your-knitting-a-tutorial/ sometimes it’s helpful to use a crochet hook if you can for an easy and neat finish. I also have a tutorial on how to finish a hat here https://christacodesign.com/2021/05/17/how-to-bind-off-your-knitting-a-tutorial/ If you are looking to do some decreases before binding off you can try the decrease pattern for Trento Hat crown here https://christacodesign.com/2021/02/17/trento-knit-hat-an-easy-knitting-pattern/ I hope this helps!
Thanks,
Crystal