
Short Sleeve Crochet Cardigan Pattern For Summer
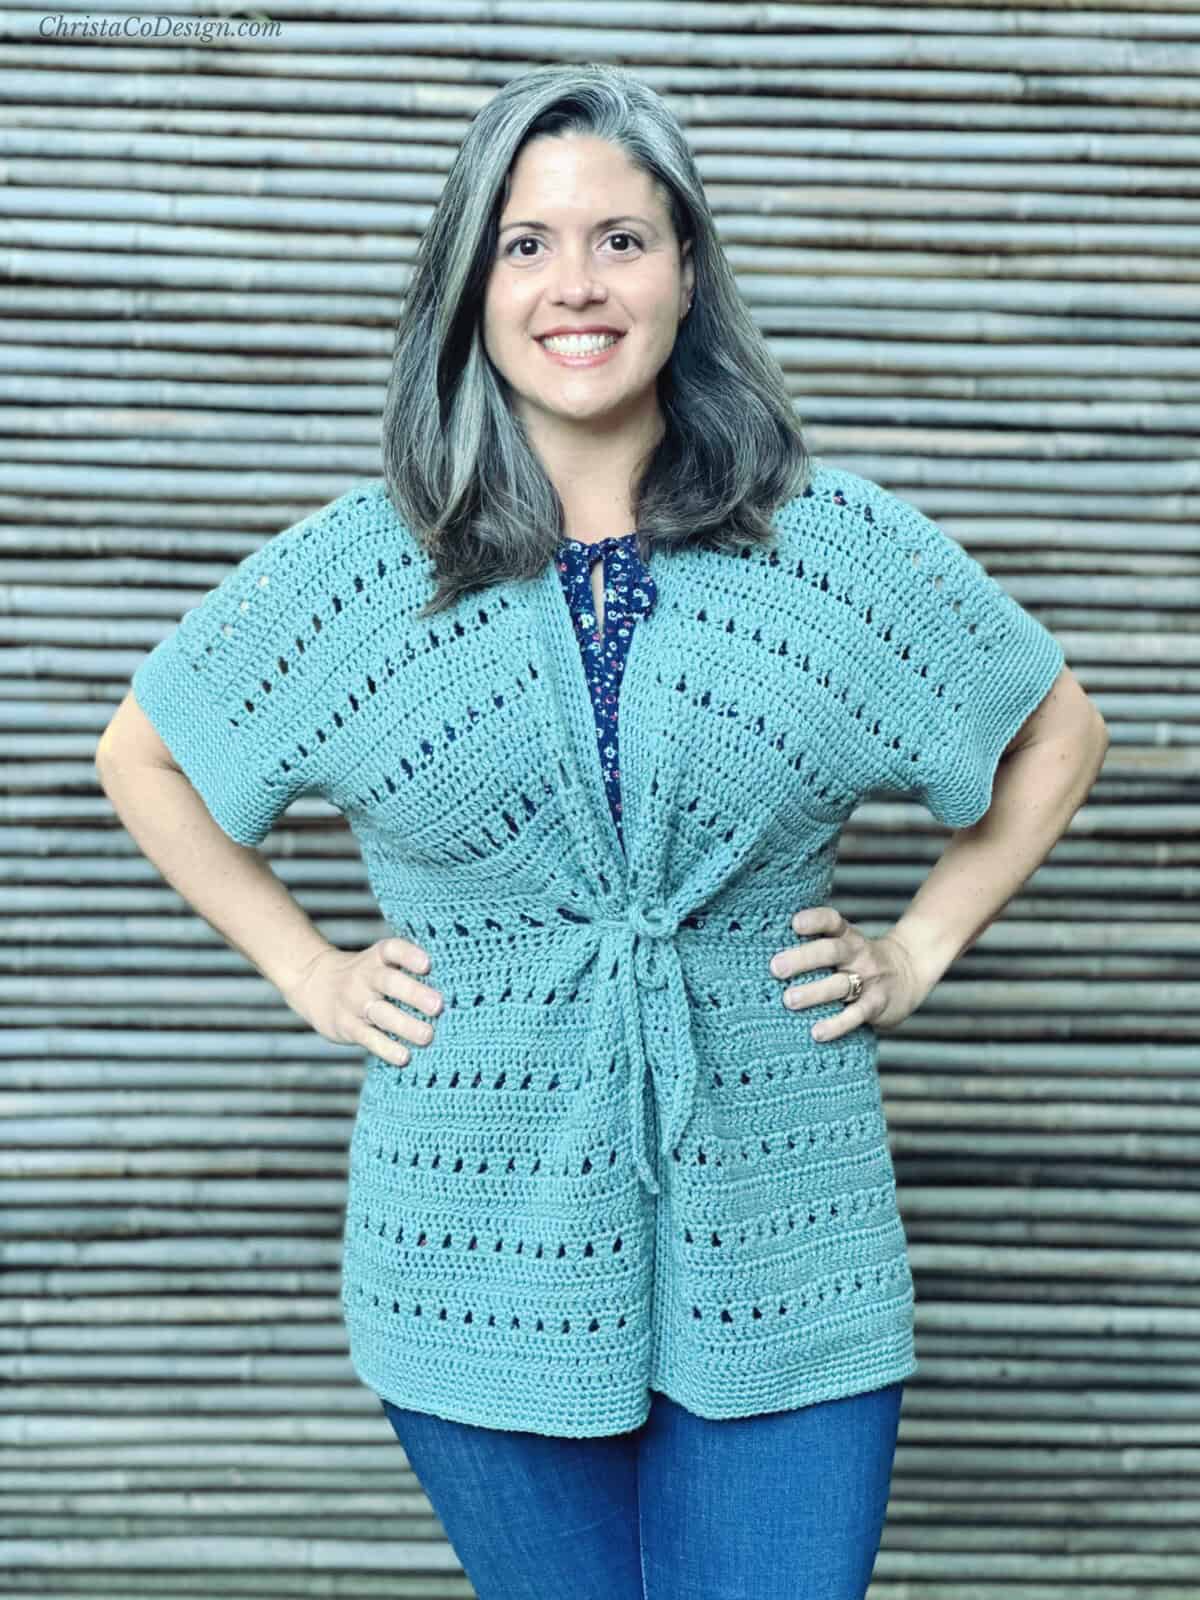
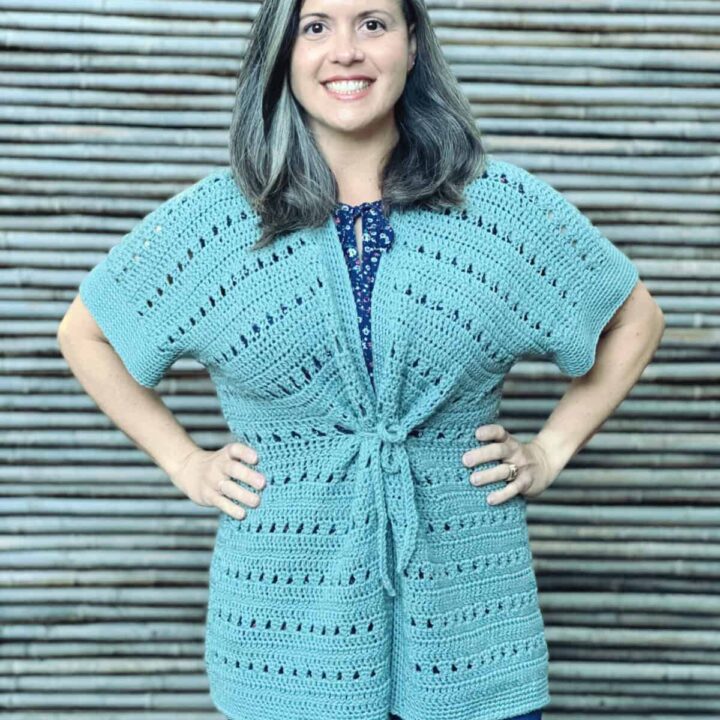
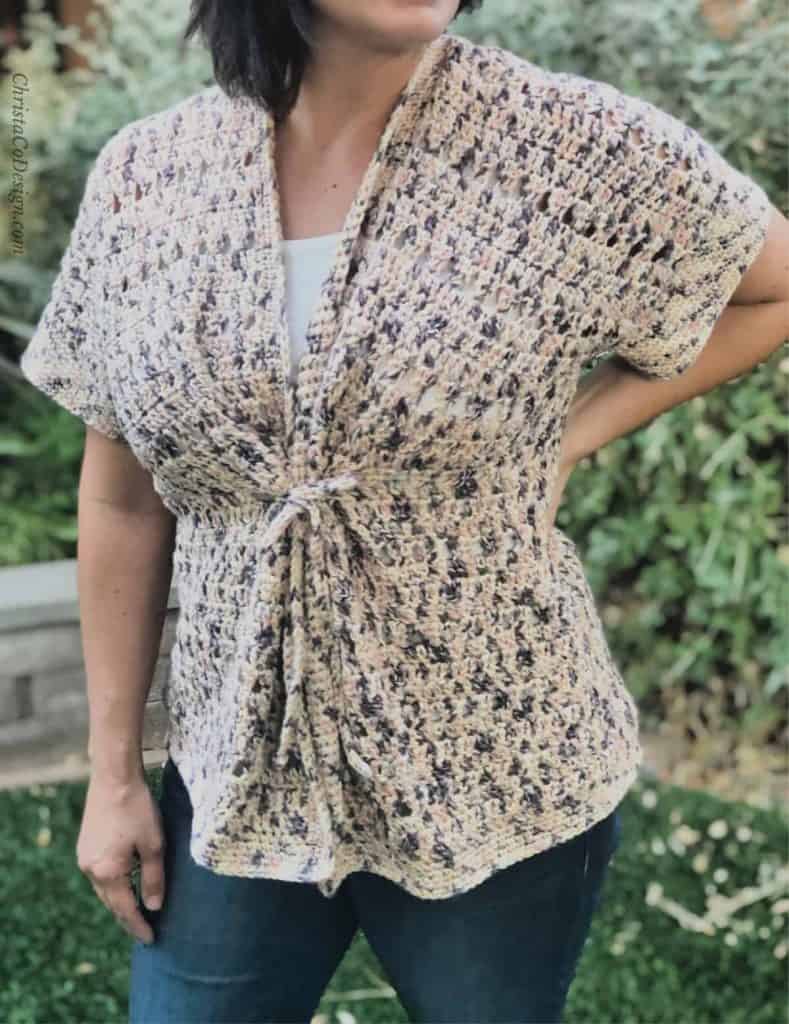
The Summer’s End Cardigan is a short sleeve cardigan that’s the perfect warm weather layering piece. Easily crocheted and adjustable it will be your favorite make this summer.
The short sleeves and hip length make this crochet cardigan the perfect grab and go for those cool mornings that aren’t quite freezing just yet! This one is written for women’s sizes XS – 5X.
This post contains affiliate links, I may earn a fee. Read more disclosure policy.
While we’ll miss those warm days at the pool, autumn brings fun of it’s own. Say goodbye to summer and hello to fall with the Summer’s End Cardigan.
I love fall. The cooler weather, the autumn activities, but most I love all.the.crocheting. But, cool mornings and warm afternoons require layers.
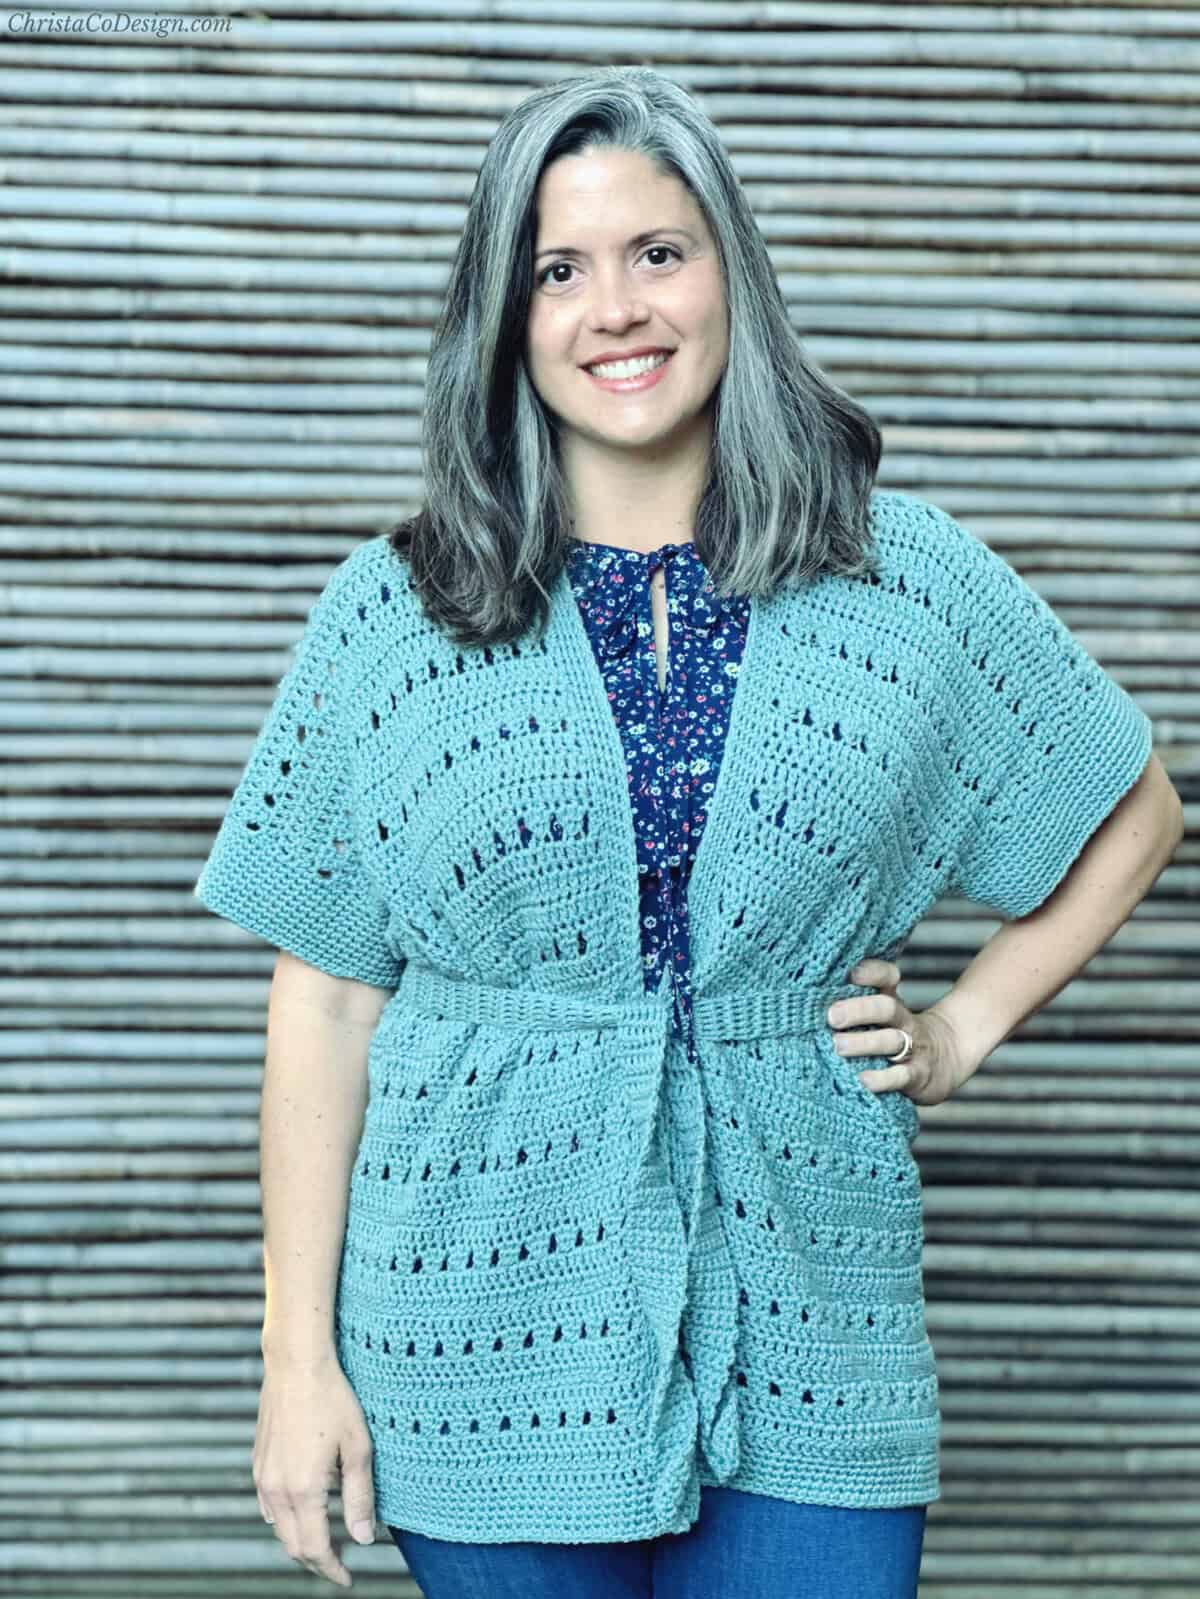
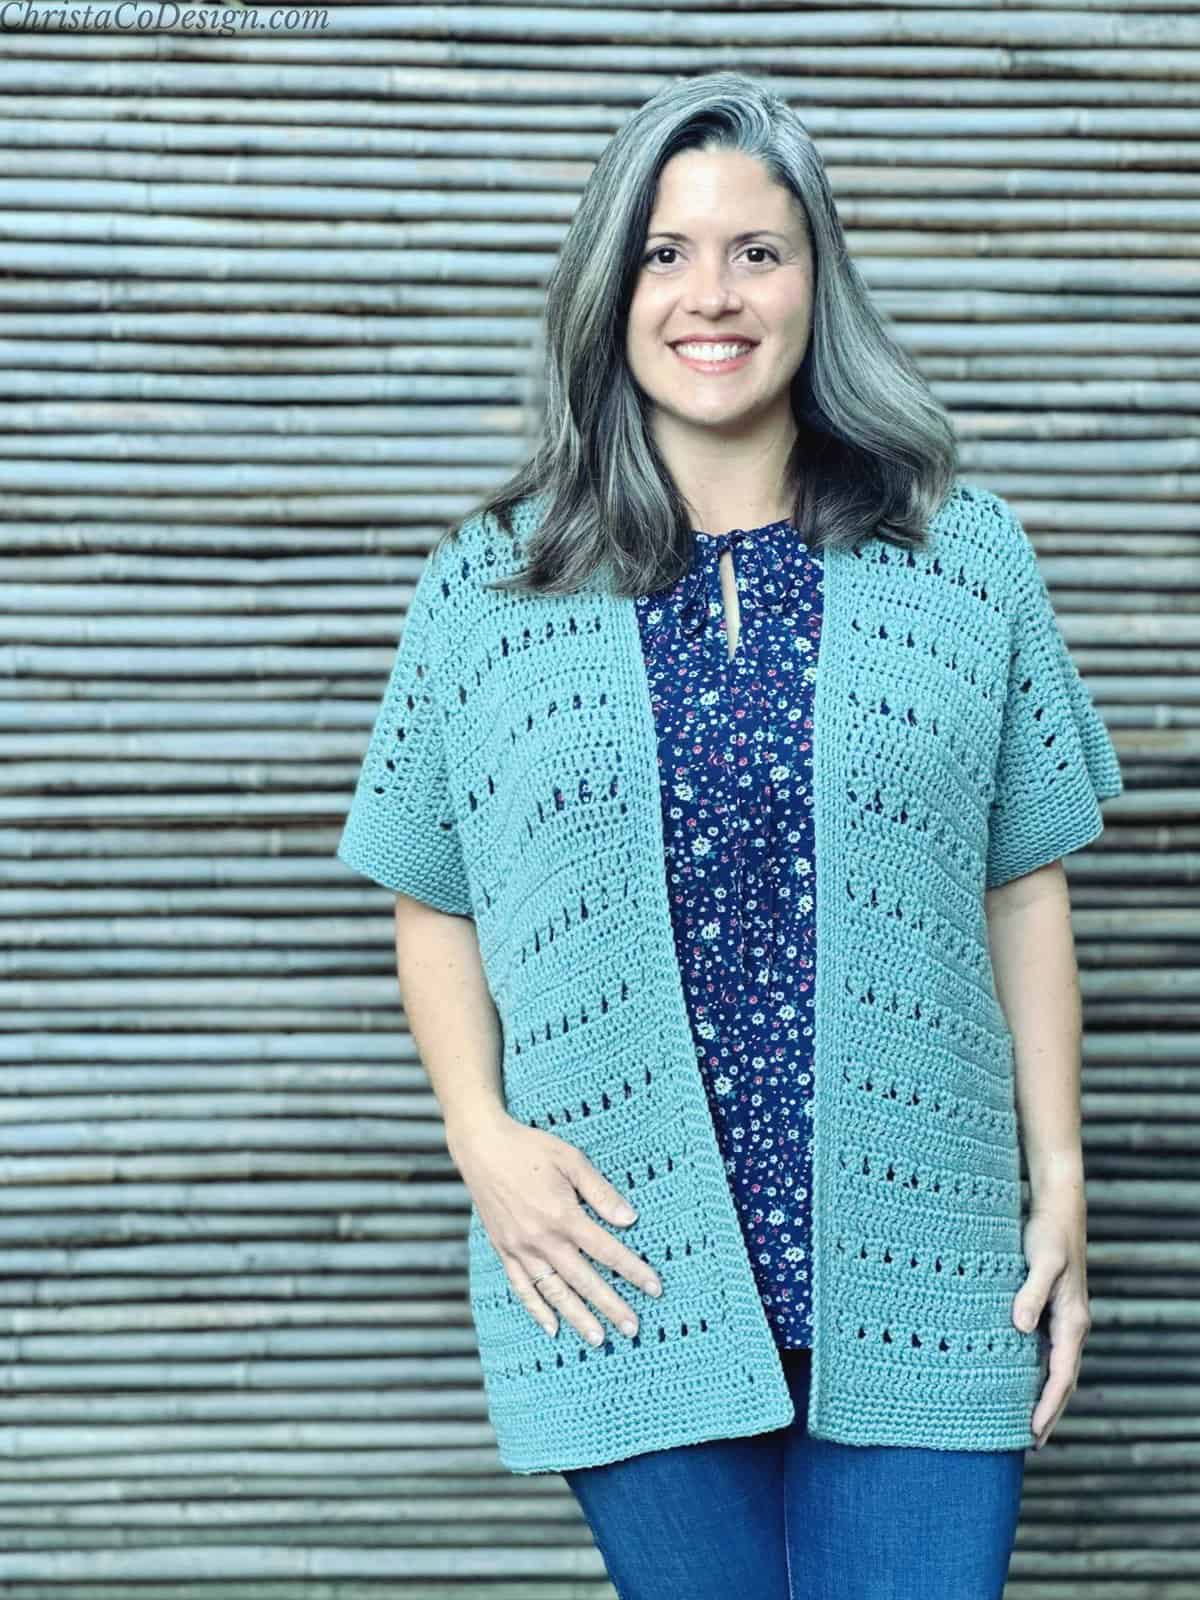
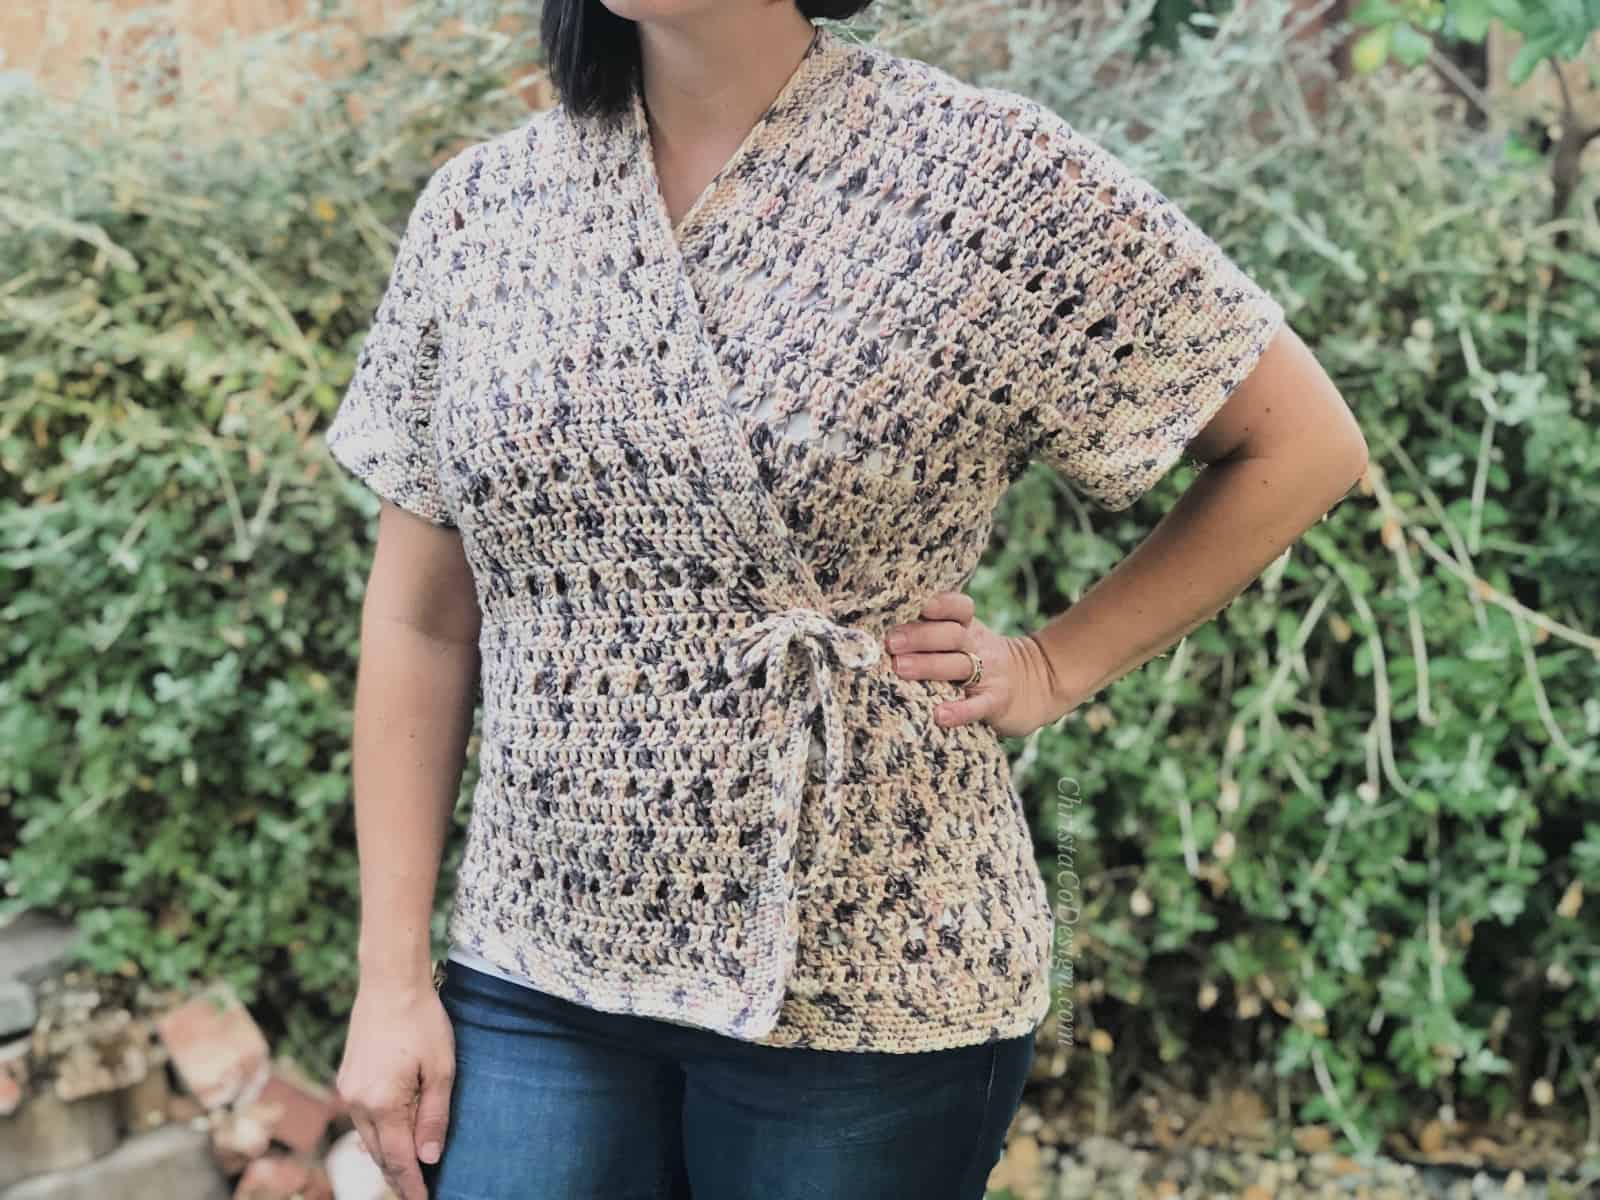
So I wanted a go to short sleeve cardigan that would be easy to wear and easy to layer over a tank top. With three different ways to wear it, it doesn’t get much more flexible than this cardigan.
Purchase the ad-free, well formatted printable PDF Pattern from my shop. Scroll down for the free pattern!
I’m so happy with the lacy look of my new lightweight crochet cardigan, and it’s such an easy pattern! Since the cotton yarn I used for the original sample was discontinued I was able to re-record the video tutorials into one single step by step video tutorial!
Save your favs!
Add this pattern to your Ravelry queue.
Construction
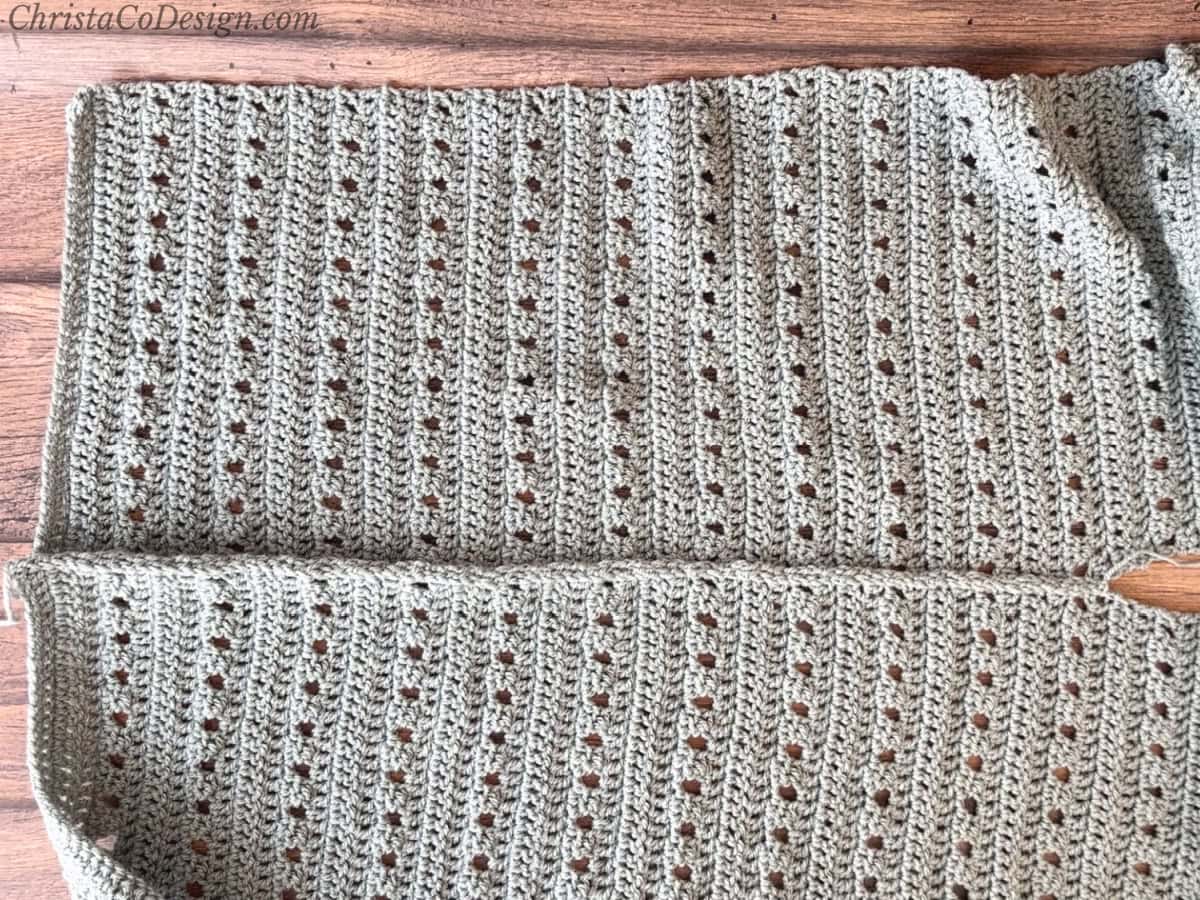
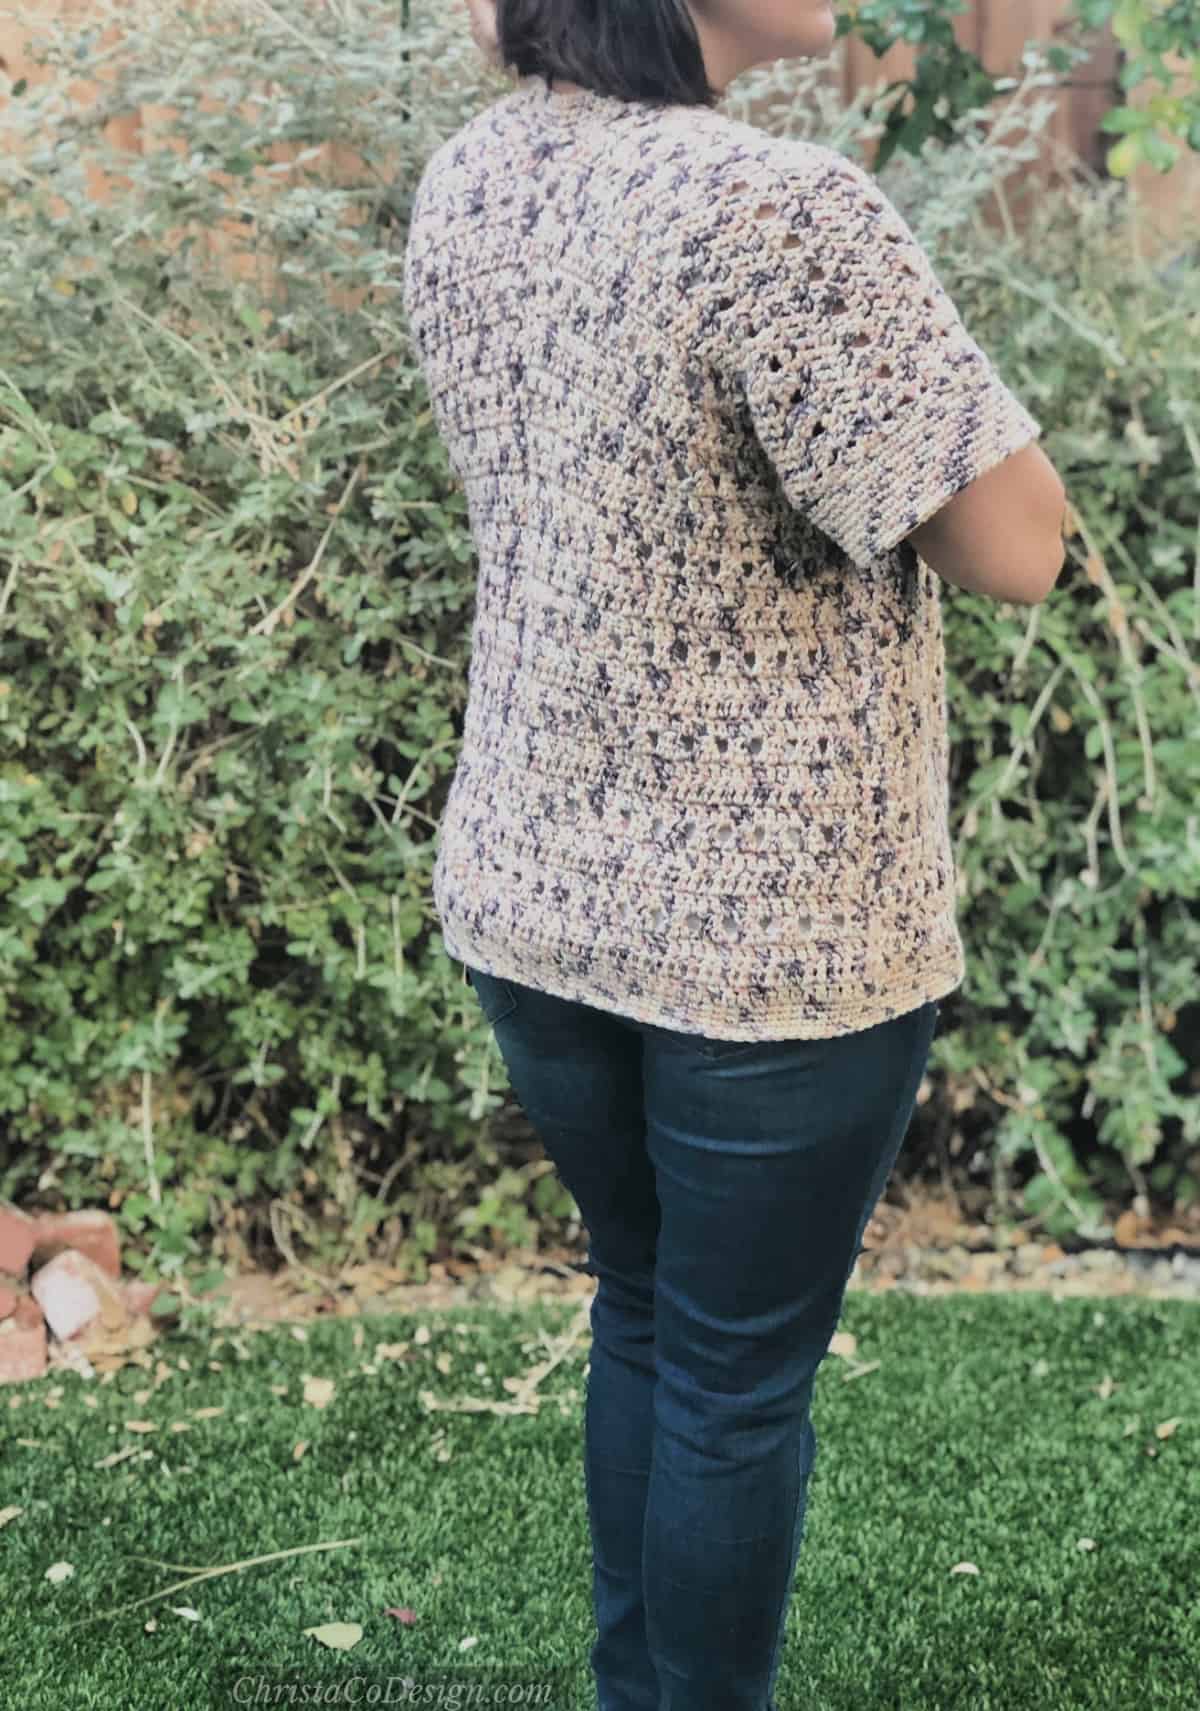
Beginner crocheters will love how this piece is worked in two long rectangles. Then it’s seamed together to form the back panel.
Once you learn seaming (thank you YouTube for so many great videos), you really open up what you can do with your crochet. Seaming a sweater is not unlike seam squares of a blanket. I dare say it’s easy, as there are fewer seams.
After seaming the back and sides then you add the sleeve edging and hem edging. The bottom hem, lapel and neckline are all crocheted in one long round.
Adding the hem at this point allows you to add a few extra inches. But if you prefer a longer cardigan I’ve added a few notes on that as well. Or you can get the, sister pattern the Midsummer Cardigan which has long sleeves and is also a free crochet pattern.
Materials
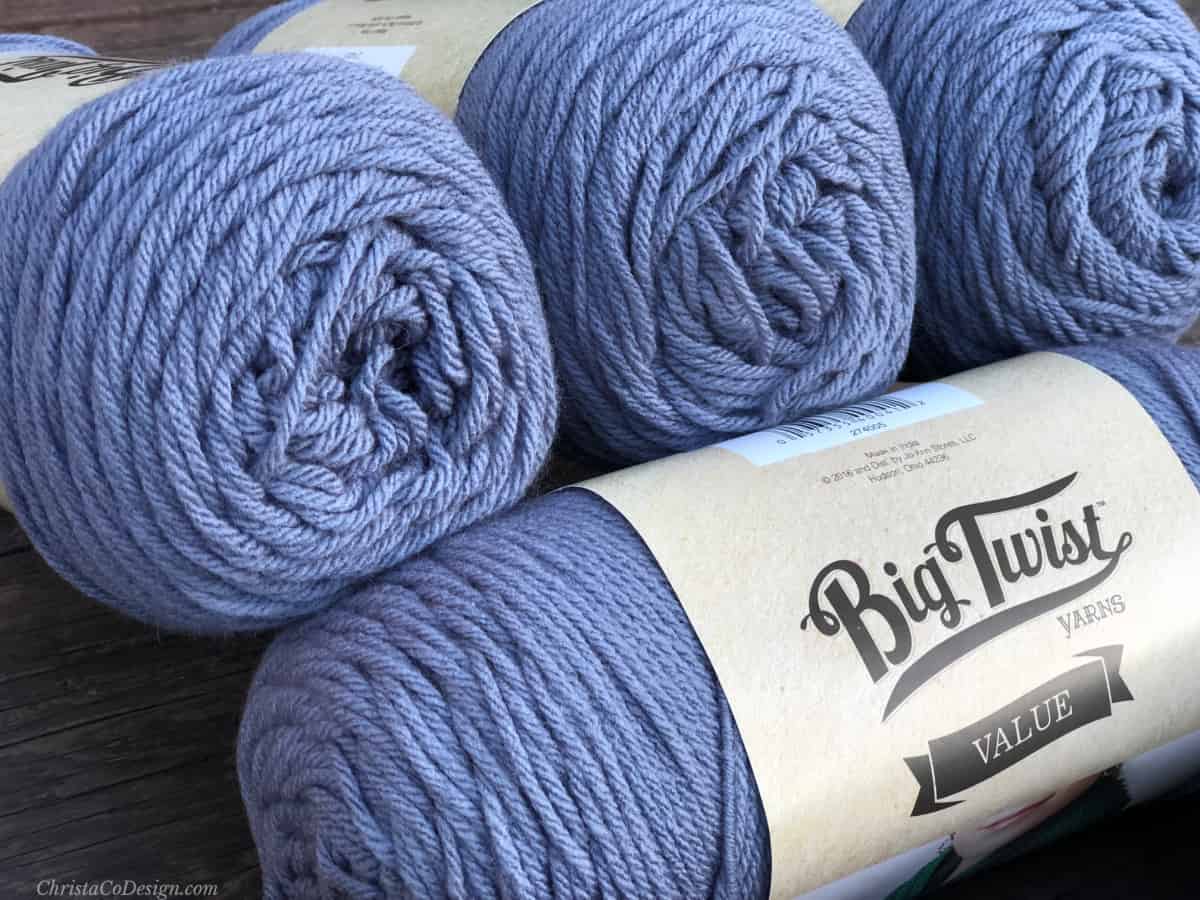
- WeCrochet’s Brava Recycle* a #3 DK weight yarn (100% recycled acrylic, 306 yd (280 m) per 100 g skein) in shade Lily Flower — 3 [3, 4, 4, 5, 6, 6, 7, 8] skeins.
- 5 mm (US Size H-8) crochet hook, or size needed to meet gauge.
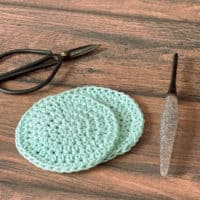
- Yarn needle, Measuring tape, Scissors, Stitch marker(s).
- The original version of this pattern was made in Lion Brand’s Flikka* but this yarn has since been discontinued.
Yarn By Size
XS – 900 yd (823 m)
S – 1000 yd (915 m)
M – 1100 yd (1006 m)
L – 1300 yd (1189 m)
XL – 1500 yd (1372 m)
2X – 1700 (1555 m)
3X – 1900 yd (1738 m)
4X – 2100 (1920 m)
5X – 2300 (2103 m)
Notes
- Please read through the pattern and complete a gauge swatch before you begin.
- Ch 3 counts as a stitch, I highly recommend using a ch 3 alternative, this is my favorite.
- The stitch multiple is 3 plus 4 if chaining for the foundation row, or 3 plus 2 if using fdc.
- Pattern is written as XS [S, M, L, XL, 2X, 3X, 4X, 5X]
Stitches/Abbreviations
US Terms
ch – chain
dc – double crochet
dc3tog – double crochet 3 together—cluster stitch tutorial here.
fdc – foundation double crochet
rnd – round
rs – right side
ws – wrong side
Gauge
7 dc x 4 rows (after blocking) to 2” (5 cm) measured in pattern—3 dc rows + 1 dc3tog row.
Swatch
Row 1. Fdc 14 or ch 16, dc in 4th ch from hook and in each ch across, turn.
Row 2. Ch 3, dc in each st across, turn.
Row 3. Rep last row again.
Row 4. Ch 4 (counts as a dc + ch 1), in next 3 sts dc3tog, *{ch 2, in next 3 sts dc3tog} rep from * across, ch 1, dc in last st (3rd ch).
Rep row 2 three times and then rep row 4 again.
Measure gauge and adjust hook size if needed.
Skill Level
Easy
Fit / Adjustments
This pattern has a suggested 7” / (18 cm – 10” (25.5 cm) of positive ease. This means the finished cardigan is larger than the actual bust circumference for an oversized or relaxed fit. To adjust width, increase or decrease the stitch count in multiples of 3.
The length is intended to be hip length, but can be easily adjusted by working more or less of the 4 row repeat. To customize the length of this cardigan measure from your shoulder down to where you’d like the hem to hit on you. Multiply this number by 2. This is the desired length of your panels. If you are adding rows to get extra length be sure to end after 3 dc rows.
Keep in mind adjustments will effect the amount of yarn you need.
Sizing
To fit bust size
ChristaCoDesign patterns use CYC Sizing.
Size – bust circumferences
XS – 30” (76 cm)
S – 34” (86.5 cm)
M – 38” (96.5 cm)
L – 42” (106.5 cm)
XL – 46” (117 cm)
2X – 50” (127 cm)
3X – 54″ (137 cm)
4X – 58” (147.5 cm)
5X – 62” (157.5 cm)
Finished bust size
*These measurements do not include the sc edging rounds.
- (XS) 40″ (101.5 cm)
- (S) 43.5″ (110.5 cm)
- (M) 46.75″ (118.5 cm)
- (L) 50.25″ (127.5 cm)
- (XL) 53.75″ (136.5 cm)
- (2X) 57.25″ (145.5 cm)
- (3X) 64″ (162.5 cm)
- (4X) 67.5″ (171.5 cm)
- (5X) 70.75″ (179.5 cm)
Cardigan Length
- (XS) 20.5″ (52 cm)
- (S) 23″ (58.5 cm)
- (M) 24″ (61 cm)
- (L) 25″ (63.5 cm)
- (XL) 26″ (66 cm)
- (2X) 27″ (68.5 cm)
- (3X) 28″ (71 cm)
- (4X) 29″ (73.5 cm)
- (5X) 30″ (76 cm)
Video
Watch the video tutorial on my YouTube Channel.
Pin It
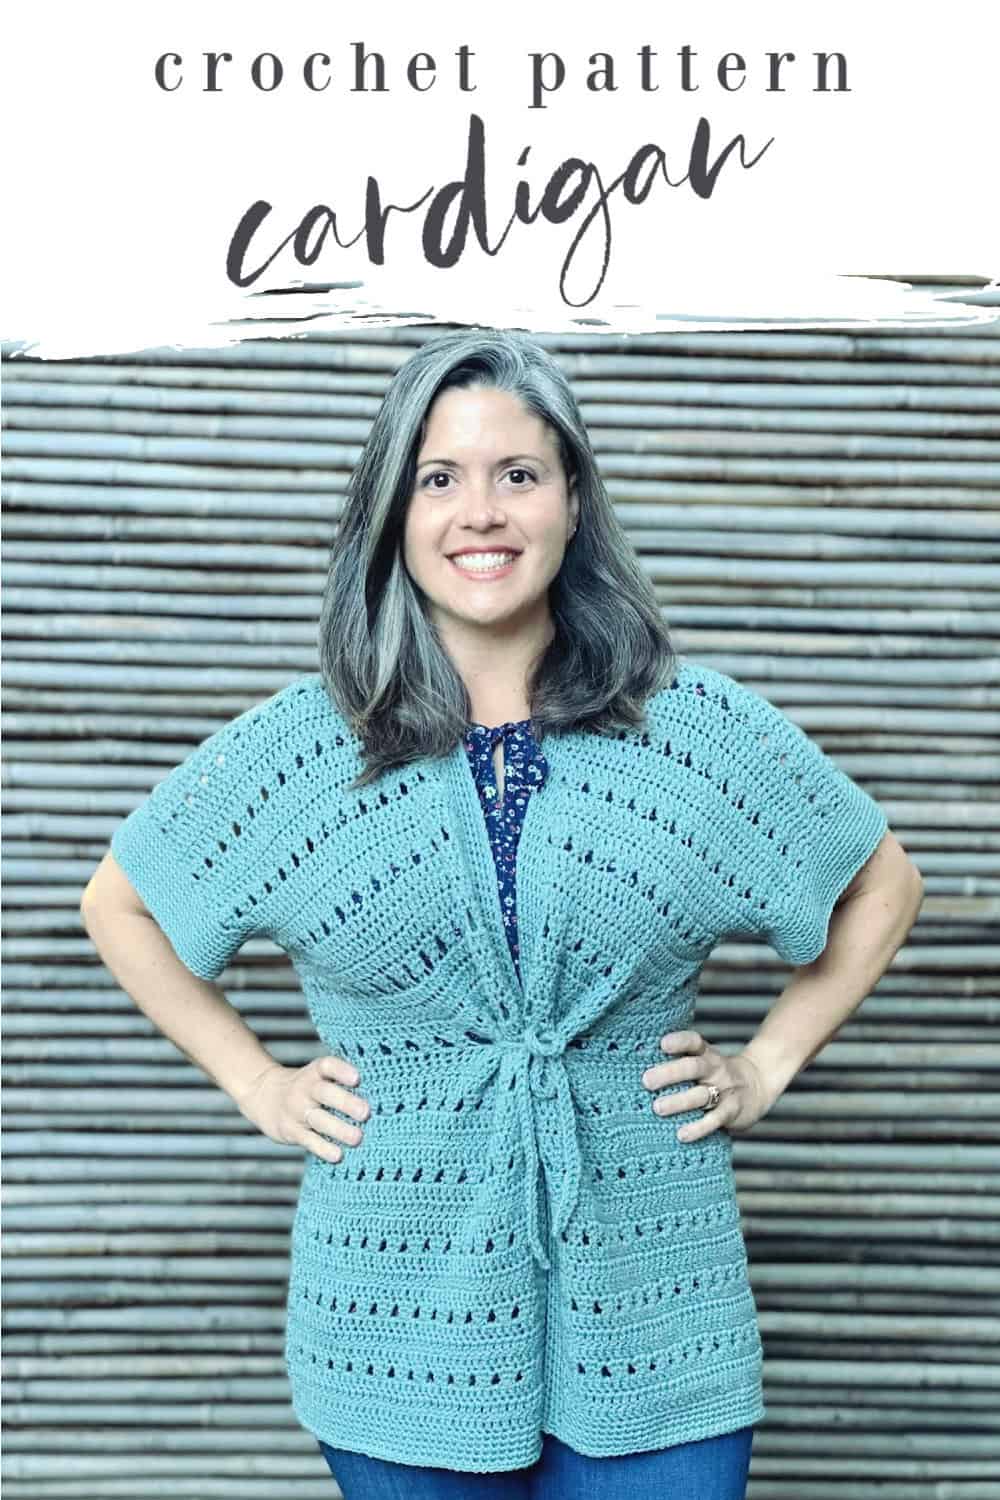
Scroll down for the short sleeve summer cardigan pattern in sizes XS-5X!
Purchase the ad-free, well formatted printable PDF Pattern from my shop. Scroll down for the free pattern!
Pattern Instructions
Short Sleeve Cardigan Crochet Pattern
A short sleeve cardigan in sizes XS – 5X!
Materials
- WeCrochet’s Brava Recycle a #3 DK weight yarn (100% recycled acrylic, 306 yd (280 m) per 100 g skein) in shade Lily Flower — 3 [3, 4, 4, 5, 6, 6, 7, 8] skeins.
Tools
- 5 mm (US Size H-8) crochet hook, or size needed to meet gauge.
- Yarn needle, Measuring tape, Scissors, Stitch marker(s).
Instructions
Panels
Make 2
Row 1. (ws) Fdc 35 [38, 41, 44, 47, 50, 56, 59, 62] or Ch 37 [40, 43, 46, 49, 52, 58, 61, 64] and dc in 4th ch from hook (2 dcs formed) and in each ch across, turn. (35, 38, 41, 44, 47, 50, 56, 59, 62 sts)
Row 2. Ch 3, dc in next dc and in each dc across, turn.
Row 3. Rep last row.
**
Row 4. (rs) Ch 4 (counts as dc + ch 1), in next 3 sts dc3tog, *{ch 2, dc3tog} rep from * across until last st, ch 1, dc into last st (3rd ch), turn. (35, 38, 41, 44, 47, 50, 56, 59, 62 sts)
Row 5. Ch 3, dc in each ch sp (placing 2 dc in each ch 2 sp) and st across, the last 2 dcs will go in the 4th and 3rd ch, turn.
Row 6. Ch 3, dc in next dc and in each dc across, turn.
Row 7. Rep last row.
**
Rep Rows 4 – 7: 21 [22, 23, 24, 25, 26, 27, 28, 29] more times or until panel length = 44 [46, 48, 50, 52, 54, 56, 58, 60]” long and 22 [23, 24, 25, 26, 27, 28, 29, 30]” folded.
Cut yarn and weave in ends. 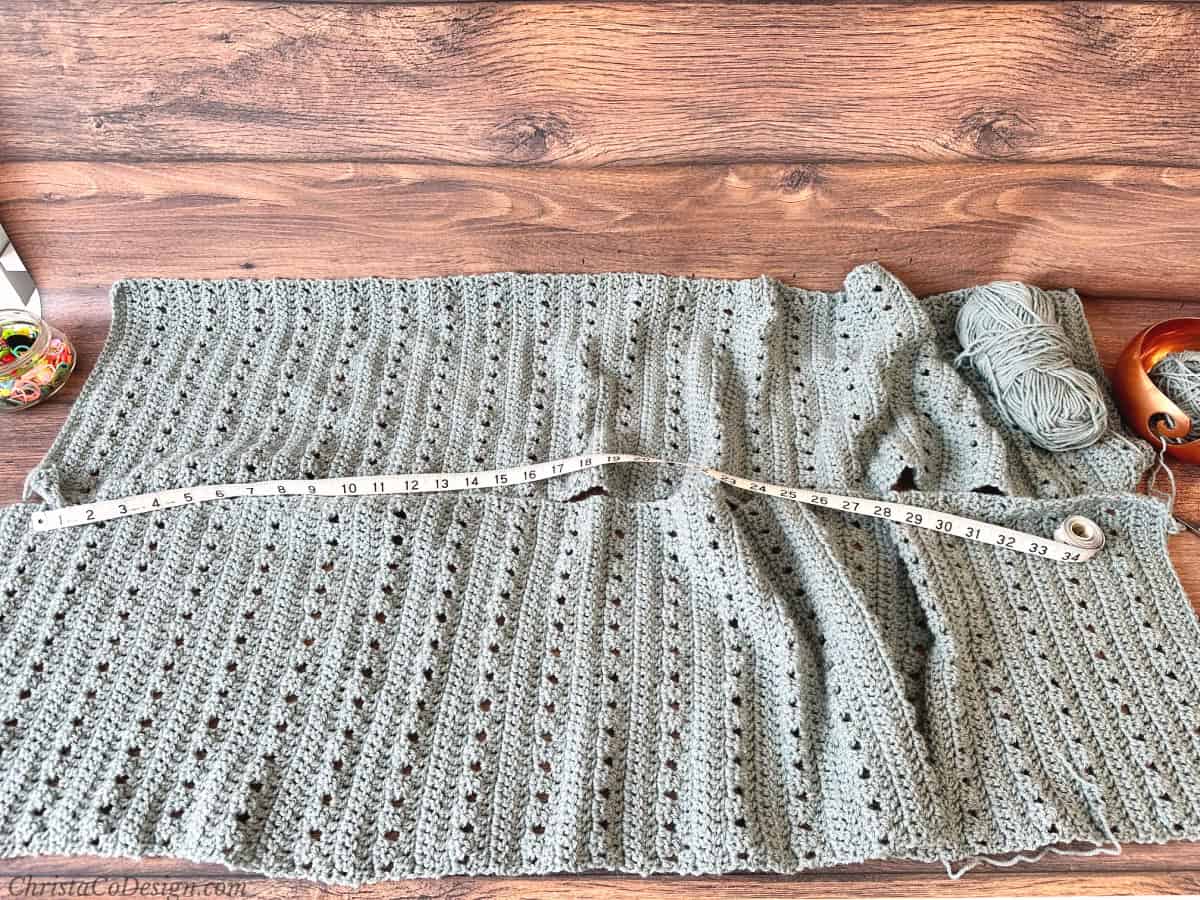
Assembly
Seam the back
Since the panels are seamed to form the back and then folded over the shoulder to form the front panels this will result in one side (your front or back) being “upside down.” If you have a preference on which you see in the front then orient them that way. Just be sure both panels are facing the same way (ie. both row 1 on the bottom) before seaming them together.
I chose a visible decorative seam for the back so I worked on the rs, (if you do not want your seam to stand out work on the ws when seaming).
Sew
Lay the two panels side by side, with the ws facing down.
Join yarn with a sl st to the bottom of row 1.
Sl st through both panel edges, matching row for row.
Seam up the back for 20 [21, 22, 23, 24, 25, 26, 27, 28]”. *If you prefer an unseen, flat seam then sew on the ws using a mattress/whip stitch.
Seam the sides
Fold over the front panels, line up the bottoms so they’re even-notice the back is not sewn all the way up to the top of the shoulder.
Sew front panel sides up until 6.5” (7, 7.5, 8, 8.5, 9, 9.5, 10, 10.5) inches are left to the fold of the shoulder.
Rep on other side.
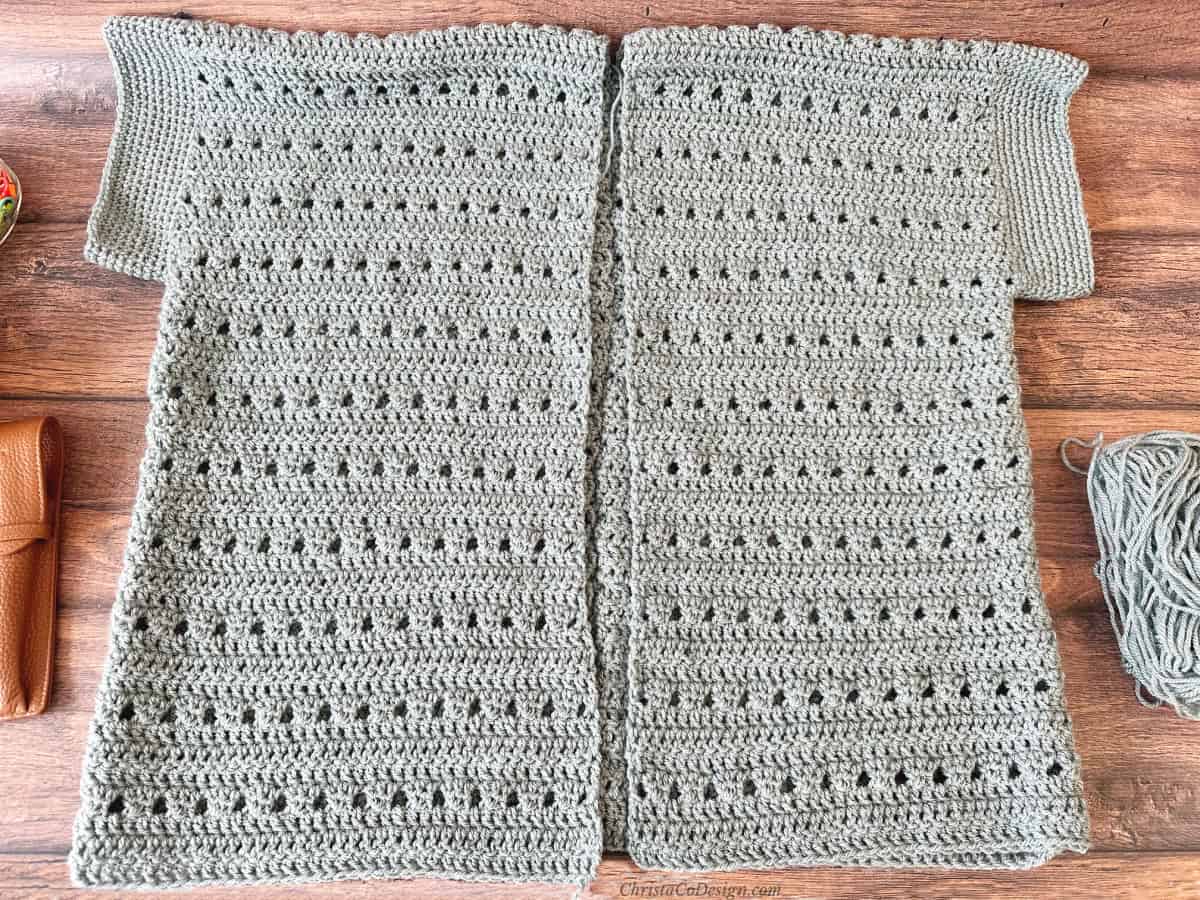
Sleeves
Join yarn with a sl st to the underside of armhole.
Rnd 1. Ch 1, sc in the same place, continue to place sc evenly around the armhole, join with sl st to the first sc.
Rnd 2. Ch 1, sc in the same st and in each sc around, join with sl st to the first sc.
Rnds 3 – 10. Rep round 2 until sleeve = 2.25” or to desired length.
Cut yarn and weave in ends.
Rep for other sleeve.
Edging
The bottom hem and lapel are worked all together in rounds.
Position cardigan in front of you, upside down.
Join yarn with sl st to bottom left panel from you.
You’ll work to the left, in the round around the bottom hem, then come up the right front panel, around the back of neck and down the left front panel, joining again at the bottom corner of the left front panel and continuing to repeat.
Rnd 1. Ch 1, sc in the same and in each st around, at the corners place (sc, ch1, sc) all in the same st and continue to sc evenly around the hem, up the inside lapel, back down, joining to the first sc with a sl st.
Rnd 2. Ch 1, sc in same st and in each sc around, placing (sc, ch 1, sc) all in the ch 1 sp at the corners.
Rnds 3 – 5. Rep rnd 2.
Cut yarn and weave in ends.
Belt (optional)
If you’d like a thin belt then do a foundation single crochet to your desired length-long enough to wrap around your waist with extra to tie a bow. I like this option because it’s thin and stretchy. Pictured on page 1, on bottom right the thin tie is 24” long, used only for cinching the front.
Belt Pattern 1.5” wide
Row 1. Ch 7, sc in the 2nd chain from your hook and across, turn. (6 sts)
Row 2. Ch 1, sc in the same and in each sc across, turn. (6 sts)
Row 3. Rep Row 2 until the desired length is reached. Cut yarn and weave in ends.
Tie belt around, or thread through spaces made with dc3tog which can double as a belt loop.
Recommended Products
As an Amazon Associate and member of other affiliate programs, I earn from qualifying purchases.
A few pictures of the cardigan in Flikka yarn.


Simple but beautiful……I love it. Will definitely be making this one!
My favorite kinds of patterns ? I hope you enjoy it!
Love it! Maybe I’ll finally break out and make a clothing item!
Could not find how to enter sweepstakes for yarn and needles giveaway
If possible please enter me..
Hi Beverly, at the bottom of the giveaway post there is a rafflecopter widget, click on that and it will take you through the steps. I hope this helps!
You totally should! You can do it!
This looks so pretty and light to wear. I hope to make this for myself when the weather gets warmer.
This looks so easy I love it
LIke this. Added to my list of projects to make.
Thank you, I hope you enjoy it!
I love this jacket, would Lion Brand Comfy Cotton work for this?
Definitely! Several of my testers used Comfy Cotton for this one and it worked up beautifully!
Did you block the panels before you seamed them
Yes, it’s easier to block them before!
Thank you
Love this pattern it is so easy. Your video was fabulous and easy to understand. Love the alternate chain 3 stitch for the double crochet.
Makes my project look so, much nicer.
Thanks Dana, so glad to hear it!
Your links on your blog post take me to a Knit sweater on Ravely not to your cardigan sweater pattern.
Hi Jackie,
Thanks so much for taking a minute to let me know. I’ve updated them, but here is the corrected Ravelry link https://www.ravelry.com/patterns/library/summers-end-cardigan
Have a great day!
Crystal