
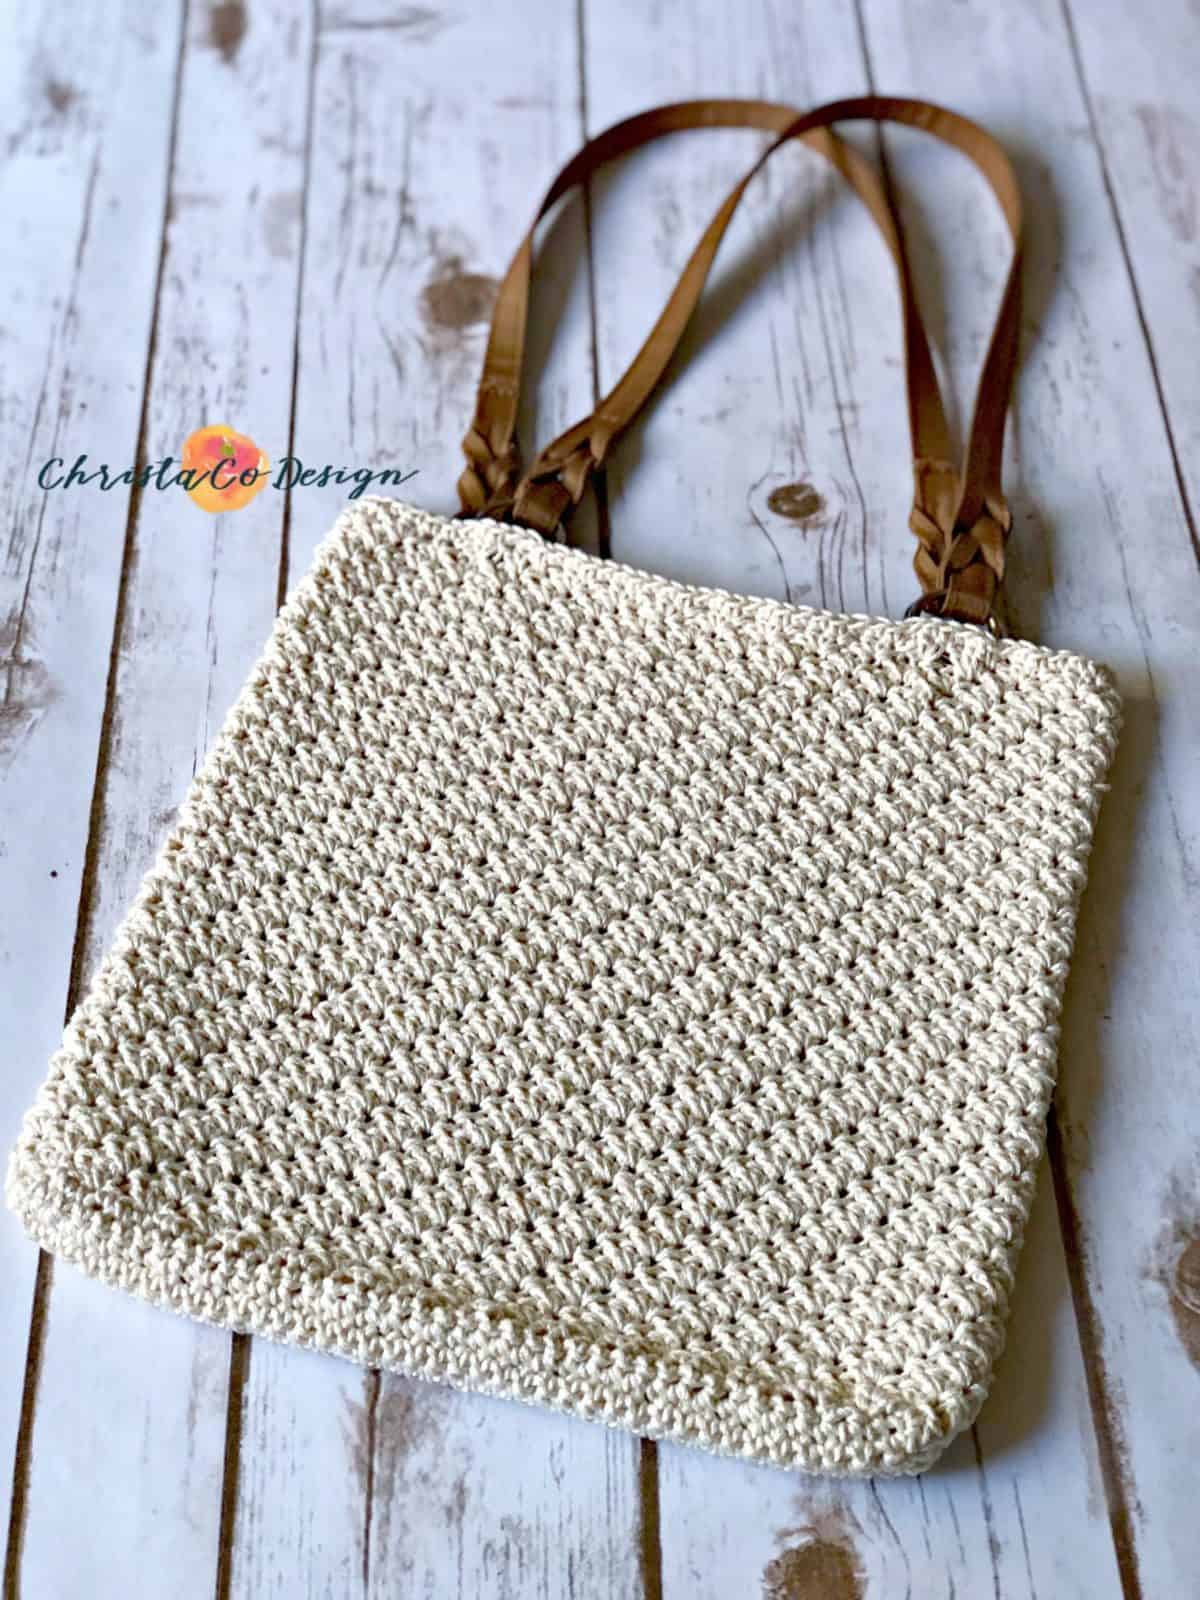
Tivoli Crochet Purse a Free Pattern
The Tivoli Crochet Purse Pattern is a solid crochet bag that works for your everyday items. The lovely and sturdy sedge stitch provides a nice solid crochet fabric for this purse. The free crochet purse pattern includes tutorial for adding straps.
When I came across this beautiful sedge stitch I knew it would make a sturdy crochet purse. While it is highly likely I will stuff my new bag with more yarn, I wanted a purse that would hold a wallet and my notebook. Yeah I could fill it with all sorts of mom necessities, but sometimes I just want a small bag with the essentials!
This post contains affiliate links, I may earn a fee. Read more disclosure policy.
The Tivoli Crochet Purse includes tutorial for the straps. Plus there are multiple strap options so you can crochet it your way. Once your crochet purse is complete, add the lining with this step by step tutorial.
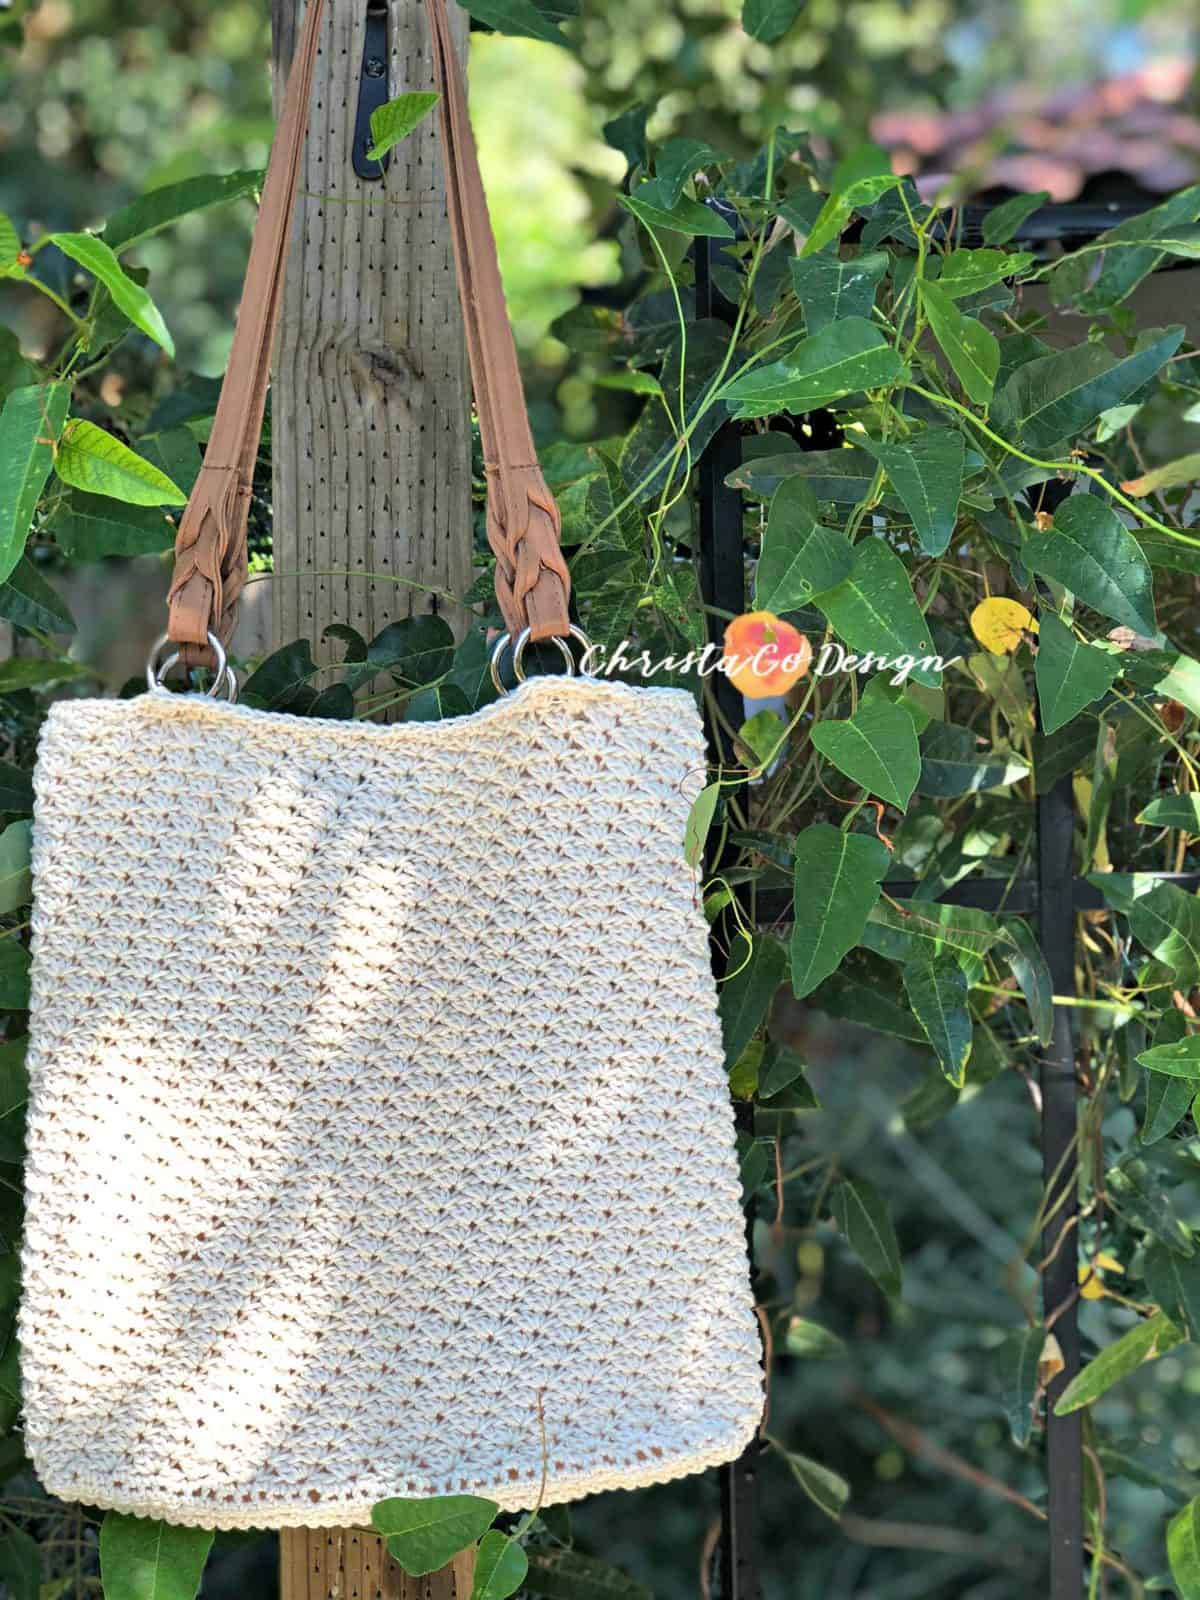
I love how the sedge stitch worked up in the round. It’s always neat to see the differences in stitches when worked in flat rows vs. rounds. Since the sedge stitch is three stitches in one, it really does make a difference.
If you’ve never crocheted the sedge stitch it is simple to learn and simple to repeat. Once you get going you don’t have to do a bunch of counting or hunting where to place your hook. You can watch a short video here on how to crochet the sedge stitch.

Materials:
319 yds/292 m 6oz/171g of #4 worsted weight yarn, I used 2 balls of Lion Brand 24/7 cotton yarn in Ecru*
Purse Straps, I got mine from Joann
Stitch Markers*, I love my turquoise and silver markers from Miller Country Crafted*.
Yarn needle* and scissors
Gauge:
2″x 2″ = 7 sc x 6 rows
Notes:
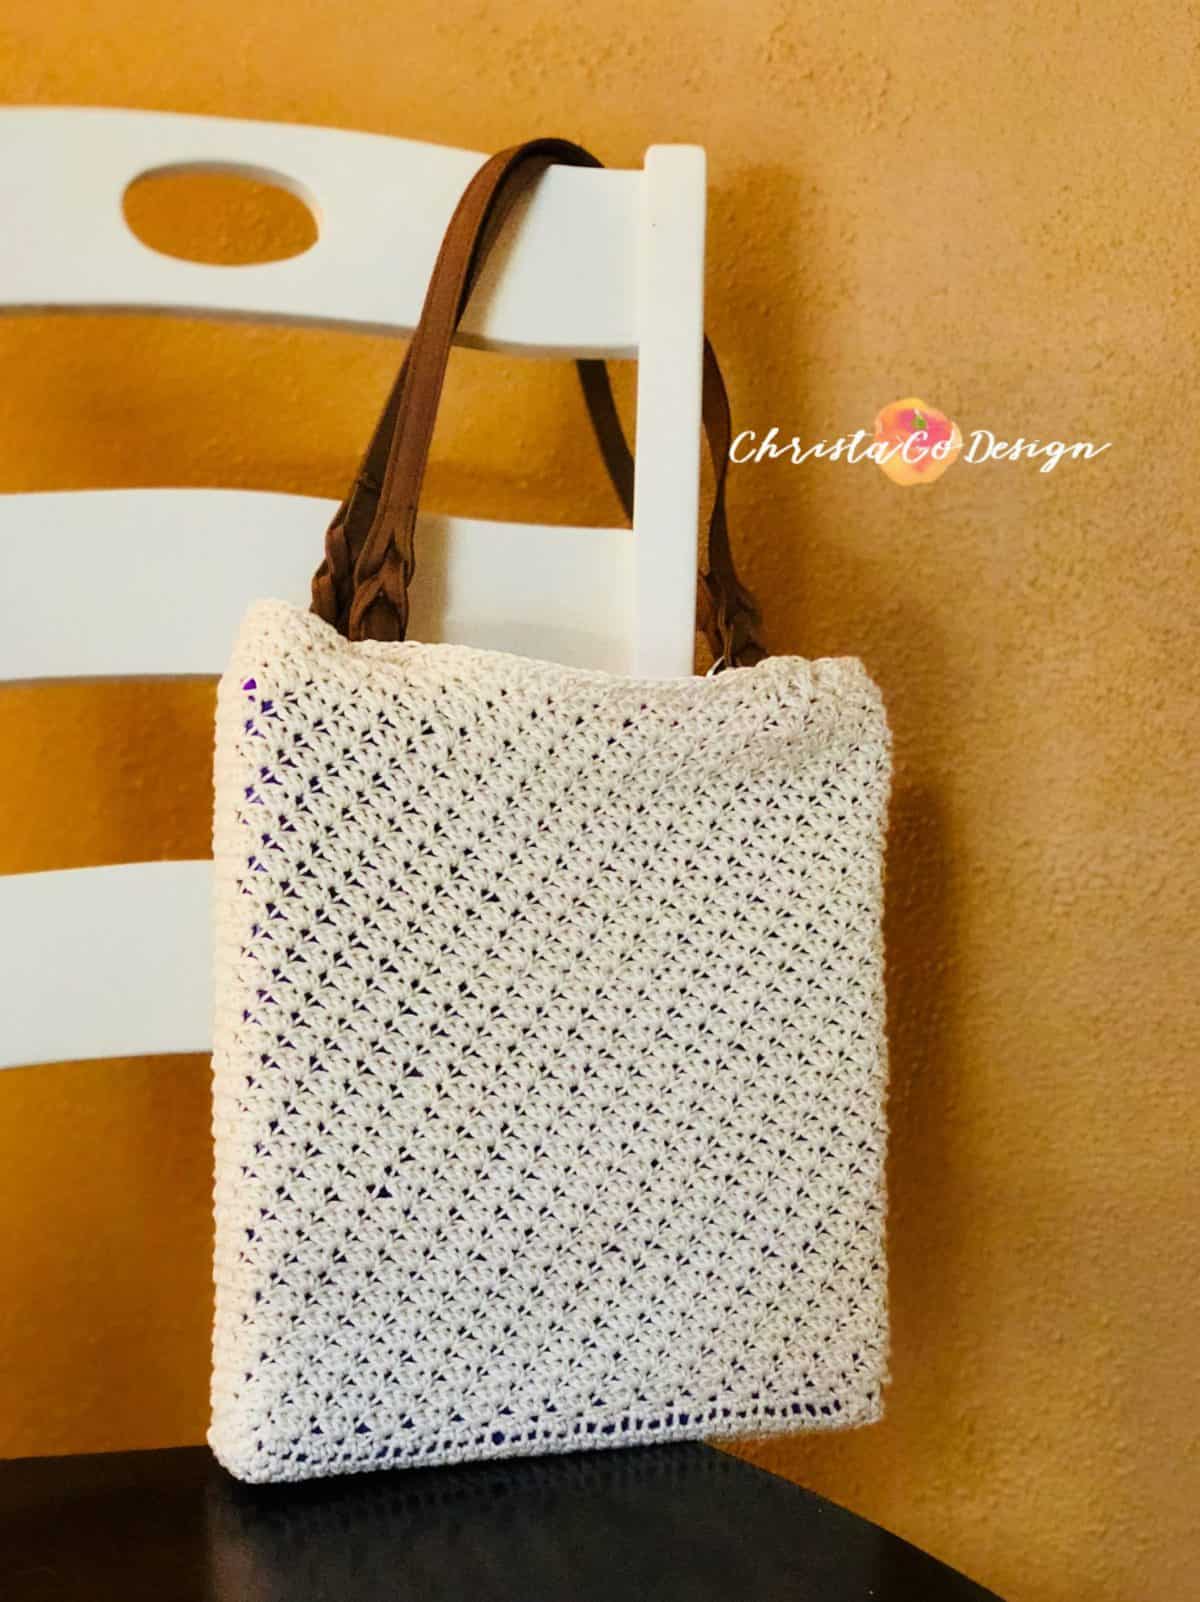
Finished bag (unblocked) measures about 12”x 11”
Ch 1 doesn’t count as a stitch.
Mark first st of each round.
First you will work a rectangle of back and forth rows which forms the bottom of the bag. Then you will crochet around the outside of your rectangle and begin crocheting in the round to form the rest of the bag.
Sedge Stitch– {sc, hdc, dc all in the same sc}
Get the affordable & ad-free version of this pattern on my Etsy or Ravelry!
Stitches:
Stitch multiple is 3.
Chain (ch)
Slip Stitch (ss)
Single Crochet (sc)
Half Double Crochet (hdc)
Double Crochet (dc)
Pattern:
Bottom-
1. Ch 41, sc in 2nd ch from your hook and in ea ch across, turn. (40)
2. Ch 1, sc in the same and in ea st across, turn. (40)
3-8. Rep Row 2. Don’t finish off.
Sides-
Now you will work continuously in the round (get your stitch markers ready!)-around the outside of the rectangle you just made.
- Begin in the corner you just completed. Sc evenly around (mark your first st) the entire outside of your rectangle-place 8 sc (one per row) along the short edges and 40 sc on the long edges. This will place two in each corner st (one when you sc 8 and one when you sc 40). (96sts around) Don’t join.
- Mark first st, in first sc of last round: *{sedge st, skip 2} rep from * around, don’t join. (96sts or 32 sedge sts)
- -37. Rep Round 2, always placing the next sedge st in the sc of the previous round’s sedge st. Do not finish off.
Attaching your straps:
Option 1:
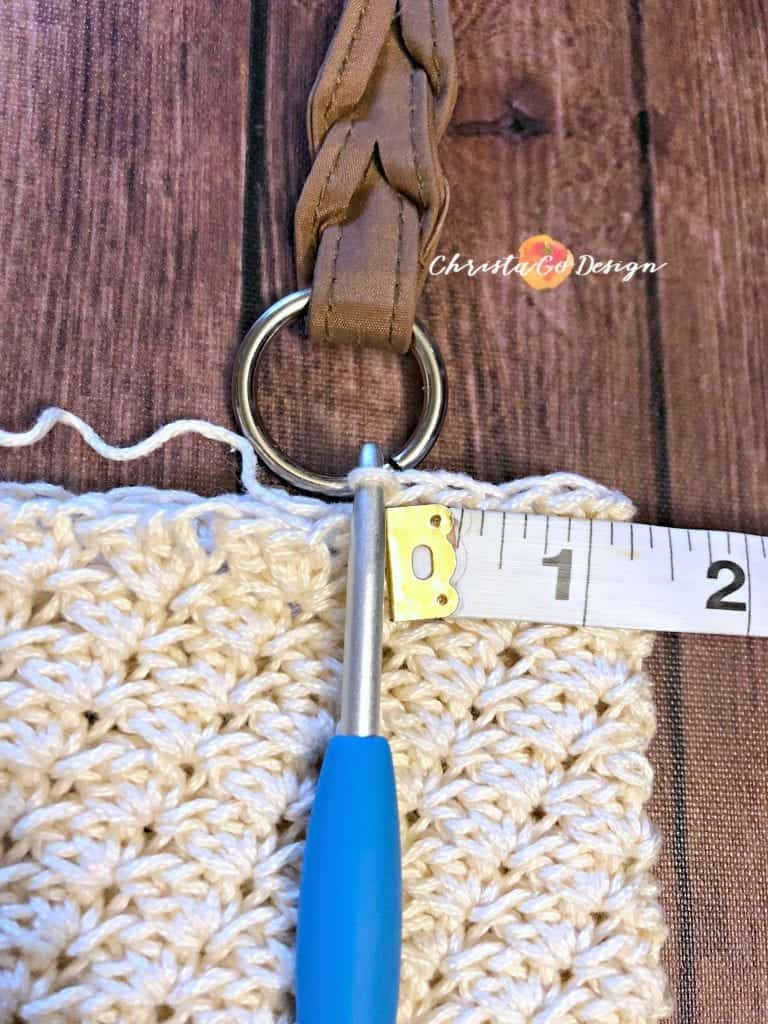
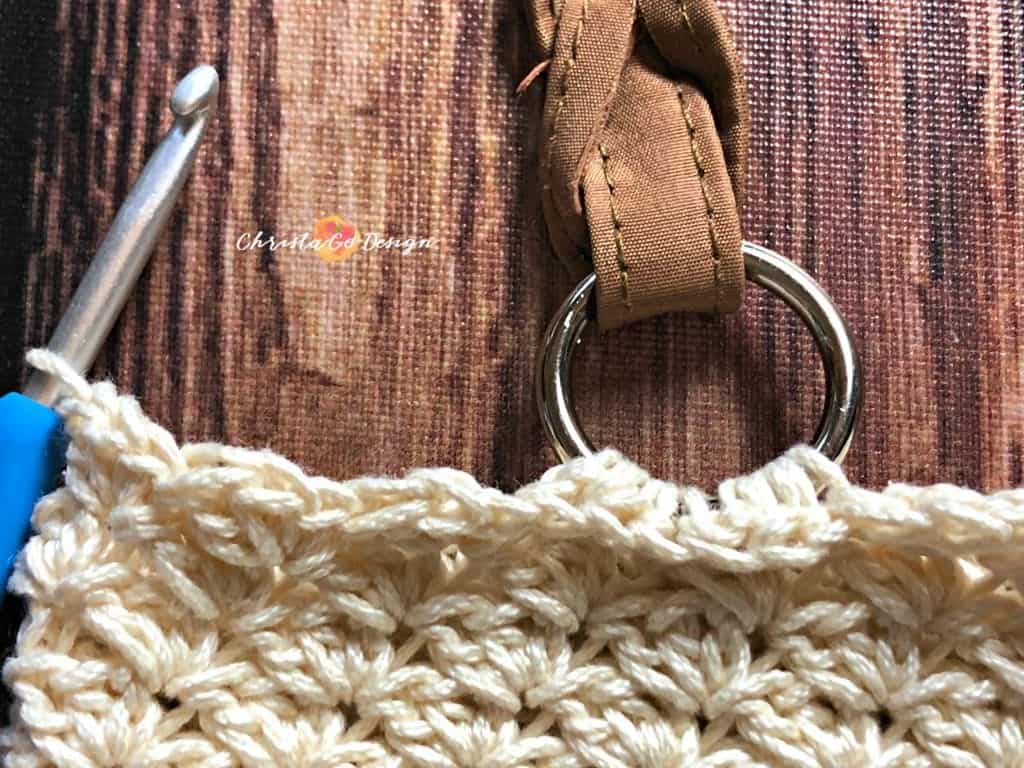
Lay your bag flat in front of you, mark where to attach your straps. I placed mine about 1.25” from the outside fold.

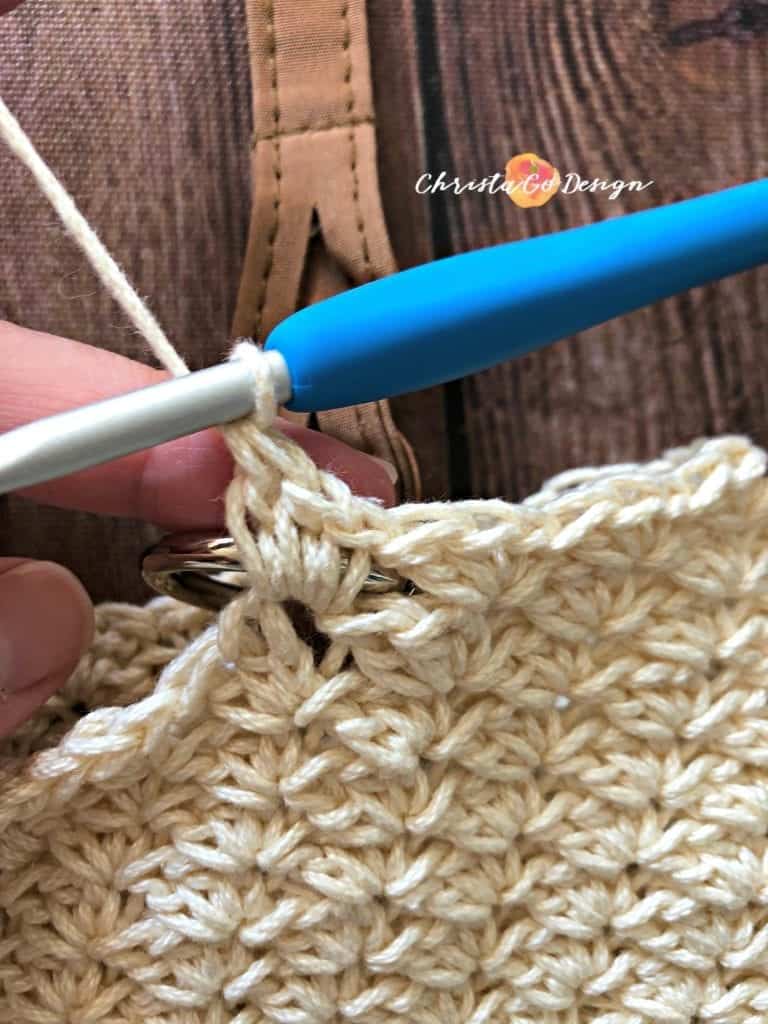
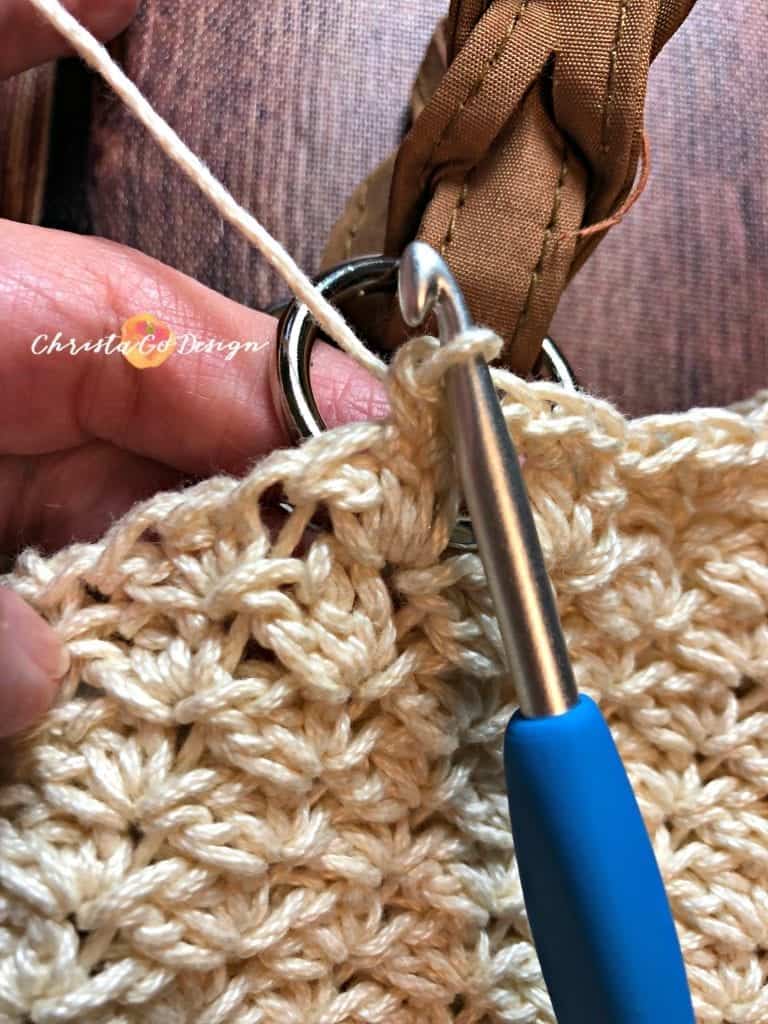
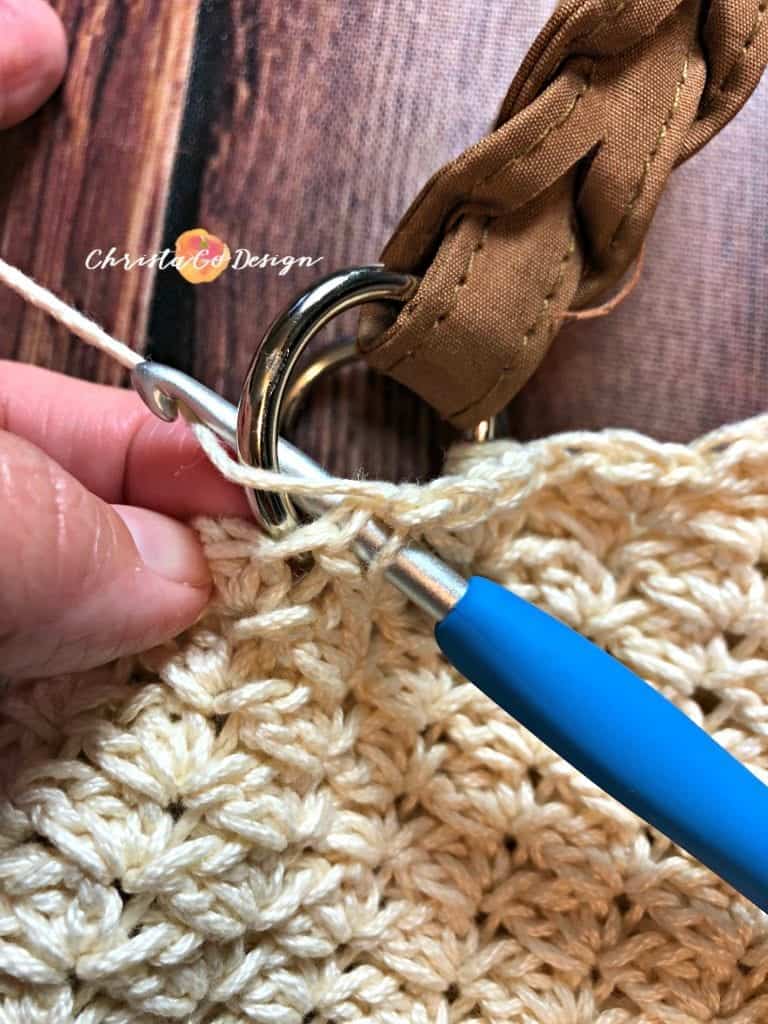
Insert hook into the stitch and the ring,

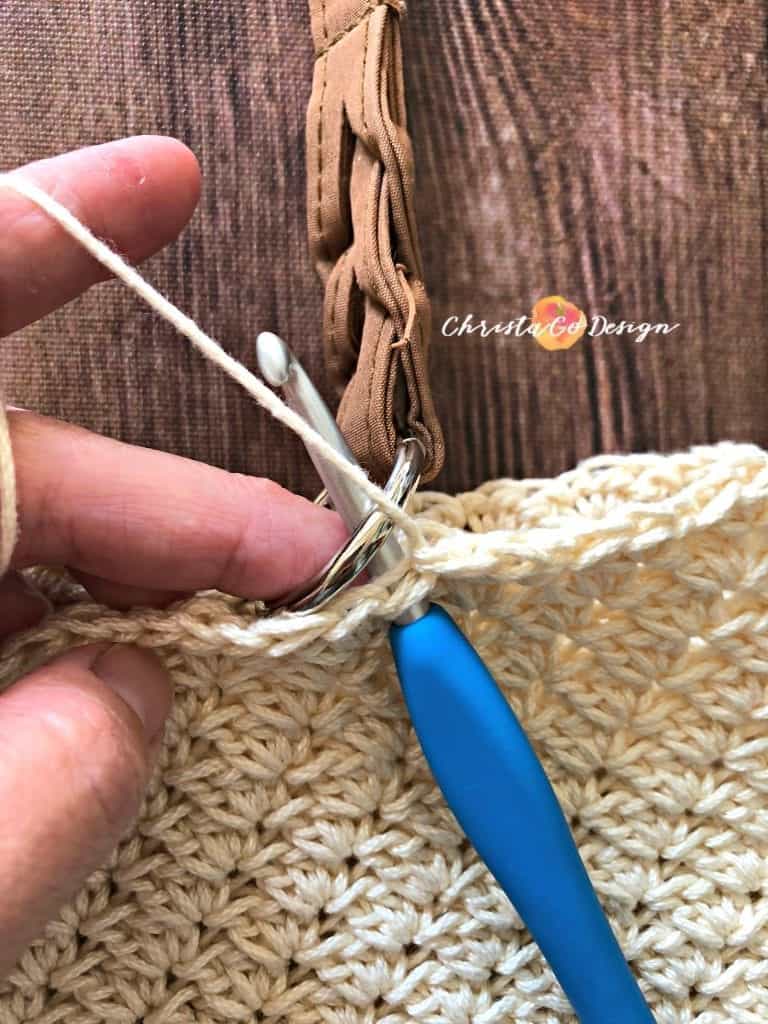
Yo, pull a loop through the ring and stitch, yo and pull through the two loops on your hook to complete the sc,
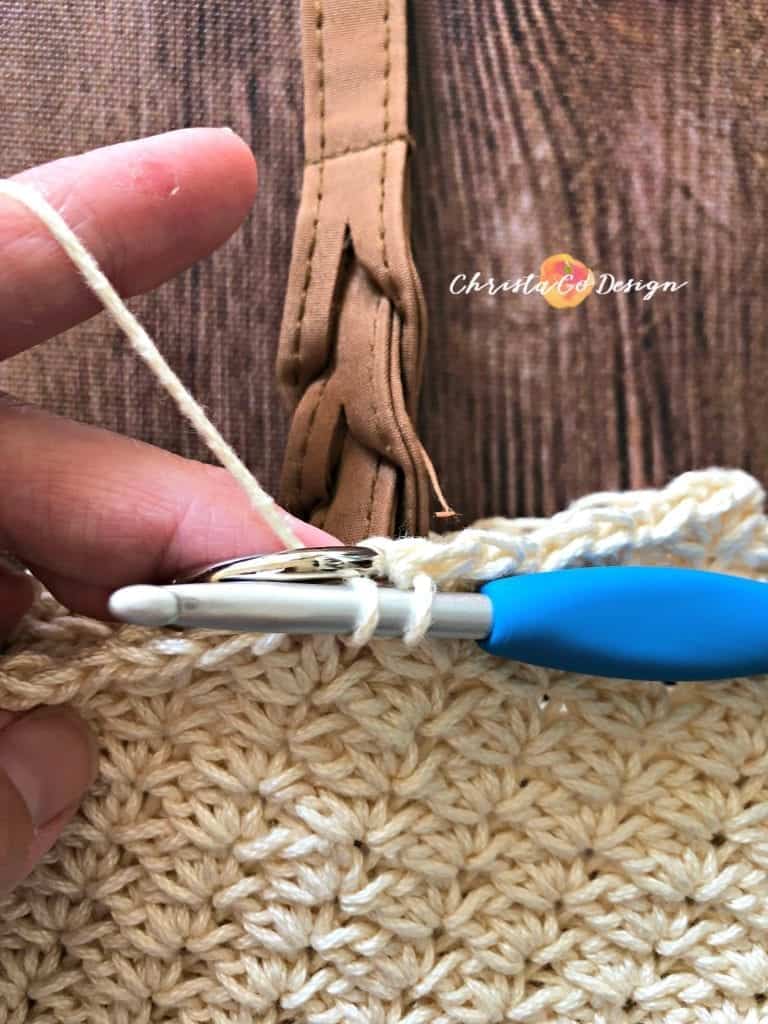
Complete the hdc and dc of the sedge st in the same manner.
Repeat for a second sedge st around the same ring.
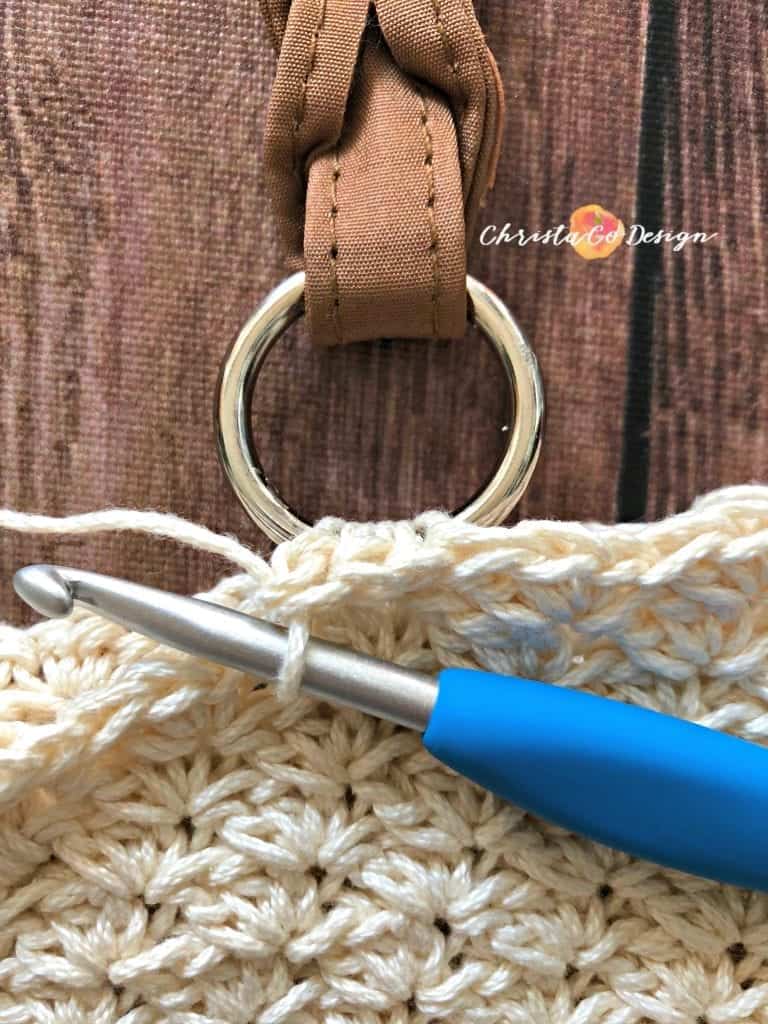
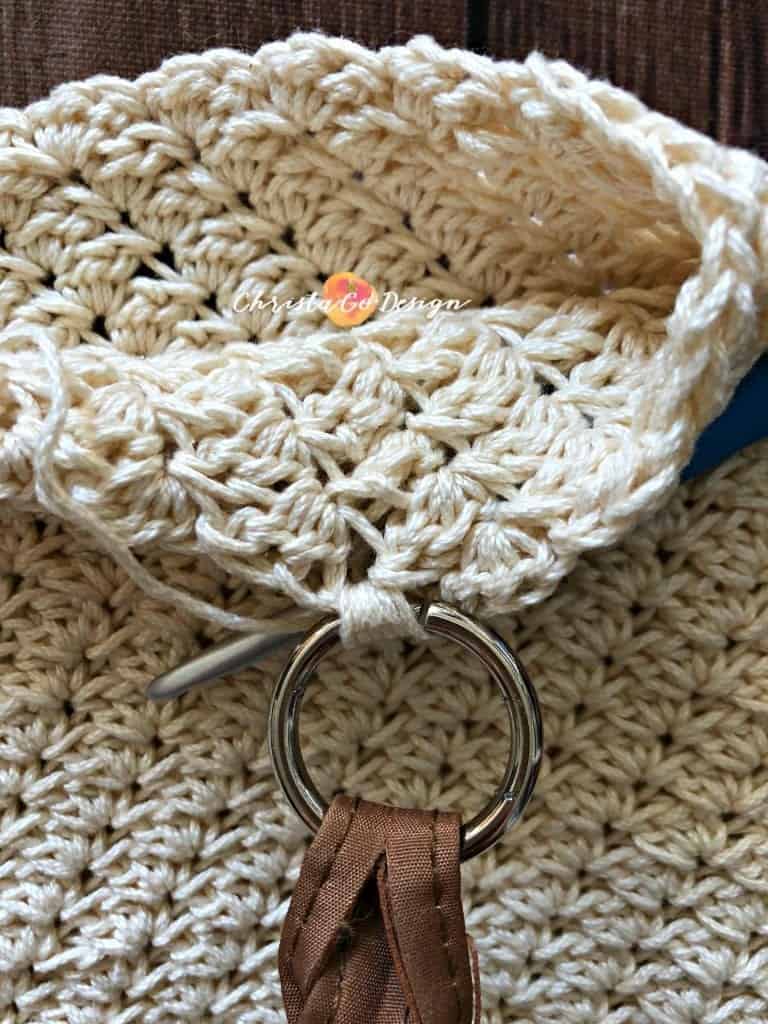
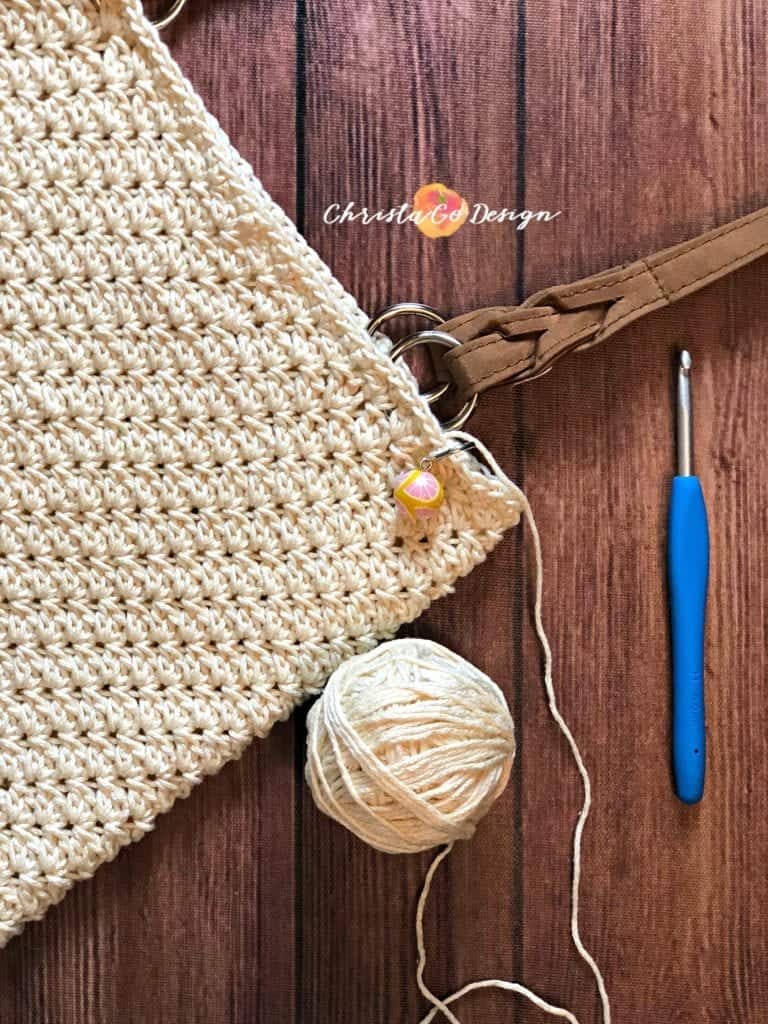
Continue to repeat Round 2, but crochet over the strap rings for 6sts (2 sedge sts), securing the ring to bag. See photo tutorial above.
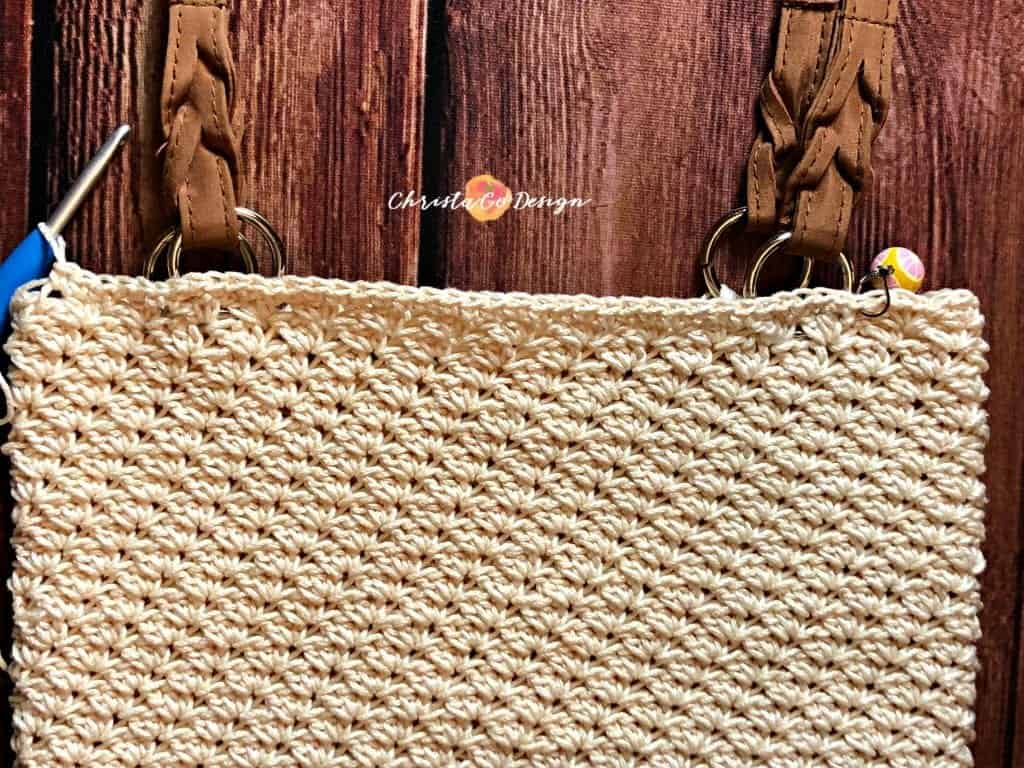

Repeat for other end of strap and on other side for the second strap.
Complete Round 38 normally.
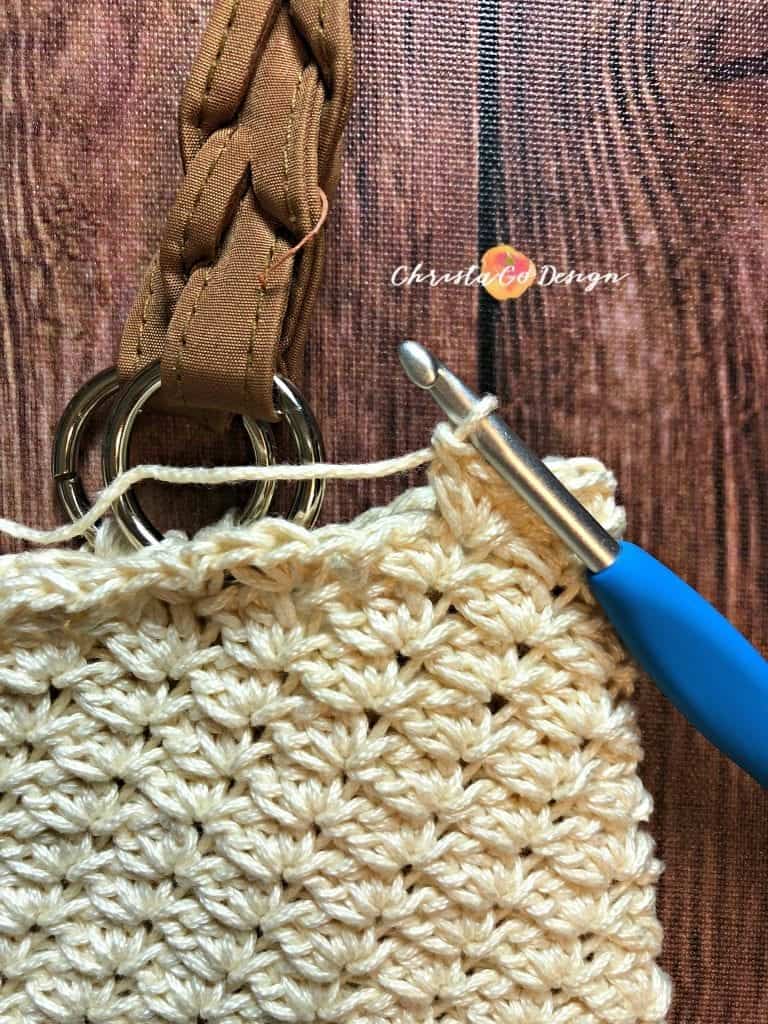

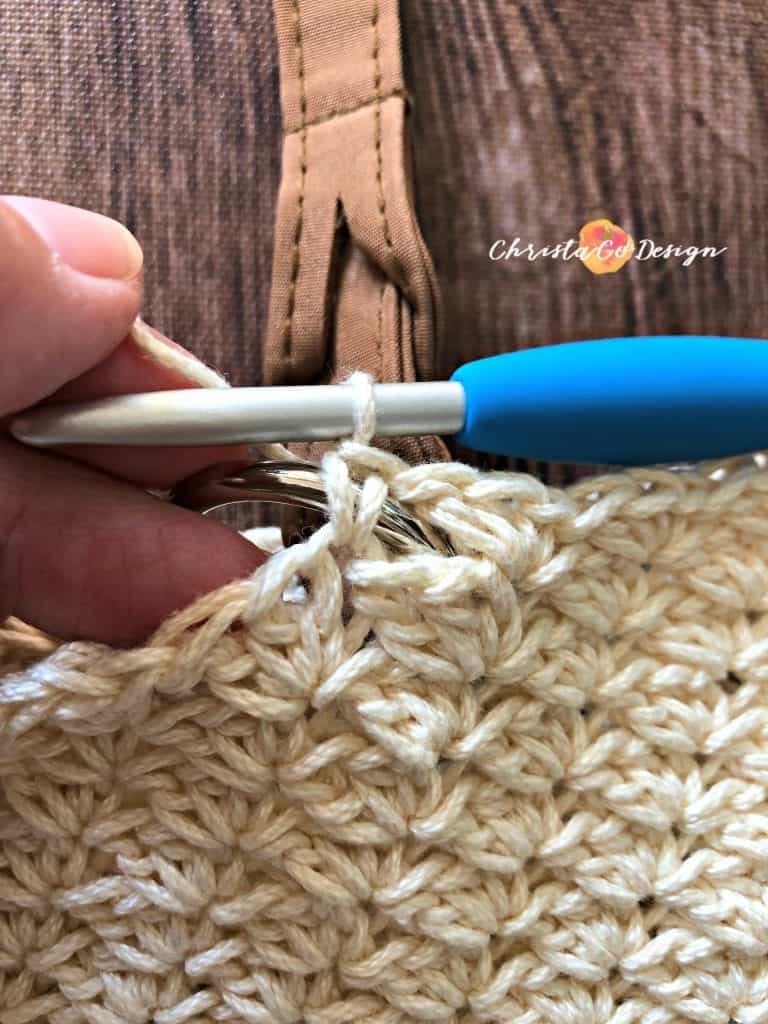
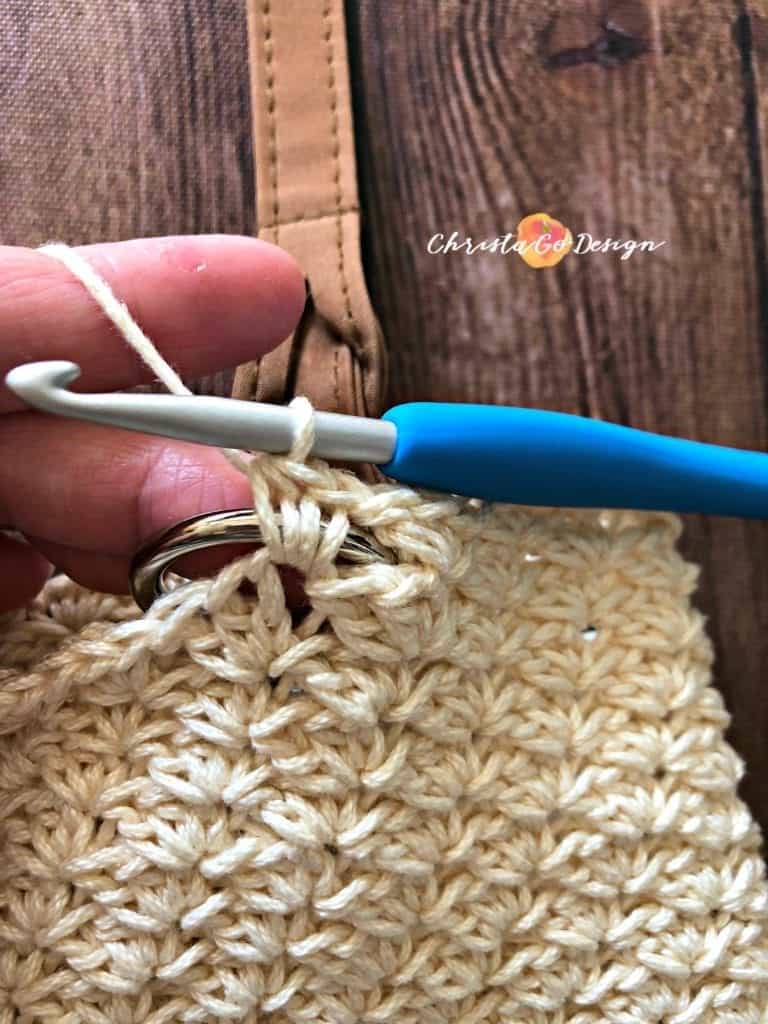
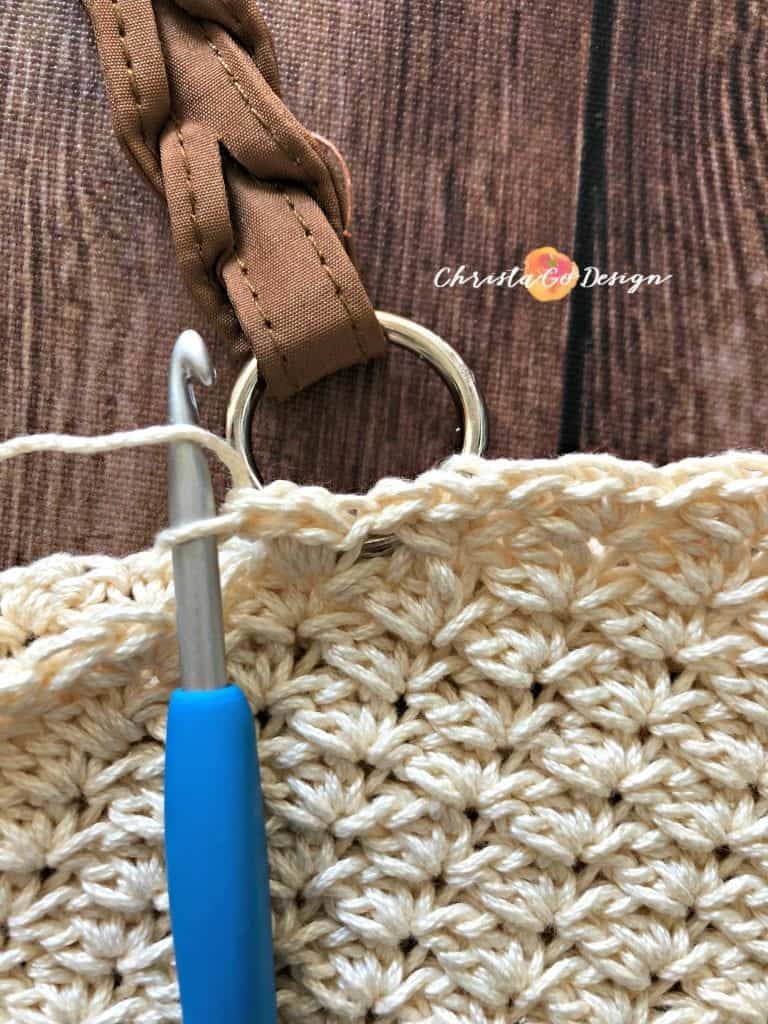
39. Ch 1, sc in same and in each st around (when you come to a strap ring, secure the first sc around the ring and the last sc around the ring-of the six sts that incorporate the ring) See photos below:
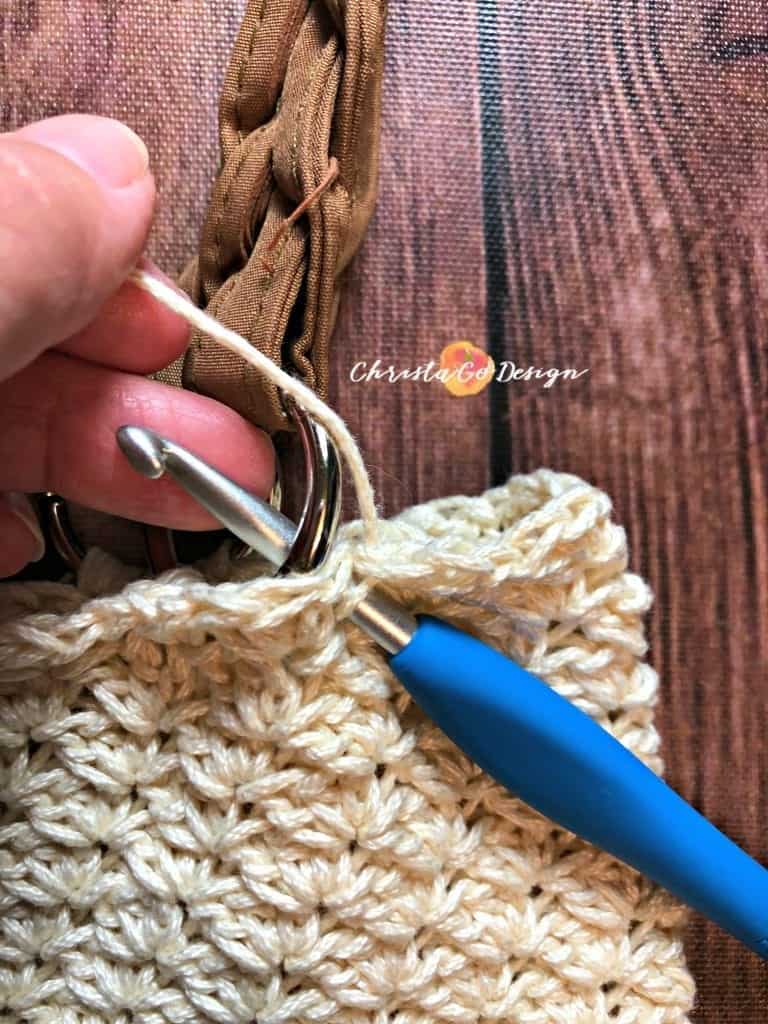

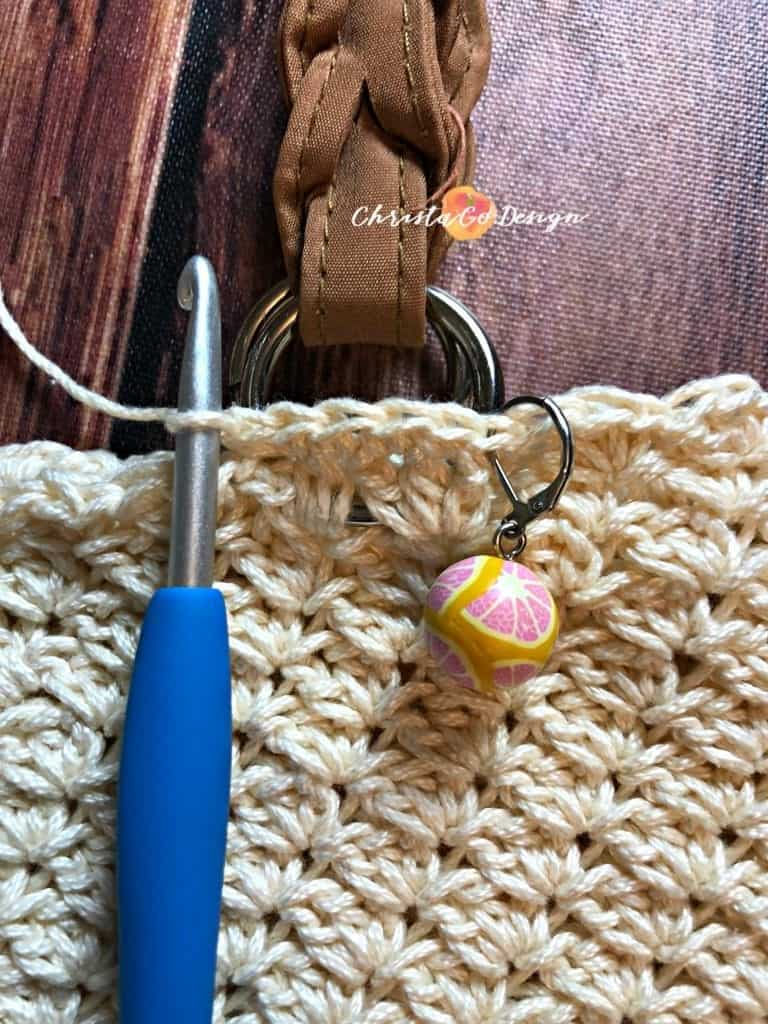
Continue to sc around, ss to the first sc and finish off.
Option 2:
Complete the body of your bag and then crochet and attach tabs to loop through your purse straps. For the same size ring here, I would crochet a 1″ x 3″ rectangle by joining to the top of your purse Ch 1, sc in the same & sc in the next 5sts (or until the desired width of your tab), turn. Ch 1, sc in the same and in each sc, turn. Continue to repeat the last row until you’ve reached 3″ or the desired length. You can check your rectangle and purse straps easily for fit this way. Once it is as long as you like (don’t finish off yet) then push the rectangle through your purse ring and attach it to the purse with slip stitches across the width of your tab. Alternately, you can leave a long tail and use a yarn needle and sew the tab to the bag. Then finish off and repeat the process for the other three strap rings.
Option 3:
Get purse straps that clip on and clip in place!
Option 4:
Crochet your purse strap much in the same manner as the tabs. I would crochet just one strap by joining your yarn at the top right when folded flat in front of you, then sc across as many stitches wide as you would like to go. You can see more details on this technique in my Boho Bag Pattern. The skinnier your strap the more it will stretch. Wider straps will support the weight of your bag more easily. Then you just sc back and forth until you have reached a long enough length. Maybe you have a favorite purse that you love then length of? then go with that!
Option 5:
Line your bag and sew tabs to thread through your purse rings. I decided to line my bag this way. I’ll create a separate post on how to line your bag if this is new for you.
There are so many possibilities I just wanted to give you a few ideas. Really it depends on how you would like to use your bag.
I’d love to see your makes tag me @christacodesign on Instagram if you post a pic! Or share it to my Facebook page, I love to see your work!
I would love to see your #tivolipurse tag me @christacodesign on Instagram if you post a pic! Or share it to my Facebook page, I love to see your work!

Well, I found my crochet project for myself this year! I usually don’t get a chance to make things for myself so I am super excited to find this pattern!
Yay for projects we get to keep!