
Learn Crochet Slip Stitch Tutorial-Photo + Video
Learn how to crochet the slip stitch. An essential crochet technique, this stitch is quick and easy to learn.
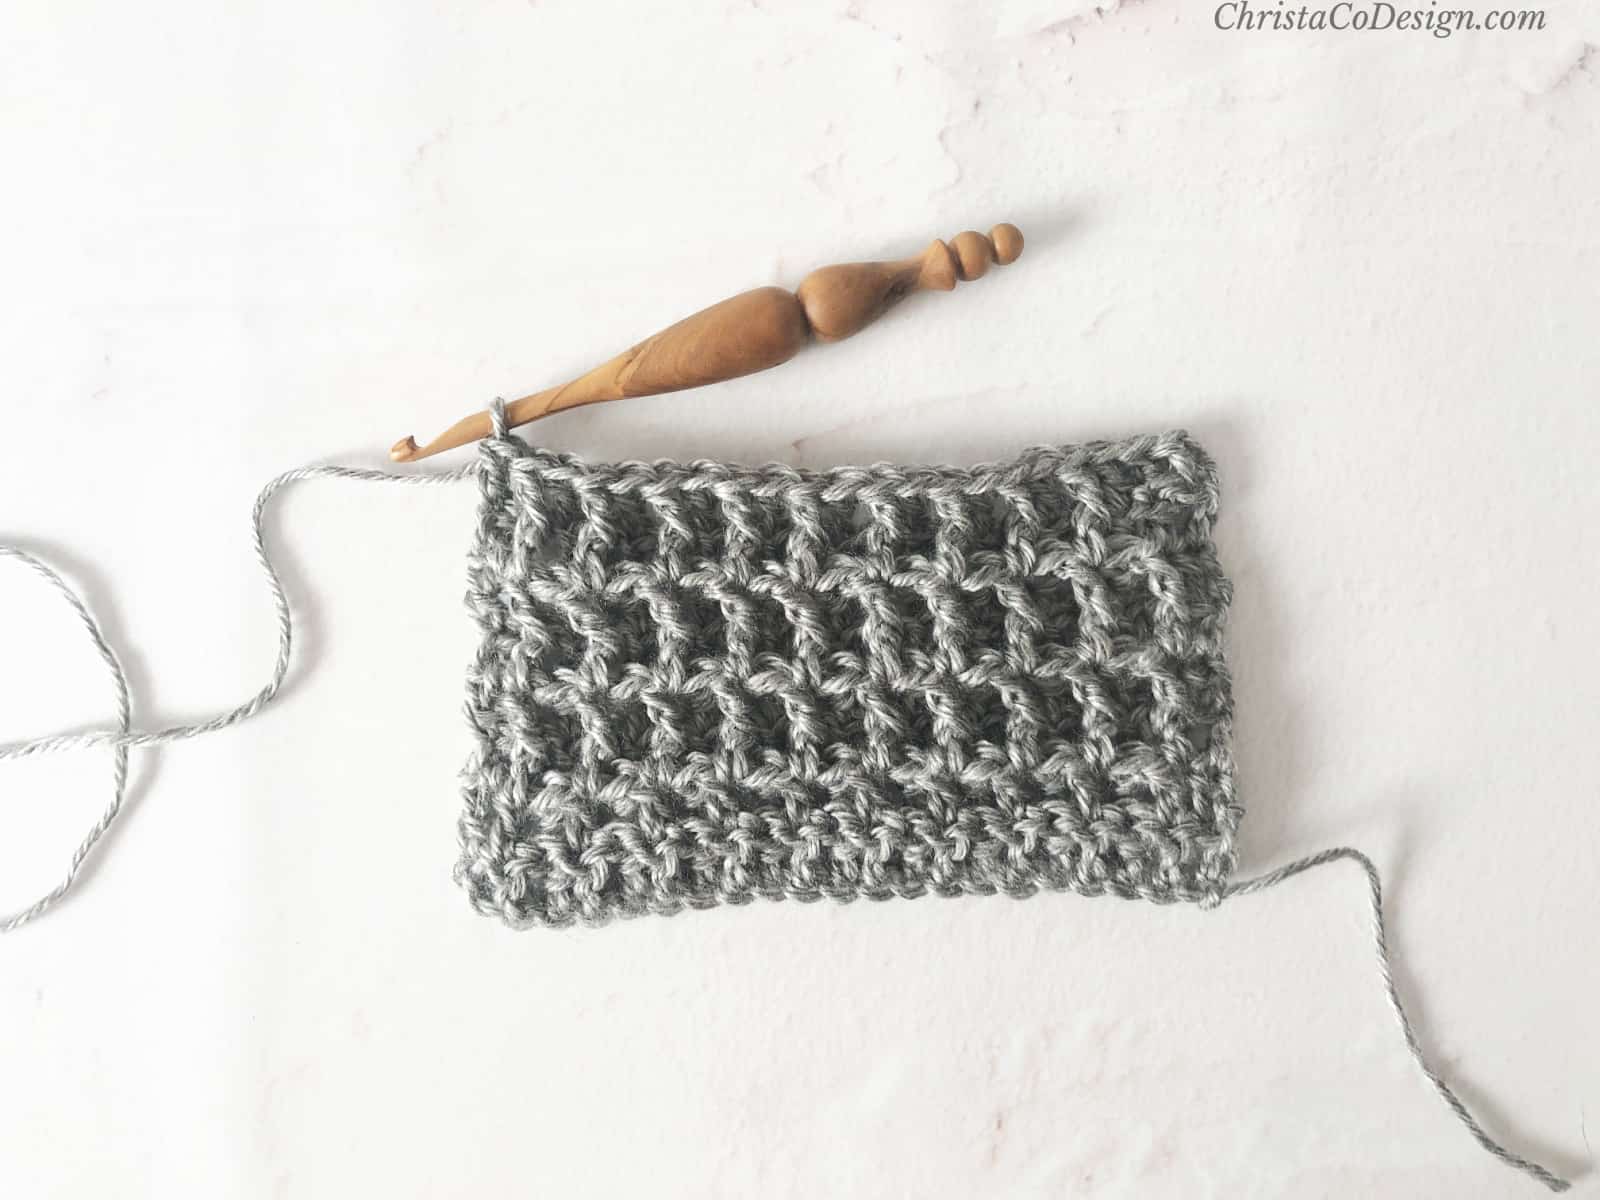
These slip stitches are a way to crochet across a row of stitches. For instance, in the example pattern I need to work over to a specific stitch.
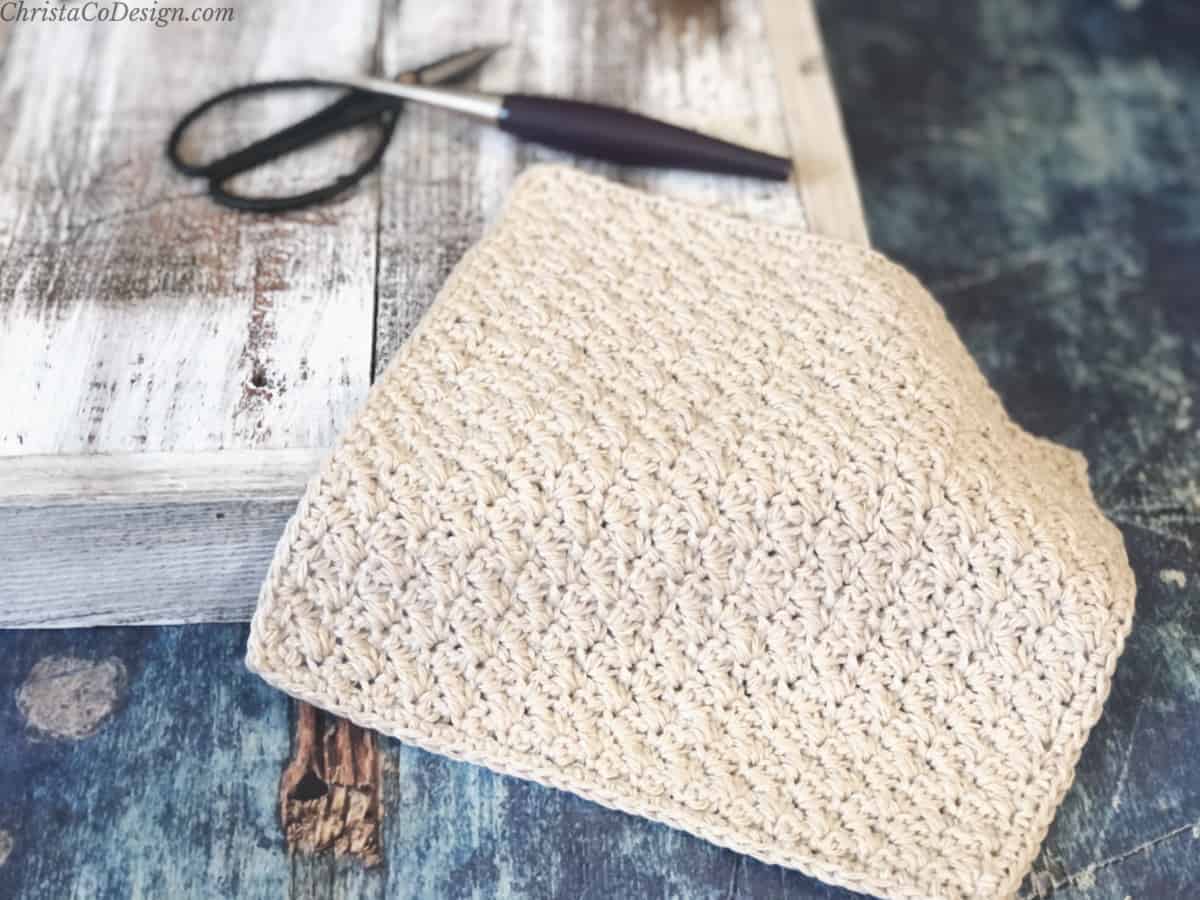
The slip stitch is small so it doesn’t add bulk or height to your work. In this tutorial I will be using my latest corner to corner project to demonstrate the slip stitch for you. Get the free crochet pattern for the Gingham Throw Pillow.
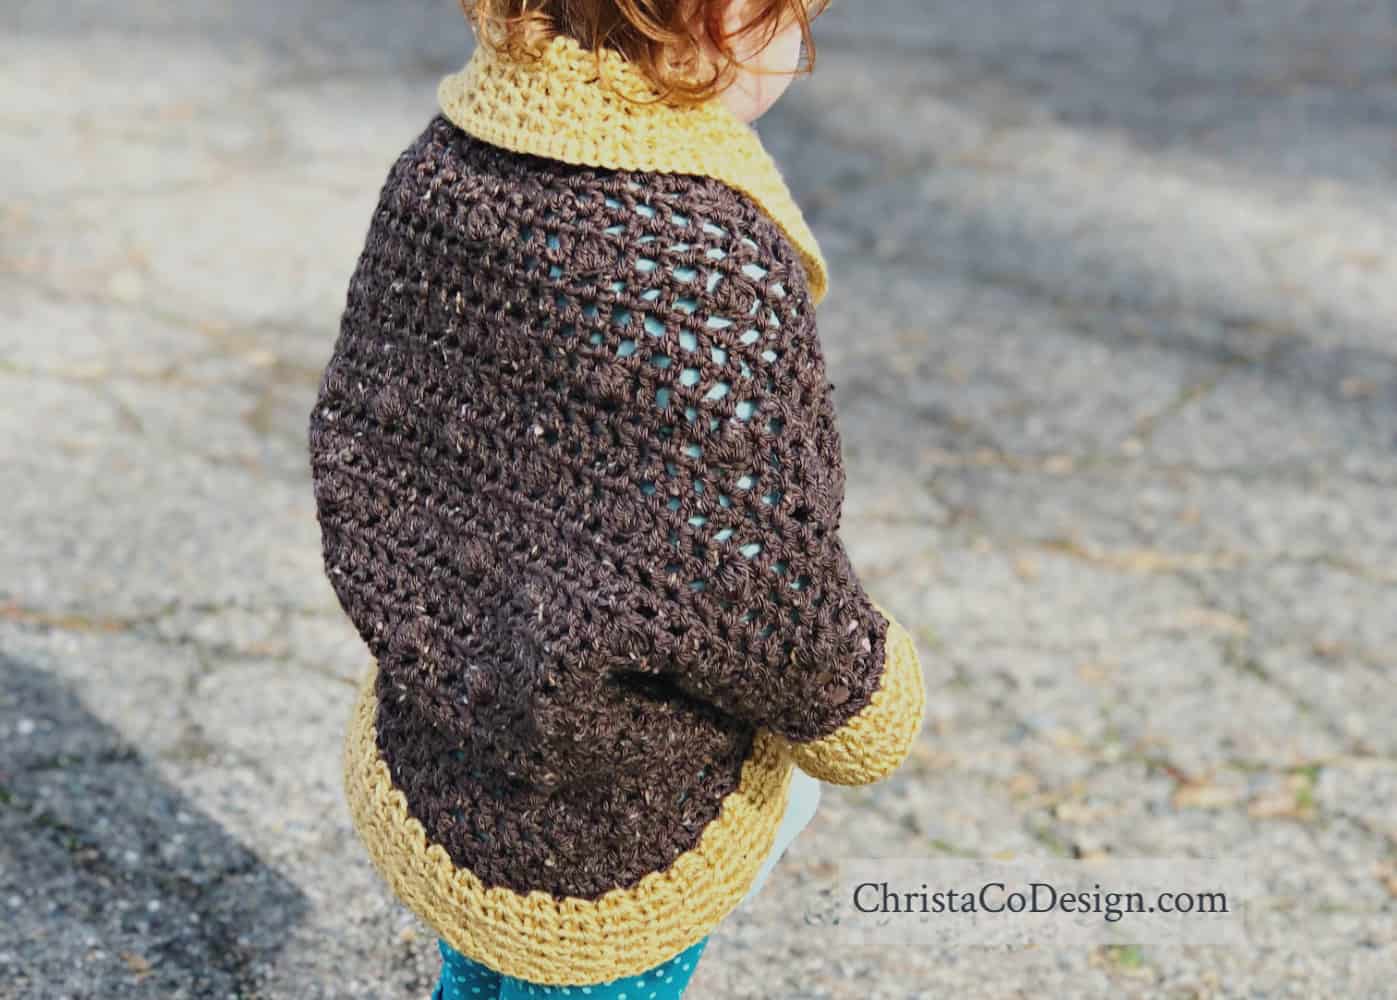
You can also see the Corner to Corner blanket I made for my son’s birthday gift. If you’re not familiar with c2c (corner to corner) yet, it’s a really fun crochet technique.
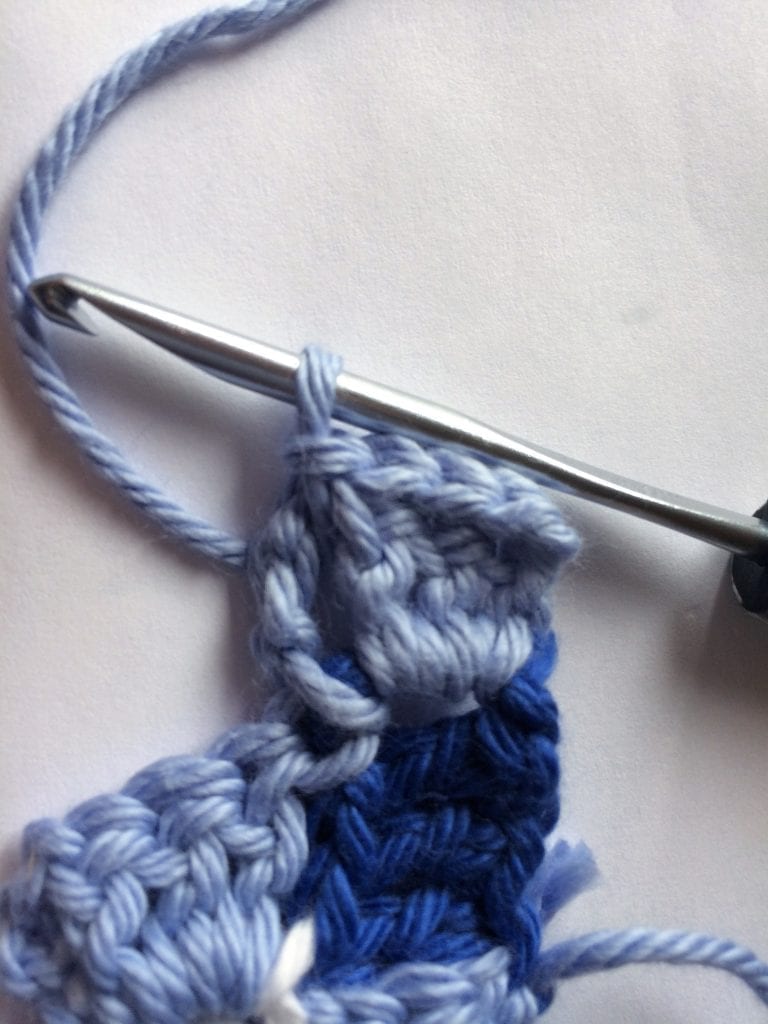
The slip stitch is made into another stitch like a single crochet, double crochet, etc. In the picture below, I’ve finished increasing my c2c square and I’m ready to begin decreasing. This requires me to slip stitch back 4 stitches, where I will then crochet my next box.
This post contains affiliate links, I may earn a fee. Read more disclosure policy.
Slip Stitch Abbreviations
ss = slip stitch
sl st = slip stitch
I see both of these slip stitch abbreviations in crochet patterns. I first learned it as, “ss.”
So some of my patterns use “ss” and define it as such in the “Stitches” section. Like this Chunky Bear Beanie pattern, which is a great beginner hat pattern.
Once I discovered Craft Yarn Council, I use the “sl st” as they list this as the US abbreviation. The CYC site is great for body measurement standards, which I use in many of my crochet sweater patterns.
When to Use the Crochet Slip Stitch
In this tutorial I’m using the slip stitch to move across a block of double crochets. The slip stitch gets me across, without adding another row of height to my work.
Other uses for the slip stitch include crocheting designs and words on your finished work. This is a fun technique, you can see how it’s done in this video tutorial from Nidhi’s Crochet Art.
Crocheting in the round often calls for a slip stitch to join the end of one round to the beginning of another, like in a hat pattern.
Easy Beginner Crochet Patterns
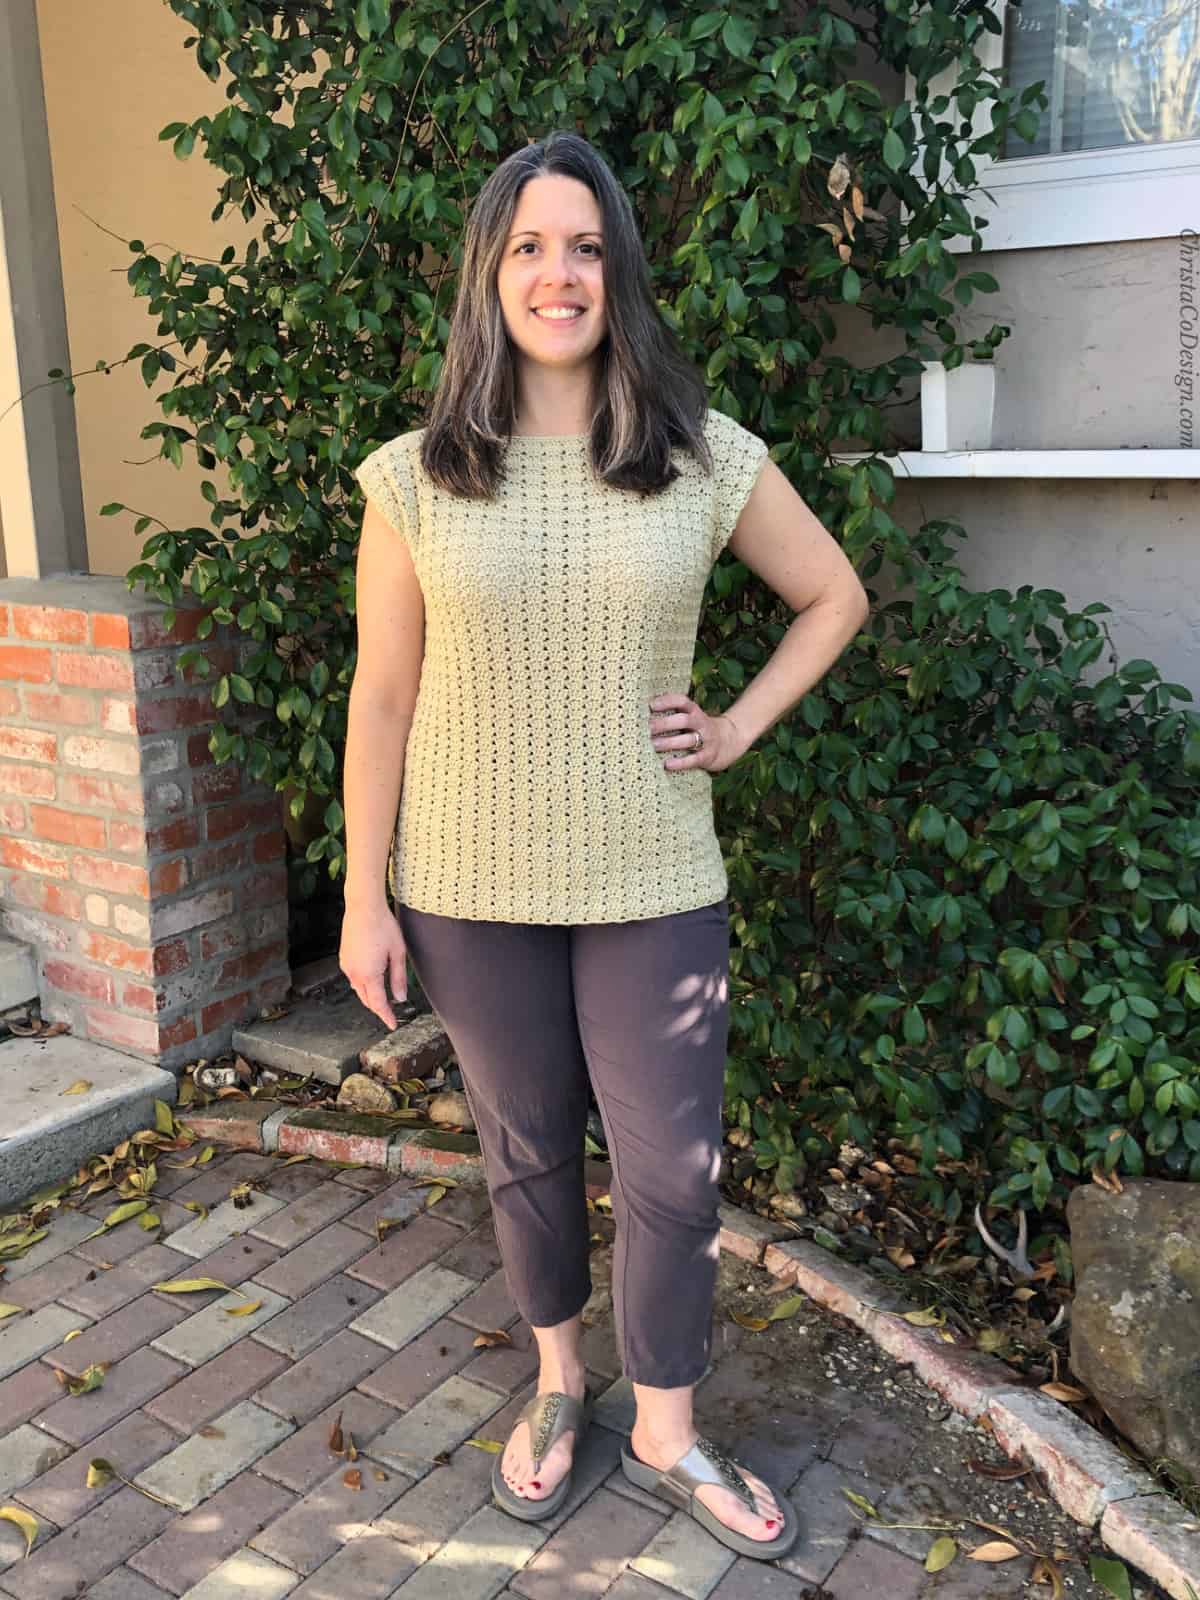
The Skinny Summer Scarf is a fast, one skein scarf pattern that is a total breeze, even for beginning crocheters.
These Fingerless Gloves are perfect for men, and there are more sizes available so you can crochet them for the whole family too.
When you’re ready to take on a bigger project, the Ava Chunky Crochet Blanket is an easy one. Plus it’s worked in squares so you get the satisfaction of completing a square faster than a whole blanket!
Materials
- Crochet Hook,* I’m using size F hook here
- Yarn, I’m using Hobby Lobby’s I Love This Cotton!* yarn in this tutorial.
Written Instructions for the Slip Stitch
- Start with one loop on the hook, likely from the stitch you just finished.
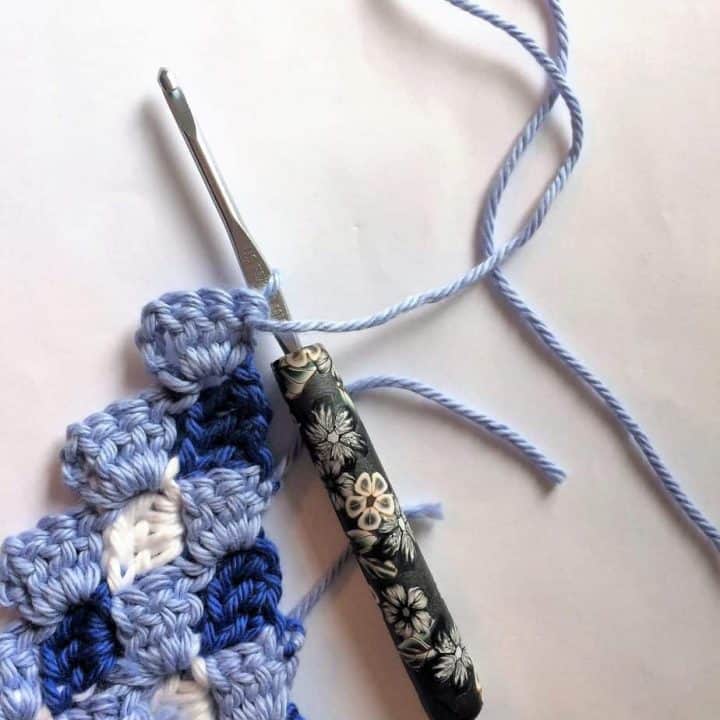
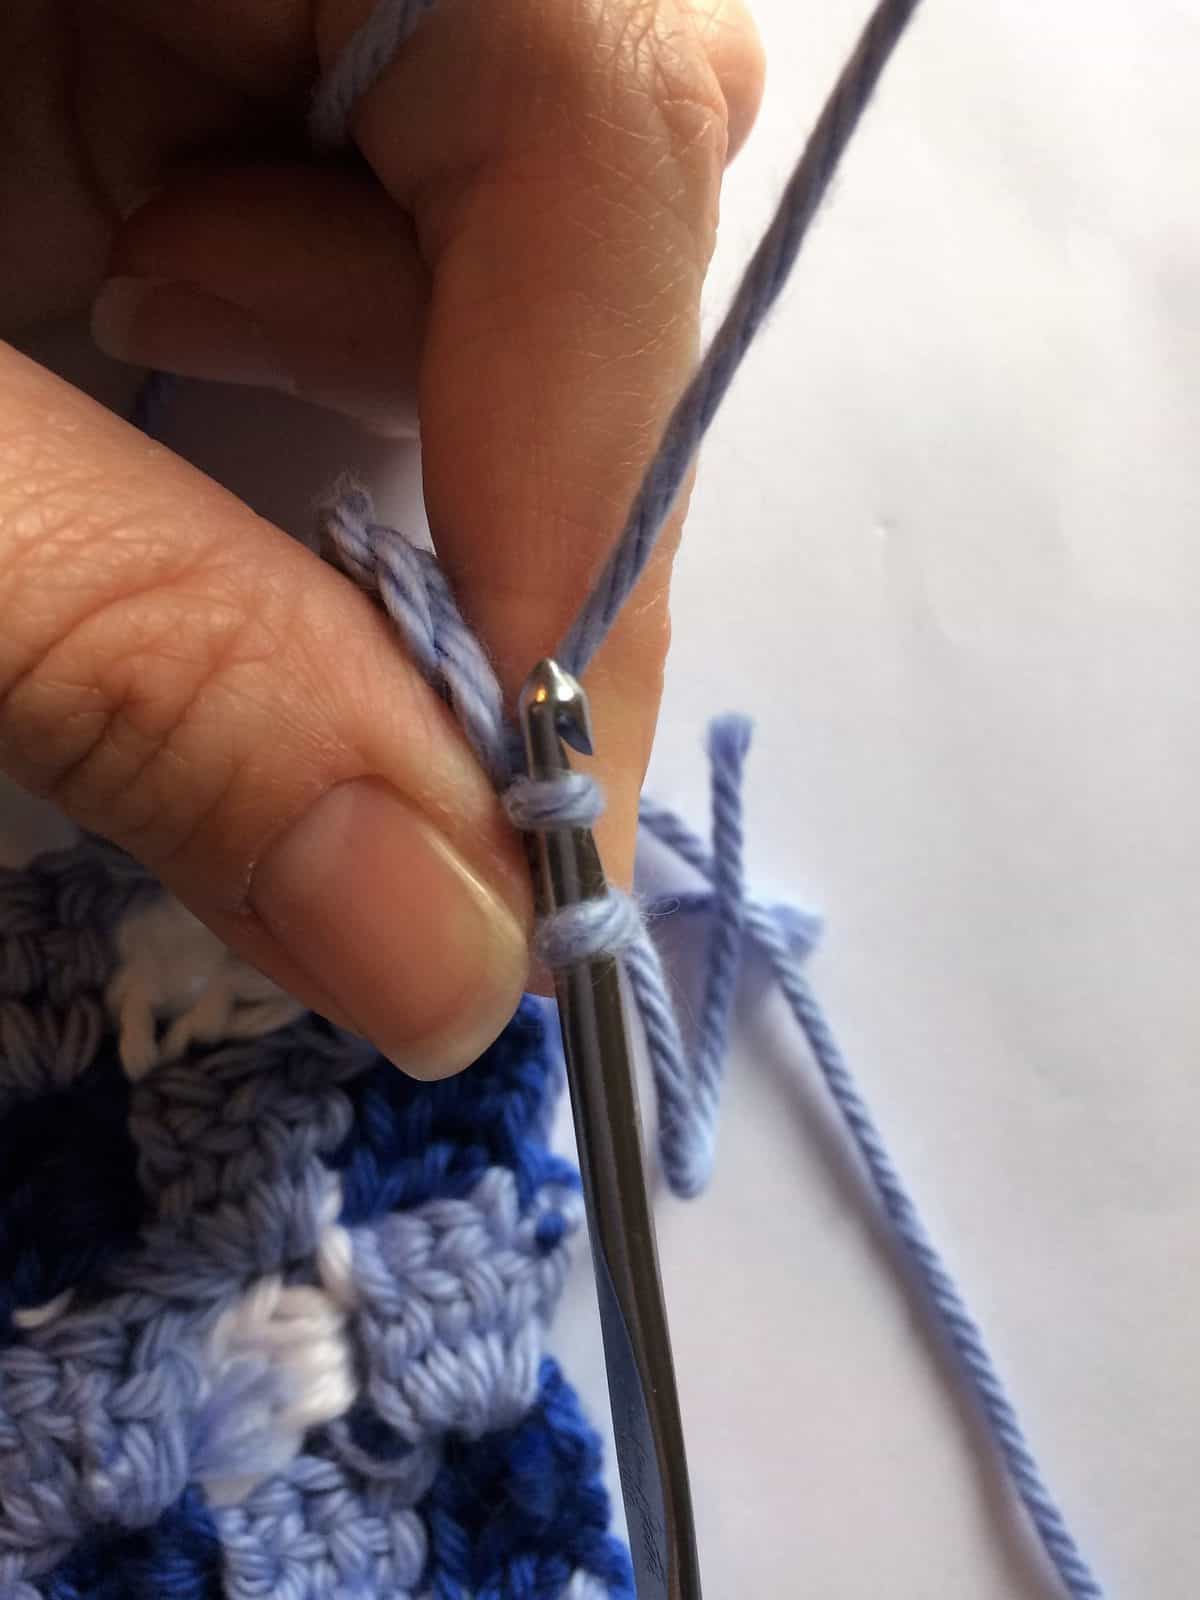
- Insert your hook into the stitch to be worked.
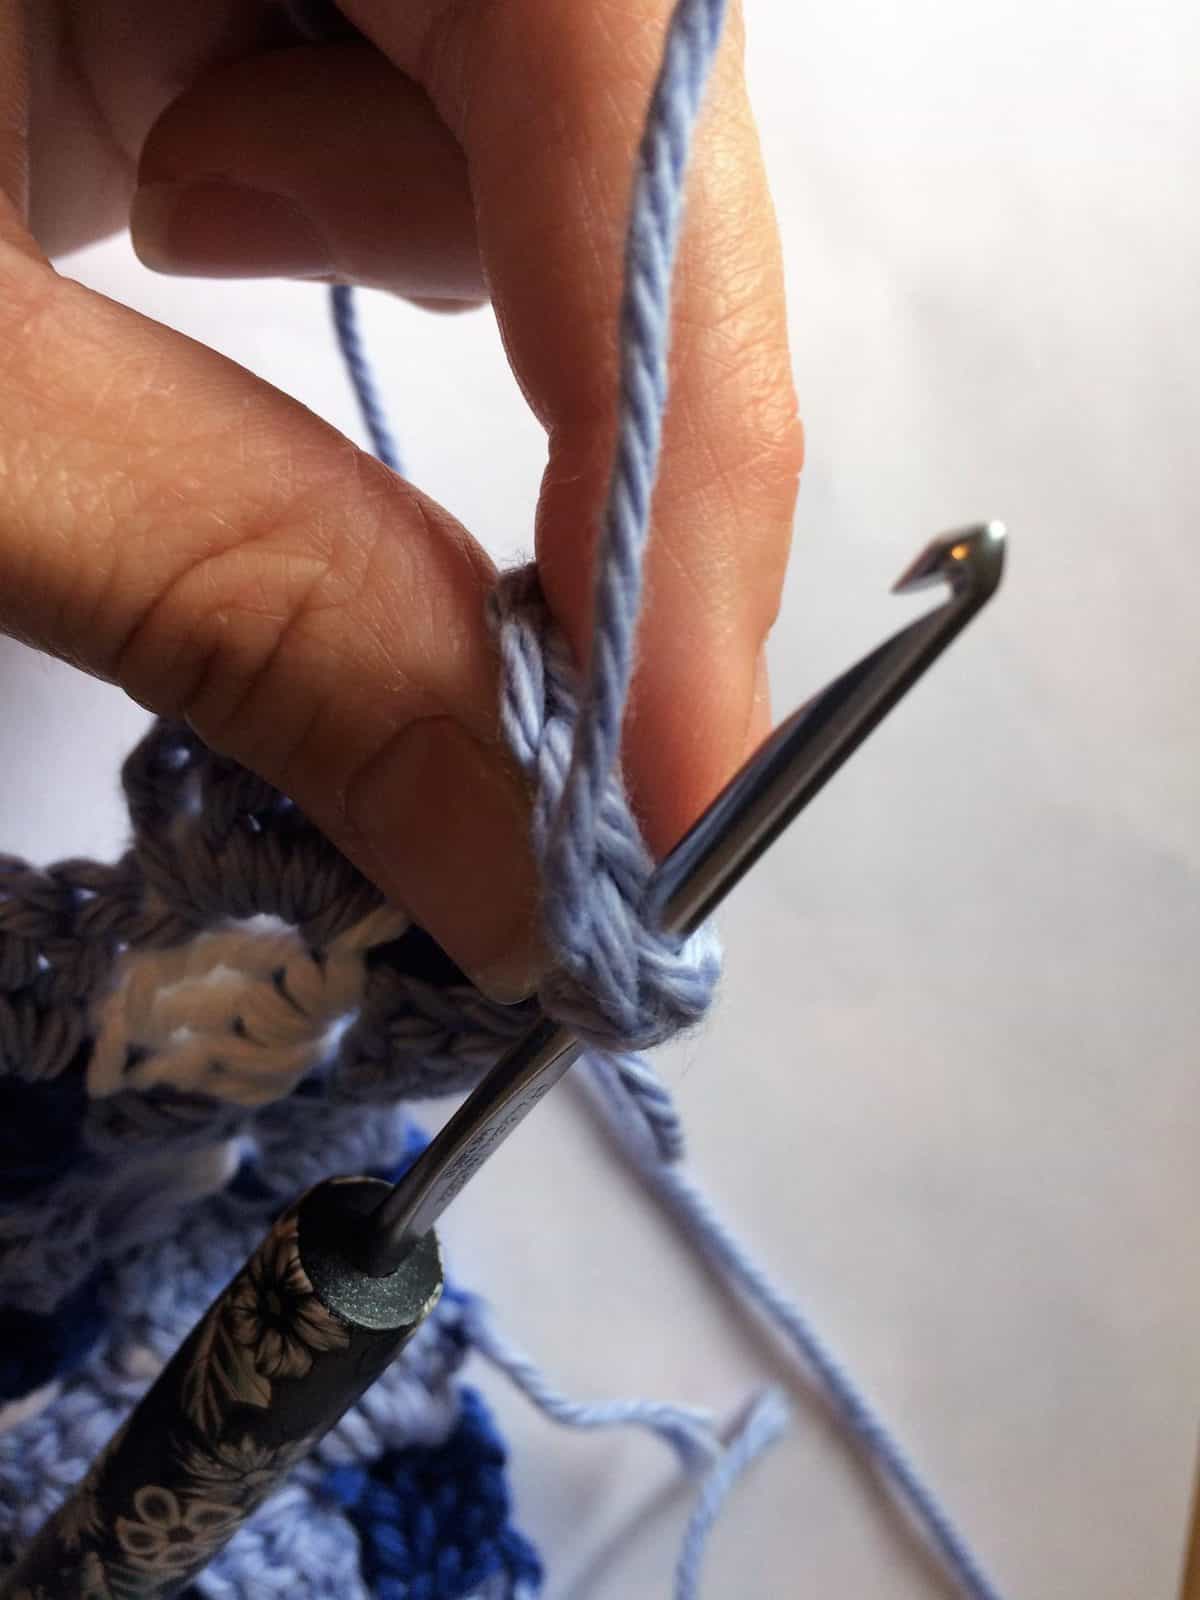
- Wrap the yarn over your hook.
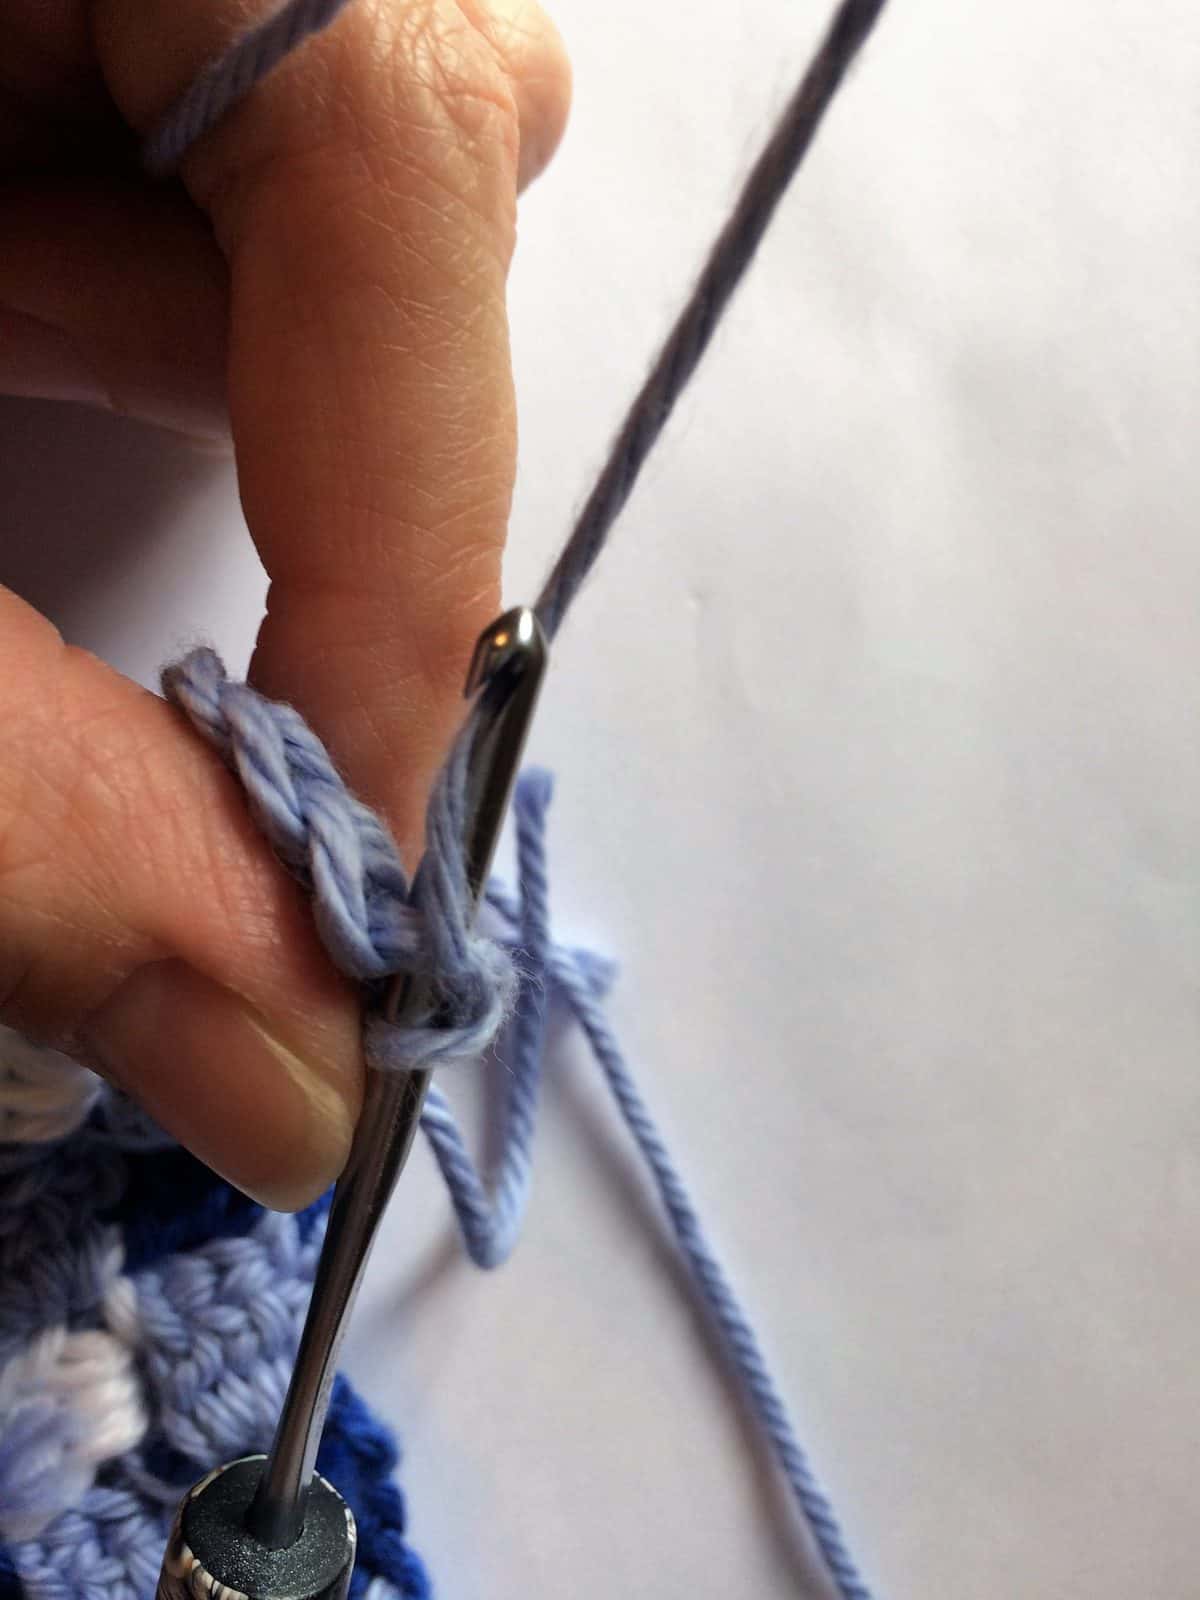
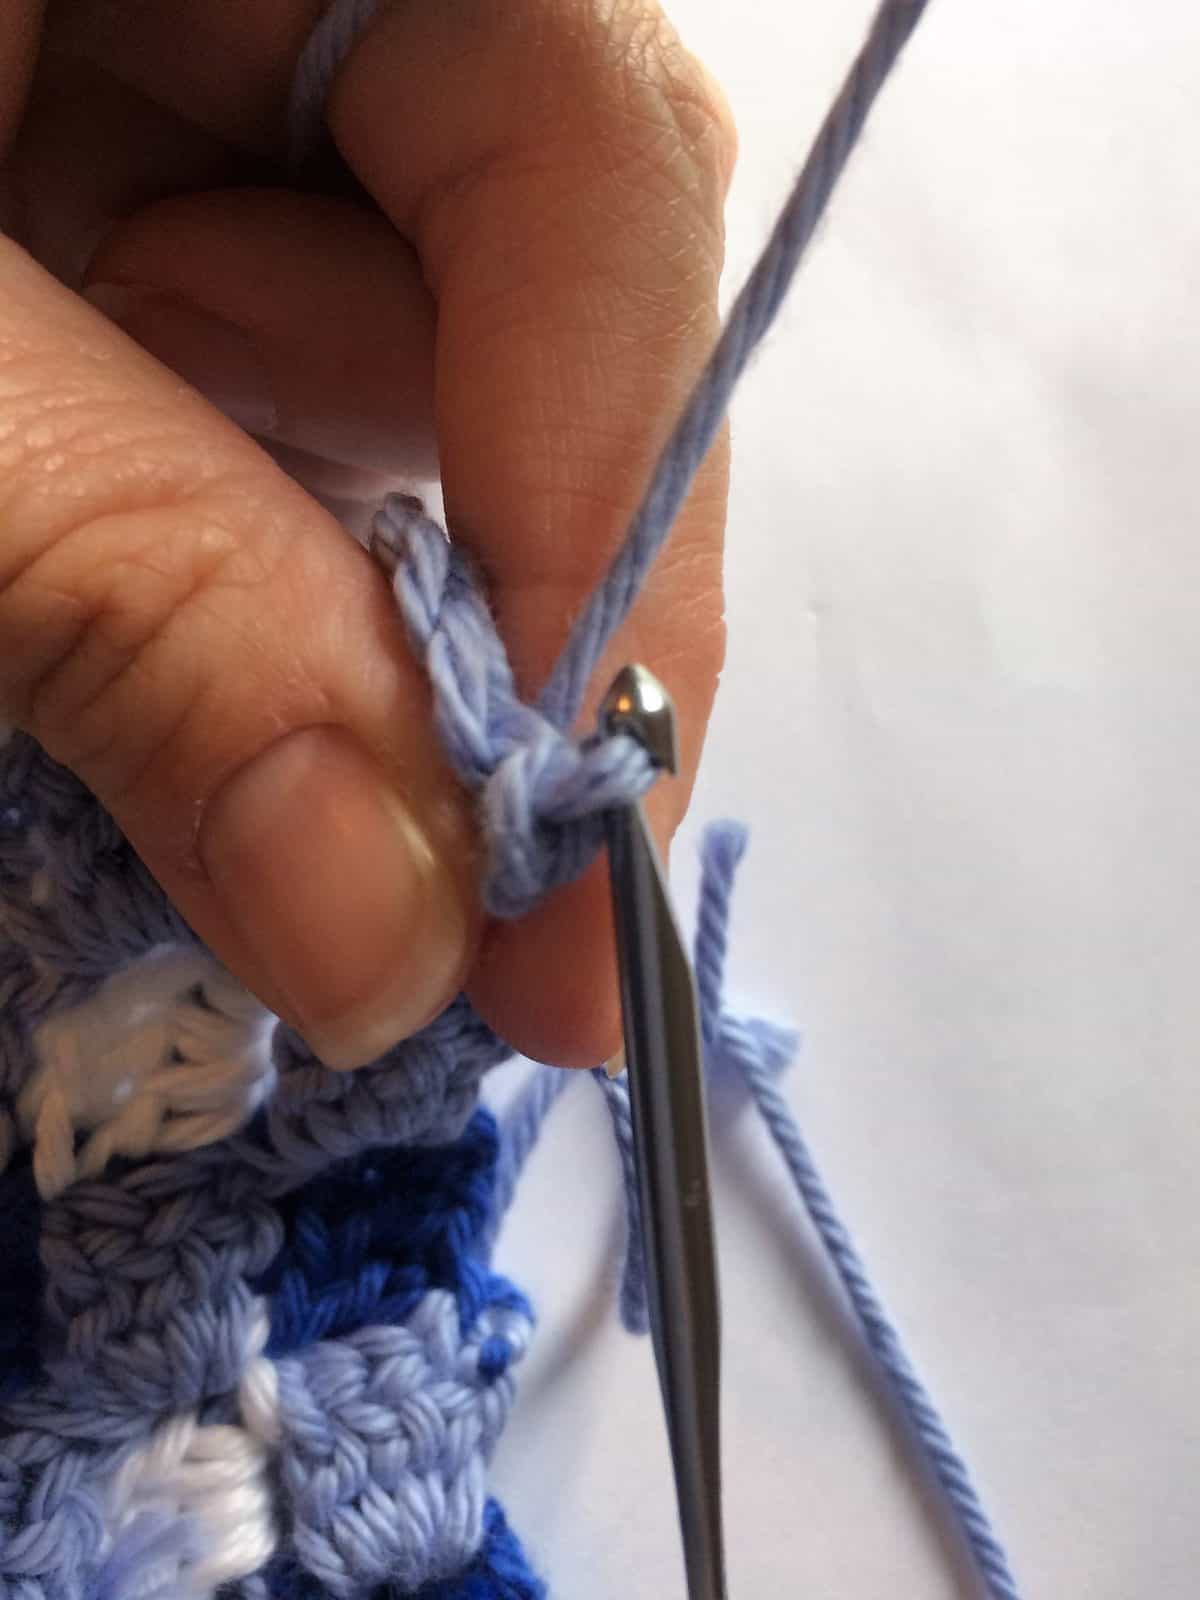
- Pull that yarn through the stitch (you’ll have 2 loops on your hook).
- Continue pulling the yarn through the loop on your hook (now you’ll have 1 loop on your hook again).
- That’s a slip stitch, practice it a few more times!
How to Slip Stitch Photo Tutorial
How to Slip Stitch Crochet Tutorial
Learn the slip stitch in this step by step crochet tutorial.
Materials
- Any weight yarn, I'm using a #4 medium worsted weight cotton yarn.
Tools
- A crochet hook that's compatible with your yarn. I'm using my 3.75mm (F) crochet hook here.
Instructions
- Insert hook into the stitch.

- Yarn over.
- Pull the yarn through the stitch, (you’ll have 2 loops on your hook).
- Continue pulling the yarn through the loop on your hook.
- For this corner to corner pattern, I slip stitch a few more times to work my way across the block and get to my next block's starting point.

Recommended Products
As an Amazon Associate and member of other affiliate programs, I earn from qualifying purchases.


Video Tutorial For Crochet Slip Stitch
Watch the video tutorial for the slip stitch on my YouTube. Please like and subscribe before you go.
Hope this tutorial was helpful to you! Please share!
Very pretty pillow, however, your ‘like’ feature isn’t working for me on any of your patterns.