Machine Applique Shorts Tutorial
These machine applique shorts got bumped up in the sewing queue as the warm weather finally settled on Utah. My 4 year old only had a few pairs of shorts and I knew we needed to supplement, and quickly. I went to one of my favorite free patterns here: Peek-a-boo Pattern Shop. It’s a simple shorts pattern, with no frills so I knew it would be quick and easy to sew. This free pattern also includes a t-shirt, which I haven’t had a chance to sew yet. Head over and download your free shorts pattern and print it out to get started.
This post contains affiliate links, I may earn a fee. Read more disclosure policy.
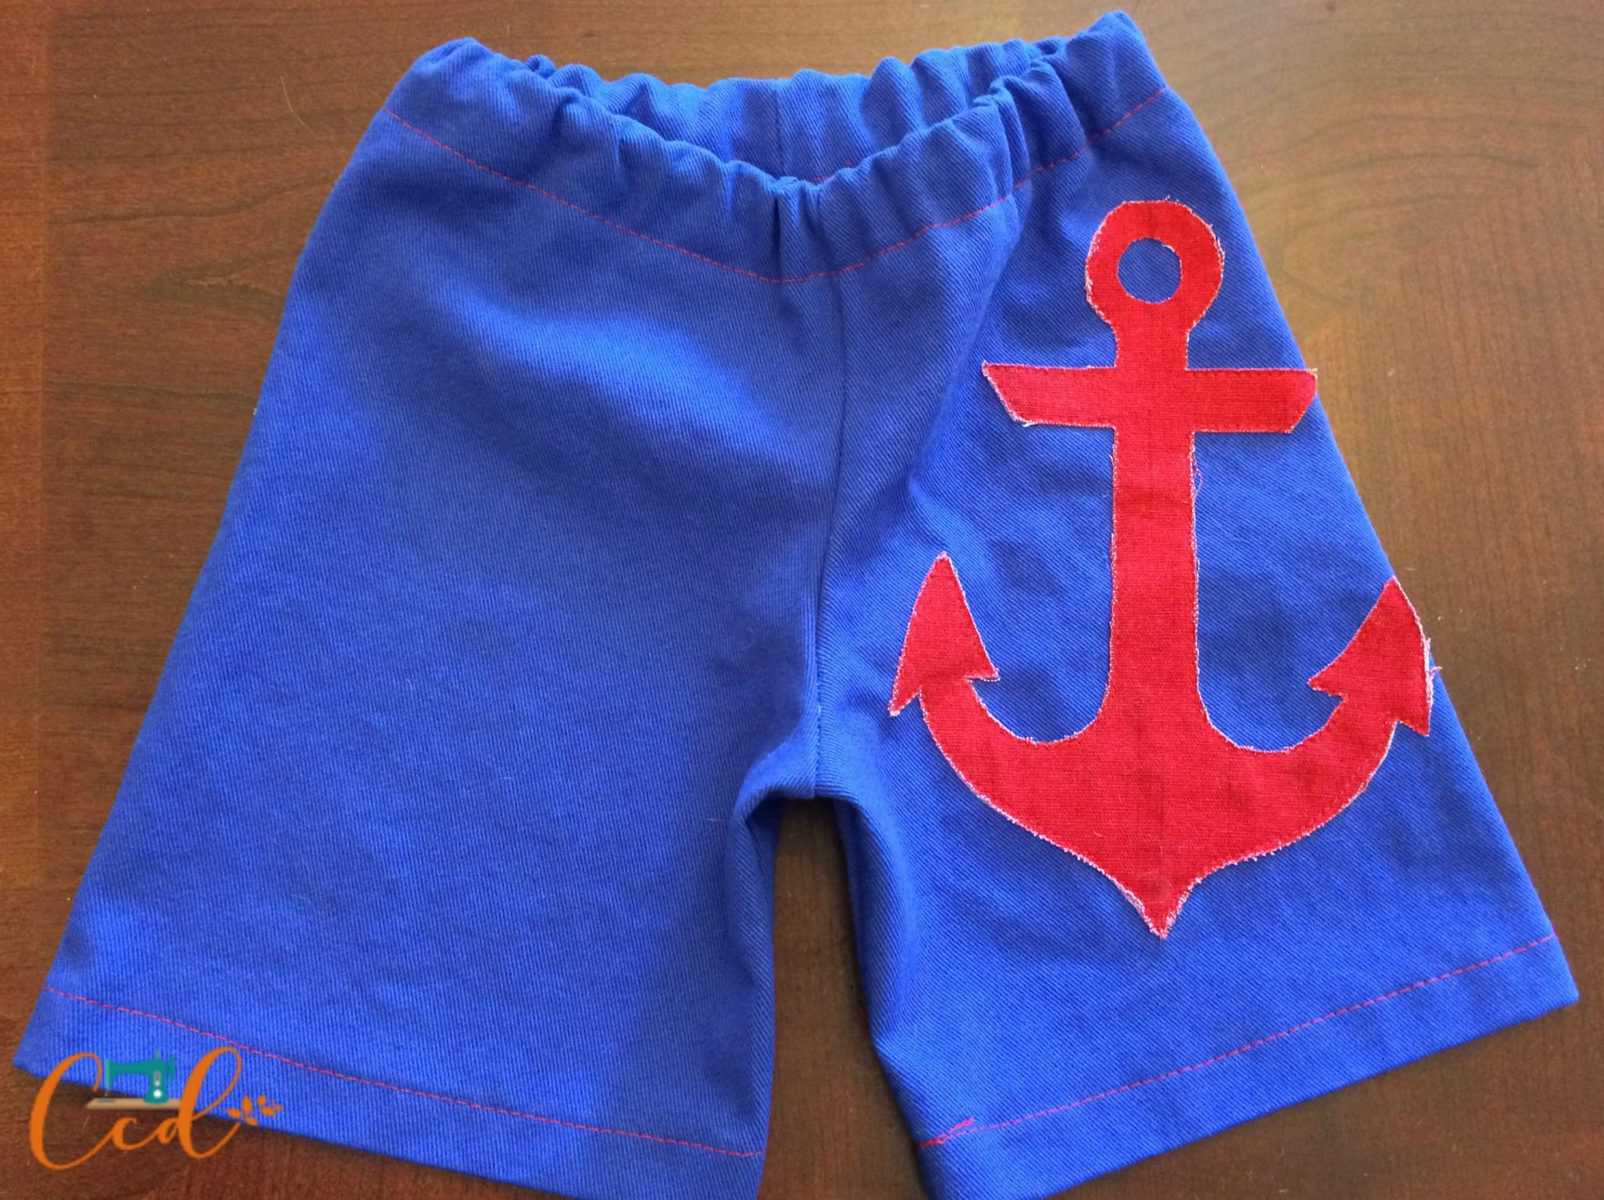
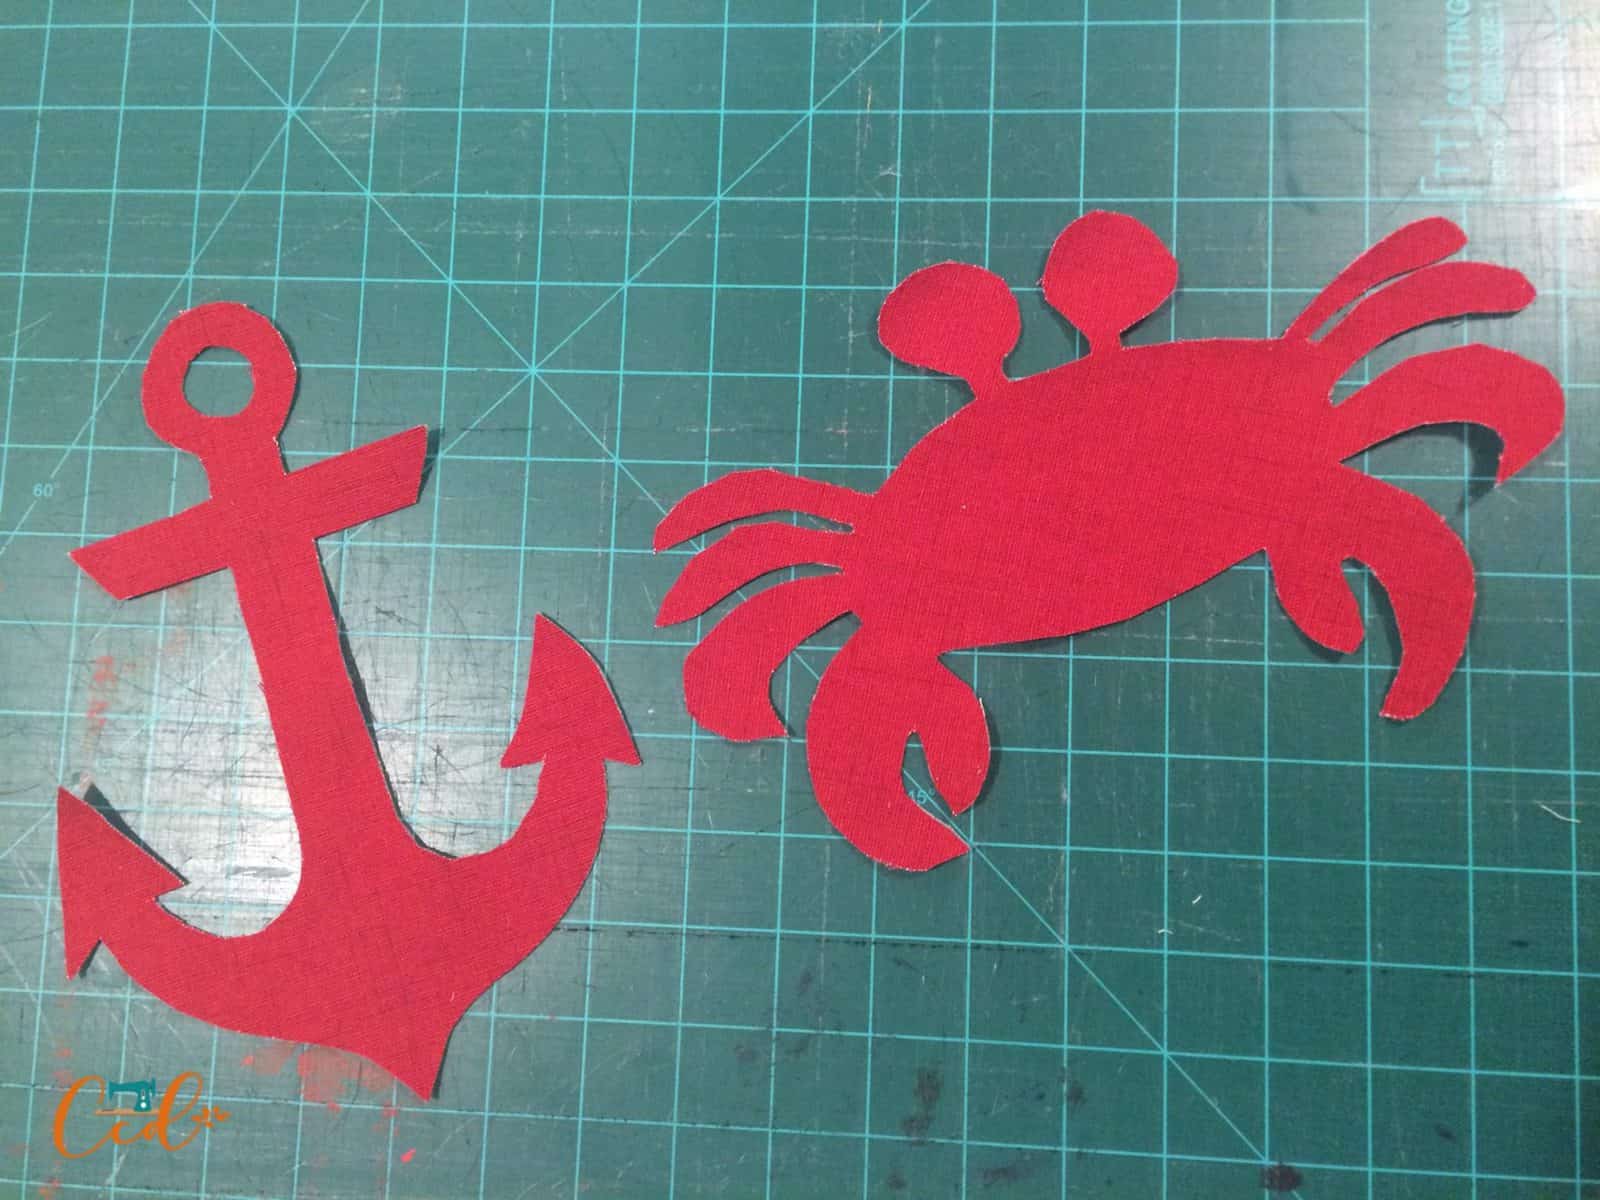
I also wanted to use fabric from my stash so I pulled out some royal blue denim I had left over from a quiet book I made my son, years ago. Embarrassingly enough the tag was still on the fabric from 6 years ago! But it’s a plain fabric with a simple pattern so I scoured Pinterest (briefly), before I found the perfect applique at The Polka Dot Chair. I knew the anchor and crab would be perfect for the red fabric I had on hand, and would pop on that royal blue denim. So pick your applique and print it out, then head to the sewing room!
Applique Placement:
When adding an applique to a finished piece, it’s generally best to do the applique first. However, in this case I wanted the applique to wrap around the side of the shorts’ leg. In order to ensure proper placement, I sewed the shorts together at the rise, through Step 1 of the pattern only. Download your free pattern of the Day Camp Set to see the full tutorial. This allows me to place the applique perfectly, while leaving the leg holes open for easier pass through in my machine. I also cuffed under the shorts to indicate my hem so I would know exactly how much leg room (hahaha) I have for the applique.

Prepare your Appliques:

Print and cut out your applique patterns.
Prepare your applique fabric with Heat ‘n Bond or Wonder Under for the easiest application. The packaging comes with full, easy to use instructions. I didn’t have either of these on hand, but I did have lightweight interfacing so that’s what I used. Iron it on the wrong side of your fabric (or follow the directions on your package).
Place your appliques face down on the wrong side (the one with the interfacing) of your fabric.
Trace your appliques onto the fabric. I use a vanishing ink marker.

Cut out your appliques.
If not using Heat ‘n Bond or Wonder Under, the easiest way to temporarily apply your interfaced applique to the shorts, is with adhesive spray. Another option is pinning it in place, but I’ve found the spray is faster and keeps it in place better when you’re feeding it through the machine. Protect your work surface, or better yet take it outside when applying the spray. Pin the applique on, or spray the back of it and press into place on your shorts. You can quickly make adjustments, if needed.
Sew:
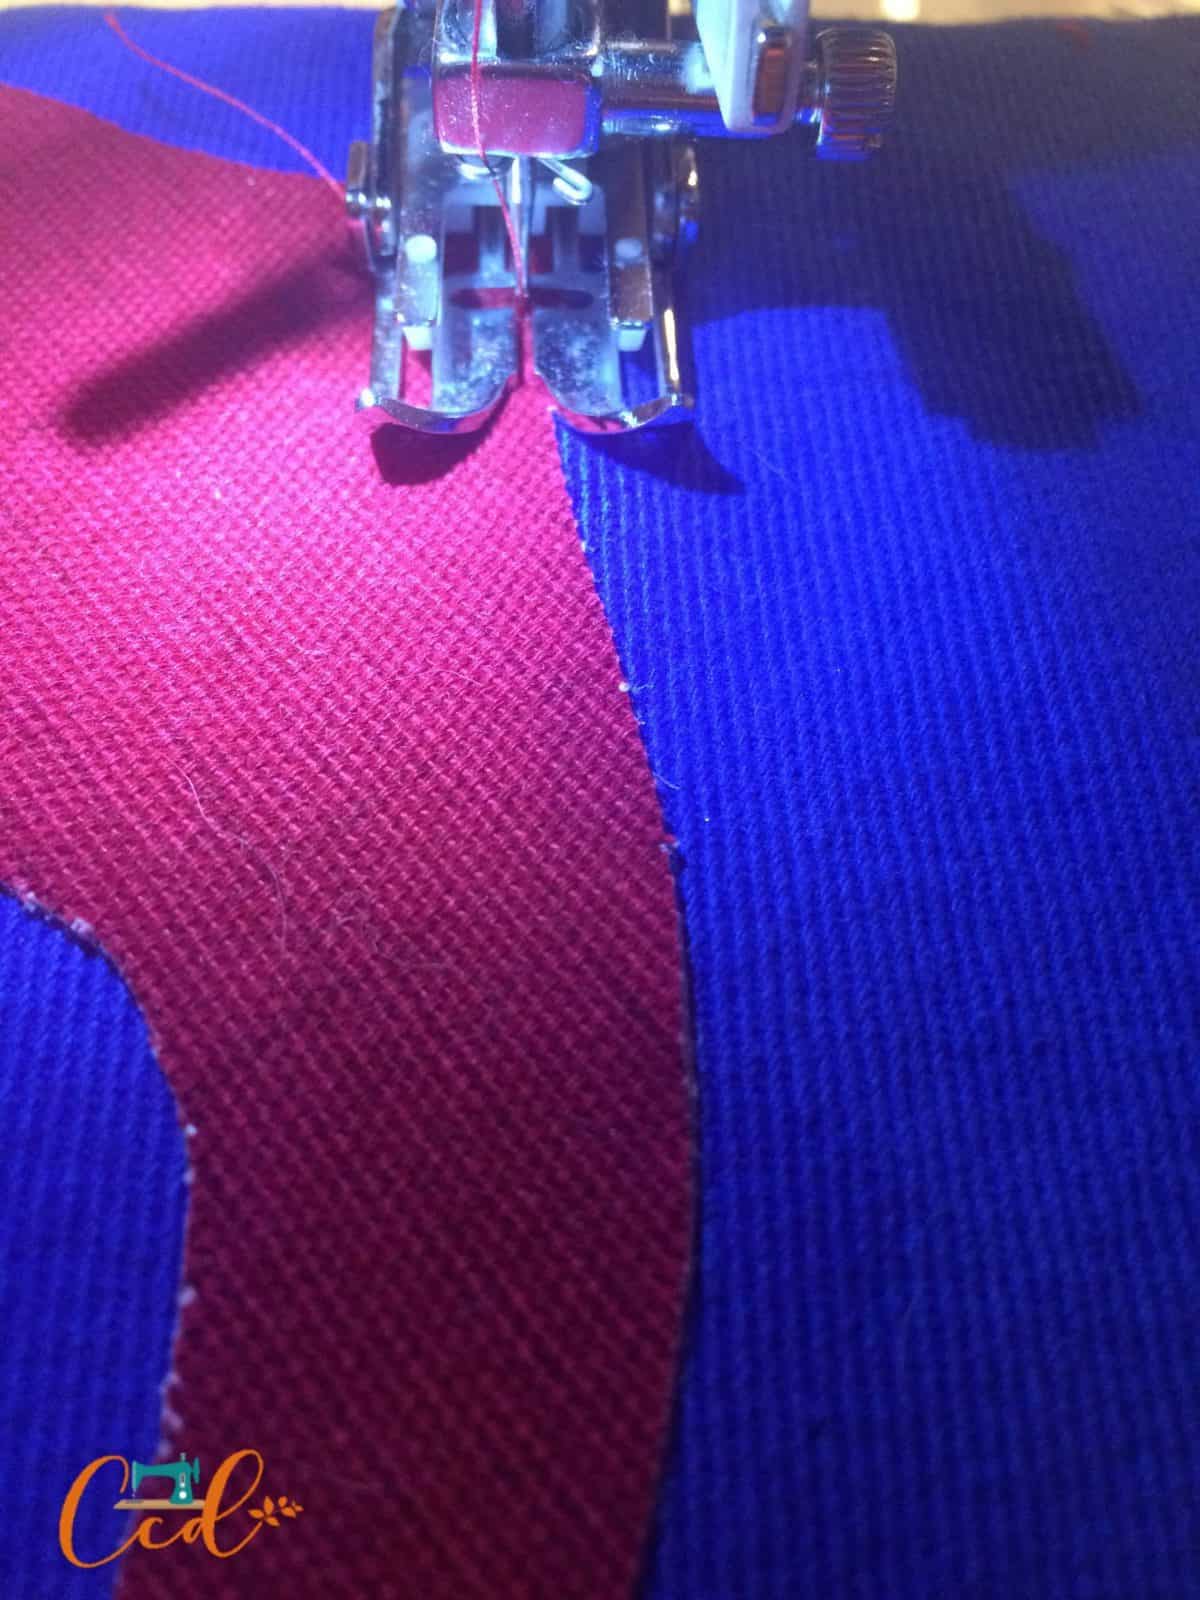
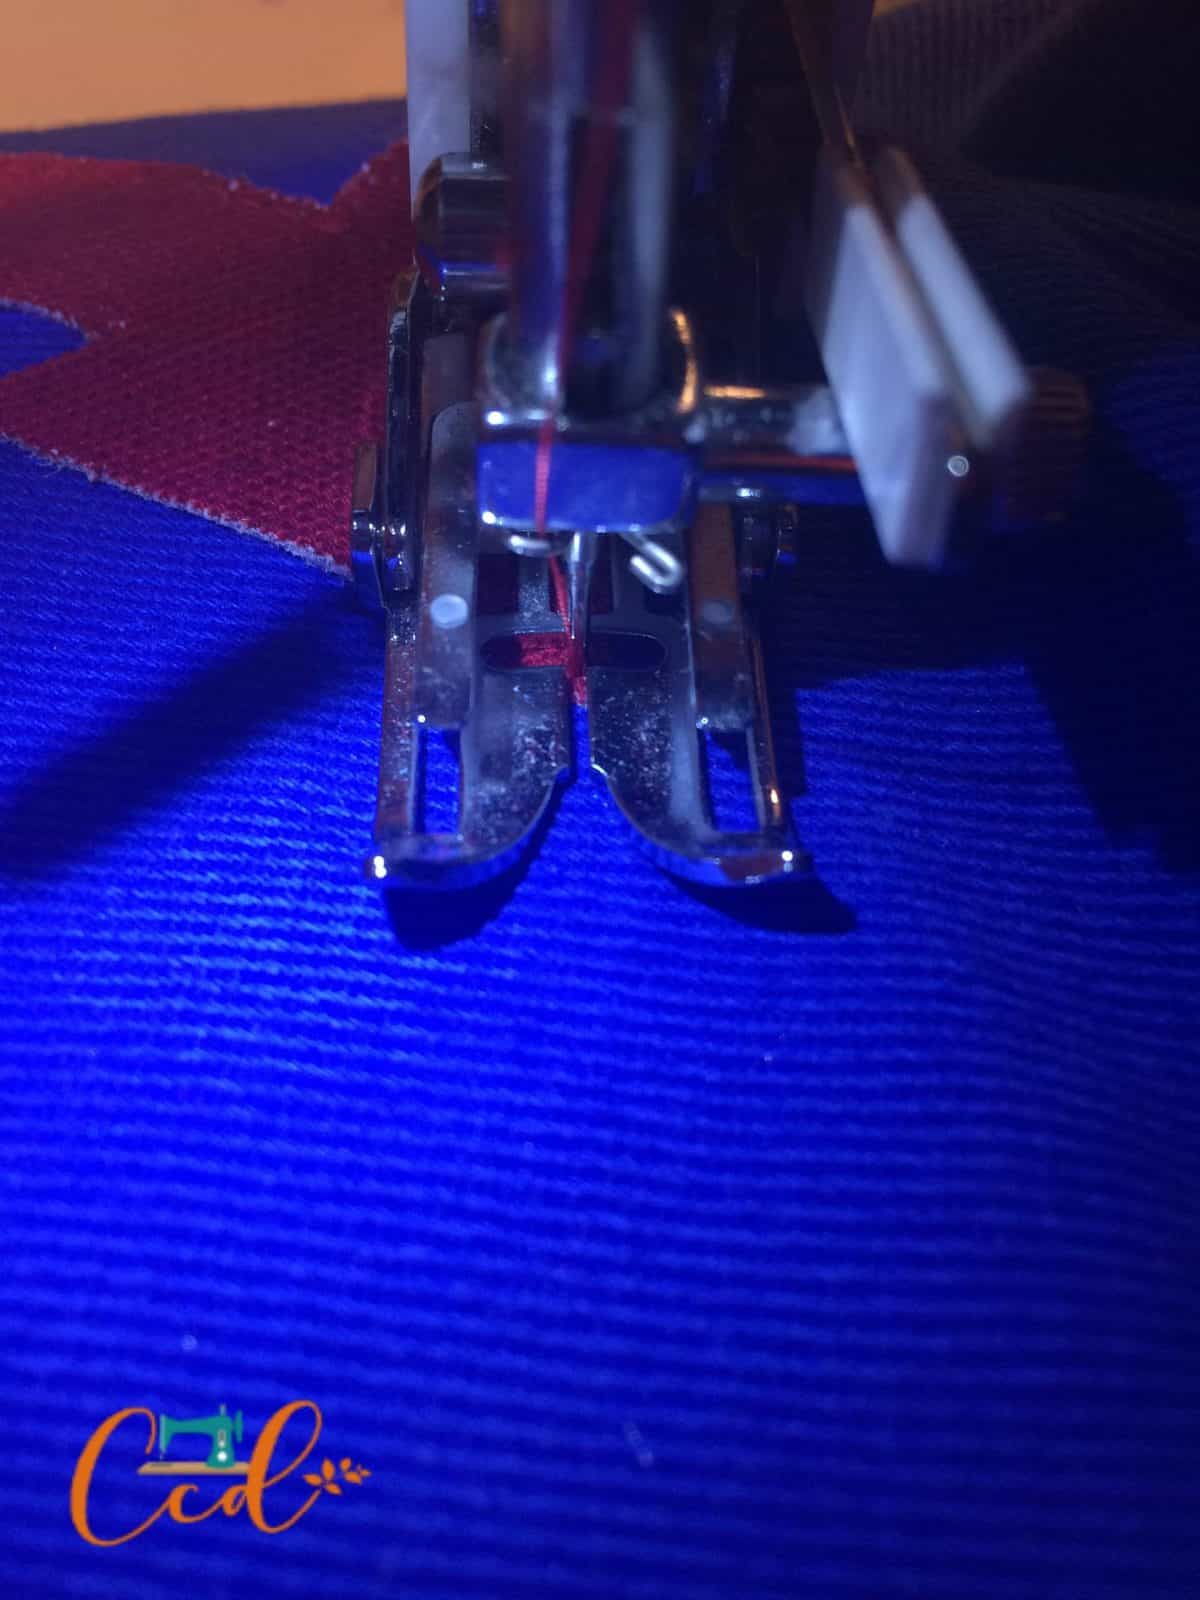
Be sure to back tack to lock your stitch. You want to sew as close to the edge of the applique as you are comfortable. 1/8″ is ideal, but if this is a first for you, you can start with 1/4;” you want to be certain to catch the applique with every stitch.
Sew all the way around the applique. Go slowly, especially around curves. You’ll have to turn as needed, according to your design. Some curves require you to lift your presser foot, turn a bit, lower the presser foot, sew a couple of stitches, and repeat around the curve. Take your time. Only sew a few stitches at a time in these places.
When you get to the end and need to turn, stop sewing with your needle down in the fabric.

Lift your presser foot.

Turn your piece.
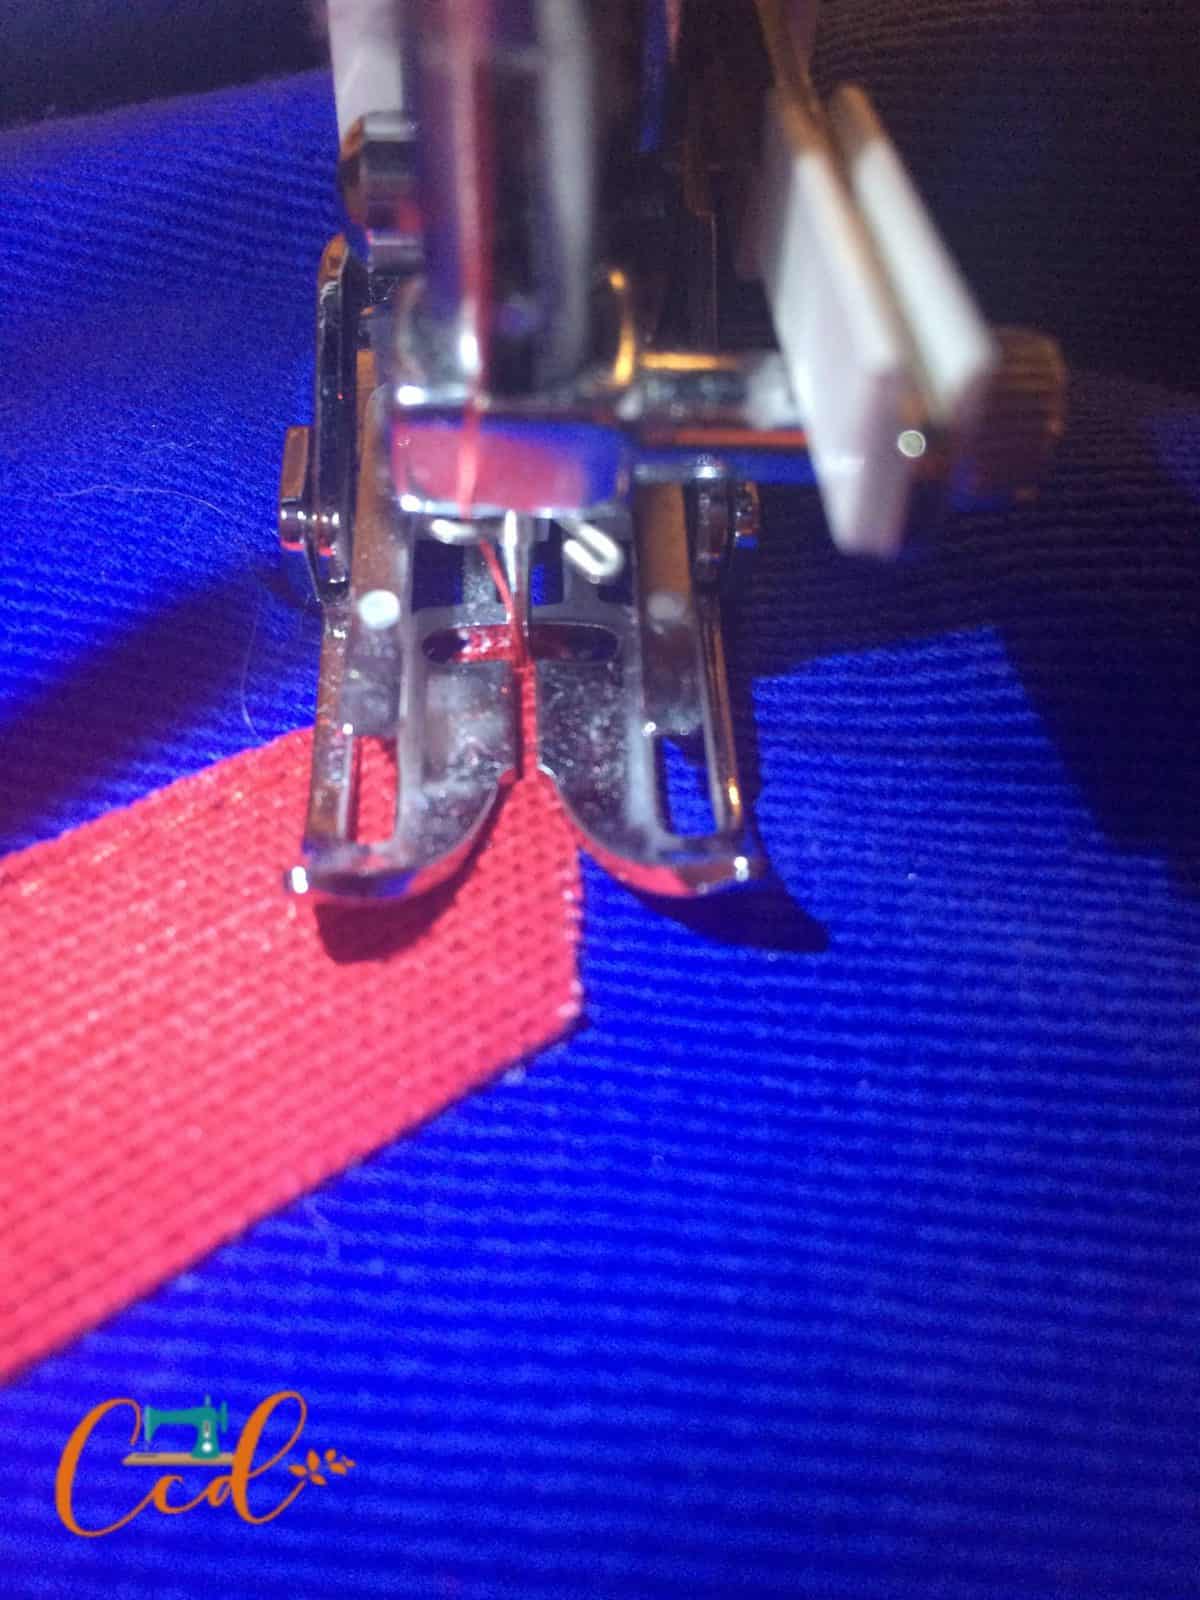
Lower your presser foot.
Continue sewing. When you reach your starting point, back tack again. Remove the piece from your machine and snip your threads.
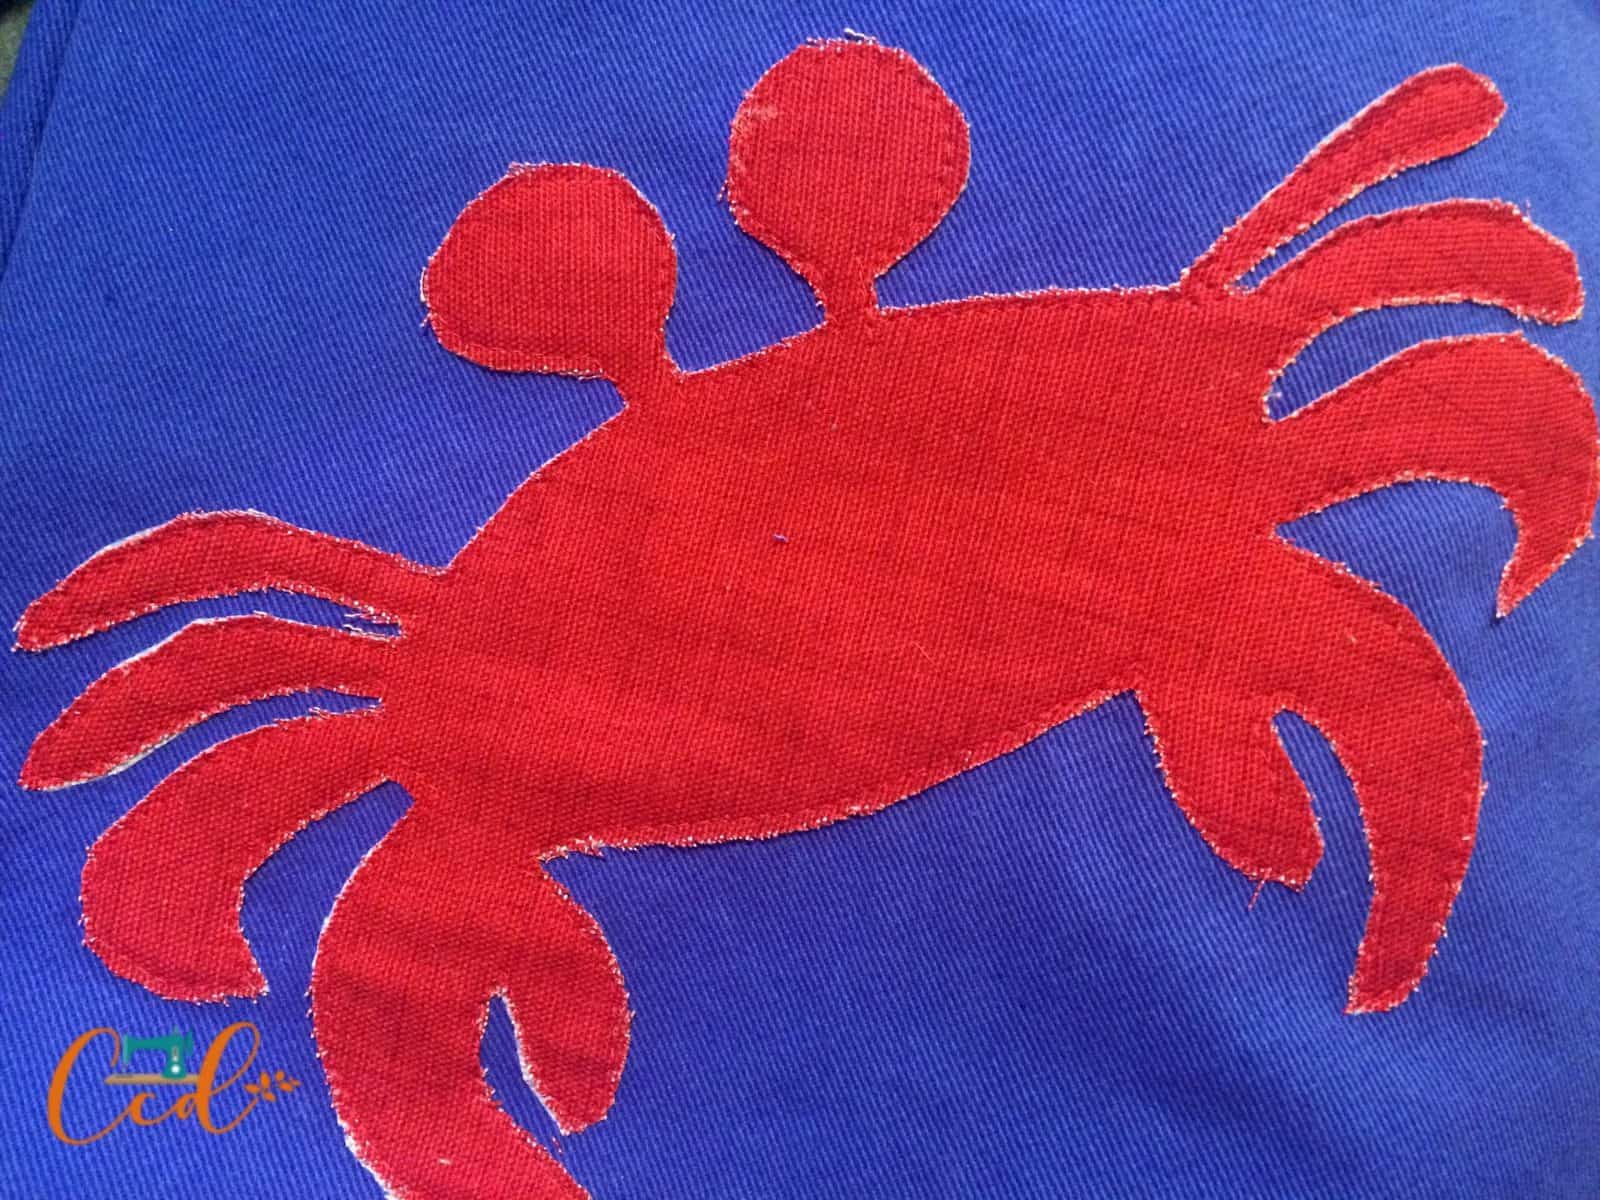
Now you can continue to sew your shorts together and your applique will be perfectly placed! The edges of this applique will fray a little in the wash; I love the way it looks. Your stitching will keep it from unraveling completely. Be sure to check your applique for any spots you may have gone off the design. Just go back over any you missed, and be sure to start and stop with a back tack.


I hope these tips were helpful! I love adding appliques to kids’ clothes. It’s probably one of the first things I learned to do when I started sewing. It’s a great way to customize your children’s wardrobe, or celebrate with a special design on birthdays or holidays.